
All Chest Locations
★ Season 1: Part 2 Releases 10/29!
☆ All Season 1 New Aniimo
★ Best Teams | Best Starter | Best DPS
☆ Trending: Lita | Wendell | Wonder Egg
✪ Follow Game8's Aniimo X for news & guides!
Share your thoughts! ➤ Aniimo Player Survey
Chests contain several items that can aid exploration in Aniimo. Find out where each chest is located and what to get from them in this guide!
List of Contents
All Chests Map
Chest Locations
Chests per Region
All Chests in the Argent Strait
| Collectibles | Details |
|---|---|
|
The Argent Strait Chest 1 |
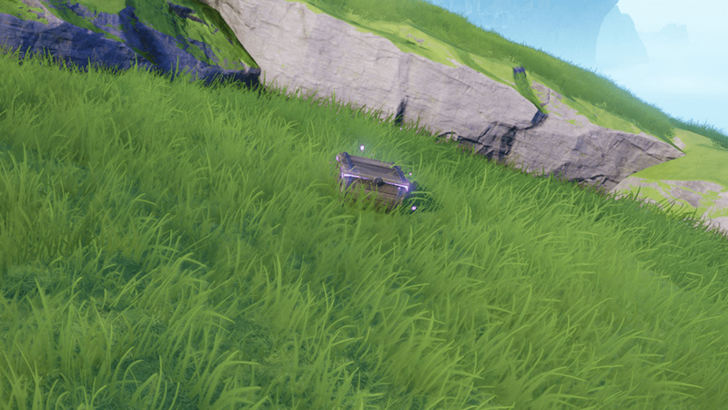 Coordinates: -1694, 0438 How to Get: Placed out in an open field next to a chasm. |
|
The Argent Strait Chest 2 |
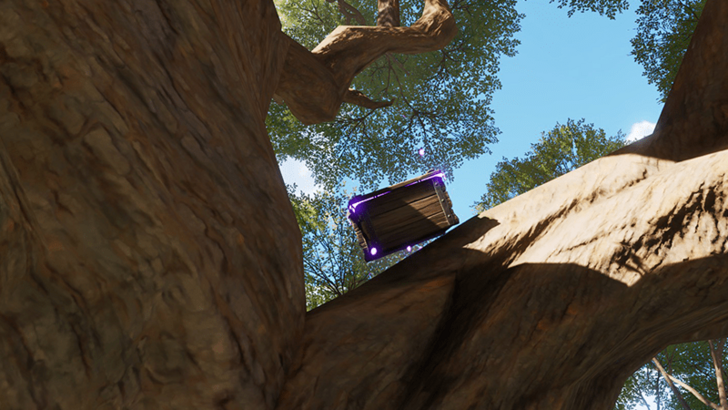 Coordinates: -1677, 0500 How to Get: Chest is on the main branches of a large tree. |
|
The Argent Strait Chest 3 |
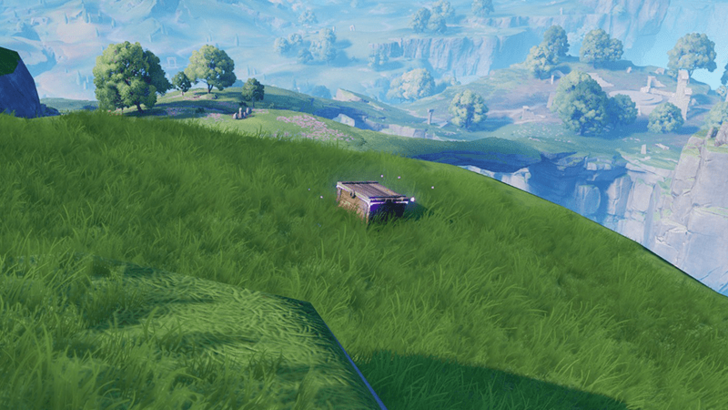 Coordinates: -1595, 0532 How to Get: Placed near a cliff facing towards the east. |
|
The Argent Strait Chest 4 |
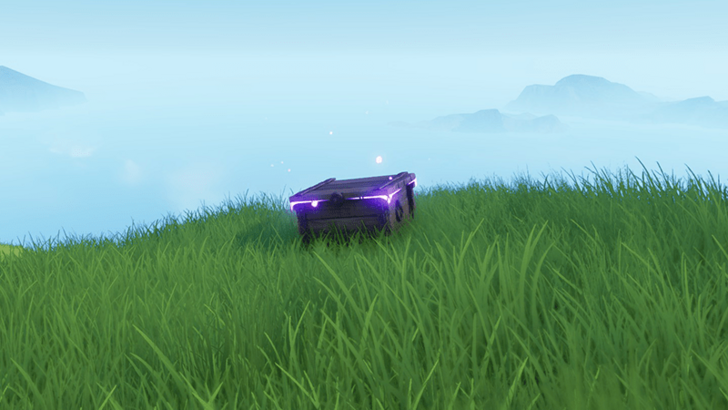 Coordinates: -1789, 0553 How to Get: Placed near a cliff facing towards the west. |
|
The Argent Strait Chest 5 |
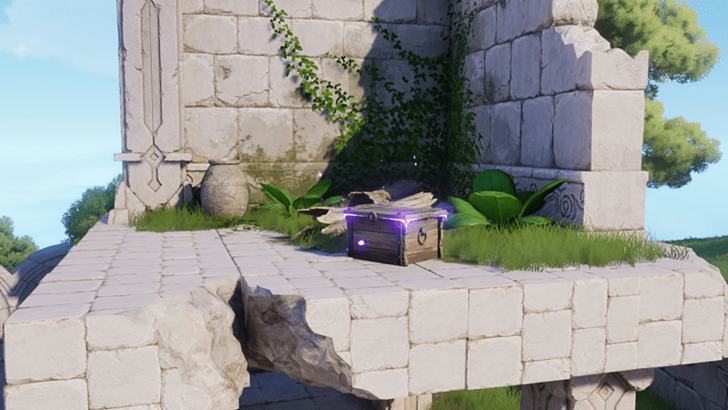 Coordinates: -1677, 0606 How to Get: Found at the second floor of a collapsed ruin structure. |
|
The Argent Strait Chest 6 |
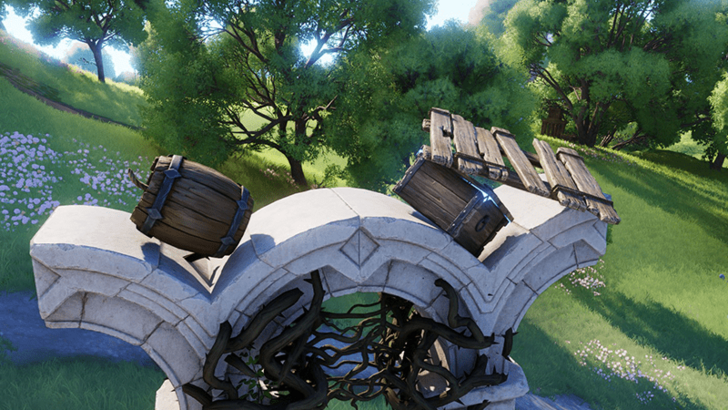 Coordinates: -1556, 0716 How to Get: Placed a top a stone arch with a wooden planks over it. There are flammable brambles beneath it. |
|
The Argent Strait Chest 7 |
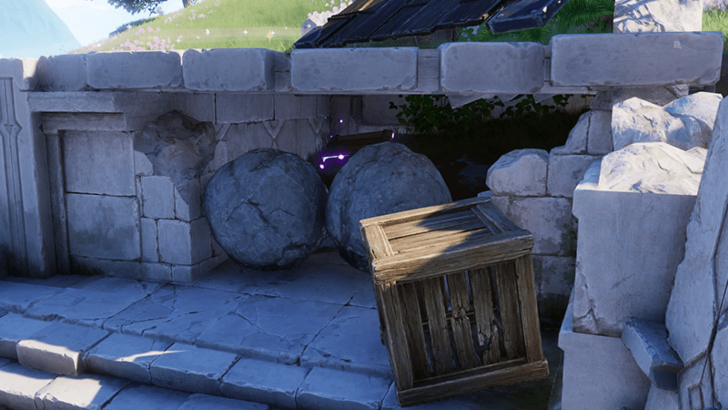 Coordinates: -1552, 0709 How to Get: Found underneath a stone floor, blocked by a couple of large rocks. Use an Aniimo skill to move the rocks out of the way of the chest. |
|
The Argent Strait Chest 8 |
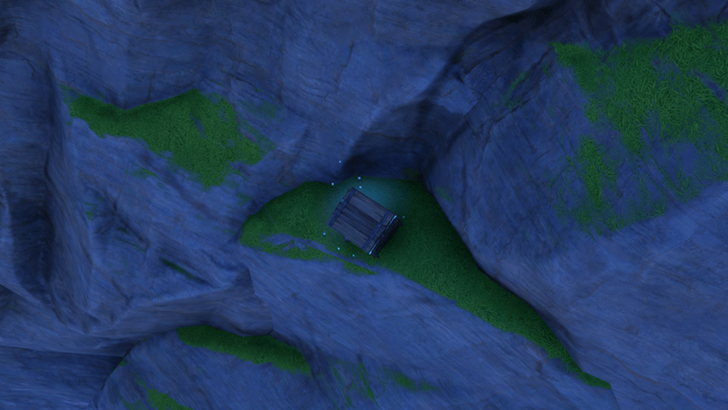 Coordinates: -1555, 0656 How to Get: Placed on a small ledge by the face of a cliff. |
|
The Argent Strait Chest 9 |
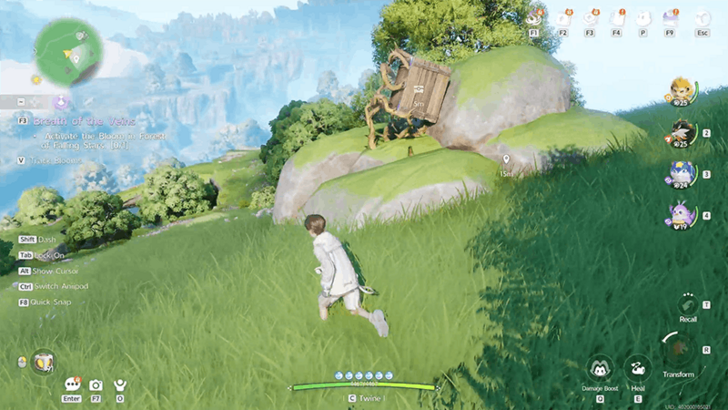 Coordinates: -1558, 0676 How to Get: Found atop of some rocks, covered in brambles. Use fire from an Aniimo skill to remove the brambles. |
|
The Argent Strait Chest 10 |
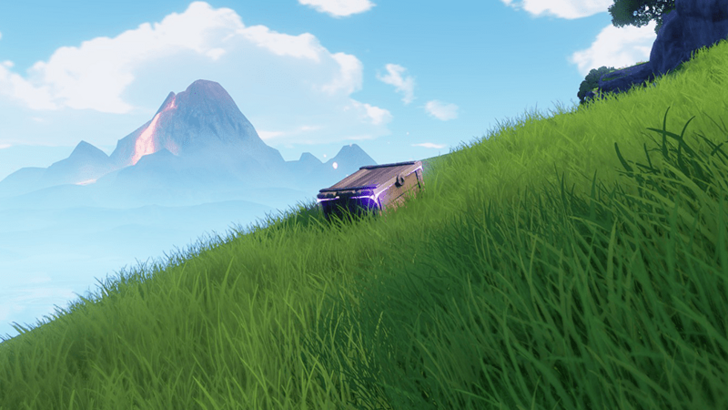 Coordinates: -1561, 0648 How to Get: Located near a cliff facing towards the east. |
|
The Argent Strait Chest 11 |
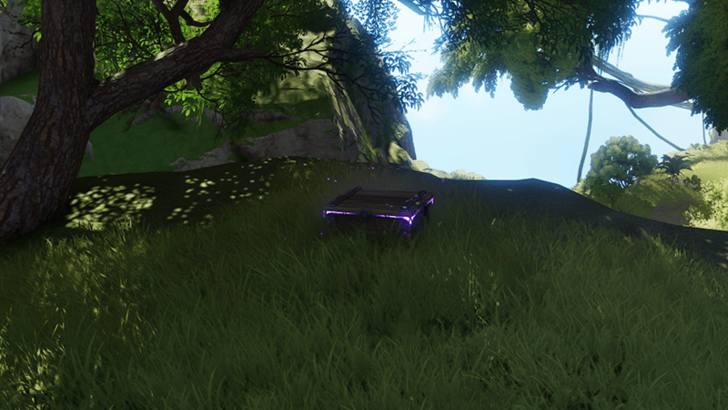 Coordinates: -1736, 0655 How to Get: Placed near a ledge in the open, under the shade of larger trees up ahead. |
|
The Argent Strait Chest 12 |
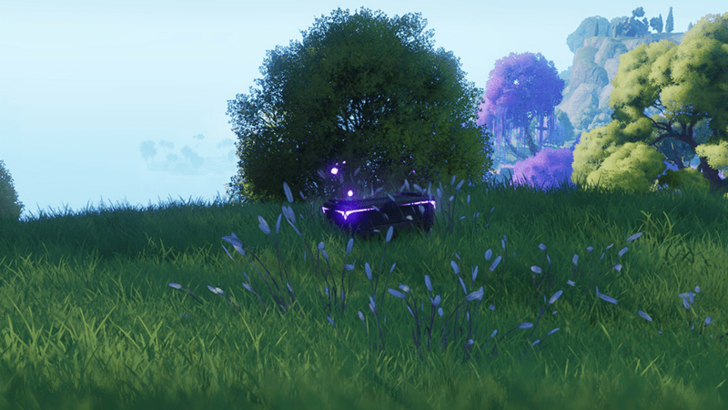 Coordinates: -1659, 0719 How to Get: Placed near a ledge in the open. |
|
The Argent Strait Chest 13 |
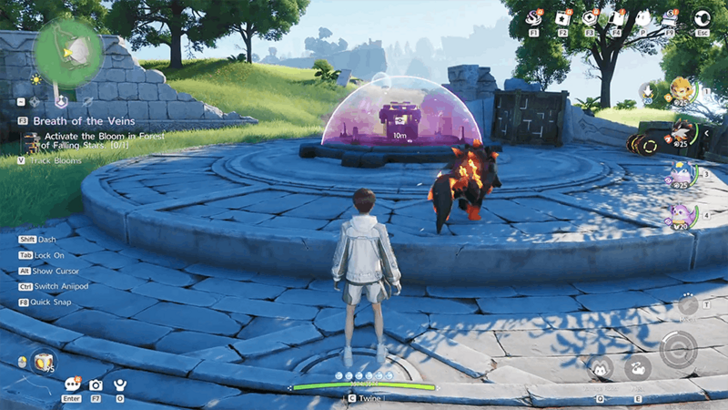 Coordinates: -1331, 0570 How to Get: The chest is placed in the center of a ruin. It's protected by barrier that can be disabled after powering a nearby power node. |
|
The Argent Strait Chest 14 |
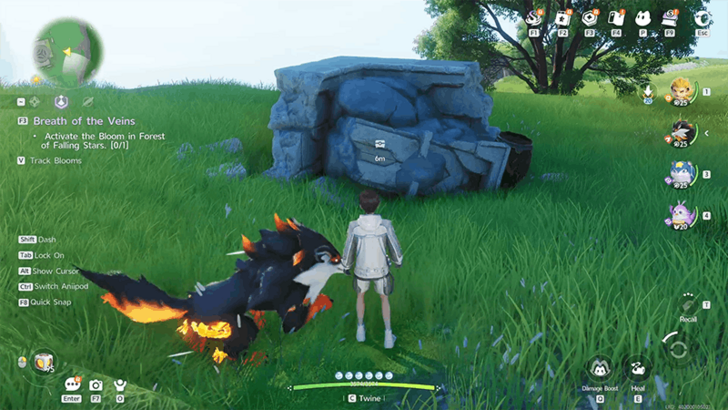 Coordinates: -1295, 0576 How to Get: This Chest can be found East from the ruins under a rubble |
|
The Argent Strait Chest 15 |
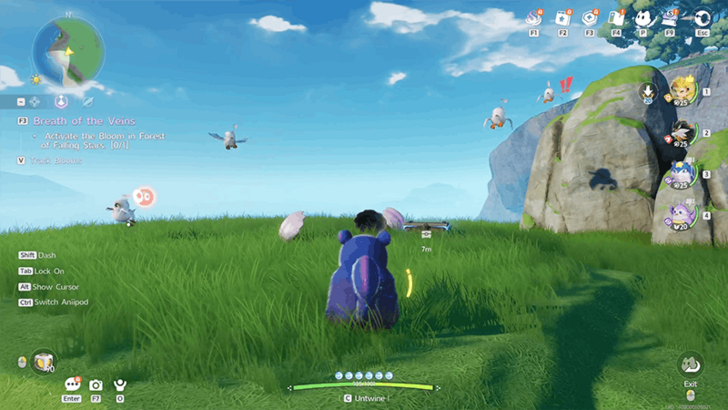 Coordinates: -1402, 0536 How to Get: This Chest can be found at the edge of the Cliff |
|
The Argent Strait Chest 16 |
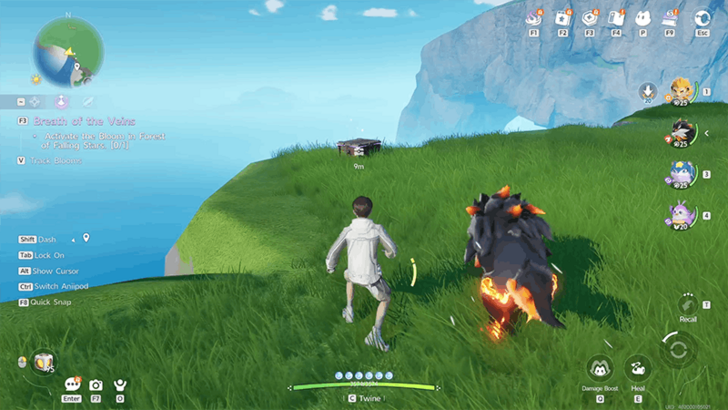 Coordinates: -1321, 0458 How to Get: This Chest can be found at the edge of the Cliff South to the beach |
|
The Argent Strait Chest 17 |
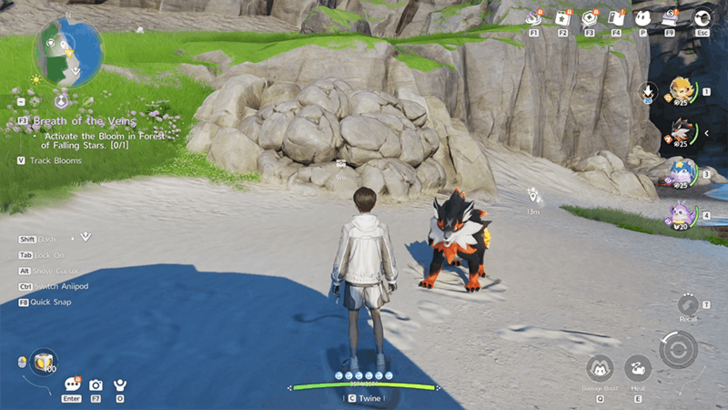 Coordinates: -1231, 0609 How to Get: This Chest can be found North East side of the Beach hidden under the rubble |
|
The Argent Strait Chest 18 |
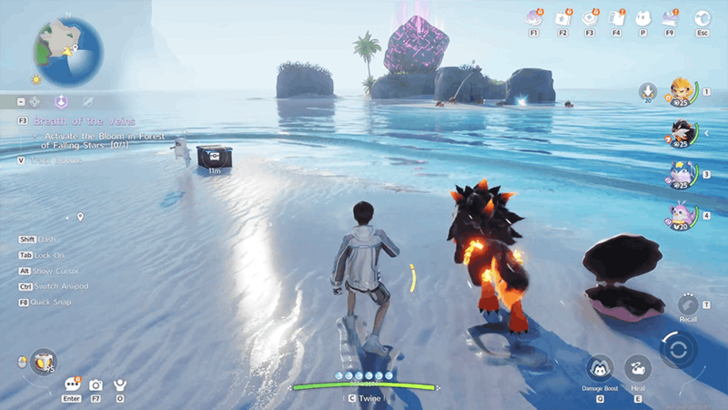 Coordinates: -1202, 0470 How to Get: This Chest can be found at the South East edge of the beach surrounded by Chirpis |
|
The Argent Strait Chest 19 |
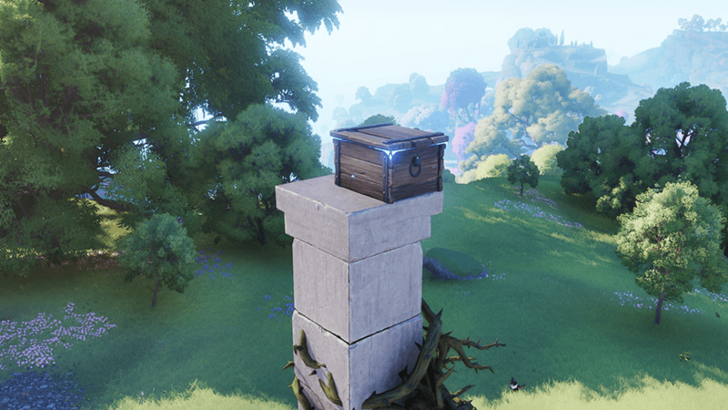 Coordinates: -1655, 0631 How to Get: Placed on top of a stone pillar with brambles at its base that are flammable. |
|
The Argent Strait Chest 20 |
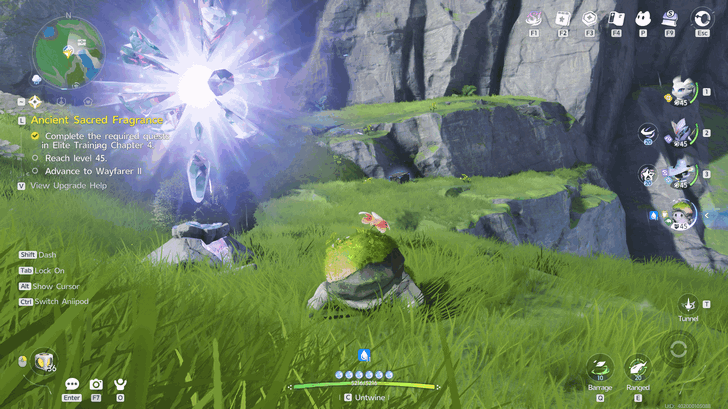 Coordinates: -1241, 0677 How to Get: This chest is located near a cliff overlooking the Argent Strait bloom. |
|
The Argent Strait Chest 21 |
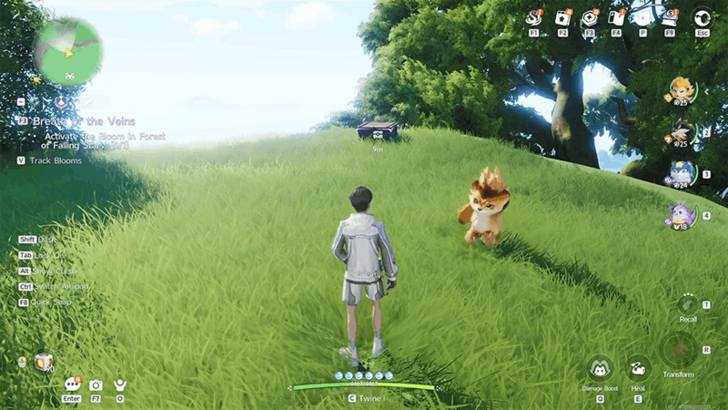 Coordinates: -1718, 0632 How to Get: This Chest can be found at the edge of the Cliff |
|
The Argent Strait Chest 22 |
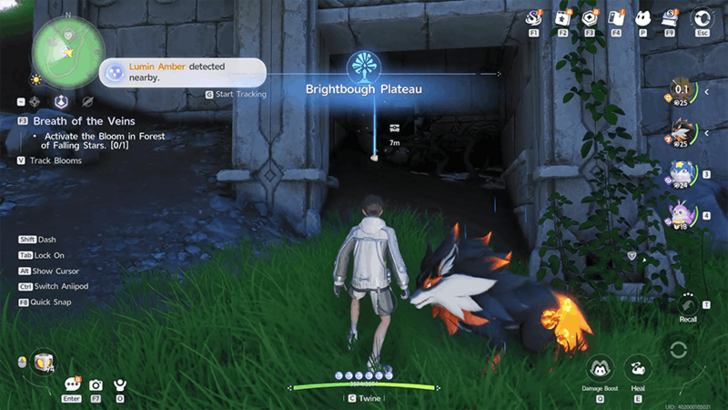 Coordinates: -1652, 0591 How to Get: This Chest can be found inside a small opening surrounded by vines |
|
The Argent Strait Chest 23 |
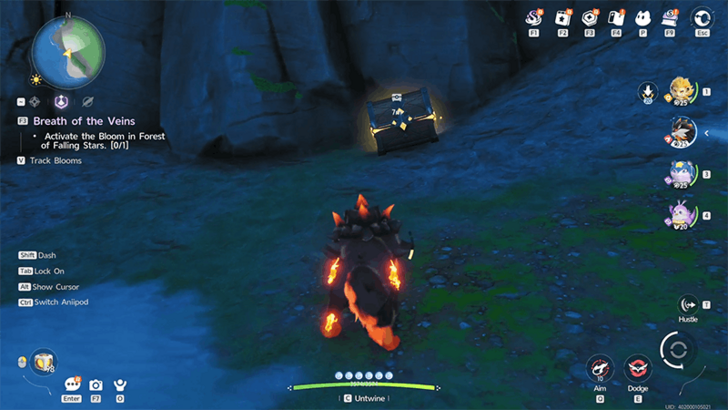 Coordinates: -1397, 0513 How to Get: This Chest can be found at the South West Side of the Beach |
|
The Argent Strait Chest 24 |
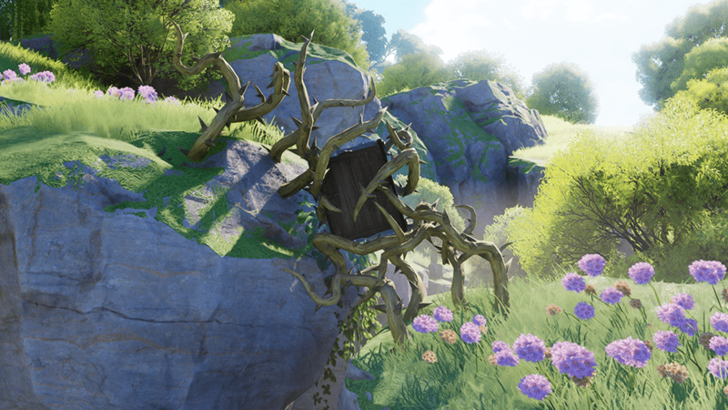 Coordinates: -1579, 0805 How to Get: Tangled in spiky brambles. Use fire from an Aniimo skill to burn them away to free the chest. |
|
The Argent Strait Chest 25 |
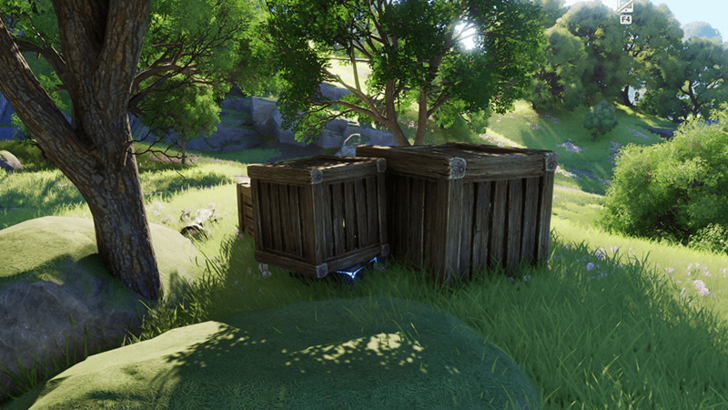 Coordinates: -1463, 0670 How to Get: A chest is hidden underneath a few crates. |
|
The Argent Strait Chest 26 |
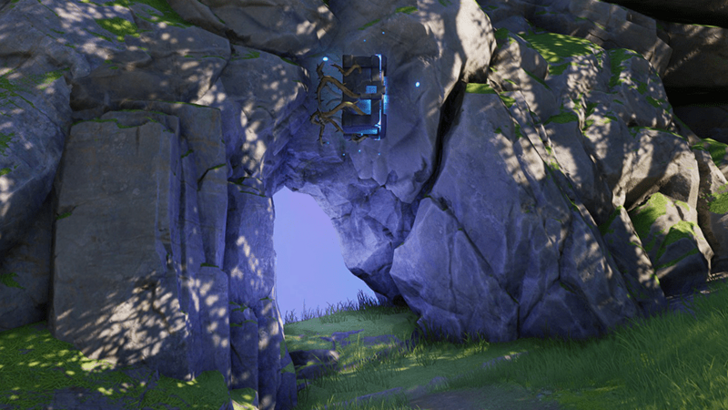 Coordinates: -1457, 0689 How to Get: Stuck above a cave entrance by brambles. Use fire from an Aniimo skill to burn the brambles and have it fall to the ground. |
|
The Argent Strait Chest 27 |
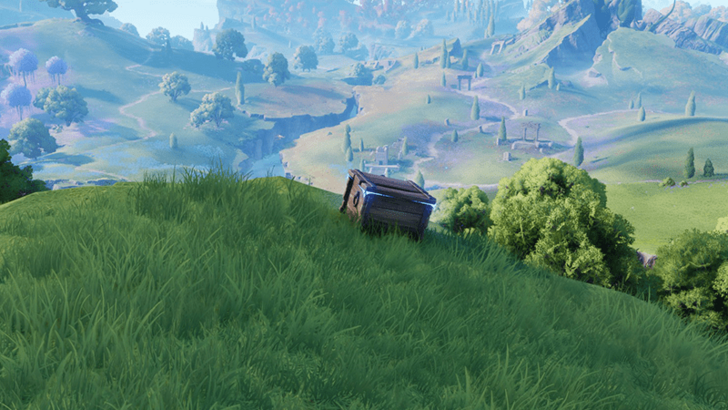 Coordinates: -1422, 0680 How to Get: Placed next to a ledge, out in the open. |
|
The Argent Strait Chest 28 |
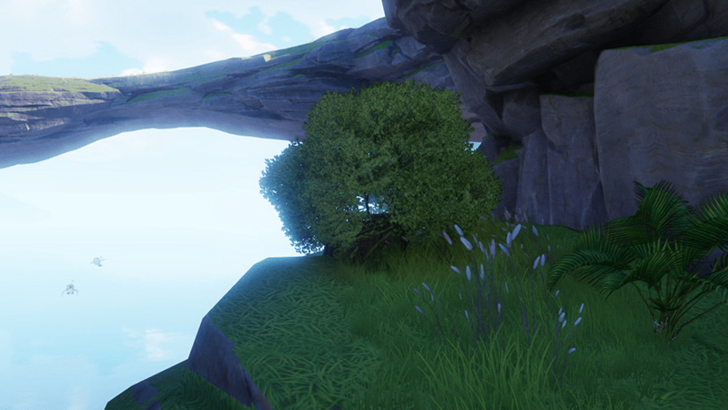 Coordinates: -1410, 0665 How to Get: Placed underneath a bush next to the ledge of a cliff. |
|
The Argent Strait Chest 29 |
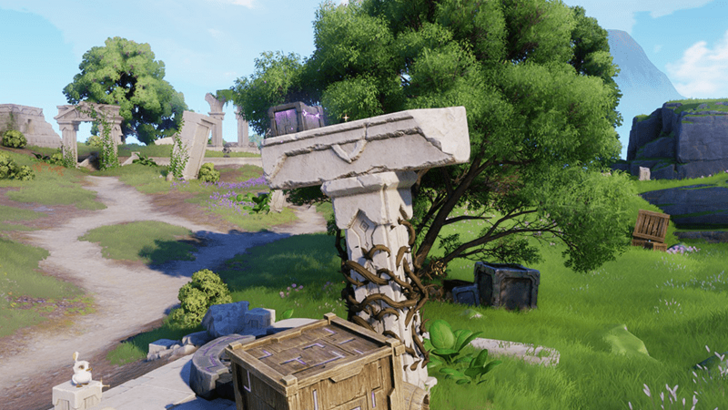 Coordinates: -1388, 0629 How to Get: On top of a T-shaped stone pillar with flammable brambles. |
|
The Argent Strait Chest 30 |
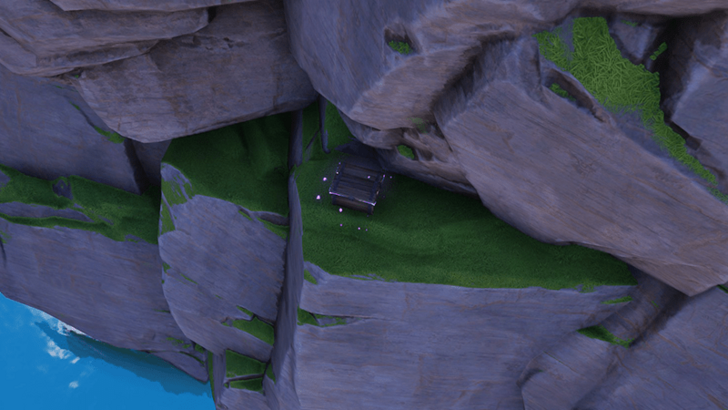 Coordinates: -1404, 0606 How to Get: On a small ledge by a cliff wall above the water. |
|
The Argent Strait Chest 31 |
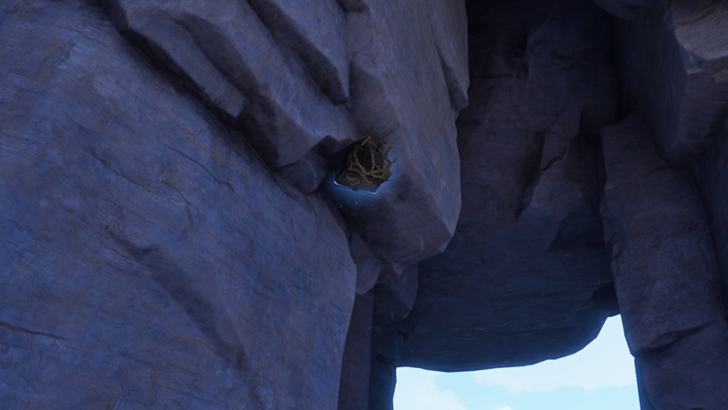 Coordinates: -1330, 0463 How to Get: Found hanging upside down in a beach cavern by brambles. Use fire from an Aniimo skill to burn the brambles and have it land on the ground. |
|
The Argent Strait Chest 32 |
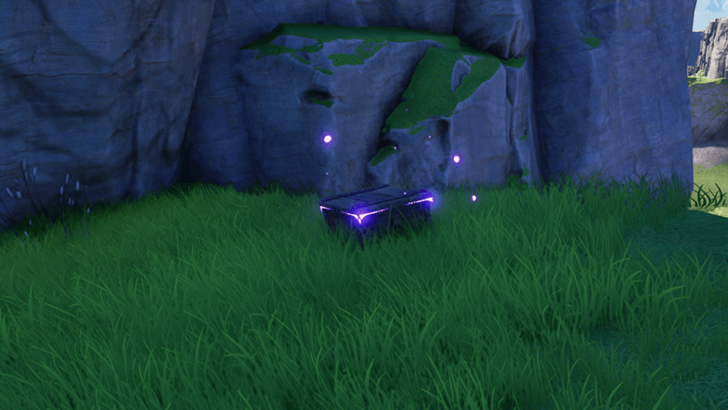 Coordinates: -1270, 0571 How to Get: Found on a spot near the cliff facing towards the east. |
|
The Argent Strait Chest 33 |
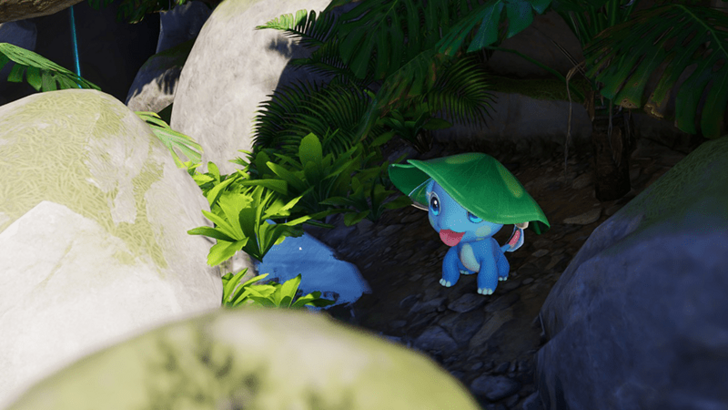 Coordinates: -1345, 0745 How to Get: Talk to a Skippy named Patini and help them recover their lotus leaf from a Pranky named Brutsch and you will be rewarded with a chest. |
|
The Argent Strait Chest 34 |
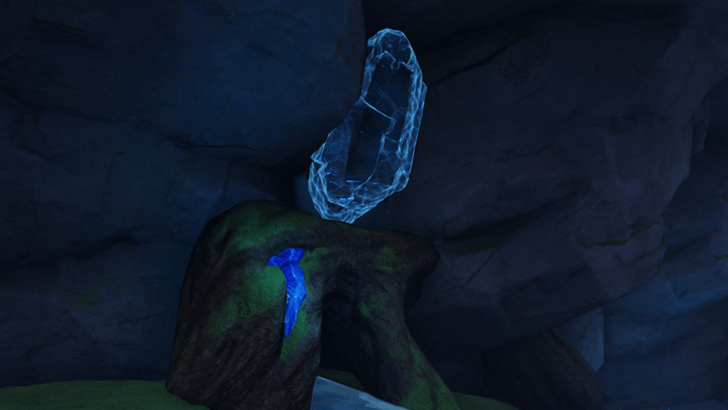 Coordinates: -1313, 0731 How to Get: Encased inside ice within a cave where a river flows through. Use fire from an Aniimo's skill to melt the ice and free the chest. |
|
The Argent Strait Chest 35 |
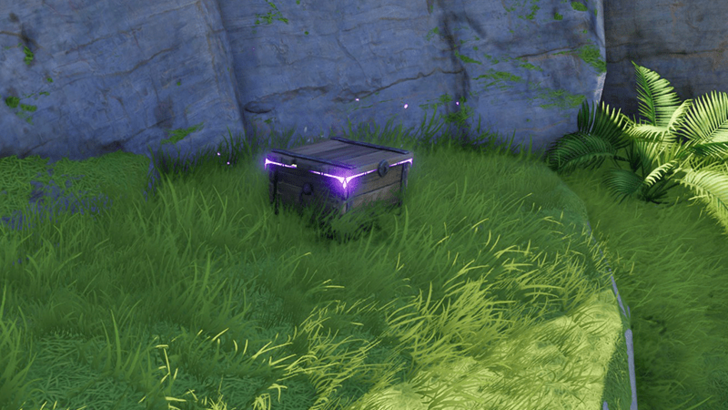 Coordinates: -1286, 0704 How to Get: Placed before a cliff with a pond below. |
|
The Argent Strait Chest 36 |
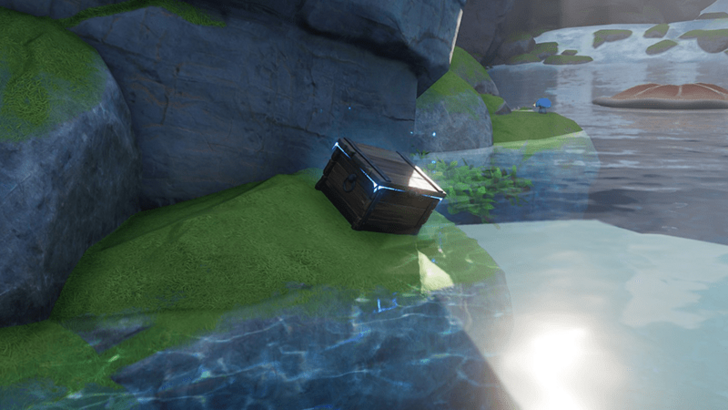 Coordinates: -1268, 0675 How to Get: By the rocks near the cave exit of the river. |
|
The Argent Strait Chest 37 |
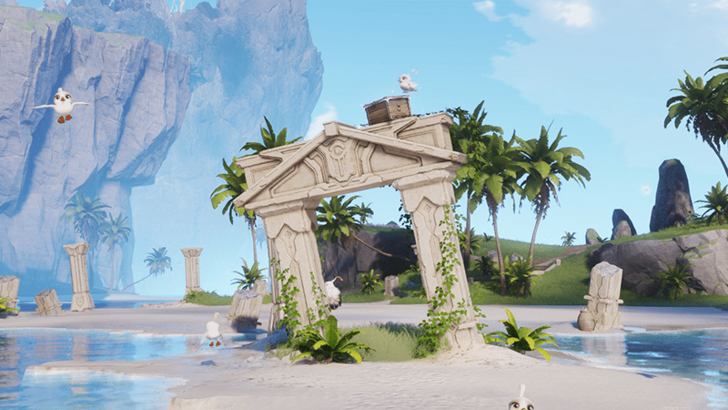 Coordinates: -1172, 0605 How to Get: Atop a tilted archway, surrounded by flying Chirpi. |
|
The Argent Strait Chest 38 |
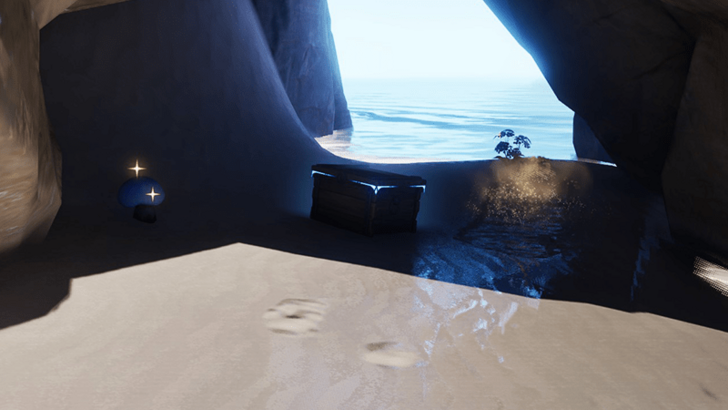 Coordinates: -1157, 0508 How to Get: Underneath a small cave on the islet where the Alpha Tubster is located. |
|
The Argent Strait Chest 39 |
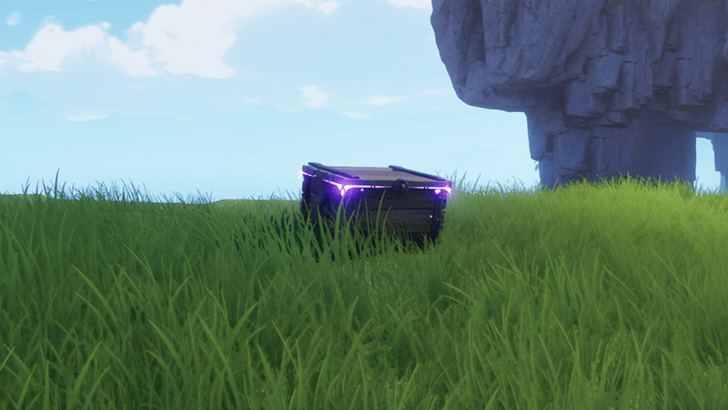 Coordinates: -1133, 0497 How to Get: Placed next to a ledge on the island where the Alpha Tubster is located. |
|
The Argent Strait Chest 40 |
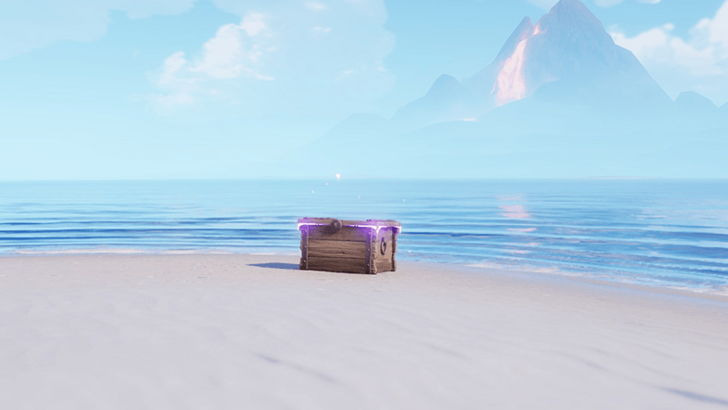 Coordinates: -1009, 0462 How to Get: Located in a lone islet along its sands. |
|
The Argent Strait Chest 41 |
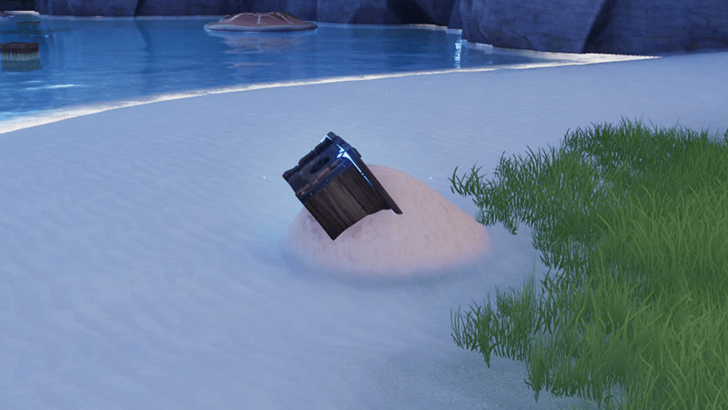 Coordinates: -1014, 0556 How to Get: Chest is partly buried under sand. Use an Aniimo skill to dig it up. |
|
The Argent Strait Chest 42 |
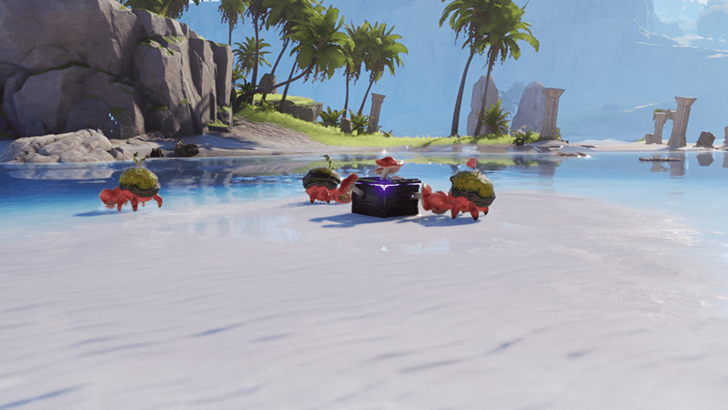 Coordinates: -1054, 0567 How to Get: The chest is surrounded by Budlcaws and covered in mushrooms. It's placed on the sand in the middle of the water. |
|
The Argent Strait Chest 43 |
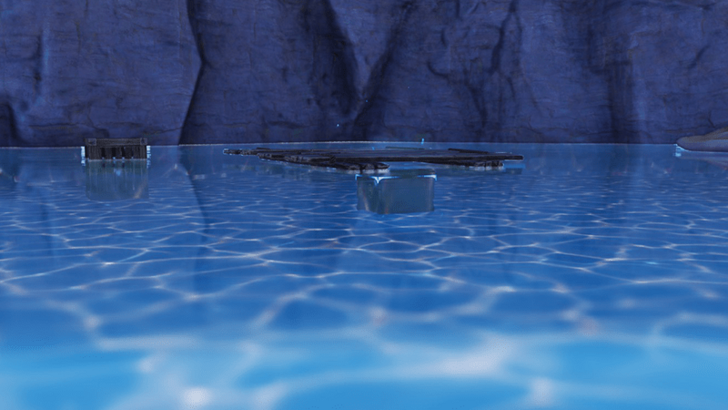 Coordinates: -1039, 0593 How to Get: Hidden underneath wooden planks and submerged in the water. |
|
The Argent Strait Chest 44 |
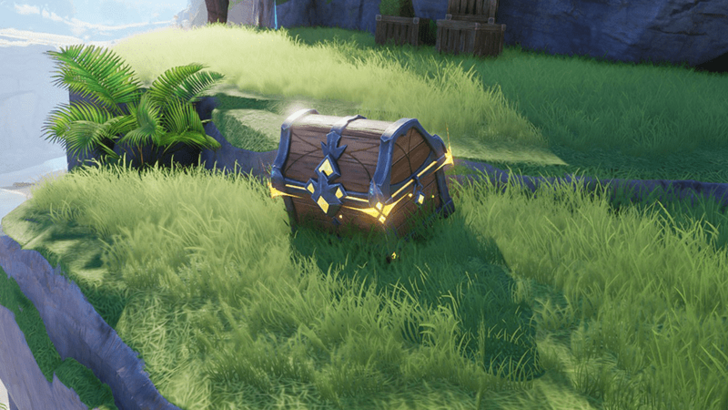 Coordinates: -1094, 0597 How to Get: Placed near the ledge of a cliff, south of the First Spark Sanctum from the Blitzwoods. |
|
The Argent Strait Chest 45 |
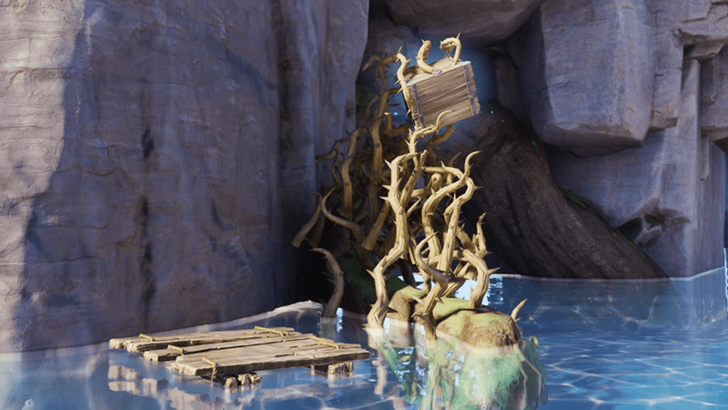 Coordinates: -1109, 0606 How to Get: Entangled in several brambles on a root above the ocean water. Burn of the brambles with a Fire Aniimo skill to free the chest. |
|
The Argent Strait Chest 46 |
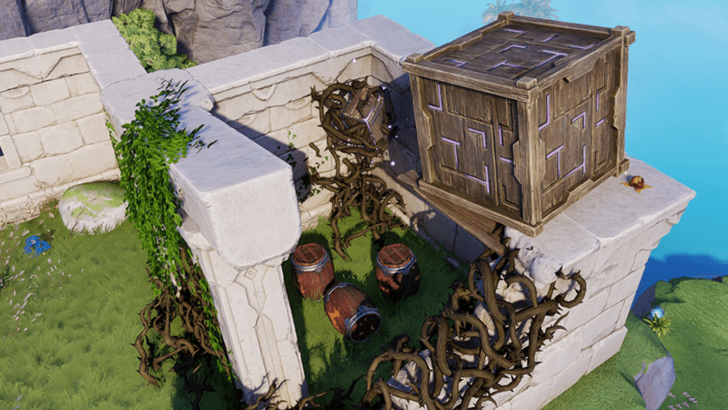 Coordinates: -1112, 0596 How to Get: Found atop a cliff bordering the Argent Strait and the Blitzwood, the chest lies in a ruin covered with brambles and explosives. Set the brambles aflame with an Aniimo skill to free the chest, but risk an explosion. |
|
The Argent Strait Chest 47 |
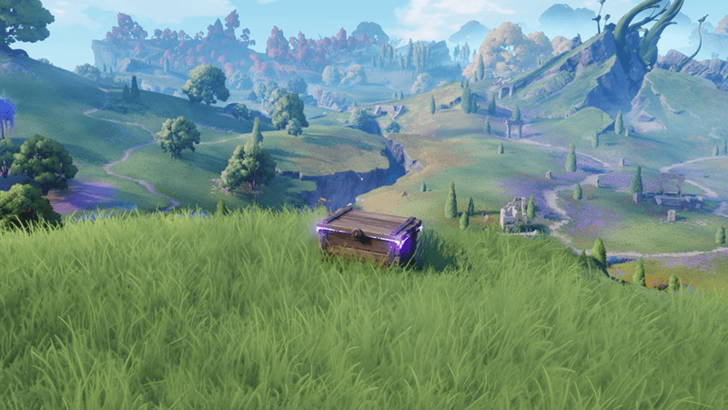 Coordinates: -1465, 0741 How to Get: Found atop a cliff overlooking the Nimbus Fields. |
|
The Argent Strait Chest 48 |
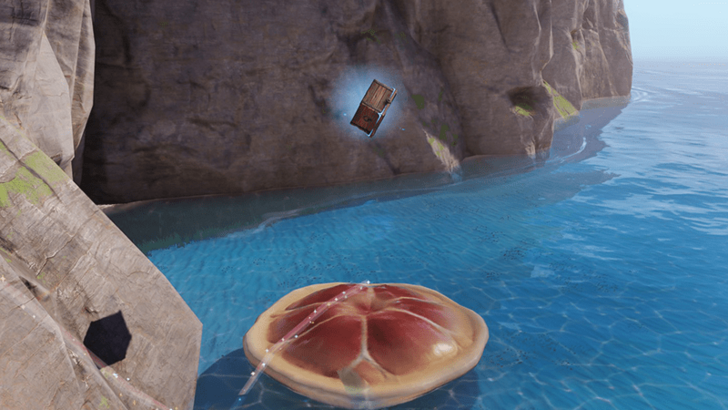 Coordinates: -1683, 0832 How to Get: Chest can be found bouncing on a large mushroom on the water after bouncing on it. Recommend to revisit the area if the chest does not spawn. |
Argent Strait 100% Exploration Guide
All Chests in Nimbus Fields
| Collectibles | Details |
|---|---|
|
Nimbus Fields Chest 1 |
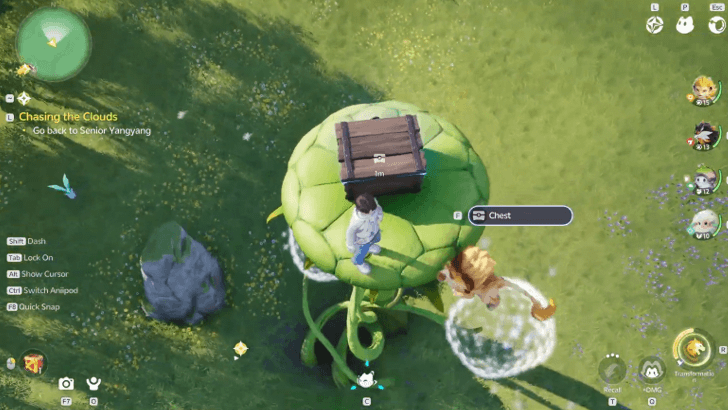 Coordinates: -0978, 0800 How to Get: This chest is located on top fo a dandeloin tree, next to a stone formation with an Aniipod on top. Hold on to the dandelions to reach the reach the chest. |
|
Nimbus Fields Chest 2 |
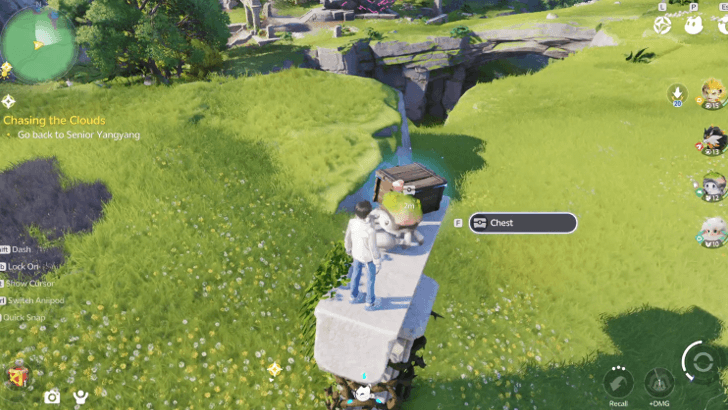 Coordinates: -0949, 0806 How to Get: This chest is located on top of a debris across the dandelion tree. From the peak of the tree, reach the chest by flying down to it. |
|
Nimbus Fields Chest 3 |
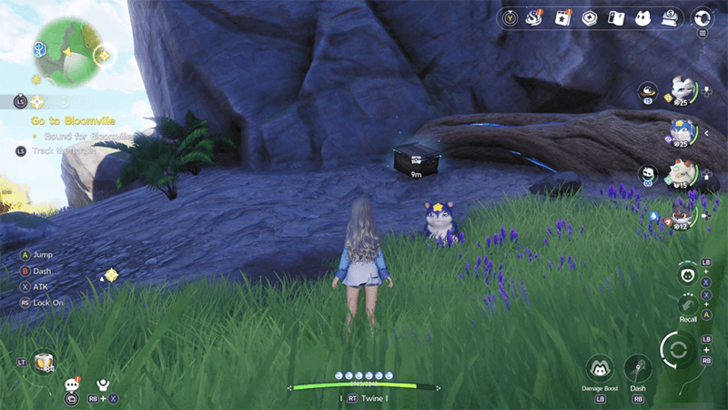 Coordinates: -1187, 0934 How to Get: This chest is found near the wall of a cliff and a large root. |
|
Nimbus Fields Chest 4 |
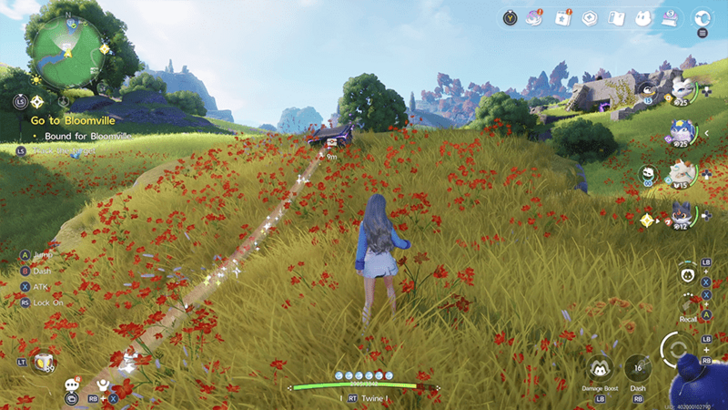 Coordinates: -1348, 0910 How to Get: This chest is found on a hill overlooking the crevice filled with water Aniimo. |
|
Nimbus Fields Chest 5 |
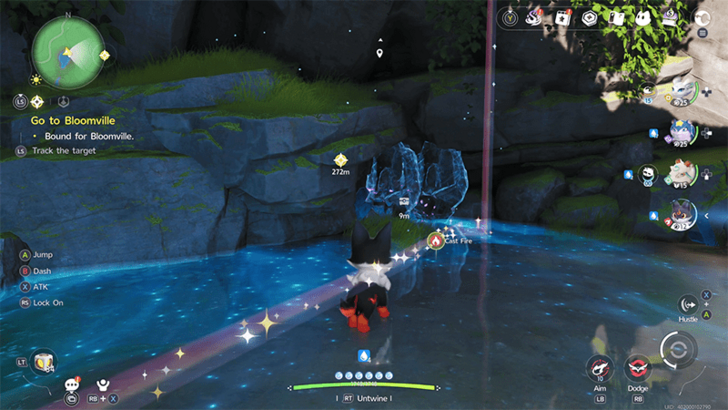 Coordinates: -1325, 0949 How to Get: This chest is behind a wall of ice inside a small cavern. Use a Fire Aniimo to melt the ice to access the chest. |
|
Nimbus Fields Chest 6 |
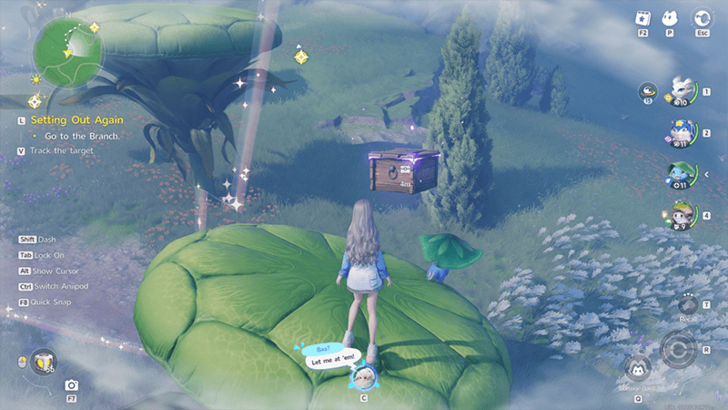 Coordinates: -1309, 0874 How to Get: This chest is floating in the air near an overgrown flower due to a Nimbi illusion. Break the illusion, and you'll find it on the pathway. |
|
Nimbus Fields Chest 7 |
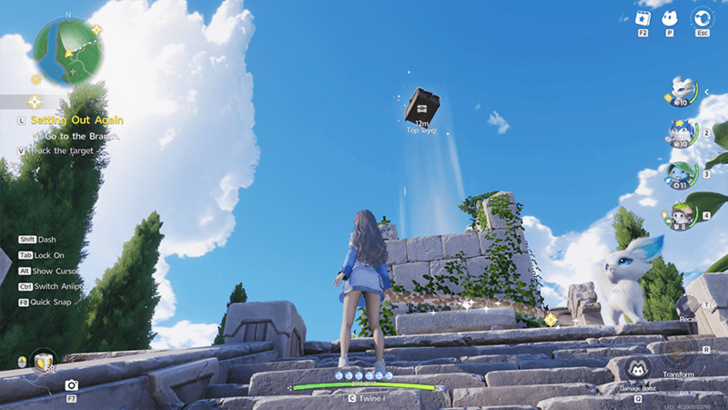 Coordinates: -1365, 0845 How to Get: This chest is floating above a small ruin due to a powerful gust from the fire below it. Twine with a Water Aniimo to extinguish the flame and bring it down, or fly to it with a flying or gliding Aniimo to open it. |
|
Nimbus Fields Chest 8 |
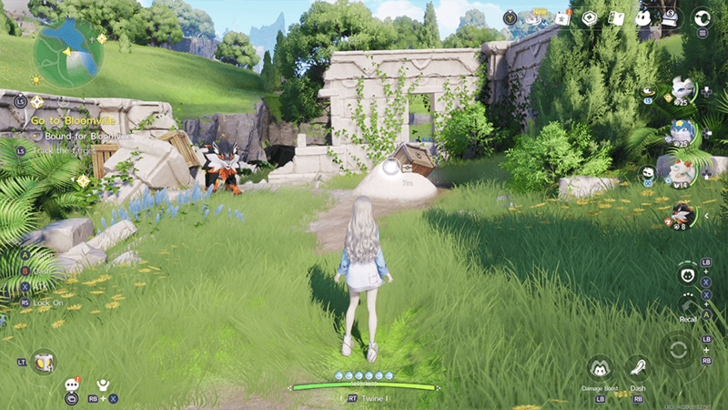 Coordinates: -1392, 0787 How to Get: This chest is partly buried under sand. Twine with a Budclaw to dig it out. |
|
Nimbus Fields Chest 9 |
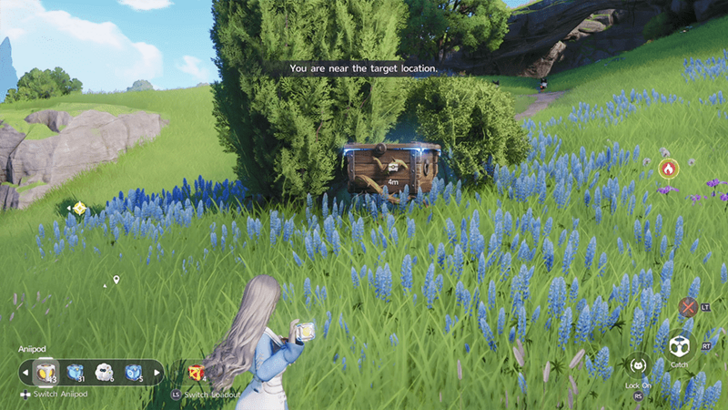 Coordinates: -1455, 0774 How to Get: This chest is covered in brambles that can be removed by using fire from a Fire Aniimo. |
|
Nimbus Fields Chest 10 |
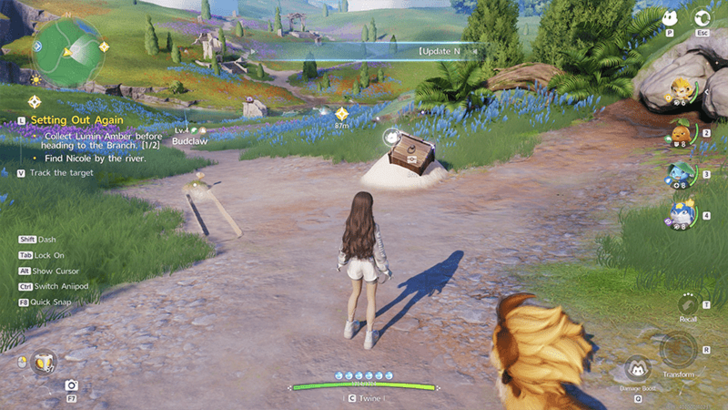 Coordinates: -1469, 0794 How to Get: This chest in the middle of a Budclaw group buried in the ground. Capture and Twine with a Budclaw, use the Tunnel skill, then dig it out of the ground. |
|
Nimbus Fields Chest 11 |
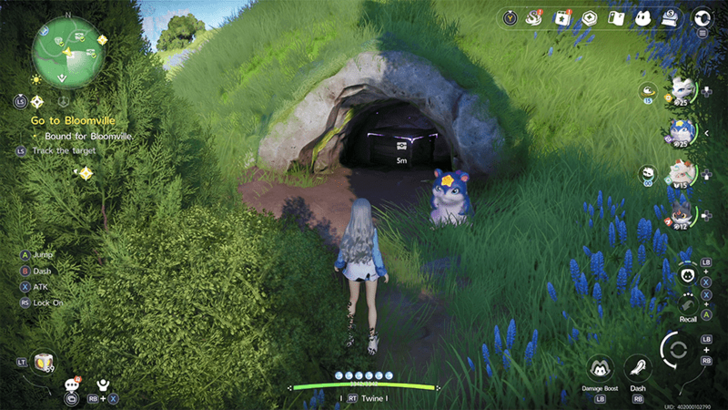 Coordinates: -1484, 0769 How to Get: This chest is a small cavern buried underneath stones. Use an Aniimo to break the stones to dig out the chest. |
|
Nimbus Fields Chest 12 |
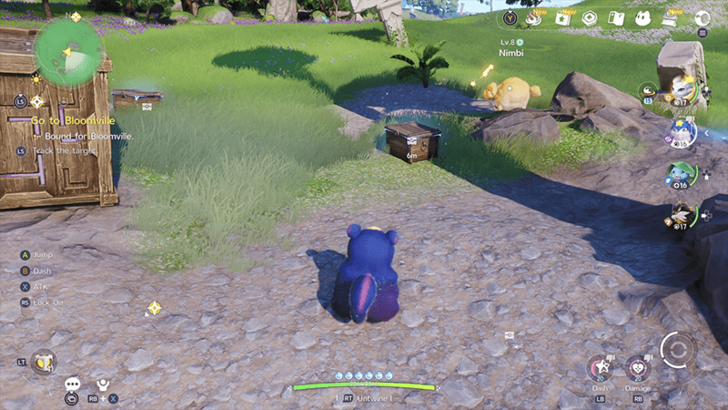 Coordinates: -1095, 0767 How to Get: This chest is found in the open field where a cloud of Nimbi Illusion was. |
|
Nimbus Fields Chest 13 |
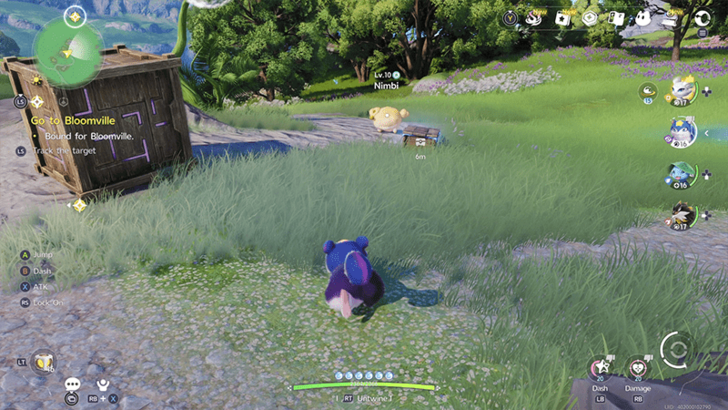 Coordinates: -1088, 0768 How to Get: This chest is found in the open field where a cloud of Nimbi Illusion was. |
|
Nimbus Fields Chest 14 |
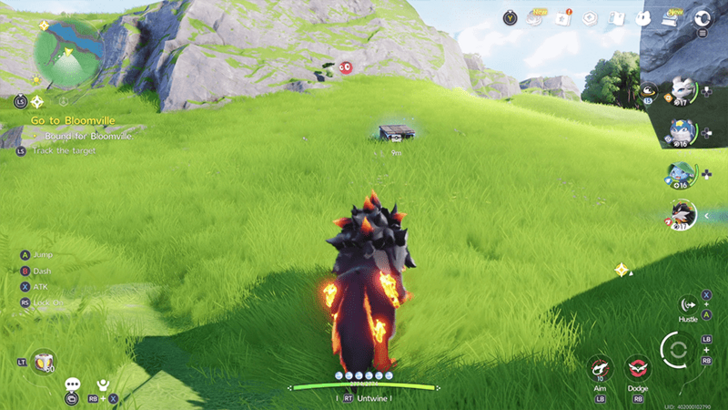 Coordinates: -0998, 0850 How to Get: This chest is found in the open field near the cliff by the Mistwoods. |
|
Nimbus Fields Chest 16 |
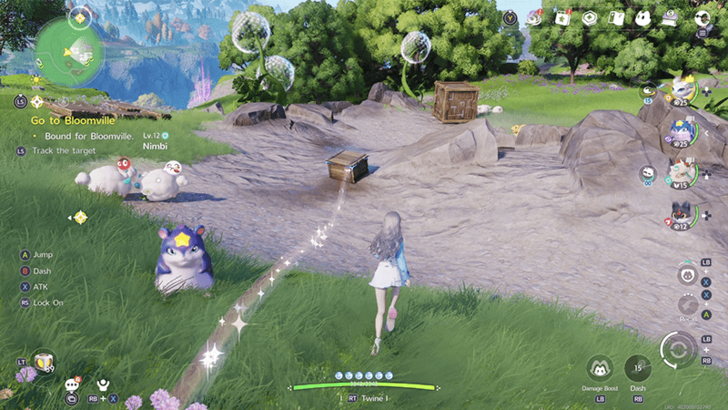 Coordinates: -1107, 0776 How to Get: This chest is placed out in the open on a rocky surface. |
|
Nimbus Fields Chest 17 |
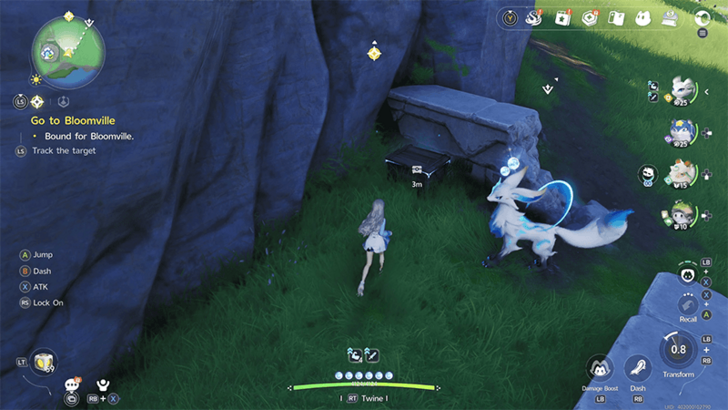 Coordinates: -1067, 0637 How to Get: This chest is buried underneath several stones. Use a strong Aniimo to destroy the boulders to dig out the chest. |
|
Nimbus Fields Chest 18 |
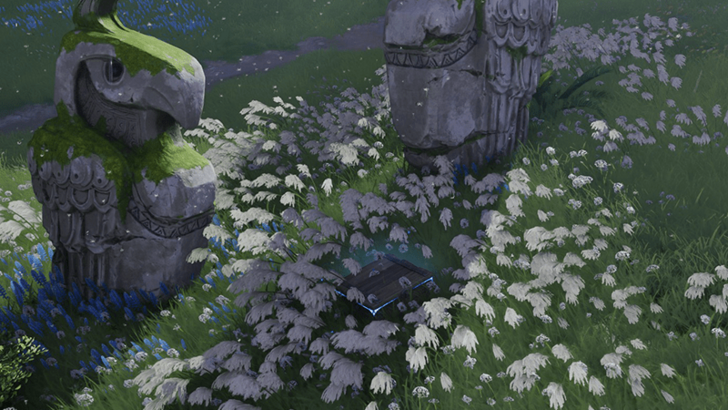 Coordinates: -1518, 0794 How to Get: Placed in between two stone totems near the Freshsprout Hill Branch. |
|
Nimbus Fields Chest 15 |
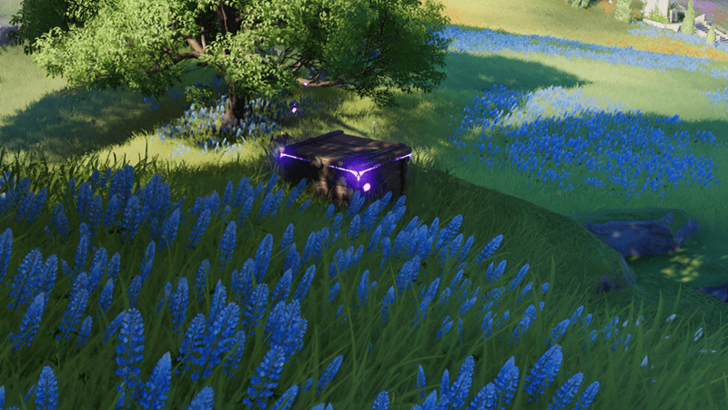 Coordinates: -1476, 0857 How to Get: Placed near the border of the Nimbus Fields and the Forest of Falling Stars. |
|
Nimbus Fields Chest 19 |
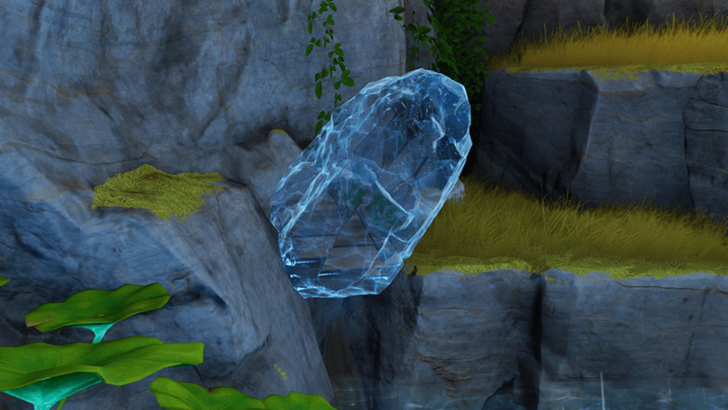 Coordinates: -1367, 0900 How to Get: Encased in ice along the river, melt the ice with any fire Aniimo skill to free the chest. |
|
Nimbus Fields Chest 20 |
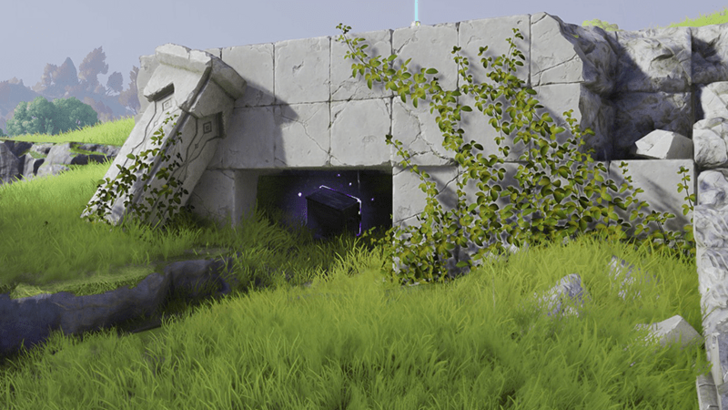 Coordinates: -1327, 0956 How to Get: Placed in a small gap underneath some stone ruins. |
|
Nimbus Fields Chest 21 |
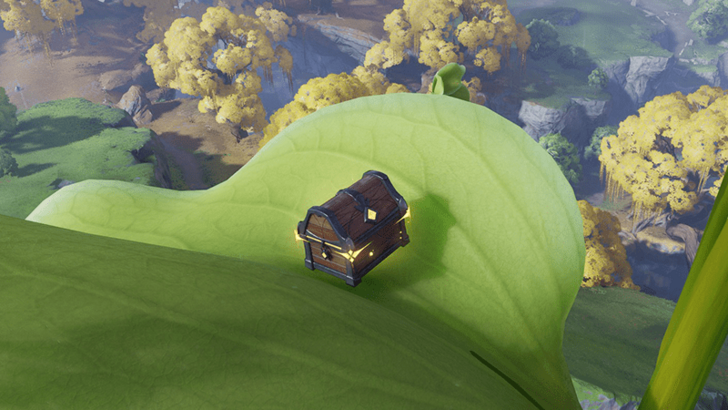 Coordinates: -1233, 0903 How to Get: Found on a leaf high above in the air. |
|
Nimbus Fields Chest 22 |
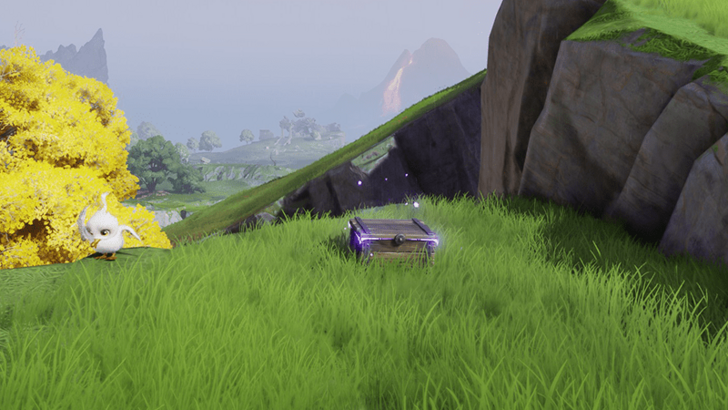 Coordinates: -1187, 0991 How to Get: Placed near the ledge of a small cliff. |
|
Nimbus Fields Chest 23 |
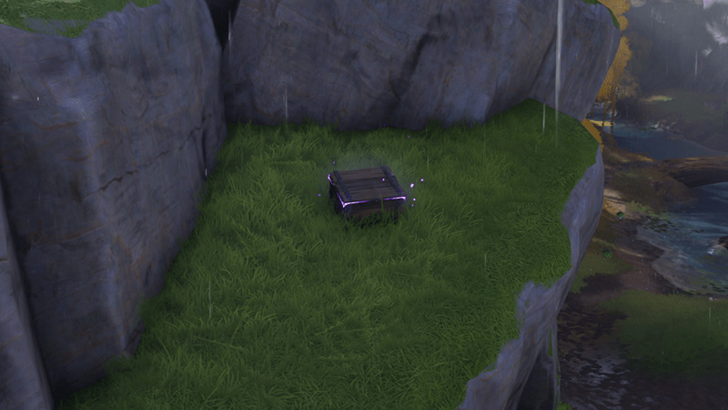 Coordinates: -1152, 0878 How to Get: Placed in a small area above a ledge. |
|
Nimbus Fields Chest 24 |
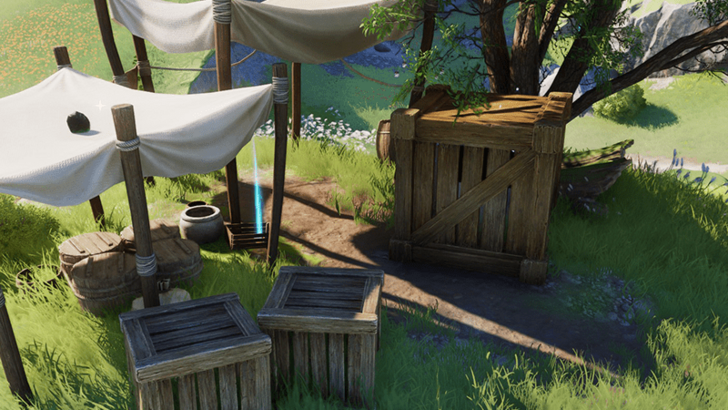 Coordinates: -1207, 0816 How to Get: Found inside a large wooden crate. |
|
Nimbus Fields Chest 25 |
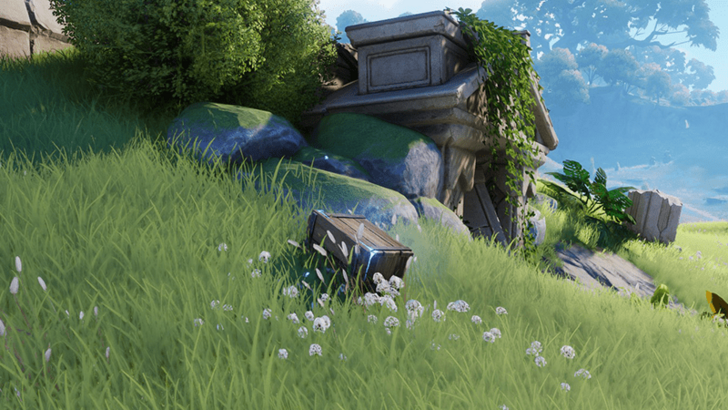 Coordinates: -1242, 0796 How to Get: Placed in the open near some ruins. |
|
Nimbus Fields Chest 26 |
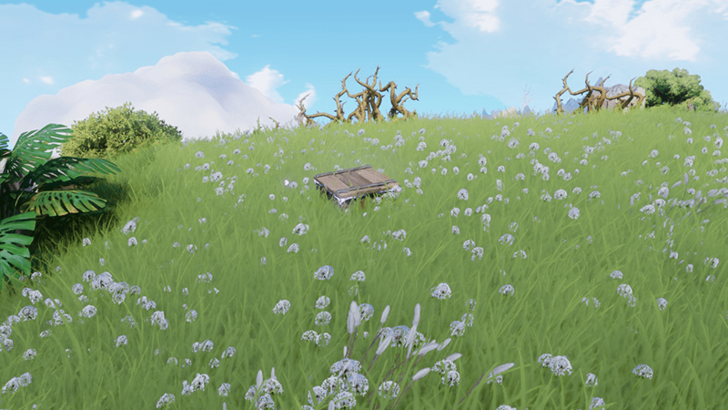 Coordinates: -1255, 0791 How to Get: Easily found in the open. |
|
Nimbus Fields Chest 27 |
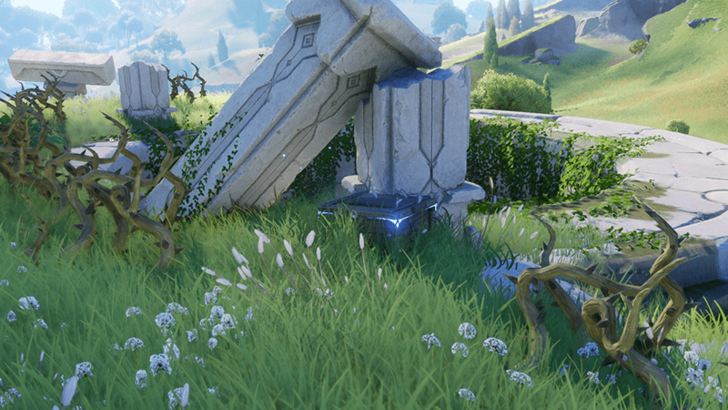 Coordinates: -1236, 0774 How to Get: Placed next to a collapsed pillar. |
|
Nimbus Fields Chest 28 |
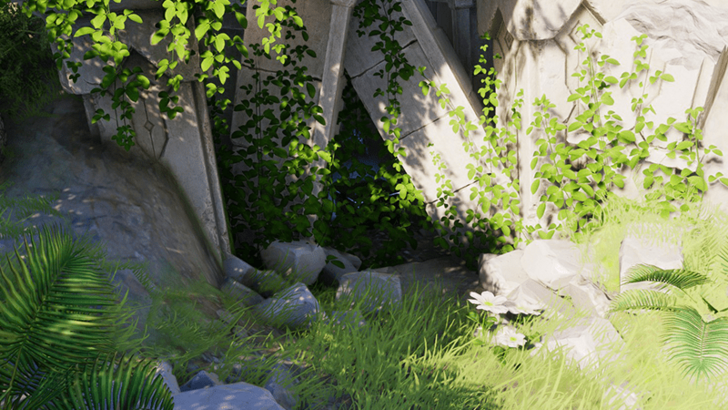 Coordinates: -1263, 0769 How to Get: Placed underneath some ruins covered with some overgrowth. |
|
Nimbus Fields Chest 29 |
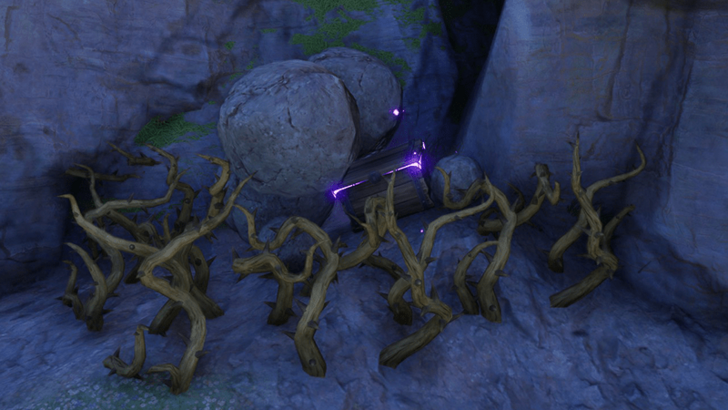 Coordinates: -1244, 0699 How to Get: Placed in a corner covered in rocks and surrounded by flammable brambles. |
|
Nimbus Fields Chest 30 |
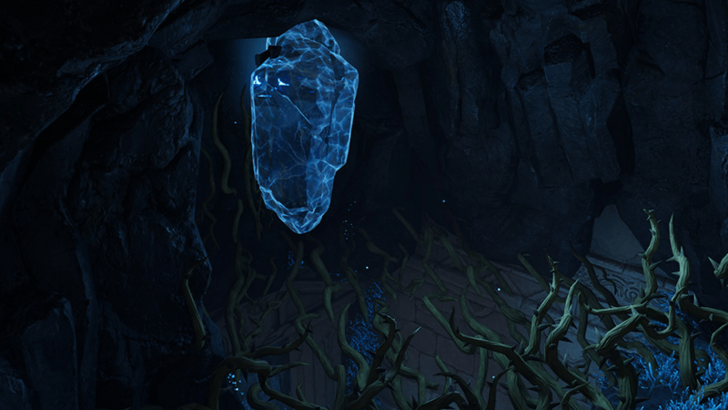 Coordinates: -1217, 0732 How to Get: Underground, encased in ice above flammable brambles. |
|
Nimbus Fields Chest 31 |
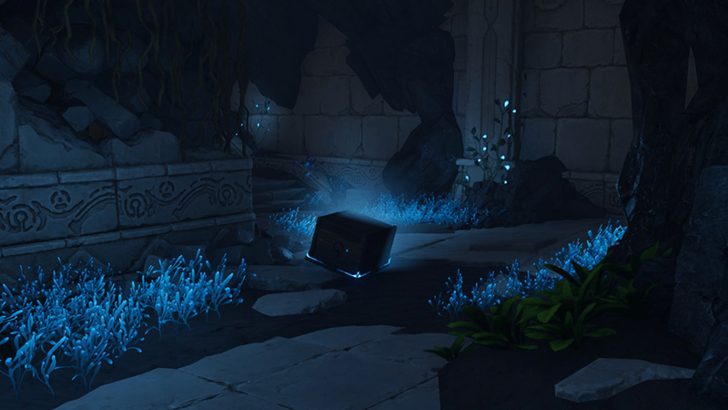 Coordinates: -1199, 0771 How to Get: In the middle of the path of hte underground cave path. |
|
Nimbus Fields Chest 32 |
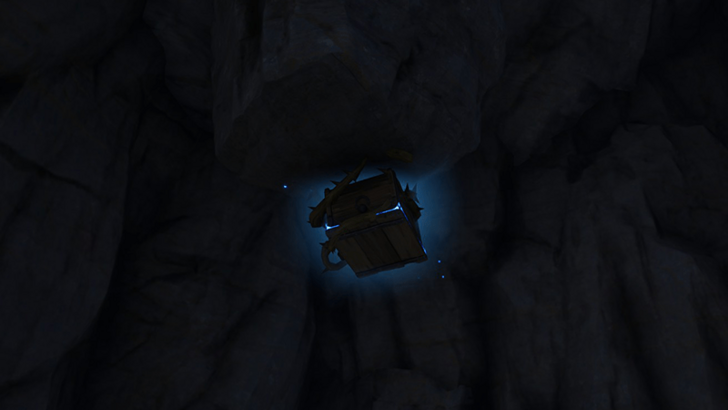 Coordinates: -1134, 0833 How to Get: Underground, suspended on the ceiling by flammable vines. |
|
Nimbus Fields Chest 33 |
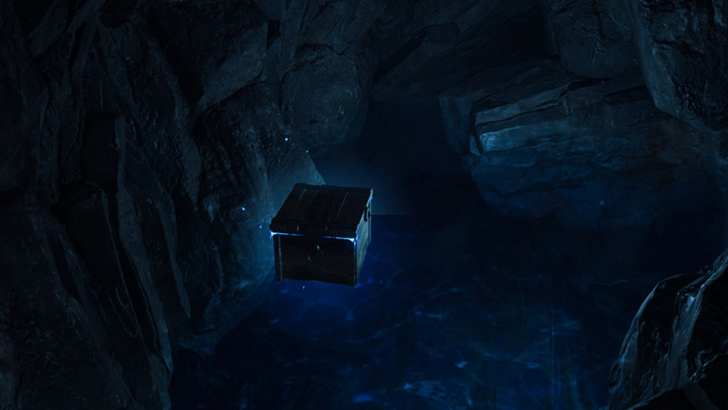 Coordinates: -1093, 0842 How to Get: At the bottom of the hole in the underground area. The chest is found floating in the water. |
|
Nimbus Fields Chest 34 |
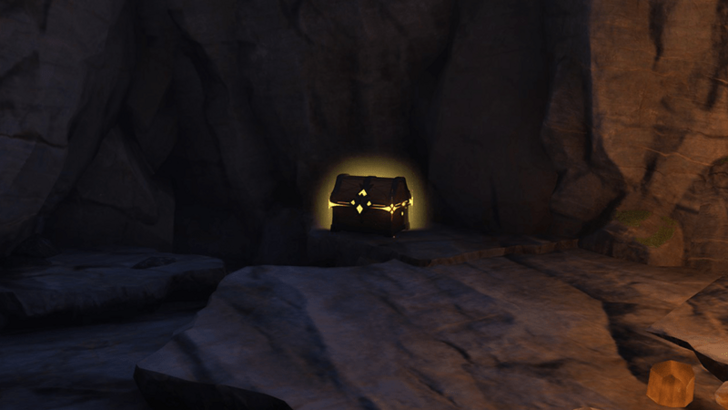 Coordinates: -1065, 0849 How to Get: Found at the end of the underground cave. |
|
Nimbus Fields Chest 35 |
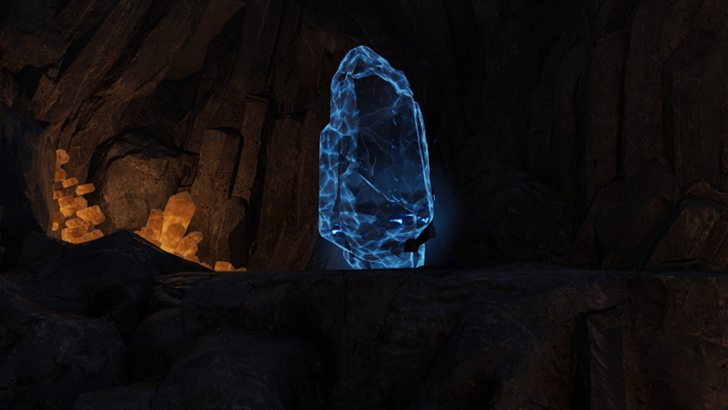 Coordinates: -1077, 0818 How to Get: Found encased in ice inside the underground cave. |
|
Nimbus Fields Chest 36 |
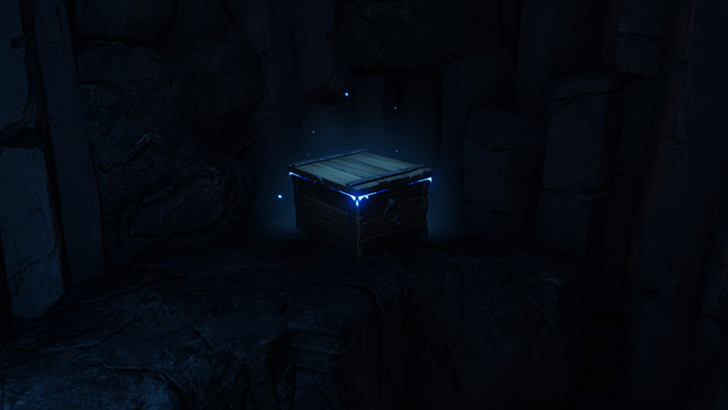 Coordinates: -1038, 0772 How to Get: Found inside a hole in the underground cave. |
|
Nimbus Fields Chest 37 |
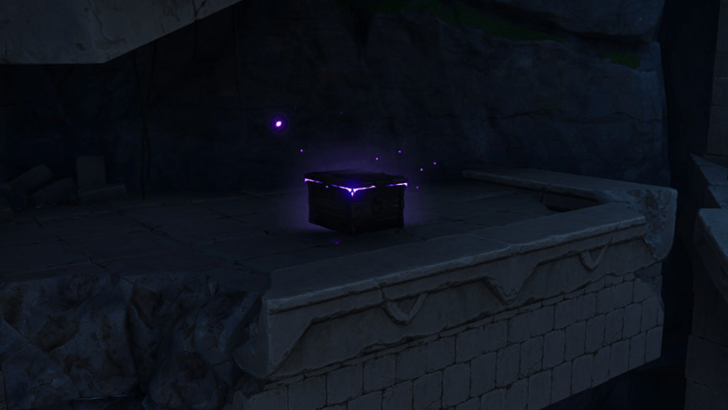 Coordinates: -1116, 0735 How to Get: Inside the underground ruin above the Sub-Idyllian Ruins Branch. |
|
Nimbus Fields Chest 38 |
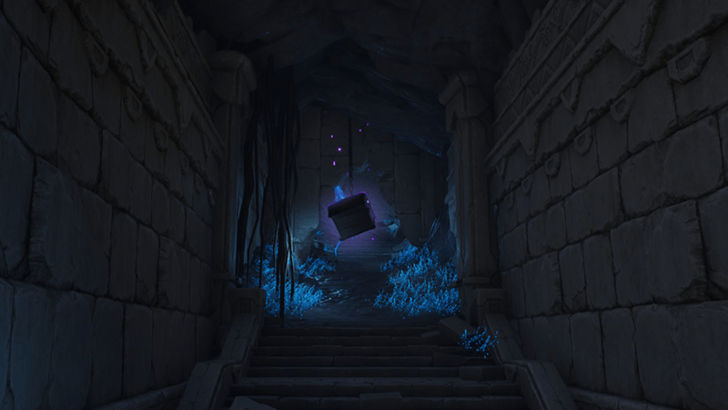 Coordinates: -1093, 0686 How to Get: Dangling on a chain inside a hallway in the underground cave. A powerful gust of wind will inhibit your progress. |
|
Nimbus Fields Chest 39 |
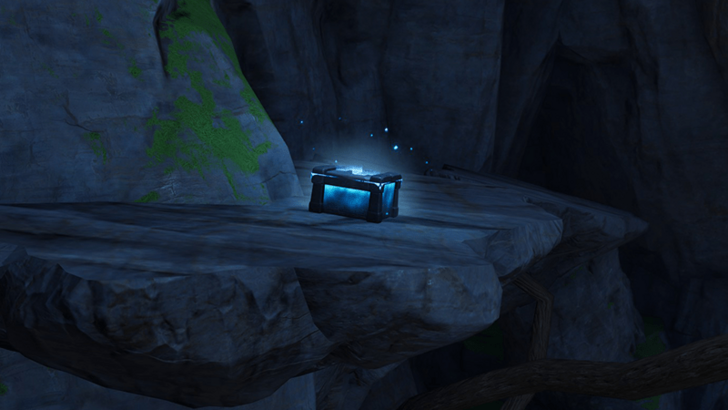 Coordinates: -1116, 0646 How to Get: Inside the cavern at an upper level where the Chasing Clouds Sanctum is located. |
|
Nimbus Fields Chest 40 |
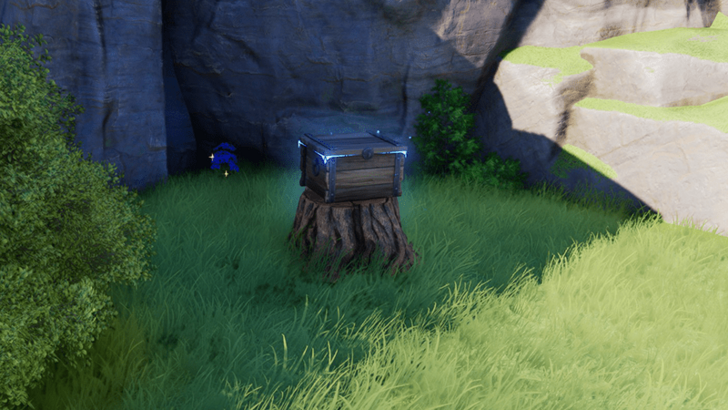 Coordinates: -1156, 0674 How to Get: Placed on a stump near a cliff facing the sea to the south. |
|
Nimbus Fields Chest 41 |
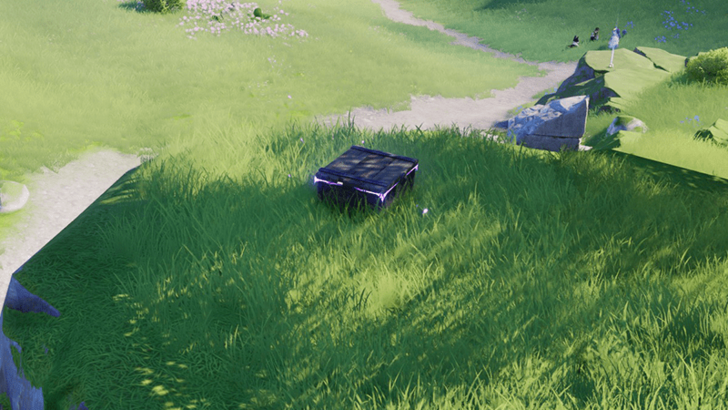 Coordinates: -1002, 0694 How to Get: Placed near a ledge. |
|
Nimbus Fields Chest 42 |
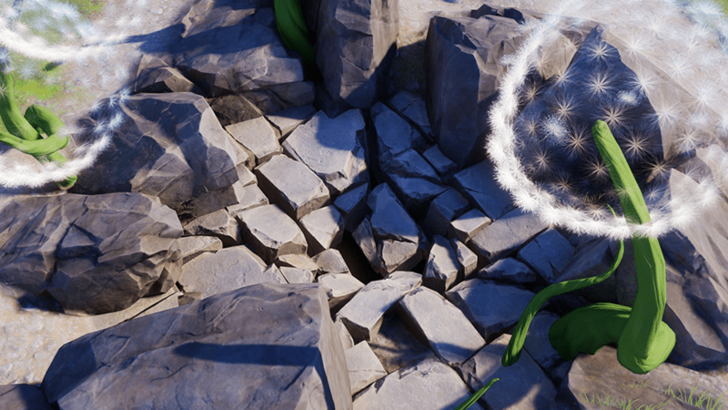 Coordinates: -0986, 0668 How to Get: Placed underneath a breakable stone ground. |
|
Nimbus Fields Chest 43 |
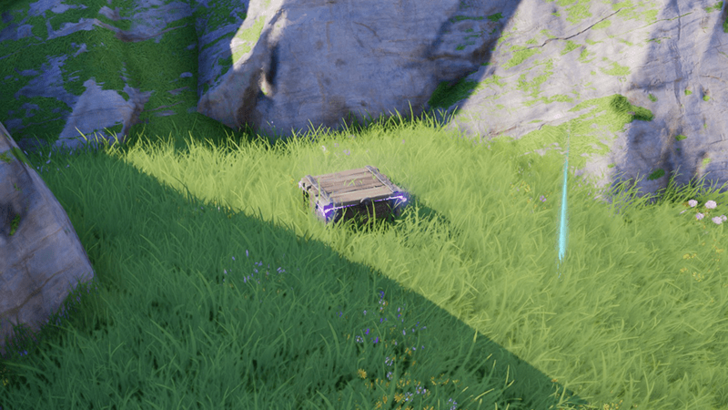 Coordinates: -0947, 0694 How to Get: On the side of the path. |
|
Nimbus Fields Chest 44 |
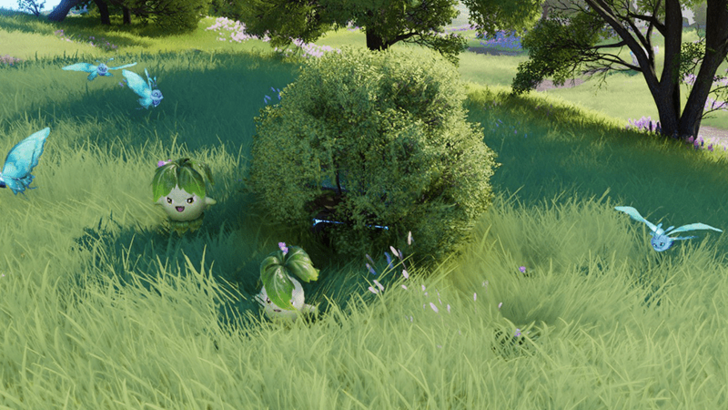 Coordinates: -0947, 0767 How to Get: Underneath a bush surrounded by Aniimo. |
Nimbus Fields 100% Exploration Guide
All Chests in Forest of Falling Stars
| Collectibles | Details |
|---|---|
|
Forest of Falling Stars Chest 1 |
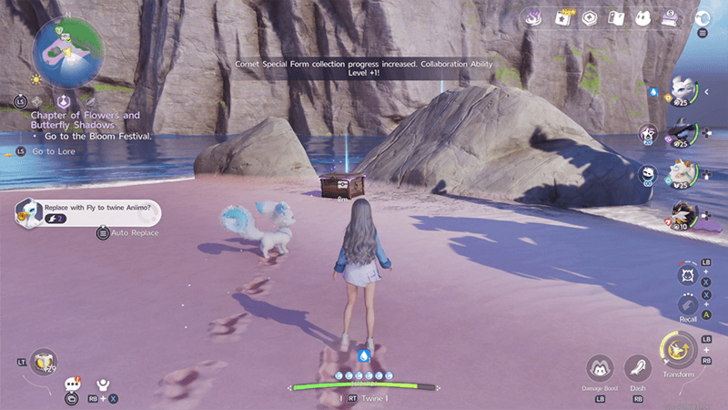 Coordinates: -1794, 0870 How to Get: This chest is found on a small beach by some rocks. |
|
Forest of Falling Stars Chest 2 |
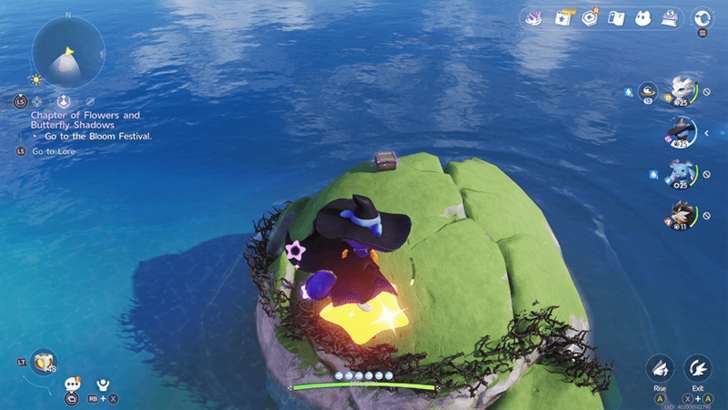 Coordinates: -1919, 1005 How to Get: This chest is found on top of a boulder surrounded by ocean water, with brambles surrounding all sides. Use the nearby bouncy mushroom to fly in the air and glide your way to the chest. |
|
Forest of Falling Stars Chest 3 |
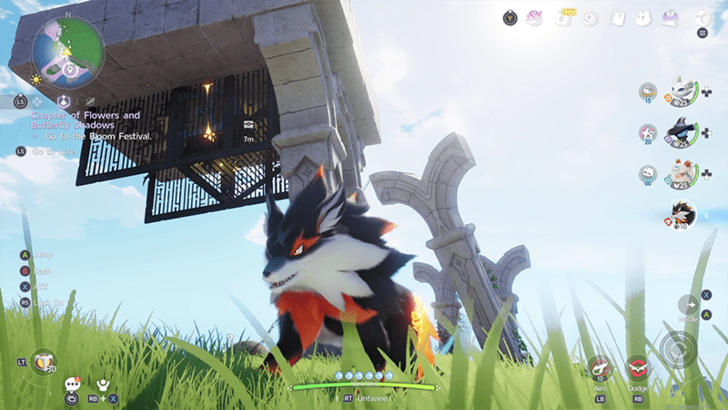 Coordinates: -1802, 0901 How to Get: This chest is covered in brambles on the ceiling of a small ruin with a roof by the cliff. Use a Fire Aniimo to free the chest and have it drop down. |
|
Forest of Falling Stars Chest 4 |
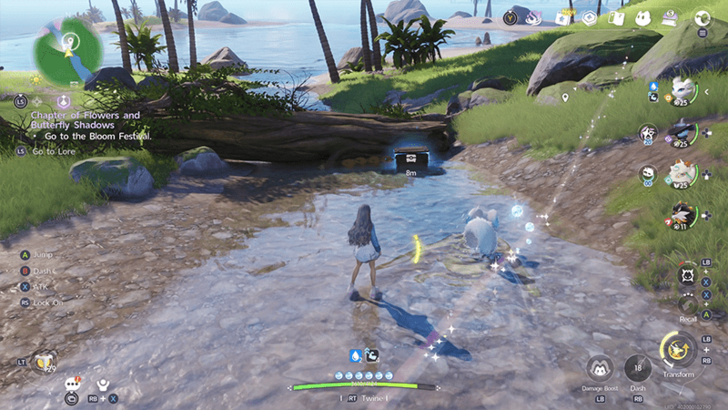 Coordinates: -1751, 1002 How to Get: This chest is on a small water stream, lying next to a fallen log. |
|
Forest of Falling Stars Chest 5 |
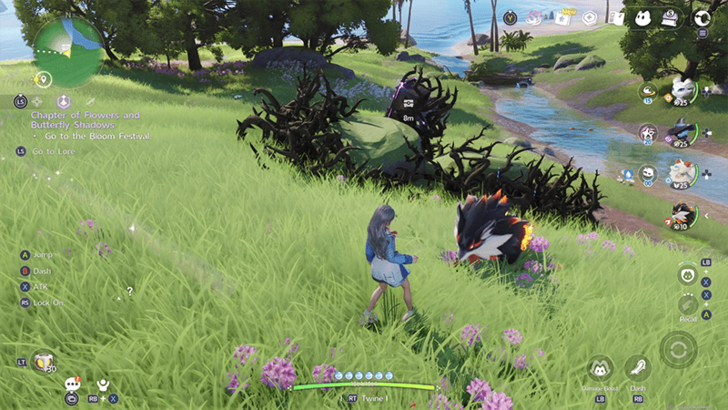 Coordinates: -1740, 0947 How to Get: This chest is covered in brambles. Use a Fire Aniimo to burn away the brambles so you can approach the chest. |
|
Forest of Falling Stars Chest 6 |
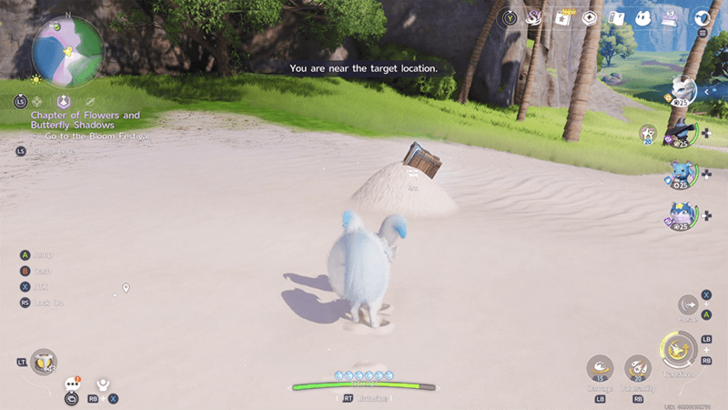 Coordinates: -1748, 1096 How to Get: The chest is partly buried under sand. Use or Twine with an Aniimo with a strong ability to unearth it from the sand. |
|
Forest of Falling Stars Chest 7 |
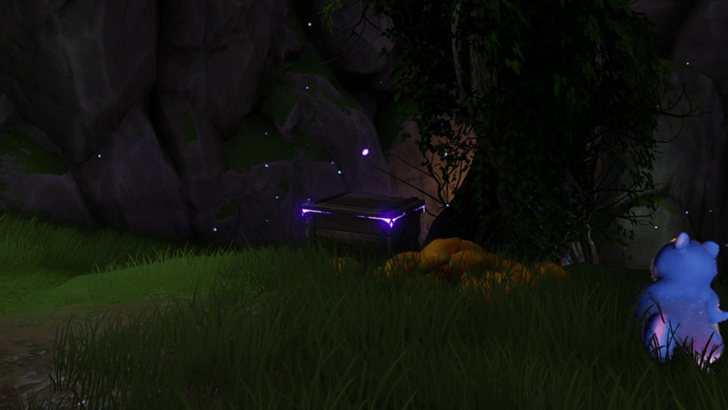 Coordinates: -1449, 0975 How to Get: Inside a side cave within the Celestis Cave. |
|
Forest of Falling Stars Chest 8 |
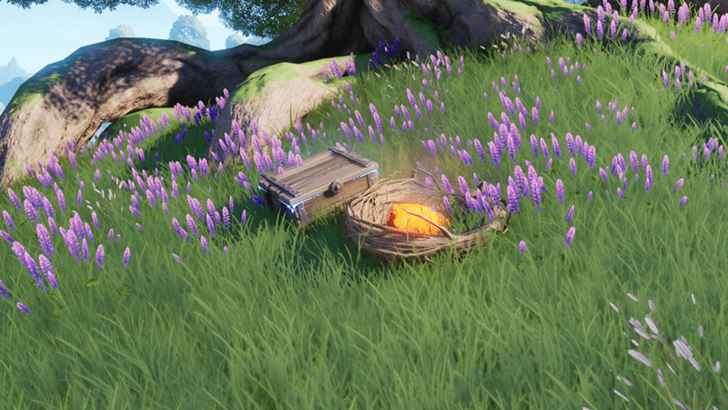 Coordinates: -1452, 0987 How to Get: Place three Starines in the nest and leave. When you return later, a chest will appear next to the nest. |
|
Forest of Falling Stars Chest 9 |
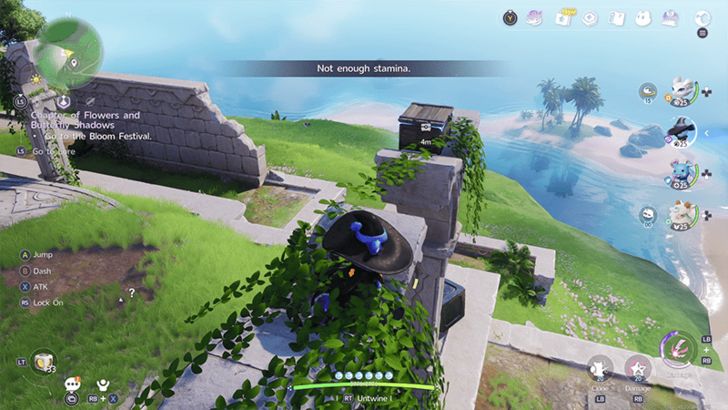 Coordinates: -1693, 1081 How to Get: This chest is placed on top of a stone pillar overlooking the ocean. |
|
Forest of Falling Stars Chest 10 |
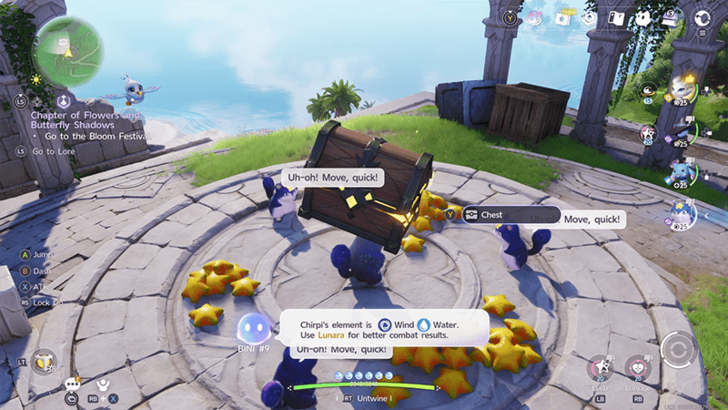 Coordinates: -1685, 1066 How to Get: This chest appears after helping a Celestis gather their two other friends around the area. Stand in the middle of the stone circle as a Celestis, and the chest will spawn above you. |
|
Forest of Falling Stars Chest 11 |
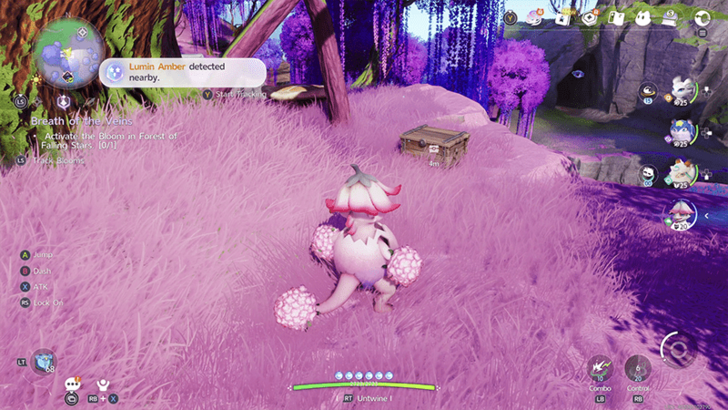 Coordinates: -1618, 1005 How to Get: This chest is buried under a pile of leaves, use or Twine with an Aniimo to remove the leaves and reveal the chest underneath. |
|
Forest of Falling Stars Chest 12 |
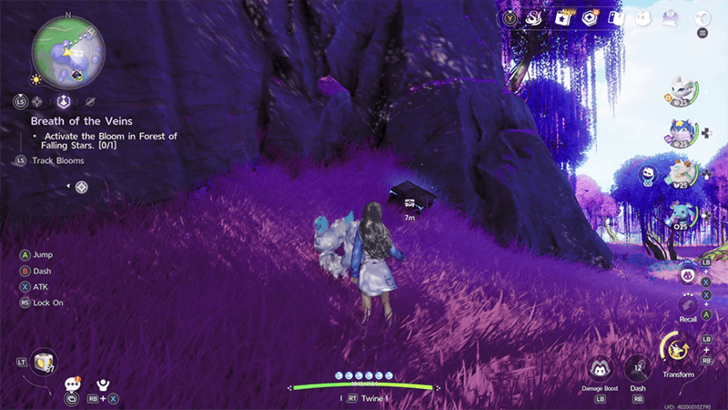 Coordinates: -1616, 1011 How to Get: This chest is situated by a cliff face near the Alpha Stellarys. |
|
Forest of Falling Stars Chest 13 |
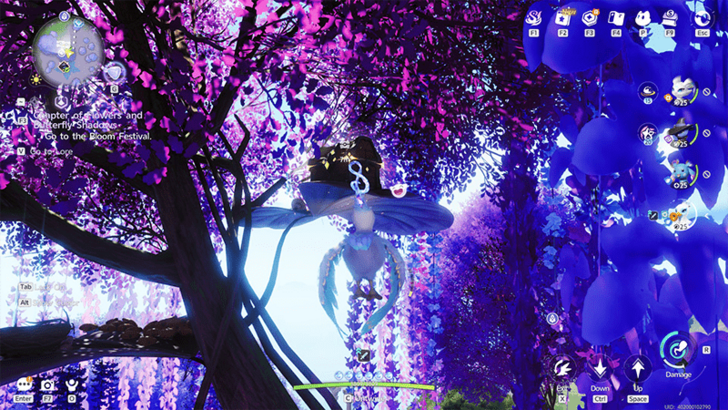 Coordinates: -1625, 1012 How to Get: This chest is on top of a large tree, by one of its branches. Twine with an Aniimo to climb or fly to it. |
|
Forest of Falling Stars Chest 14 |
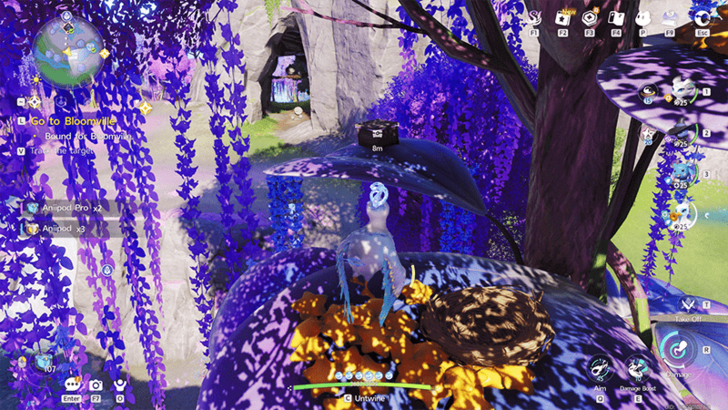 Coordinates: -1613, 0938 How to Get: This chest is up in the tree's branches on top of a purple leaf. Twine with an Aniimo that can climb to reach it. |
|
Forest of Falling Stars Chest 15 |
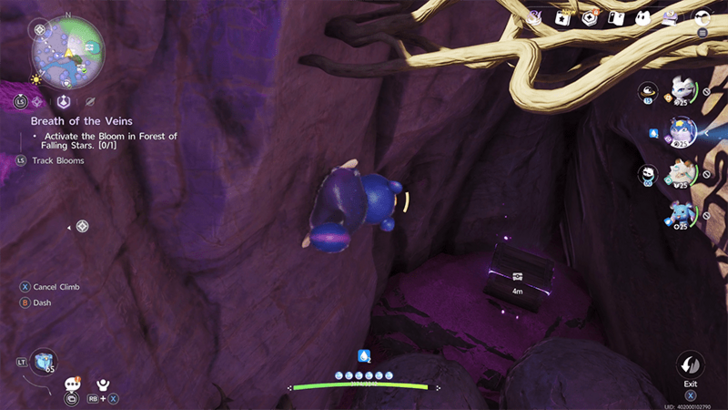 Coordinates: -1512, 0979 How to Get: This chest is surrounded by brambles in a small, deep, dark corner. You can use a Fire Aniimo to burn away the branches or glide in with a flying Aniimo to access the treasure. |
|
Forest of Falling Stars Chest 16 |
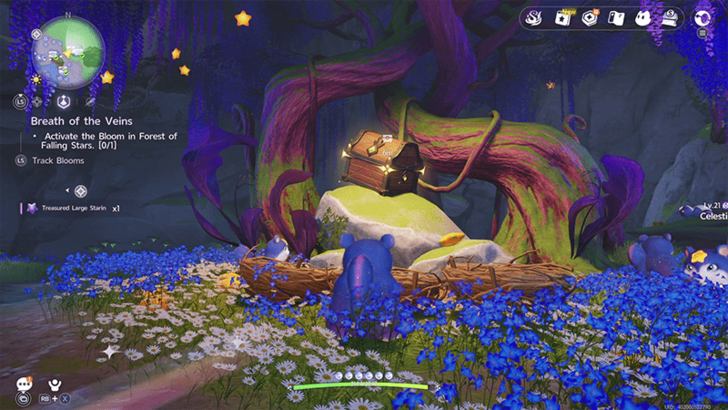 Coordinates: -1485, 0986 How to Get: This chest spawns after offering three large Starines found in the area to trigger an event. |
|
Forest of Falling Stars Chest 18 |
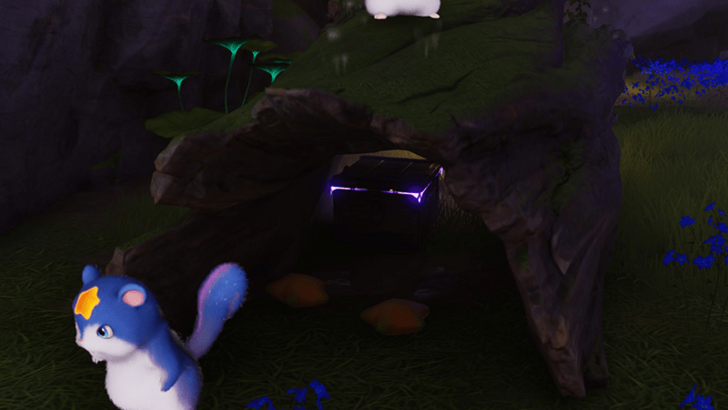 Coordinates: -1474, 0982 How to Get: This chest is inside a hollow log behind a large Starine. |
|
Forest of Falling Stars Chest 19 |
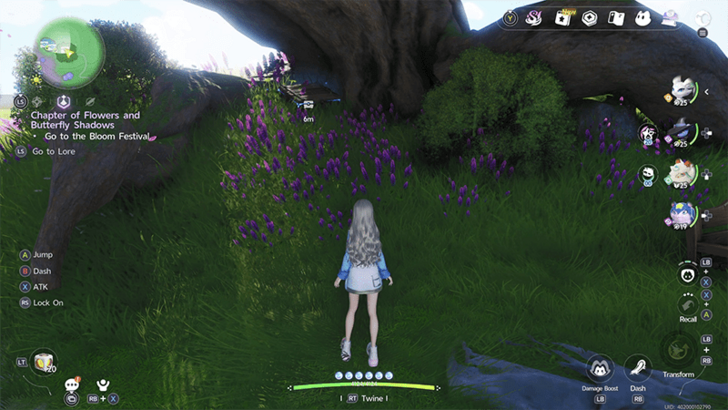 Coordinates: -1455, 0979 How to Get: The chest is by the base of a large tree. |
|
Forest of Falling Stars Chest 20 |
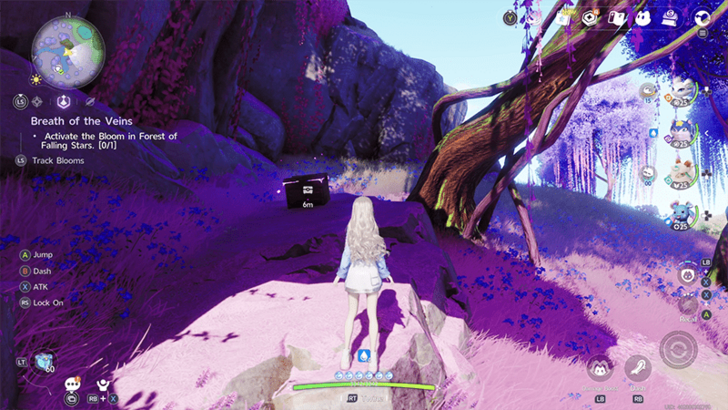 Coordinates: -1497, 0957 How to Get: This chest is out in the open, surrounded by Pomeggs. |
|
Forest of Falling Stars Chest 21 |
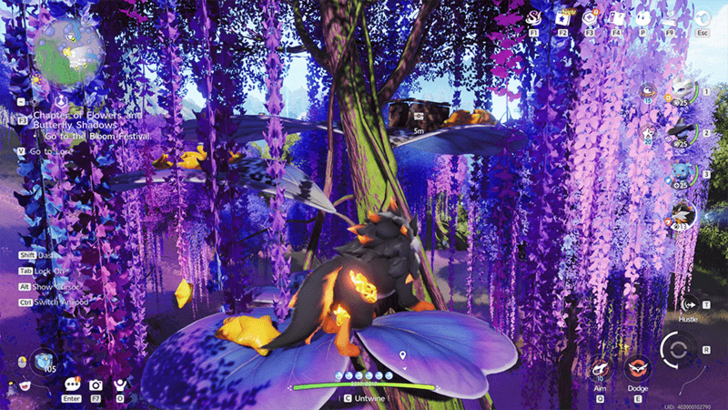 Coordinates: -1518, 0907 How to Get: This chest is up in the tree's branches on top of a purple leaf. Twine with an Aniimo that can climb to reach it. |
|
Forest of Falling Stars Chest 22 |
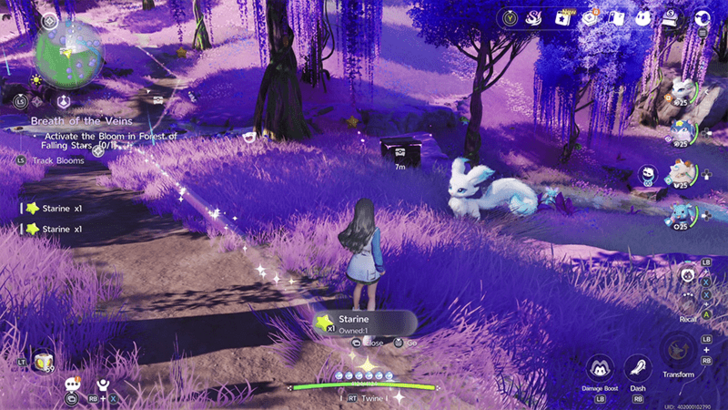 Coordinates: -1502, 0896 How to Get: This chest is out in the open near a small cliff. |
|
Forest of Falling Stars Chest 23 |
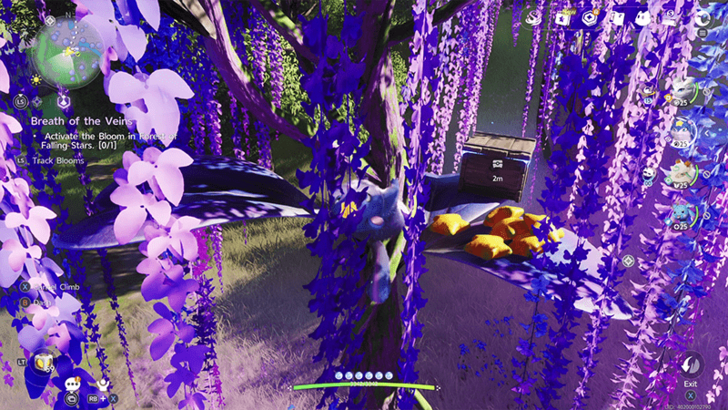 Coordinates: -1514, 0893 How to Get: This chest is up in the tree's branches on top of a purple leaf. Twine with an Aniimo that can climb to reach it. |
|
Forest of Falling Stars Chest 24 |
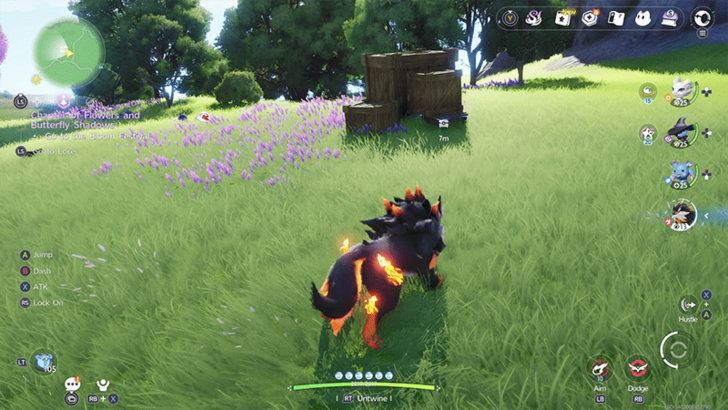 Coordinates: -1493, 1081 How to Get: This chest is placed next to a couple of crates on the open field. |
|
Forest of Falling Stars Chest 25 |
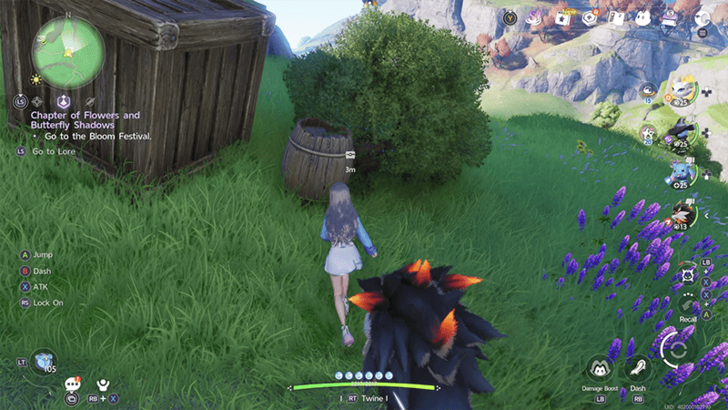 Coordinates: -1472, 1142 How to Get: This chest is in a bush next to a barrel and crate. |
|
Forest of Falling Stars Chest 26 |
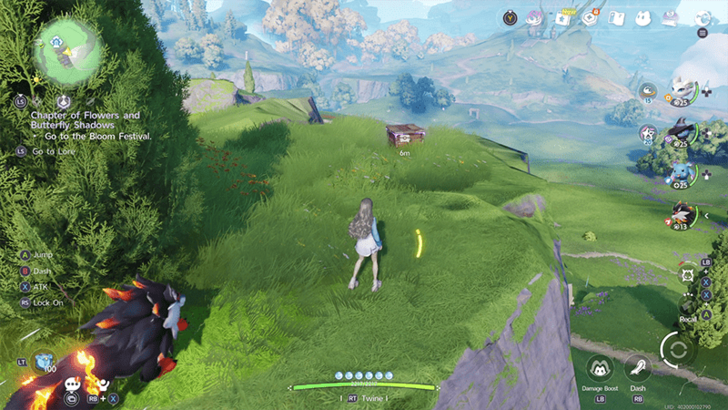 Coordinates: -1513, 1159 How to Get: This chest is placed before a cliff that overlooks the Forest of Falling Stars. |
|
Forest of Falling Stars Chest 27 |
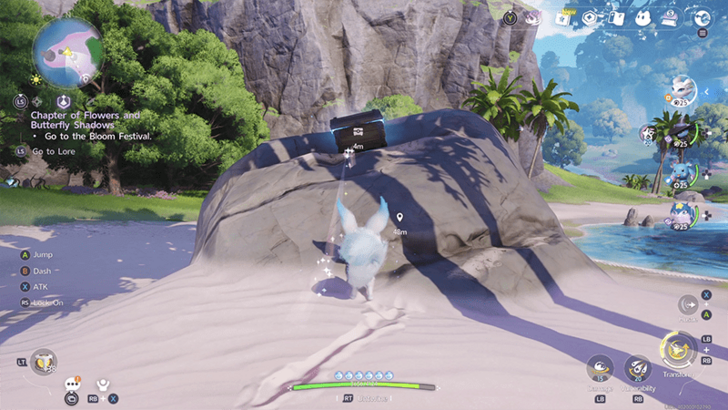 Coordinates: -1771, 1142 How to Get: This chest is on top of a boulder on a beach. |
|
Forest of Falling Stars Chest 28 |
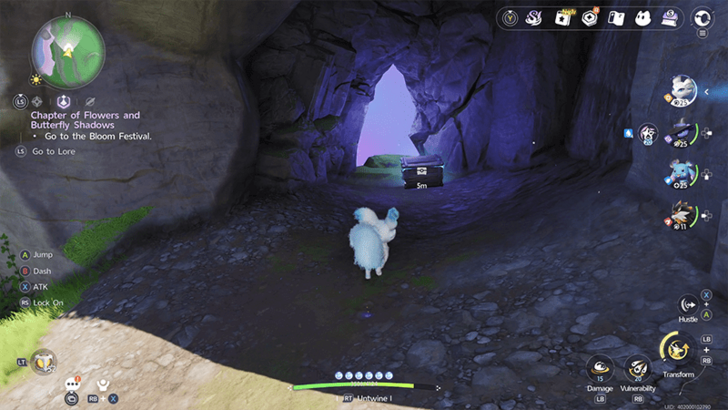 Coordinates: -1702, 1204 How to Get: This chest is underneath a collapsed stone wall. It will be placed before a cave entrance alongside a group of Chirpi. |
|
Forest of Falling Stars Chest 29 |
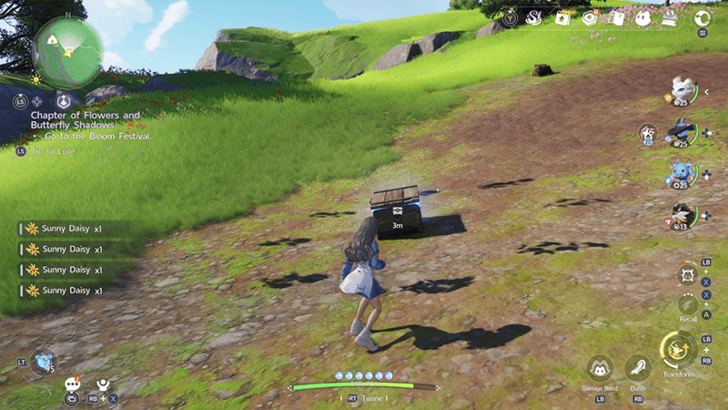 Coordinates: -1679, 1191 How to Get: This chest is hidden in the center of a circle of Sunny Daisy flowers. Pick them all up, and the chest will appear. |
|
Forest of Falling Stars Chest 30 |
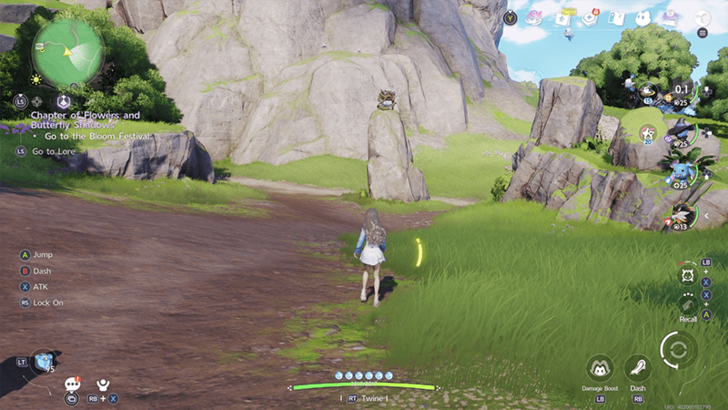 Coordinates: -1610, 1173 How to Get: This chest is placed on top of a pillar-like boulder covered in brambles. Use a Fire Aniimo to burn the brambles away to interact with the chest. |
|
Forest of Falling Stars Chest 31 |
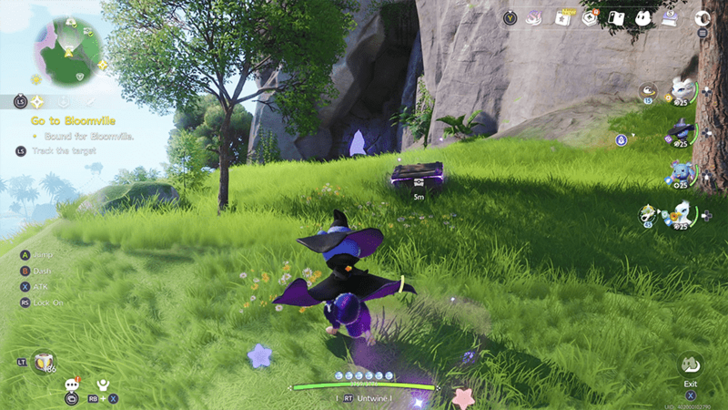 Coordinates: -1705, 1164 How to Get: This chest is place next to a cliff. |
|
Forest of Falling Stars Chest 32 |
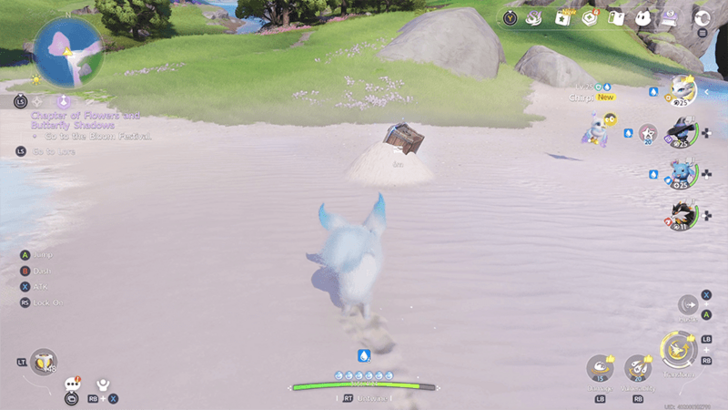 Coordinates: -1833, 1011 How to Get: This chest is partly buried in sand, use an Aniimo with strength to pull it out of the sand. |
|
Forest of Falling Stars Chest 33 |
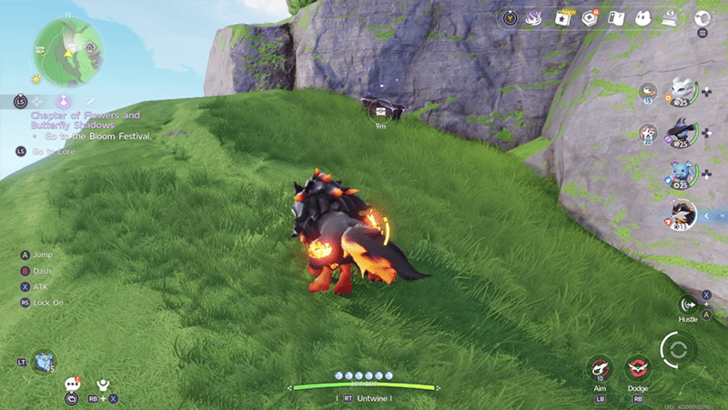 Coordinates: -1564, 1177 How to Get: This chest is placed near the cliffside of the small mountain near the Sanctum. |
|
Forest of Falling Stars Chest 34 |
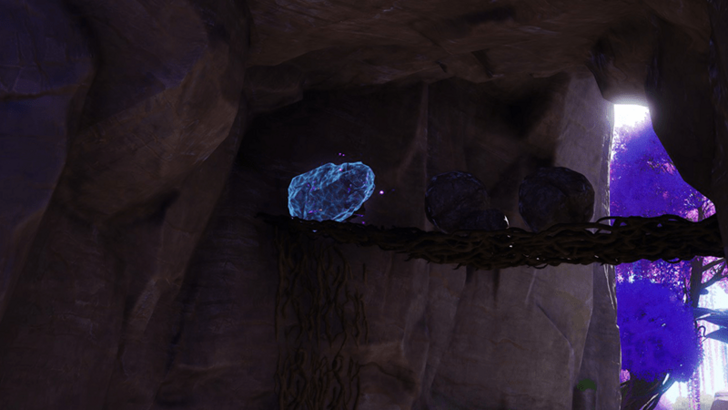 Coordinates: -1560, 0910 How to Get: Encased in ice up above near the ceiling of a small cave. |
Forest of Falling Stars 100% Exploration Guide
All Chests in Echoback Landing
| Collectibles | Details |
|---|---|
|
Echoback Landing Chest 1 |
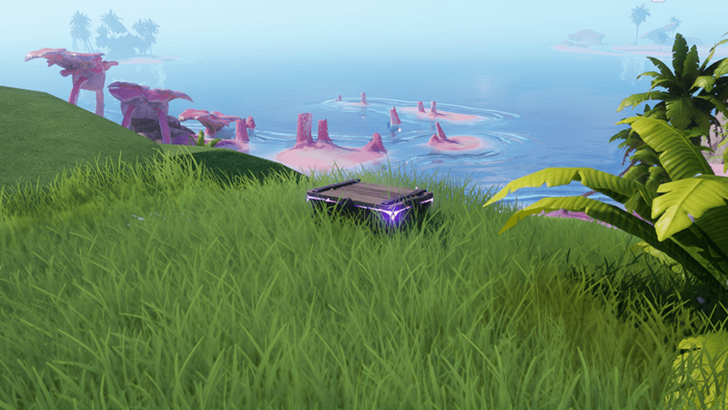 Coordinates: -1480, 1589 How to Get: Placed by the ledge of a cliff overlooking the ocean. |
|
Echoback Landing Chest 2 |
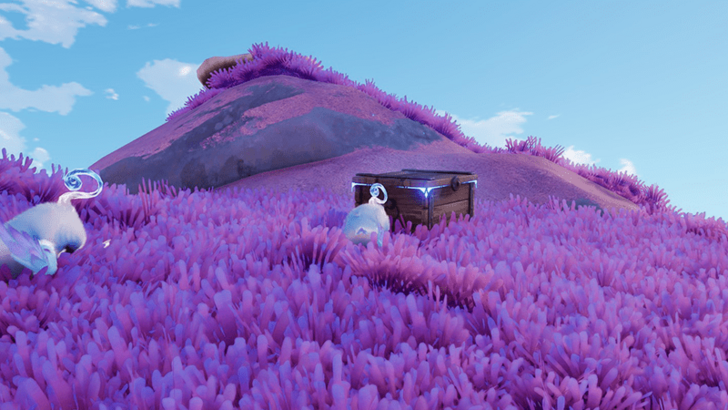 Coordinates: -1586, 1703 How to Get: Placed on top of a large boulder surrounded by Chirpi. |
|
Echoback Landing Chest 3 |
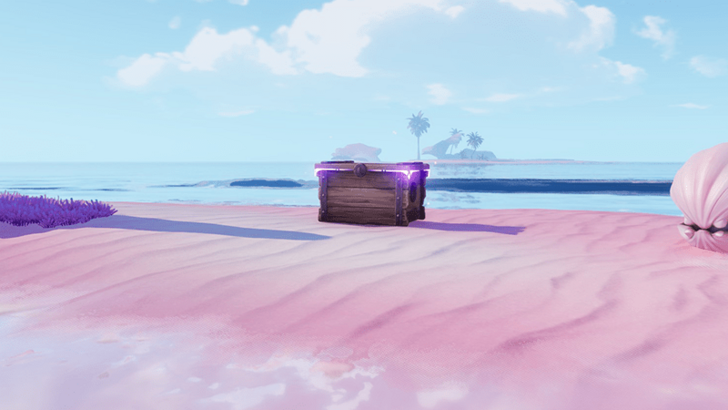 Coordinates: -1477, 1729 How to Get: Placed on a small islet in the middle of the water. |
|
Echoback Landing Chest 4 |
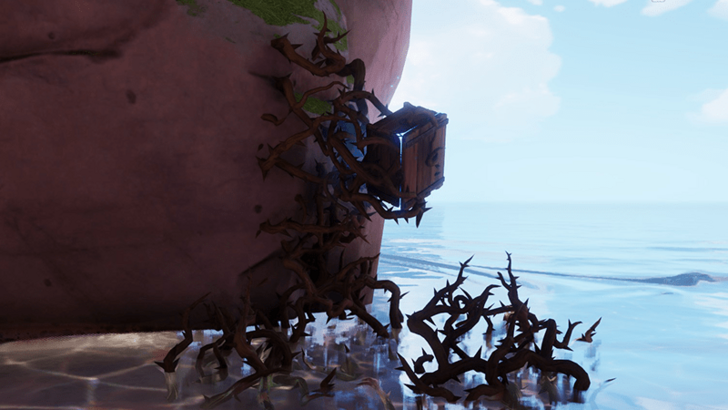 Coordinates: -1401, 1712 How to Get: Located on the side of a large stone, it's held up by spiky brambles above the water. Use an Aniimo to burn off the brambles and have the chest fall into the water. |
|
Echoback Landing Chest 5 |
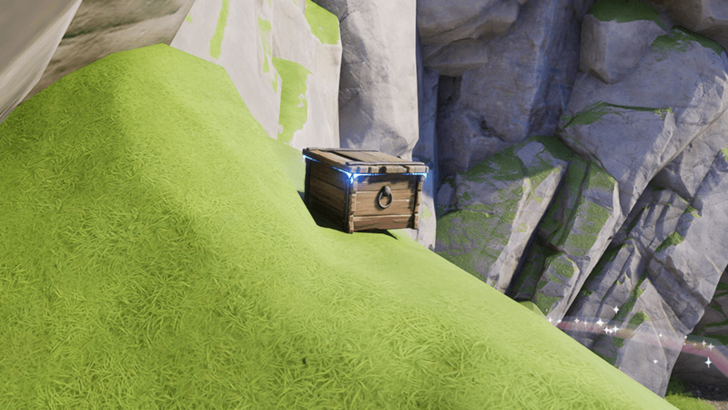 Coordinates: -1204, 1720 How to Get: Placed along the top of a rock near a rocky wall. |
|
Echoback Landing Chest 6 |
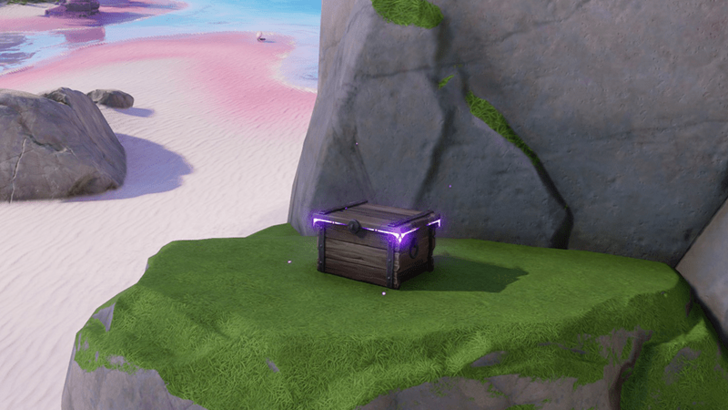 Coordinates: -1176, 1765 How to Get: Placed on top of a rock. |
|
Echoback Landing Chest 7 |
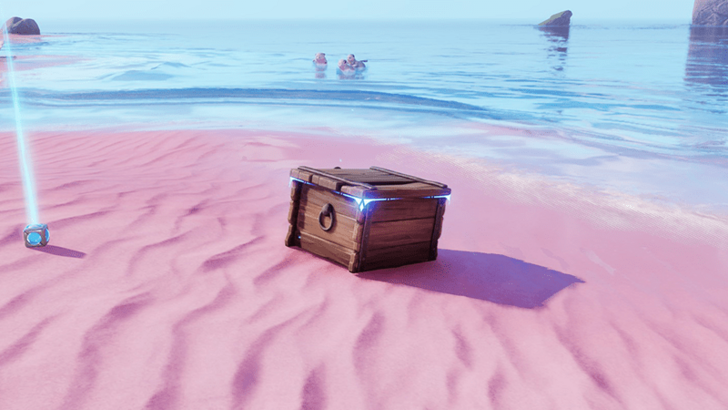 Coordinates: -1157, 1792 How to Get: Found along the shores at the sandy beach. |
|
Echoback Landing Chest 8 |
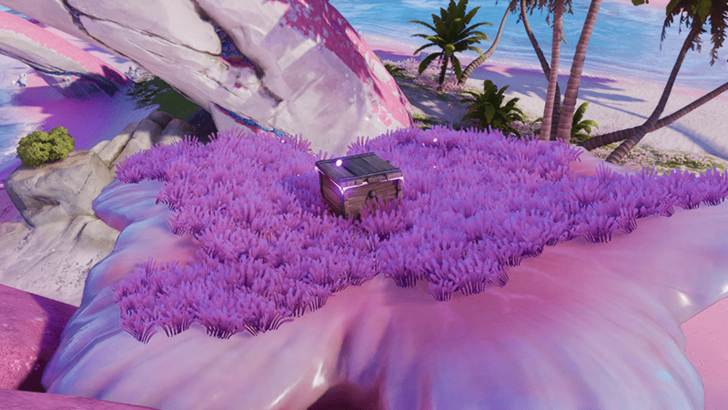 Coordinates: -1648, 1631 How to Get: Found on top of a coral-like rock formation. |
|
Echoback Landing Chest 9 |
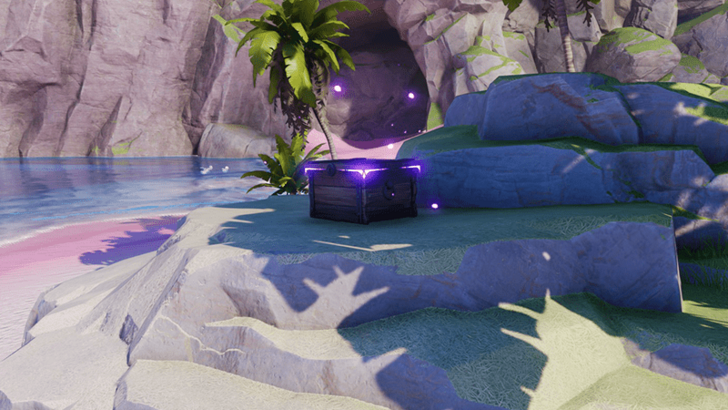 Coordinates: -1195, 1863 How to Get: Placed on top of some rocks in a small islet. |
|
Echoback Landing Chest 10 |
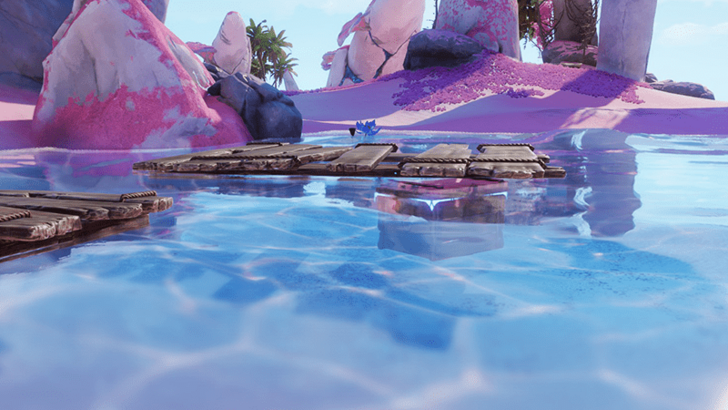 Coordinates: -1536, 1658 How to Get: Found underneath planks of wood by the water. |
|
Echoback Landing Chest 11 |
Coordinates: -1624, 1644 How to Get: Attached to the roof of a rock formation by brambles near the water. Use fire from an Aniimo to burn the brambles away to free the chest. |
|
Echoback Landing Chest 12 |
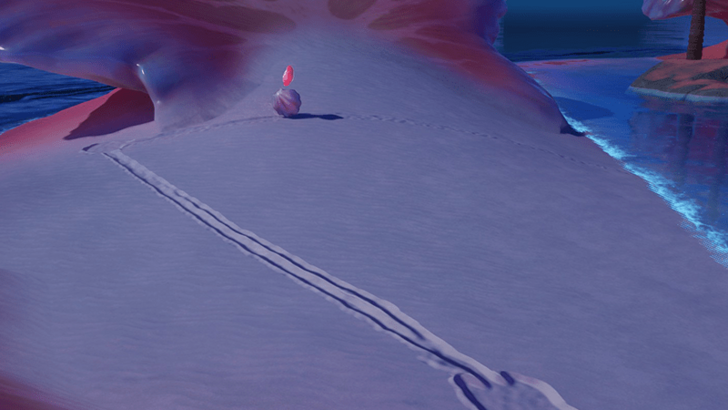 Coordinates: -1397, 1997 How to Get: Twine with a Shelly and help the NPC Shelly finish the triangle drawing in the sand to spawn a chest in the center. You can only encounter this at night. |
|
Echoback Landing Chest 13 |
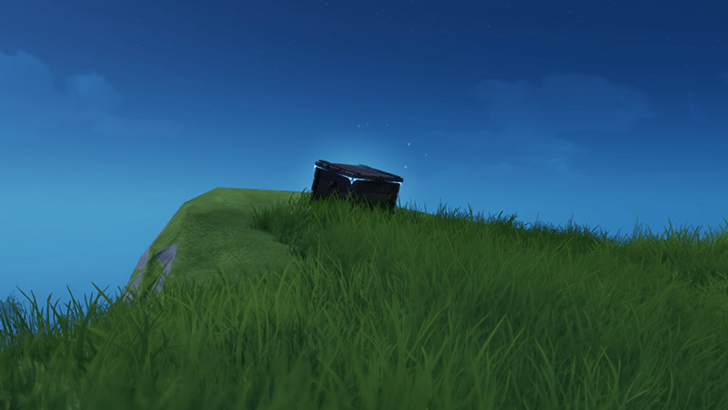 Coordinates: -1171, 1776 How to Get: Found in the open atop a cliff. |
|
Echoback Landing Chest 14 |
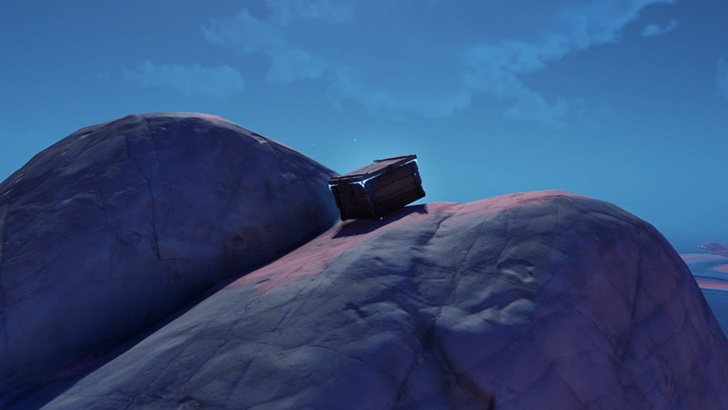 Coordinates: -1302, 1787 How to Get: Place atop of large boulders by the waters of the Echoback Landing. |
|
Echoback Landing Chest 15 |
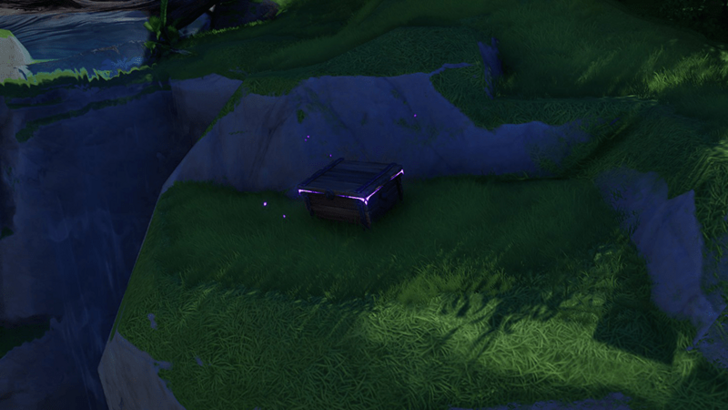 Coordinates: -1274, 1683 How to Get: Placed on a ledge near a waterfall. |
|
Echoback Landing Chest 16 |
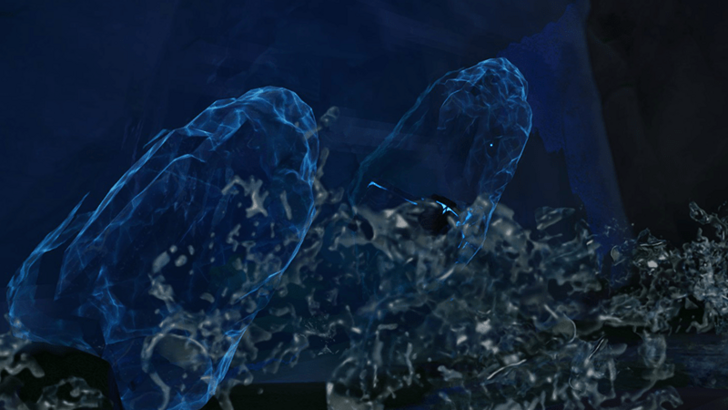 Coordinates: -1272, 1672 How to Get: Encased in ice at the bottom of the waterwall next to a cave entrance. |
|
Echoback Landing Chest 17 |
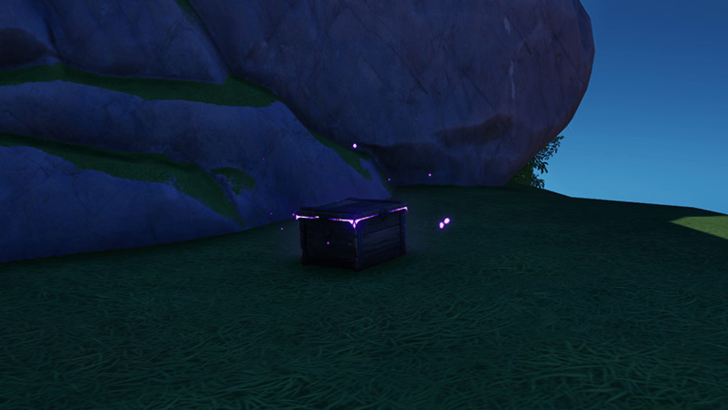 Coordinates: -1325, 1704 How to Get: Placed atop of a cliffside facing the ocean. |
|
Echoback Landing Chest 18 |
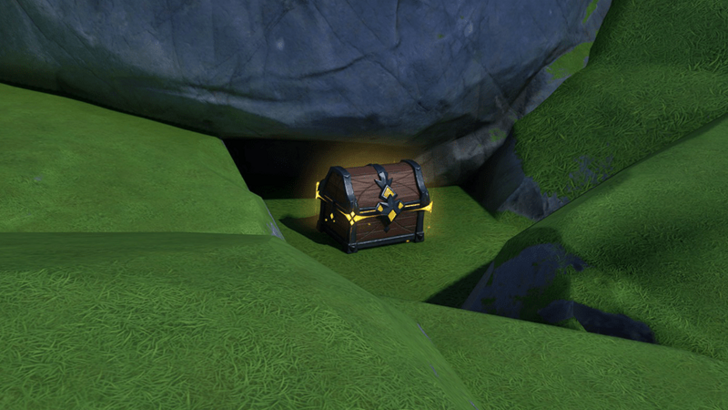 Coordinates: -1364, 1716 How to Get: Surrounded by larger stones, placed inside a small opening. |
|
Echoback Landing Chest 19 |
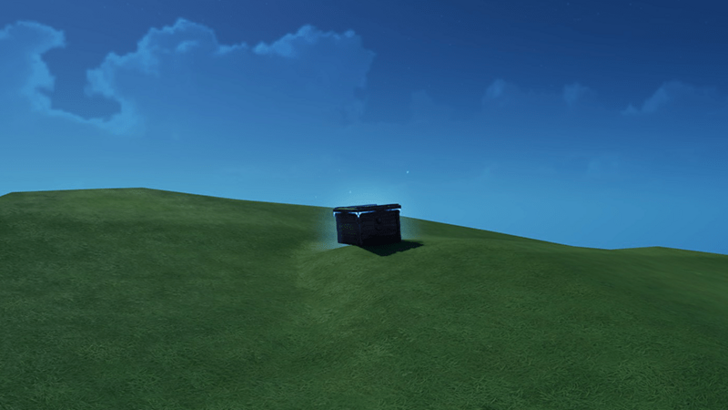 Coordinates: -1437, 1699 How to Get: Placed in the open by a cliff facing the ocean. |
|
Echoback Landing Chest 20 |
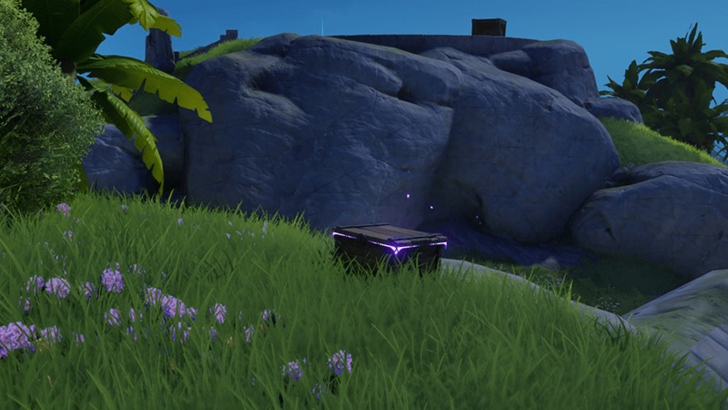 Coordinates: -1564, 1519 How to Get: Placed in the open near a bush. |
|
Echoback Landing Chest 21 |
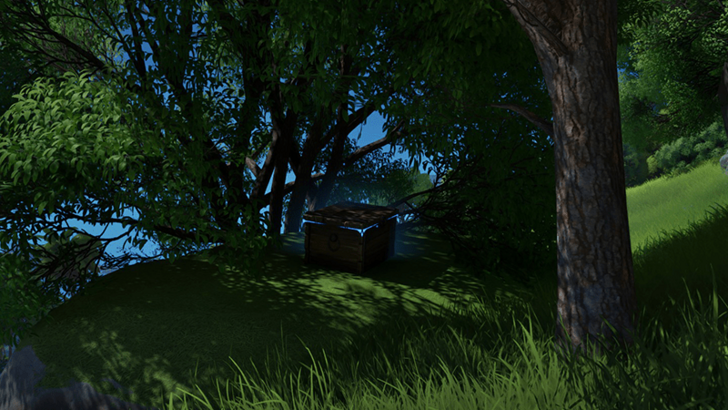 Coordinates: -1503, 1491 How to Get: Placed atop a stony surface underneath branches and the shade of a tree. |
|
Echoback Landing Chest 22 |
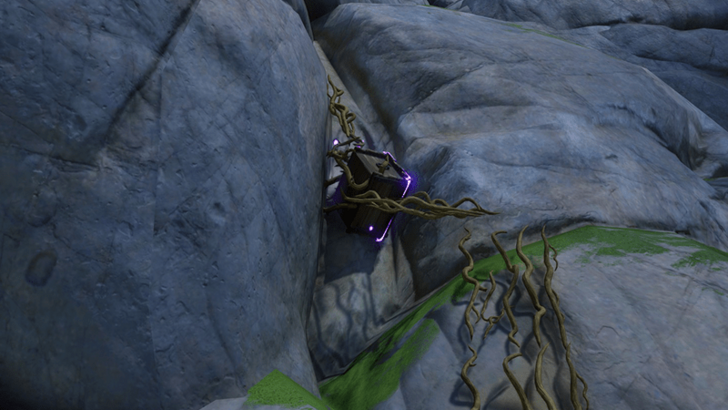 Coordinates: -1501, 1454 How to Get: Found hanging on vines by the wall of a large cliff. Use fire skills from an Aniimo to drop it to the ground or twine with an Aniimo to fly towards it. |
|
Echoback Landing Chest 23 |
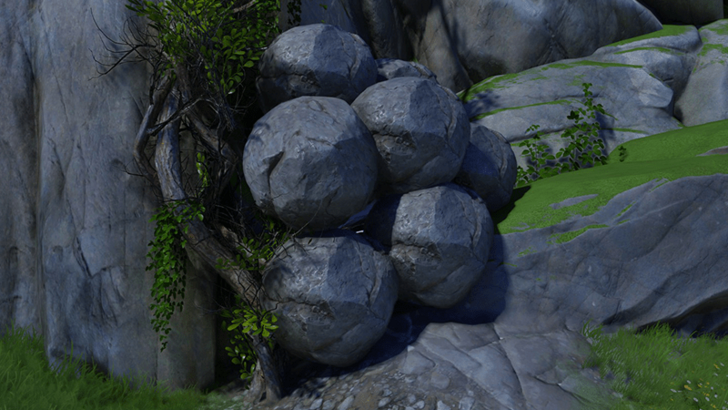 Coordinates: -1519, 1410 How to Get: Buried underneath large stones, use an Aniimo's skill to push away the stones to free the chest. |
|
Echoback Landing Chest 24 |
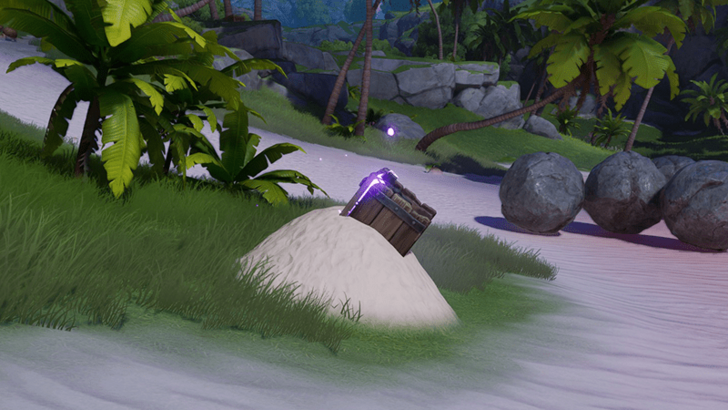 Coordinates: -1589, 1420 How to Get: The chest is partially buried under sand. Use an an Aniimo like a Budclaw to dig it out and open it. |
|
Echoback Landing Chest 25 |
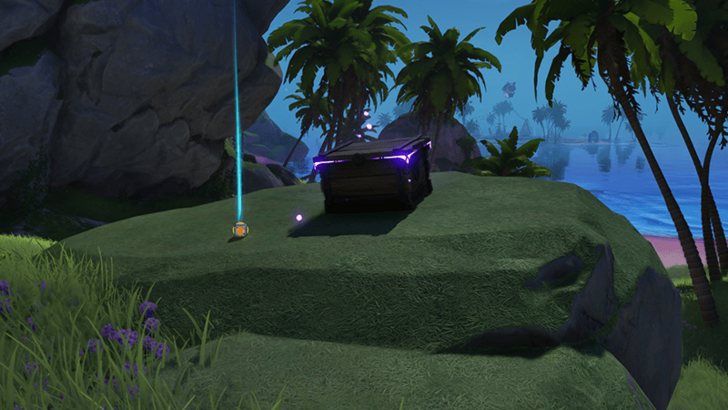 Coordinates: -1546, 1329 How to Get: Place atop a rocky surface in the open. |
|
Echoback Landing Chest 26 |
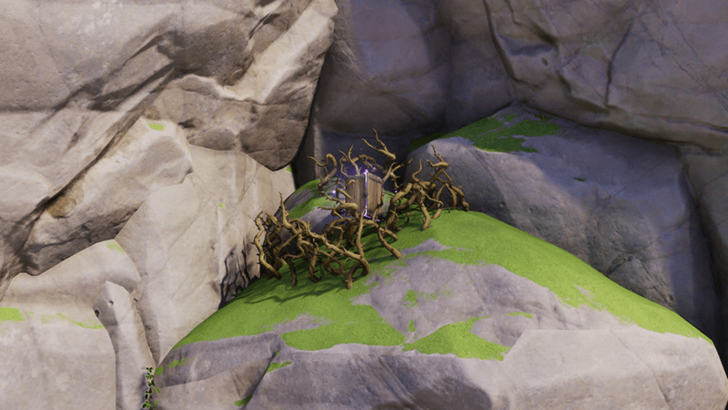 Coordinates: -1619, 1319 How to Get: The chest is surrounded by brambles on a small ledge by the face of a cliff. Use fire from an Aniimo skill to burn the brambles to free the chest. |
|
Echoback Landing Chest 27 |
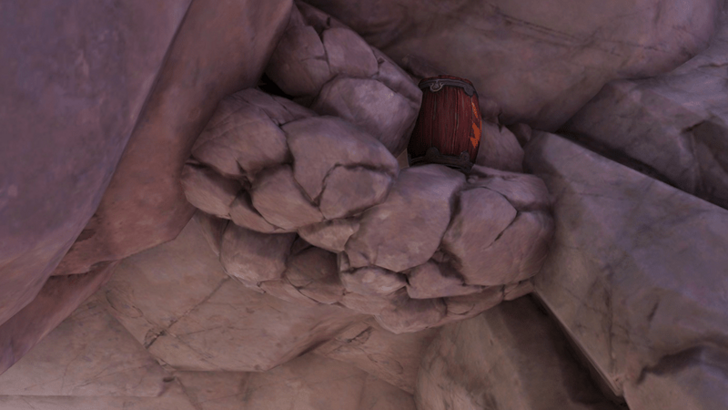 Coordinates: -1706, 1311 How to Get: The chest is lodged inside boulders at the ceiling of a natural stone arch. Use an Aniimo with ranged fire skills to ignite the explosive barrel embedded into the stone to blow it up and free the chest. |
|
Echoback Landing Chest 28 |
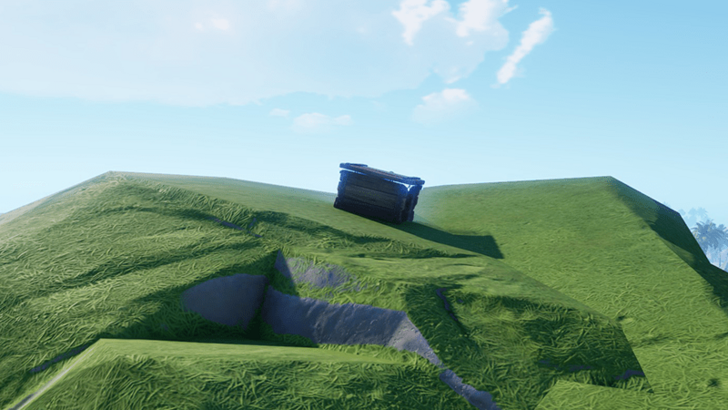 Coordinates: -1711, 1314 How to Get: Placed on a rocky surface overlooking the ocean. |
|
Echoback Landing Chest 29 |
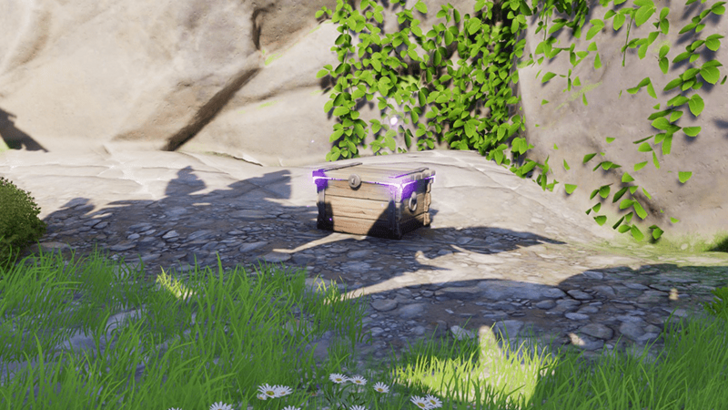 Coordinates: -1726, 1279 How to Get: Place on a rocky surface on the ground. |
|
Echoback Landing Chest 30 |
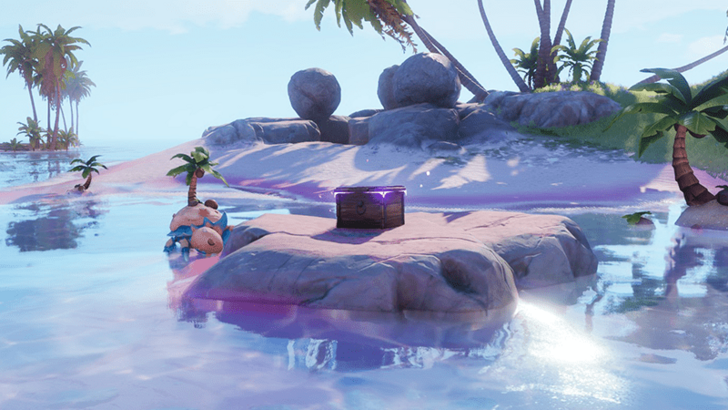 Coordinates: -1725, 1519 How to Get: Placed on a rock in the water surrounded by Budclaws and Shrubclaws. |
|
Echoback Landing Chest 31 |
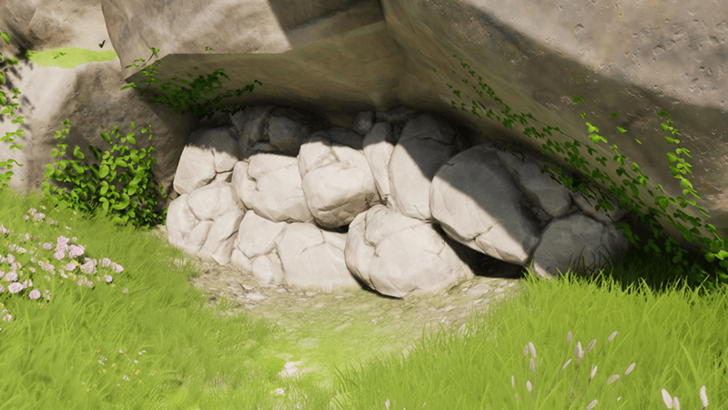 Coordinates: -1446, 1610 How to Get: Buried underneath rocks in a small cave, use Aniimo skills to break the rocks to free the chest. |
Echoback Landing 100% Exploration Guide
All Chests in Beast Fang Ridge
| Collectibles | Details |
|---|---|
|
Beast Fang Ridge Chest 1 |
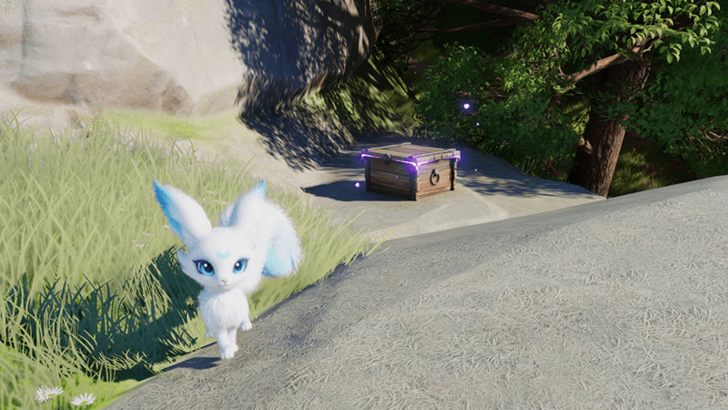 Coordinates: -1455, 1527 How to Get: Placed on a rocky surface near a tree. |
|
Beast Fang Ridge Chest 2 |
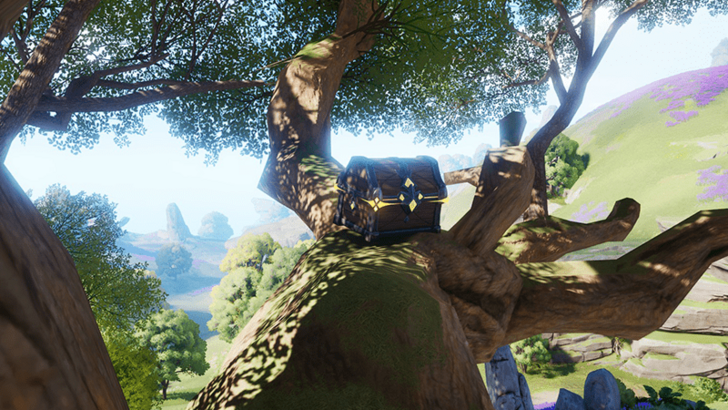 Coordinates: -1490, 1438 How to Get: Found on the branches of a large tree. |
|
Beast Fang Ridge Chest 3 |
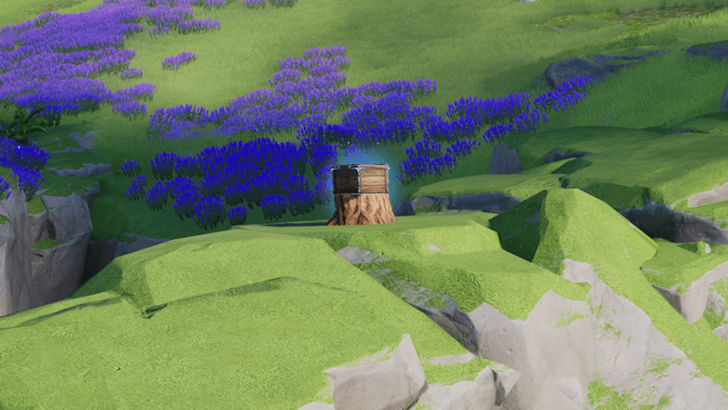 Coordinates: -1481, 1284 How to Get: Placed on top of a stump placed above a large stone arch/bridge. |
|
Beast Fang Ridge Chest 4 |
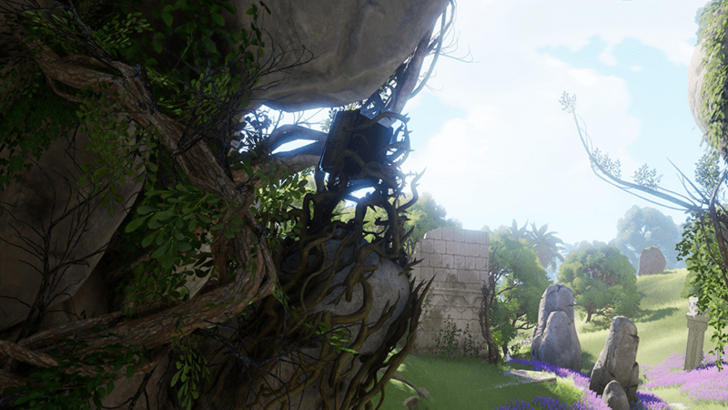 Coordinates: -1479, 1278 How to Get: Chest is entangled in several thorny brambles on top of a stone. Use a Fire Aniimo to burn the brambles away to get to the chest. |
|
Beast Fang Ridge Chest 5 |
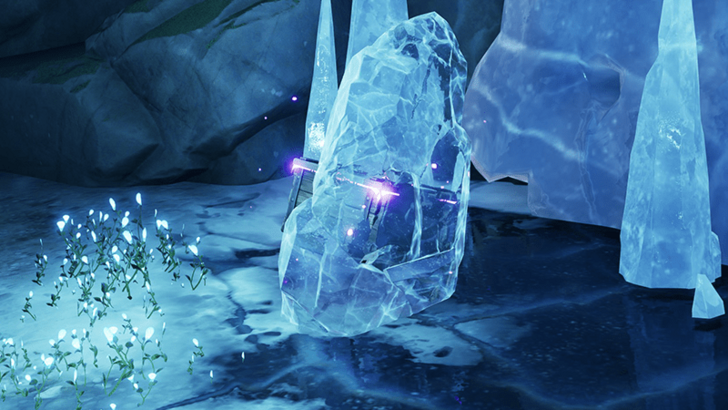 Coordinates: -1440, 1282 How to Get: The chest is encased in ice inside the ice cavern where the Alpha Glynsera is located. Use a Fire Aniimo to melt the ice and free the chest. |
|
Beast Fang Ridge Chest 6 |
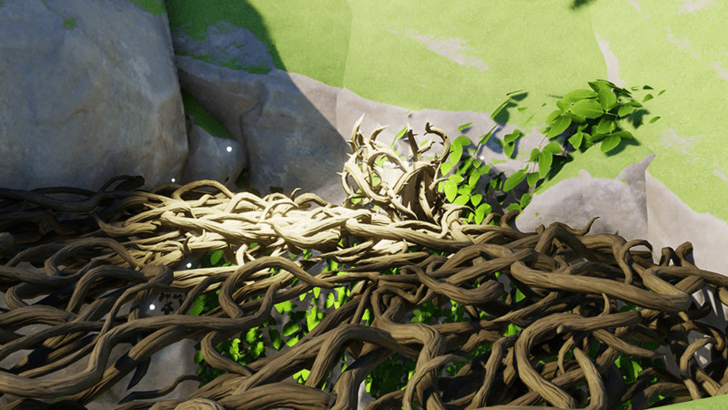 Coordinates: -1420, 1296 How to Get: The chest is entangled in vines over a large hole. Use a Fire Aniimo to free it from the vines, but it will fall down the hole below into the Alpha Glynsera's arena. |
|
Beast Fang Ridge Chest 7 |
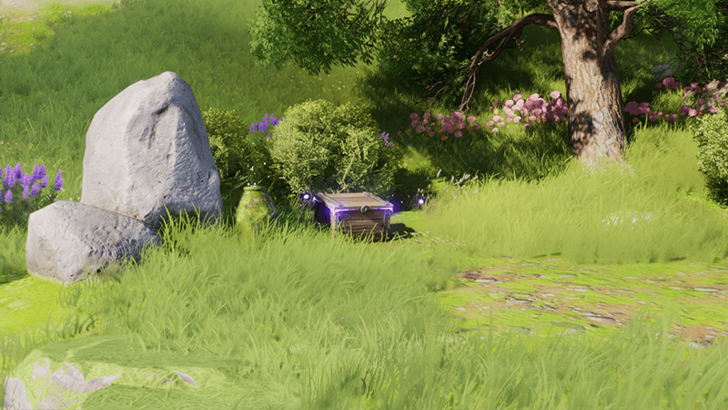 Coordinates: -1433, 1360 How to Get: The chest is placed near some shrubbery and a stone. |
|
Beast Fang Ridge Chest 8 |
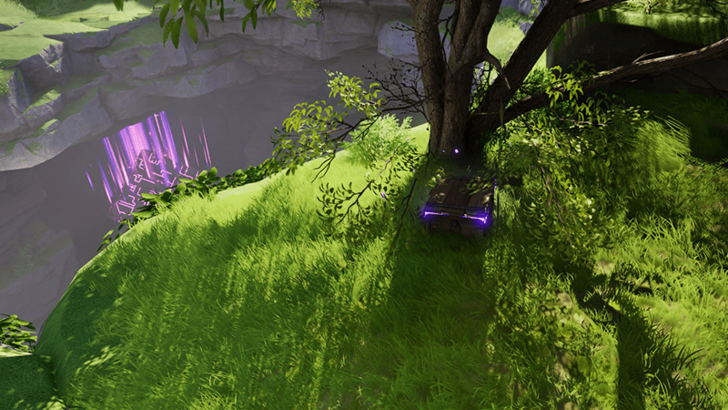 Coordinates: -1358, 1410 How to Get: The chest sits in the shade of a small tree. The location overlooks a large crater where the Frigid Waters Sanctum can be found. |
|
Beast Fang Ridge Chest 9 |
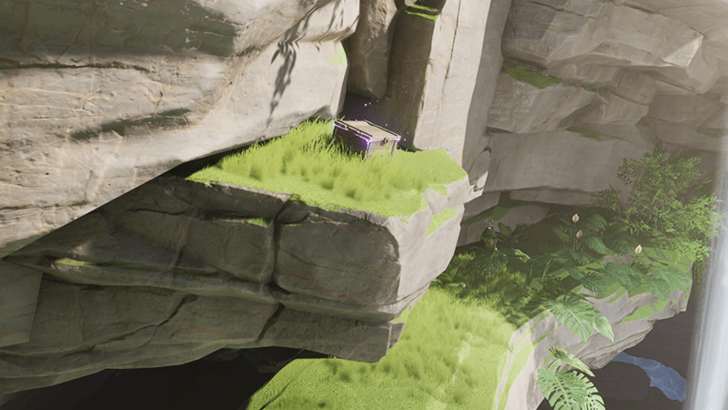 Coordinates: -1365, 1383 How to Get: The chest sits on a ledge near the southeastern wall of a large crater where the Frigid Waters Sanctum is located, |
|
Beast Fang Ridge Chest 10 |
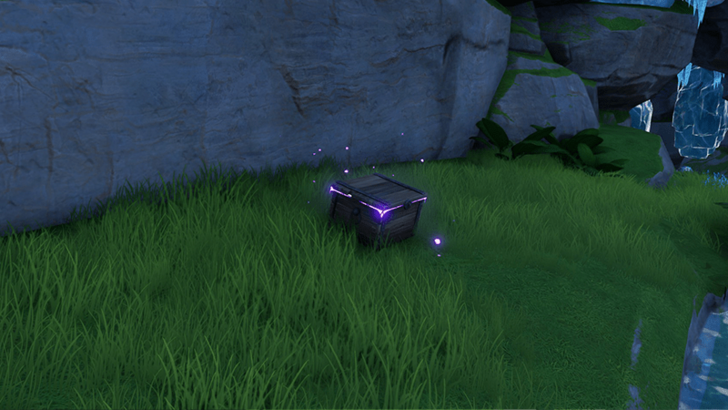 Coordinates: -1367, 1374 How to Get: The chest sits inside the large crater where the Frigid Waters Sanctum is, it's located along the southeastern wall of the crater. |
|
Beast Fang Ridge Chest 11 |
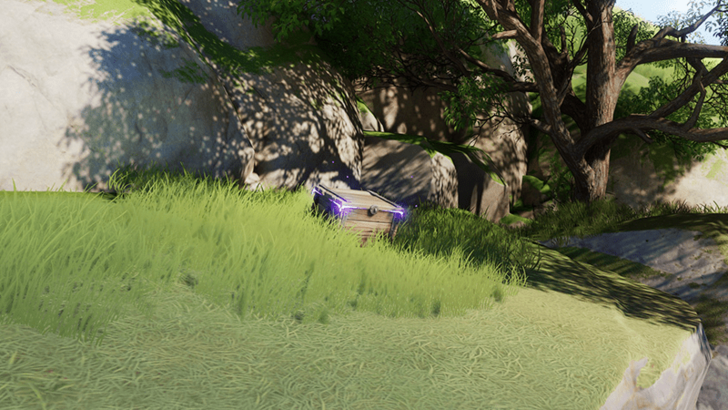 Coordinates: -1362, 1486 How to Get: The chest is placed on a patch of grass above a cave entrance. |
|
Beast Fang Ridge Chest 12 |
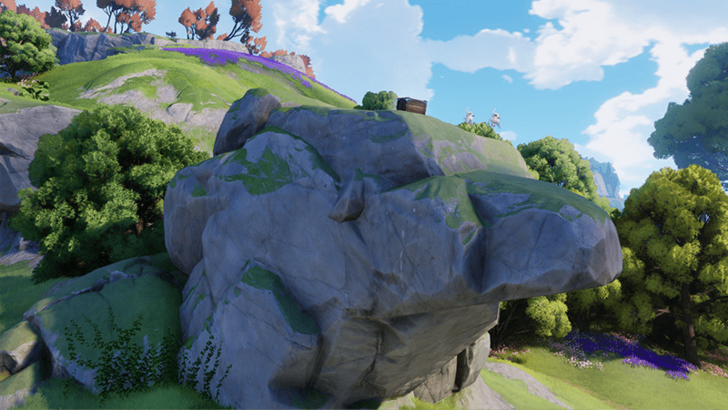 Coordinates: -1361, 1580 How to Get: The cgest is placed on top of a large boulder shaped like a wolf-like Aniimo head. |
|
Beast Fang Ridge Chest 13 |
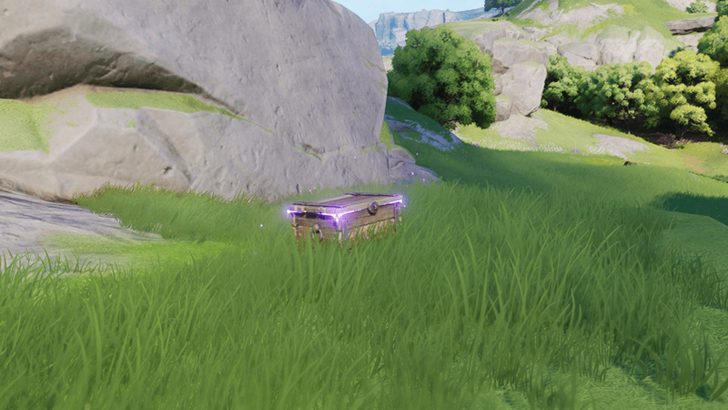 Coordinates: -1411, 1625 How to Get: This chest placed on a patch of grass on top of a stony ledge. |
|
Beast Fang Ridge Chest 14 |
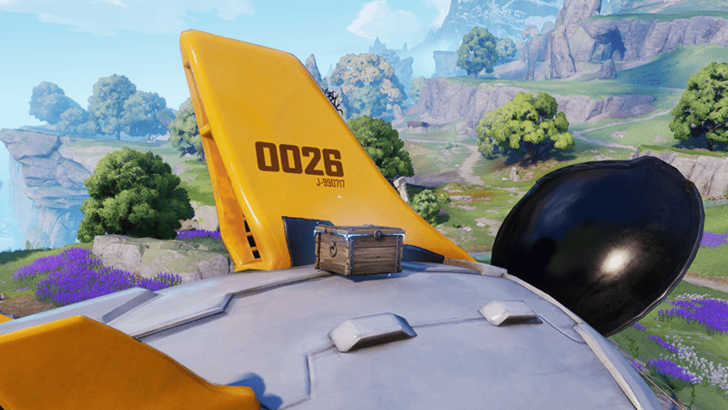 Coordinates: -1373, 1643 How to Get: Located on top of a crashed flight vessel. |
|
Beast Fang Ridge Chest 15 |
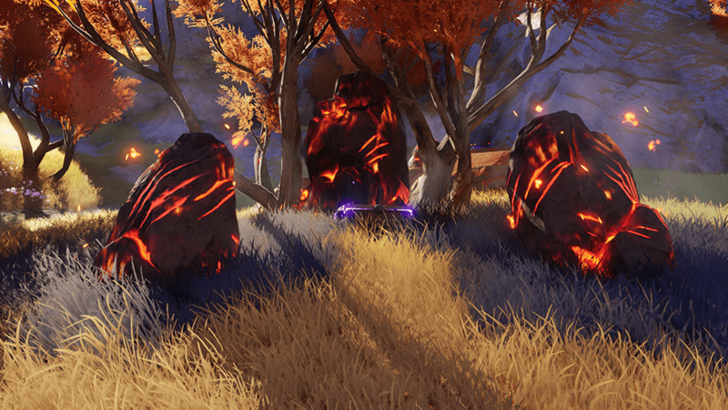 Coordinates: -1248, 1300 How to Get: Burn all three stones to reveal the chest. |
|
Beast Fang Ridge Chest 16 |
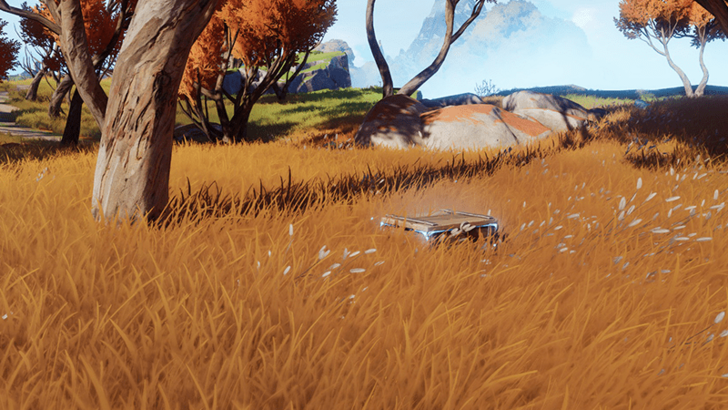 Coordinates: -1177, 1260 How to Get: Placed under a pile of leaves, use an Aniimo with a skill that can Break to remove the leaves. |
|
Beast Fang Ridge Chest 17 |
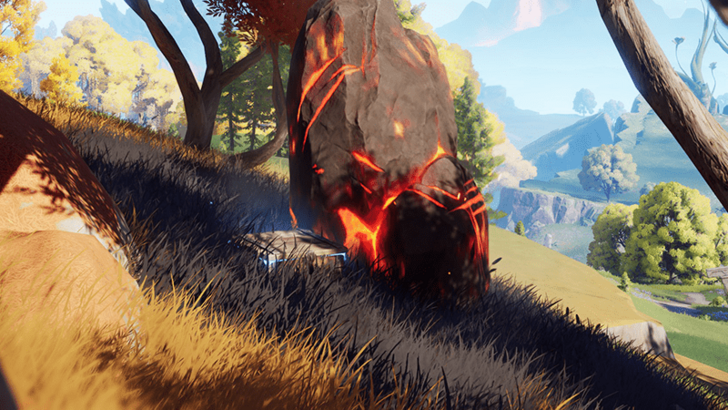 Coordinates: -1192, 1236 How to Get: Ignite the stone with fire using an Aniimo to spawn the chest next to it. |
|
Beast Fang Ridge Chest 18 |
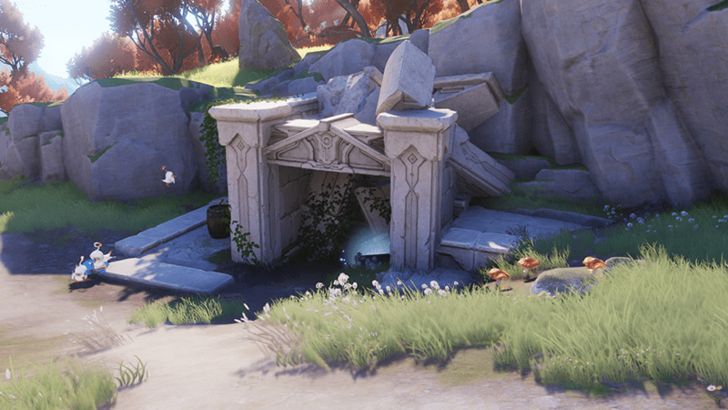 Coordinates: -1156, 1226 How to Get: Break down a wall of a ruin to unearth a chest. |
|
Beast Fang Ridge Chest 19 |
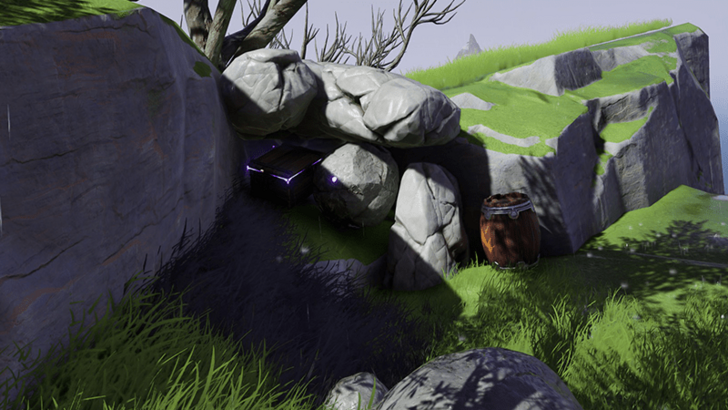 Coordinates: -1125, 1288 How to Get: Unearth a chest behind a pile of rocks with explosive barrels by using an Aniimo skill that can Break. |
|
Beast Fang Ridge Chest 20 |
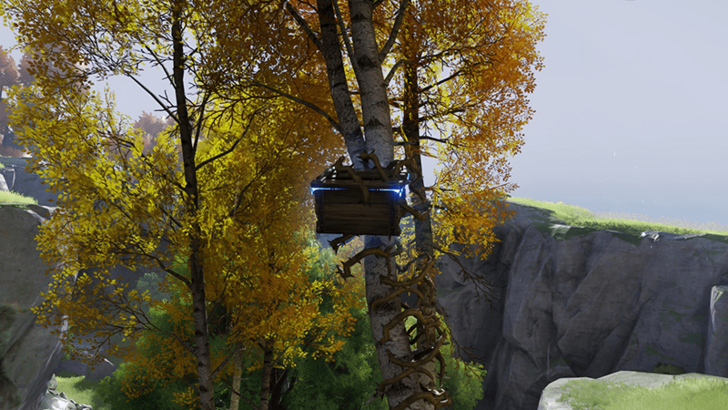 Coordinates: -1104, 1389 How to Get: The chest is attached to a tree with spiky brambles. Burn down the brambles to drop the chest. |
|
Beast Fang Ridge Chest 21 |
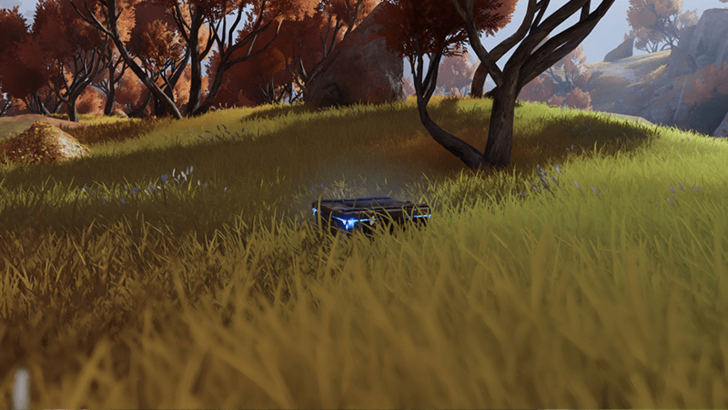 Coordinates: -1169, 1316 How to Get: Placed under a pile of leaves, use an Aniimo with a skill that can Break to remove the leaves. |
|
Beast Fang Ridge Chest 22 |
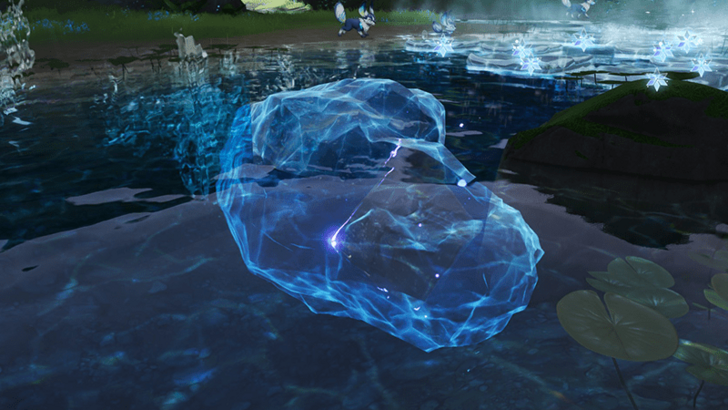 Coordinates: -1234, 1477 How to Get: The chest is encased in ice in a small lake. Use Fire Aniimo to thaw out the chest. |
|
Beast Fang Ridge Chest 23 |
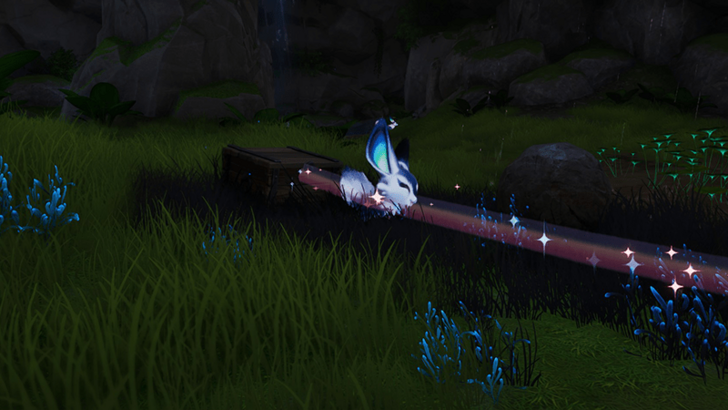 Coordinates: -1266, 1493 How to Get: Up above where the chest will spawn, talk to an Emberpup nearby a round stone. The Emberpup will push it off the cliff and crumble upon impact down below, revealing a chest. |
|
Beast Fang Ridge Chest 24 |
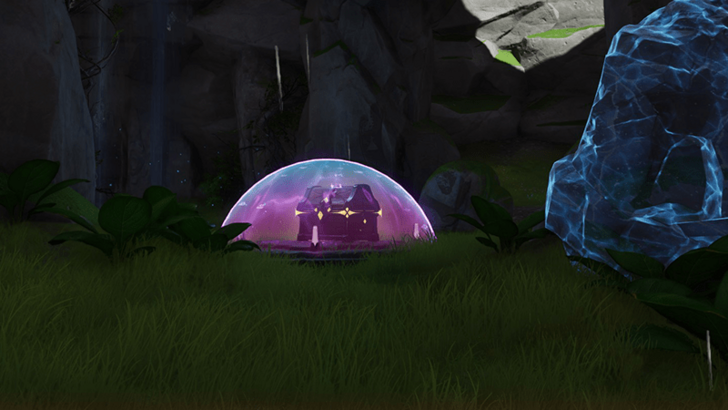 Coordinates: -1263, 1485 How to Get: The chest is underground protected by a force field. Use an Ice Aniimo to make ice platforms with the nearby white and use them as weights to press on three different floor buttons to open the force field. |
|
Beast Fang Ridge Chest 25 |
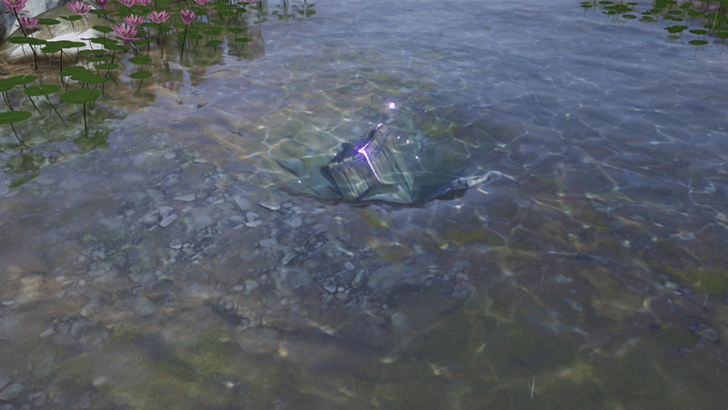 Coordinates: -1296, 1534 How to Get: Chest is submerged in water. |
|
Beast Fang Ridge Chest 26 |
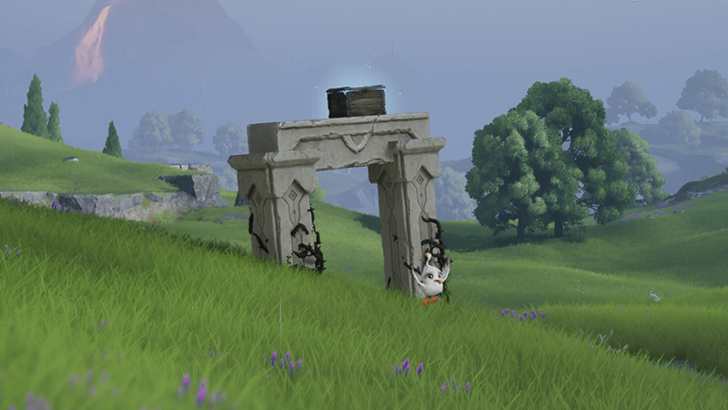 Coordinates: -1338, 1051 How to Get: Chest on top of stone arch. |
|
Beast Fang Ridge Chest 27 |
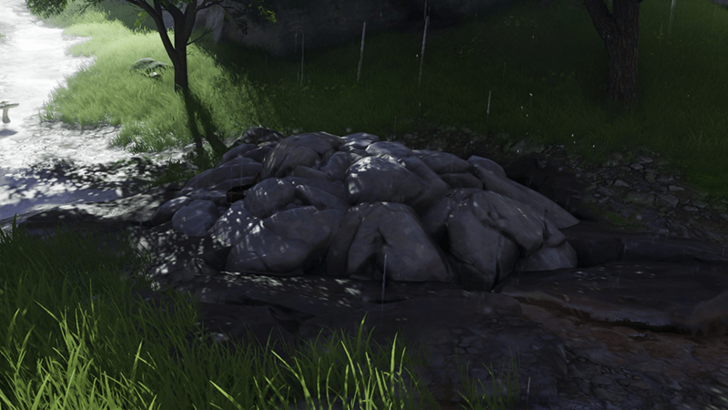 Coordinates: -1292, 1109 How to Get: Chest is burried underneath stones, use an Aniimo skill that can break the rocks to dig up the chest. |
|
Beast Fang Ridge Chest 28 |
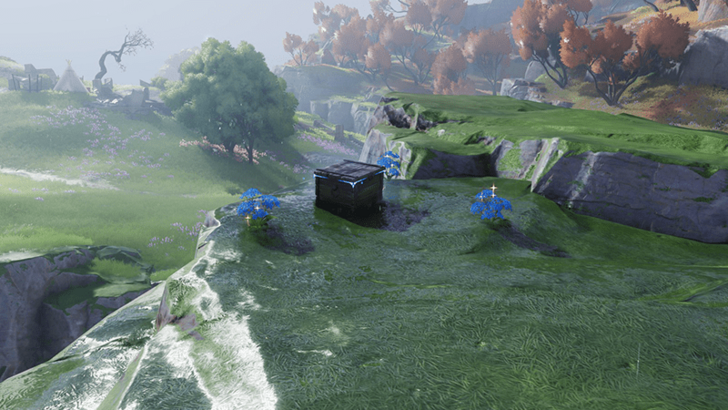 Coordinates: -1266, 1133 How to Get: Chest is on top of a ledge surrounded by three Azure Grasses. |
|
Beast Fang Ridge Chest 29 |
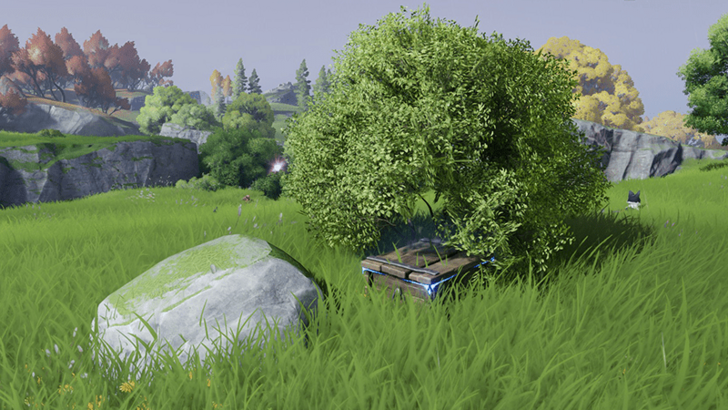 Coordinates: -1329, 1087 How to Get: Chest is underneath a bush. |
|
Beast Fang Ridge Chest 30 |
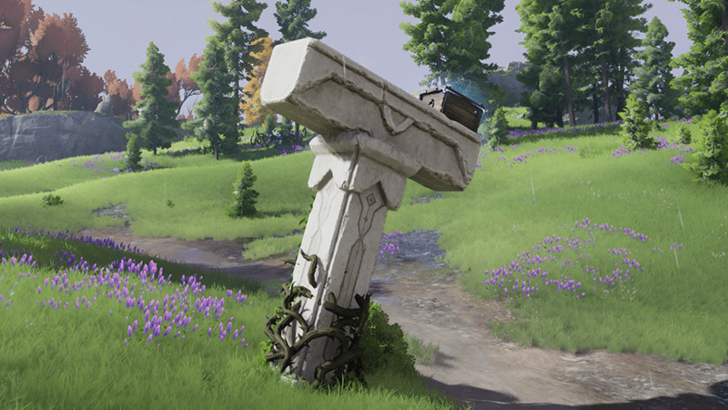 Coordinates: -1208, 1137 How to Get: Chest is on top of a ruined pillar. |
|
Beast Fang Ridge Chest 31 |
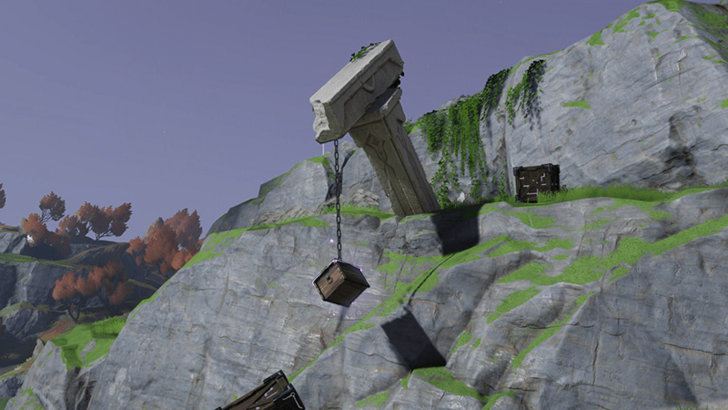 Coordinates: -1409, 1170 How to Get: Chest is dangling on a chain, you can use the nearby crates to reach them or fly to it as an Aniimo. |
|
Beast Fang Ridge Chest 32 |
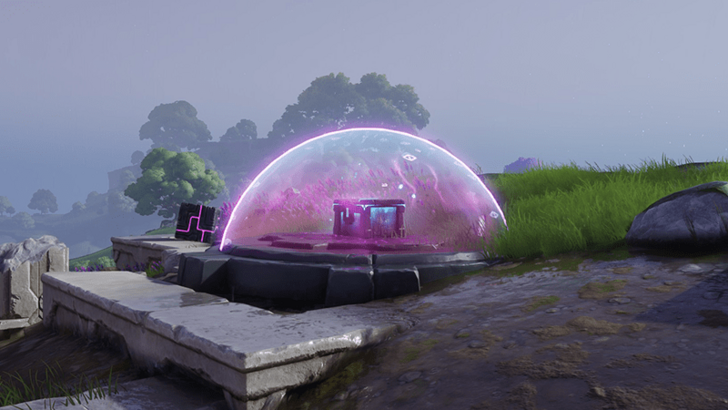 Coordinates: -1372, 1169 How to Get: The chest protected by a force field. Below the cliff, three cubes are entangled in brambles. Burn the brambles away, and the cubes will drop to the ground and press the pressure plates to release the chest. |
|
Beast Fang Ridge Chest 33 |
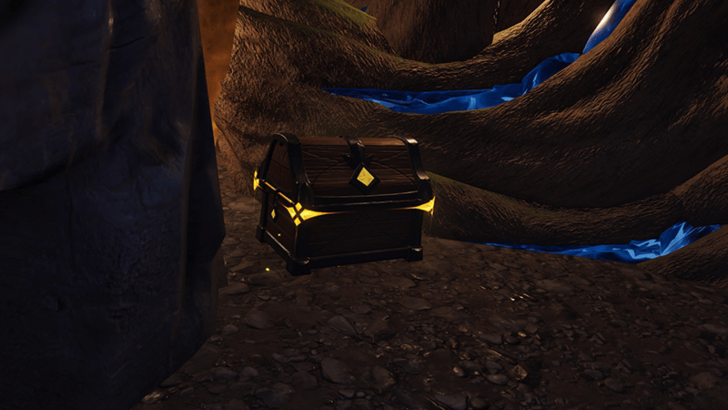 Coordinates: -1361, 1198 How to Get: Enter a cave beneath the hill to access the chest by using an Aniimo that can dig to enter through a small entrance. |
|
Beast Fang Ridge Chest 34 |
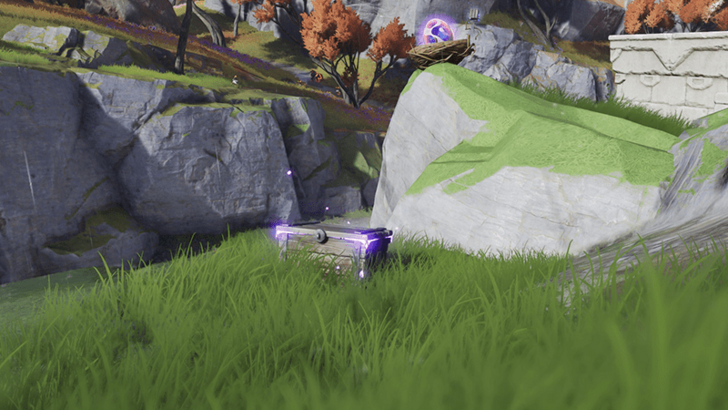 Coordinates: -1327, 1215 How to Get: The chest is placed by the ledge of a small cliff near a nest where an Aniimo egg can be found. |
|
Beast Fang Ridge Chest 35 |
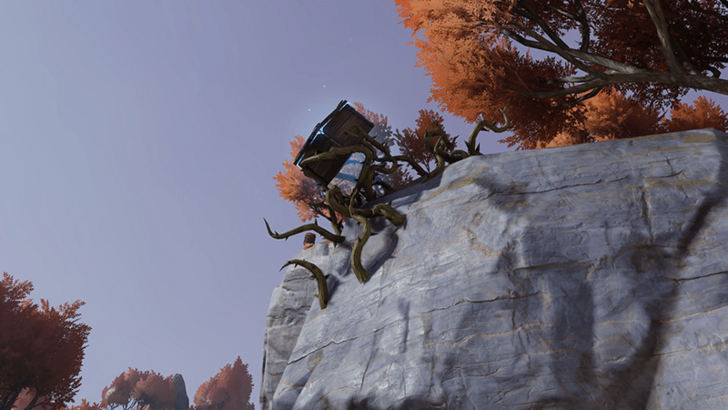 Coordinates: -1275, 1224 How to Get: The chest is entangled in brambles off to the side of a cliff. Burn the brambles to make the chest drop down. |
|
Beast Fang Ridge Chest 36 |
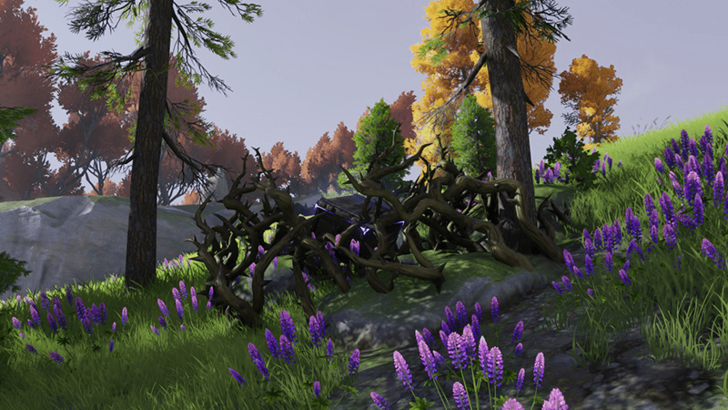 Coordinates: -1178, 1186 How to Get: Chest is covered in thorny brambles, use a Fire Aniimo to remove the brambles to open it. |
|
Beast Fang Ridge Chest 37 |
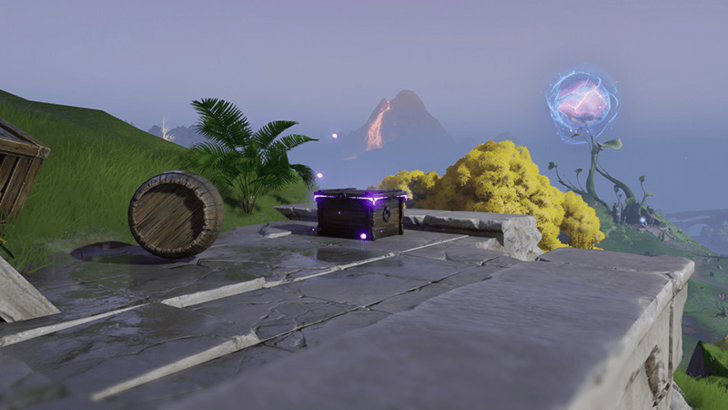 Coordinates: -1131, 1193 How to Get: Chest is placed in the open of a stony brick platform. |
|
Beast Fang Ridge Chest 38 |
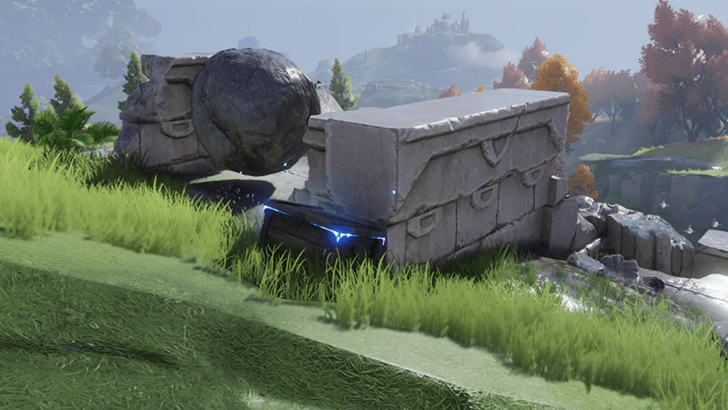 Coordinates: -1122, 1200 How to Get: Chest is placed near a ruined stony platform. |
|
Beast Fang Ridge Chest 39 |
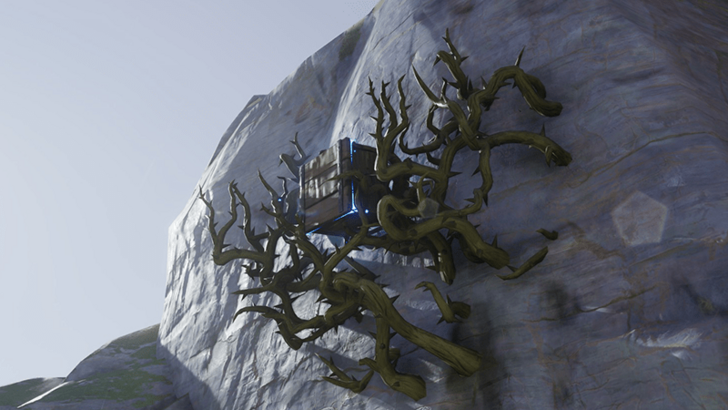 Coordinates: -1332, 1243 How to Get: Chest is attached to the side of a wall of a cliff by brambles. Use a Fire Aniimo to burn the brambles away and have the chest drop down. |
|
Beast Fang Ridge Chest 40 |
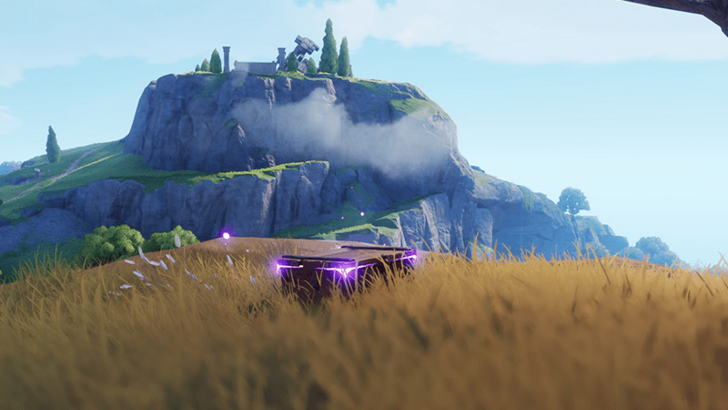 Coordinates: -1333, 1252 How to Get: Placed near the ledge of a cliff. |
|
Beast Fang Ridge Chest 41 |
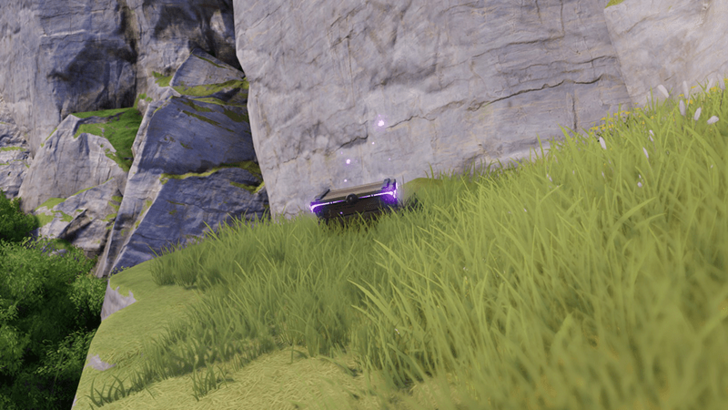 Coordinates: -1359, 1296 How to Get: Placed on a small ledge by a cliff. |
|
Beast Fang Ridge Chest 42 |
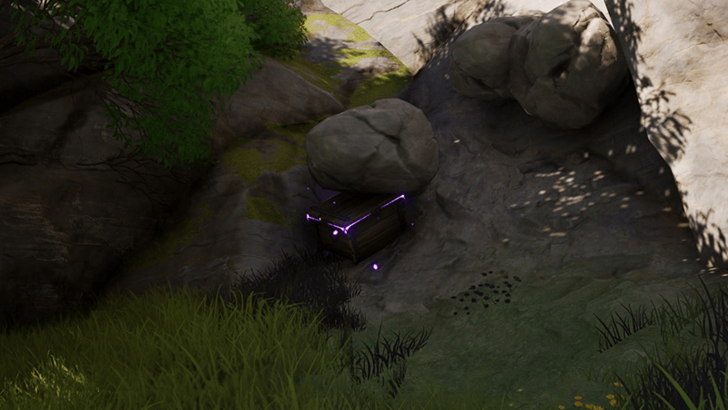 Coordinates: -1356, 1303 How to Get: Found buried under a pile of rubble at the bottom of a cliff. Use an Aniimo to break the rocks to unearth the chest. |
|
Beast Fang Ridge Chest 43 |
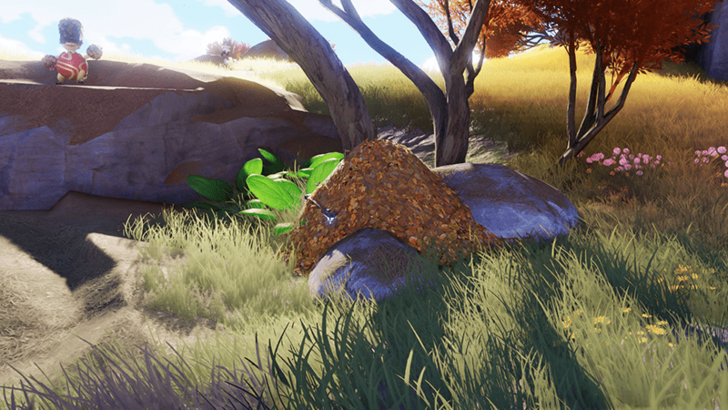 Coordinates: -1304, 1304 How to Get: Buried underneath a pile of leaves, use an Aniimo to blow away the leaves to open the chest. |
|
Beast Fang Ridge Chest 44 |
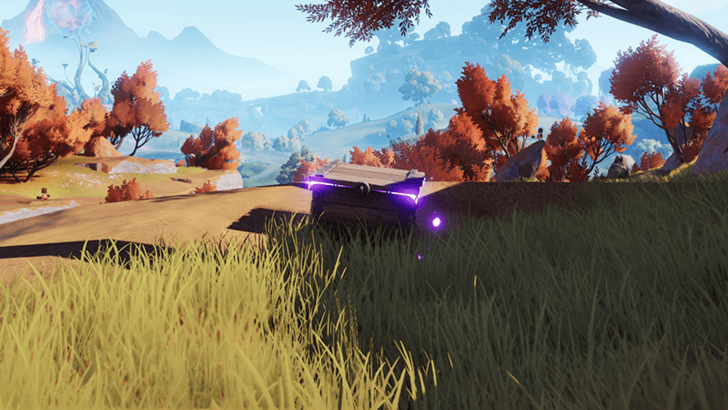 Coordinates: -1252, 1341 How to Get: Found on top of a cliff. |
|
Beast Fang Ridge Chest 45 |
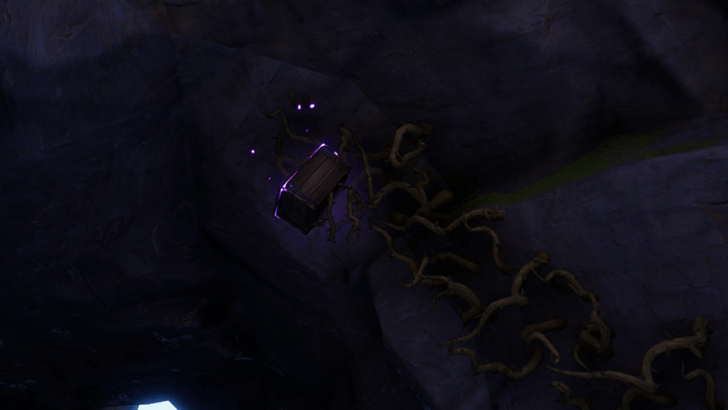 Coordinates: -1185, 1357 How to Get: Stuck on the ceiling of a rock formation by brambles. Burn the brambles away with an Aniimo skill to make it drop down to the ground. |
|
Beast Fang Ridge Chest 46 |
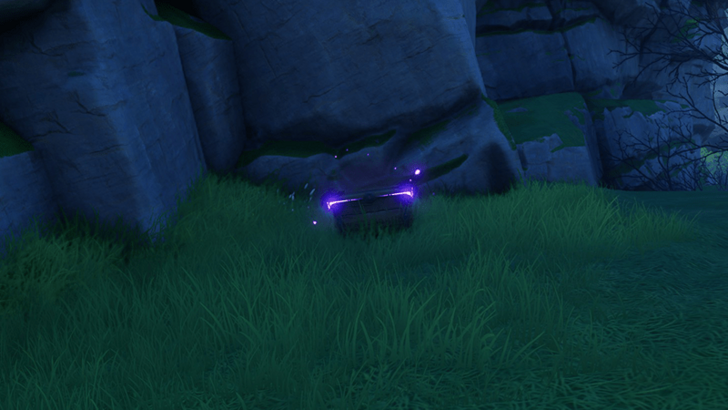 Coordinates: -1117, 1276 How to Get: Found on a cliff area bordering the Beast Fang Ridge and the Mistwood. |
|
Beast Fang Ridge Chest 47 |
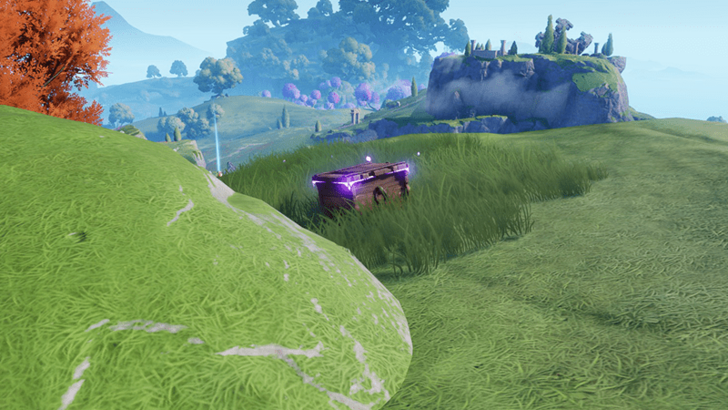 Coordinates: -1361, 1350 How to Get: On top of a cliff overlooking the Echoback Landing. |
|
Beast Fang Ridge Chest 48 |
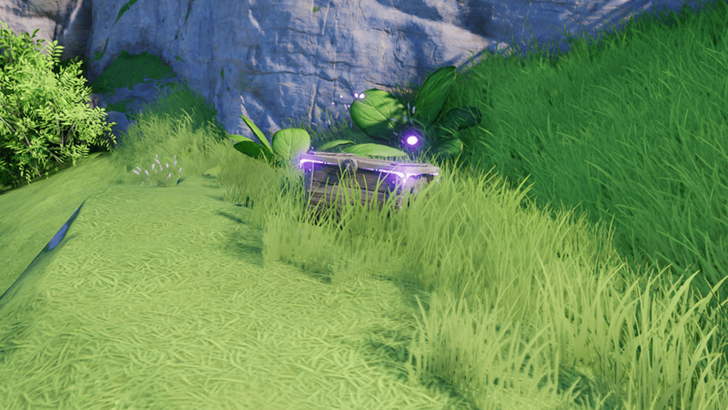 Coordinates: -1300, 1438 How to Get: Placed on a patch of grass near a large hole. |
|
Beast Fang Ridge Chest 49 |
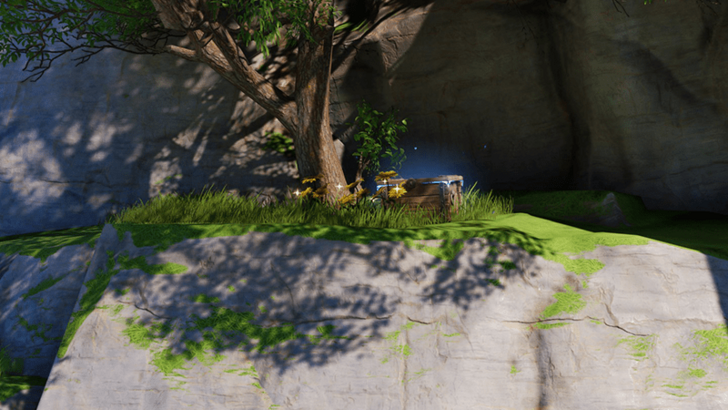 Coordinates: -1275, 1423 How to Get: Placed next to a tree and surrounded by Sunny Daisies near a large hole. |
|
Beast Fang Ridge Chest 50 |
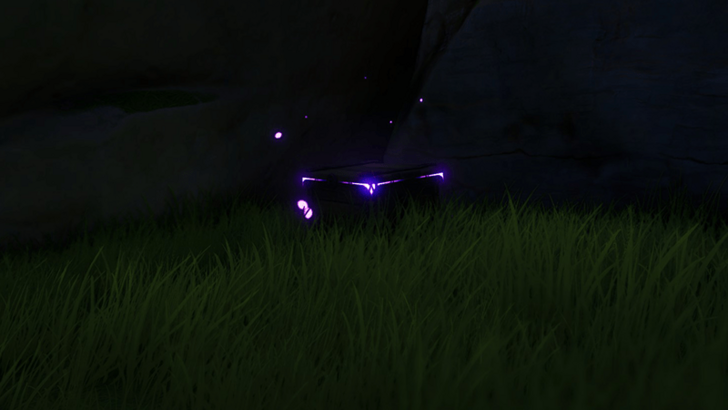 Coordinates: -1272, 1431 How to Get: Located down a hole in a corner. |
|
Beast Fang Ridge Chest 51 |
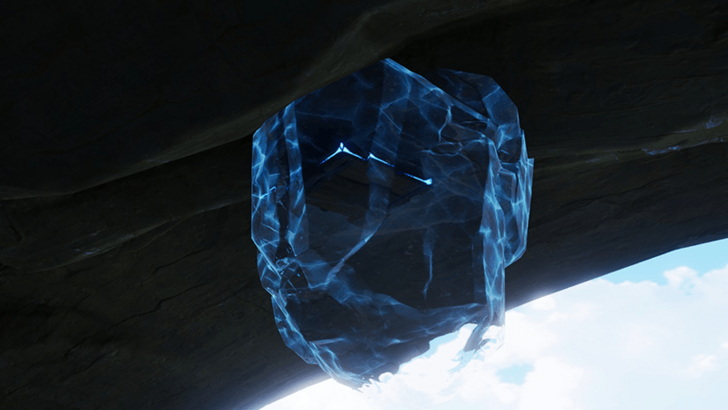 Coordinates: -1277, 1448 How to Get: Encased in ice stuck on the ceiling, use an Aniimo to thaw it out and have it drop down to the ground. |
|
Beast Fang Ridge Chest 52 |
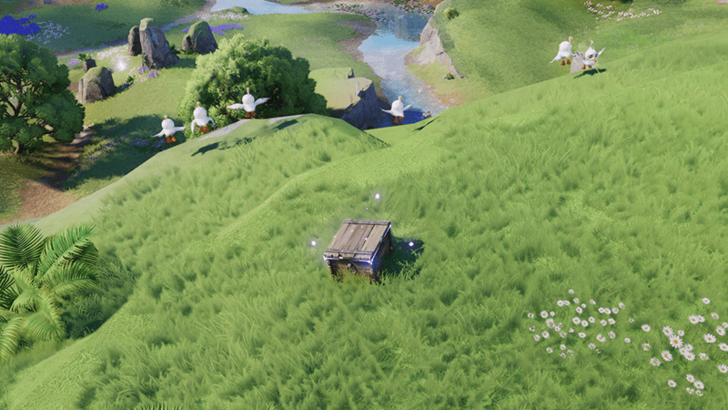 Coordinates: -1313, 1515 How to Get: Out in the open next to a flock of Chirpi. |
|
Beast Fang Ridge Chest 53 |
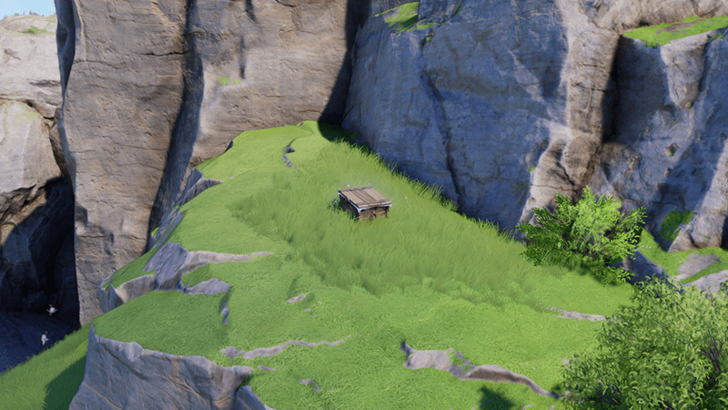 Coordinates: -1199, 1468 How to Get: On top of an elevated ground. |
|
Beast Fang Ridge Chest 54 |
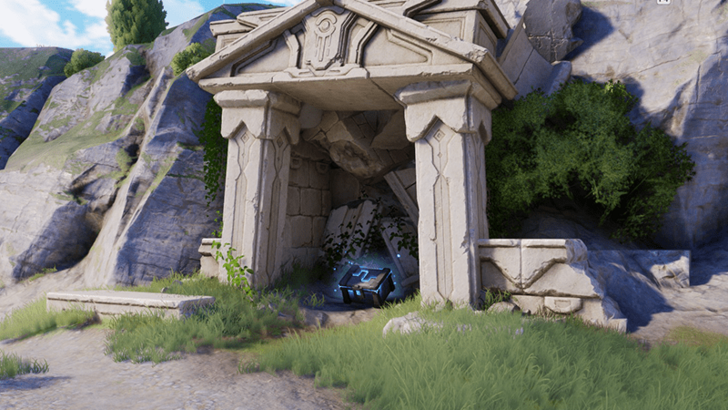 Coordinates: -1103, 1462 How to Get: The chest is trapped behind a wall in a small ruin. Break the wall with an Aniimo's skill to free it. |
|
Beast Fang Ridge Chest 55 |
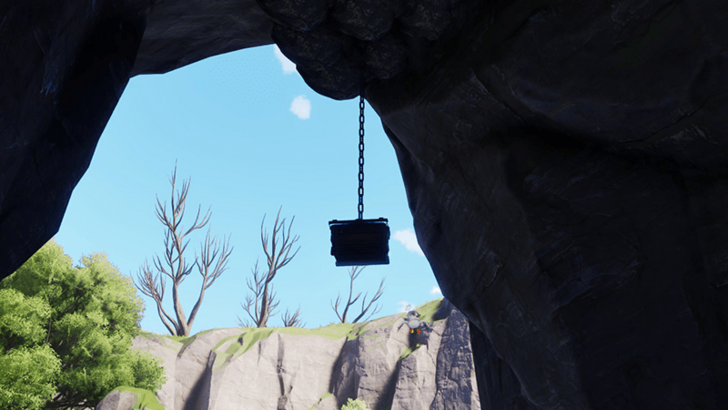 Coordinates: -1162, 1423 How to Get: The chest dangles on a chain in a short cave. Use an Aniimo to reach the chest. |
|
Beast Fang Ridge Chest 56 |
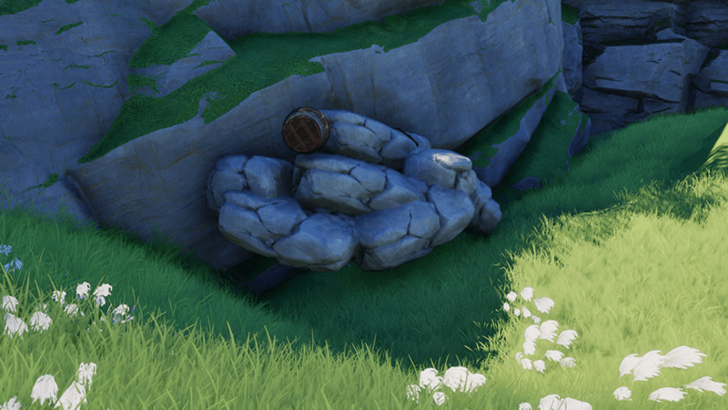 Coordinates: -1056, 1383 How to Get: The chest is buried under rumble with explosives. Use an Aniimo to unearth the chest, but be careful with the potential explosion from the explosives. |
|
Beast Fang Ridge Chest 57 |
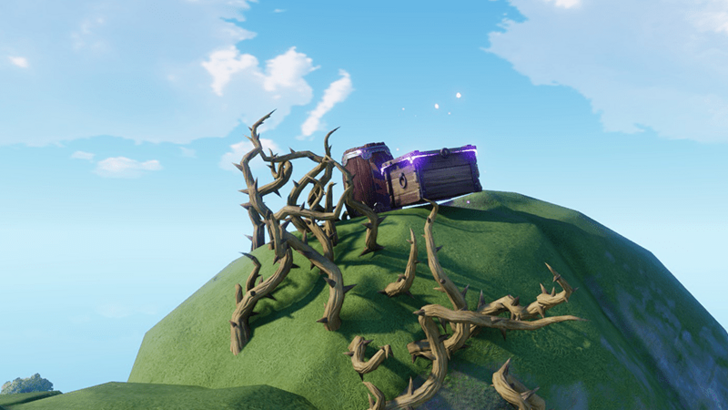 Coordinates: -1132, 1568 How to Get: The chest is on top of a tall boulder with an explosive barrel next to it. You can ignite the vines next to the barrel from the bottom of the boulder to ignite the barrel and explode it to launch the chest off the boulder. |
|
Beast Fang Ridge Chest 58 |
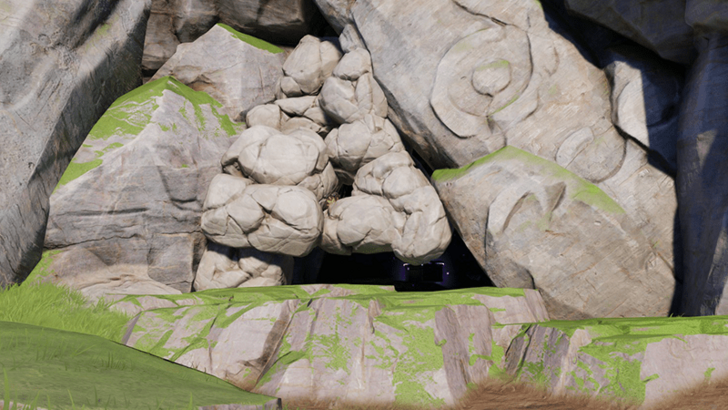 Coordinates: -1144, 1557 How to Get: The chest is inside a small cave covered by rubble. Use an Aniimo to break the boulders to open up the cave once more to the chest. |
|
Beast Fang Ridge Chest 59 |
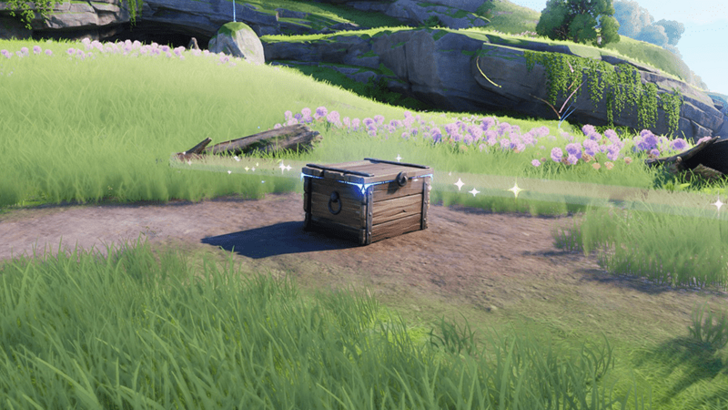 Coordinates: -1231, 1535 How to Get: On this spot, pick up several yellow flowers around this patch of dirt and a chest will spawn. |
|
Beast Fang Ridge Chest 60 |
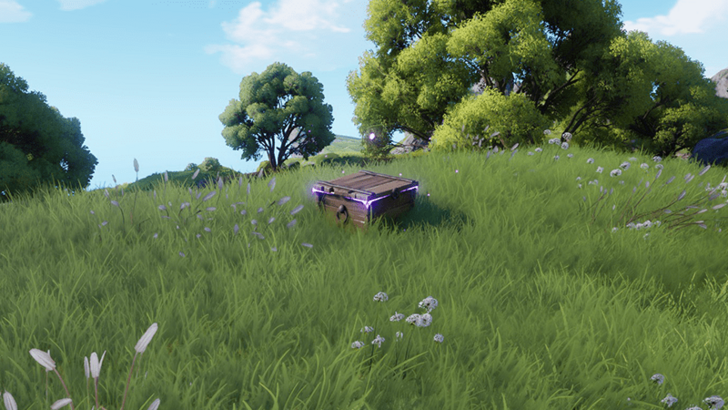 Coordinates: -1260, 1586 How to Get: On an open spot nearby a river. |
|
Beast Fang Ridge Chest 61 |
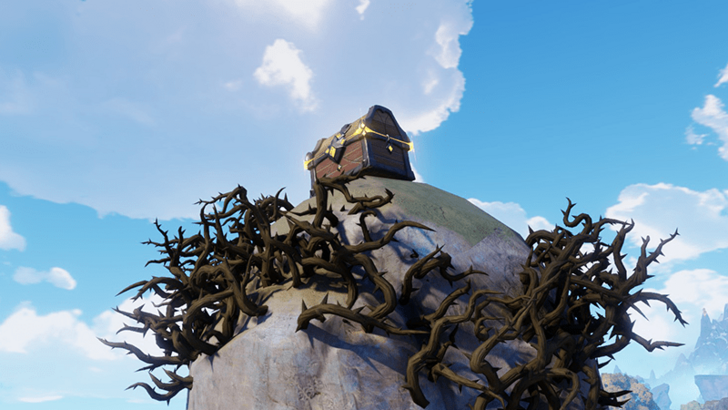 Coordinates: -1338, 1650 How to Get: Place on top of a tall boulder surrounded by brambles. Use an Aniimo to burn away the brambles or fly over the brambles to access the chest. |
Beast Fang Ridge 100% Exploration Guide
All Chests in Mistwoods
| Collectibles | Details |
|---|---|
|
Mistwoods Chest 1 |
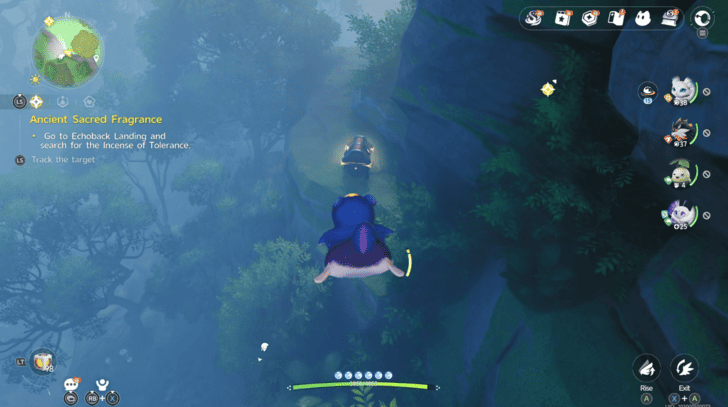 Coordinates: -0909, 1360 How to Get: Found on a cliff above the cave on the northeast side of Mistwoods. |
|
Mistwoods Chest 2 |
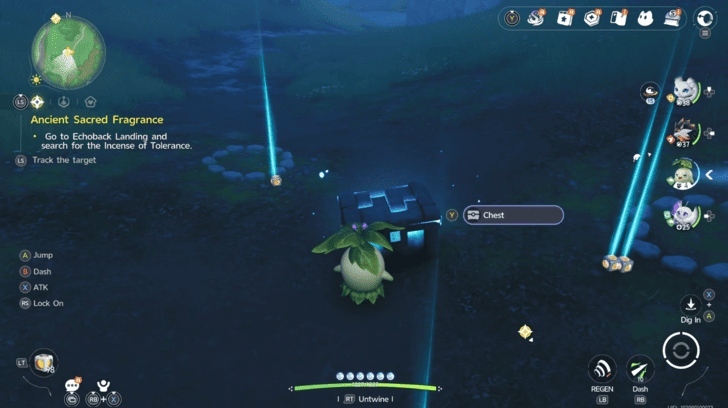 Coordinates: -0999, 1342 How to Get: Found at a spot with 4 rock circles at the northwest side of Mistwoods. To get the chest, tag the Hummin as it appears on each circle until it drops all its loot. |
|
Mistwoods Chest 3 |
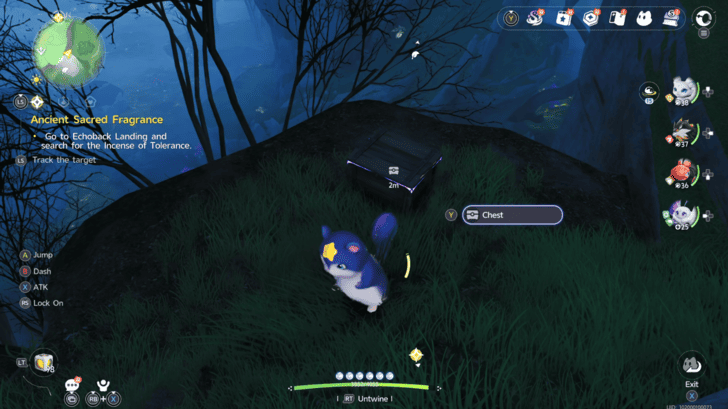 Coordinates: -1040, 1321 How to Get: Found on a small cliff near the pond on the western side of Mistwoods. |
|
Mistwoods Chest 4 |
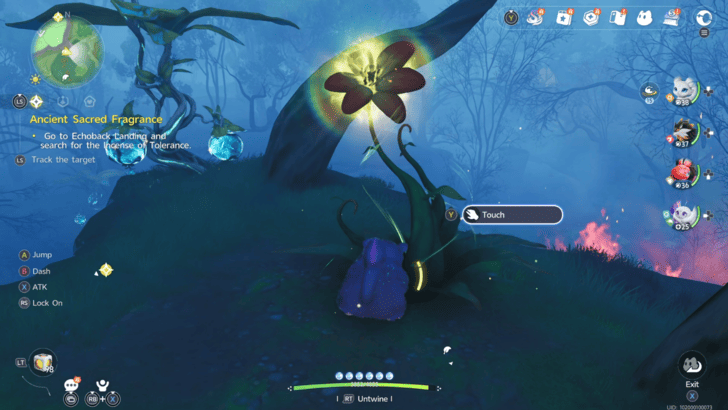 Coordinates: -1039, 1295 How to Get: Found on a cliff overlooking the pond on the western side of Mistwoods. Interact with the glowing flower to get the chest. |
|
Mistwoods Chest 5 |
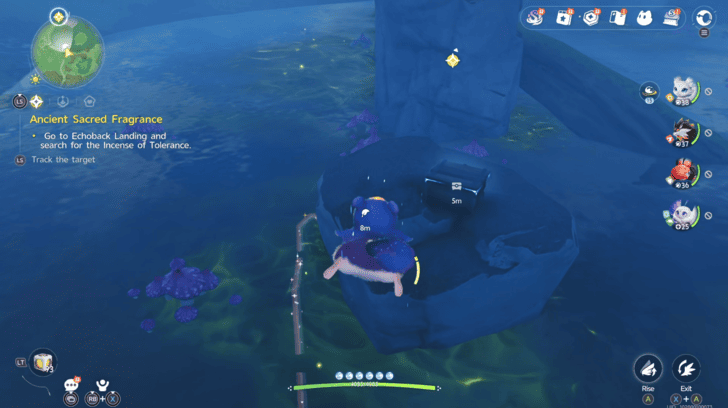 Coordinates: -1040, 1254 How to Get: Found on a rock in the pond at the western side of Mistwoods. |
|
Mistwoods Chest 6 |
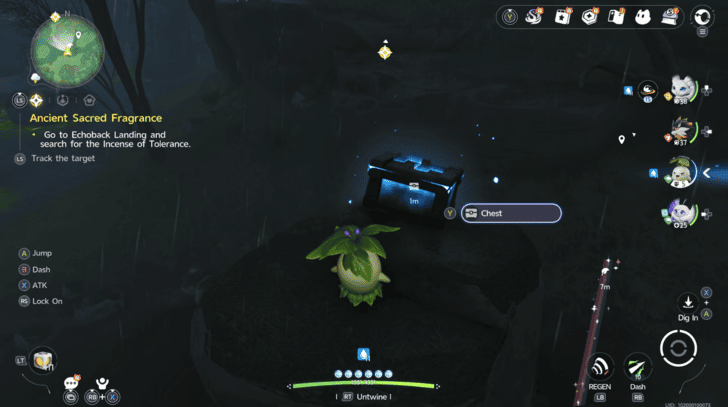 Coordinates: -0985, 1271 How to Get: Found on a platform in the middle of a river near the middle of Mistwoods. Twine with a Hummin and talk to the odd-looking Hummin to get the chest. |
|
Mistwoods Chest 7 |
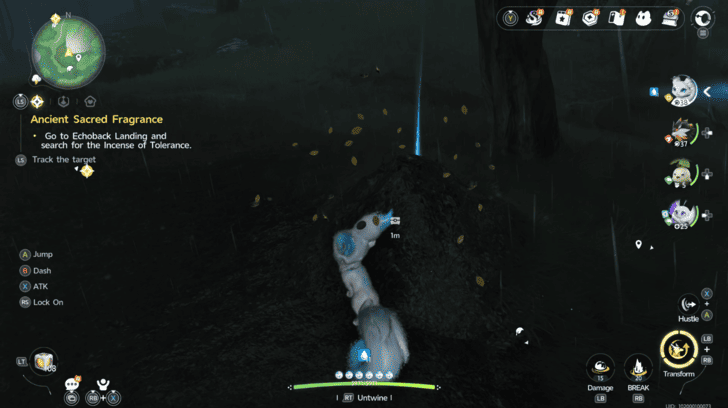 Coordinates: -0984, 1302 How to Get: Found buried in a pile of leaves on the northern side of Mistwoods. |
|
Mistwoods Chest 8 |
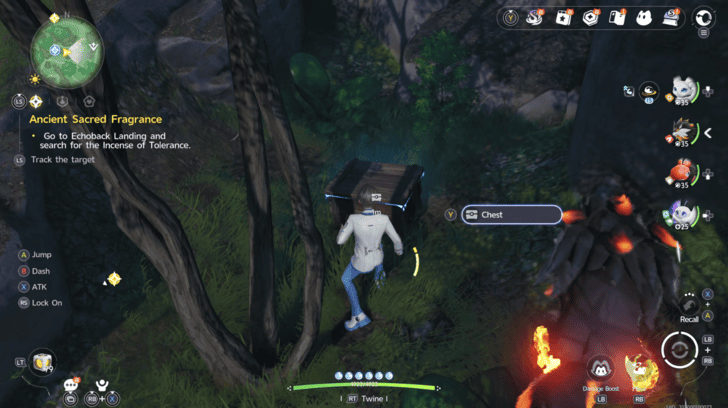 Coordinates: -0935, 1172 How to Get: Found to the right of the Mistwoods Bloom. |
|
Mistwoods Chest 9 |
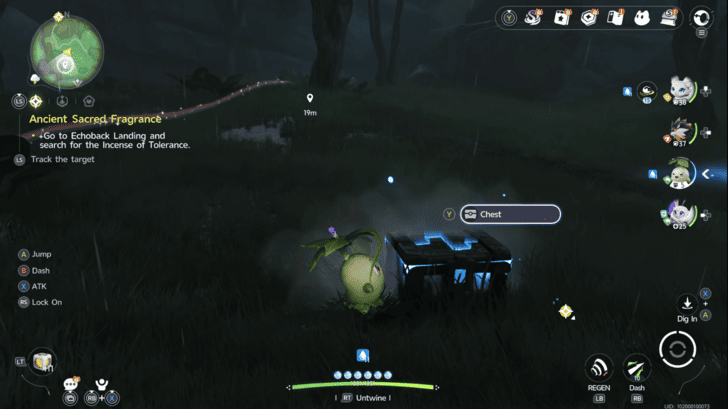 Coordinates: -1028, 1170 How to Get: Found on the southwest side of Mistwoods. Twine with a Hummin to talk with the Pecuiliar Hummin eating the Red Caps. Keep looting the Red Caps until the Hummin runs out of them and it will give you the chest. |
|
Mistwoods Chest 10 |
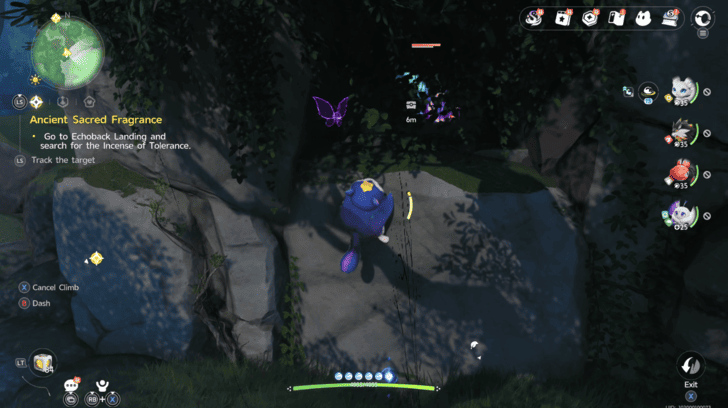 Coordinates: -0943, 1115 How to Get: Found in a tiny cave on the southern part of the Mistwoods. It will be guarded by a Flutternym. |
|
Mistwoods Chest 11 |
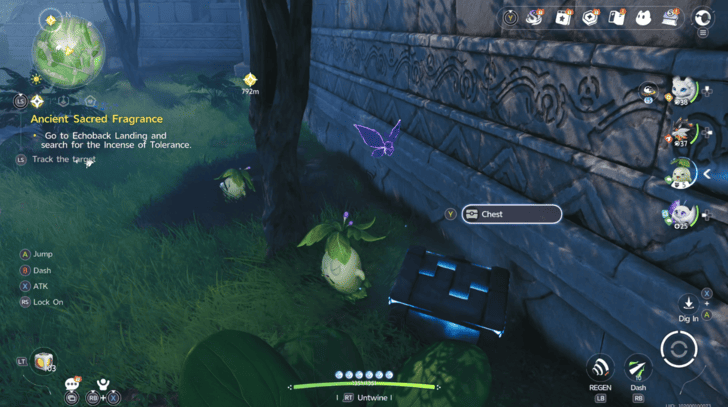 Coordinates: -0816, 1175 How to Get: Found within the ruins on the eastern side of Mistwoods. Defeat the Peculiar Hummin to get it. |
|
Mistwoods Chest 12 |
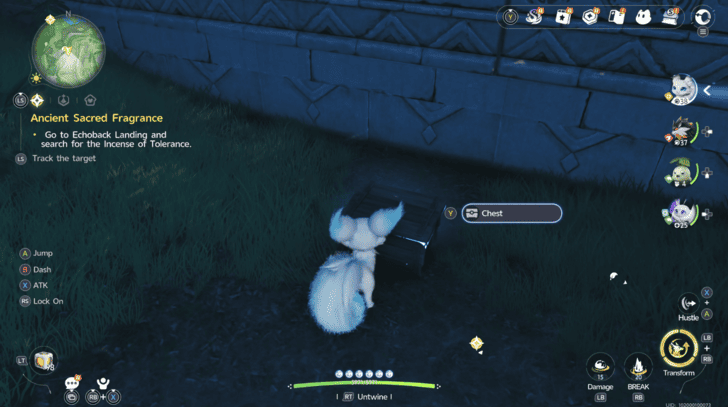 Coordinates: -0830, 1227 How to Get: Found on the bottom left corner of the ruins on the eastern side of Mistwoods. |
|
Mistwoods Chest 13 |
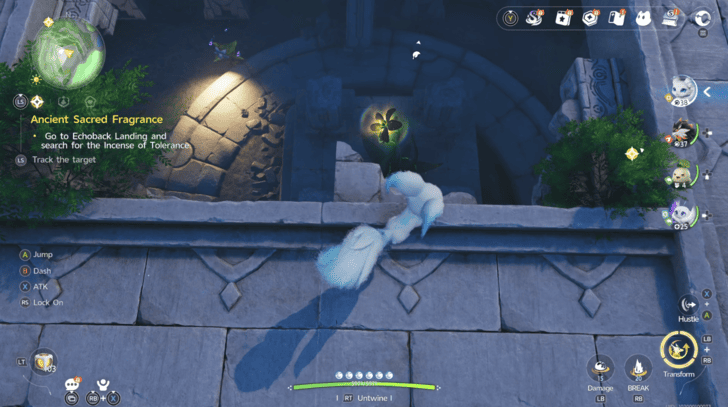 Coordinates: -0779, 1217 How to Get: Found inside the temple on the eastern side of Mistwoods. From the hole on the roof, drop down and interact with the glowing flower to get the chest. |
|
Mistwoods Chest 14 |
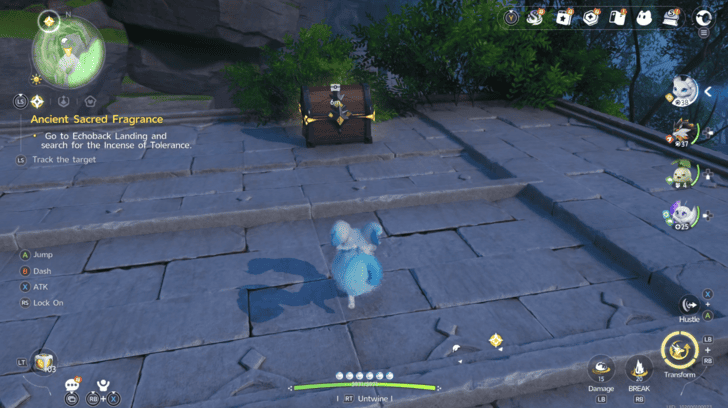 Coordinates: -0777, 1196 How to Get: Found on the roof of the temple on the eastern side of Mistwoods. |
|
Mistwoods Chest 15 |
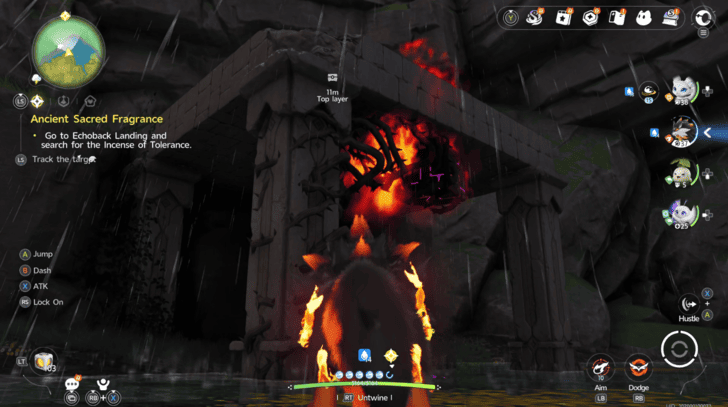 Coordinates: -1131, 1129 How to Get: Found inside a force field on a platform overlooking the lake on the southwest side of Mistwoods. Free the box under the platform by burning the vines so that the box hits the button underneath. This will free the chest. |
|
Mistwoods Chest 16 |
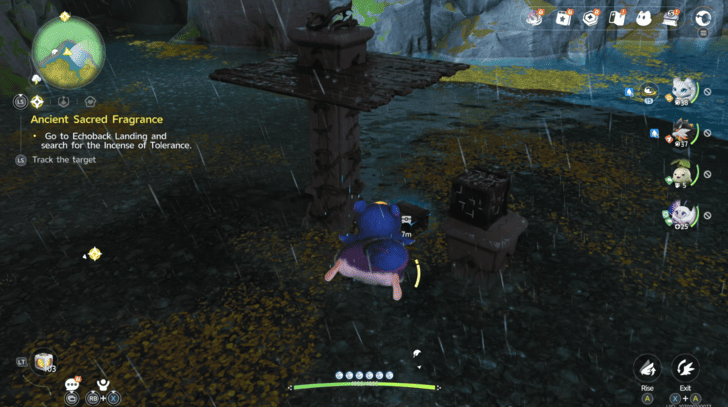 Coordinates: -1113, 1125 How to Get: Found on the top center of the lake on the southwest side of Mistwoods. |
|
Mistwoods Chest 17 |
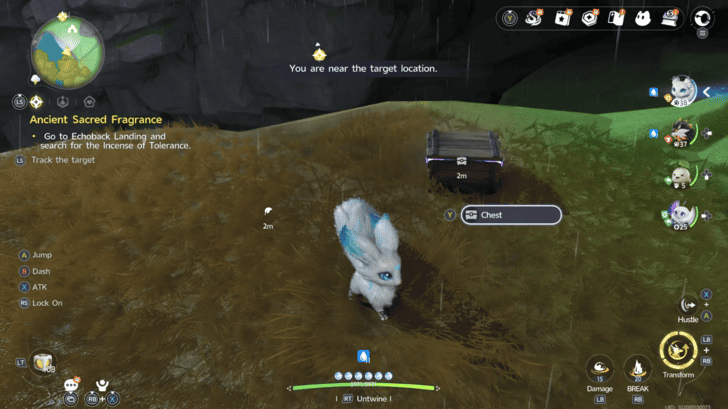 Coordinates: -1089, 1114 How to Get: Found on a cliff overlooking the lake on the southwest side of Mistwoods. |
|
Mistwoods Chest 18 |
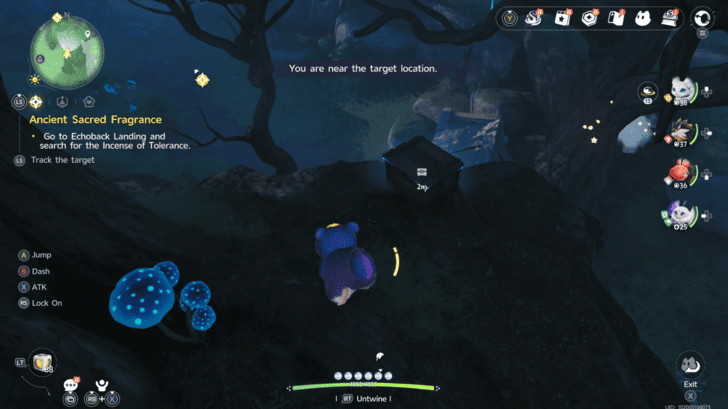 Coordinates: -0975, 1089 How to Get: Found on a small cliff next to some collapsed ruins on the southern part of Mistwoods. |
|
Mistwoods Chest 19 |
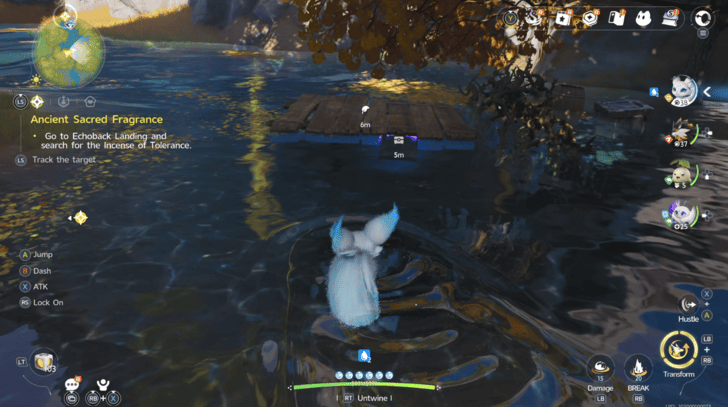 Coordinates: -1114, 0996 How to Get: Found under a wooden platform on the lake on the southwest part of Mistwoods. |
|
Mistwoods Chest 20 |
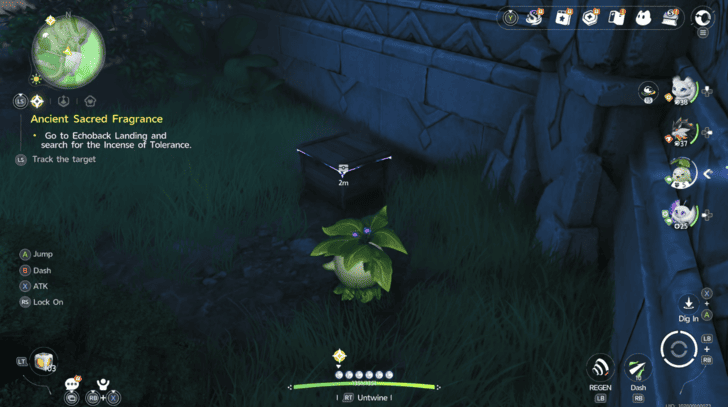 Coordinates: -0796, 1157 How to Get: Found on the bottom right corner of the ruins on the eastern side of Mistwoods. |
|
Mistwoods Chest 21 |
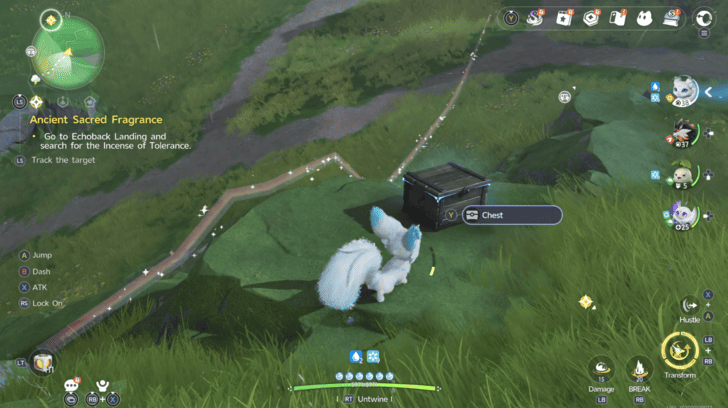 Coordinates: -0759, 1008 How to Get: Found off the side of the road on the southeast side of Mistwoods. |
|
Mistwoods Chest 22 |
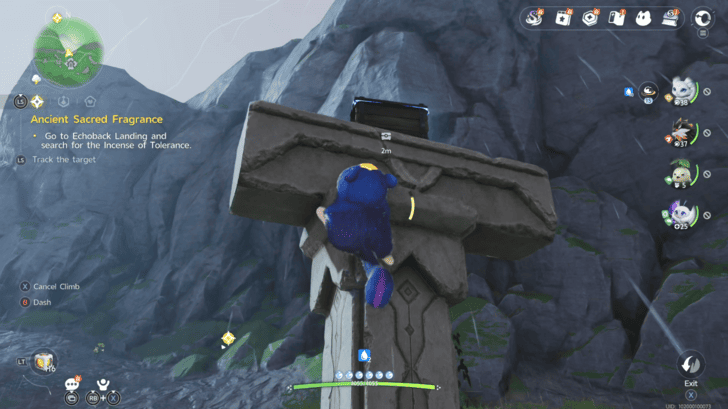 Coordinates: -0890, 0920 How to Get: Found on top of a pillar to the left of the Burning Brambles sanctum. |
|
Mistwoods Chest 23 |
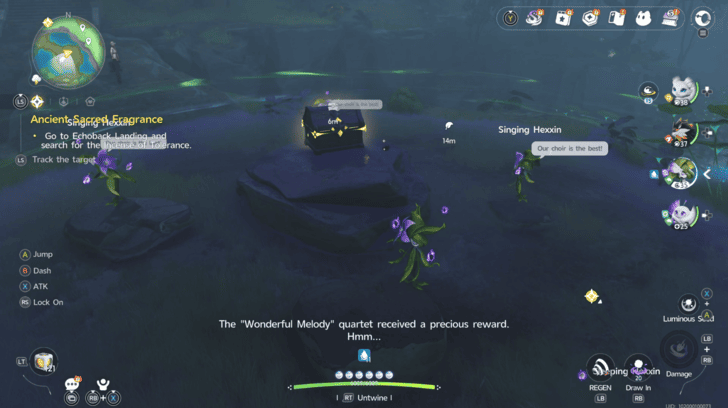 Coordinates: -0810, 1296 How to Get: Found inside a forcefield in the middle of a group of Hexxins singing on the eastern side of Mistwoods. Twine with a Hexxin and take the spot of the Sleeping Hexxin to get the chest. |
Mistwoods 100% Exploration Guide
All Chests in Blitzwood
| Collectibles | Details |
|---|---|
|
Blitzwood Chest 1 |
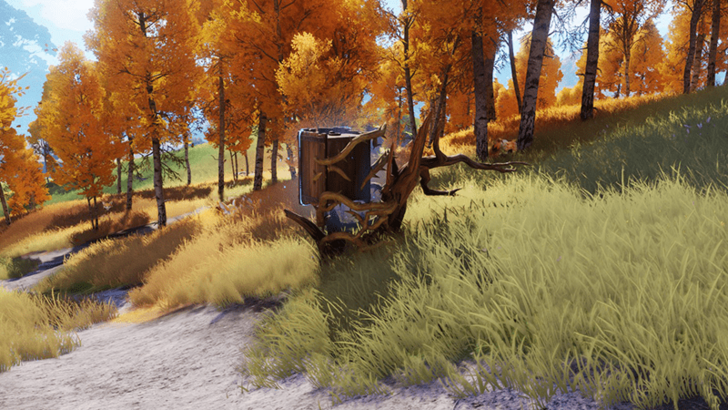 Coordinates: -0849, 0626 How to Get: Placed on top of some wood, surrounded by brambles that can be burned off with fire from an Aniimo skill. |
|
Blitzwood Chest 2 |
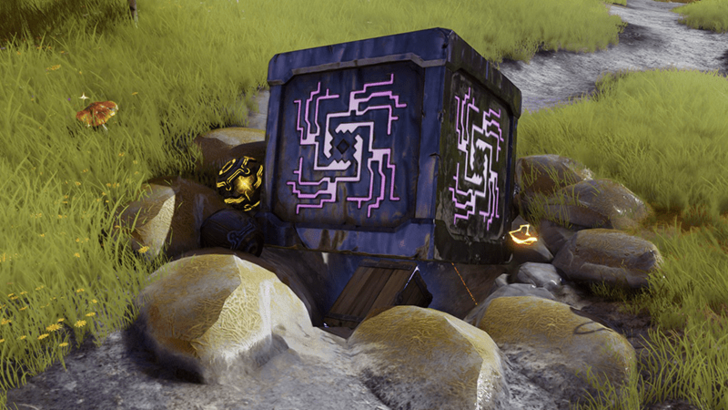 Coordinates: -0827, 0623 How to Get: The chest is wedged underneath a large metal cube that can conduct electricity. |
|
Blitzwood Chest 3 |
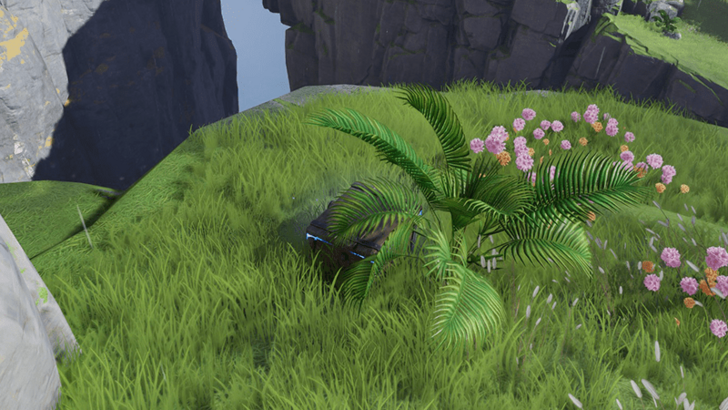 Coordinates: -0834, 0589 How to Get: Near the ledge of a cliff, placed next to a plant with large leaves. |
|
Blitzwood Chest 4 |
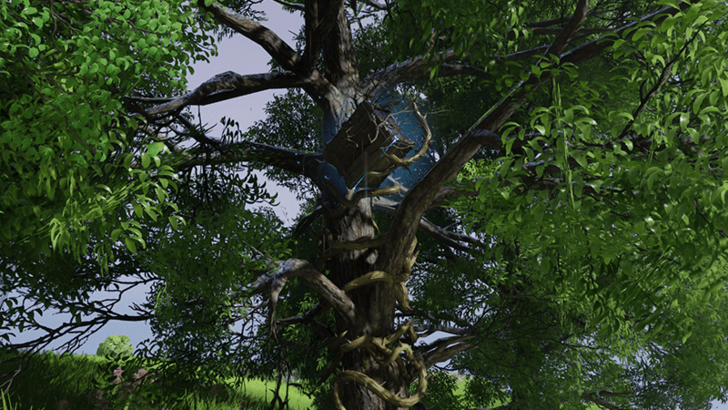 Coordinates: -0985, 0584 How to Get: Stuck on top of a tree while surrounded by several flammable brambles. Use fire from an Aniimo skill to burn them off to make the chest openable. |
|
Blitzwood Chest 5 |
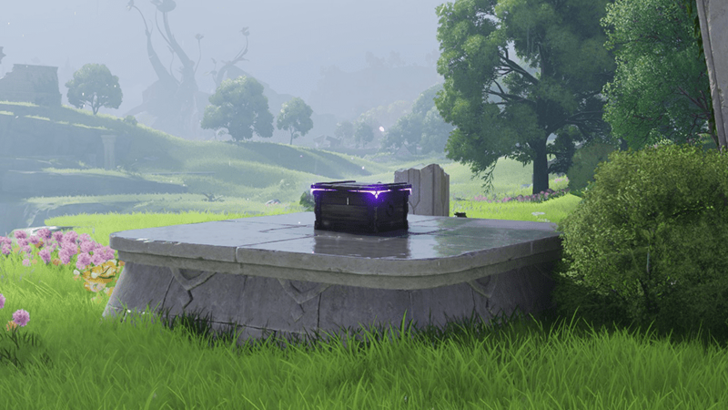 Coordinates: -0979, 0530 How to Get: Placed on top of a stone platform. The chest is protected by a barrier when first encountered and is disabled after defeating the nearby Iris defending it. |
|
Blitzwood Chest 6 |
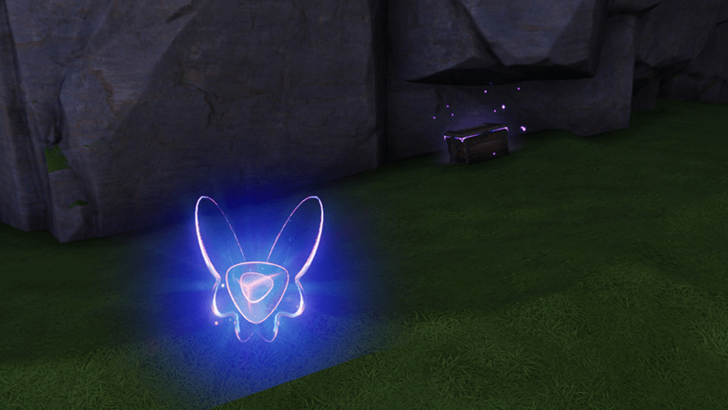 Coordinates: -0870, 0499 How to Get: Found underneath a cliff next to the Woods Glide Lumin Collection. |
|
Blitzwood Chest 7 |
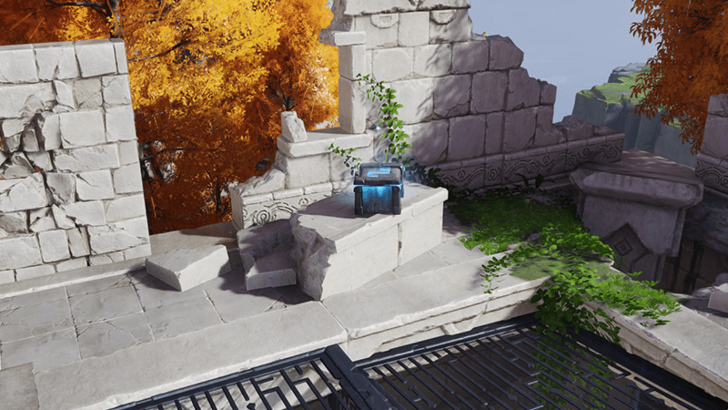 Coordinates: -0793, 0582 How to Get: Found on the rooftop of a ruined building. |
|
Blitzwood Chest 8 |
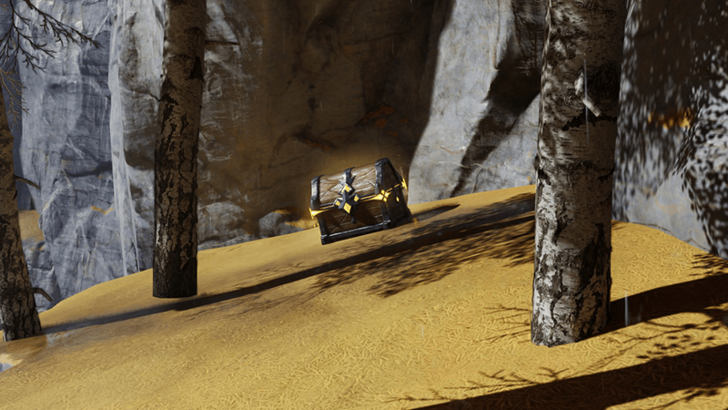 Coordinates: -0803, 0548 How to Get: Placed in a small cliff area surrounded with trees. |
|
Blitzwood Chest 9 |
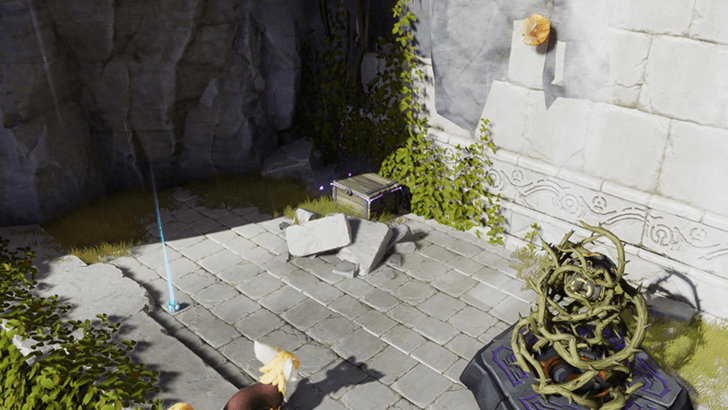 Coordinates: -0798, 0497 How to Get: Found on the rooftop of a ruined building with an electric mechanism nearby. |
|
Blitzwood Chest 10 |
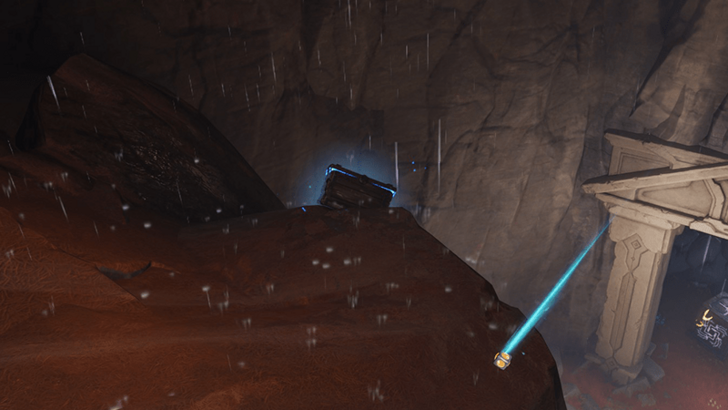 Coordinates: -0778, 0379 How to Get: On a ledge inside a pit. |
|
Blitzwood Chest 11 |
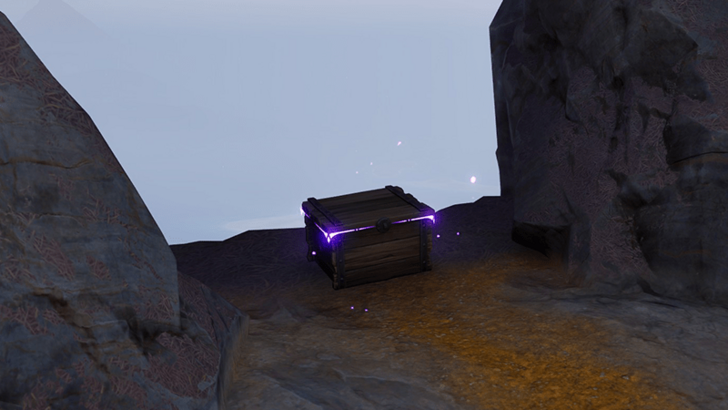 Coordinates: -0795, 0338 How to Get: At the end of a cave, behind a wall of stones that can be broken down with an Aniimo skill. The chest is found next to a cliff facing the ocean. |
|
Blitzwood Chest 12 |
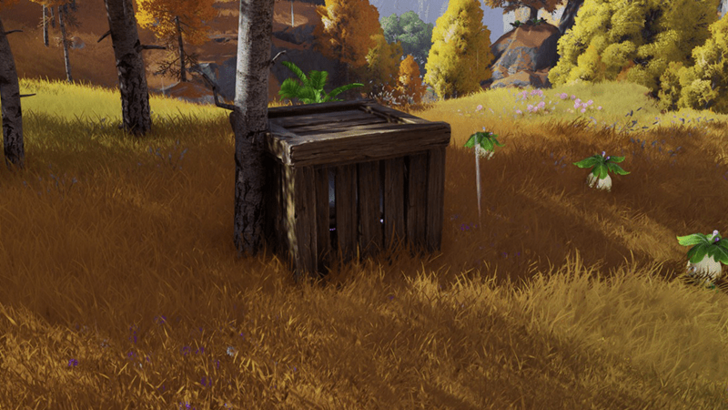 Coordinates: -0736, 0596 How to Get: Placed inside a crate next to a pack of Hummins. |
|
Blitzwood Chest 13 |
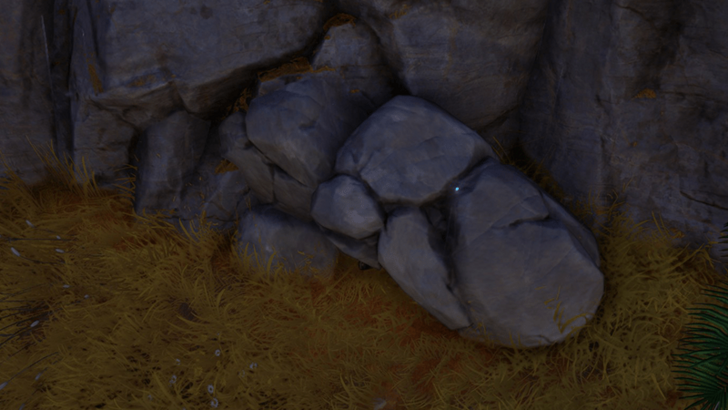 Coordinates: -0723, 0599 How to Get: Buried under a pile of rocks which can be cleared by using an Aniimo skill to break them down. |
|
Blitzwood Chest 14 |
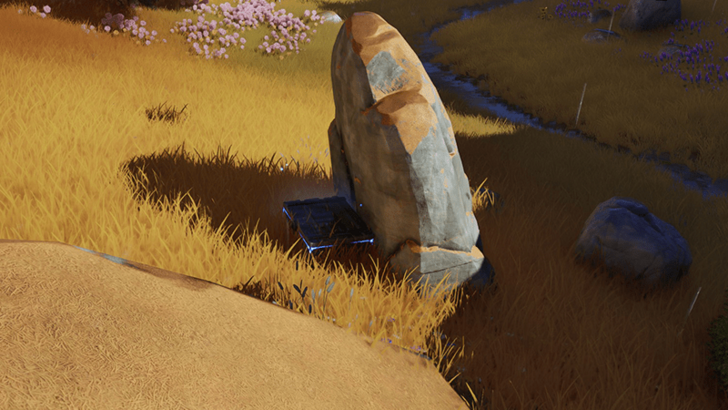 Coordinates: -0684, 0654 How to Get: Found next to a rock. |
|
Blitzwood Chest 15 |
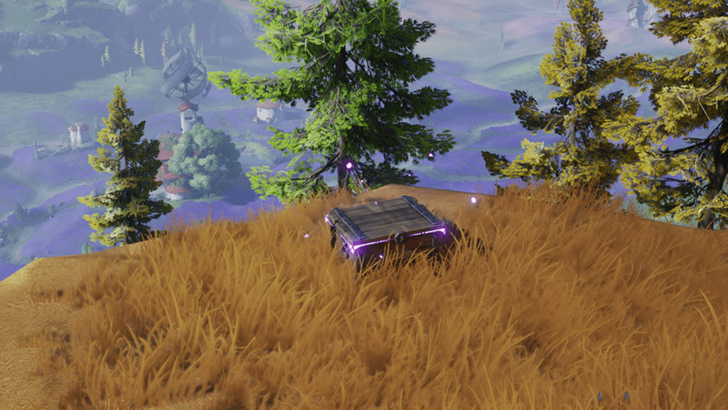 Coordinates: -0596, 0671 How to Get: Nearby a ledge that overlooks the Sea of Flowers region. |
|
Blitzwood Chest 16 |
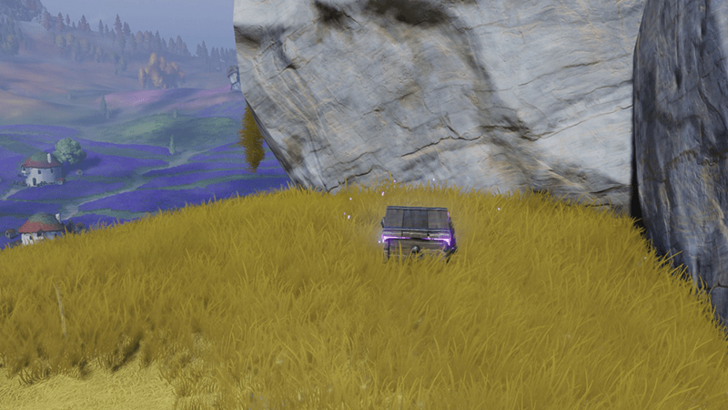 Coordinates: -0587, 0708 How to Get: In a small open area near the cliffs that border towards the Sea of Flowers. |
|
Blitzwood Chest 17 |
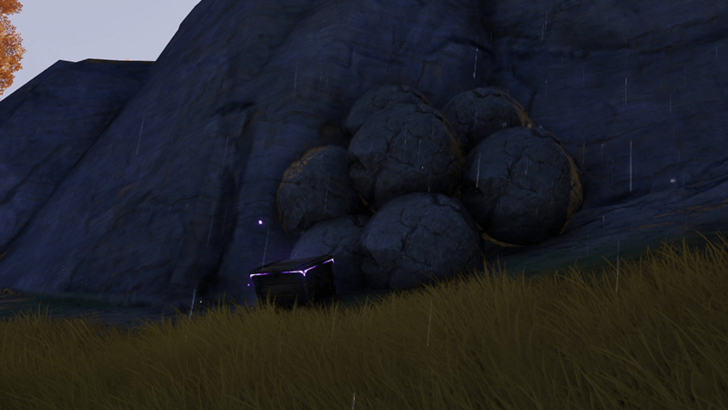 Coordinates: -0585, 0616 How to Get: Next to a pile of stones. |
|
Blitzwood Chest 18 |
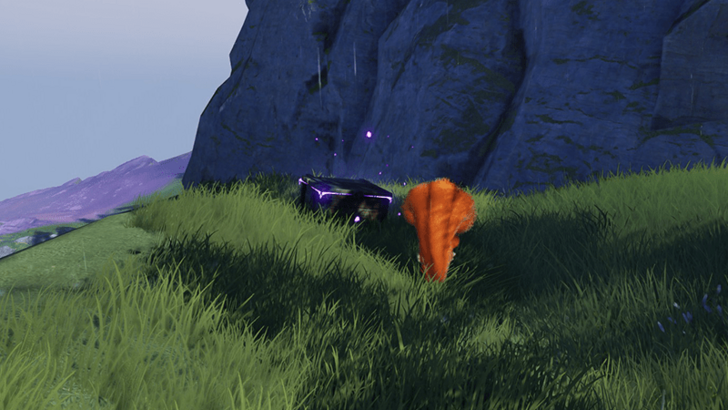 Coordinates: -0549, 0470 How to Get: Placed near a ledge of a cliff. |
|
Blitzwood Chest 19 |
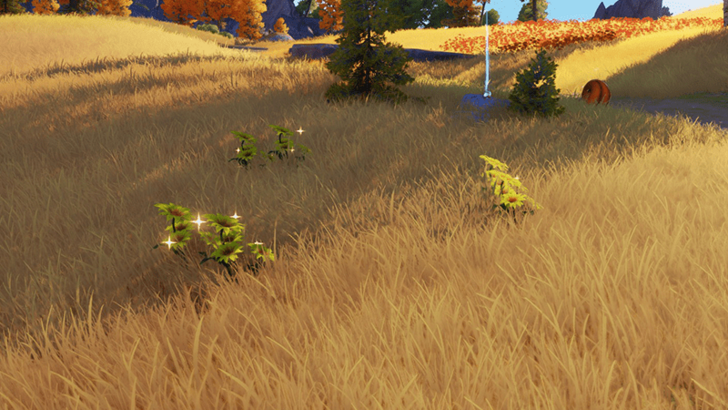 Coordinates: -0583, 0553 How to Get: Pick up the Sunny Daisies that form a circle and a chest will appear in the center. |
|
Blitzwood Chest 20 |
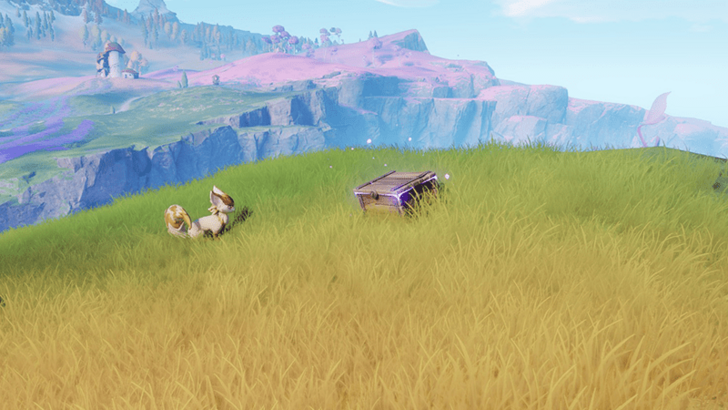 Coordinates: -0525, 0526 How to Get: Visible in an open field, next to a cliff. |
|
Blitzwood Chest 21 |
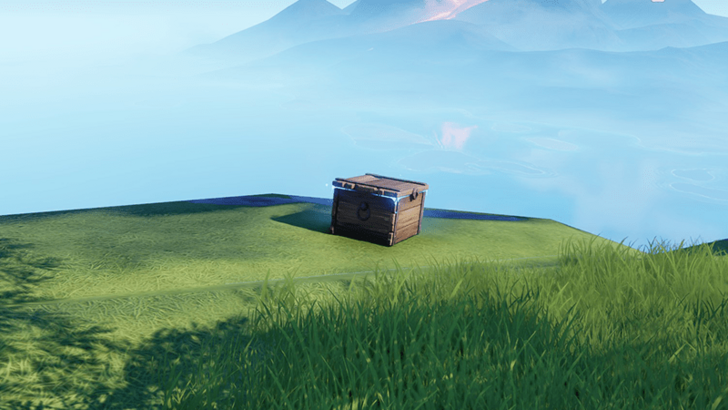 Coordinates: -0527, 0345 How to Get: Placed near the ledge of a cliff. |
|
Blitzwood Chest 22 |
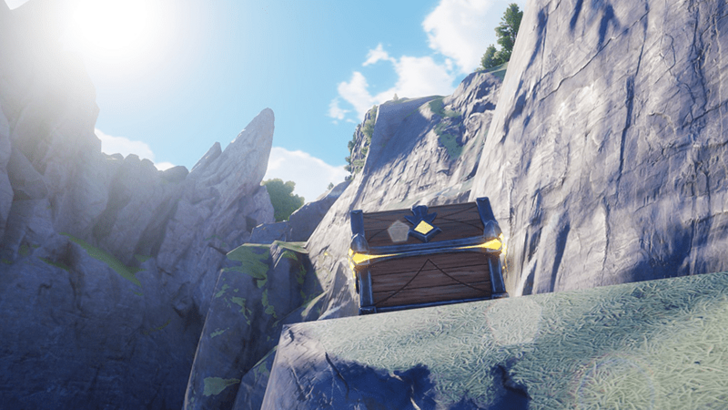 Coordinates: -0585, 0357 How to Get: Placed along the southeastern cliff wall of the Blitzwood region that faces towards the ocean to the south. |
|
Blitzwood Chest 23 |
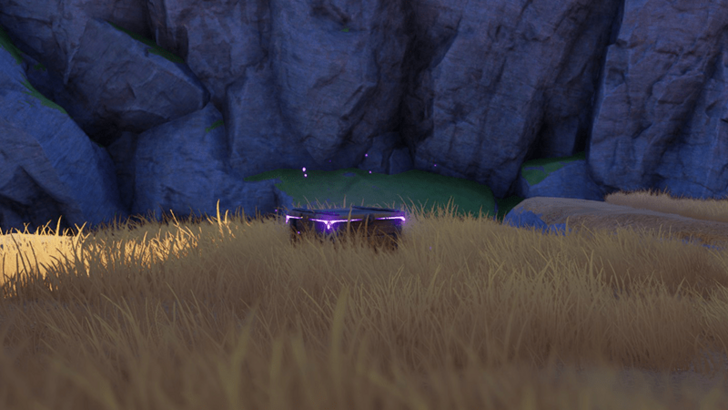 Coordinates: -0653, 0420 How to Get: Placed near the ledge of a cliff. |
|
Blitzwood Chest 24 |
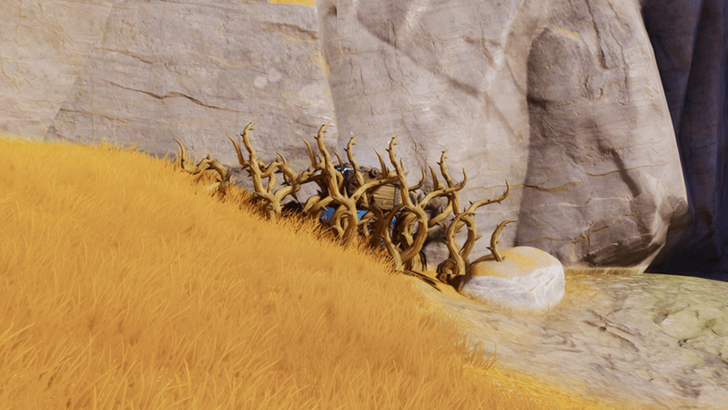 Coordinates: -0683, 0533 How to Get: Covered in brambles near a wall. Use fire from an Aniimo skill to remove the brambles. |
|
Blitzwood Chest 25 |
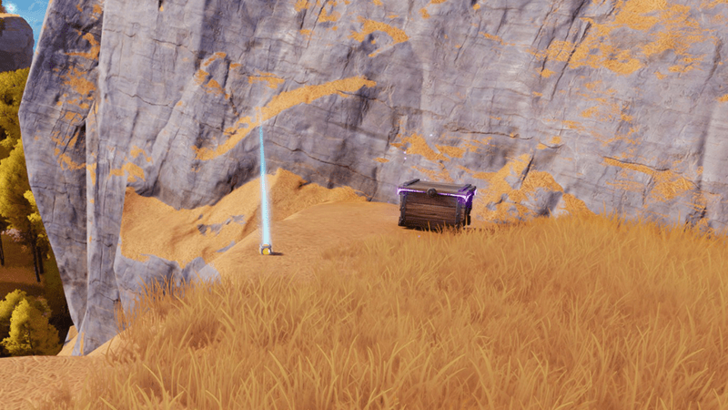 Coordinates: -0666, 0559 How to Get: Placed near a ledge of a cliff overlooking the Electric Flow Sanctum. |
|
Blitzwood Chest 26 |
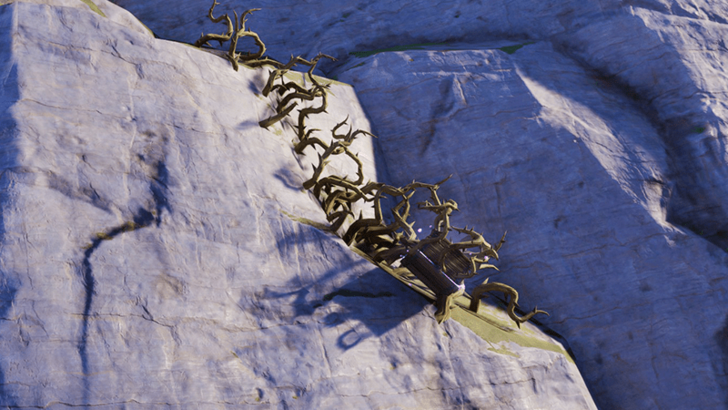 Coordinates: -0640, 0758 How to Get: Placed high above a cliff while being held up by brambles. Use fire from an Aniimo skill to remove the brambles to access the chest. |
|
Blitzwood Chest 27 |
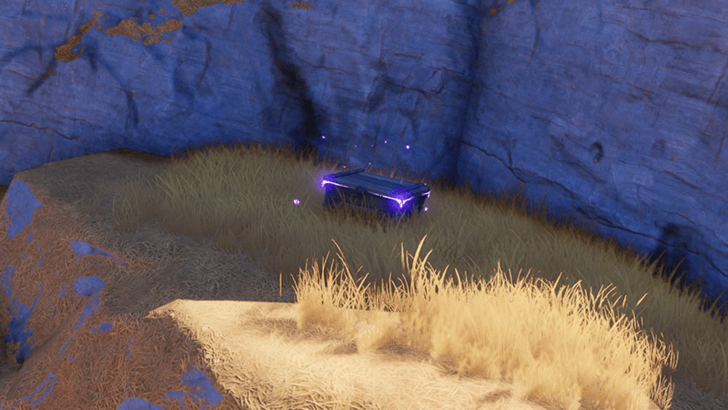 Coordinates: -0701, 0721 How to Get: Placed on top of an elevated surface of a rocky area. |
|
Blitzwood Chest 28 |
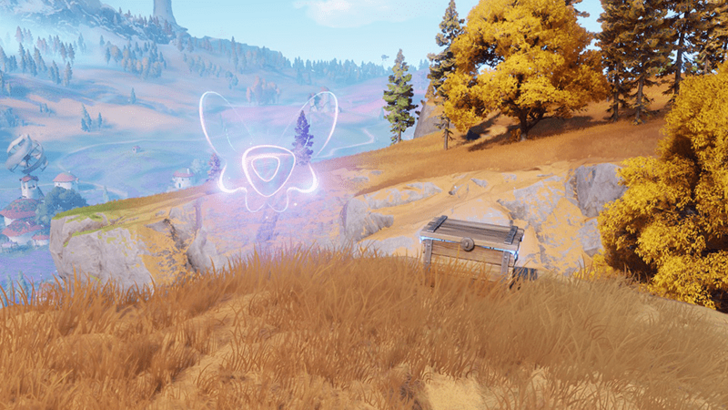 Coordinates: -0692, 0680 How to Get: Placed near the ledge of a cliff next to the Into the Sea of Flowers Runaway Amber. |
|
Blitzwood Chest 29 |
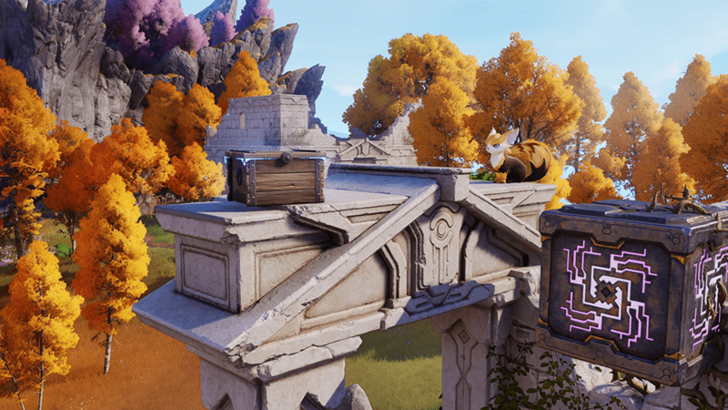 Coordinates: -0768, 0645 How to Get: On top of a stone arch in the middle of ruins. |
|
Blitzwood Chest 30 |
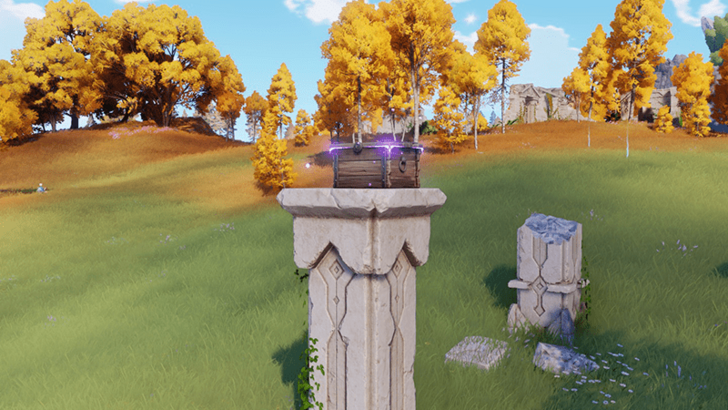 Coordinates: -0824, 0713 How to Get: Chest appears on top of one of the stone pillars after picking up several Aniipod Pro on top of the other pillars. |
|
Blitzwood Chest 31 |
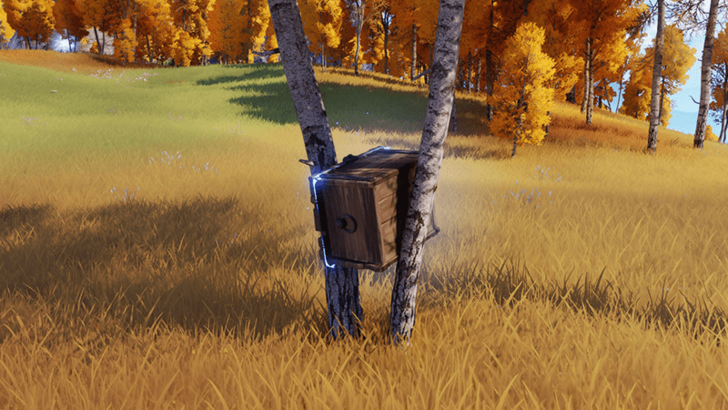 Coordinates: -0846, 0717 How to Get: Chest is wedged in between two thin trees on the open field. |
|
Blitzwood Chest 32 |
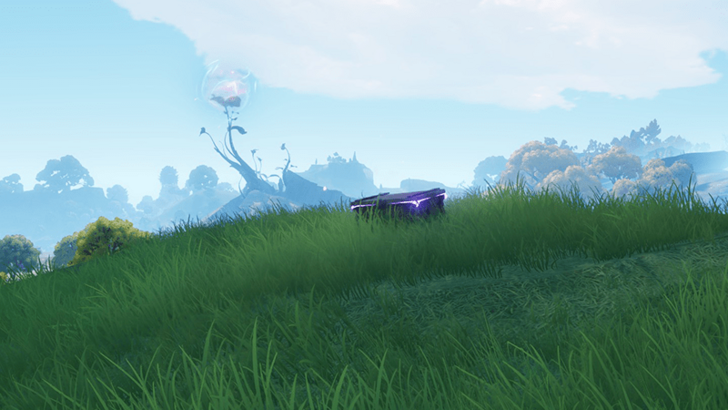 Coordinates: -0876, 0737 How to Get: Near a ledge on top of a hill. |
|
Blitzwood Chest 33 |
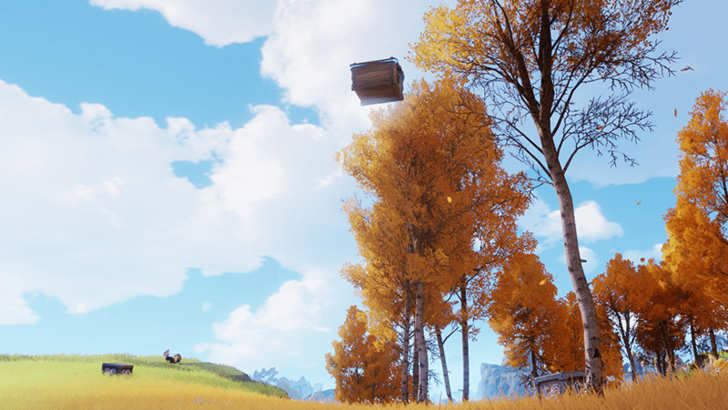 Coordinates: -0901, 0652 How to Get: The chest floats above the air due to wind being exhausted out of a turbine below it. |
|
Blitzwood Chest 34 |
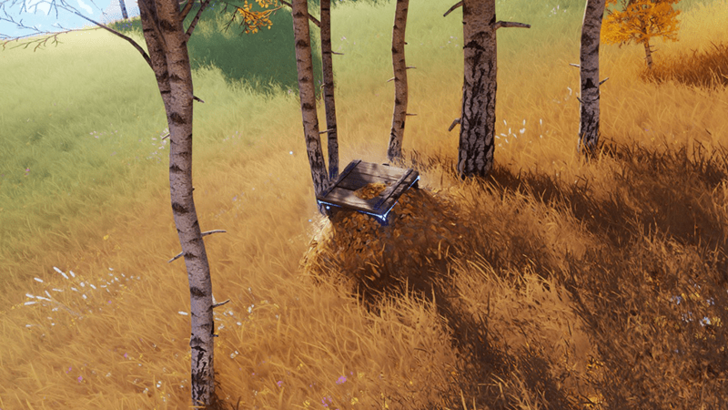 Coordinates: -0921, 0627 How to Get: On the open field surrounded by several thin trees. |
|
Blitzwood Chest 35 |
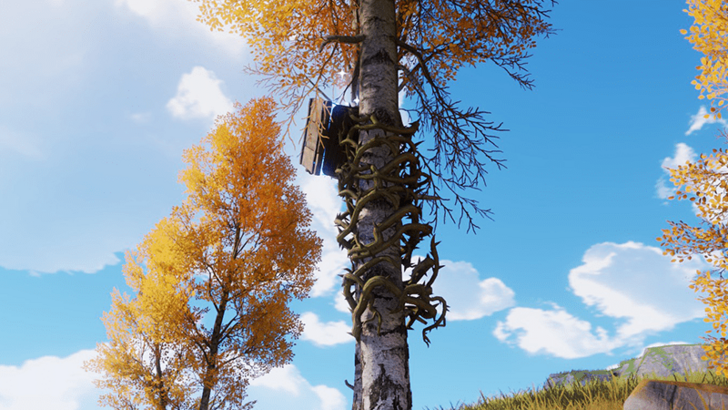 Coordinates: -0953, 0647 How to Get: Wrapped around a tree's trunk by spiky brambles. Use fire from an Aniimo skill to remove them and free the chest. |
|
Blitzwood Chest 36 |
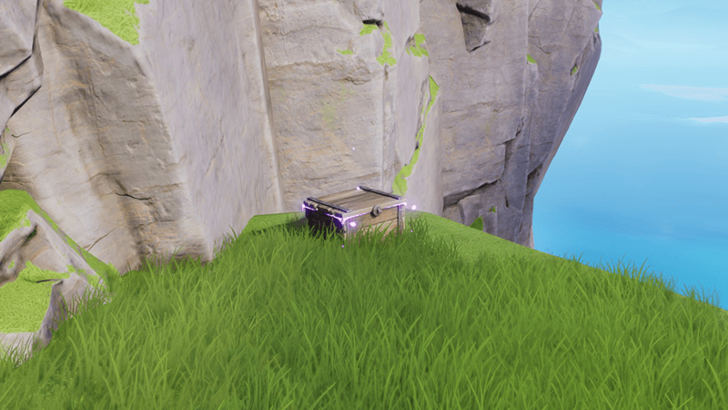 Coordinates: -0892, 0524 How to Get: Placed next to the ledge of a cliff facing towards the south. |
|
Blitzwood Chest 37 |
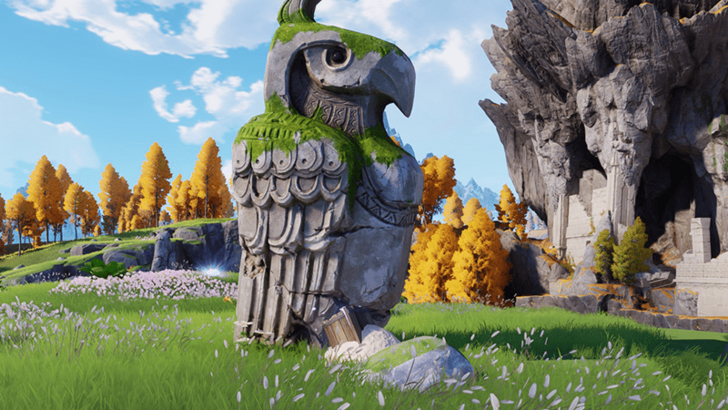 Coordinates: -0875, 0485 How to Get: Chest is placed at the foot of a bird-like statue near the cliff. |
|
Blitzwood Chest 38 |
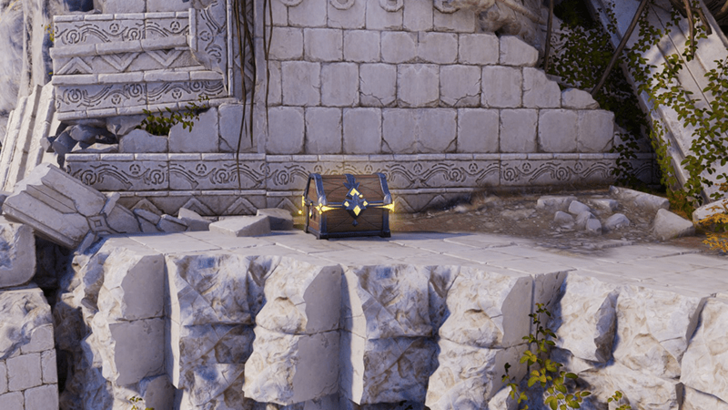 Coordinates: -0841, 0461 How to Get: Chest is placed in a ruined area by the side of a cliff. |
|
Blitzwood Chest 39 |
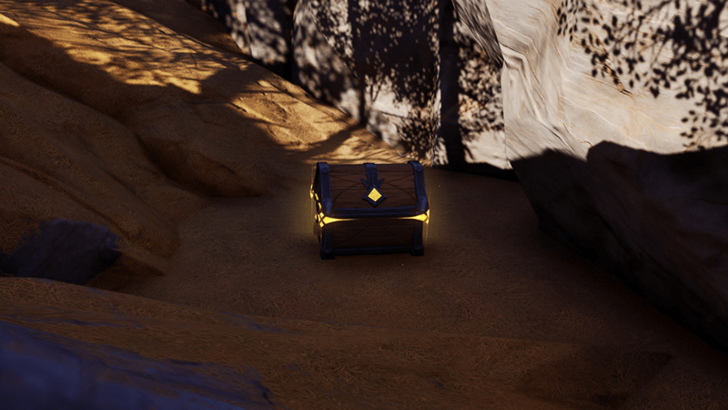 Coordinates: -0810, 0475 How to Get: Chest is hidden in between the stony environment on the surface. |
|
Blitzwood Chest 40 |
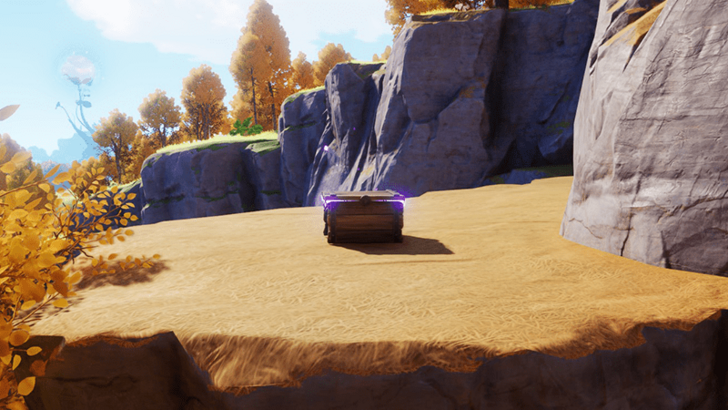 Coordinates: -0804, 0553 How to Get: Chest is found on a flat stone surface. |
|
Blitzwood Chest 41 |
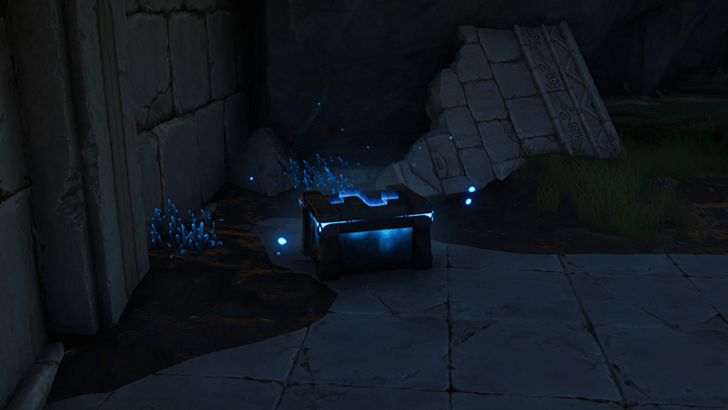 Coordinates: -0792, 0583 How to Get: Found at the bottom of a ruin by entering a hole that leads beneath the building. |
|
Blitzwood Chest 42 |
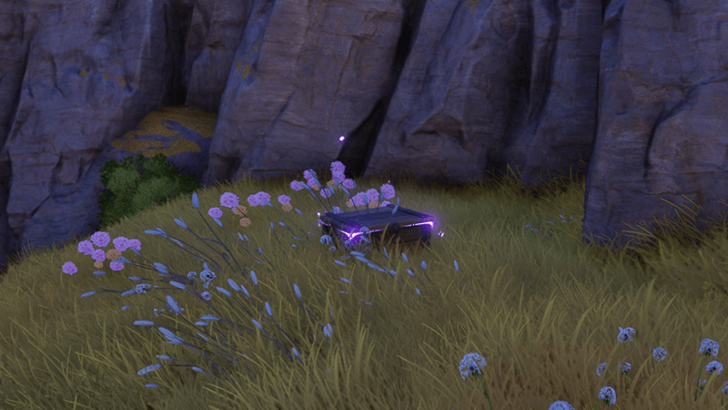 Coordinates: -0755, 0582 How to Get: Found near some purple flowers. |
|
Blitzwood Chest 43 |
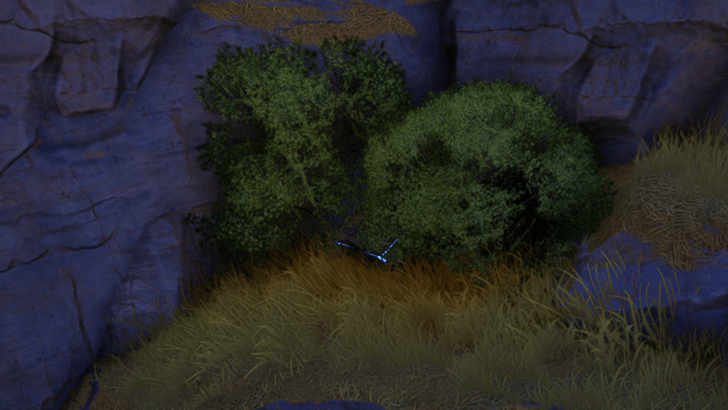 Coordinates: -0763, 0579 How to Get: Found underneath some bushes near another chest. |
|
Blitzwood Chest 44 |
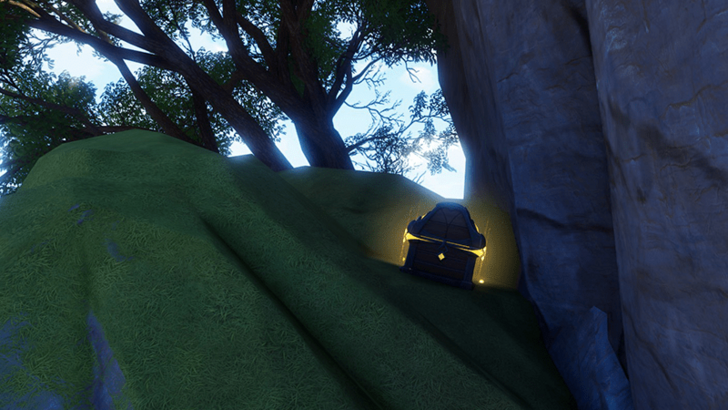 Coordinates: -0681, 0371 How to Get: Placed in between the large rocks of the cliff area southeast of the Alpha Blazen area. |
Blitzwood 100% Exploration Guide
All Chests in Tideblossom Coast
| Collectibles | Details |
|---|---|
|
Tideblossom Coast Chest 1 |
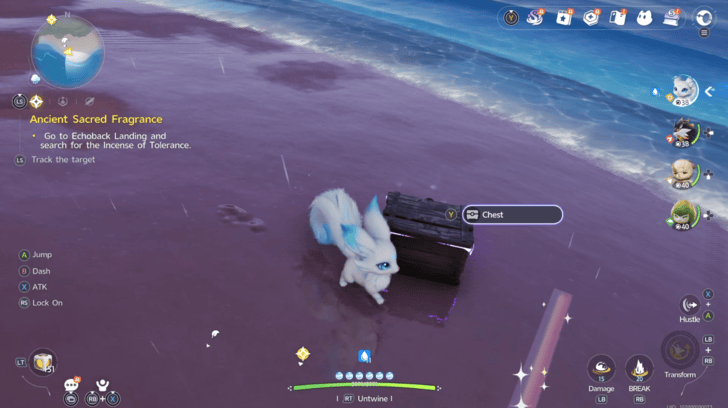 Coordinates: -0377, ,0203 How to Get: Found along the beach shore on the western side of Tideblossom Coast. |
|
Tideblossom Coast Chest 2 |
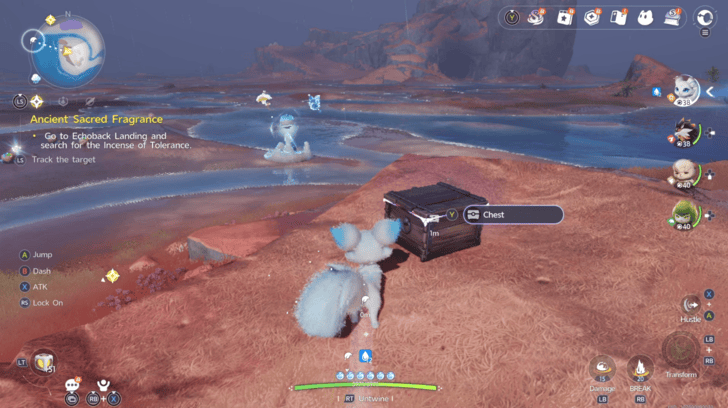 Coordinates: -0275, 0186 How to Get: Found on a small cliff on the southwest side of Tideblossom Coast. |
|
Tideblossom Coast Chest 3 |
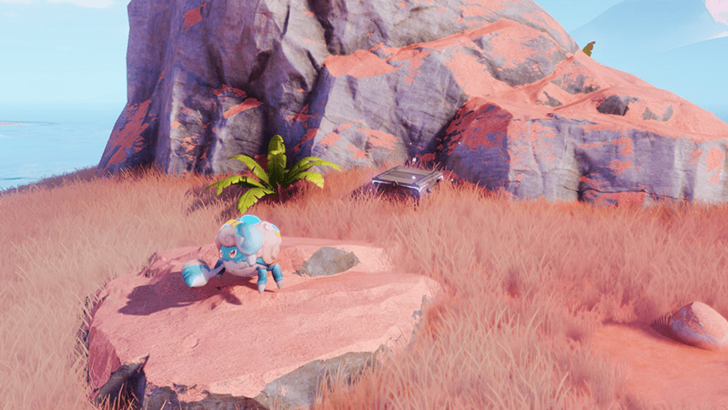 Coordinates: -0180, 0092 How to Get: Placed in a patch of grass with a few Budclaws nearby. |
|
Tideblossom Coast Chest 4 |
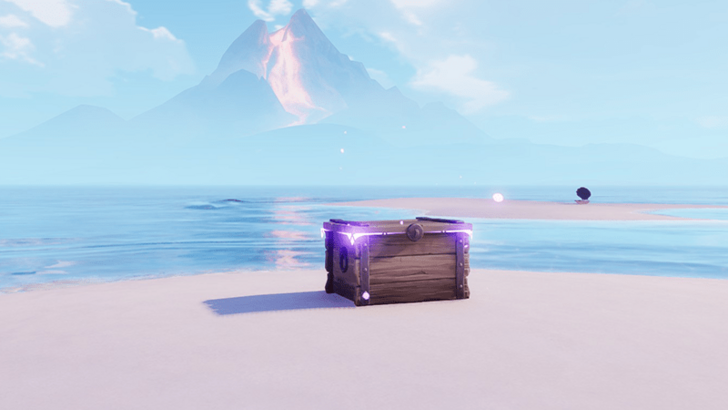 Coordinates: -0125, 0024 How to Get: Placed on a small spot of sand surrounded by water. |
|
Tideblossom Coast Chest 5 |
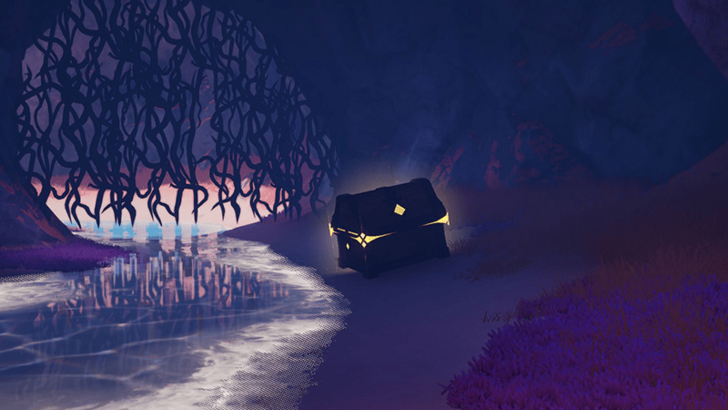 Coordinates: -0089, 0077 How to Get: Inside a cavern to the side of the small island's cliff. |
|
Tideblossom Coast Chest 6 |
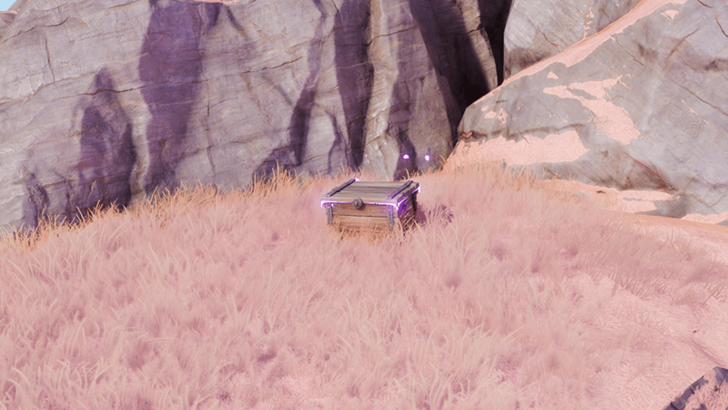 Coordinates: -0043, 0084 How to Get: Placed in a patch of grass on a rocky area. |
|
Tideblossom Coast Chest 7 |
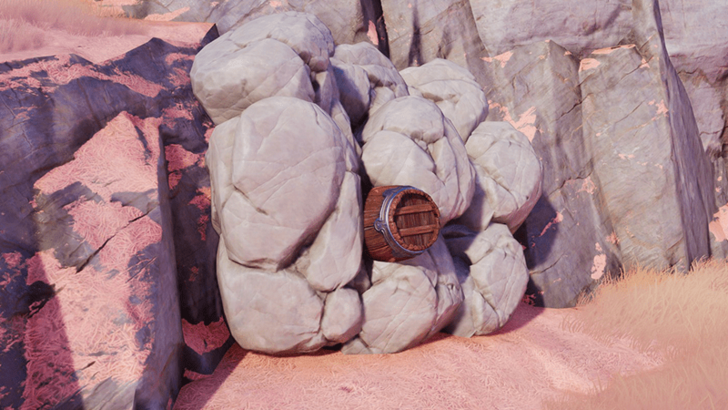 Coordinates: -0043, 0078 How to Get: Placed underneath rubble with an explosive barrel wedged between them. |
|
Tideblossom Coast Chest 8 |
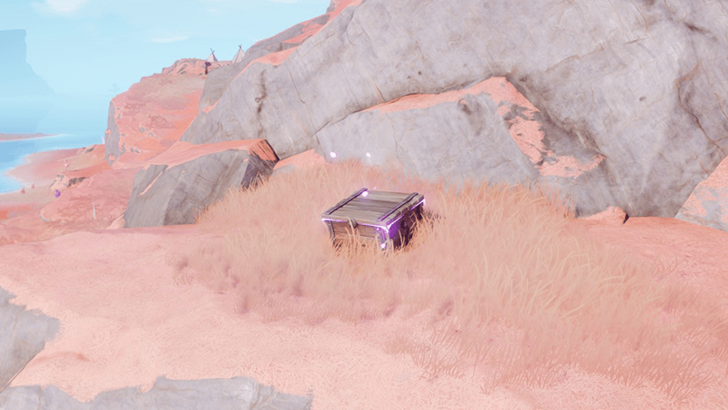 Coordinates: -0100, 0122 How to Get: Placed along the rocky slope of the island. |
|
Tideblossom Coast Chest 9 |
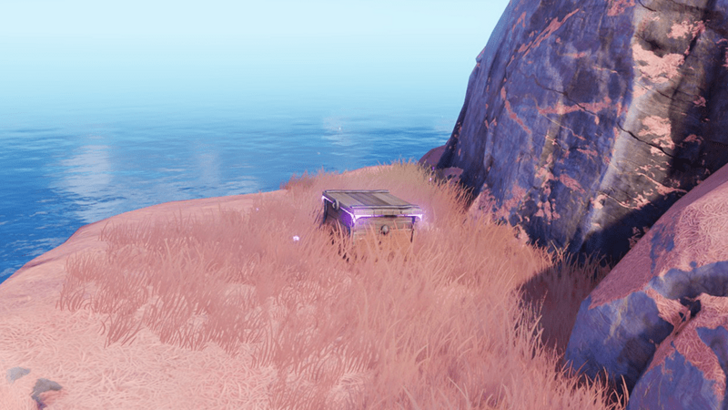 Coordinates: 0022, 0136 How to Get: Placed near a ledge, on the eastern part of the island. |
|
Tideblossom Coast Chest 10 |
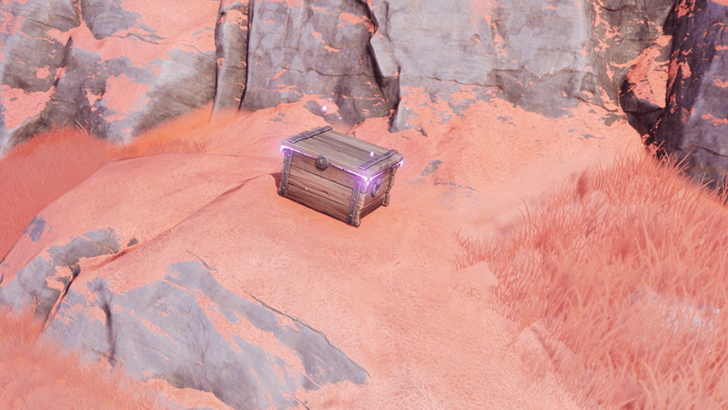 Coordinates: -0020, 0172 How to Get: Place on a rocky surface at the northern part of the island. |
|
Tideblossom Coast Chest 11 |
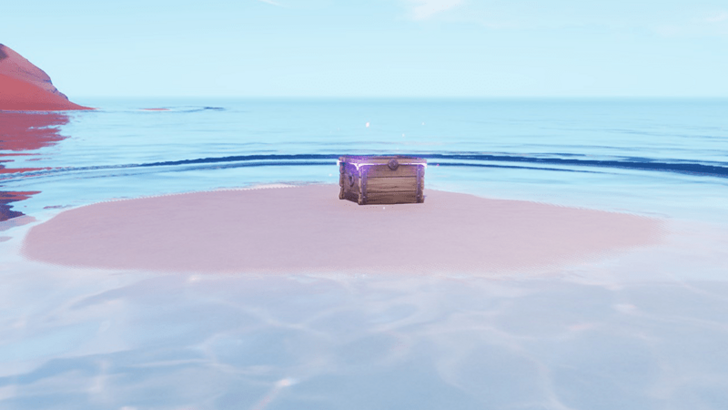 Coordinates: 0060, 0134 How to Get: Placed on a small spot of sand surrounded by water. |
|
Tideblossom Coast Chest 12 |
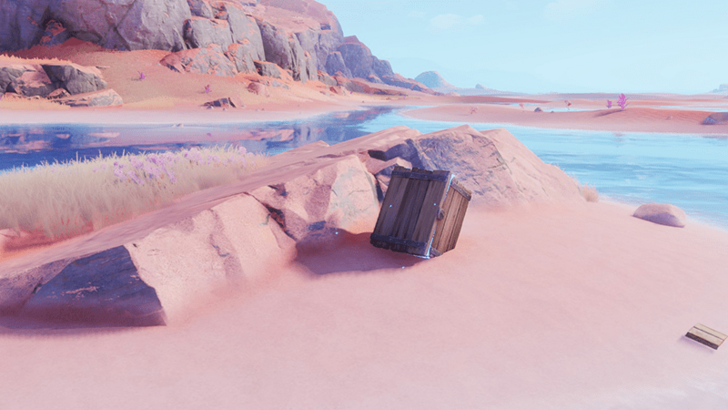 Coordinates: 0032, 0236 How to Get: Placed on a smaller islet beside a rocky surface. |
|
Tideblossom Coast Chest 13 |
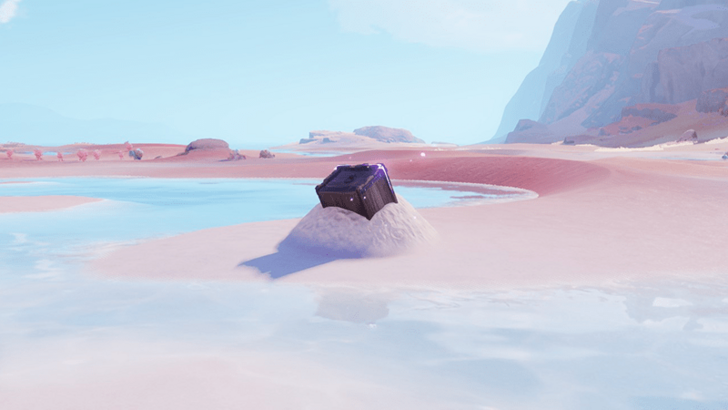 Coordinates: -0089, 0225 How to Get: Placed around the shallow waters, the chest is partly buried underneath sand, so use an Aniimo skill to pull it out. |
|
Tideblossom Coast Chest 14 |
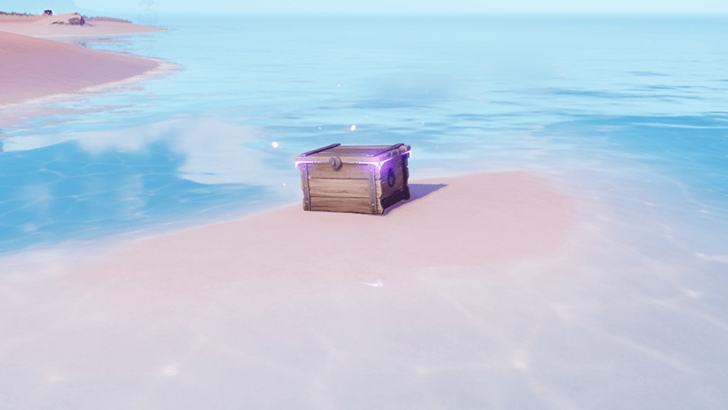 Coordinates: -0005, 0276 How to Get: Placed on a tiny patch of sand surrounded by water. |
|
Tideblossom Coast Chest 15 |
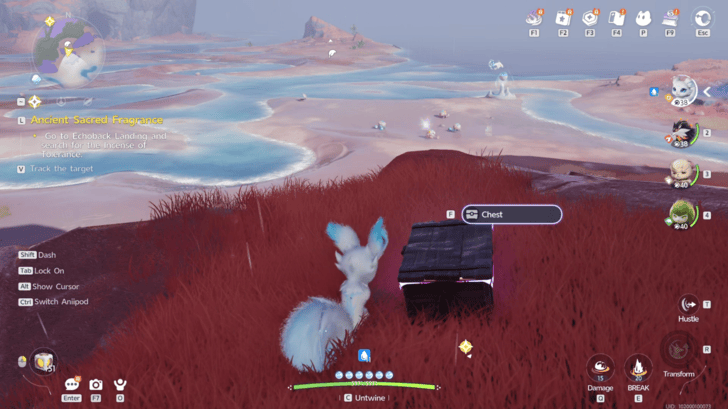 Coordinates: -0239, 0249 How to Get: Found on a cliff southwest of the Tideblossom Coast Bloom. |
|
Tideblossom Coast Chest 16 |
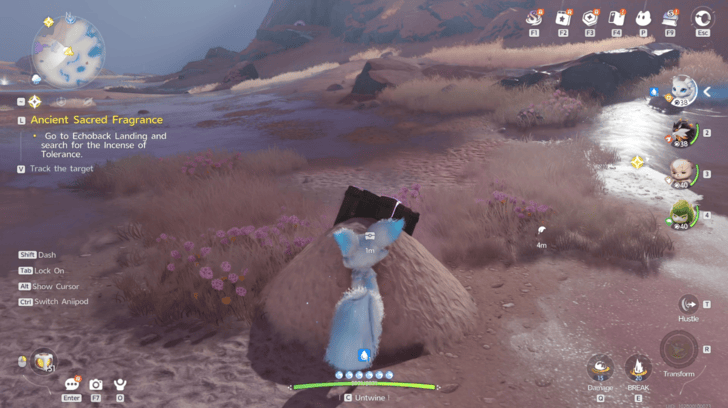 Coordinates: -0164, 0263 How to Get: Found buried in a pile of sand south of the Tideblossom Coast Bloom. You must launch an attack at the sand to free the chest. |
|
Tideblossom Coast Chest 17 |
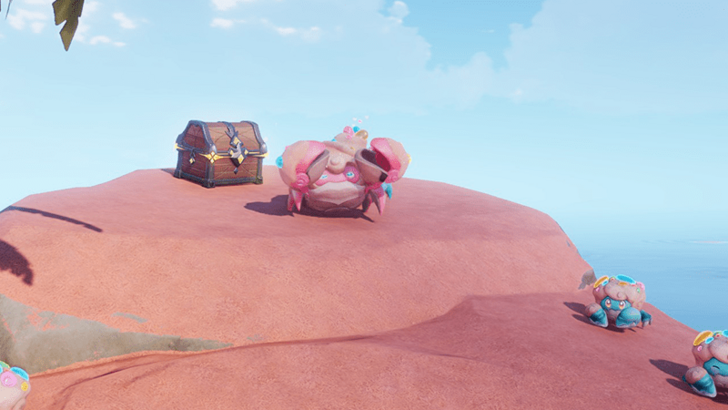 Coordinates: 0058, 0328 How to Get: Placed a top of a large rock formation surrounded by Shrubclaw and Budclaws. |
|
Tideblossom Coast Chest 18 |
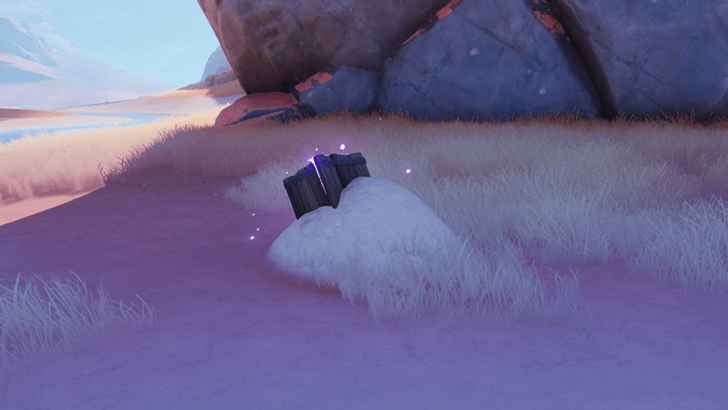 Coordinates: 0067, 0320 How to Get: Placed at the foot of large rock formation, partly buried in sand. You can pull it out by using Aniimo skills that can break the sand. |
|
Tideblossom Coast Chest 19 |
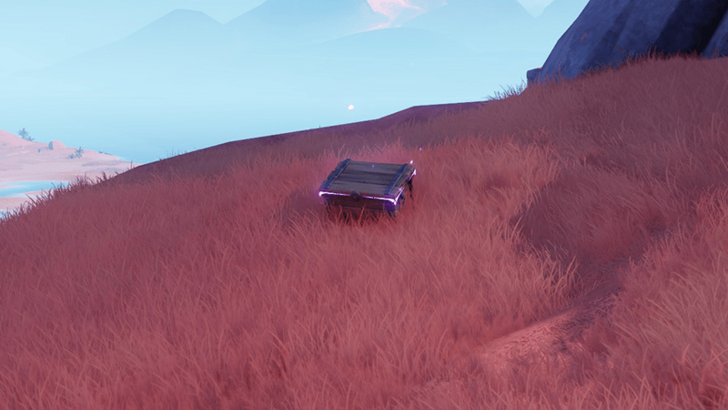 Coordinates: -0195, 0312 How to Get: Placed on a sloped area near a ledge. |
|
Tideblossom Coast Chest 20 |
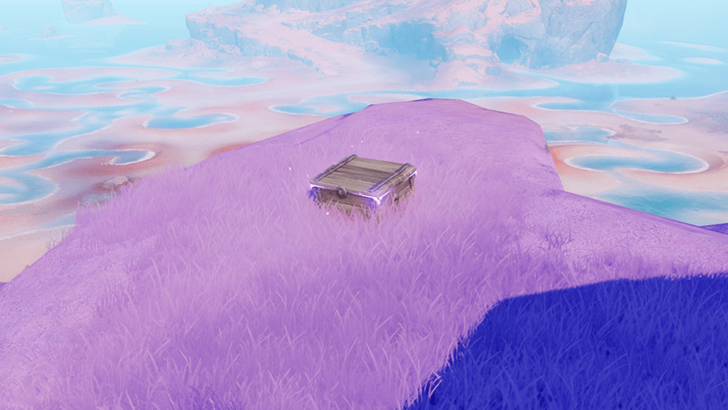 Coordinates: -0253, 0277 How to Get: Placed near the ledge of a cliff overlooking the region. |
|
Tideblossom Coast Chest 21 |
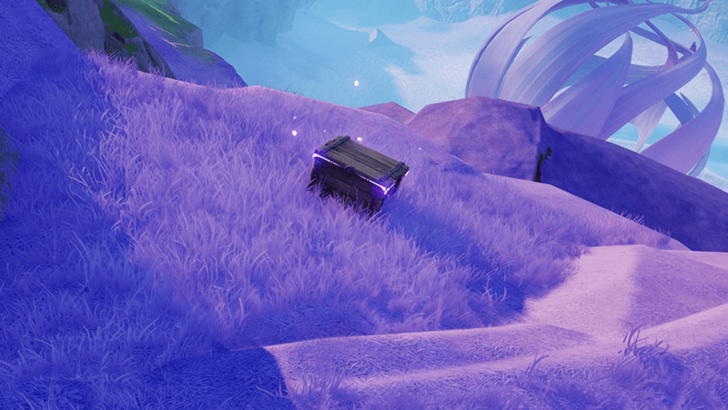 Coordinates: -0395, 0319 How to Get: Placed near a rocky and uneven area. |
|
Tideblossom Coast Chest 22 |
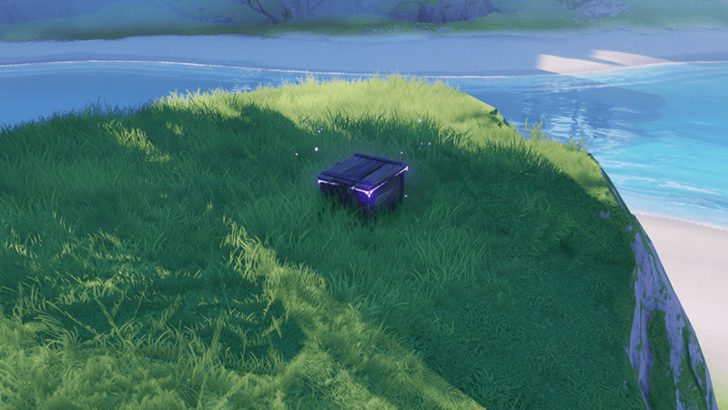 Coordinates: 0315, 0536 How to Get: Placed on a small islet surrounded by the water located in the far northeastern part of the region. |
Tideblossom Coast 100% Exploration Guide
All Chests in Sea of Flowers
| Collectibles | Details |
|---|---|
|
Sea of Flowers Chest 1 |
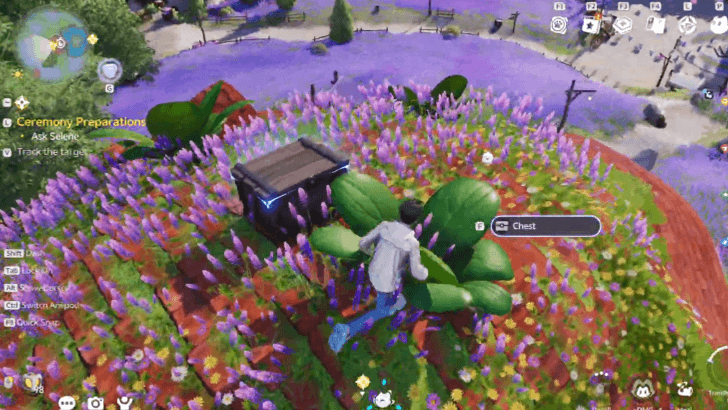 Coordinates: -0460, 0824 How to Get: This chest is found on top of the elder's house in Bloomville. |
|
Sea of Flowers Chest 2 |
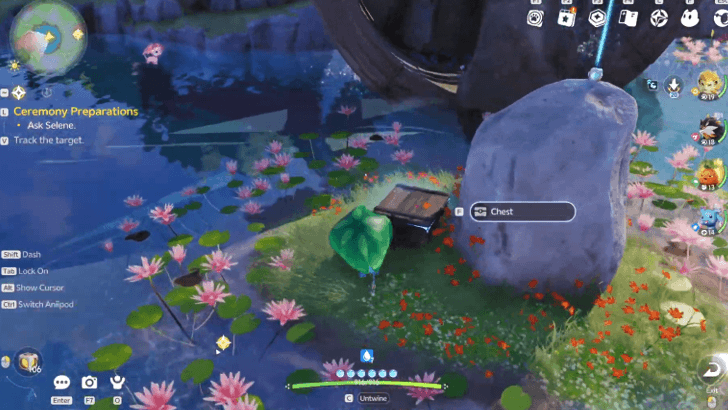 Coordinates: -0426, 0831 How to Get: This chest is found in front of a water wheel in a small lake in Bloomville. |
|
Sea of Flowers Chest 3 |
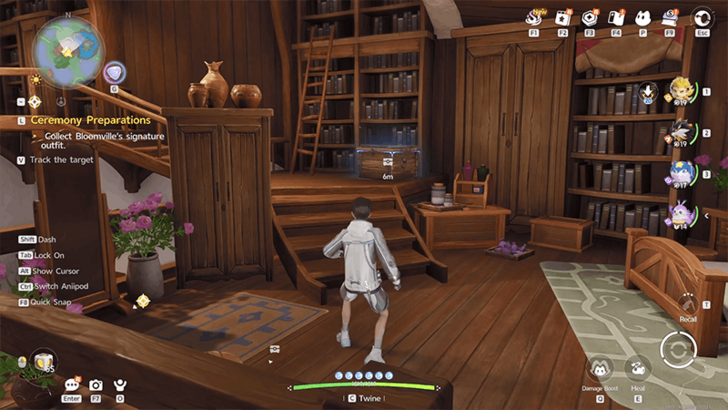 Coordinates: -0450, 0824 How to Get: This chest is inside the elder's house at the second floor. |
|
Sea of Flowers Chest 4 |
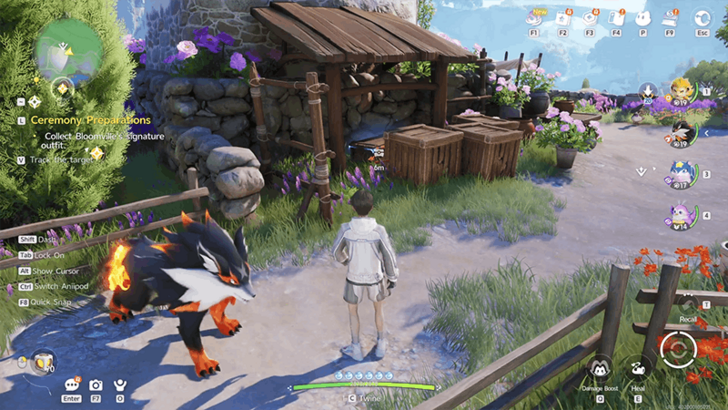 Coordinates: -0450, 0877 How to Get: This chest is behind a couple of wooden crates underneath a small wooden roof. |
|
Sea of Flowers Chest 5 |
 Coordinates: -0544, 0856 How to Get: This chest is found behind two wooden crates. |
|
Sea of Flowers Chest 6 |
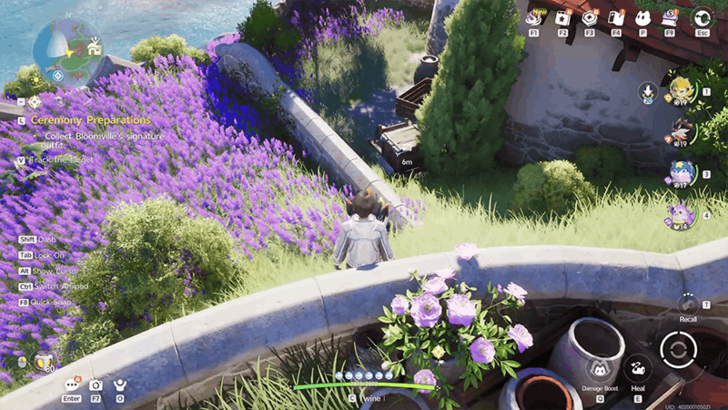 Coordinates: -0559, 0848 How to Get: This chest is found on a small wooden cart at the back of a house. |
|
Sea of Flowers Chest 7 |
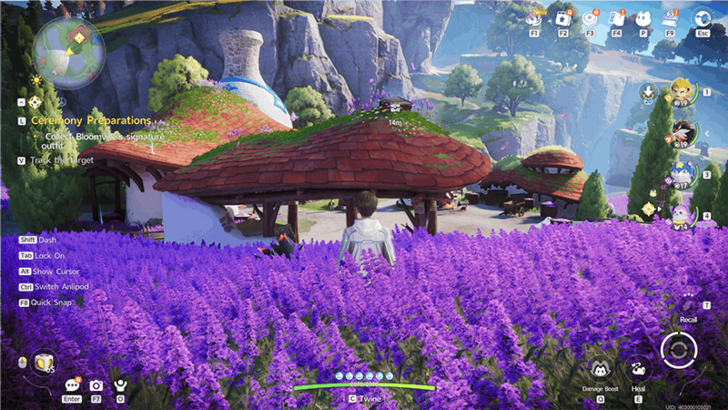 Coordinates: -0841, 0790 How to Get: This chest is placed on top of a roof. |
|
Sea of Flowers Chest 10 |
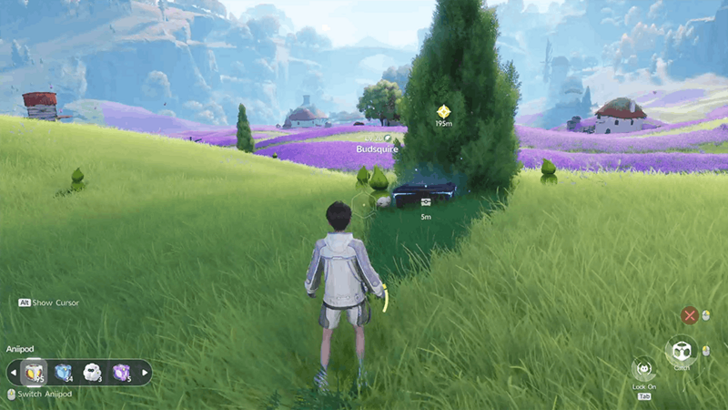 Coordinates: -0275, 0758 How to Get: This chest is placed inside a large shrubbery surrounded by Budsquire and a Thornblade. |
|
Sea of Flowers Chest 11 |
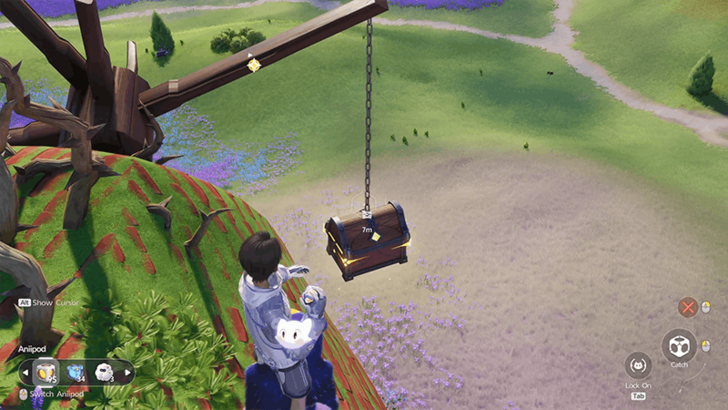 Coordinates: -0223, 0742 How to Get: This chest is dangling on a chain attached to a dismantled windmill. Burn the brambles on it to make it start spinning again and make it easily reachable. |
|
Sea of Flowers Chest 12 |
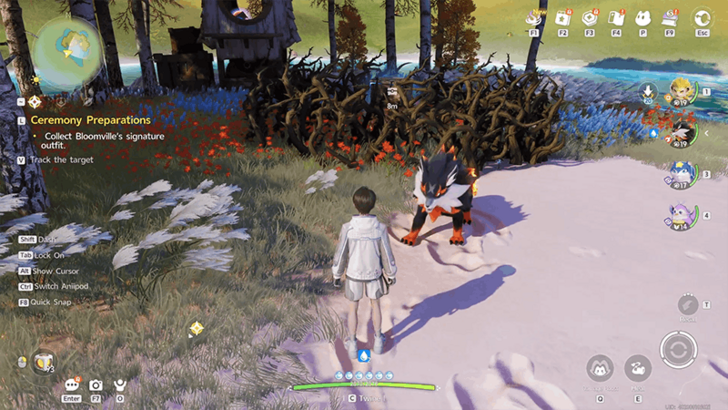 Coordinates: -0115, 0783 How to Get: This chest is surrounded and covered in brambles. Use a Fire Aniimo to burn the brambles to access the chest. |
|
Sea of Flowers Chest 13 |
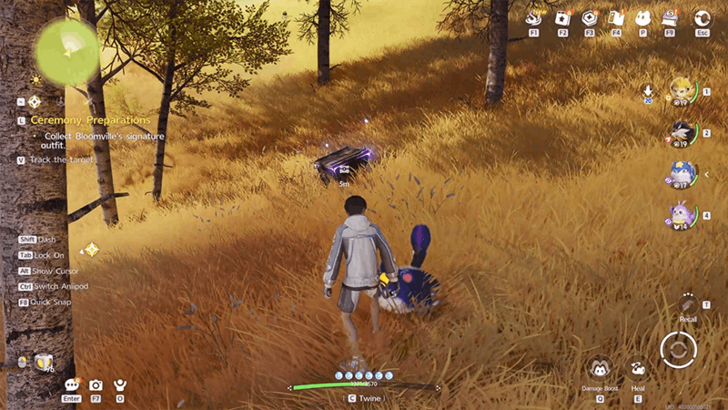 Coordinates: -0822, 0840 How to Get: This chest is buried in leaves. Use an Aniimo to clear the leaves. |
|
Sea of Flowers Chest 14 |
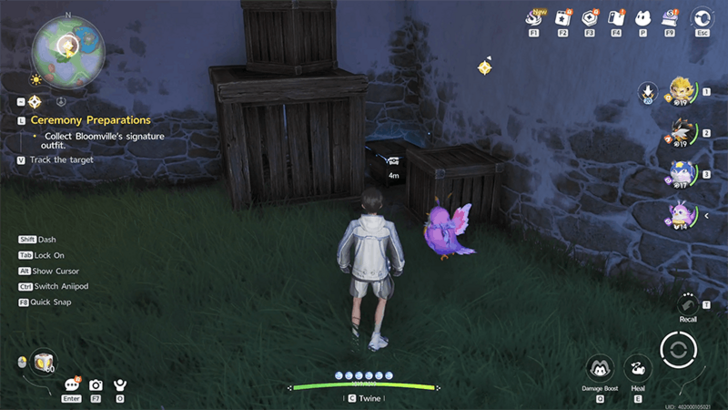 Coordinates: -0417, 0800 How to Get: This chest is outside the elder's house in a corner surrounded by wooden crates. |
Sea of Flowers 100% Exploration Guide
All Chests in Driftwise Meadow
| Collectibles | Details |
|---|---|
|
Driftwise Meadow Chest 1 |
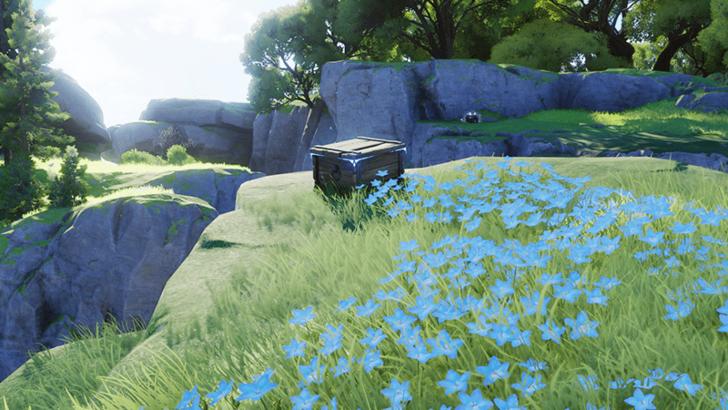 Coordinates: -0627, 1201 How to Get: Placed nearby a ledge next to a river, and before a patch of blue flowers. |
|
Driftwise Meadow Chest 2 |
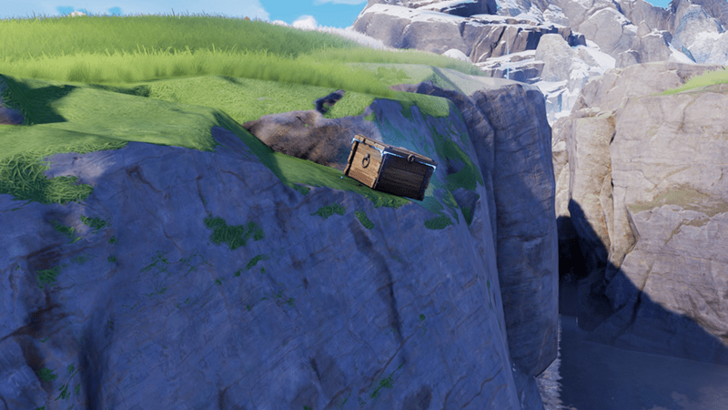 Coordinates: -0535, 1246 How to Get: Placed on a ledge near a river. |
|
Driftwise Meadow Chest 3 |
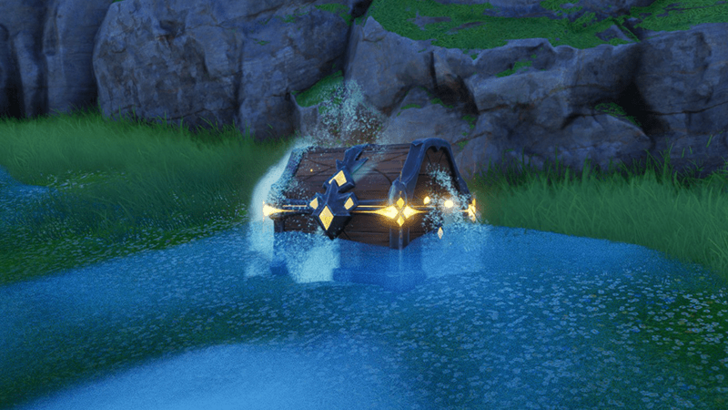 Coordinates: -0655, 1193 How to Get: Placed in area where blue mist is scattered around. |
|
Driftwise Meadow Chest 4 |
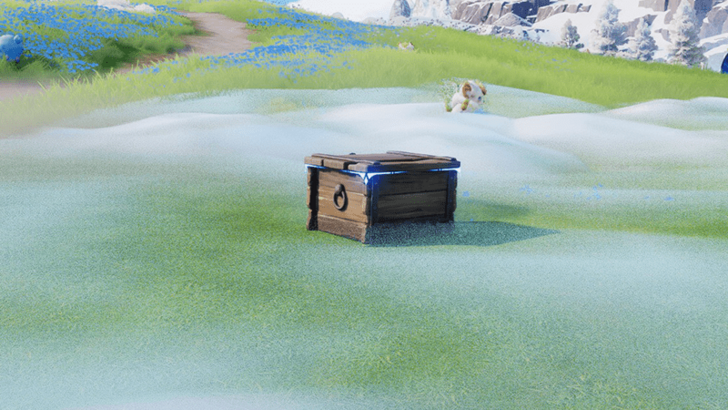 Coordinates: -0516, 1181 How to Get: Out in the open field where blue mist is scattered. |
|
Driftwise Meadow Chest 5 |
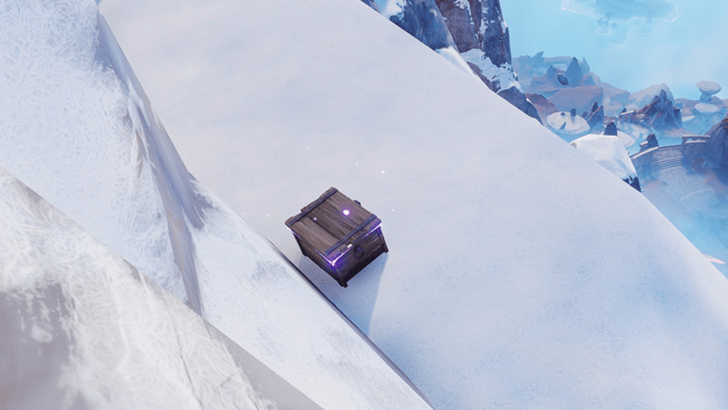 Coordinates: -0017, 1452 How to Get: The chest is situated in a spot along the snowy mountain peak area. |
|
Driftwise Meadow Chest 6 |
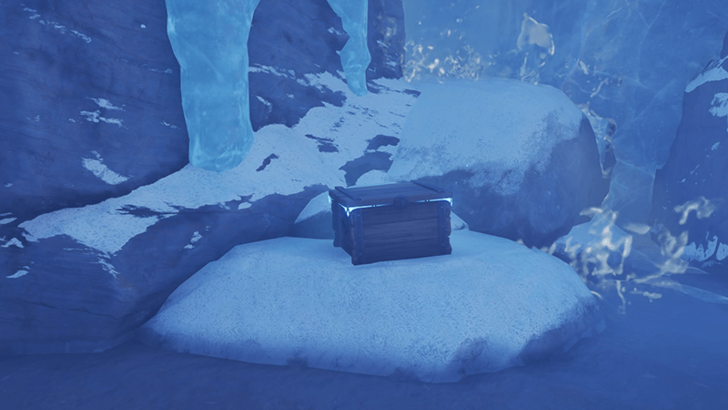 Coordinates: -0473, 1275 How to Get: Found at the foot of a waterfall near the snowy area. |
|
Driftwise Meadow Chest 7 |
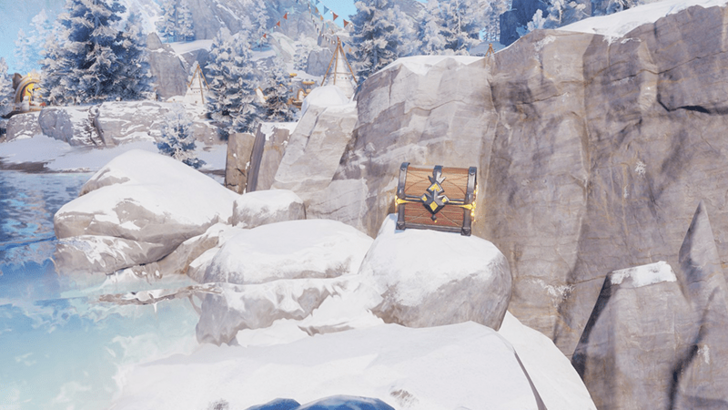 Coordinates: -0466, 1264 How to Get: At the top of a waterfall. |
|
Driftwise Meadow Chest 8 |
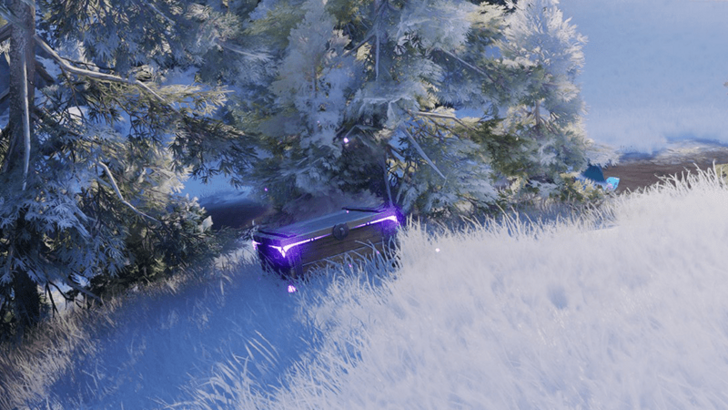 Coordinates: -0446, 1289 How to Get: Found in the snowy area, placed between the trees. |
|
Driftwise Meadow Chest 9 |
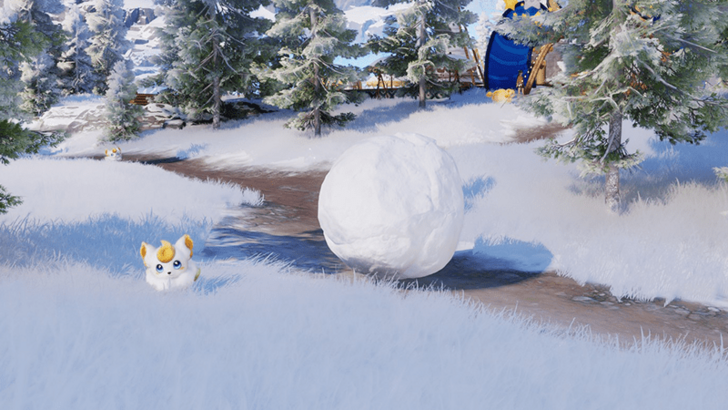 Coordinates: -0452, 1218 How to Get: Placed inside a large snowball, use fire from an Aniimo skill to melt the snow and free the chest. |
|
Driftwise Meadow Chest 10 |
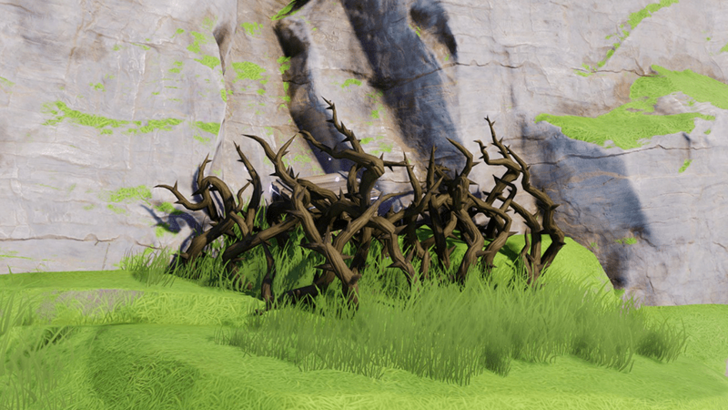 Coordinates: -0480, 1126 How to Get: Surrounded by brambles that need to be removed to access the chest. Use fire Aniimo skills to burn them. |
|
Driftwise Meadow Chest 11 |
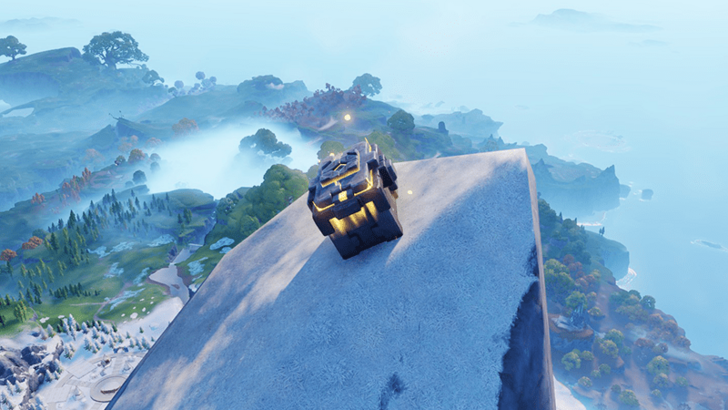 Coordinates: -0064, 1397 How to Get: Found at the highest peak of the tallest mountain of the Breezy Plains. |
|
Driftwise Meadow Chest 12 |
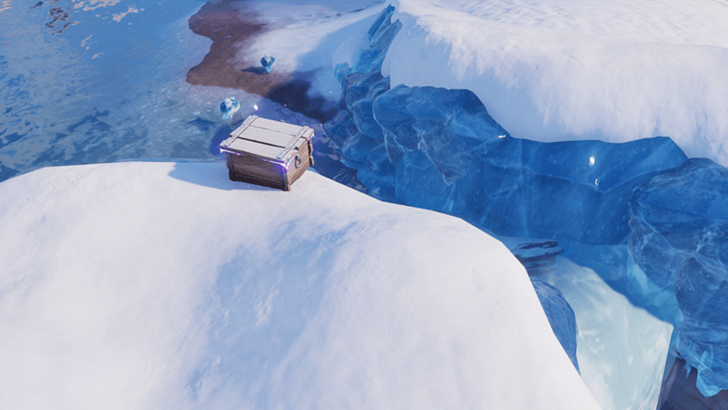 Coordinates: -0408, 1413 How to Get: Placed near a ledge above a waterfall. |
|
Driftwise Meadow Chest 13 |
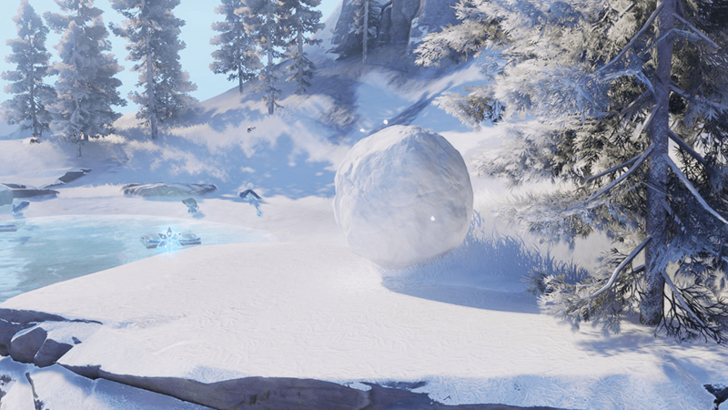 Coordinates: -0329, 1354 How to Get: The chest is inside a large snowball by the lake. Use fire Aniimo skills to melt the snow to access the chest. |
|
Driftwise Meadow Chest 14 |
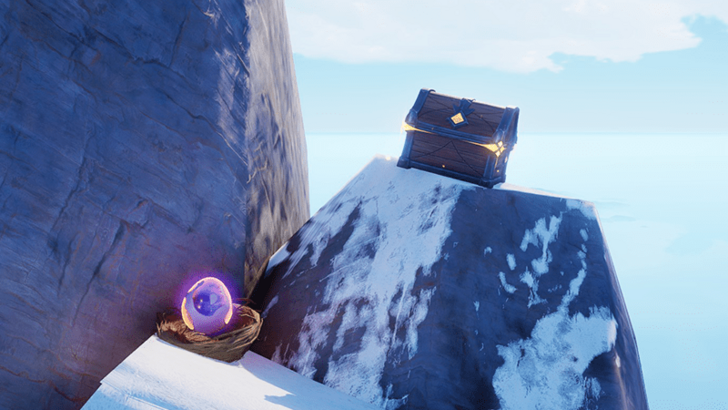 Coordinates: -0060, 1404 How to Get: Placed near the peak of the mountain. |
|
Driftwise Meadow Chest 15 |
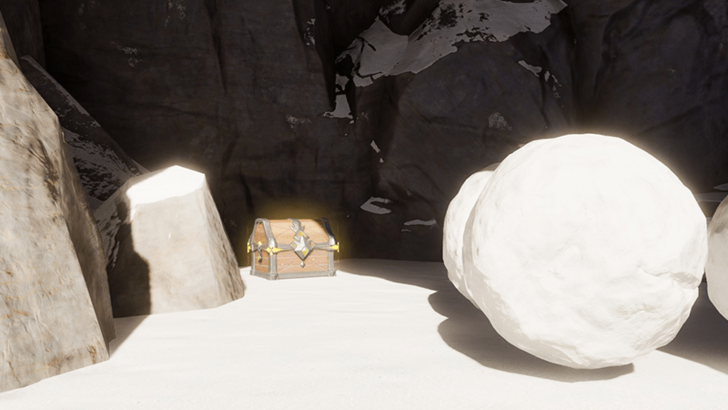 Coordinates: -0203, 1455 How to Get: Found inside a small cavern i nthe mountains region of the Driftwise Meadow. |
|
Driftwise Meadow Chest 16 |
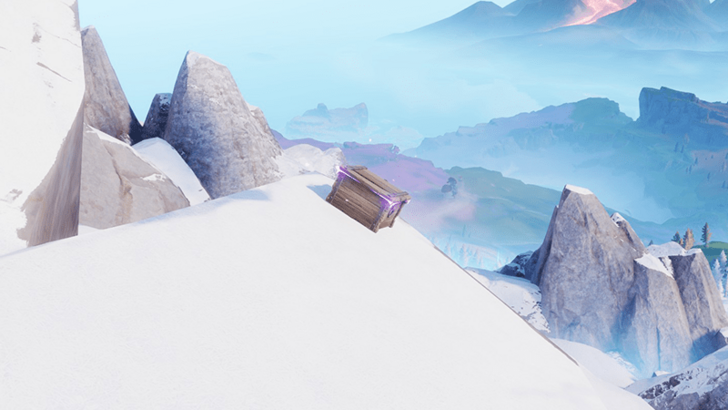 Coordinates: -0168, 1338 How to Get: Found along the slopes of the mountainous region of the Driftwise Meadow. |
|
Driftwise Meadow Chest 17 |
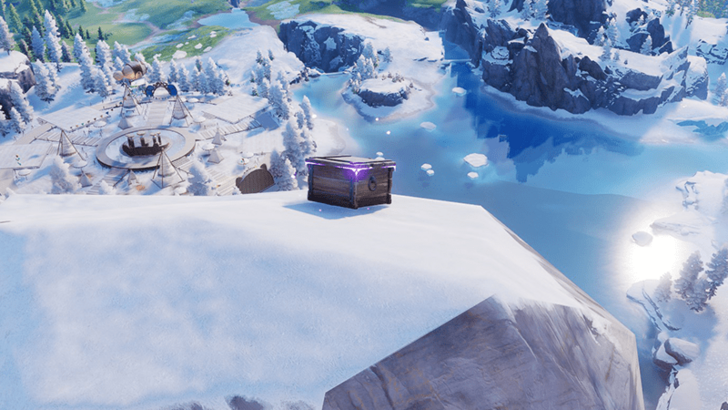 Coordinates: -0220, 1293 How to Get: Place atop a large boulder along the slopes of the mountainous region. |
|
Driftwise Meadow Chest 18 |
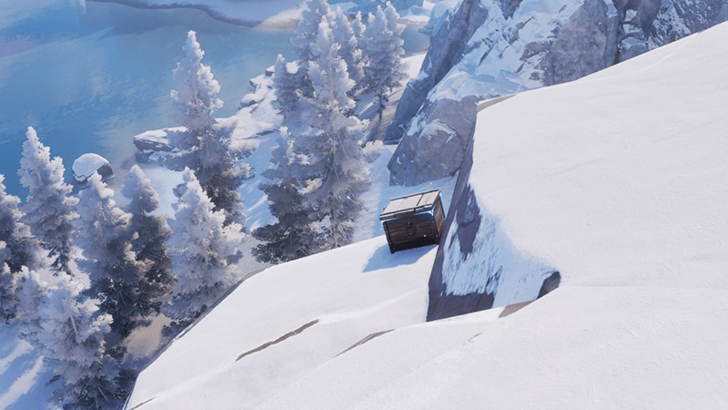 Coordinates: -0286, 1384 How to Get: Placed next to a ledge overlooking the lake. |
|
Driftwise Meadow Chest 19 |
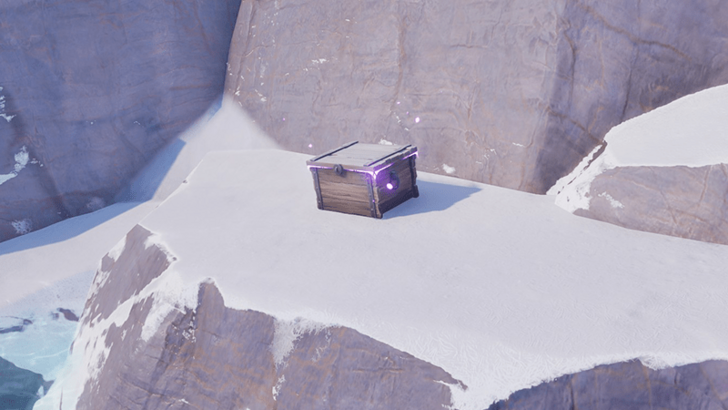 Coordinates: -0275, 1318 How to Get: Placed near the waters of the lake. |
|
Driftwise Meadow Chest 20 |
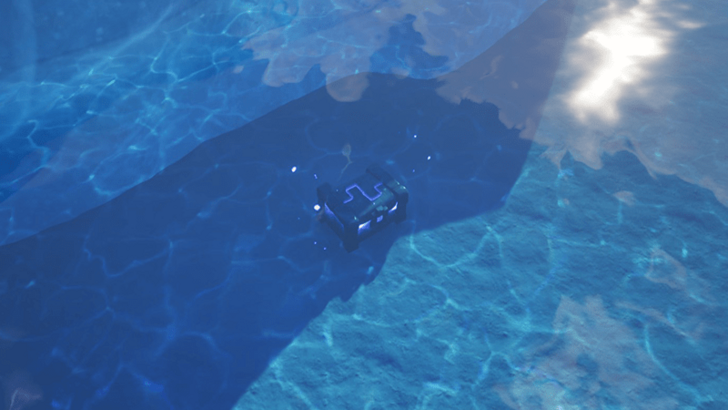 Coordinates: -0303, 1313 How to Get: Found underwater in the lake next to a small iceberg. |
|
Driftwise Meadow Chest 21 |
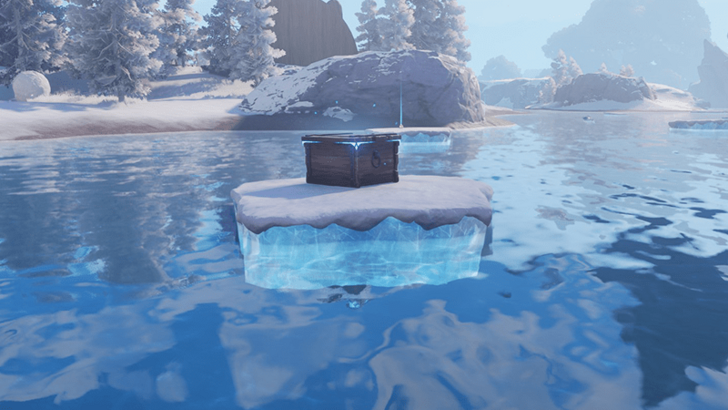 Coordinates: -0307, 1283 How to Get: Placed on a small ice platform floating on the lake. |
|
Driftwise Meadow Chest 22 |
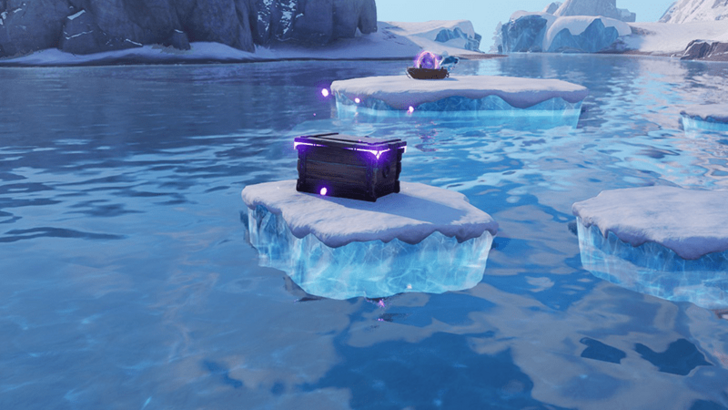 Coordinates: -0387, 1307 How to Get: Placed on a small ice platform floating on the lake. |
|
Driftwise Meadow Chest 23 |
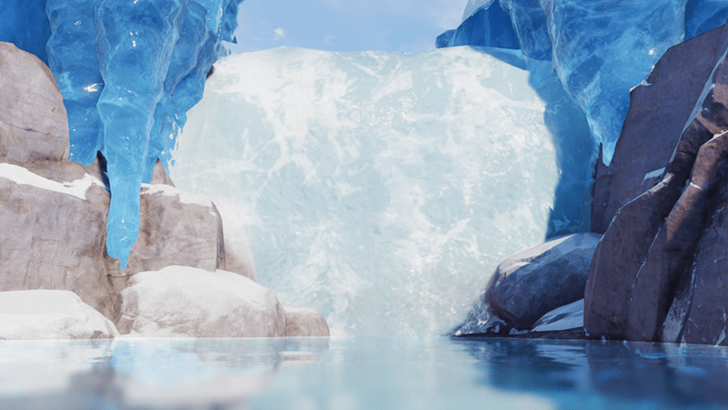 Coordinates: -0413, 1407 How to Get: Chest is found behind a waterfall. |
|
Driftwise Meadow Chest 24 |
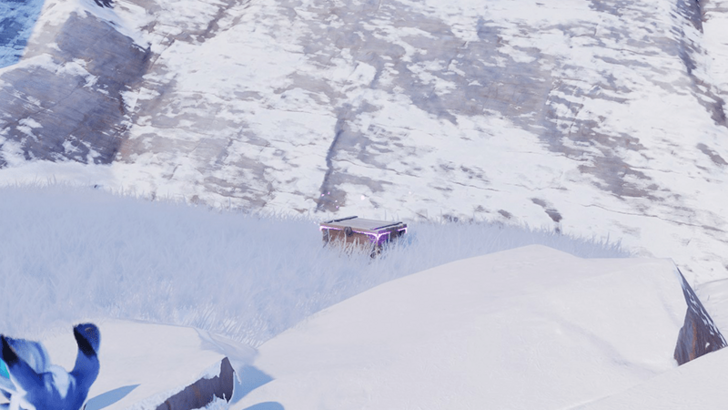 Coordinates: -0391, 1477 How to Get: Found in the snowy field near a large rocky formation. |
|
Driftwise Meadow Chest 25 |
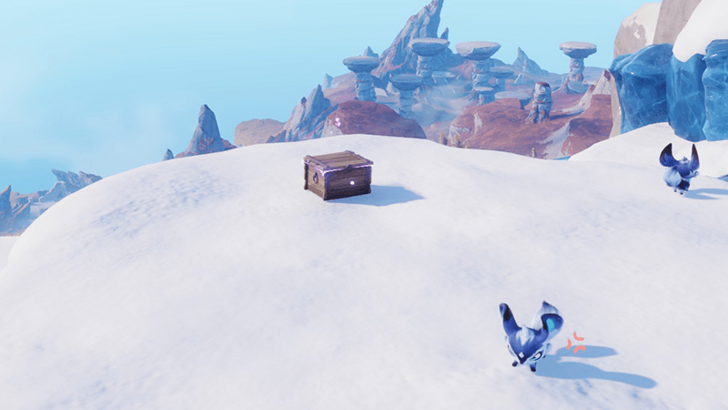 Coordinates: -0479, 1505 How to Get: Near the ledge of a cliff at the northern edge of the Driftwise Meadow region. |
|
Driftwise Meadow Chest 26 |
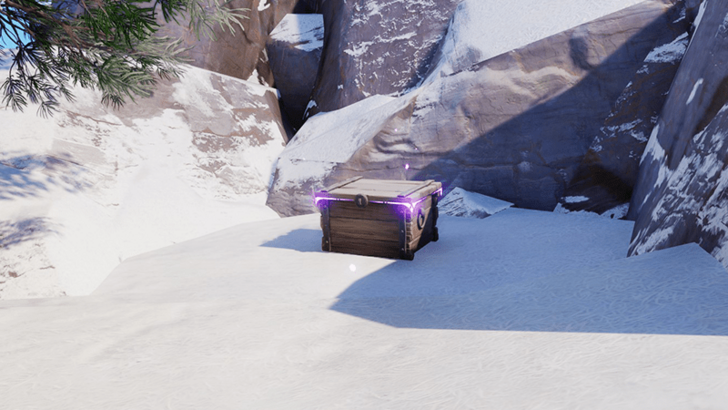 Coordinates: -0510, 1480 How to Get: Placed in a spot surrounded by rocks in the snow. |
|
Driftwise Meadow Chest 27 |
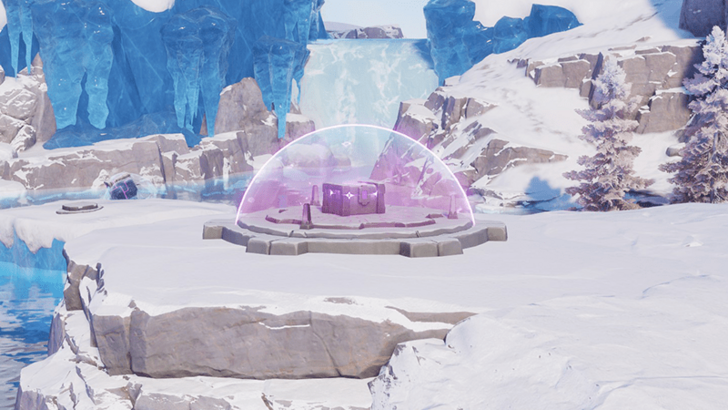 Coordinates: -0463, 1448 How to Get: Chest is surrounded by a barrier, it can be disabled by applying weight on three different pressure plates nearby by using frozen ice platforms and one stone cube. |
|
Driftwise Meadow Chest 28 |
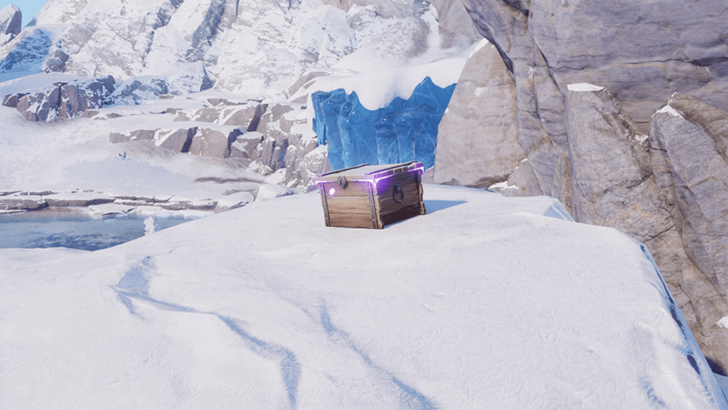 Coordinates: -0463, 1408 How to Get: Placed near a ledge nearby the smaller lake of the area. |
|
Driftwise Meadow Chest 29 |
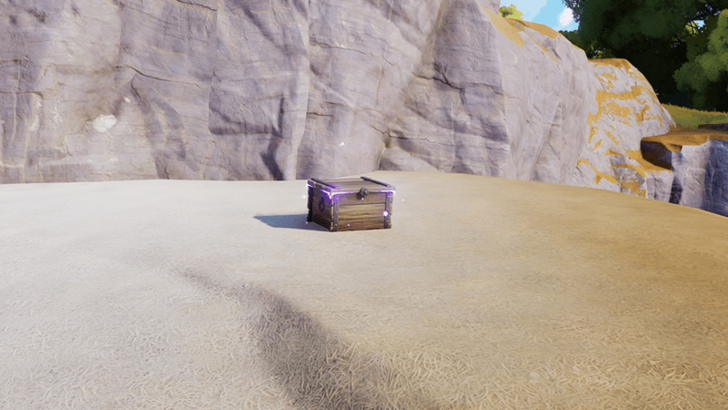 Coordinates: -0567, 1408 How to Get: In an isolated spot along the cliffside bordering Driftwise Meadow and Russet Highlands |
|
Driftwise Meadow Chest 30 |
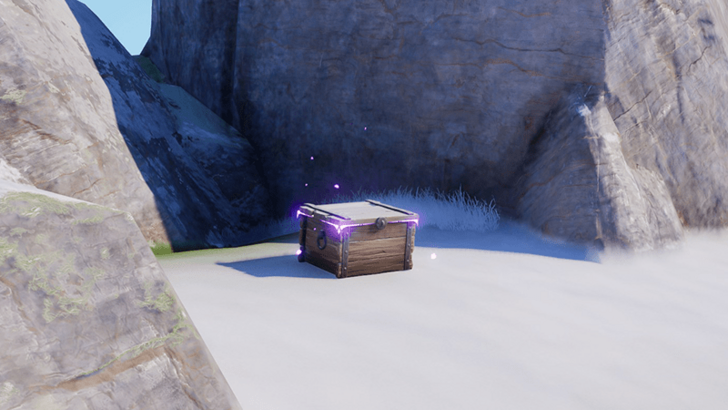 Coordinates: -0542, 1363 How to Get: Situated between a couple of larger stones surrounding the chest in the snowy area of the region. |
|
Driftwise Meadow Chest 31 |
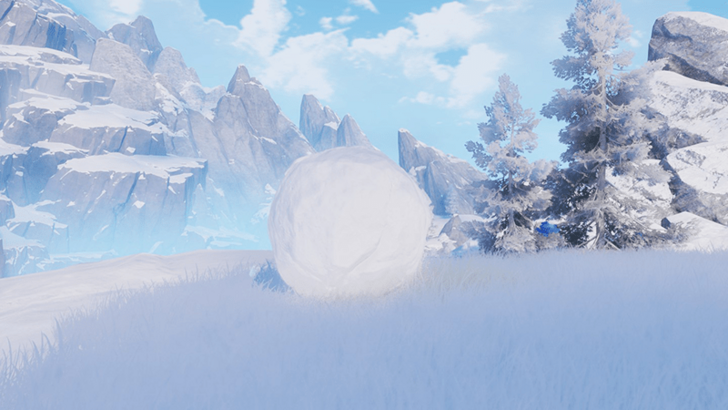 Coordinates: -0439, 1376 How to Get: Found inside a snowball in the middle of a snow field. |
|
Driftwise Meadow Chest 32 |
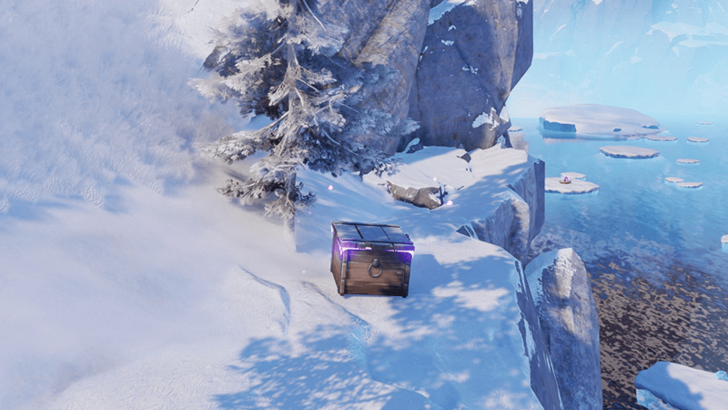 Coordinates: -0474, 1334 How to Get: Placed along the side of a ledge near a tree close to a river. |
|
Driftwise Meadow Chest 33 |
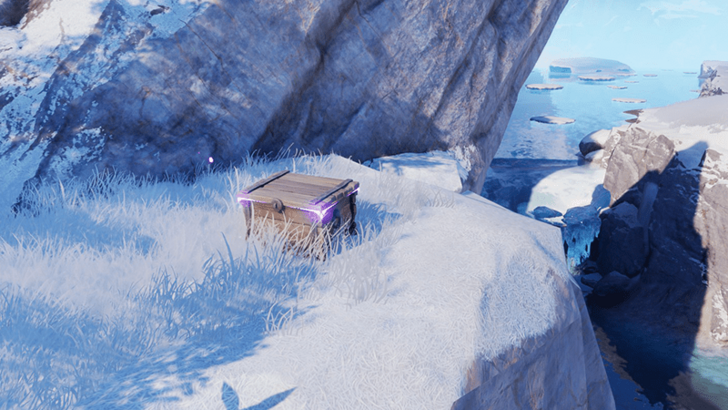 Coordinates: -0523, 1327 How to Get: Placed along the side of a ledge, close to a river. |
|
Driftwise Meadow Chest 34 |
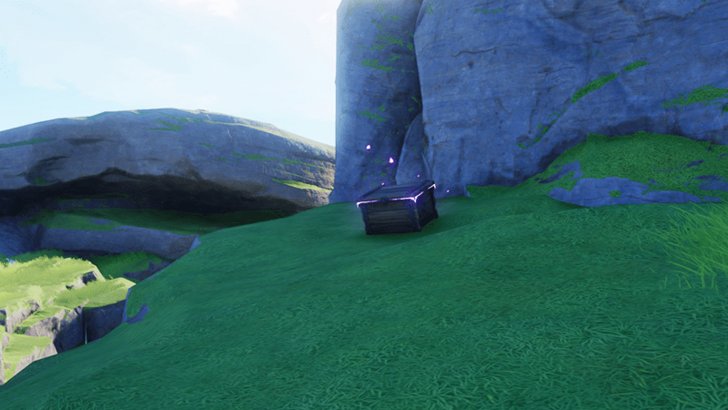 Coordinates: -0656, 1245 How to Get: Found near a ravine with a river below. |
|
Driftwise Meadow Chest 35 |
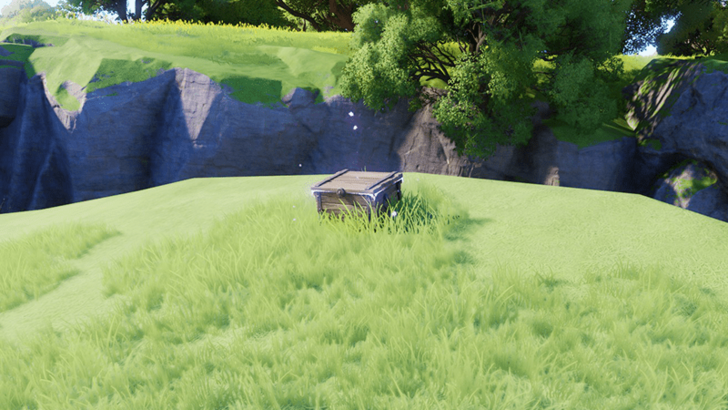 Coordinates: -0700, 1222 How to Get: Found near a ledge next to a ravine. |
|
Driftwise Meadow Chest 36 |
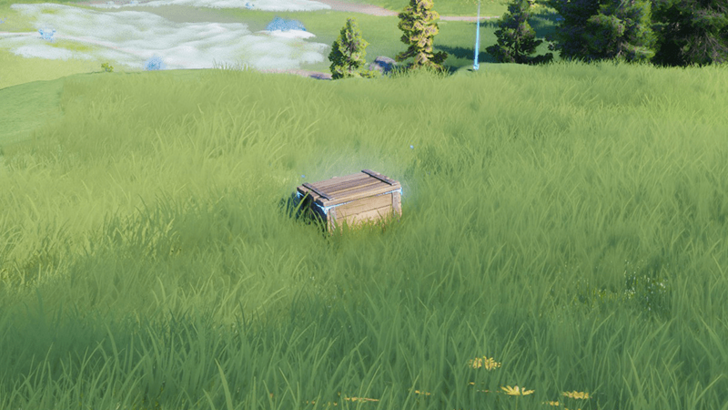 Coordinates: -0671, 1181 How to Get: Located on an open field near Iris and Irisal. |
|
Driftwise Meadow Chest 37 |
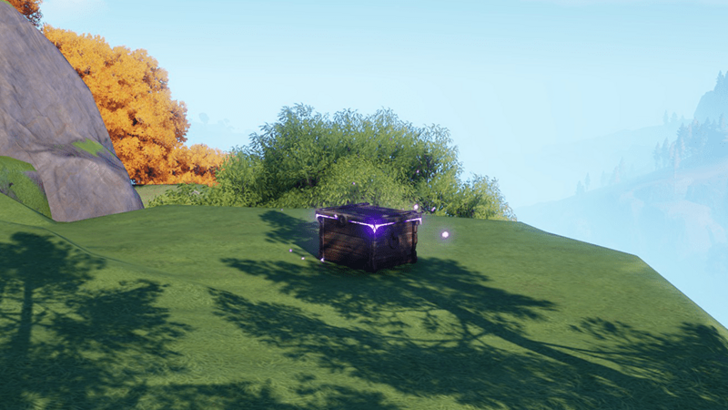 Coordinates: -0666, 1059 How to Get: Placed near a ledge on a small hill. |
|
Driftwise Meadow Chest 38 |
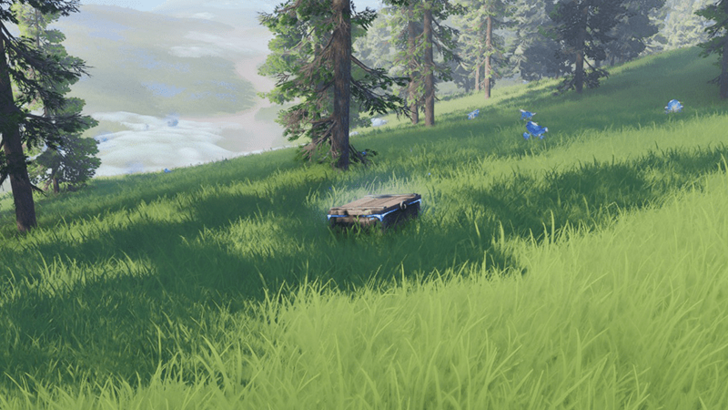 Coordinates: -0654, 1089 How to Get: In the middle of small grove of trees. |
|
Driftwise Meadow Chest 39 |
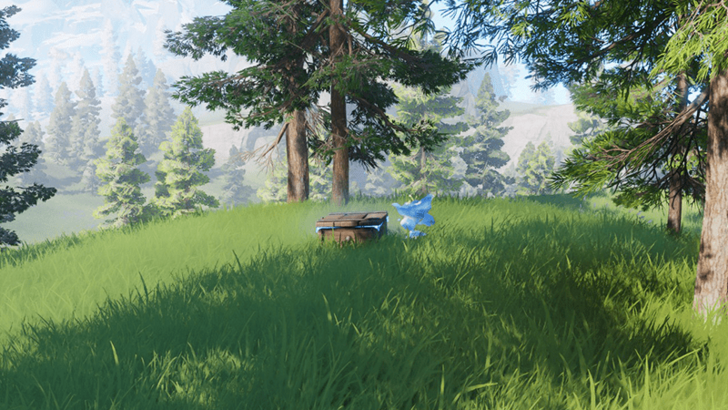 Coordinates: -0617, 1083 How to Get: In the middle of small grove of trees, with several Iris closeby. |
|
Driftwise Meadow Chest 40 |
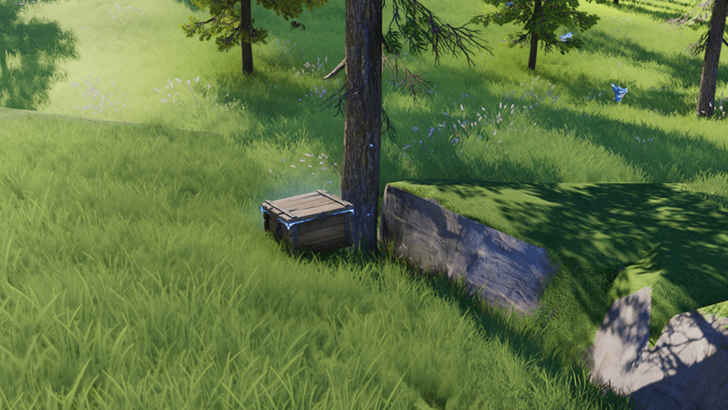 Coordinates: -0568, 1058 How to Get: In the open next to a tree. |
|
Driftwise Meadow Chest 41 |
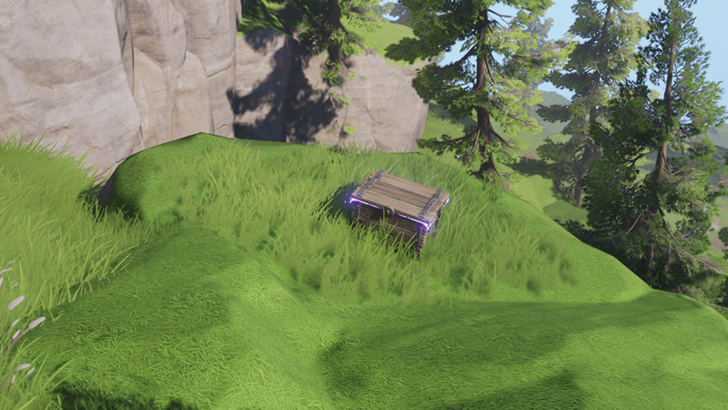 Coordinates: -0503, 1079 How to Get: Placed near the ledge on a slightly elevated location. |
|
Driftwise Meadow Chest 42 |
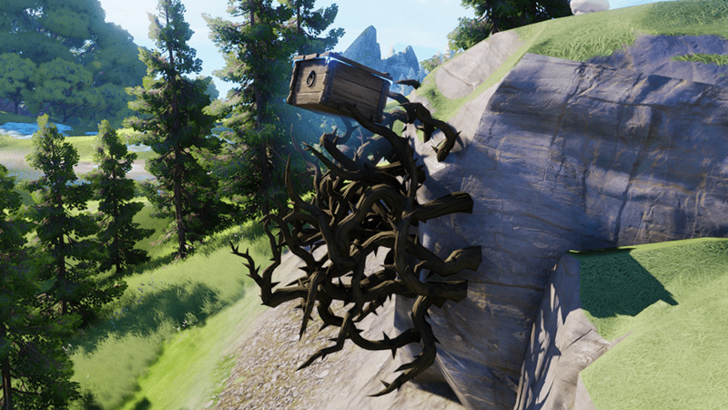 Coordinates: -0518, 1116 How to Get: Placed on top of several brambles keeping it up. Burn them with fire from an Aniimo skill to bring it down. |
Driftwise Meadow 100% Exploration Guide
All Chests in Berylline Vale
| Collectibles | Details |
|---|---|
|
Berylline Vale Chest 1 |
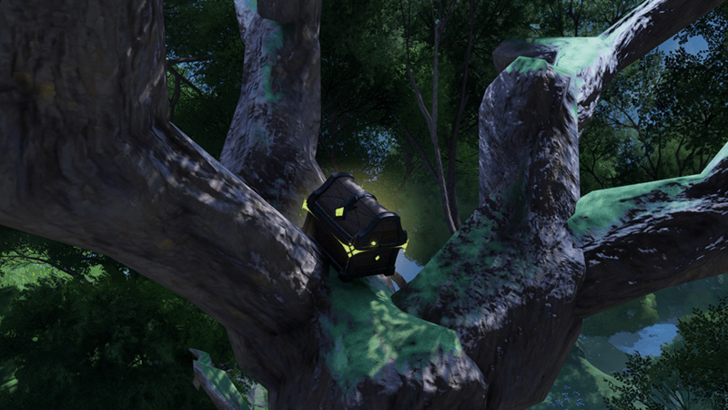 Coordinates: -0676, 1320 How to Get: Found on the branches of a giant tree next to the area where the Alpha Ignitis is located. |
|
Berylline Vale Chest 2 |
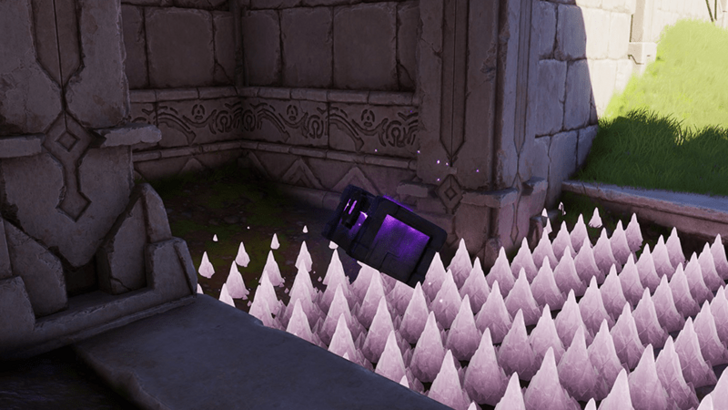 Coordinates: -1076, 1741 How to Get: Placed on spikes atop a ruin. Use the Gravity Pull talent to pick up the chest and place it in a safer area. |
|
Berylline Vale Chest 3 |
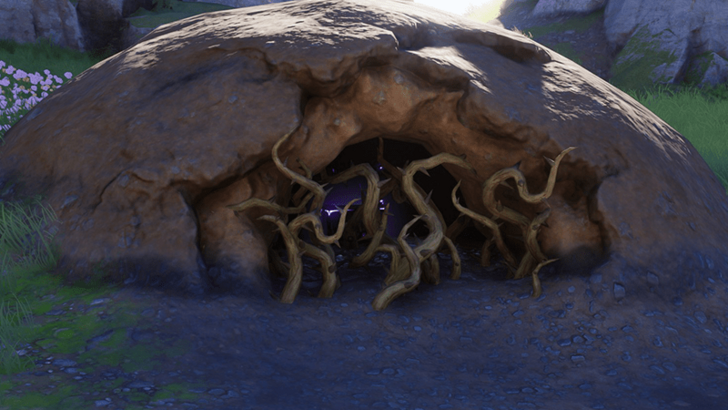 Coordinates: -1137, 1688 How to Get: Found inside one of the dirt domes. The entrance is blocked by brambles and vines, use a fire from an Aniimo skill to burn them away to clear the entrance. |
|
Berylline Vale Chest 4 |
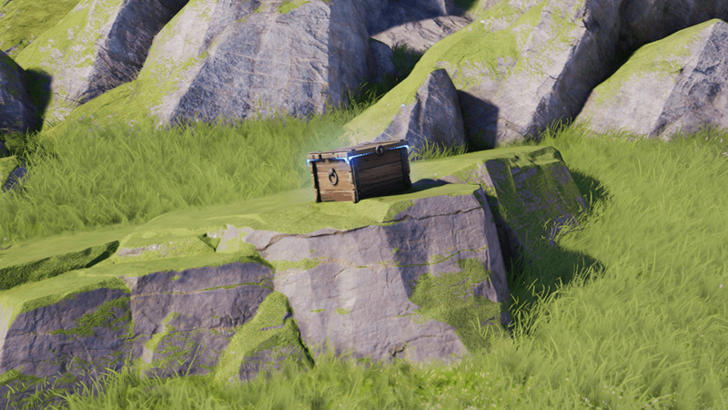 Coordinates: -1175, 1649 How to Get: Placed on a stony surface in the open alongside the path. |
|
Berylline Vale Chest 5 |
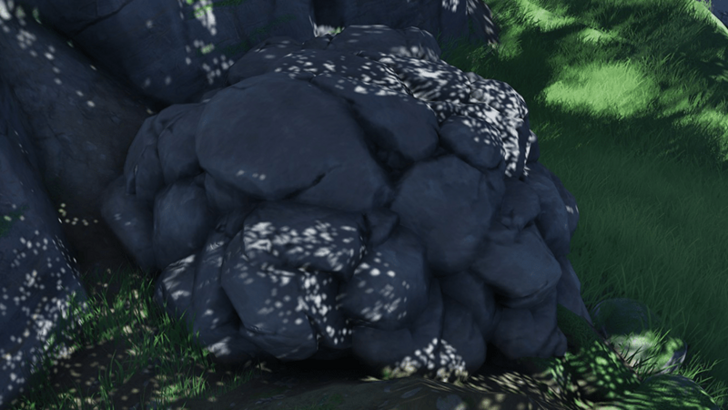 Coordinates: -0727, 1368 How to Get: The chest buried under a pile of rocks that can be destroyed with an Aniimo skill. |
|
Berylline Vale Chest 6 |
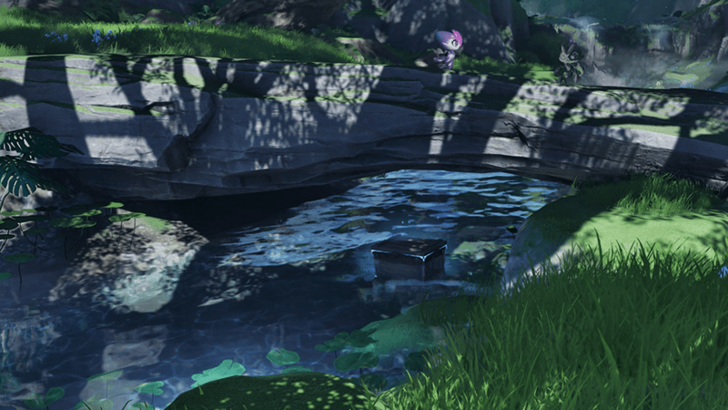 Coordinates: -0757, 1379 How to Get: Located underneath a log bridge over a small stream. |
|
Berylline Vale Chest 7 |
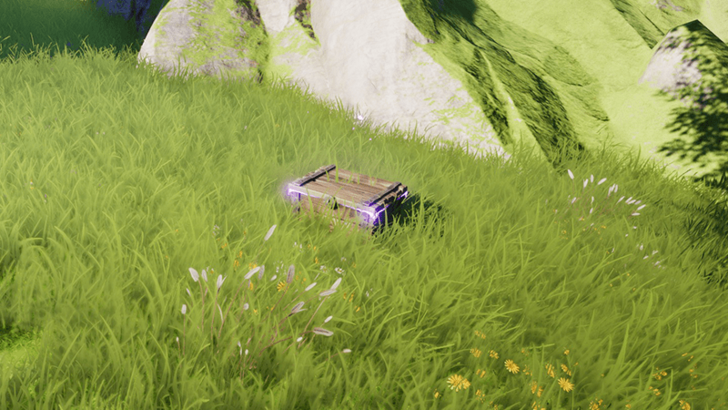 Coordinates: -1022, 1686 How to Get: Found in an open field near a tree. |
|
Berylline Vale Chest 8 |
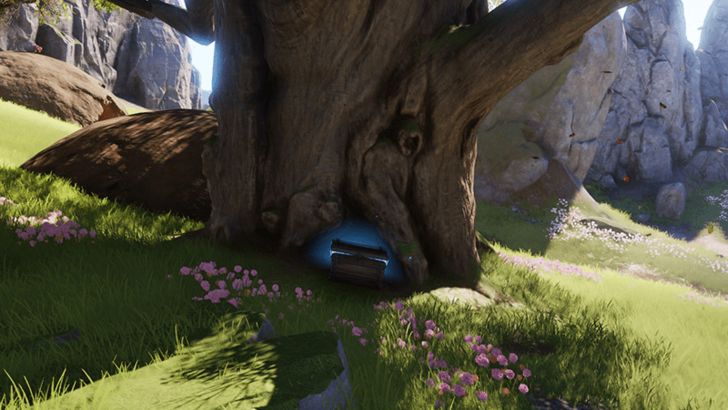 Coordinates: -0192, 1655 How to Get: Found at the base of a tree. |
|
Berylline Vale Chest 9 |
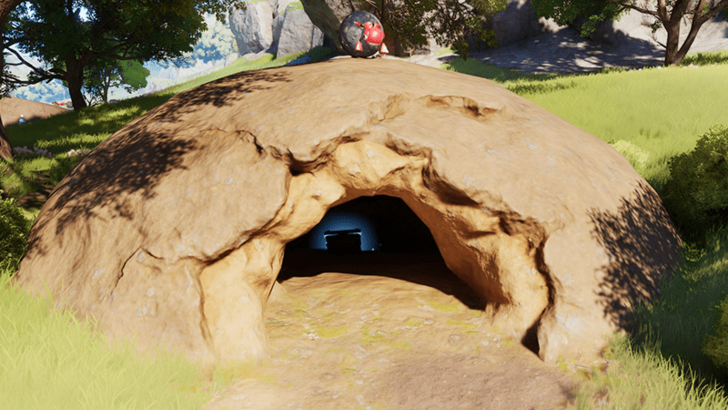 Coordinates: -1102, 1646 How to Get: Placed inside a dirt dome. |
|
Berylline Vale Chest 10 |
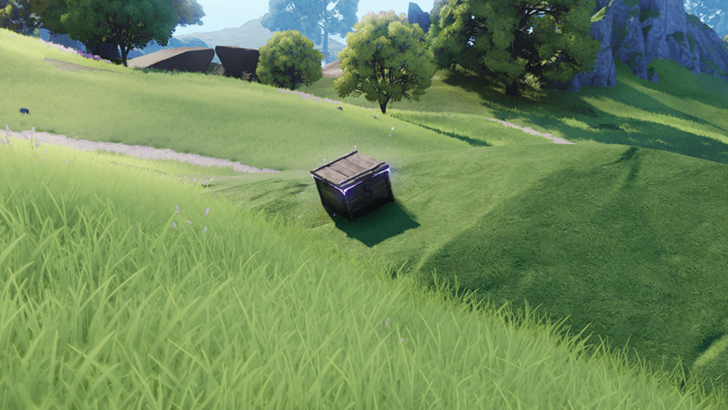 Coordinates: -0973, 1582 How to Get: Placed on a rock at the open field. |
|
Berylline Vale Chest 11 |
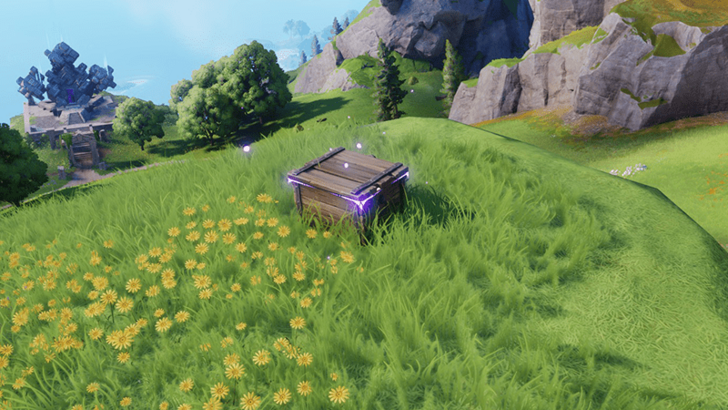 Coordinates: -0874, 1497 How to Get: Placed in the open on elevated ground. |
|
Berylline Vale Chest 12 |
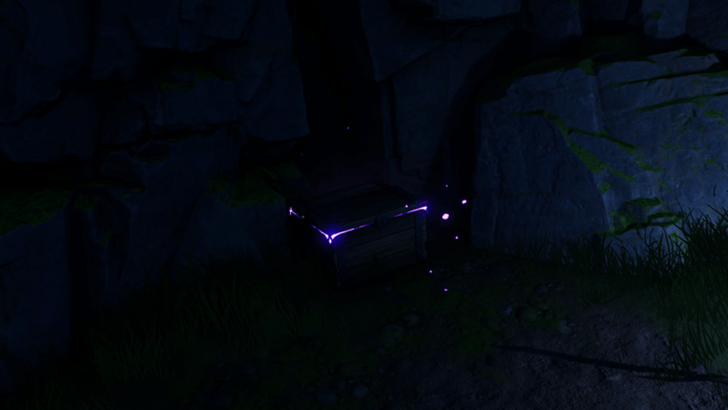 Coordinates: -0874, 1430 How to Get: Found inside a cave that is accessible via the Mistwoods, south of where the chest is located. The chest spawns after interacting with a plant. |
|
Berylline Vale Chest 13 |
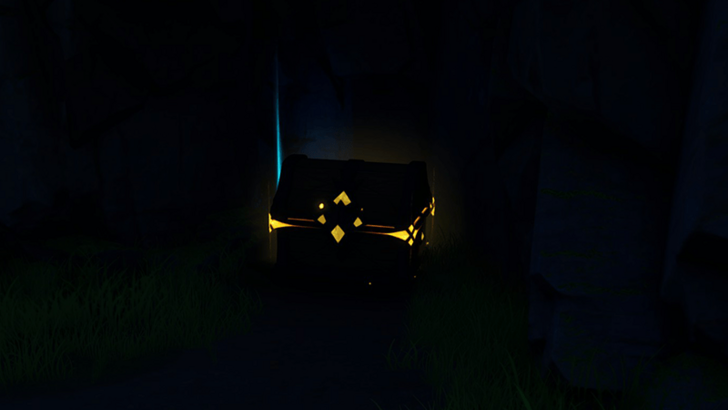 Coordinates: -0868, 1419 How to Get: Found inside a cave that is accessible via the Mistwoods, south of where the chest is located. The chest spawns after interacting with a plant. |
|
Berylline Vale Chest 14 |
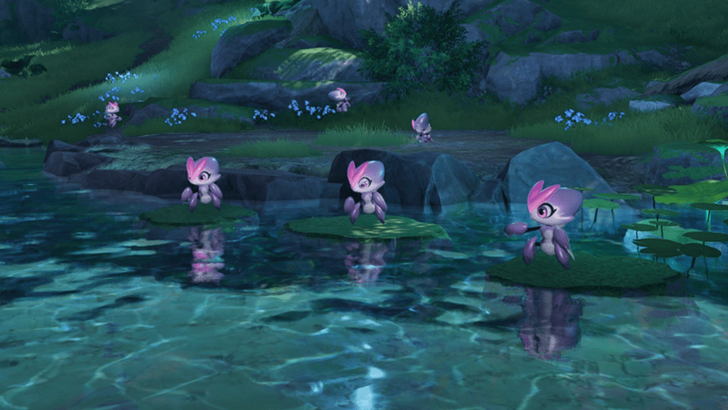 Coordinates: -0838, 1416 How to Get: Twine into a Wispitis, and challenge the youngest brother from a trio of Wispitis to a duel, and you'll be rewarded with a chest. They only appear during Nighttime. |
|
Berylline Vale Chest 15 |
Coordinates: -0838, 1414 How to Get: Twine into a Wispitis, and challenge the second oldest brother from a trio of Wispitis to a duel, and you'll be rewarded with a chest. They only appear during Nighttime. |
|
Berylline Vale Chest 16 |
Coordinates: -0837, 1416 How to Get: Twine into a Wispitis, and challenge the youngest brother from a family of Wispitis who is an Ignitis to a duel, and you'll be rewarded with a chest. They only appear during Nighttime. |
|
Berylline Vale Chest 17 |
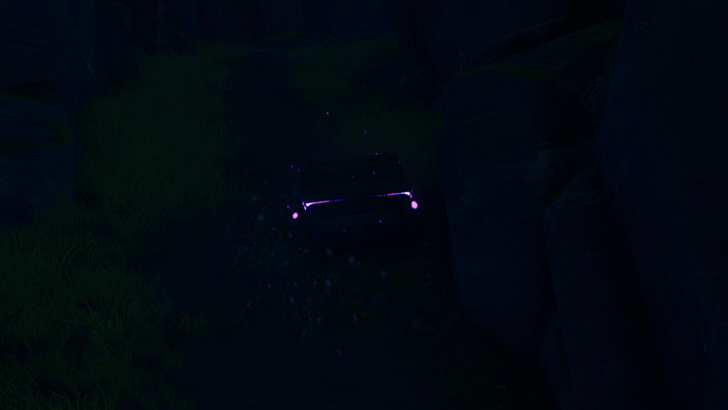 Coordinates: -0823, 1386 How to Get: Found inside a cave accessible via the Mistwoods, south of the chest's area, placed on a slope. |
|
Berylline Vale Chest 18 |
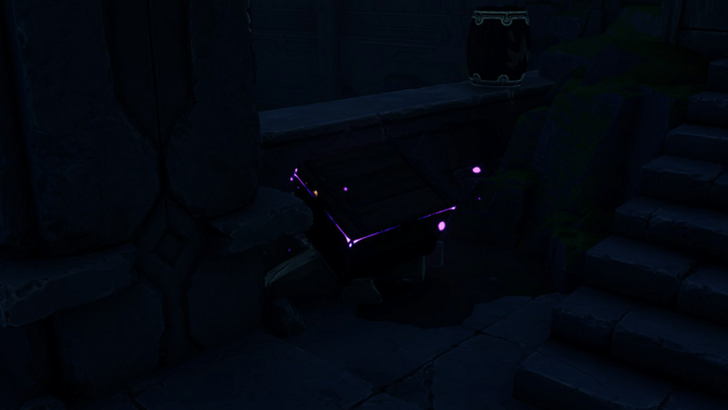 Coordinates: -0836, 1367 How to Get: Found atop a ruin inside a cave accessible via the Mistwoods, south of the chest's area. |
|
Berylline Vale Chest 19 |
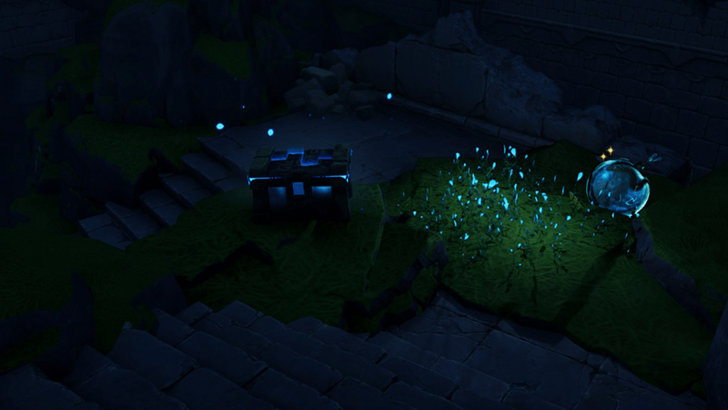 Coordinates: -0827, 1404 How to Get: Found inside a cave accessible via the Mistwoods, south of the chest's area. |
|
Berylline Vale Chest 20 |
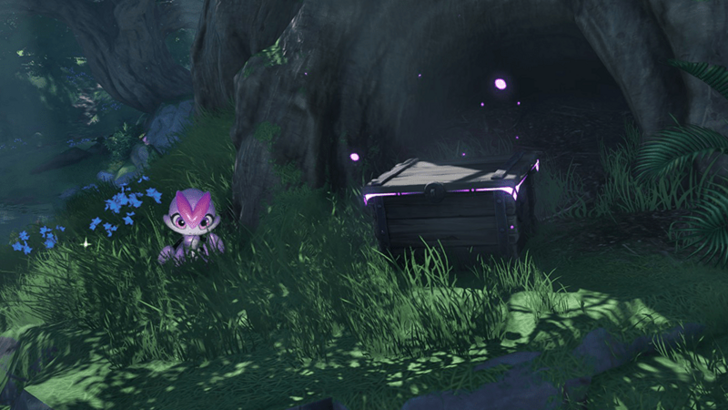 Coordinates: -0777, 1397 How to Get: Twine as an Ignitis and speak to the Weak Wispitis and chest will spawn next to it. |
|
Berylline Vale Chest 21 |
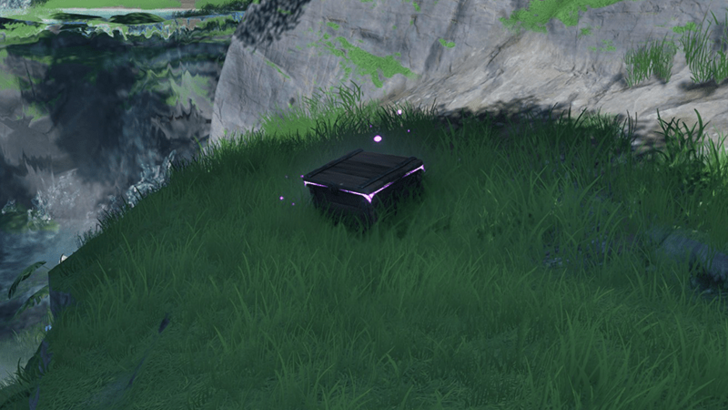 Coordinates: -0743, 1342 How to Get: Placed next to a small creek. |
|
Berylline Vale Chest 22 |
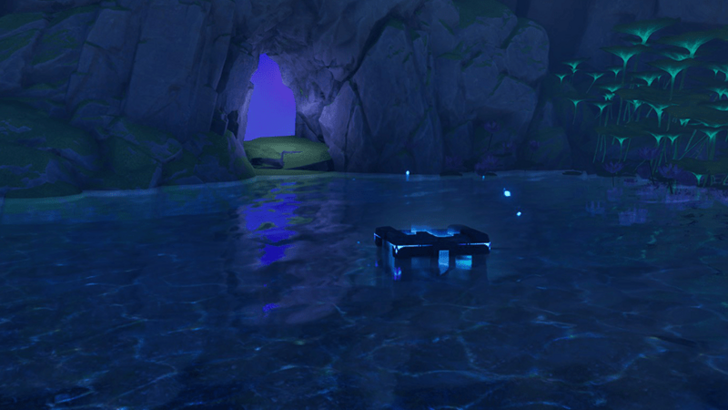 Coordinates: -0820, 1340 How to Get: Found in front of a cave entrance in an area borderiog between Berylline Vale and the Mistwoods. |
|
Berylline Vale Chest 23 |
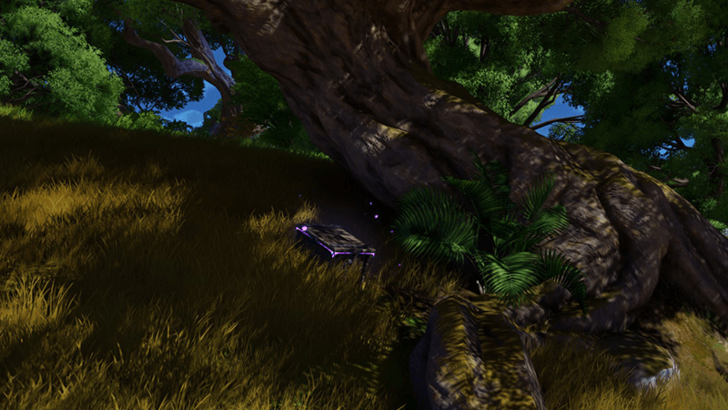 Coordinates: -0684, 1400 How to Get: Placed at the base of a large tree. |
|
Berylline Vale Chest 24 |
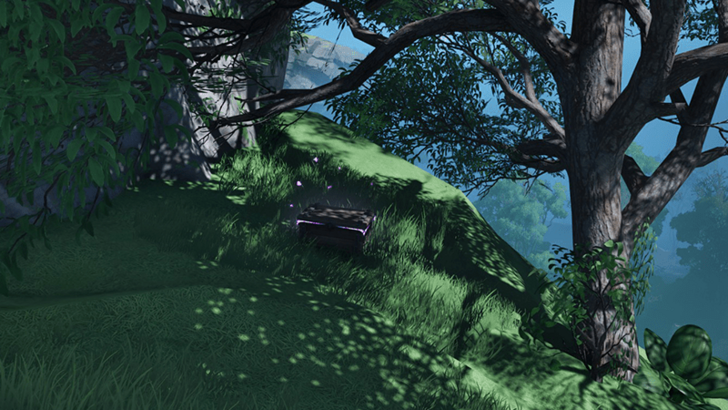 Coordinates: -0785, 1329 How to Get: Placed near a ledge and next to a tree. |
|
Berylline Vale Chest 25 |
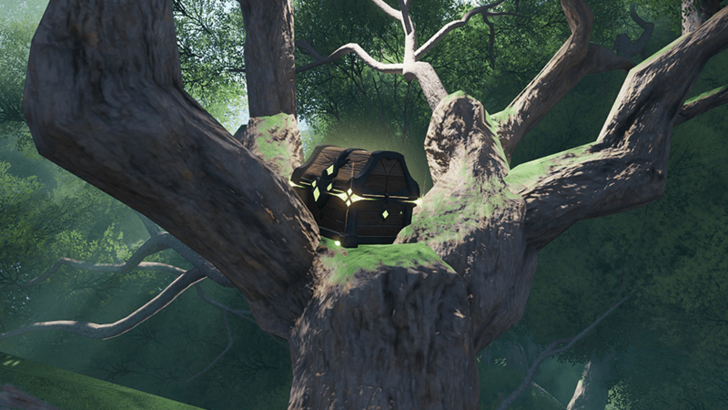 Coordinates: -0827, 1392 How to Get: Found atop the large branches of a larger tree. |
|
Berylline Vale Chest 26 |
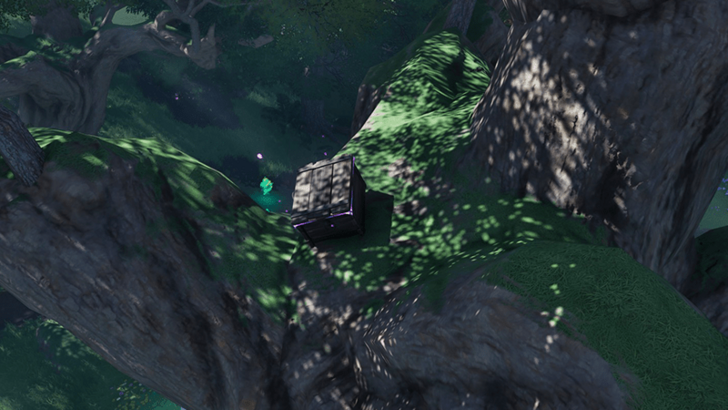 Coordinates: -0823, 1430 How to Get: Found on the branches of a large tree, near the center of the trunk area. |
|
Berylline Vale Chest 27 |
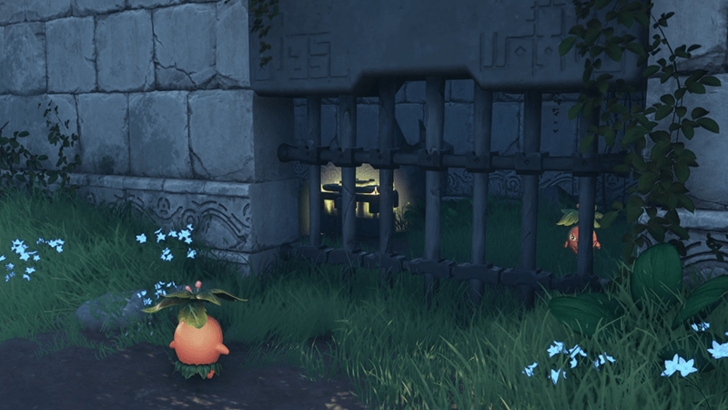 Coordinates: -0786, 1459 How to Get: Inside a ruined structure alongside a Hummin that brings down a gate to block access to it. Twine as a Hummin to bait the Hummin inside to open the gate and quickly rush to the chest. |
|
Berylline Vale Chest 28 |
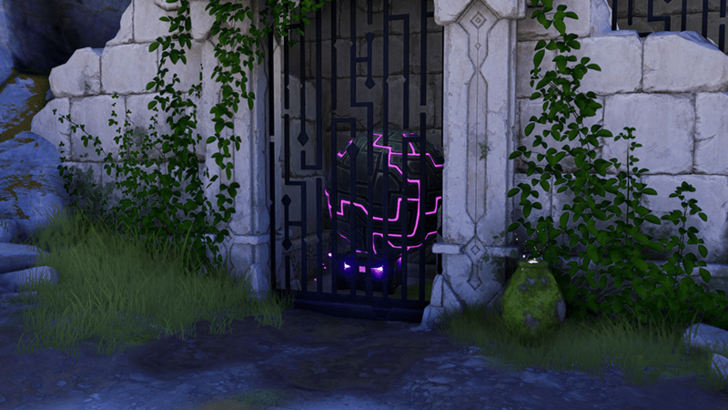 Coordinates: -0694, 1430 How to Get: Placed in a small location behind iron bars with a circular stone-like object above it. There's an opening nearby that you can enter if you twine with a smaller Aniimo. |
|
Berylline Vale Chest 29 |
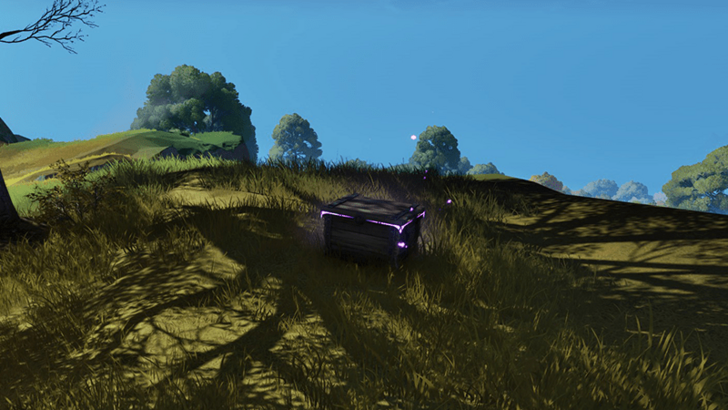 Coordinates: -0742, 1499 How to Get: Placed near the ledge of a cliff overlooking the Russet Highlands. |
|
Berylline Vale Chest 30 |
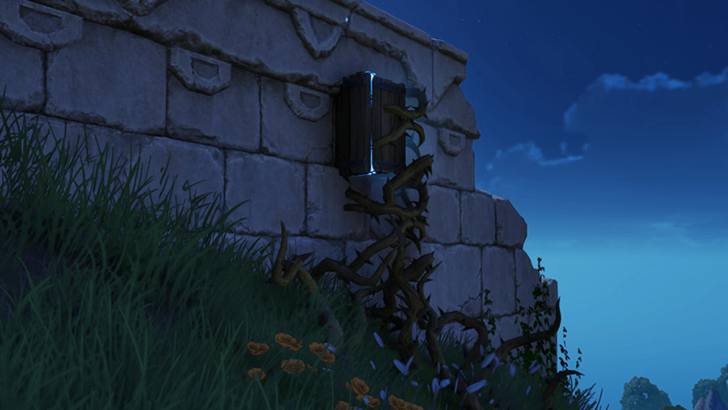 Coordinates: -0968, 1468 How to Get: The chest is attached to a wall by vines and brambles. Use fire from an Aniimo skill to remove the vines and brambles. |
|
Berylline Vale Chest 31 |
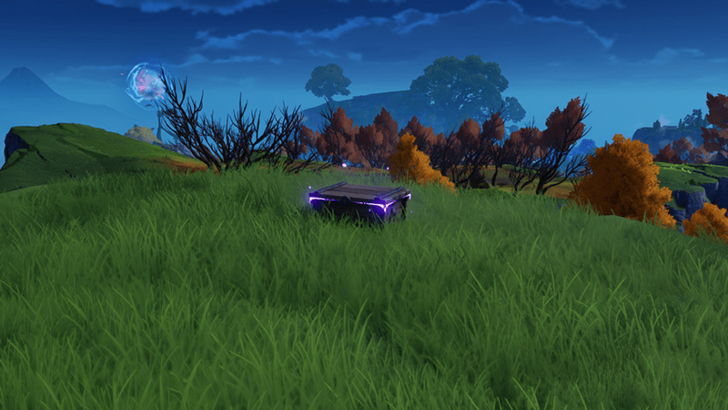 Coordinates: -1031, 1439 How to Get: Placed near the ledge of a cliff overlooking the Beast Fang Ridge. |
|
Berylline Vale Chest 32 |
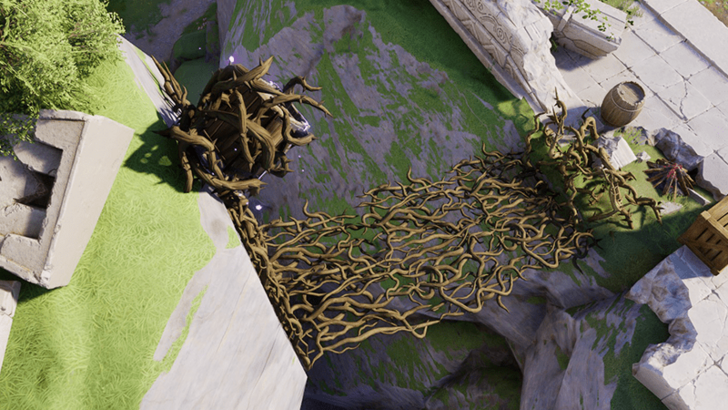 Coordinates: -1039, 1489 How to Get: Placed dangling over a ravine by brambles that surround it. |
|
Berylline Vale Chest 33 |
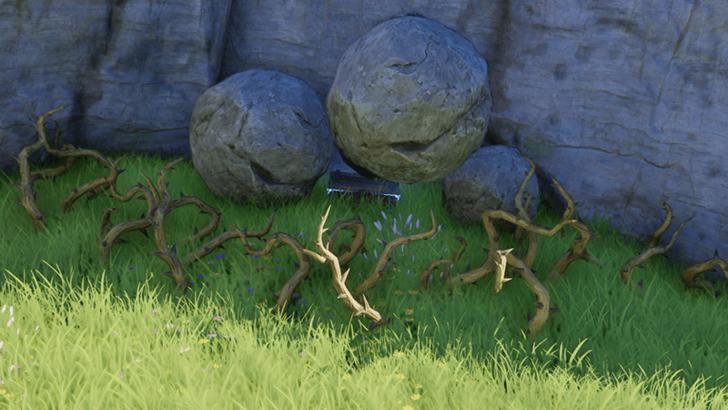 Coordinates: -0991, 1504 How to Get: Placed underneath round rocks and surrounded by flammable brambles. |
|
Berylline Vale Chest 34 |
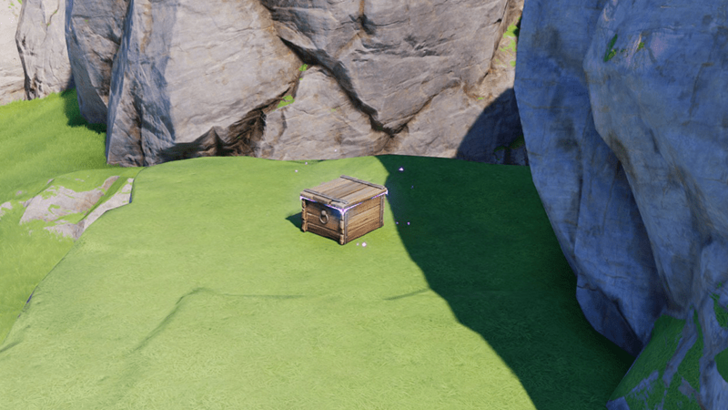 Coordinates: -1037, 1528 How to Get: Placed on elevated ground in the open. |
|
Berylline Vale Chest 35 |
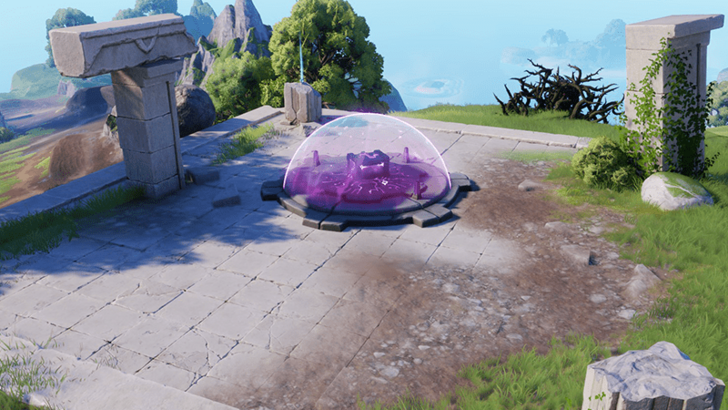 Coordinates: -1040, 1581 How to Get: The chest is contained within a barrier that can be disabled after igniting three red pillars with fire. |
|
Berylline Vale Chest 36 |
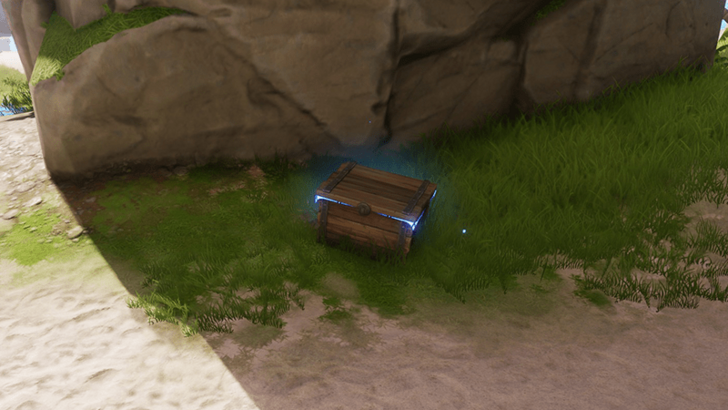 Coordinates: -1242, 1695 How to Get: Placed underneath a cliff, bordering the Berylline Vale and the Echoback Landing. |
|
Berylline Vale Chest 37 |
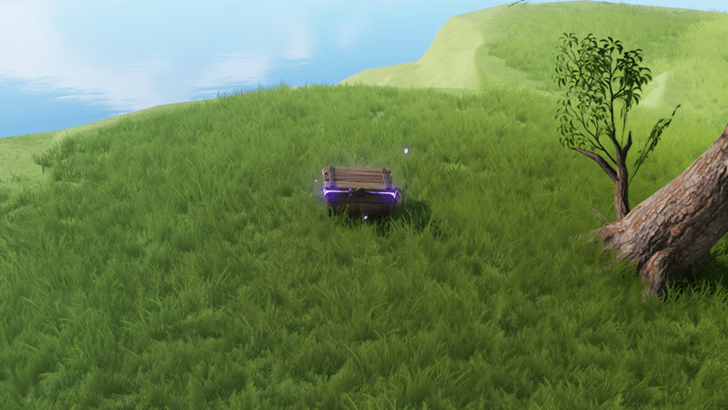 Coordinates: -1102, 1794 How to Get: Found near the ledge of a cliff facing the ocean to the north. |
|
Berylline Vale Chest 38 |
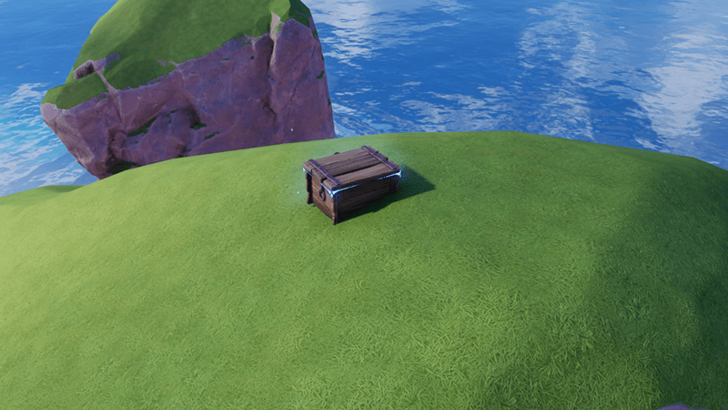 Coordinates: -1029, 1886 How to Get: Found a top a large boulder in the middle of the waters of the ocean. |
|
Berylline Vale Chest 39 |
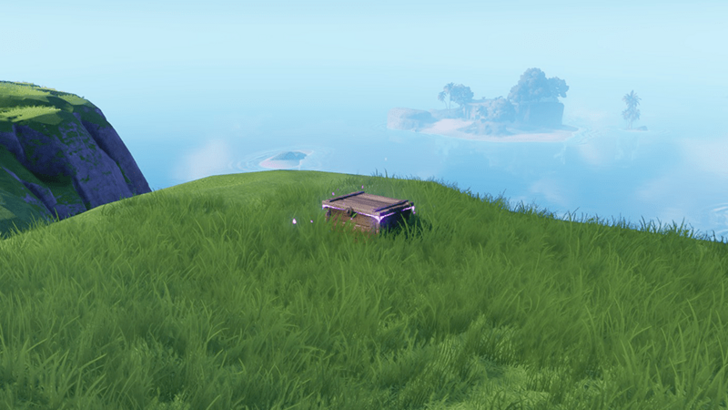 Coordinates: -0965, 1686 How to Get: Found near the ledge of a cliff facing the ocean to the north. |
|
Berylline Vale Chest 40 |
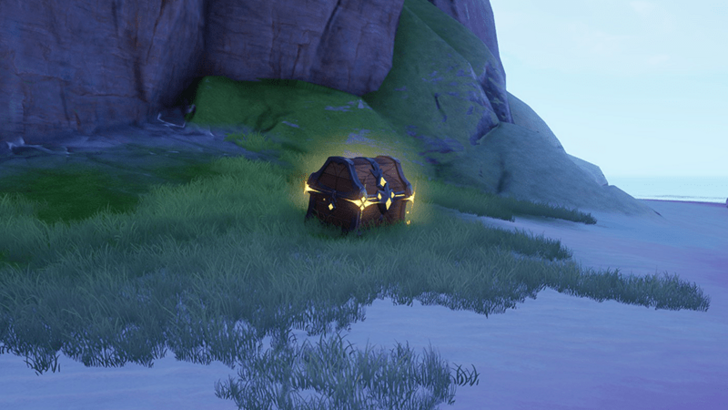 Coordinates: -0937, 1767 How to Get: Found on an isolated beach area towards the northern section of the region. |
|
Berylline Vale Chest 41 |
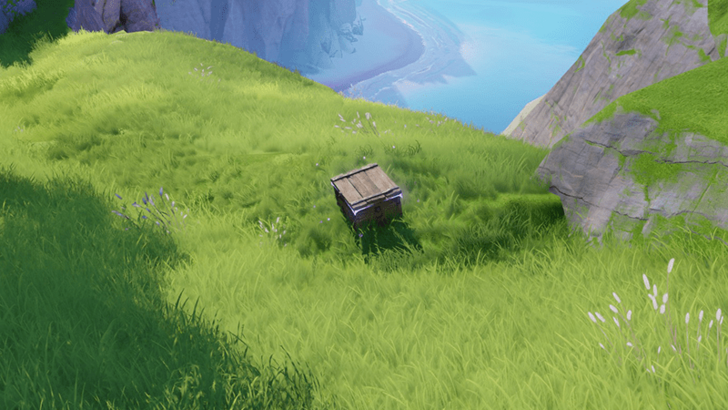 Coordinates: -0830, 1669 How to Get: Found near the ledge of a cliff facing the ocean to the north. |
Berylline Vale 100% Exploration Guide
All Chests in Russet Highlands
| Collectibles | Details |
|---|---|
|
Russet Highlands Chest 1 |
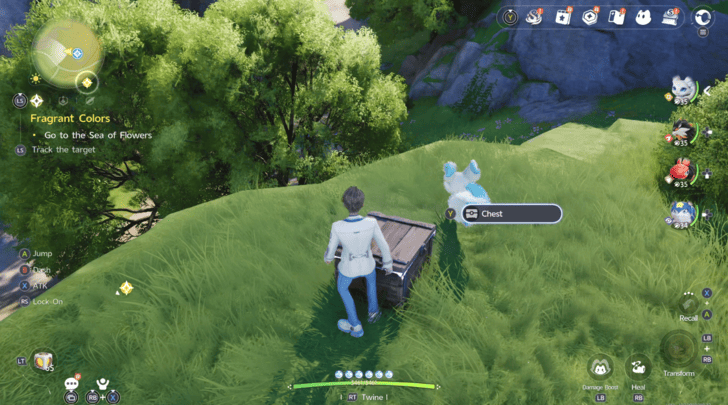 Coordinates: -0696, 1611 How to Get: West of the Rainbow Woods Bloom. |
|
Russet Highlands Chest 2 |
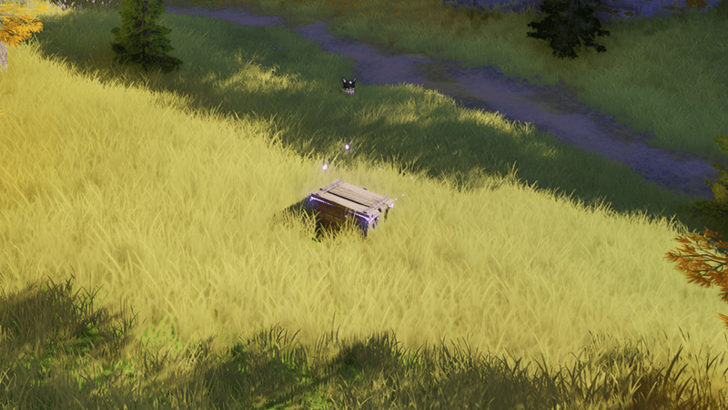 Coordinates: -0697, 1488 How to Get: Located in the open alongside the pathway. |
|
Russet Highlands Chest 3 |
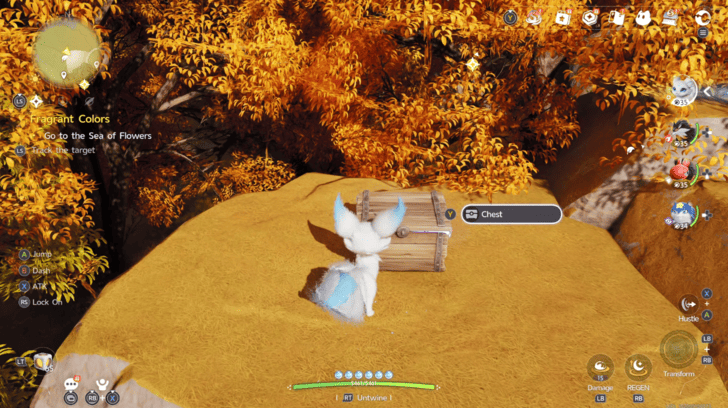 Coordinates: -0682, 1607 How to Get: Northeast of the Rainbow Woods Bloom, on top of a small cliff. |
|
Russet Highlands Chest 4 |
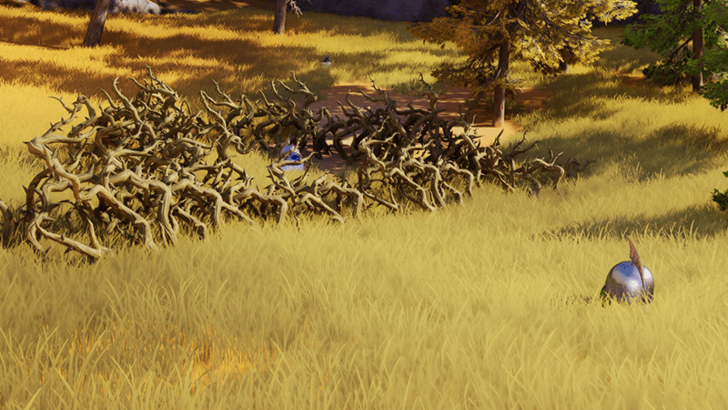 Coordinates: -0602, 1408 How to Get: Rescue a Helmet surrounded by spiky brambles by using fire from an Aniimo skill to burn them away so they can reunite with their friend. You'll receive a chest as a reward. |
|
Russet Highlands Chest 5 |
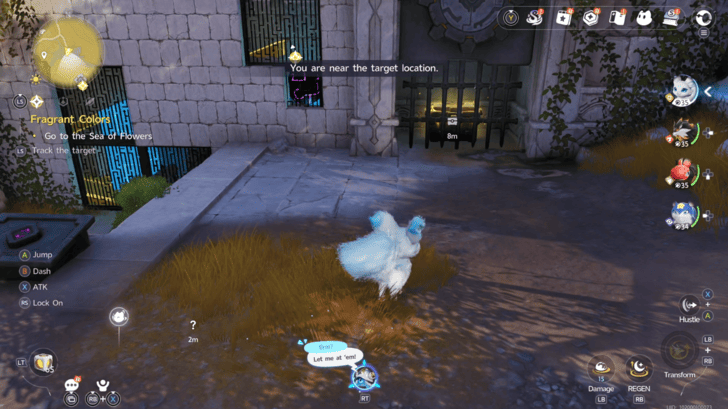 Coordinates: -0567, 1653 How to Get: Found at the ruins east of the woods. Twine with Helmut and use its vision to direct the ball through the course in the ruins. Completing the course will unlock the gate blocking the chest. |
|
Russet Highlands Chest 6 |
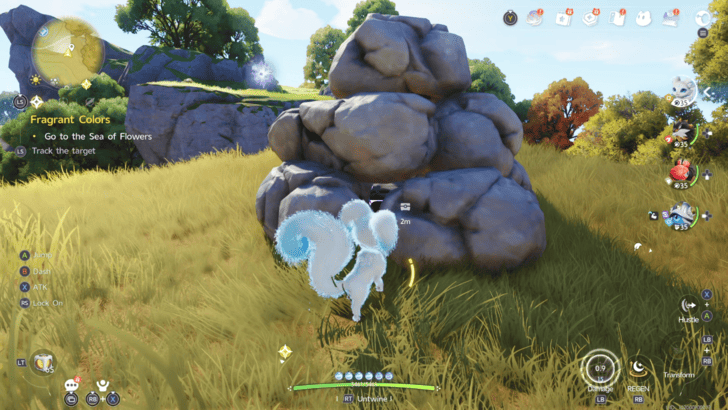 Coordinates: -0648, 1583 How to Get: Found on the west side of the woods on a cliff, buried under rocks. Break the rocks to get the chest |
|
Russet Highlands Chest 7 |
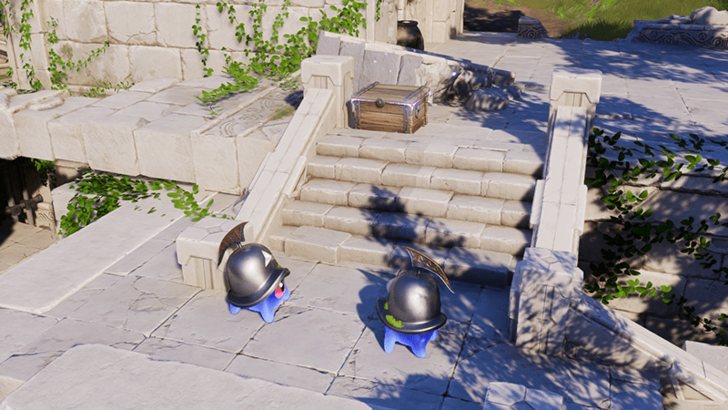 Coordinates: -0664, 1522 How to Get: Help Helmut reunite with their friend by moving and placing large cubes with the Gravity Pull talent around to form bridges for them to cross. |
|
Russet Highlands Chest 8 |
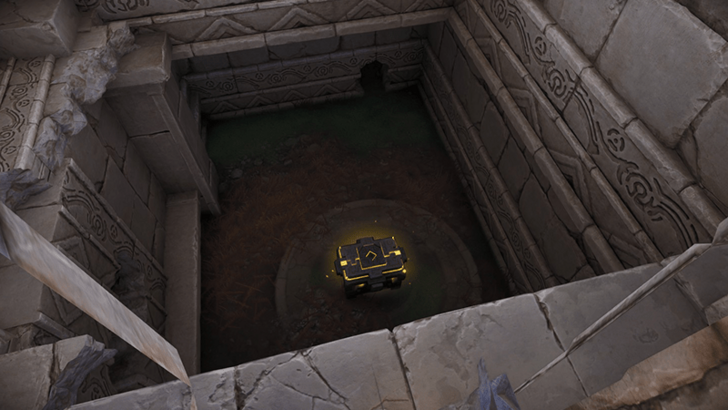 Coordinates: -0654, 1517 How to Get: Found inside an obscured room inside a ruin. You can twine with a smaller Aniimo to fit yourself through the hole, where you can peek at the chest's location to get to it. |
|
Russet Highlands Chest 9 |
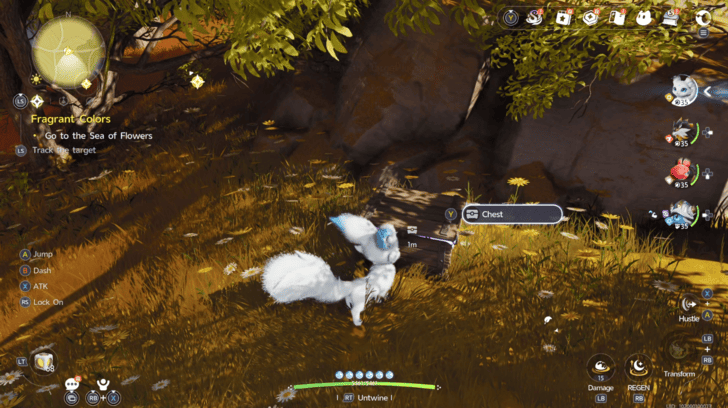 Coordinates: -0584, 1495 How to Get: Found off the side of the road on the southwest part of Russet Highlands. |
|
Russet Highlands Chest 10 |
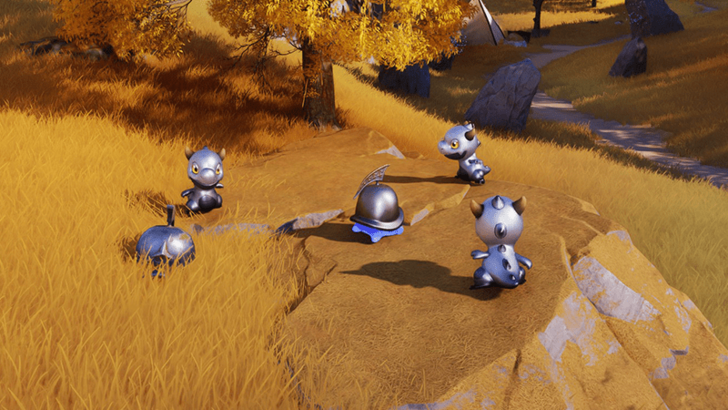 Coordinates: -0495, 1636 How to Get: Save the Helmut surrounded by Jawlings and you will be rewarded with a chest. |
|
Russet Highlands Chest 11 |
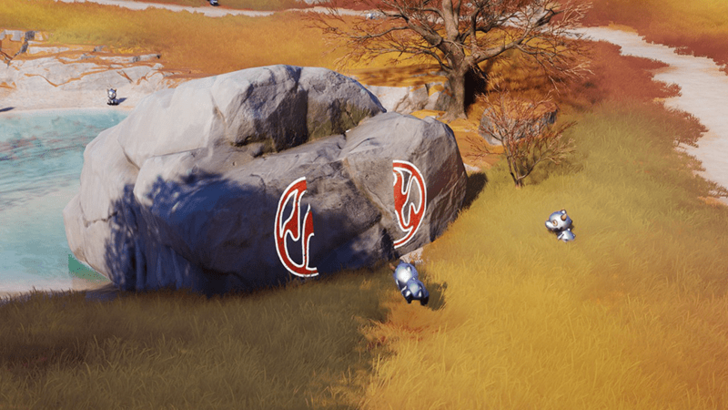 Coordinates: -0470, 1699 How to Get: Use an Aniimo with the Bilateral Aniimo skill to line up symbols on the large rock to get a chest. |
|
Russet Highlands Chest 12 |
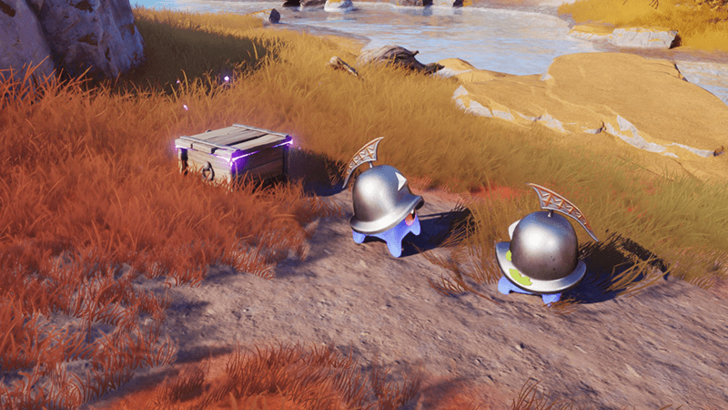 Coordinates: -0456, 1759 How to Get: The chest appears here after saving a Helmut from a Helgon. |
|
Russet Highlands Chest 13 |
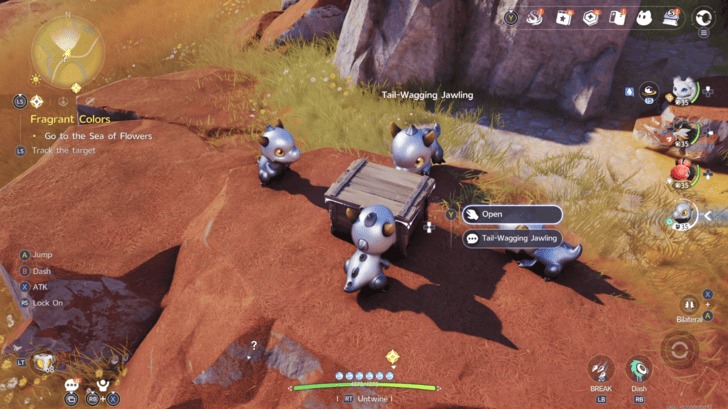 Coordinates: -0406, 1774 How to Get: Found on the western side of Russet Highlands surrounded by a group of Jawling. During nighttime, twine with a Jawling and offer to protect the chest while the others sleep, then open the chest. |
|
Russet Highlands Chest 14 |
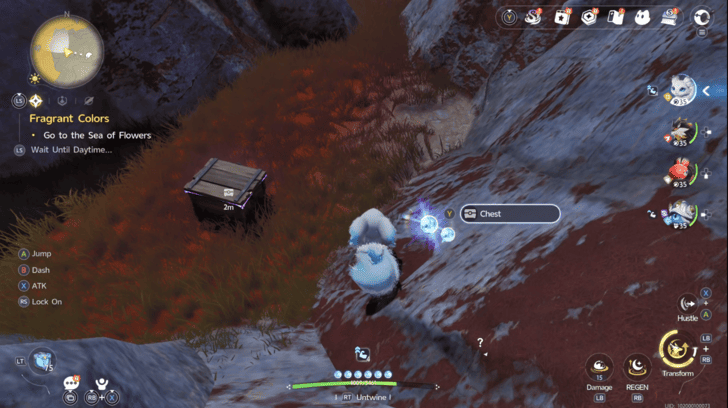 Coordinates: -0302, 1727 How to Get: Found in the mountain in the middle of Russet Highlands. |
|
Russet Highlands Chest 15 |
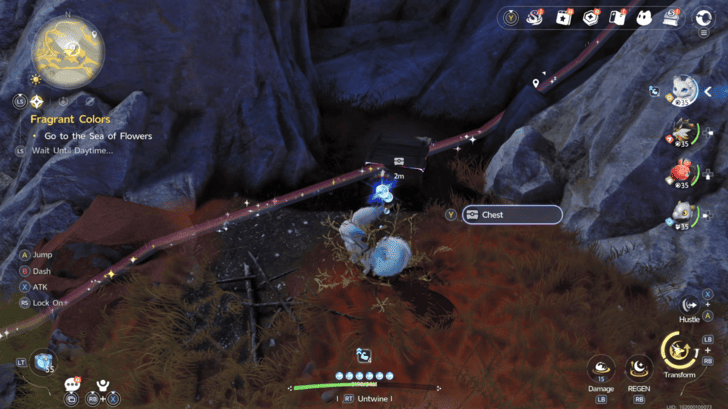 Coordinates: -0162, 1733 How to Get: Found on a mountain at the center of Russet Highlands. |
|
Russet Highlands Chest 16 |
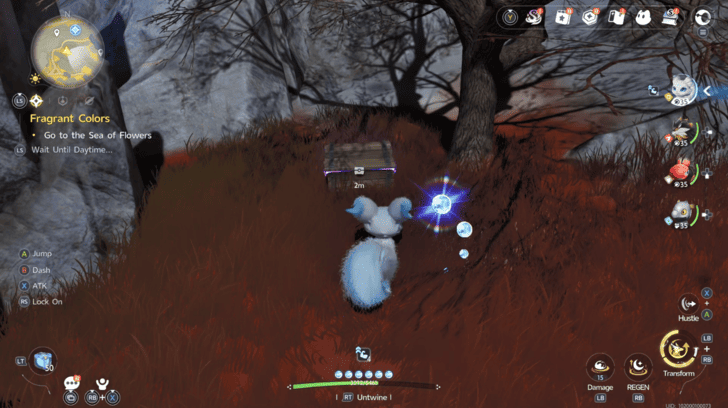 Coordinates: -0171, 1759 How to Get: Found south of the Twister Peaks Bloom on a mountain in the middle of Russet Highlands. |
|
Russet Highlands Chest 17 |
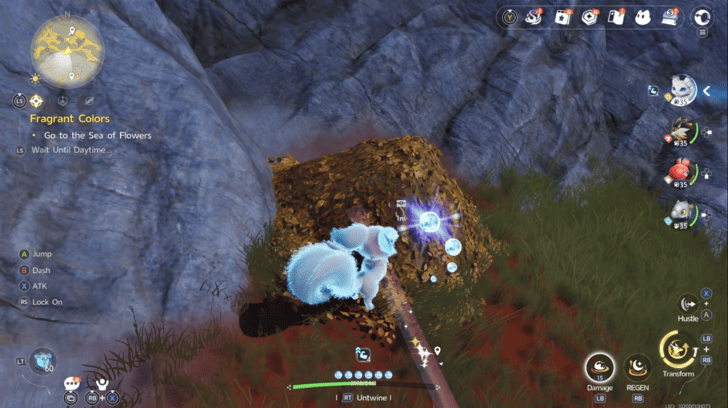 Coordinates: -0165, 1705 How to Get: Found buried in a pile of leaves near the arena in the center of Russet Highlands. |
|
Russet Highlands Chest 18 |
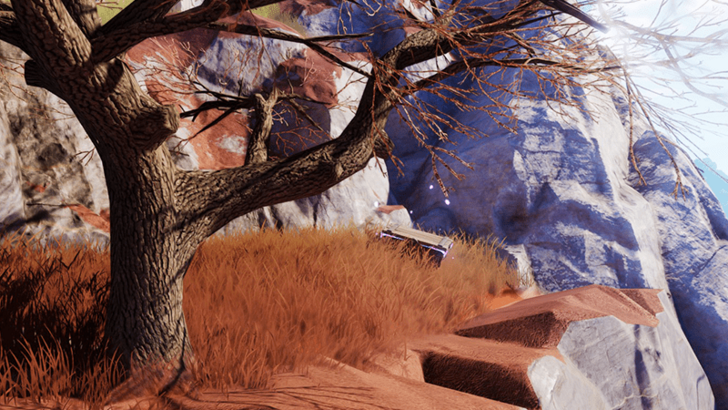 Coordinates: -0175, 1787 How to Get: Found west of the fast travel point of Russet Highlands nearby. |
|
Russet Highlands Chest 19 |
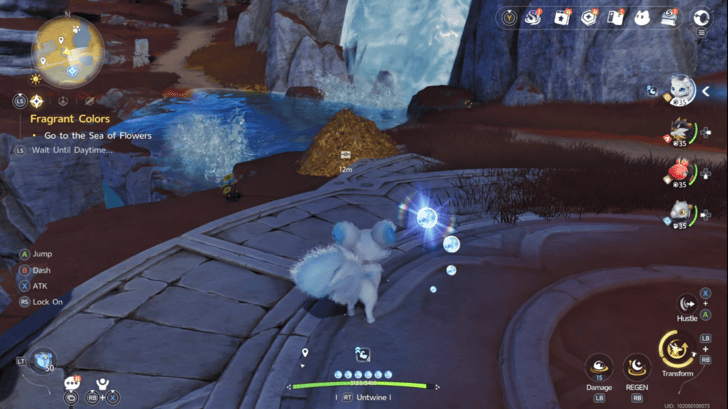 Coordinates: -0157, 1814 How to Get: Found buried in a pile of leaves by a waterfall on the northern part of Russet Highlands. |
|
Russet Highlands Chest 20 |
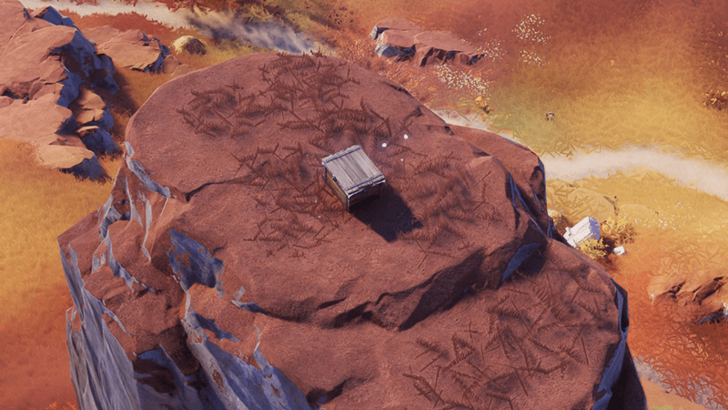 Coordinates: -0175, 1846 How to Get: Placed atop a rock formation. |
|
Russet Highlands Chest 21 |
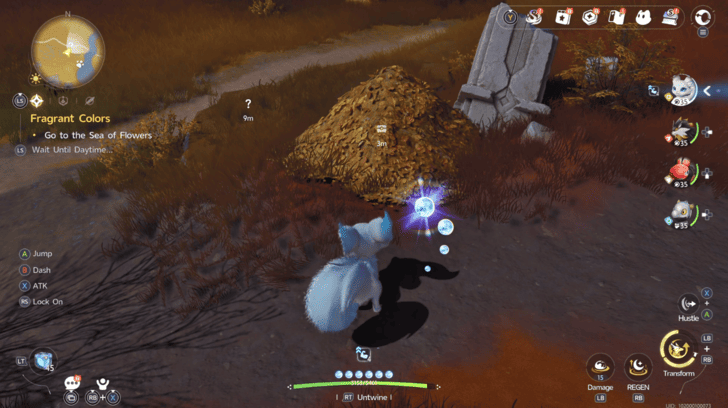 Coordinates: -0173, 1871 How to Get: Found off the side of the road on the northern part of Russet Highlands. It will be buried under a pile of leaves, knock them away to get the chest. |
|
Russet Highlands Chest 22 |
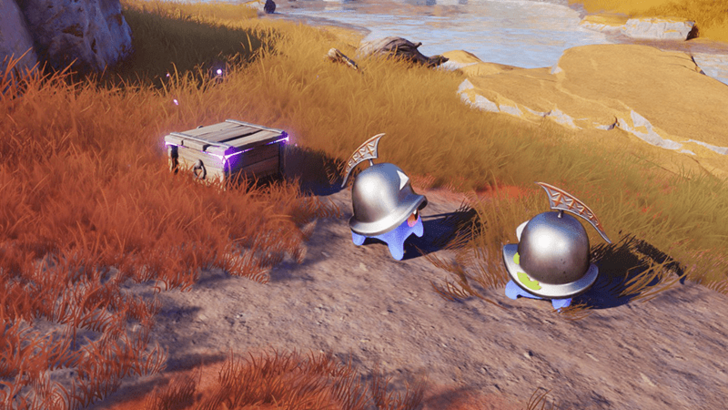 Coordinates: -0160, 1863 How to Get: Help a nearby Helmut save their friend who's stuck in the middle of the water by using the Gravity Pull talent to form a bridge to land with the nearby wooden planks. |
|
Russet Highlands Chest 23 |
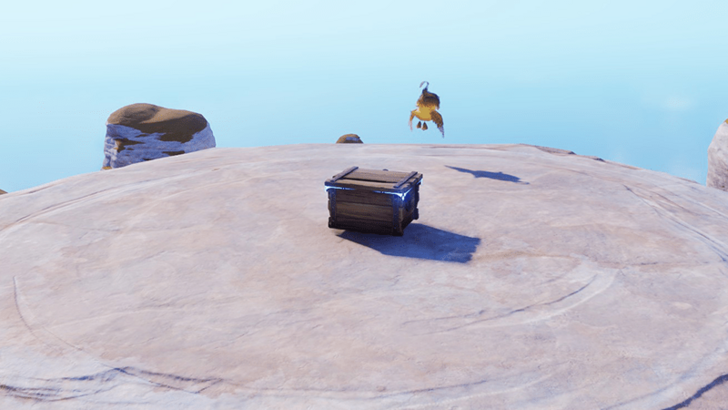 Coordinates: -0094, 1868 How to Get: Placed atop of a rock formation with a flat surface. |
|
Russet Highlands Chest 24 |
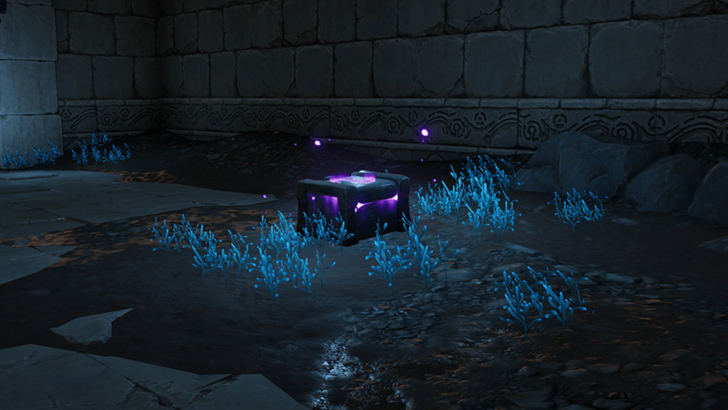 Coordinates: -0295, 1809 How to Get: Found underground inside a ruin. It's hidden behind a cavern obscured by a large stone that requires the Bilatral Aniimo skill to remove it by lining up markings on the stone. |
|
Russet Highlands Chest 25 |
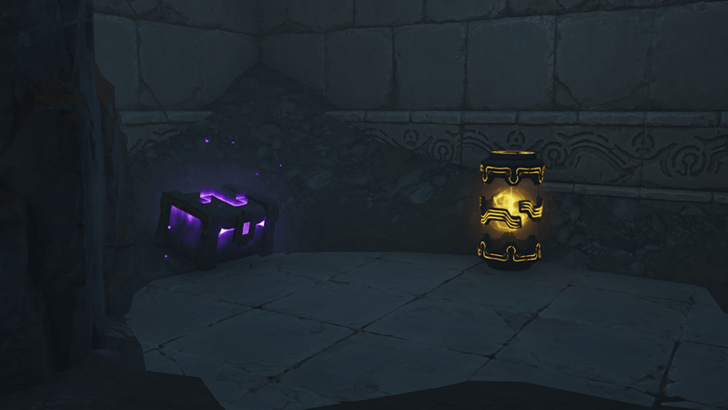 Coordinates: -0272, 1828 How to Get: Found underground inside a ruin. It's hidden behind a cavern obscured a pile of rocks that can be destroyed with an Aniimo Break skill. |
|
Russet Highlands Chest 26 |
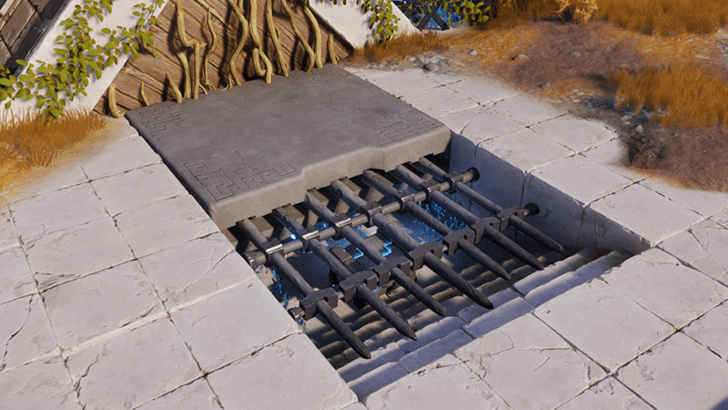 Coordinates: -0501, 1533 How to Get: Place underneath a grate that can be opened up by using Gravity Pull to position two stone balls hidden behind a wooden panel in front of it to activate two pressure plates on the left and right. |
|
Russet Highlands Chest 27 |
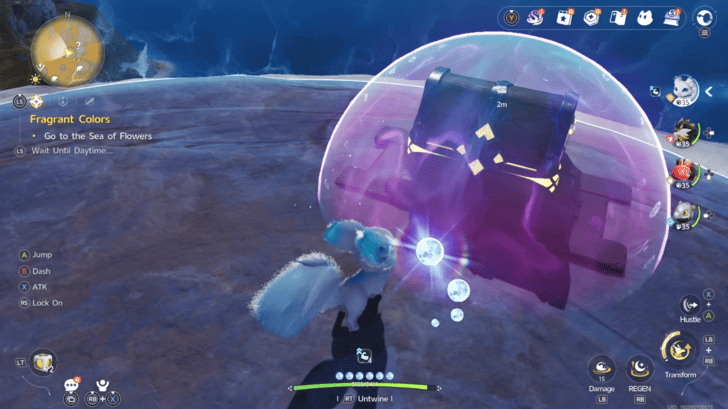 Coordinates: -0340, 1858 How to Get: Found on top of a rock tower on the northern part of Russet Highlands. Defeat the Helmwhelp guarding the chest to get it. |
|
Russet Highlands Chest 28 |
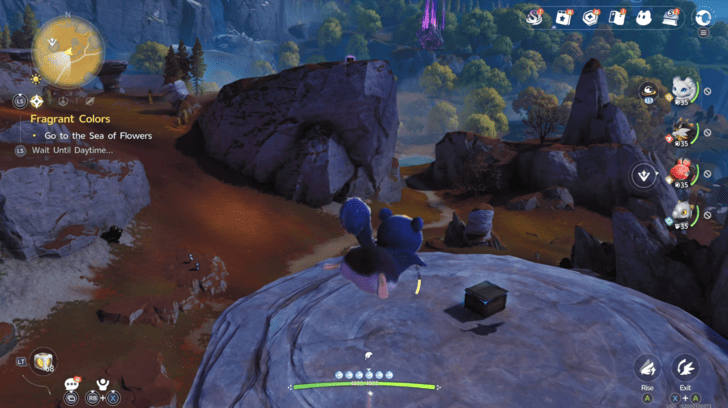 Coordinates: -0364, 1815 How to Get: Found on top of a rock tower on the northwest side of Russet Highlands. Twine with a flying aniimo and use the nearby wind current to launch yourself high and fly to the chest. |
|
Russet Highlands Chest 29 |
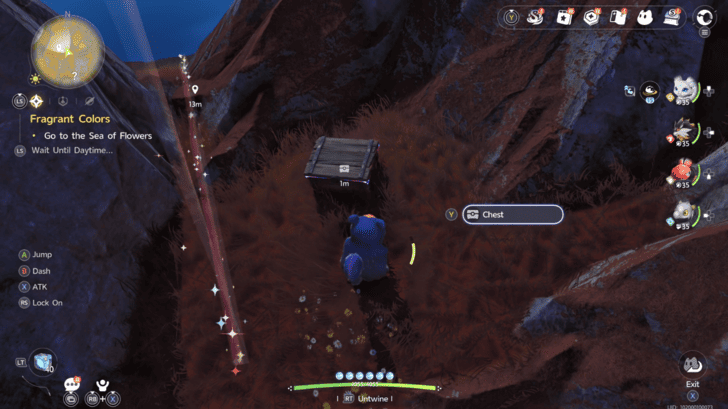 Coordinates: -0335, 1902 How to Get: Found on the mountain on the northern part of Russet Highlands. |
|
Russet Highlands Chest 30 |
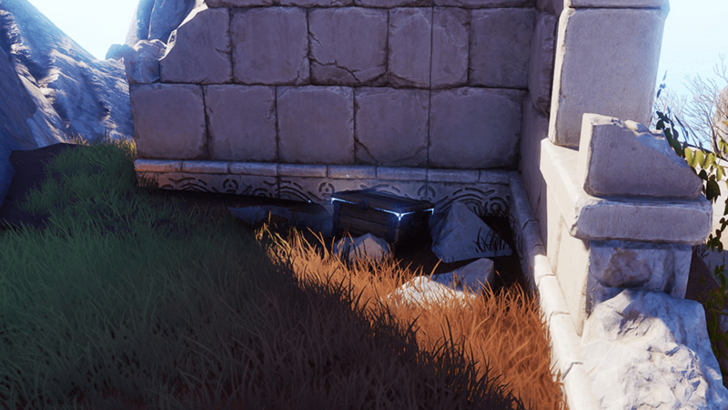 Coordinates: -0080, 1685 How to Get: Found inside a pile of leaves that can be removed by using a Break Aniimo skill. |
|
Russet Highlands Chest 31 |
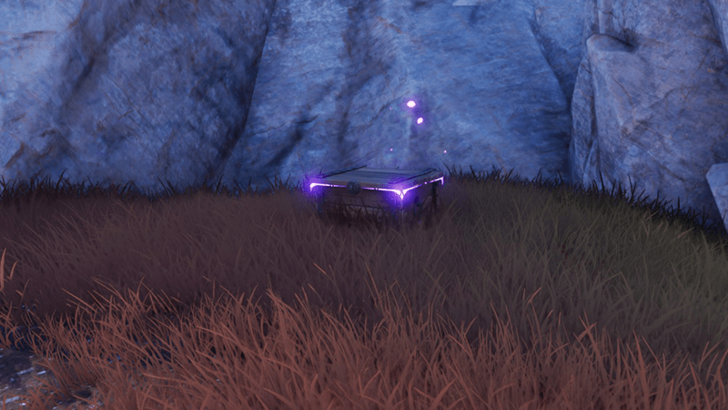 Coordinates: -0086, 1661 How to Get: Placed in a corner of two ruined walls along the side of the path. |
|
Russet Highlands Chest 32 |
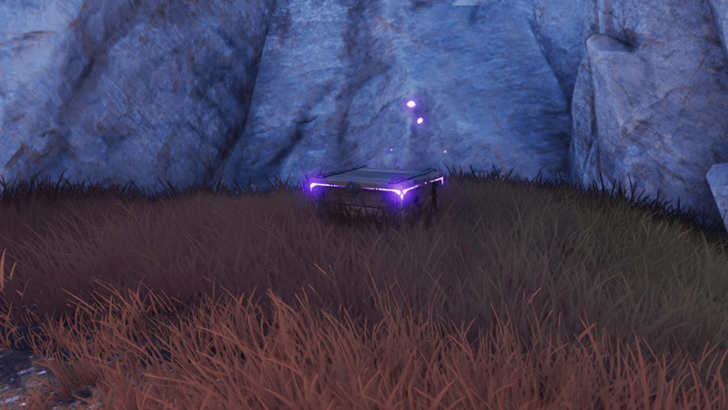 Coordinates: -0086, 1633 How to Get: Found off the side of the road near the arena in the southern part of Russet Highlands. |
|
Russet Highlands Chest 33 |
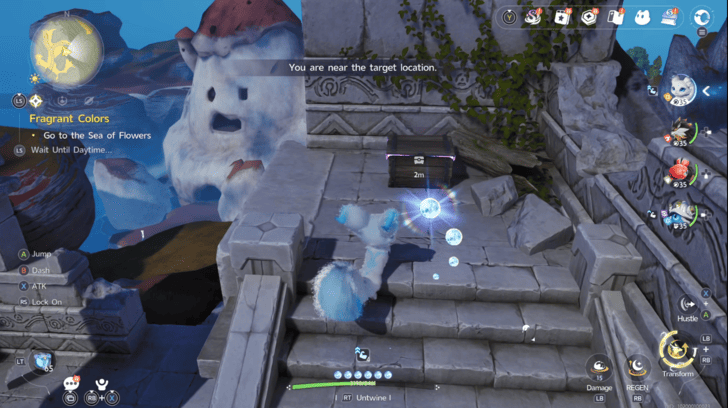 Coordinates: -0039, 1636 How to Get: Found up the stairs in the ruins on the southeast part of Russet Highlands. |
|
Russet Highlands Chest 34 |
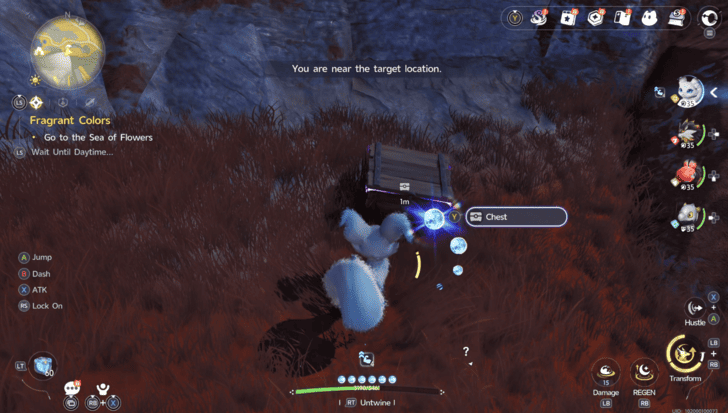 Coordinates: -0061, 1743 How to Get: Found near a small pond on the eastern side of Russet Highlands. |
|
Russet Highlands Chest 35 |
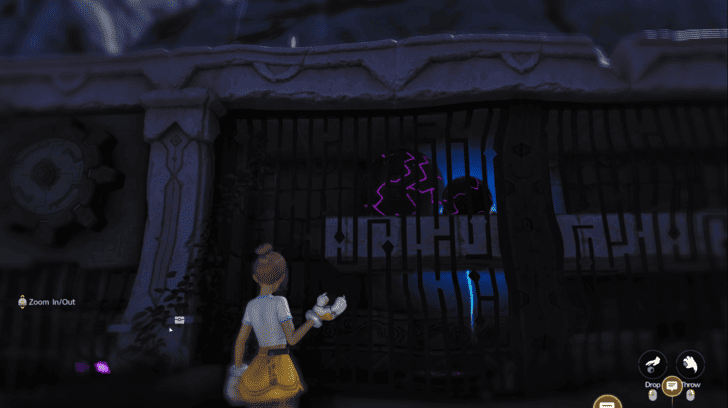 Coordinates: -0036, 1707 How to Get: Found inside the ruins at the eastern part of Russet Highlands. Drag the two boulders inside the ruins to the buttons to open the gate blocking the chest. |
|
Russet Highlands Chest 36 |
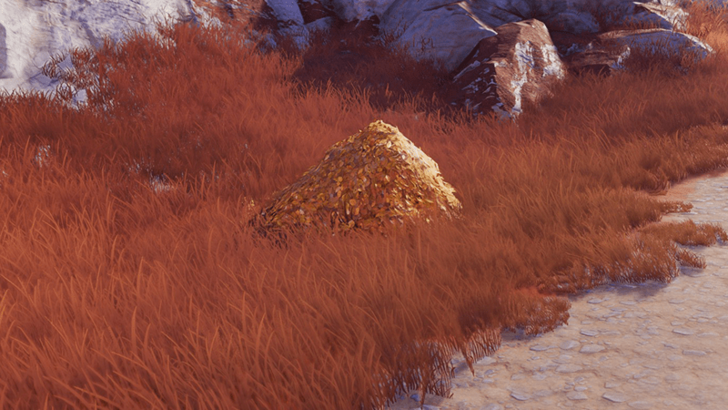 Coordinates: -0014, 1742 How to Get: Found under a pile of leaves on the side of the path. Use an Aniimo Break skill to clear out the pile to reveal the chest. |
|
Russet Highlands Chest 37 |
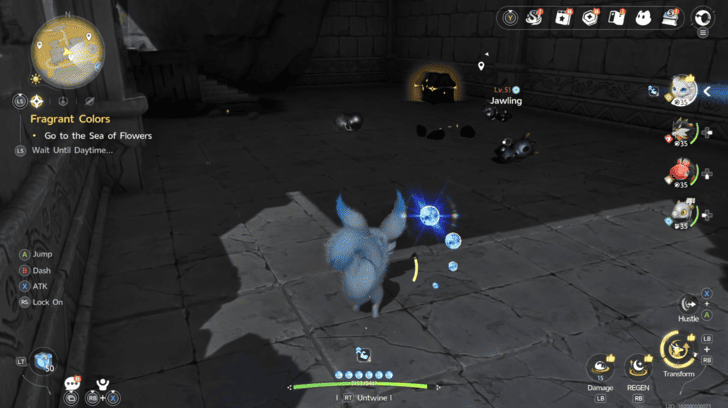 Coordinates: -0193, 1809 How to Get: Found inside the ruins on the northern part of Russet Highlands. |
|
Russet Highlands Chest 38 |
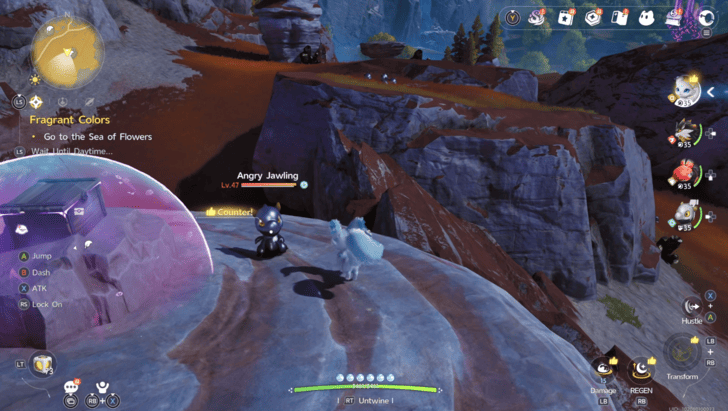 Coordinates: -0330, 1785 How to Get: Found on top of a rock tower on the northwestern part of Russet Highlands. After interacting with it, defeat the Jawling guarding the chest to get it. |
|
Russet Highlands Chest 39 |
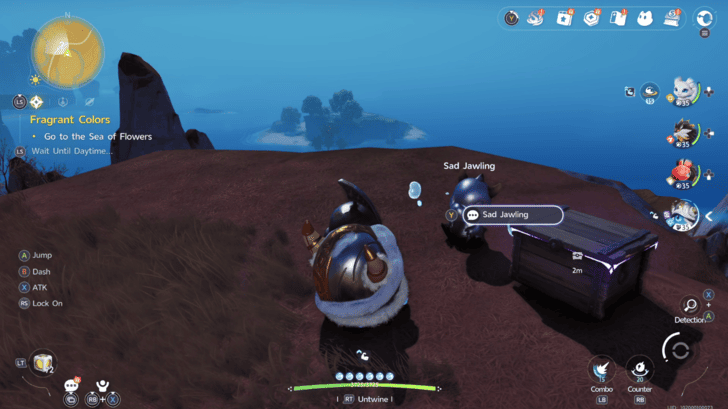 Coordinates: -0402, 1755 How to Get: Found on a cliff on the northwest part of Russet Highlands. Twine with a Helmut with a two-horned helmet and show yourself to the sad Jawling who will give you the chest afterwards. |
|
Russet Highlands Chest 40 |
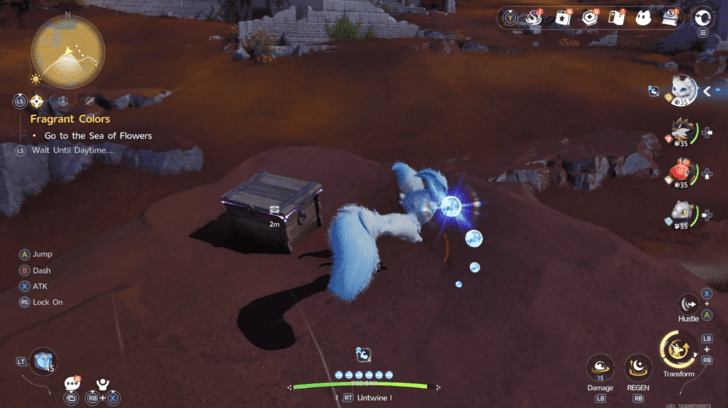 Coordinates: -0223, 1896 How to Get: Found on a small cliff off the road on the northern part of Russet Highlands. |
|
Russet Highlands Chest 41 |
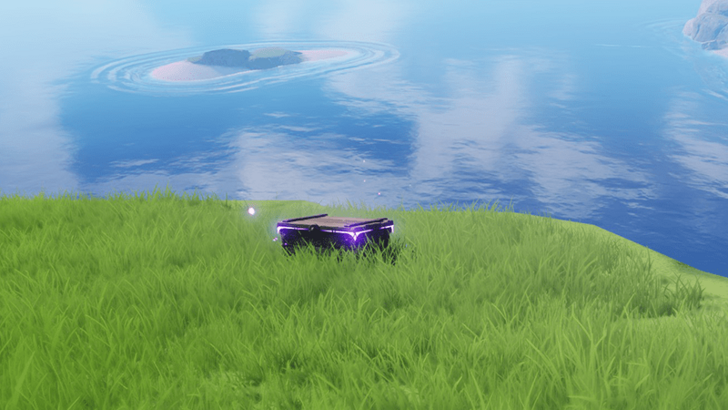 Coordinates: -0774, 1770 How to Get: Placed close to a ledge of a cliff, overlooking the ocean to the north. This chest is around the most northwestern part of the region. |
|
Russet Highlands Chest 42 |
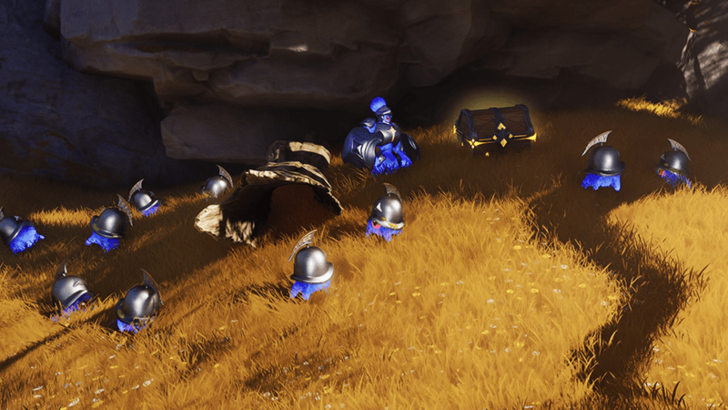 Coordinates: -0577, 1565 How to Get: Help Older Rookey save several Helmuts across the Russet Highlands. After helping all of them, Rookey will reward you with a chest. |
|
Russet Highlands Chest 43 |
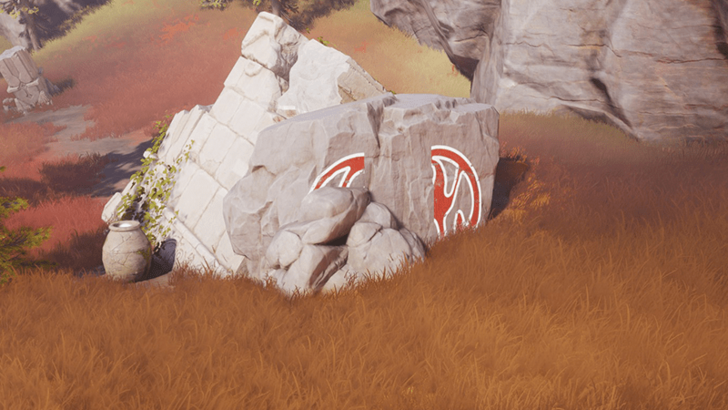 Coordinates: -0383, 1580 How to Get: The chest is hidden underneath a collapsed structure blocked by a boulder with markings on them. Use the Bilateral Aniimo skill to line up the markings to make the boulder disappear. |
|
Russet Highlands Chest 44 |
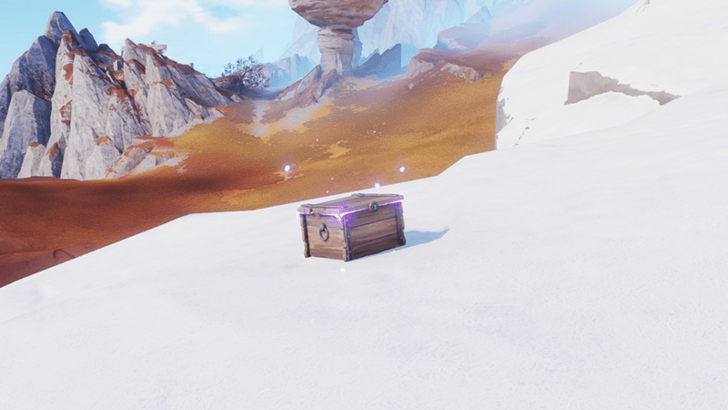 Coordinates: -0382, 1555 How to Get: Found near the mountainside area bordering the Russet Highlands and the Driftwise Meadow. |
|
Russet Highlands Chest 45 |
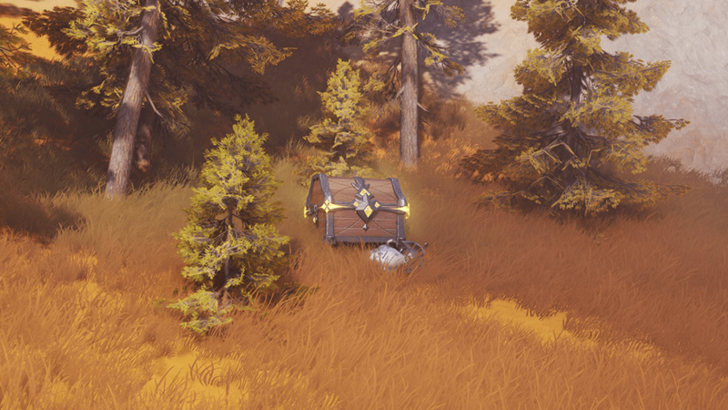 Coordinates: -0359, 1626 How to Get: Go to the top of a nearby rock formation and eavesdrop on the two Helmwhelps and follow them to reveal a hidden chest. |
|
Russet Highlands Chest 46 |
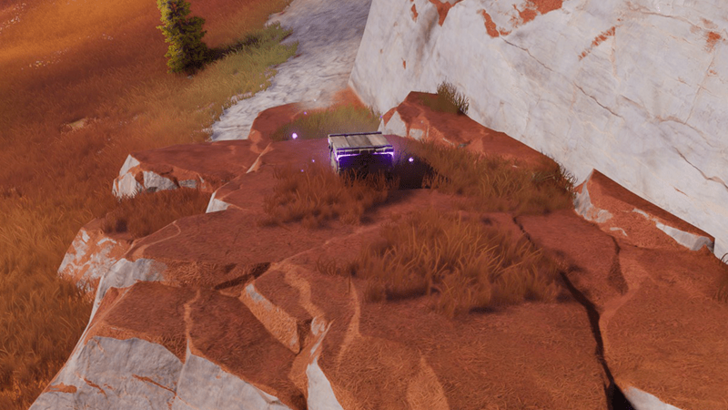 Coordinates: -0366, 1685 How to Get: Placed on a rocky surface. |
|
Russet Highlands Chest 47 |
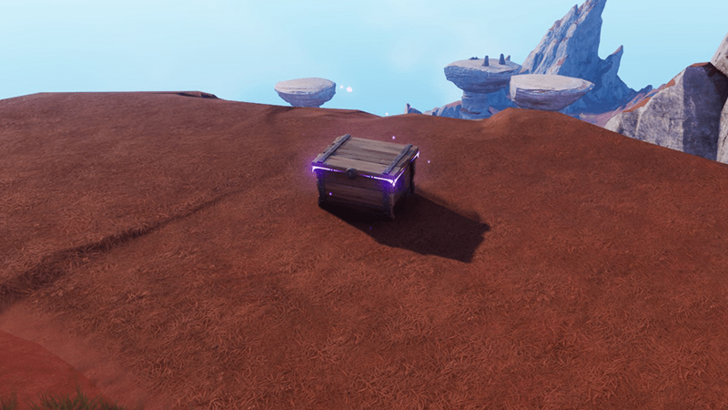 Coordinates: -0310, 1665 How to Get: Placed near a ledge of a cliff. |
|
Russet Highlands Chest 48 |
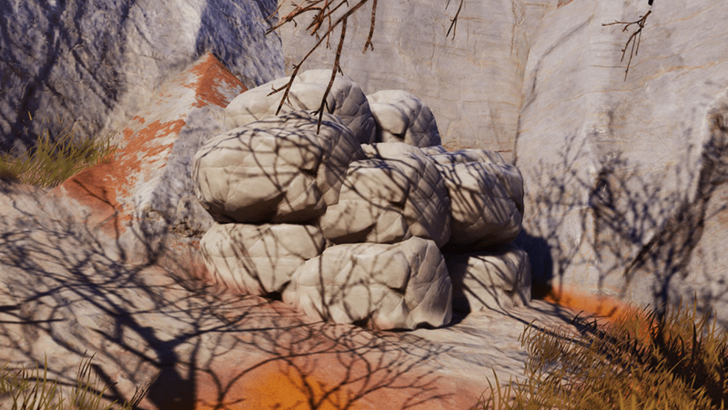 Coordinates: -0476, 1752 How to Get: Buried underneath a pile of rocks that can be destroyed with an Aniimo Break skill. |
|
Russet Highlands Chest 49 |
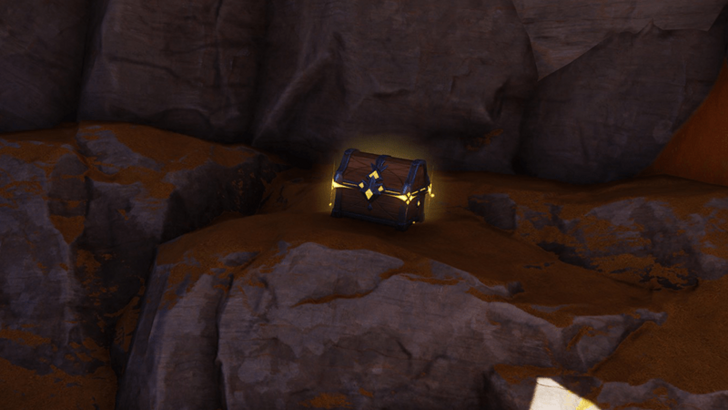 Coordinates: -0510, 1788 How to Get: Placed underneath the cliff in an area nearer to the ocean. |
|
Russet Highlands Chest 50 |
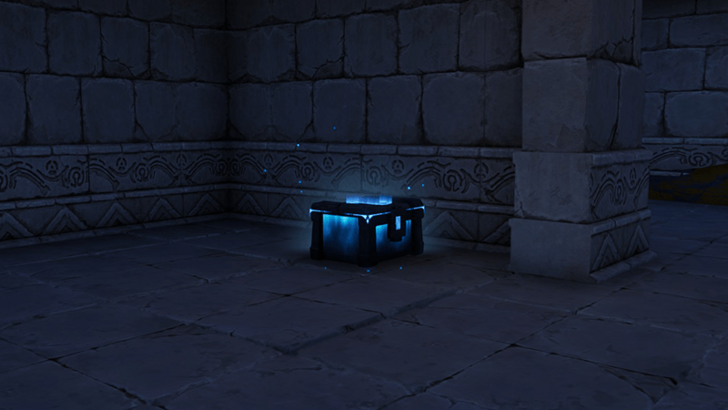 Coordinates: -0513, 1802 How to Get: Placed inside a ruin accessible via hole on its ceiling. |
|
Russet Highlands Chest 51 |
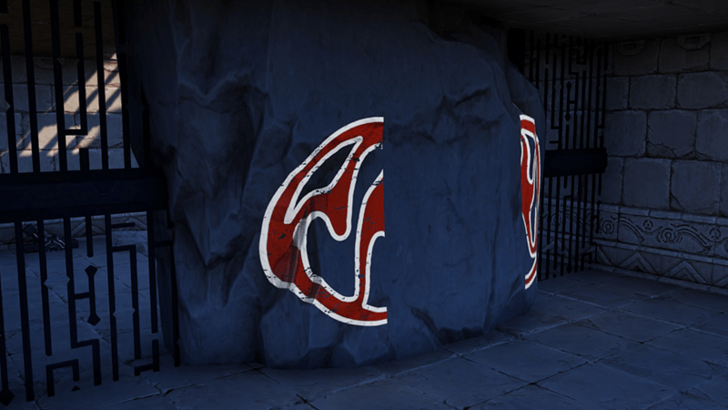 Coordinates: -0511, 1792 How to Get: Placed behind a boulder in an underground ruin. Use the Aniimo skill Bilateral to line up the marks on the boulder to make it disappear to access the chest. |
|
Russet Highlands Chest 52 |
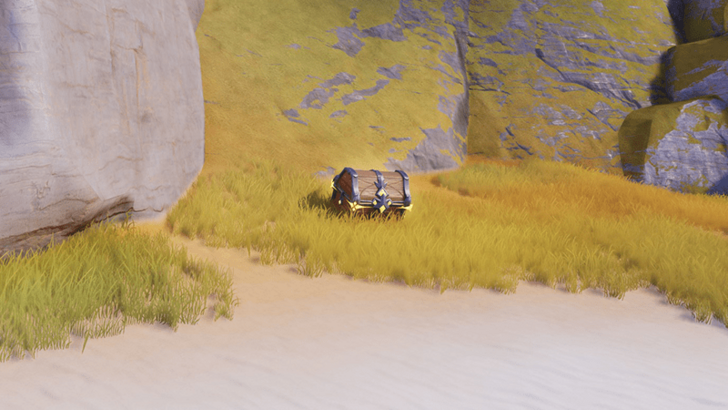 Coordinates: -0658, 1727 How to Get: Placed in a solitary beach facing the north. |
|
Russet Highlands Chest 53 |
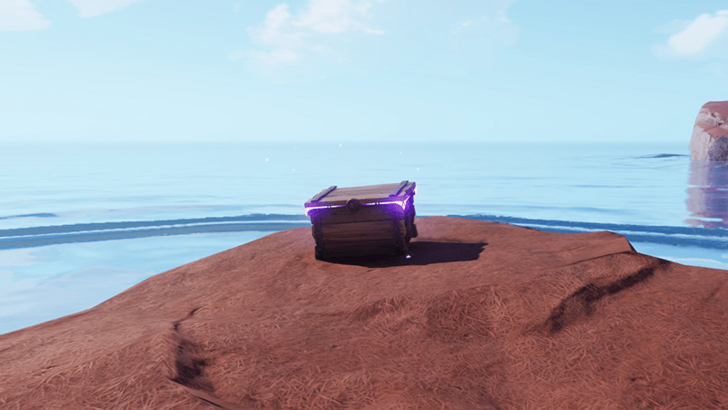 Coordinates: -0443, 1878 How to Get: Place on a small boulder along the shore of the northern beach. |
|
Russet Highlands Chest 54 |
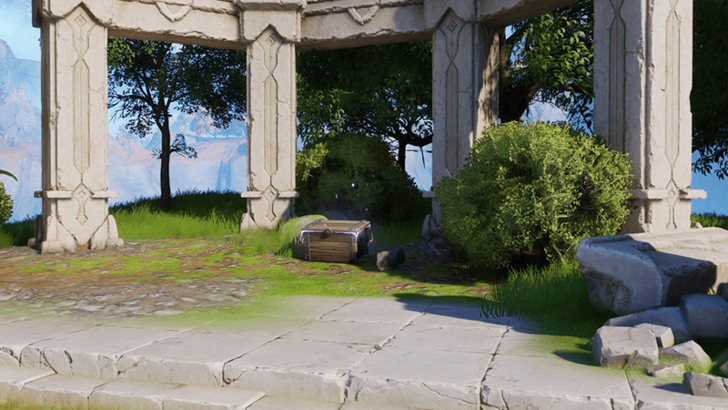 Coordinates: -0679, 1959 How to Get: Placed around a small ruin area. |
|
Russet Highlands Chest 55 |
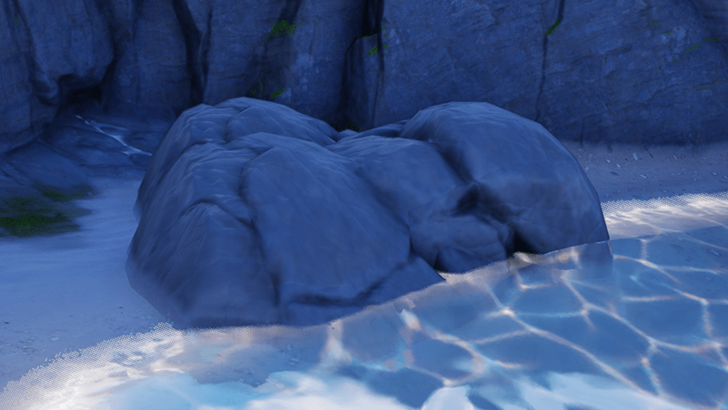 Coordinates: -0650, 1977 How to Get: Buried under rocks that can be broken with an Aniimo Break skill. |
|
Russet Highlands Chest 56 |
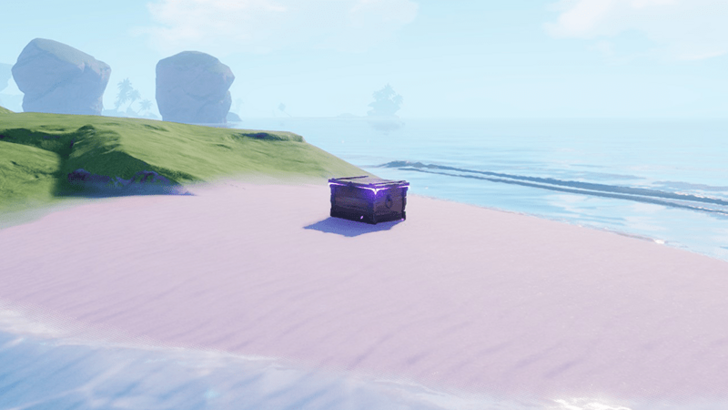 Coordinates: -0829, 1957 How to Get: Placed on a lone islet in the middle of the ocean waters. |
|
Russet Highlands Chest 57 |
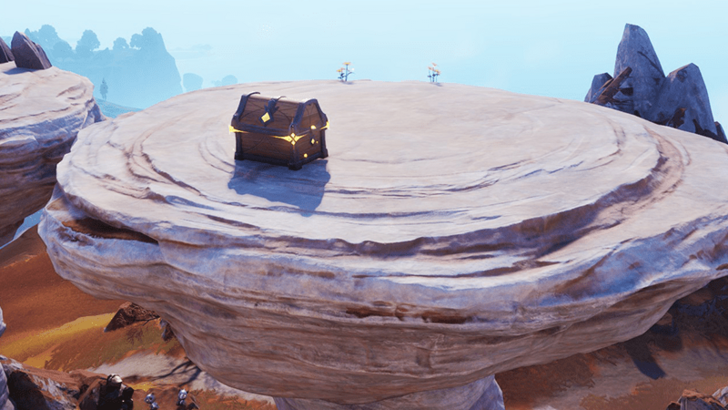 Coordinates: -0240, 1642 How to Get: Located on the top of a rock formation with a circular surface top. |
|
Russet Highlands Chest 58 |
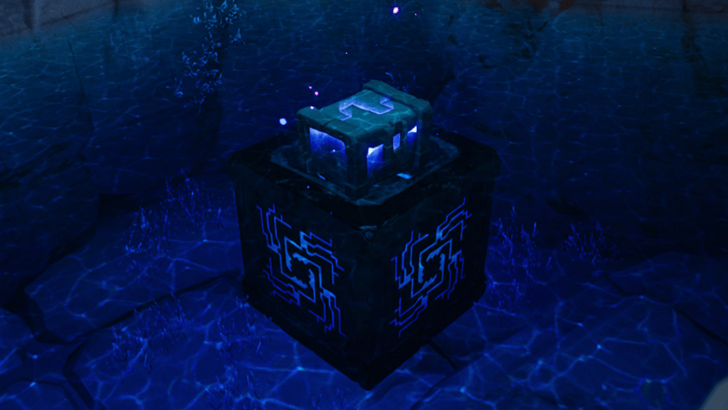 Coordinates: -0246, 1725 How to Get: Inside an underground ruined cave, submerged under water. |
|
Russet Highlands Chest 59 |
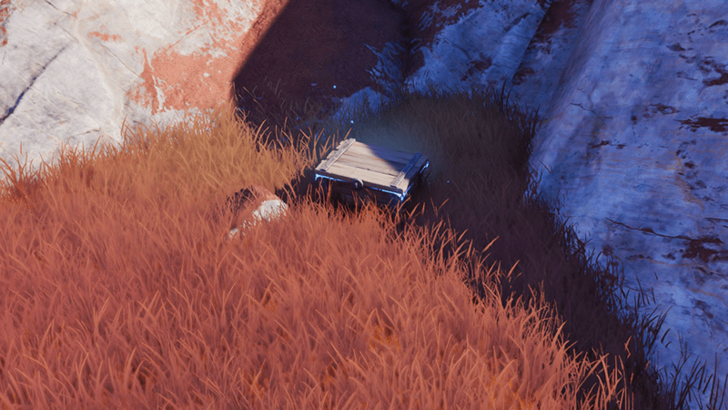 Coordinates: -0290, 1933 How to Get: Placed in an open area near the northern cliffside. |
|
Russet Highlands Chest 60 |
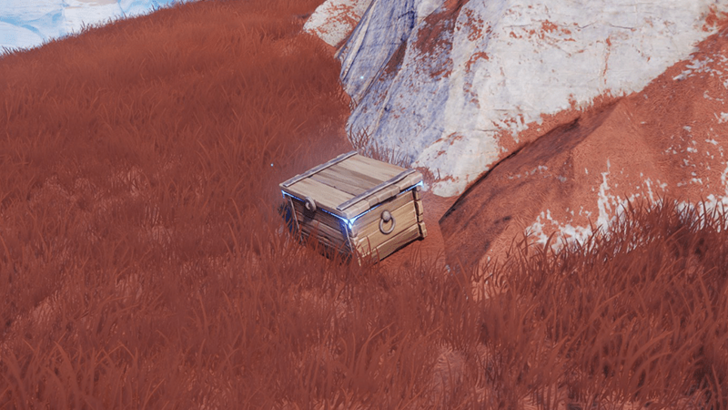 Coordinates: -0343, 1960 How to Get: Placed near the cliffs of the northern section of the region. North of the Stonebound Sword Sanctum. |
|
Russet Highlands Chest 61 |
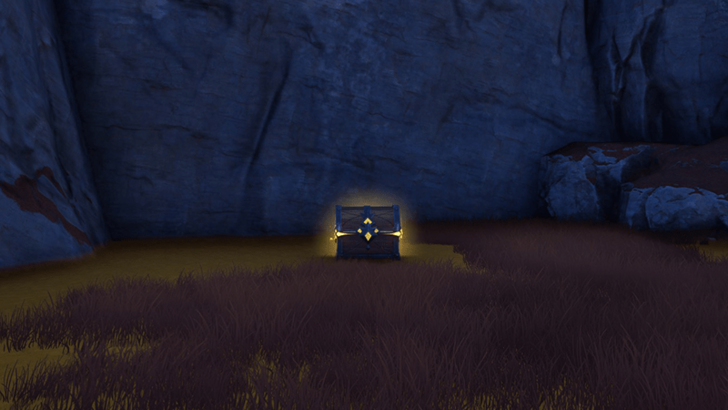 Coordinates: -0330, 1939 How to Get: Placed in a small cavern by the northern shores. |
|
Russet Highlands Chest 62 |
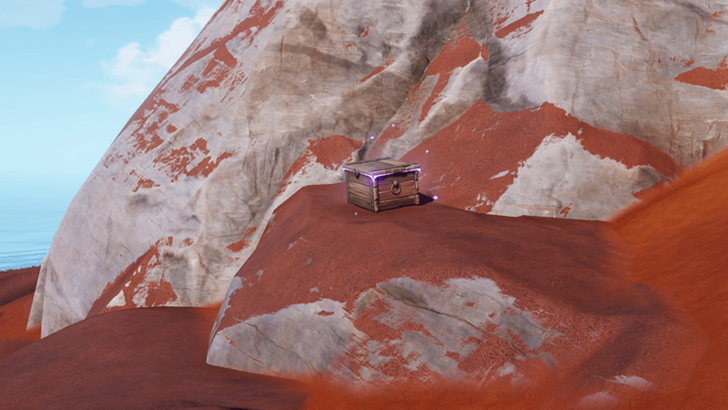 Coordinates: -0239, 1945 How to Get: Located on the rocks along the northern shore. |
|
Russet Highlands Chest 63 |
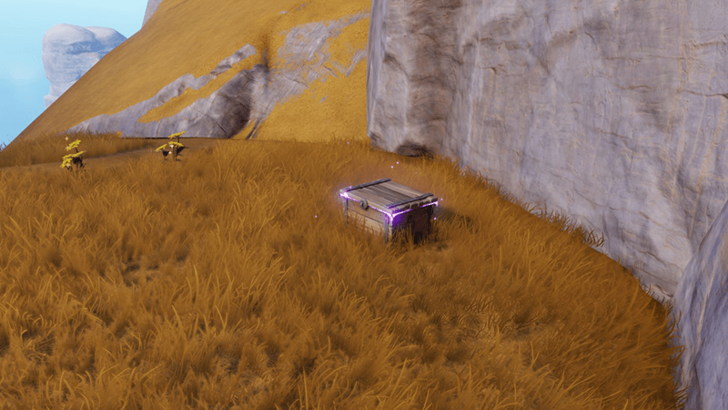 Coordinates: 0016, 1879 How to Get: Placed in an area near the north-eastern cliffside. |
|
Russet Highlands Chest 64 |
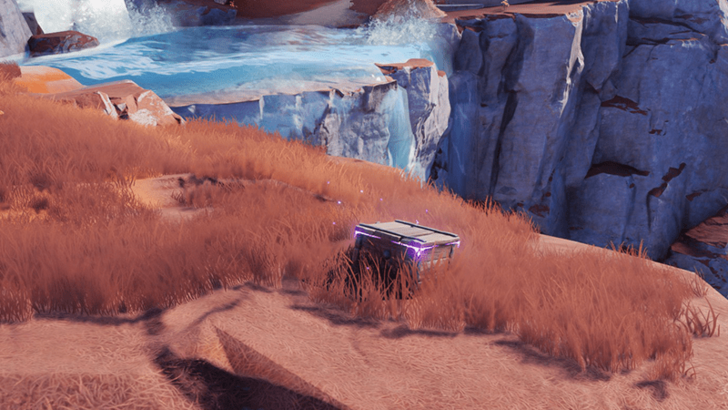 Coordinates: -0124, 1830 How to Get: Placed in a spot near a waterfall. |
|
Russet Highlands Chest 65 |
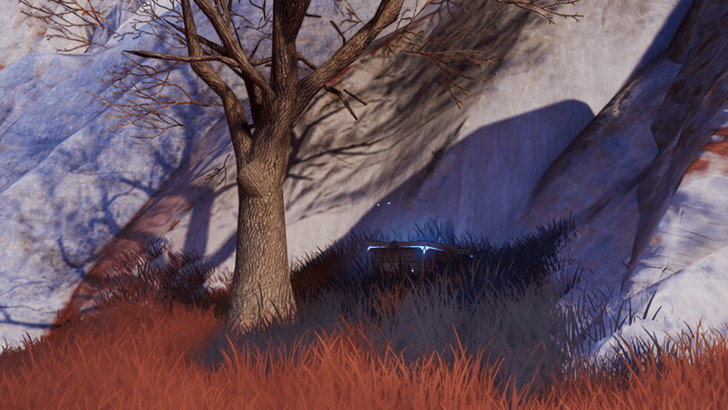 Coordinates: -0053, 1737 How to Get: Buried under rubble, use an Aniimo with a Break skill to unearth it. |
|
Russet Highlands Chest 66 |
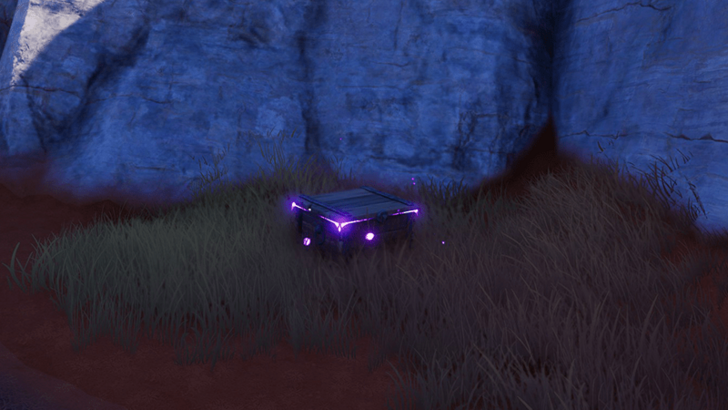 Coordinates: -0062, 1697 How to Get: Placed along the cliffs of the mountainous area of the region. |
|
Russet Highlands Chest 67 |
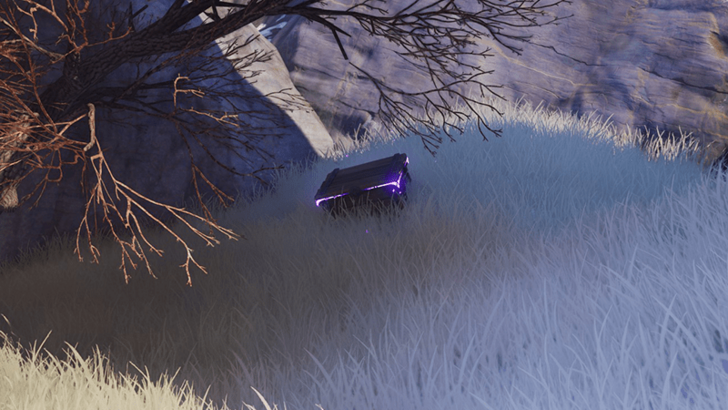 Coordinates: -0032, 1551 How to Get: Placed at the side of the pathway. |
|
Russet Highlands Chest 68 |
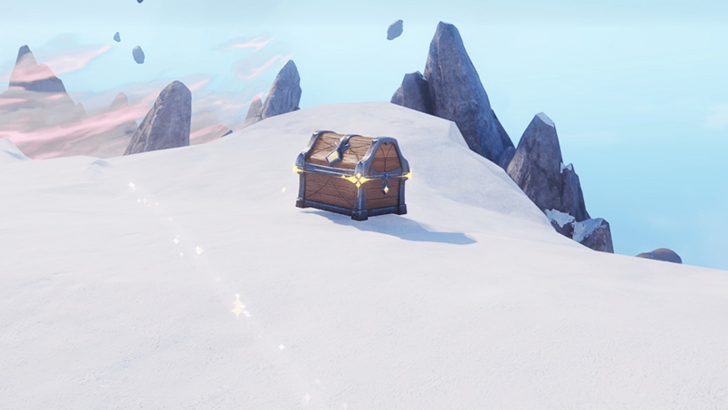 Coordinates: -0013, 1533 How to Get: Placed along the snowy mountainous side of the region, near the Driftwise Meadow area. |
Russet Highlands 100% Exploration Guide
All Chests in Zephyrus Landbridge
| Collectibles | Details |
|---|---|
|
Zephyrus Landbridge Chest 1 |
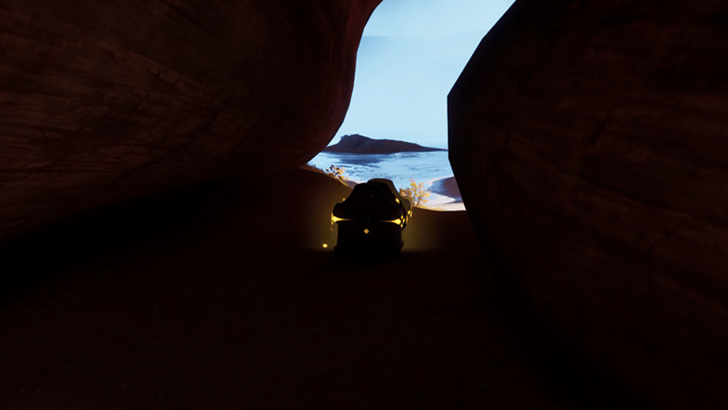 Coordinates: 0214, 1787 How to Get: Located underneath the landbridge between the fast travel point and the rock castle inbetween a small gap. |
|
Zephyrus Landbridge Chest 2 |
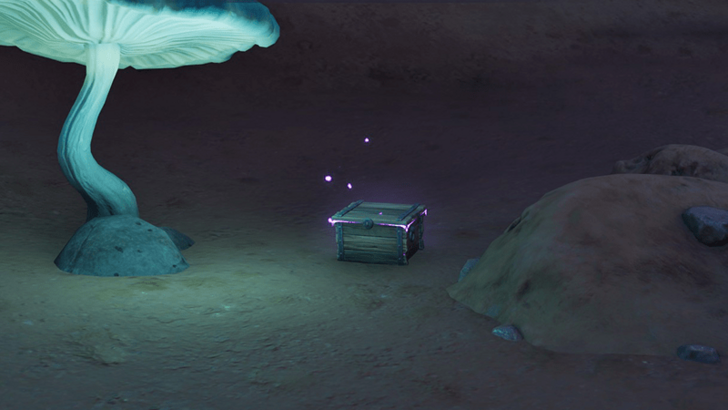 Coordinates: 0278, 1748 How to Get: Found in the same area as the Courageous Wit Sanctum, just slightly south of where it is. |
|
Zephyrus Landbridge Chest 3 |
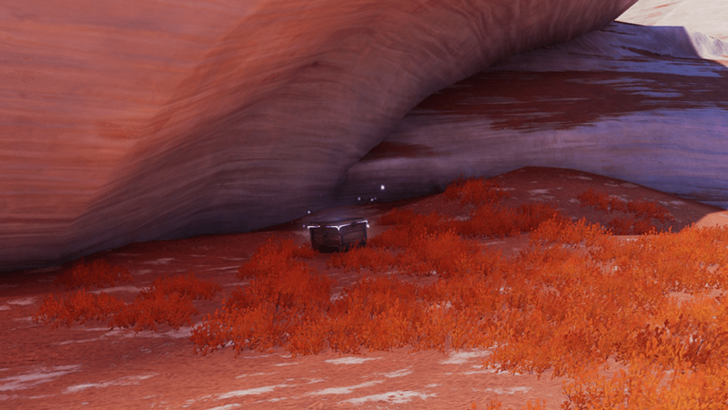 Coordinates: 0364, 1838 How to Get: Found at the end of the northeastern landbridge of the rock castle. |
|
Zephyrus Landbridge Chest 4 |
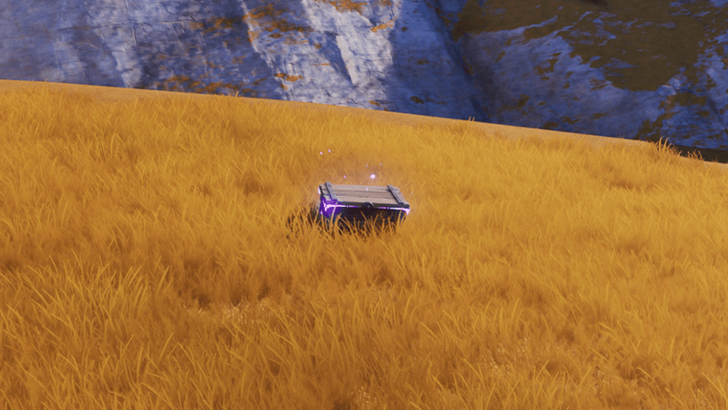 Coordinates: 0151, 1574 How to Get: Located in an open area along the cliffside of the region. |
|
Zephyrus Landbridge Chest 5 |
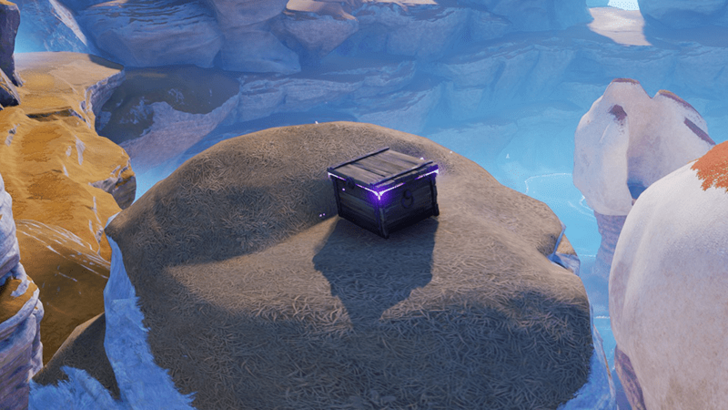 Coordinates: 0342, 1597 How to Get: Placed on top of a tall stone pillar. |
|
Zephyrus Landbridge Chest 6 |
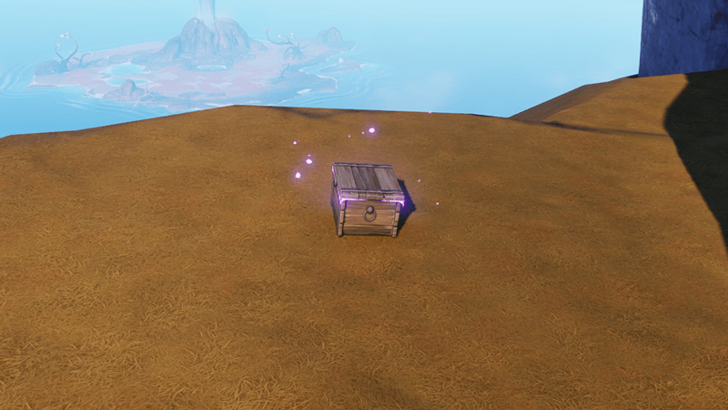 Coordinates: 0434, 1520 How to Get: Placed along the cliffside facing the ocean to the east. |
|
Zephyrus Landbridge Chest 7 |
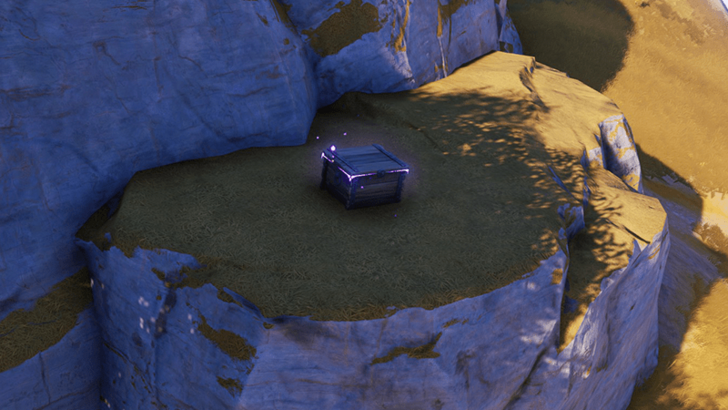 Coordinates: 0403, 1490 How to Get: Placed on an elevated ground in the open. |
|
Zephyrus Landbridge Chest 8 |
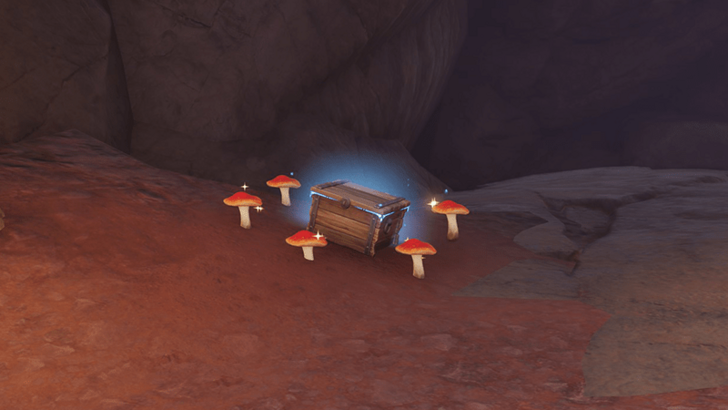 Coordinates: 0415, 1444 How to Get: Found in the underground cavern surrounded by mushrooms. |
|
Zephyrus Landbridge Chest 9 |
 Coordinates: 0485, 1508 How to Get: Found next to a Chatty Larvazar. Talk to them to get permission to open the chest. |
|
Zephyrus Landbridge Chest 10 |
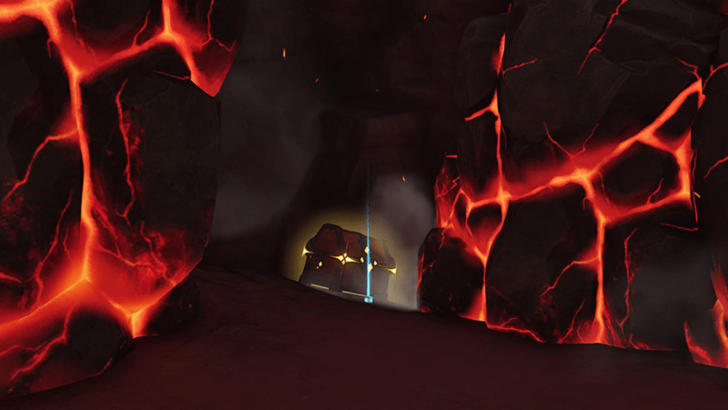 Coordinates: 0495, 1489 How to Get: Placed behind magma rocks that require a Level 4 Aniimo Break skill. |
|
Zephyrus Landbridge Chest 11 |
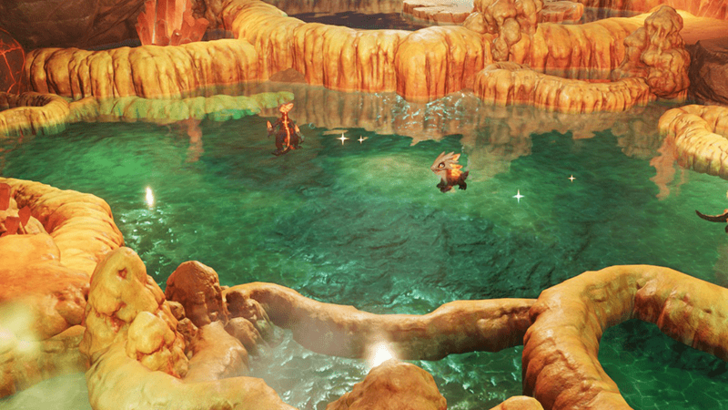 Coordinates: 0569, 1523 How to Get: Appears in one of the hot springs after relaxing in them as a Magmarex. The chest might not spawn immediately so its recommended to teleport to a different location and return to this spot to make sure it spawns. |
|
Zephyrus Landbridge Chest 12 |
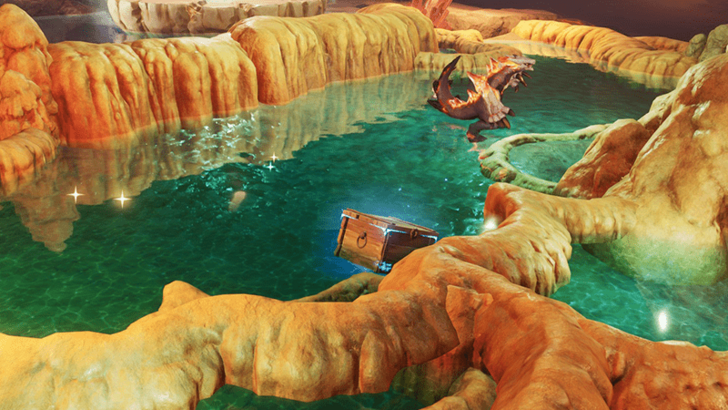 Coordinates: 0553, 1501 How to Get: Appears in one of the hot springs after relaxing in them as a Magmarex. The chest might not spawn immediately so its recommended to teleport to a different location and return to this spot to make sure it spawns. |
|
Zephyrus Landbridge Chest 13 |
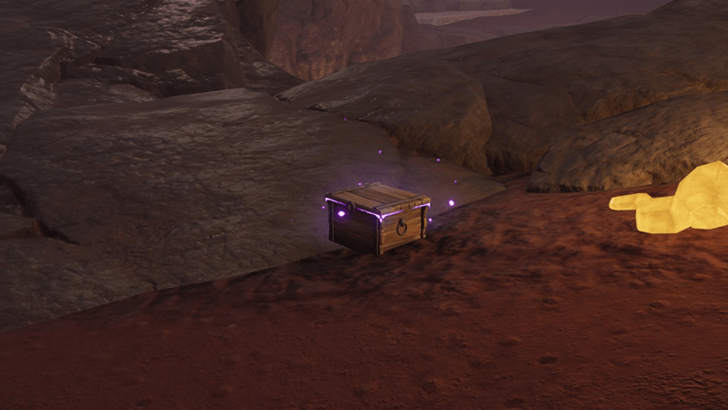 Coordinates: 0582, 1480 How to Get: This chest would be next to a Gluttonous Lavarex. |
|
Zephyrus Landbridge Chest 14 |
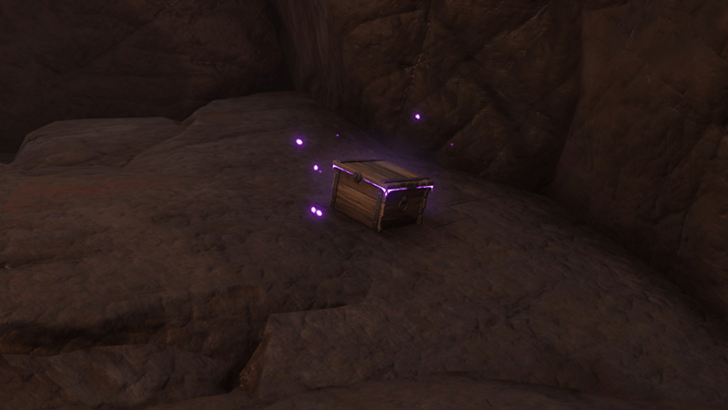 Coordinates: 0594, 1454 How to Get: Near the wall next to several Pebblings. |
|
Zephyrus Landbridge Chest 15 |
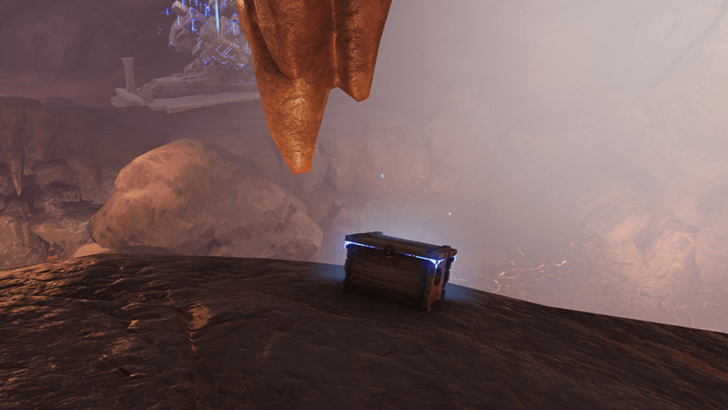 Coordinates: 0636, 1498 How to Get: Placed near a ledge in the underground cave. |
|
Zephyrus Landbridge Chest 16 |
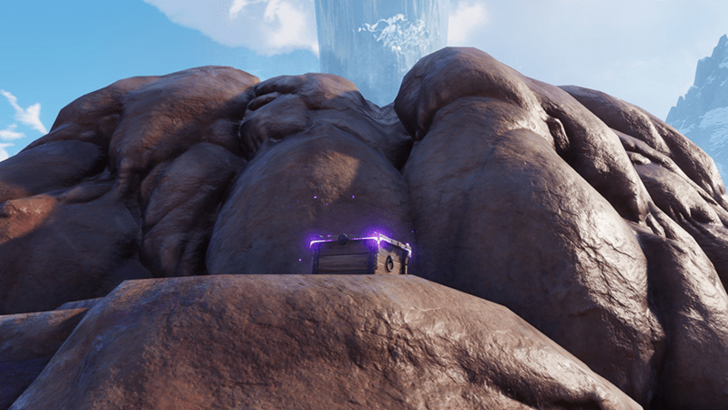 Coordinates: 0740, 1536 How to Get: The chest is on the rocks near the geyser that leads into the undersea ground. |
|
Zephyrus Landbridge Chest 17 |
 Coordinates: 0738, 1509 How to Get: The chest is surrounded by three large magma blocks that require a Level 4 Break Aniimo skill to remove. |
|
Zephyrus Landbridge Chest 18 |
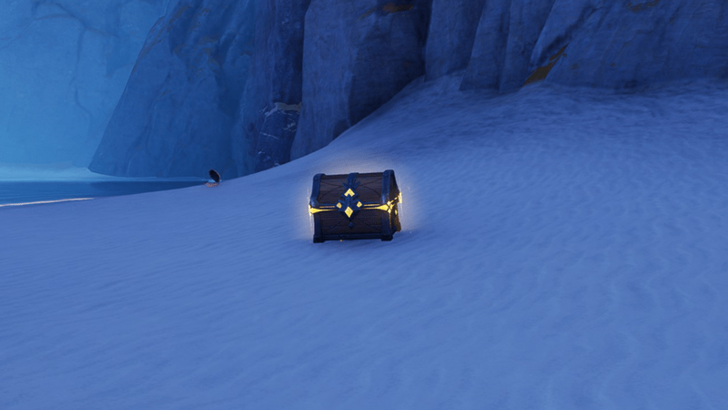 Coordinates: 0515, 1409 How to Get: Found on the beach in the southeastern part of the region. |
|
Zephyrus Landbridge Chest 19 |
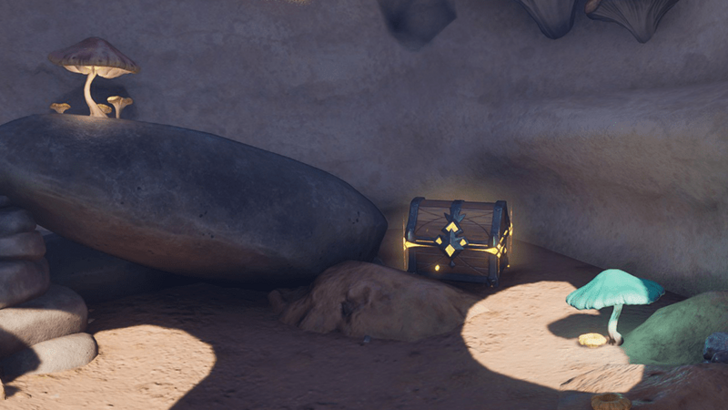 Coordinates: 0277, 1725 How to Get: Located at the southern exterior tower of the rock castle. |
|
Zephyrus Landbridge Chest 20 |
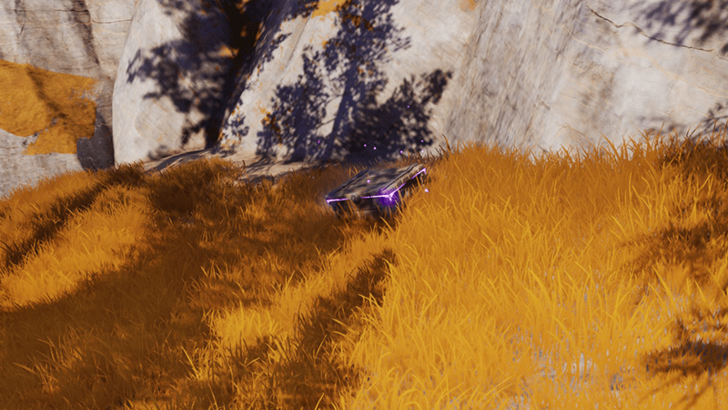 Coordinates: 0387, 1226 How to Get: Found along the side of the pathway. |
|
Zephyrus Landbridge Chest 21 |
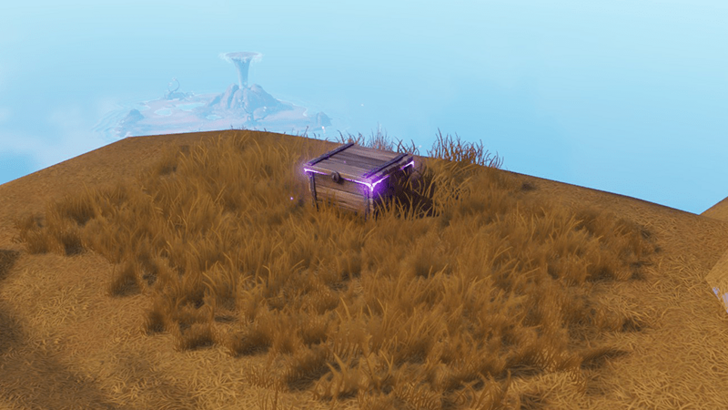 Coordinates: 0495, 1164 How to Get: Placed next to the ledge of a cliff overlooking the ocean to the east. Near the border between the Zephyrus Landbridge and Rosetower Woods. |
|
Zephyrus Landbridge Chest 22 |
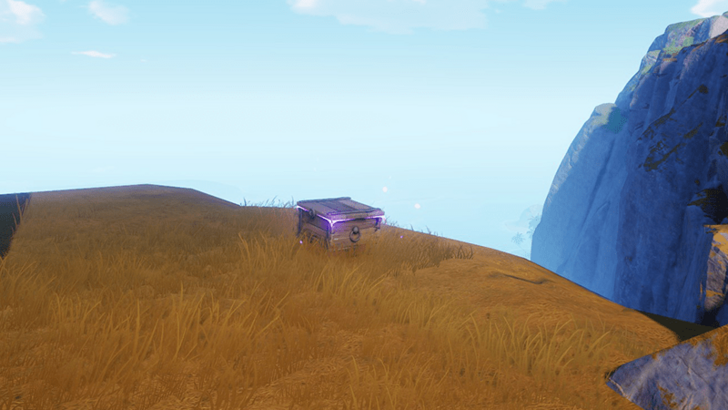 Coordinates: 0450, 1288 How to Get: Placed next to the ledge of a cliff overlooking the ocean to the east. |
|
Zephyrus Landbridge Chest 23 |
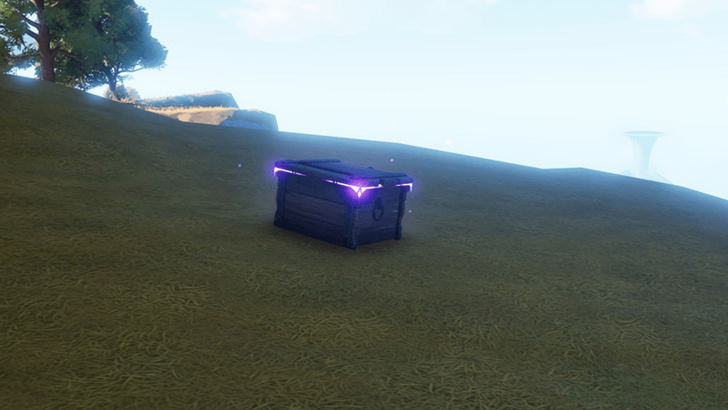 Coordinates: 0466, 1311 How to Get: Placed on a smaller area along the lower part of the wall of a cliff facing the ocean to the east. |
|
Zephyrus Landbridge Chest 24 |
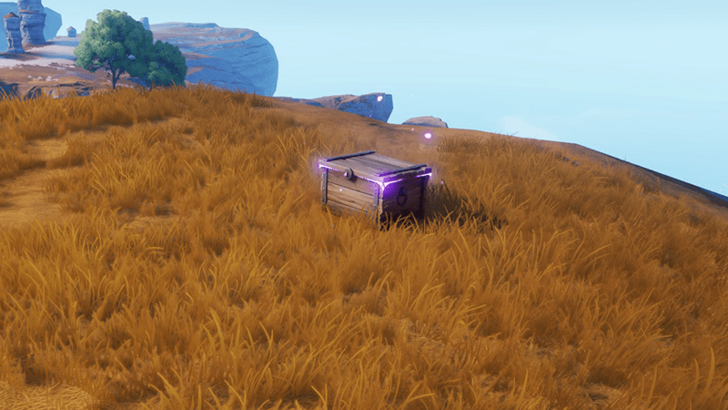 Coordinates: 0325, 1309 How to Get: Placed on a ledge near the path to the snowy area.of the Rosetwoer Woods region |
|
Zephyrus Landbridge Chest 25 |
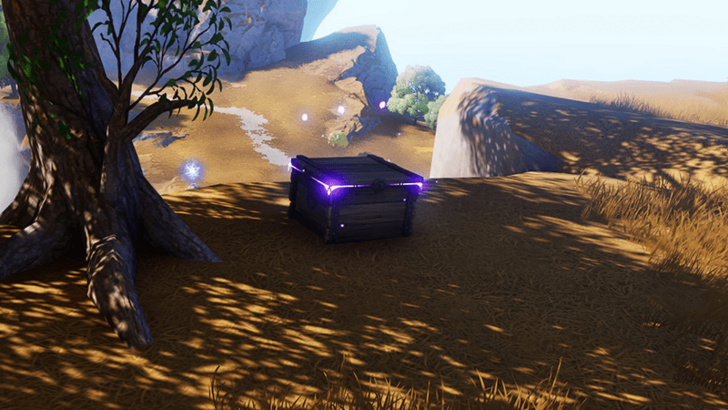 Coordinates: 0412, 1339 How to Get: Placed near a ledge overlooking a large crater. |
|
Zephyrus Landbridge Chest 26 |
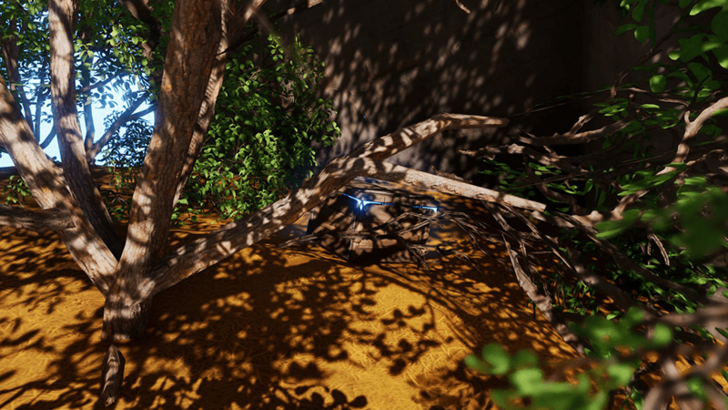 Coordinates: 0437, 1359 How to Get: Placed underneath the shade of a tree in a small area. |
|
Zephyrus Landbridge Chest 27 |
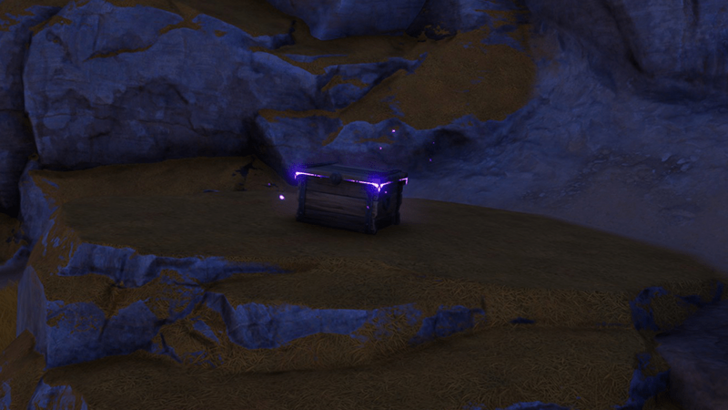 Coordinates: 0327, 1366 How to Get: Placed on a rocky surface. |
|
Zephyrus Landbridge Chest 28 |
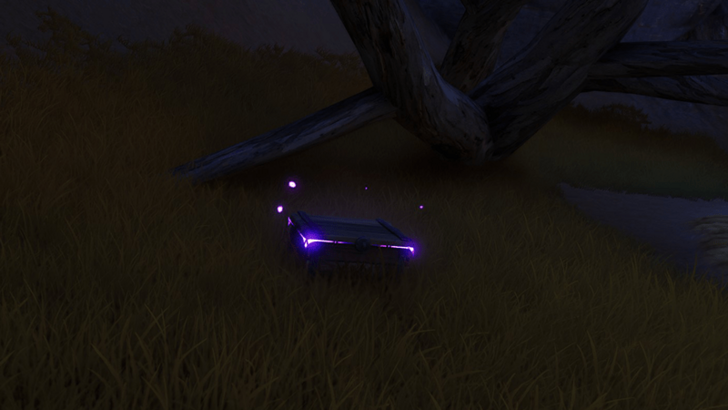 Coordinates: 0322, 1456 How to Get: Placed next to a withered tree and a nearby small body of water. |
|
Zephyrus Landbridge Chest 29 |
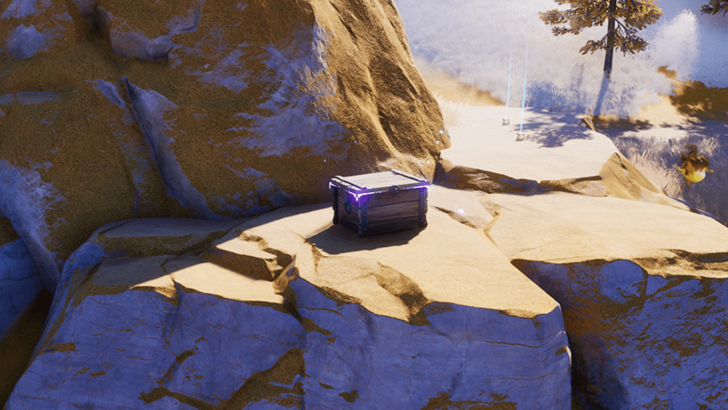 Coordinates: 0225, 1455 How to Get: Placed on a rocky surface next to a large rock on the side of a path. |
|
Zephyrus Landbridge Chest 30 |
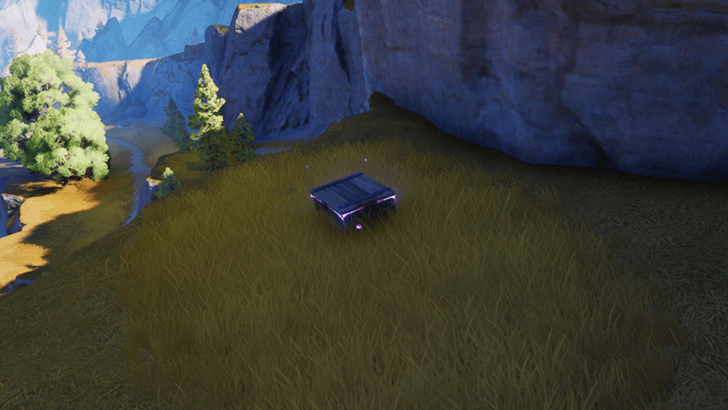 Coordinates: 0250, 1503 How to Get: Placed near the ledge of a small open area. |
|
Zephyrus Landbridge Chest 31 |
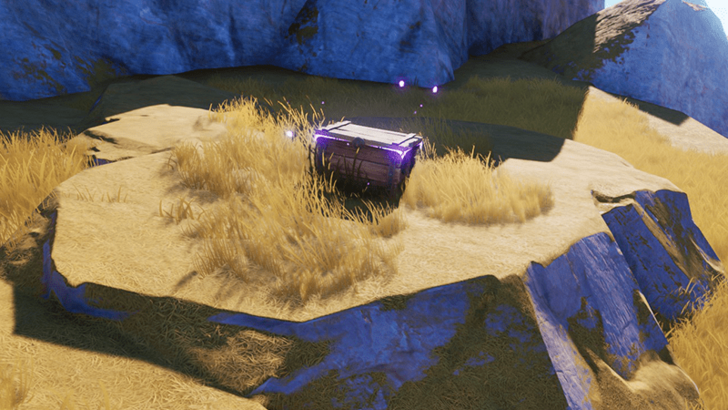 Coordinates: 0201, 1543 How to Get: Place on a stony flat surface in the open field. |
|
Zephyrus Landbridge Chest 32 |
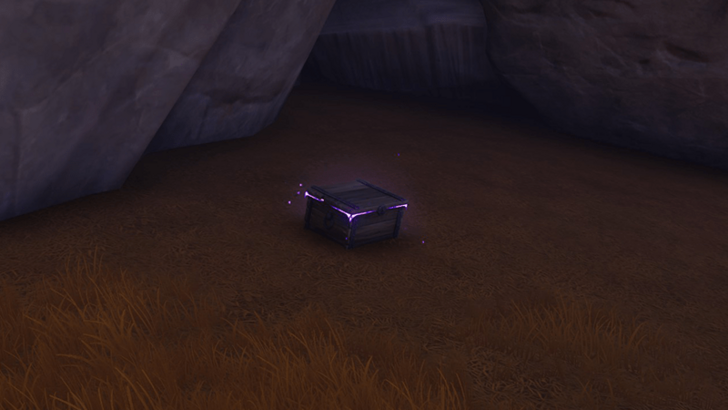 Coordinates: 0127, 1600 How to Get: Placed in an open space in a secluded spot. |
|
Zephyrus Landbridge Chest 33 |
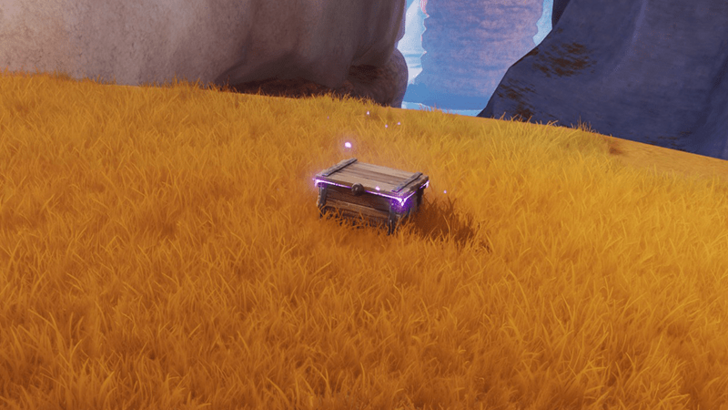 Coordinates: 0308, 1630 How to Get: Placed on an open space overlooking the waters of the lake. |
|
Zephyrus Landbridge Chest 34 |
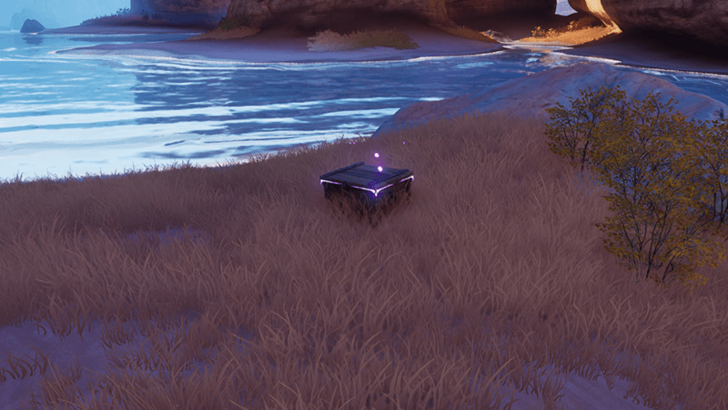 Coordinates: 0208, 1673 How to Get: On a small islet surrounded by the waters of the lake below the rock castle. |
|
Zephyrus Landbridge Chest 35 |
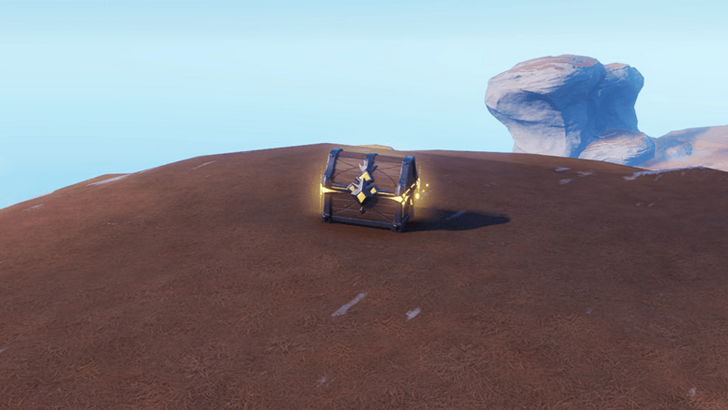 Coordinates: 0044, 1802 How to Get: Located at the very top of a large stone plateau. |
|
Zephyrus Landbridge Chest 36 |
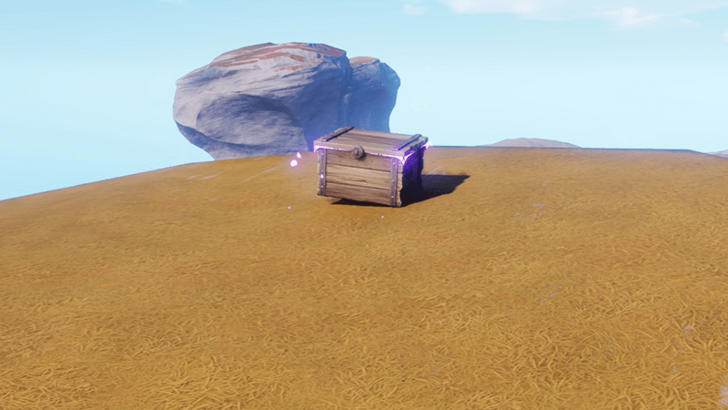 Coordinates: 0114, 1873 How to Get: Located on the top of a large rock formation. |
|
Zephyrus Landbridge Chest 37 |
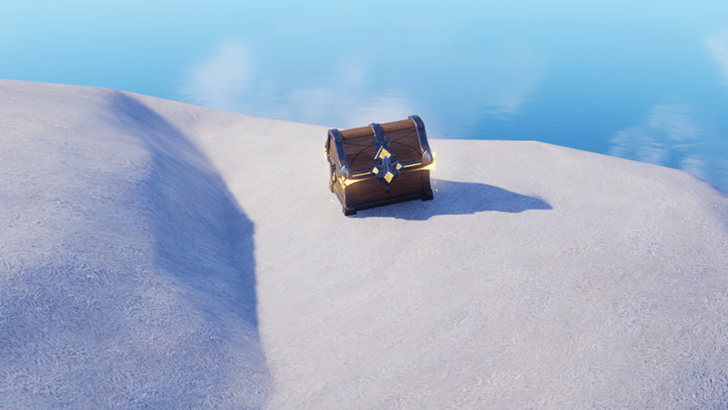 Coordinates: 0150, 2015 How to Get: Place atop of a stone formation surrounded by the waters of the ocean, |
|
Zephyrus Landbridge Chest 38 |
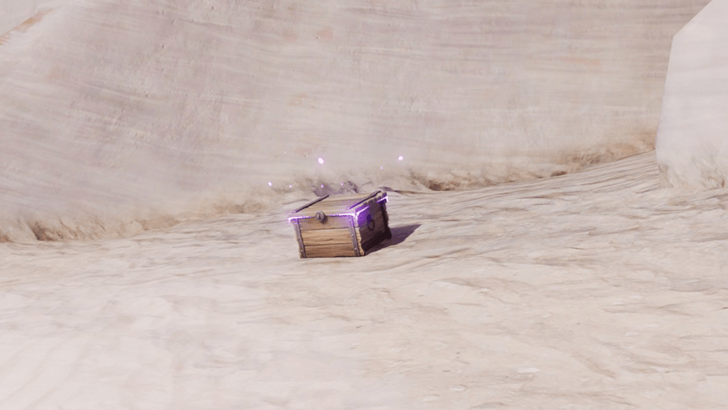 Coordinates: 0281, 1964 How to Get: Placed on the beach below near the ocean waters. |
|
Zephyrus Landbridge Chest 39 |
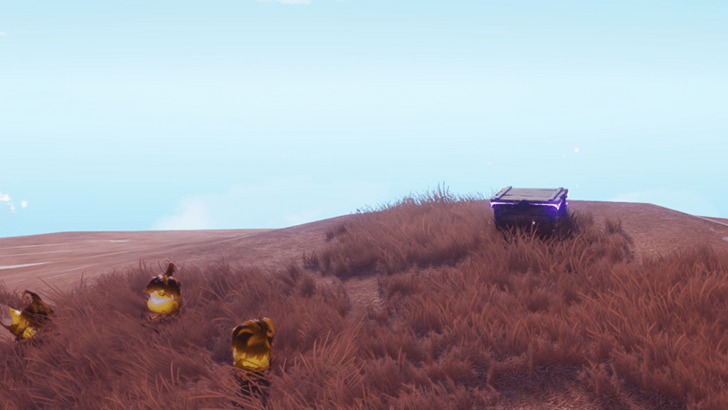 Coordinates: 0309, 1962 How to Get: Near the ledge of a cliff facing the ocean to the north. There are Chirpi nearby the chest. |
|
Zephyrus Landbridge Chest 40 |
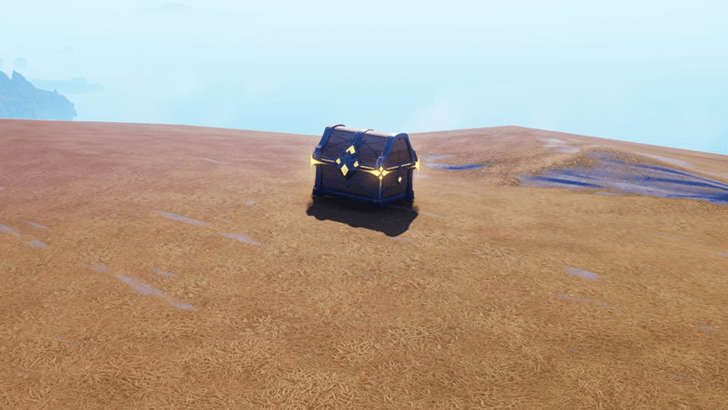 Coordinates: 0337, 1977 How to Get: Placed atop a large stone formation in the northeast section of the region. |
|
Zephyrus Landbridge Chest 41 |
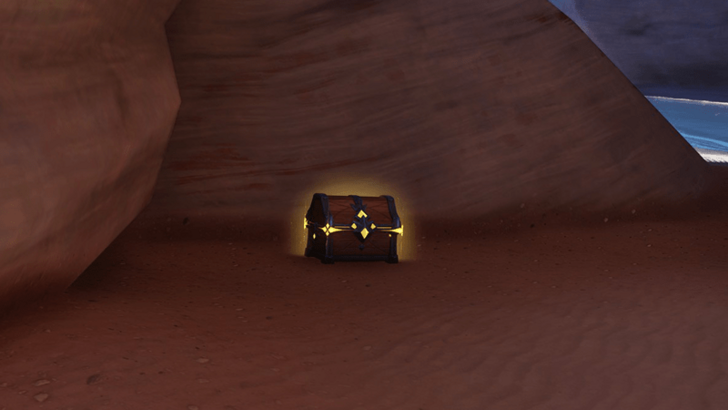 Coordinates: 0375, 1836 How to Get: Found at the bottom, in a small area covered by the rocky formations overhead near the lake. |
|
Zephyrus Landbridge Chest 42 |
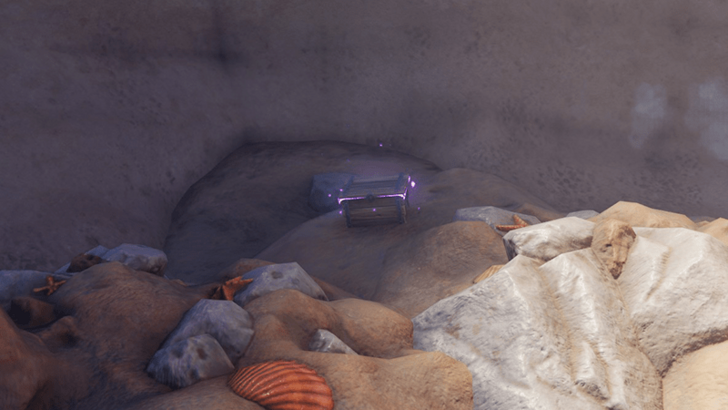 Coordinates: 0325, 1783 How to Get: Found in alongisde a pile of rubble in an area inhabited by Cozite. |
|
Zephyrus Landbridge Chest 43 |
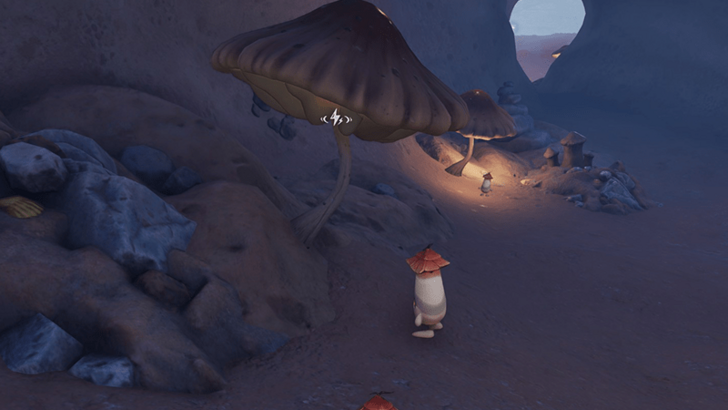 Coordinates: 0299, 1770 How to Get: Hit the mushroom with an Electric skill of an Aniimo to light up the mushroom and talk to the Curious Cozite to spawn a chest. |
|
Zephyrus Landbridge Chest 44 |
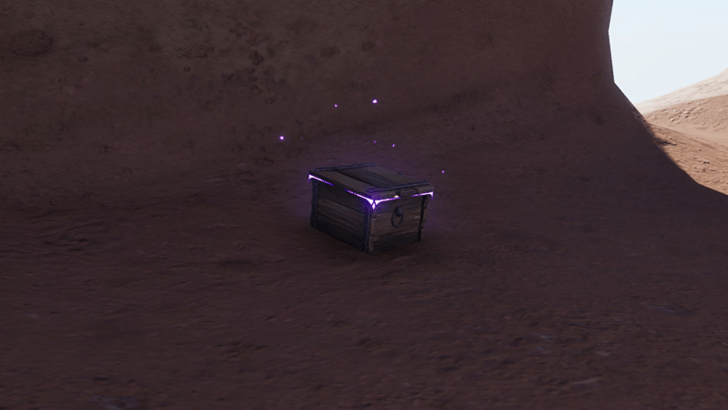 Coordinates: 0242, 1784 How to Get: Located on a higher floor in the same area as the Courageous Wit Sanctum. |
|
Zephyrus Landbridge Chest 45 |
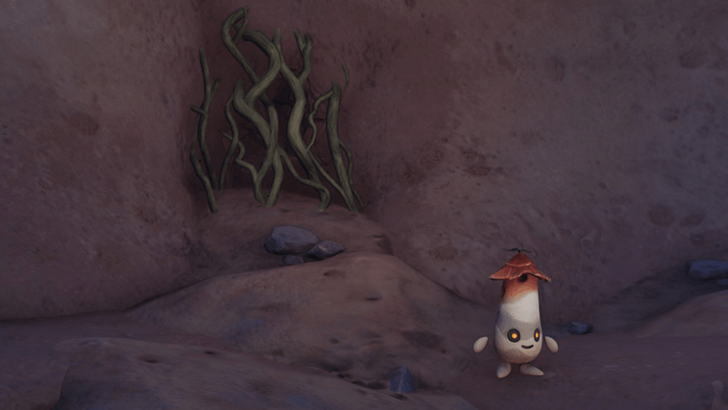 Coordinates: 0248, 1797 How to Get: Burn the vines on the wall next to the Neat-Freak Cozite and this will spawn a chest nearby. |
|
Zephyrus Landbridge Chest 46 |
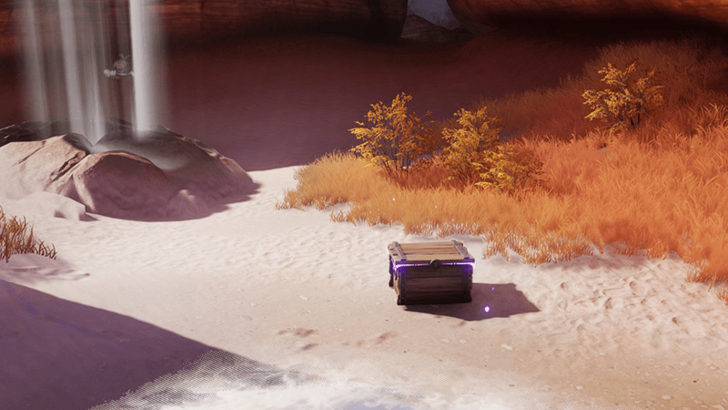 Coordinates: 0211, 1755 How to Get: Break the stones blocking a wind geyser near the Reckless Cozite and talk to them to spawn a chest. |
|
Zephyrus Landbridge Chest 47 |
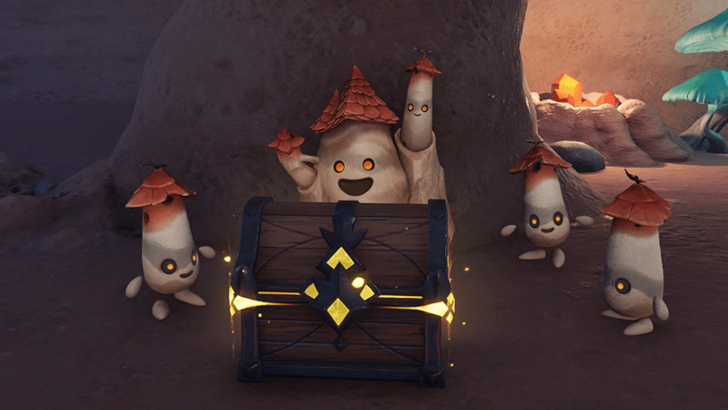 Coordinates: 0254, 1795 How to Get: Help the Capable Bailite find their three apprentices and they will reward you with a chest. |
|
Zephyrus Landbridge Chest 48 |
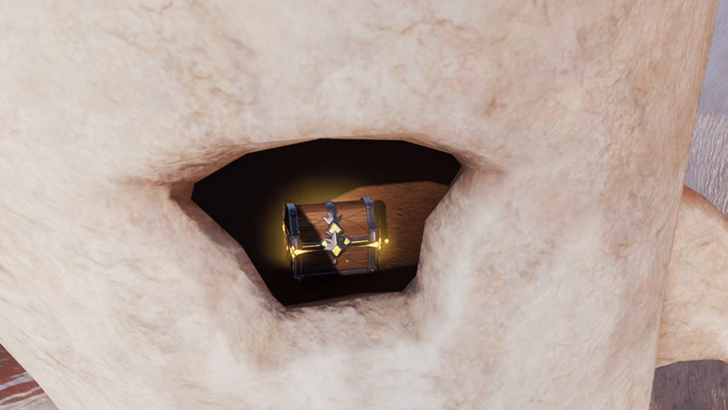 Coordinates: 0279, 1834 How to Get: Found inside one of the exterior towers of the rock castle. |
|
Zephyrus Landbridge Chest 49 |
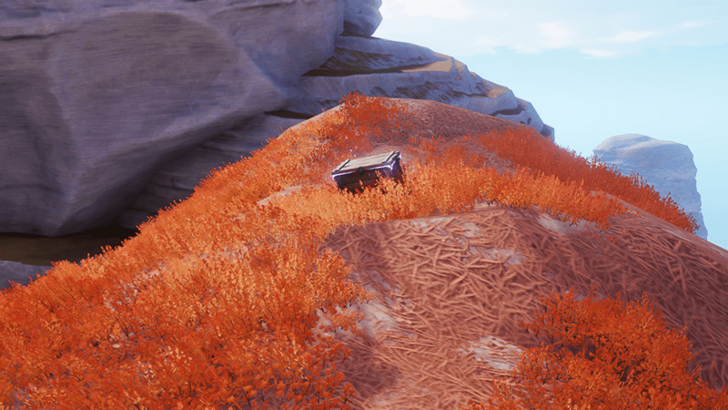 Coordinates: 0213, 1860 How to Get: Found on the top of a tall rock formation. |
|
Zephyrus Landbridge Chest 50 |
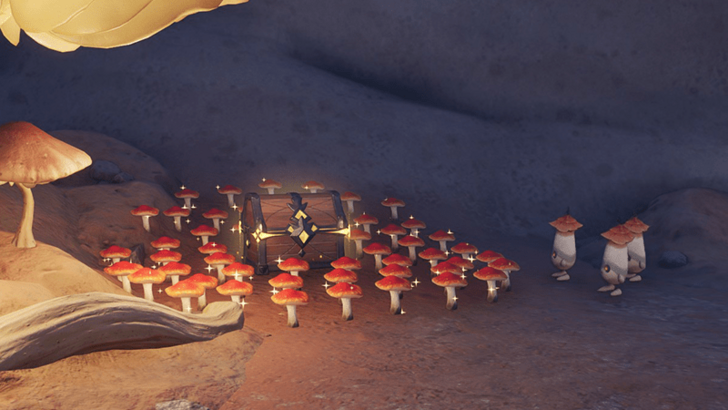 Coordinates: 0233, 1744 How to Get: Defeat the three Coizite that turns into a Bailite to claim the chest. |
|
Zephyrus Landbridge Chest 51 |
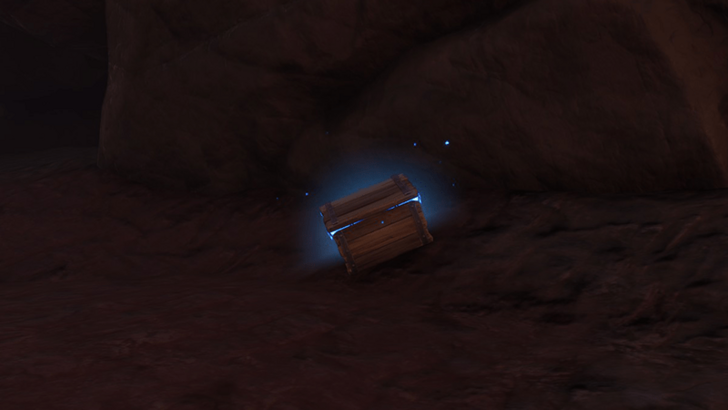 Coordinates: 0589, 1580 How to Get: Behind the Sanctum, covered by magma stones that can be destroyed with a Level 4 Break Aniimo skill. |
|
Zephyrus Landbridge Chest 52 |
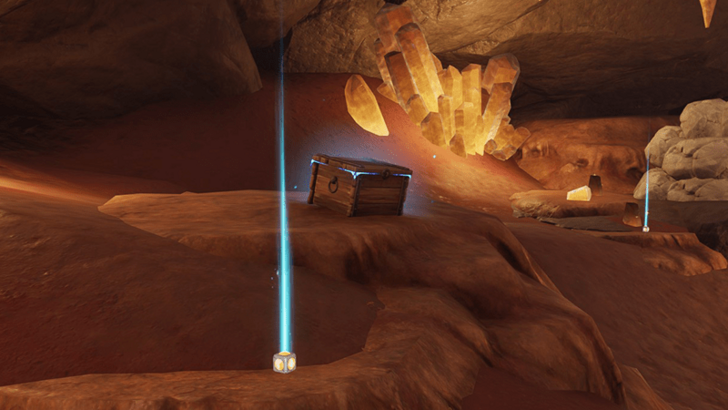 Coordinates: 0553, 1577 How to Get: Found inside a secluded cave behind molten rocks that are breakable with a Level 4 Break Aniimo skill. |
|
Zephyrus Landbridge Chest 53 |
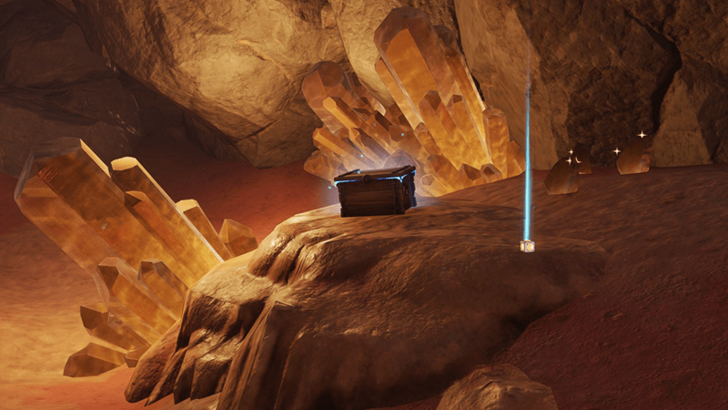 Coordinates: 0559, 1562 How to Get: Found inside a secluded cave behind molten rocks that are breakable with a Level 4 Break Aniimo skill. |
|
Zephyrus Landbridge Chest 54 |
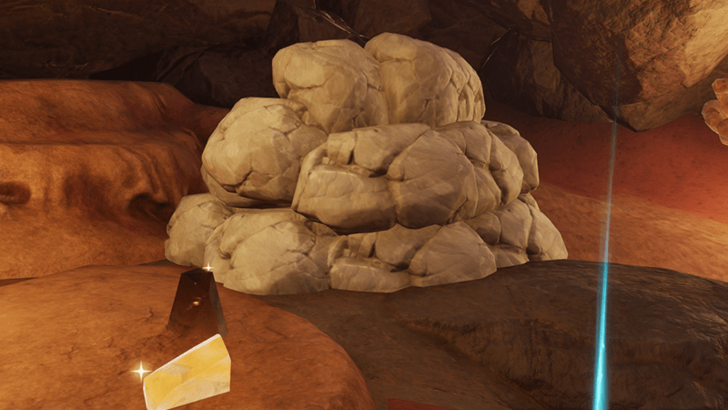 Coordinates: 0568, 1574 How to Get: Found inside a secluded cave behind molten rocks that are breakable with a Level 4 Break Aniimo skill. This chest is buried under stones that can be broken with an Aniimo skill. |
|
Zephyrus Landbridge Chest 55 |
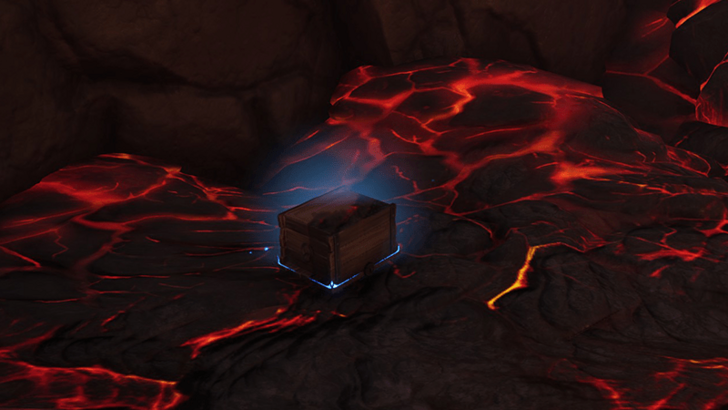 Coordinates: 0616, 1480 How to Get: Found behind several magma stones that are breakable with a Level 4 Break Aniimo skill. |
|
Zephyrus Landbridge Chest 56 |
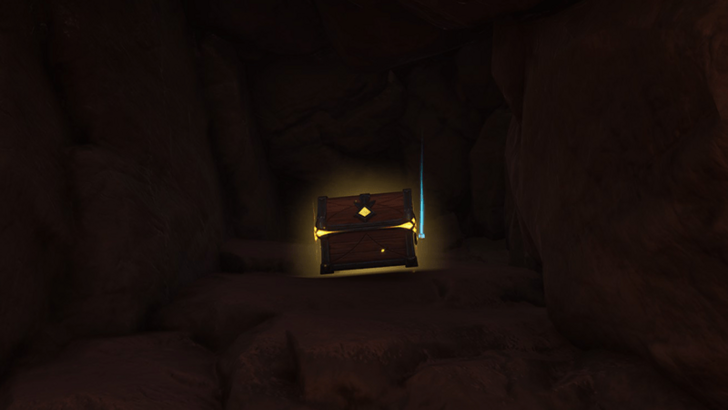 Coordinates: 0614, 1470 How to Get: Found inside a small alcove covered by stones above magma stones. |
|
Zephyrus Landbridge Chest 57 |
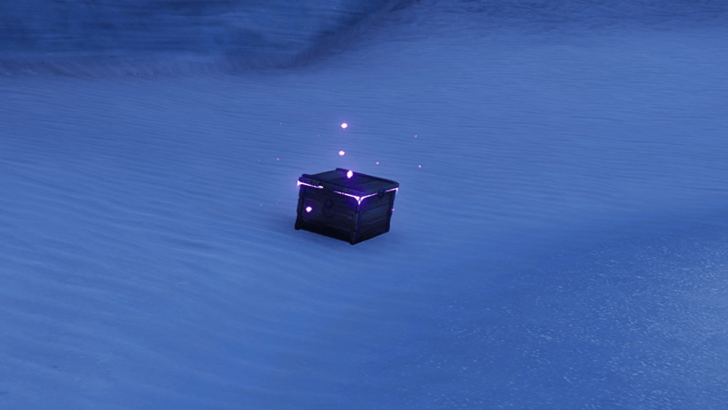 Coordinates: 0427, 1557 How to Get: Found on one of the sandy beaches in the area. |
Zephyrus Landbridge 100% Exploration Guide
All Chests in Rosetower Woods
| Collectibles | Details |
|---|---|
|
Rosetower Woods Chest 1 |
 Coordinates: 0368, 1071 How to Get: Found inside the Whiterose Tower in Rosetower Woods. You must smash the rock blocking the gears from moving in the upper level to open the door containing the chest. |
|
Rosetower Woods Chest 2 |
 Coordinates: 0359, 1013 How to Get: Found as you enter the Whitrose Tower in Rosetower Woods through the hole in the wall. |
|
Rosetower Woods Chest 3 |
 Coordinates: 0373, 1057 How to Get: Found on a window at the upper level of the Whiterose Tower in Rosetower Woods. You must smash the rock blocking the gears from moving in the upper level to activate the wind tunnel and fly upwards to reach it. |
|
Rosetower Woods Chest 4 |
 Coordinates: 0381, 1061 How to Get: Found on the upper level of the Whiterose Tower in Rosetower Woods. You must smash the rock blocking the gears from moving in the upper level to activate the wind tunnel and fly upwards to reach it. |
|
Rosetower Woods Chest 5 |
 Coordinates: 0375, 1054 How to Get: Found at the highest level of the Whiterose Tower in Rosetower Woods. You must smash the rock blocking the gears from moving in the upper level to activate the wind tunnel and fly upwards to reach it. |
|
Rosetower Woods Chest 6 |
 Coordinates: 0410, 1043 How to Get: Found inside the Whiterose Tower in Rosetower Woods. You must smash the rock blocking the gears from moving in the upper level to open the door containing the chest. |
|
Rosetower Woods Chest 7 |
 Coordinates: 0392, 1059 How to Get: Found on a window blocked by rocks at the upper level of the Whiterose Tower in Rosetower Woods. Yoou must stand on the fan blades and smash the rocks blocking the window to get the chest. |
|
Rosetower Woods Chest 8 |
 Coordinates: 0391, 1059 How to Get: Found on a window blocked by rocks at the upper level of the Whiterose Tower in Rosetower Woods. Yoou must stand on the fan blades and smash the rocks blocking the window to get the chest. |
|
Rosetower Woods Chest 9 |
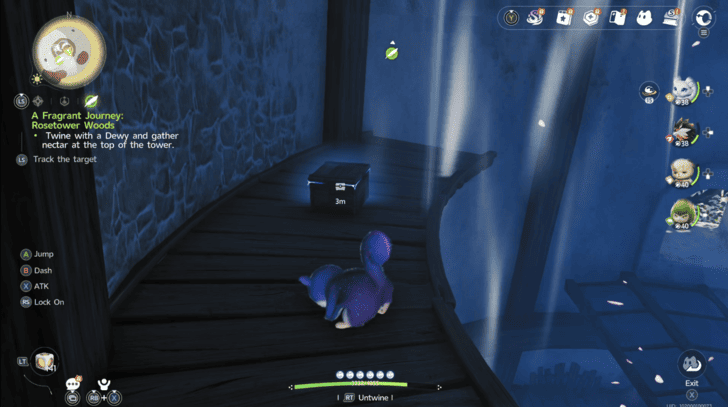 Coordinates: 0392, 1044 How to Get: Found on the upper level of the Whiterose Tower in Rosetower Woods. You must smash the rock blocking the gears from moving in the upper level to activate the wind tunnel and fly upwards to reach it. |
|
Rosetower Woods Chest 10 |
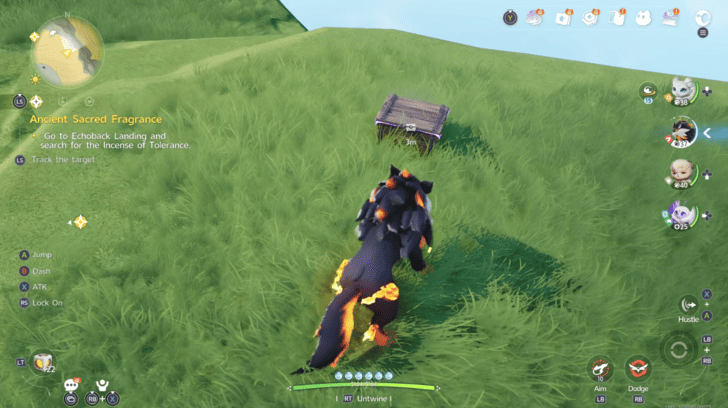 Coordinates: 0433, 1102 How to Get: Found on a cliff overlooking the ocean on the northeast side of Rosetower Woods. |
|
Rosetower Woods Chest 11 |
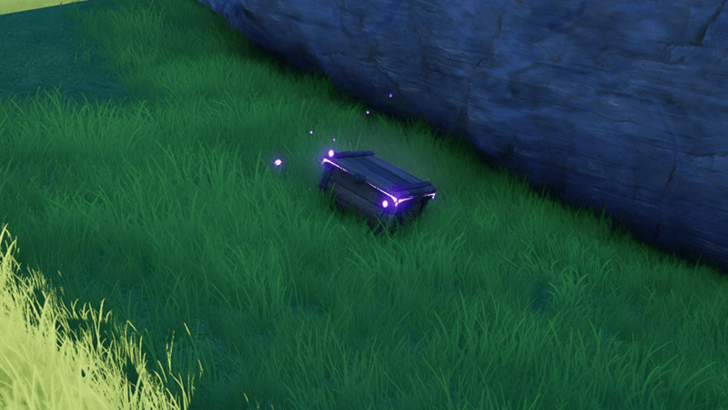 Coordinates: 0058, 0599 How to Get: Found near a cliff facing the ocean. |
|
Rosetower Woods Chest 12 |
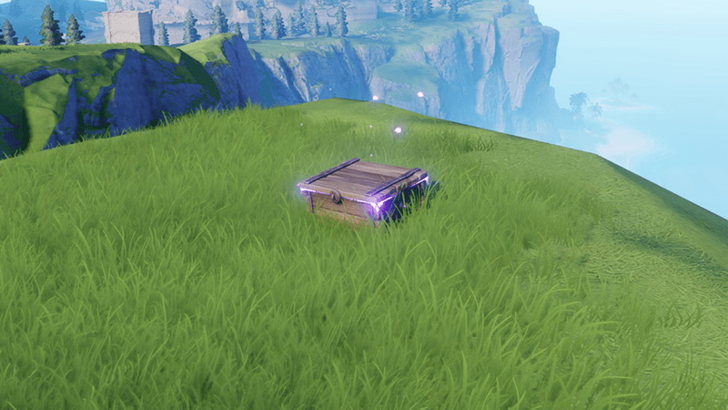 Coordinates: 0193, 0655 How to Get: Found near a cliff facing the ocean. |
|
Rosetower Woods Chest 13 |
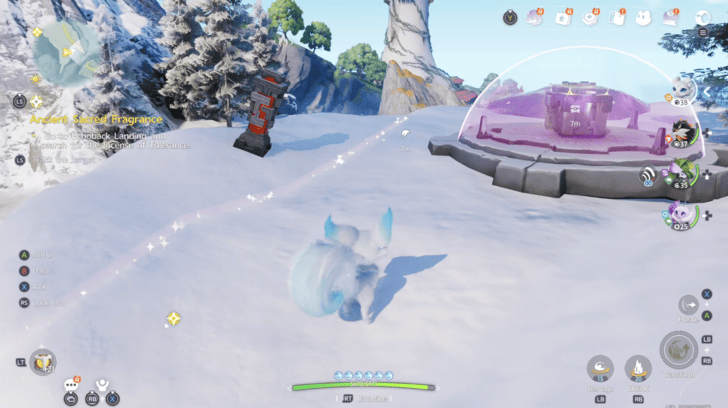 Coordinates: 0029, 1052 How to Get: Found inside a forcefield on a rocky mountain on the northwest side of Rosetower Woods. Twine with a fire element Aniimo to light up the two pillars on each side of the forcefield, then melt the block of ice behind you to free the frozen box. Use the Control ability to move the box towards the button to open the forcrefield and get the chest. |
|
Rosetower Woods Chest 14 |
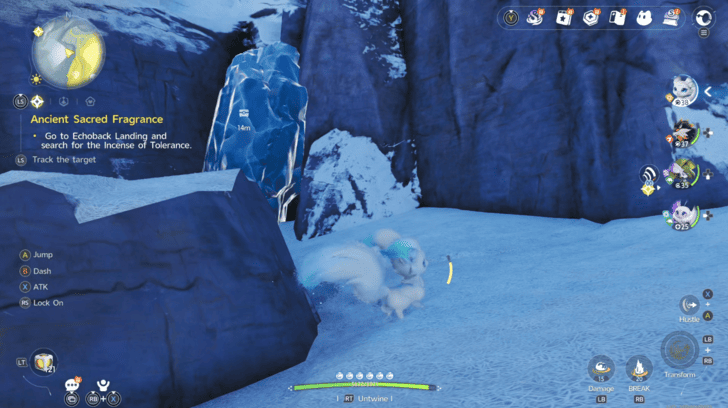 Coordinates: 0039, 1003 How to Get: Found behind a block of ice on the rocky mountain on the northwest side of Rosetower Woods. Twine with a fire element Aniimo to melt the ice and get the chest. |
|
Rosetower Woods Chest 15 |
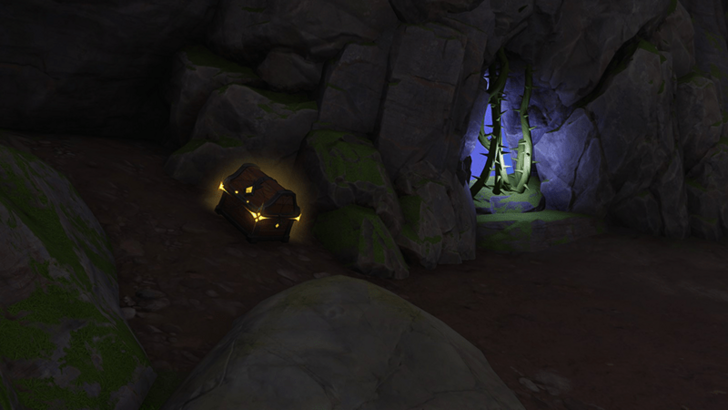 Coordinates: 0122, 0683 How to Get: Found inside a cave accessible via the beach down south. It's placed next to a cave entrance. |
|
Rosetower Woods Chest 16 |
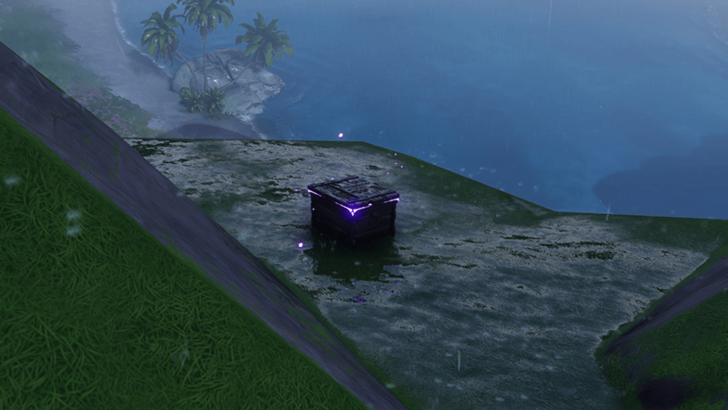 Coordinates: 0343, 0969 How to Get: Found on a small ledge facing the southern ocean. |
|
Rosetower Woods Chest 17 |
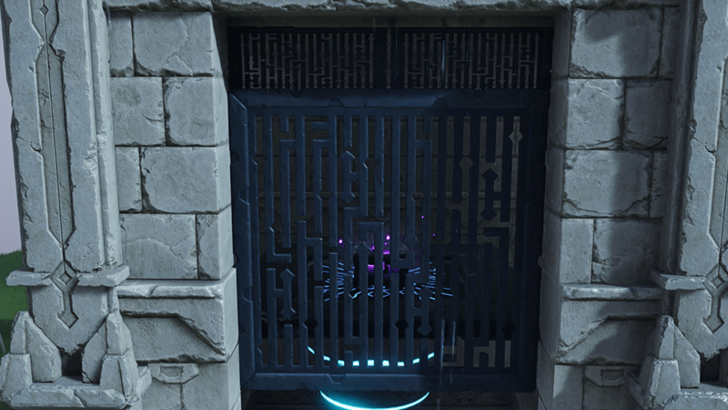 Coordinates: 0380, 0748 How to Get: Found inside a cage place atop of a floating platform held up by a gravity manipulating device. Remove the cage outside to redirect the gravity towards the outside so that the platform can be put down. |
|
Rosetower Woods Chest 18 |
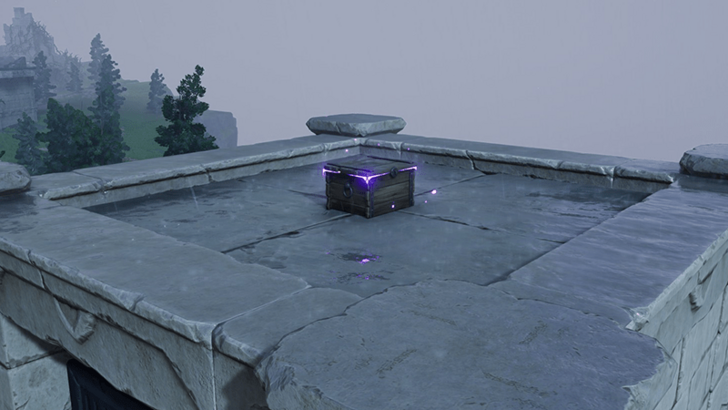 Coordinates: 0380, 0748 How to Get: Found atop the roof of a small stone tower. |
|
Rosetower Woods Chest 19 |
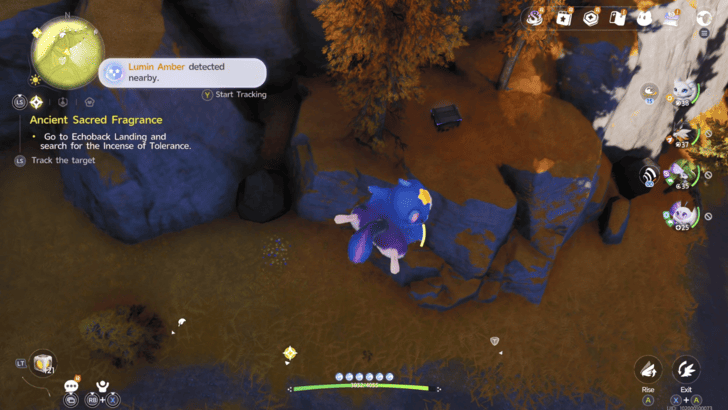 Coordinates: 0182, 0969 How to Get: Found on a cliff overlooking the entrance to a cave on the northern side of Rosetower Woods. |
|
Rosetower Woods Chest 20 |
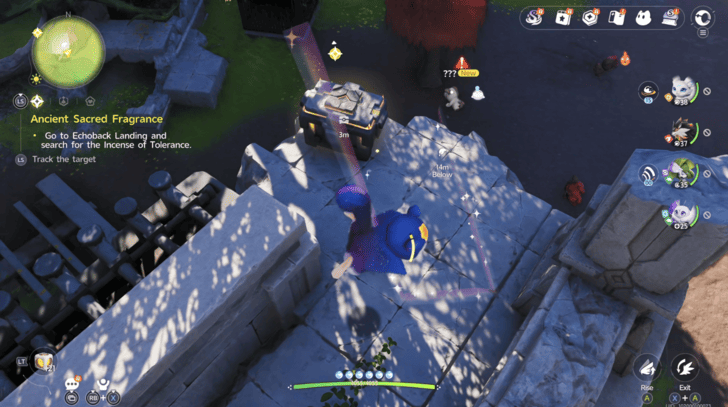 Coordinates: 0251, 0956 How to Get: Found on top of the ruins near the middle of Rosetower Woods. |
|
Rosetower Woods Chest 21 |
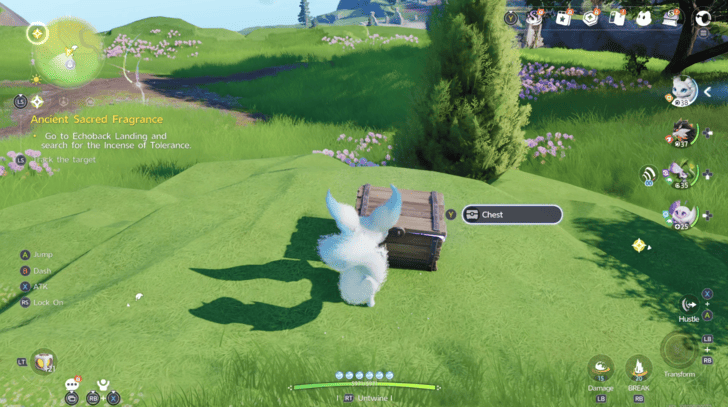 Coordinates: 0318, 0936 How to Get: Found on a small cliff north of the Bloom in the middle of Rosetower Woods. |
|
Rosetower Woods Chest 22 |
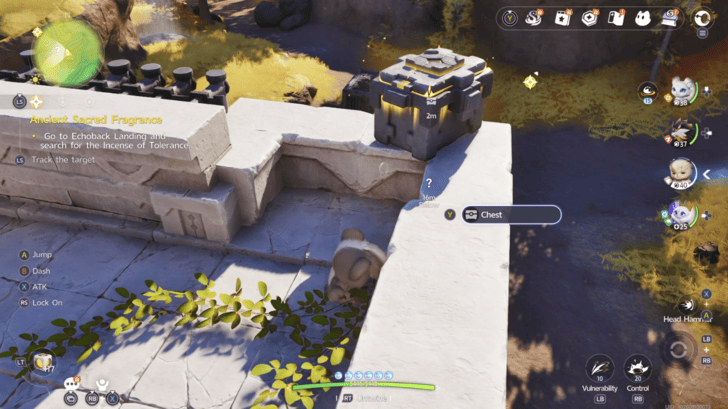 Coordinates: 0209, 0907 How to Get: Found on the ledge of the ruins near a metal cage at the central area of Rosetower Woods. |
|
Rosetower Woods Chest 23 |
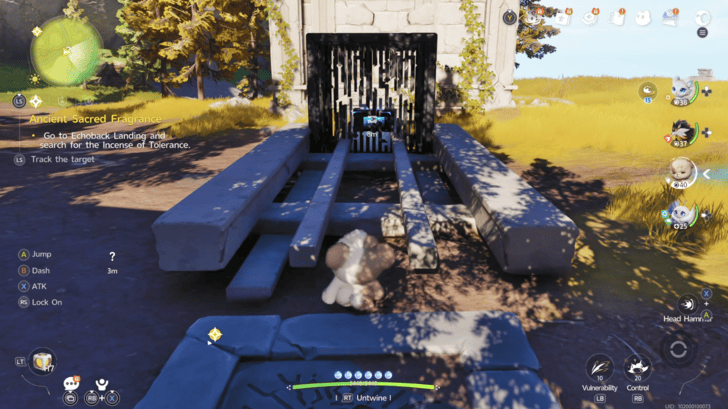 Coordinates: 0190, 0907 How to Get: Found inside a metal cage in the central area of Rosetower Woods. Twine with an earth element Aniimo to smash the cage and free the chest. |
|
Rosetower Woods Chest 24 |
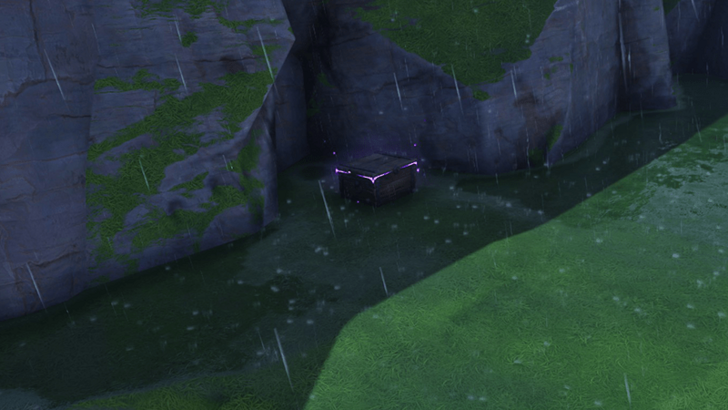 Coordinates: 0437, 0699 How to Get: Found near a cliff facing the ocean. |
|
Rosetower Woods Chest 25 |
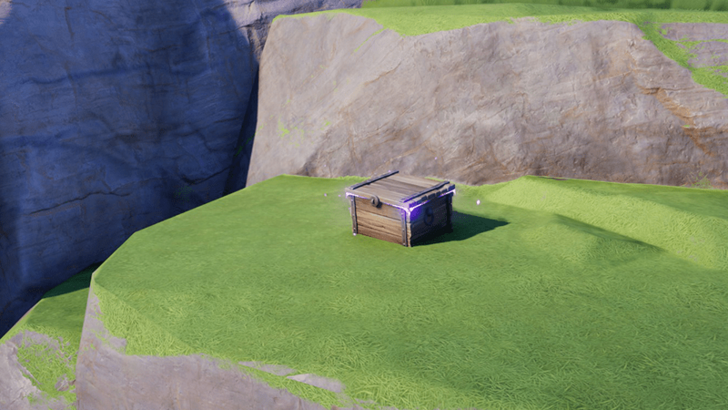 Coordinates: 0526, 0645 How to Get: Found near a cliff facing the ocean. |
|
Rosetower Woods Chest 26 |
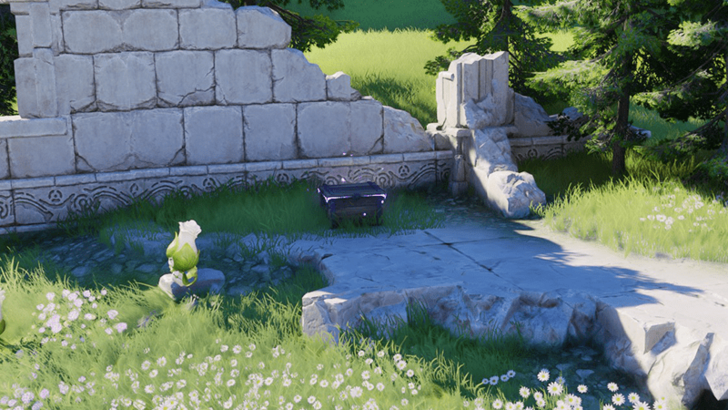 Coordinates: 0395, 0810 How to Get: Found in the middle of a small ruin. |
|
Rosetower Woods Chest 27 |
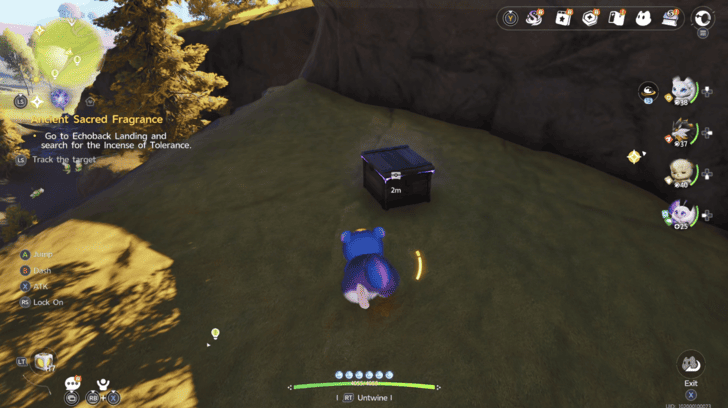 Coordinates: 0093, 0868 How to Get: Found on a cliff overloking the road going to the southwest side of Rosetower Woods. |
|
Rosetower Woods Chest 28 |
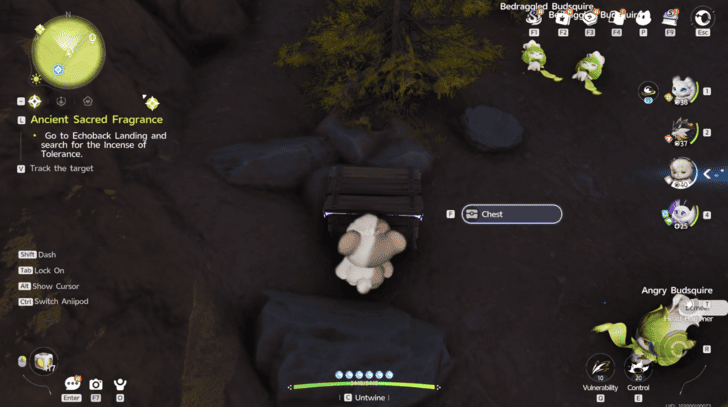 Coordinates: 0073, 0838 How to Get: Found buried underneath some rocks on the road to the southwest side of Rosetower Woods. Smash the rocks to get the chest. |
|
Rosetower Woods Chest 29 |
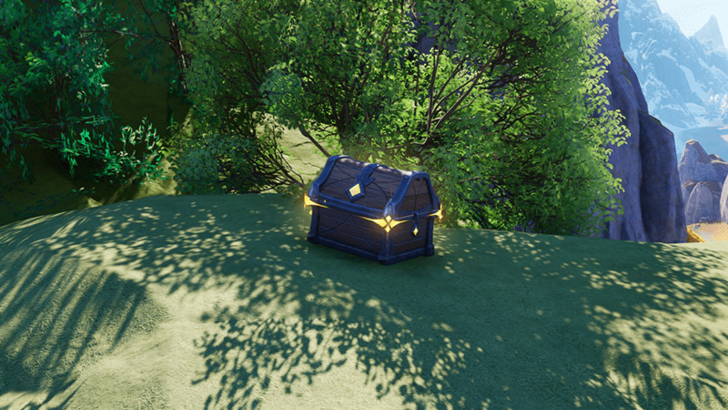 Coordinates: 0514, 1053 How to Get: Found on top a large stone arch rock formation. |
|
Rosetower Woods Chest 30 |
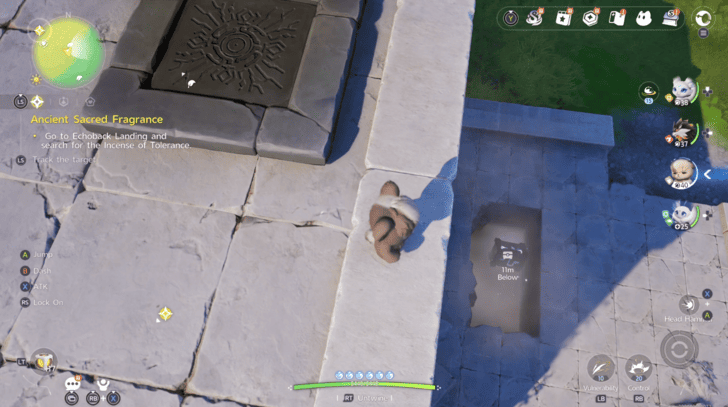 Coordinates: 0172, 0818 (eval at /var/lib/app/app/models/saola/condition/base/if_eval.rb:24):1: syntax error, unexpected end-of-input, expecting ')' ...d reveal the chest.\).present?) ... ^ (eval at /var/lib/app/app/models/saola/condition/base/if_eval.rb:24):1: syntax error, unexpected end-of-input, expecting ')' ...and reveal the chest.\).blank?) ... ^ |
|
Rosetower Woods Chest 31 |
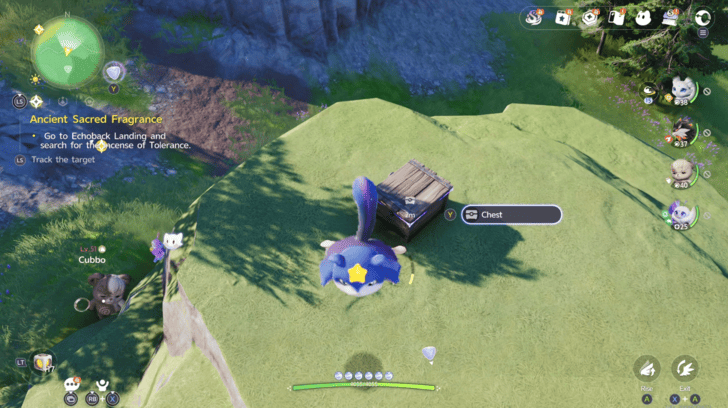 Coordinates: 0187, 0770 How to Get: Found on a small cliff overlooking the ruins on the southern side of Rosetower Woods. |
|
Rosetower Woods Chest 32 |
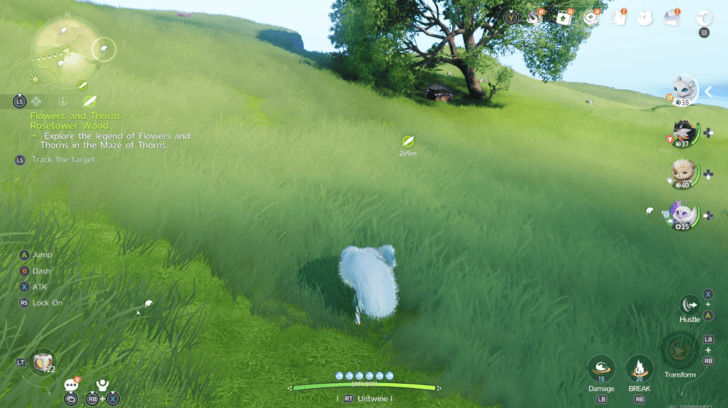 Coordinates: 0441, 0976 How to Get: Found under a tree on the eastern side of Rosetower Woods. |
|
Rosetower Woods Chest 33 |
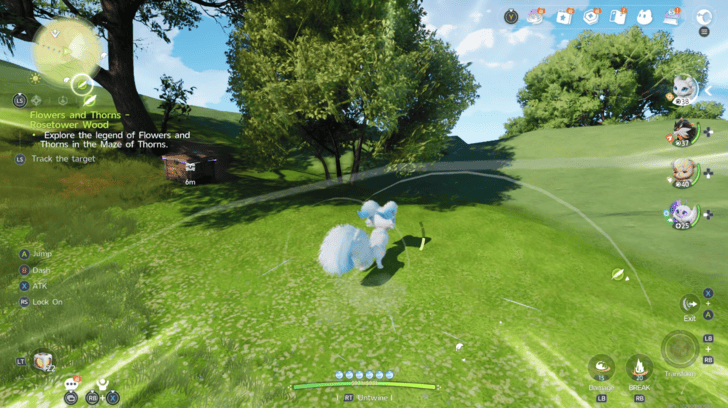 Coordinates: 0452, 0925 How to Get: Found under a tree on the eastern side of Rosetower Woods. |
|
Rosetower Woods Chest 34 |
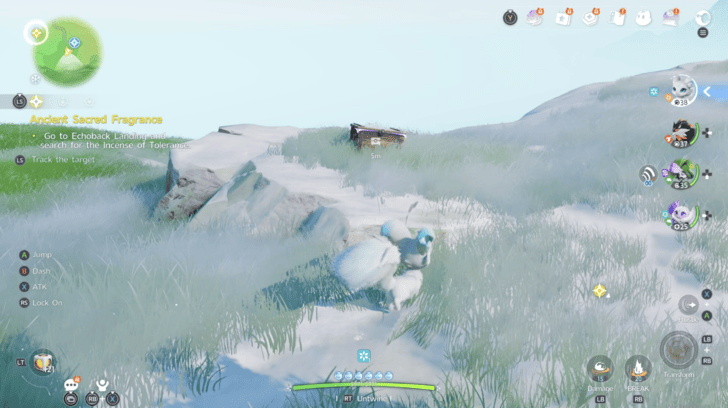 Coordinates: 0383, 0878 How to Get: Found on a cliff south of the Whiterose Tower Bloom. |
|
Rosetower Woods Chest 35 |
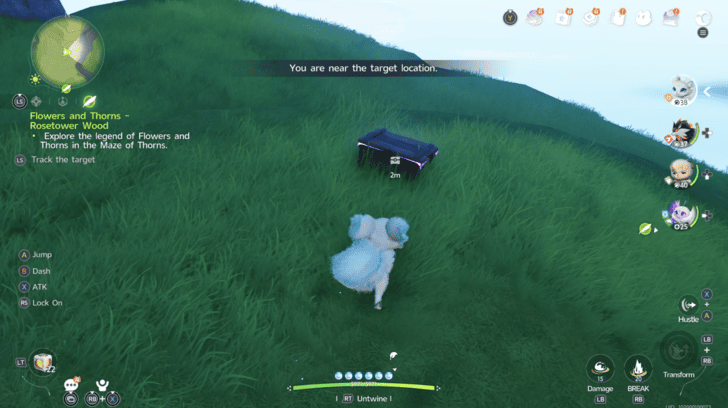 Coordinates: 0562, 0954 How to Get: Found on a cliff overlooking the ocean on the eastern side of Rosetower Woods. |
|
Rosetower Woods Chest 36 |
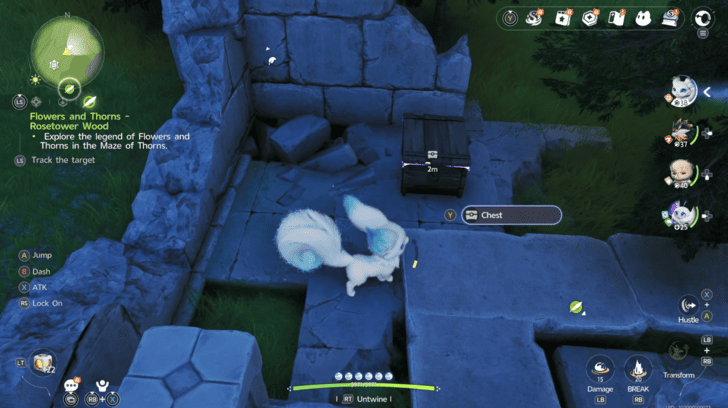 Coordinates: 0542, 0899 How to Get: Found at the corner of some ruins on the southeast side of Rosetower Woods. |
|
Rosetower Woods Chest 37 |
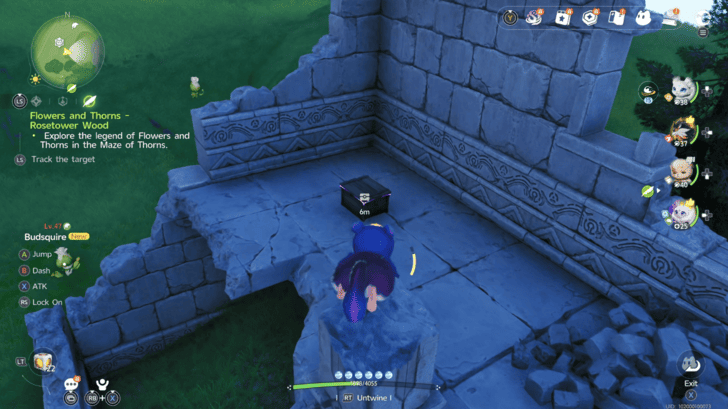 Coordinates: 0538, 0867 How to Get: Found on the upper level of some ruins on the southeast side of Rosetower Woods. |
|
Rosetower Woods Chest 38 |
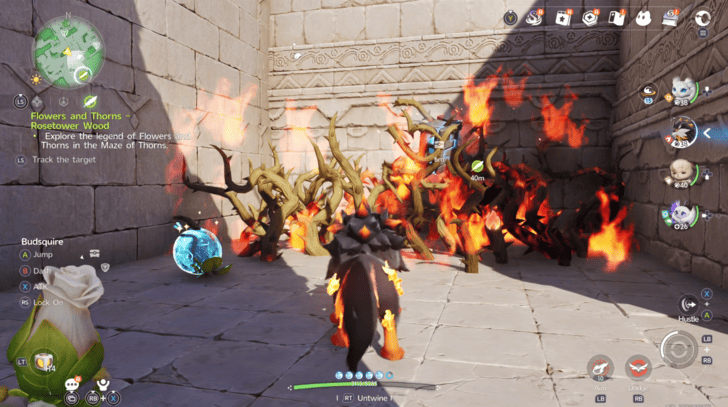 Coordinates: 0526, 0820 How to Get: Found in the top right corner of the ruins on the southeast side of Rosetower Woods. |
|
Rosetower Woods Chest 39 |
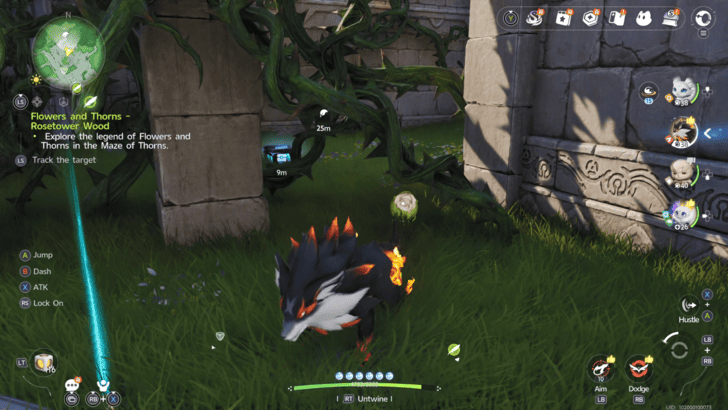 Coordinates: 0528, 0806 How to Get: Found in a room guarded by thorns in the ruins on the southeast side of Rosetower Woods. |
|
Rosetower Woods Chest 40 |
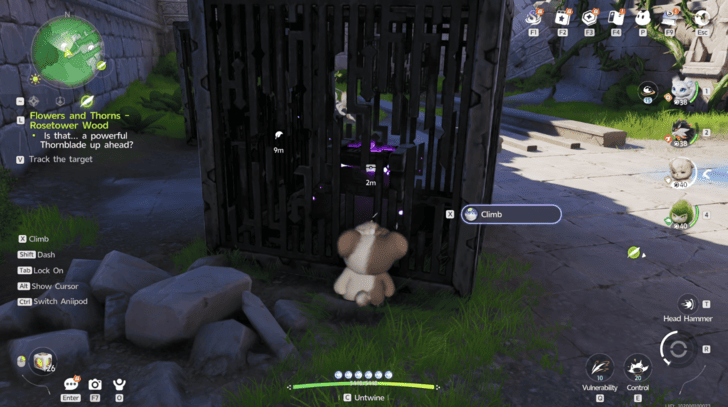 Coordinates: 0456, 0746 How to Get: Found inside a metal cage on the top left corner of the ruins in the southeast side of Rosetower Woods. Smash the cage to get the chest. |
|
Rosetower Woods Chest 41 |
 Coordinates: 0462, 0773 How to Get: Found on the top left corner of the ruins in the southeast side of Rosetower Woods. Twine with a Budsquire and press the button to get the chest. |
|
Rosetower Woods Chest 42 |
Coordinates: 0468, 0768 How to Get: Found on the top left corner of the ruins in the southeast side of Rosetower Woods. Twine with a Budsquire and press the button to get the chest. |
|
Rosetower Woods Chest 43 |
 Coordinates: 0490, 0751 How to Get: Found hanging from the ceiling of the ruins in the southeast side of Rosetower Woods. |
|
Rosetower Woods Chest 44 |
 Coordinates: 0509, 0758 How to Get: Found inside a room in the ruins at the southeast side of Rosetower Woods. Burn the vines covering the gap in the room to gain access to it. |
|
Rosetower Woods Chest 45 |
 Coordinates: 0508, 0759 How to Get: Found inside a room in the ruins at the southeast side of Rosetower Woods. Burn the vines covering the gap in the room to gain access to it. |
|
Rosetower Woods Chest 46 |
Coordinates: 0533, 0738 How to Get: Found surrounded by thorns at the end of a corridor in the ruins in the southeast side of Rosetower Woods. Burn the thorns to get the chest. |
|
Rosetower Woods Chest 47 |
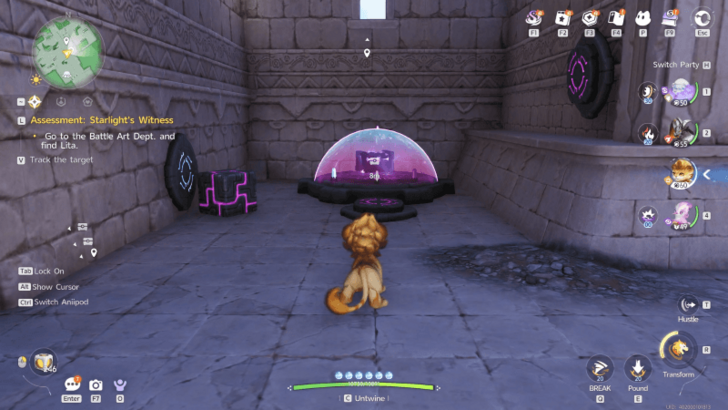 Coordinates: 0545, 0734 How to Get: Found inside a forcefield in a closed off room at the ruins on the southeast side of Rosetower Woods. The forcefield will be opened if all 3 buttons in the room are being pressed at the same time. To do this, get 3 boxes scattered throughout the ruins and place them on the buttons to free the chest. |
|
Rosetower Woods Chest 48 |
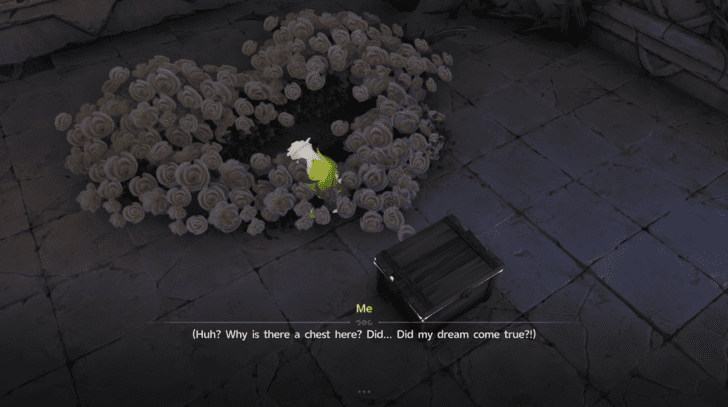 Coordinates: 0489, 0733 How to Get: Found inside a room sealed by vines on the left side of the ruins in the southeast side of Rosetower Woods. To enter the room, burn the vines then twine with a Budsquire and speak with the Budsquire taking a nap on the heart shaped flower arrangement. Take a nap with the Budsquire and you will get the chest. |
|
Rosetower Woods Chest 49 |
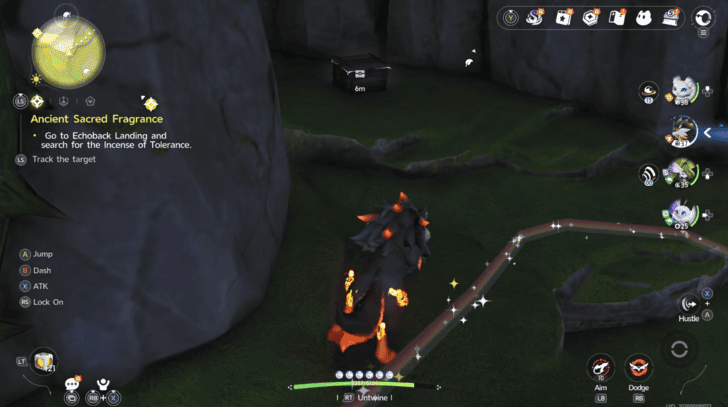 Coordinates: 0219, 0998 How to Get: Found behind a waterfall surrounded by thorns on the northern side of Rosetower Woods. |
|
Rosetower Woods Chest 50 |
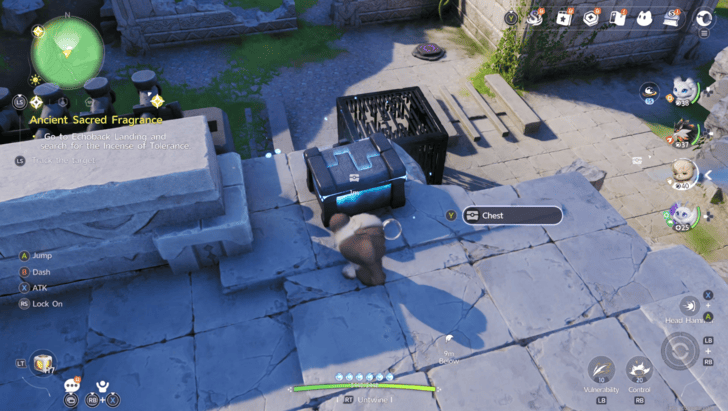 Coordinates: 0231, 0827 How to Get: Found on the ruins in the southern side of Rosetower Woods |
|
Rosetower Woods Chest 51 |
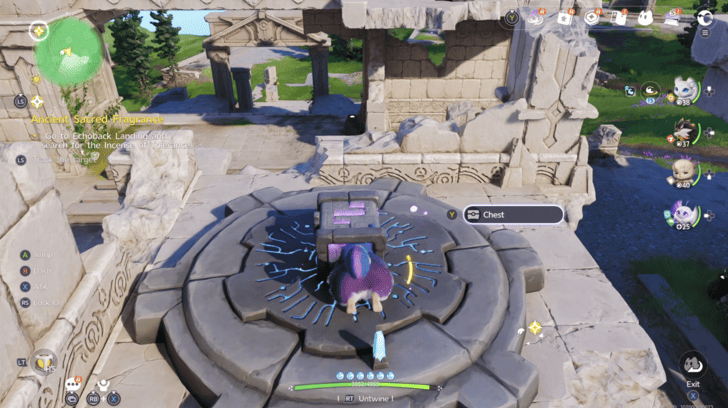 Coordinates: 0242, 0833 How to Get: Found inside a forcefield in the ruins in the southern side of Rosetower Woods, Push the metal cage towards the button on the ground to free the chest. |
|
Rosetower Woods Chest 52 |
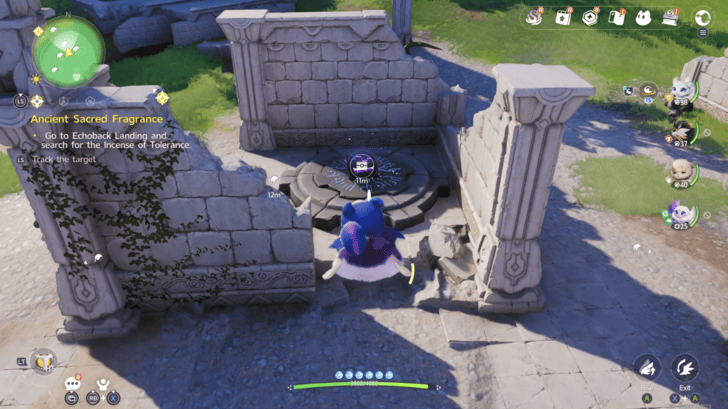 Coordinates: 0248, 0869 How to Get: Found inside a forcefield on the northern part of the ruins in the southern side of Rosetower Woods. From the higher level across the forcefield, push the metal cage towards the button to free the chest. |
|
Rosetower Woods Chest 53 |
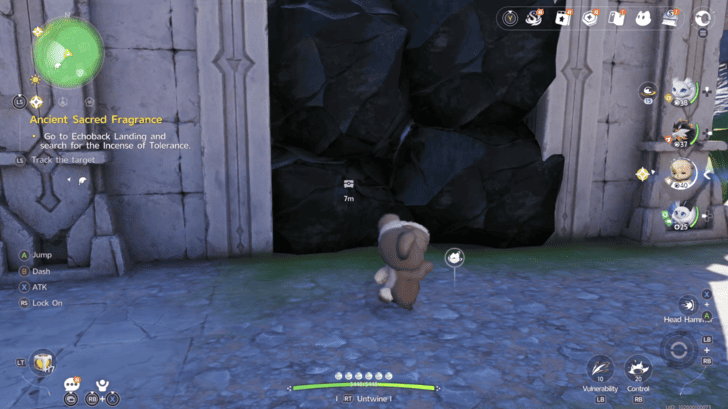 Coordinates: 0245, 0852 How to Get: Found inside a room blocked by rocks in the ruins in the southern side of Rosetower Woods. Smash the rocks to get the chest. |
|
Rosetower Woods Chest 54 |
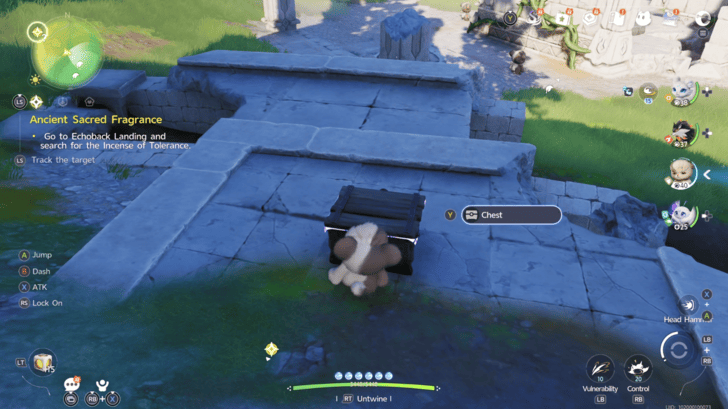 Coordinates: 0230, 0888 How to Get: Found near the ruins in the southern side of Rosetower Woods. |
|
Rosetower Woods Chest 55 |
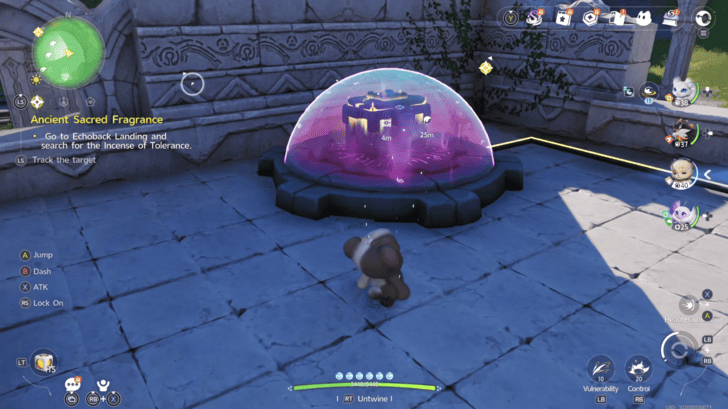 Coordinates: 0269, 0859 How to Get: Found inside a forcefield on a roof on the northeast side of the ruins on the southern side of Rosetower Woods. From the room below, smash the metal cage to make the boxes fall and free the chest. |
|
Rosetower Woods Chest 56 |
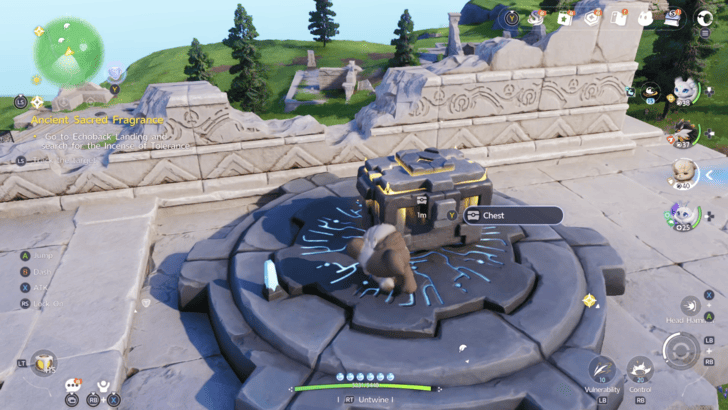 Coordinates: 0245, 0815 How to Get: Found inside a forcefield on the southwest side of the ruins on the southern side of Rosetower Woods. Push a metal cage towrds the button to free the chest, |
|
Rosetower Woods Chest 57 |
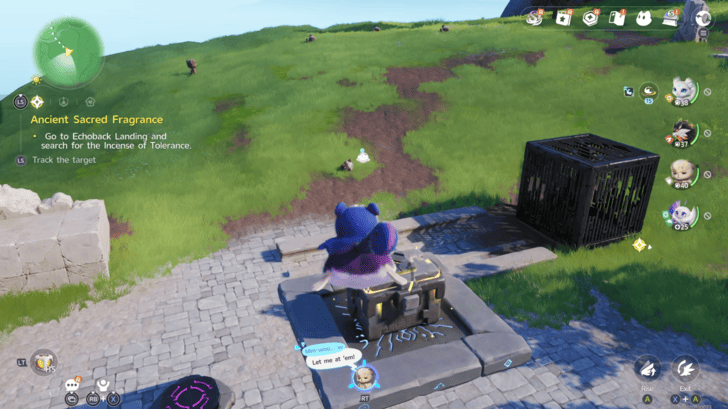 Coordinates: 0285, 0745 How to Get: Found on a floating platform on the southern side of Rosetower Woods. |
|
Rosetower Woods Chest 58 |
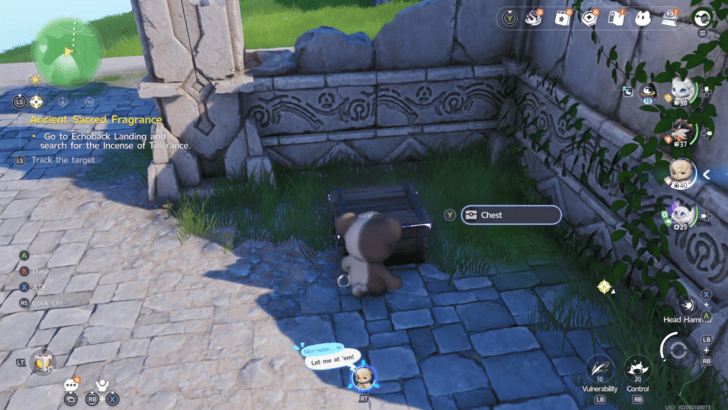 Coordinates: 0221, 0739 How to Get: Found near a metal cage at the corner of some ruins on the southern side of Rosetower Woods. |
|
Rosetower Woods Chest 59 |
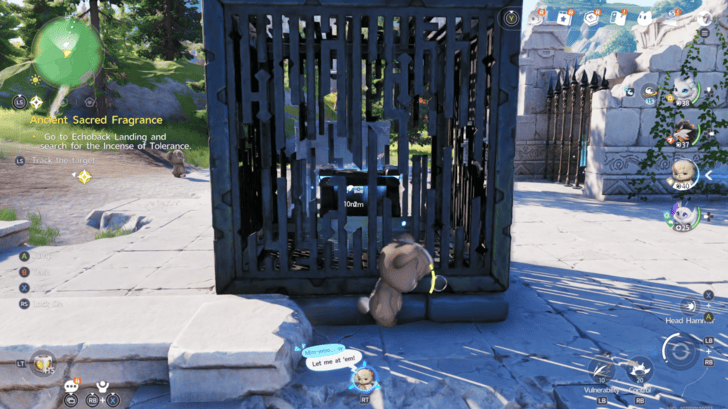 Coordinates: 0186, 0693 How to Get: Found inside a metal cage in the southwest part of Rosetower Woods. Smash the cage to get the chest. |
|
Rosetower Woods Chest 60 |
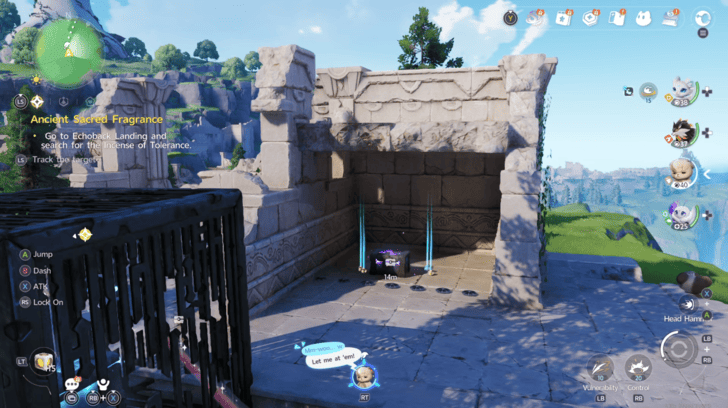 Coordinates: 0191, 0706 How to Get: Found behind a gate in the southwest part of Rosetower Woods. Push the nearby metal cage towards the button to open the gate and get the chest. |
|
Rosetower Woods Chest 61 |
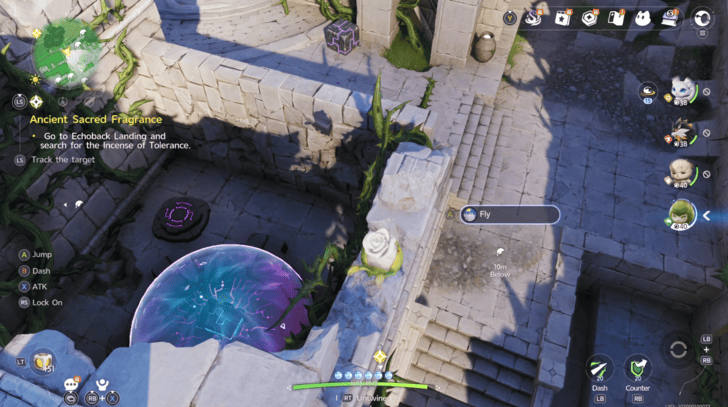 Coordinates: 0509, 0793 How to Get: Found inside a forcefield in a hidden room near the entrance to the ruins on the southeast side of Rosetower Woods. First, break down the wall of the room, then drag the box outside into the room and drop it on the button to free the chest. |
|
Rosetower Woods Chest 62 |
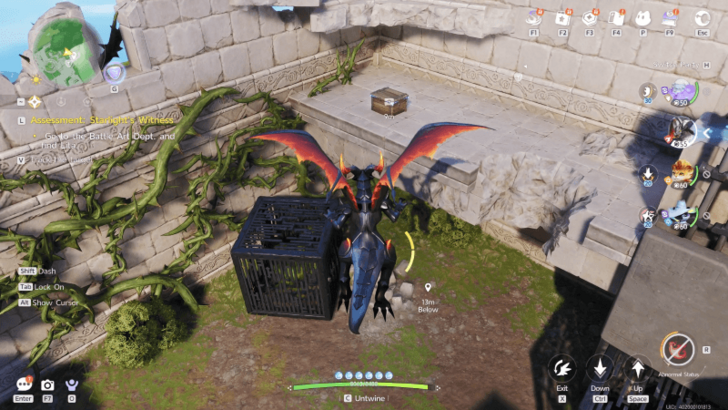 Coordinates: 0562, 0801 How to Get: Found on the upper level of the right side of the ruins on the southeast side of Rosetower Woods. |
|
Rosetower Woods Chest 63 |
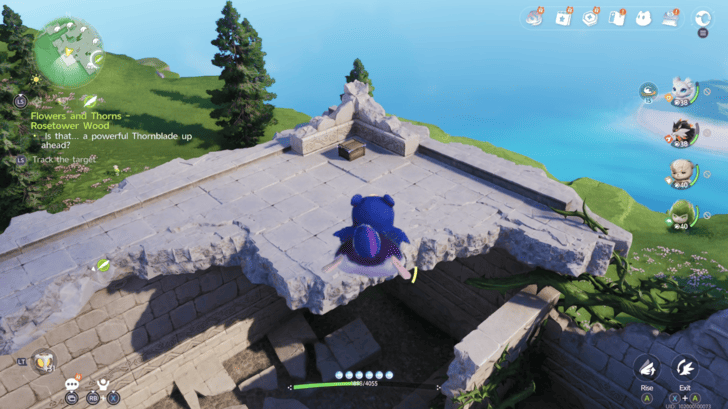 Coordinates: 0504, 0704 How to Get: Found on the bottom left corner of the ruins in the southeast side of Rosetower Woods. |
|
Rosetower Woods Chest 64 |
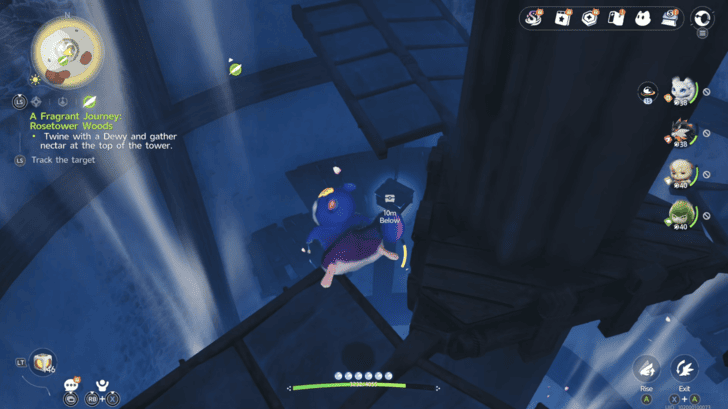 Coordinates: 0368, 1071 How to Get: Found hanging from a blade of the large fan inside the Whiterose Tower in Rosetower Woods. Fly up to the chest and get it. |
|
Rosetower Woods Chest 65 |
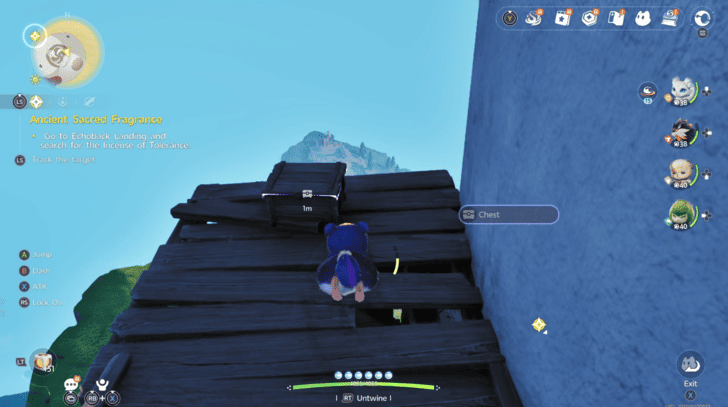 Coordinates: 0397, 1054 How to Get: Found on the right side of the Whiterose Tower in Rosetower Woods. From the very top of the tower, Fly up and toward the right side of the tower to find the chest on the wooden walkway. |
|
Rosetower Woods Chest 66 |
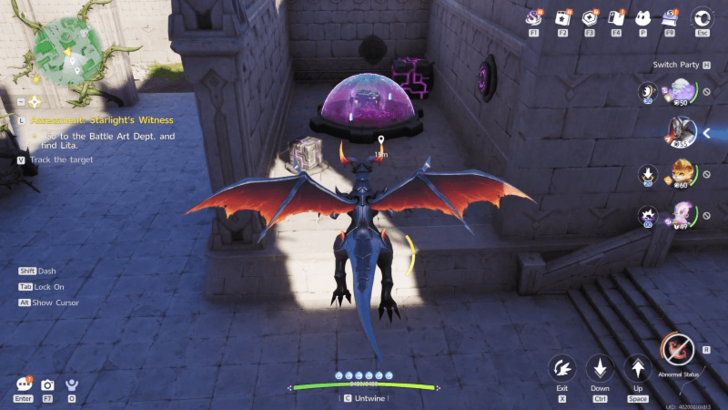 Coordinates: 0538, 0748 How to Get: Found in a forcefield in the center of the ruins on the southeast side of Rosetower Woods. The forcefield will go down if all 5 buttons in the room are being pressed at the same time. Gather all the chests you can find scattered throughout the ruins and place them against the buttons to free the chest. |
|
Rosetower Woods Chest 67 |
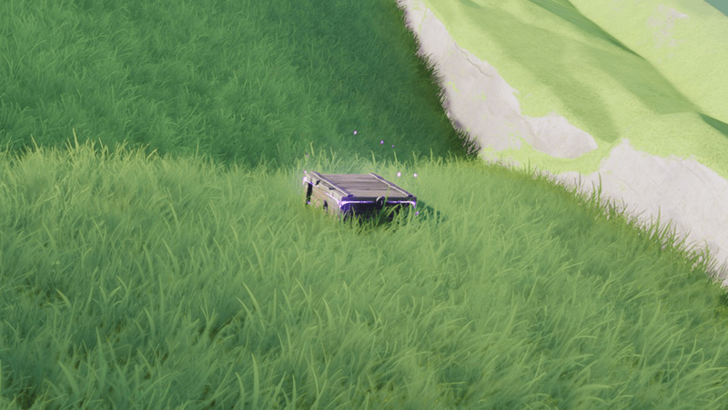 Coordinates: 0322, 1137 How to Get: Found at the top of the hill where the tower covered in thorns is located. |
|
Rosetower Woods Chest 68 |
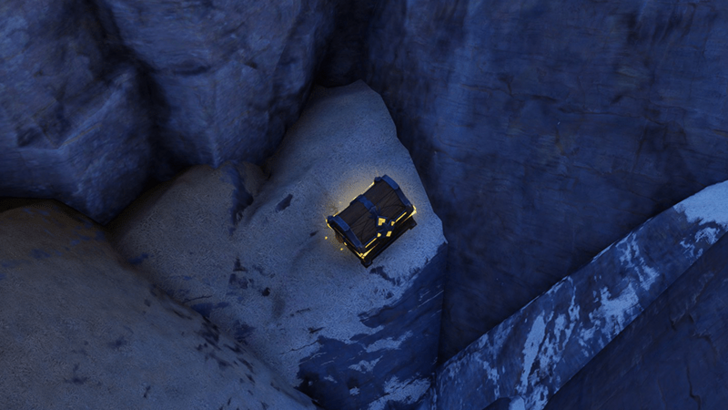 Coordinates: 0265, 1194 How to Get: Found in a secluded open spot in the middle of a large rock formation along the slope of the mountainous area. |
|
Rosetower Woods Chest 69 |
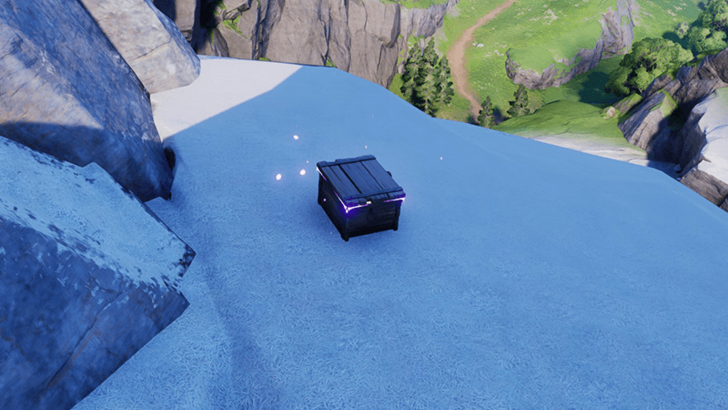 Coordinates: 0170, 1132 How to Get: Found in the snowy mountainous area of the Rosetower Woods. Placed near a ledge. |
|
Rosetower Woods Chest 70 |
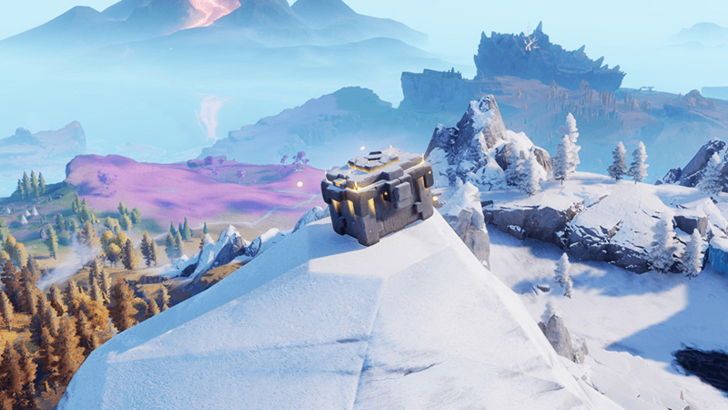 Coordinates: 0112, 1153 How to Get: Found on top of a rock formation at its peak. |
|
Rosetower Woods Chest 71 |
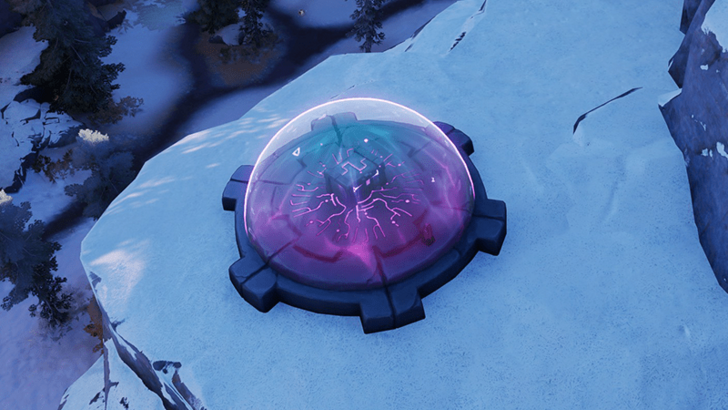 Coordinates: 0087, 1061 How to Get: The chest is protected by a barrier that can be deactivated by hitting a mechanism with an Electric Aniimo skill located right next to the chest. The mechanism will be encased in ice, so use a Fire Aniimo skill to thaw it out. |
|
Rosetower Woods Chest 72 |
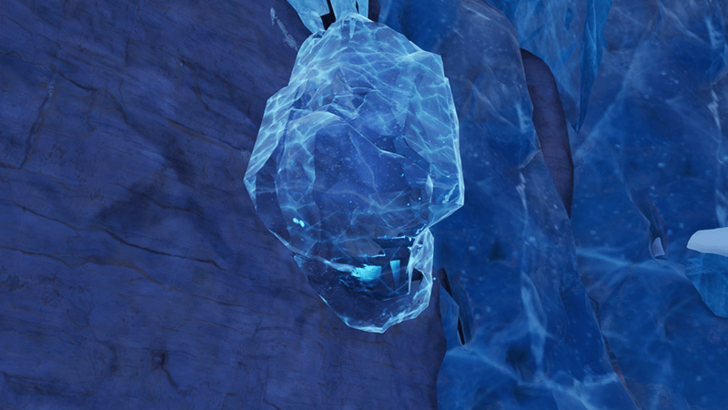 Coordinates: 0045, 1041 How to Get: The chest is encased in ice on the wall. |
|
Rosetower Woods Chest 73 |
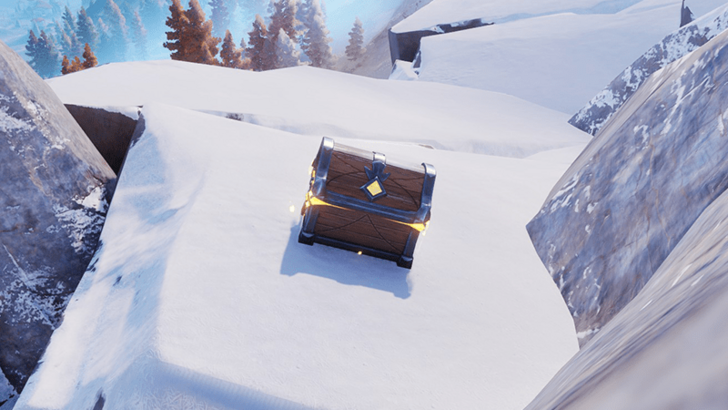 Coordinates: -0030, 1012 How to Get: Found on the side of the mountain. |
|
Rosetower Woods Chest 74 |
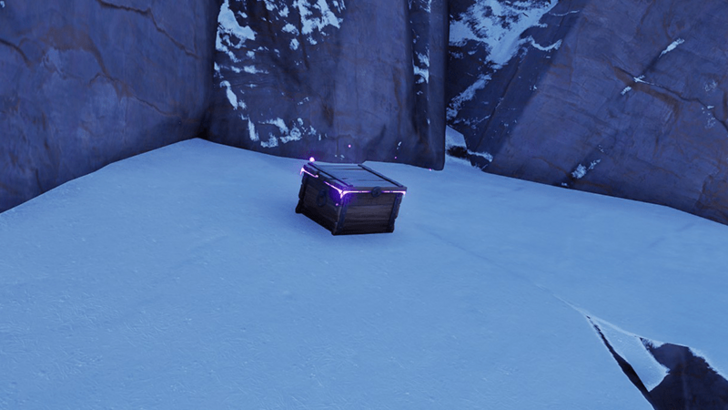 Coordinates: -0029, 1149 How to Get: Found near a ledge. |
|
Rosetower Woods Chest 75 |
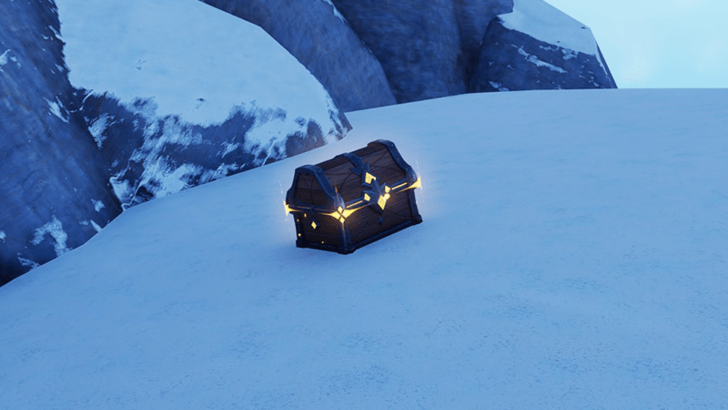 Coordinates: 0106, 1303 How to Get: Found on an open area by the slope of the mountain. |
|
Rosetower Woods Chest 76 |
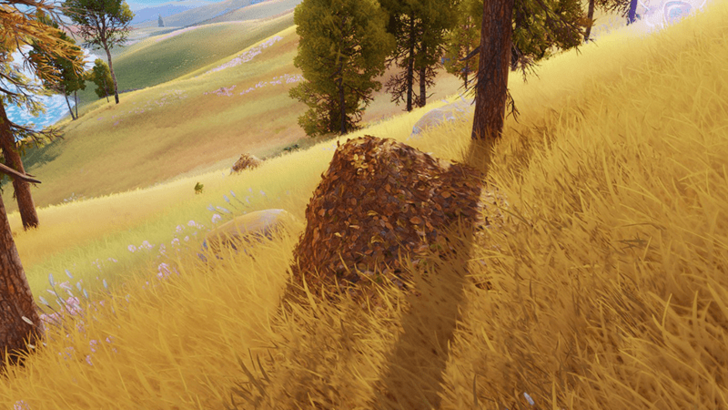 Coordinates: 0036, 0853 How to Get: Buried under a pile of leaves in an open field. |
|
Rosetower Woods Chest 77 |
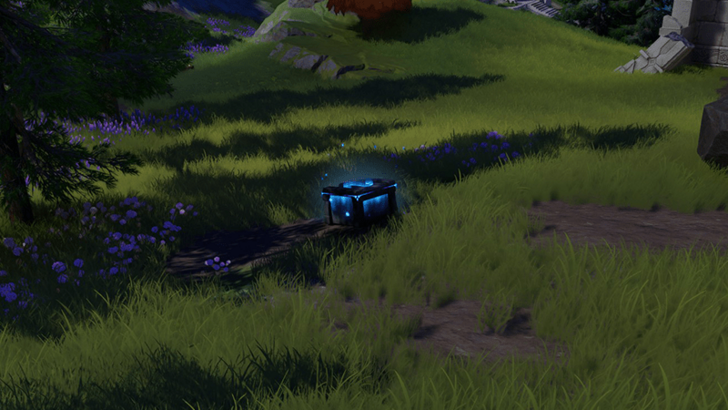 Coordinates: 0161, 0749 How to Get: Found in the open near a small grove of trees. |
|
Rosetower Woods Chest 78 |
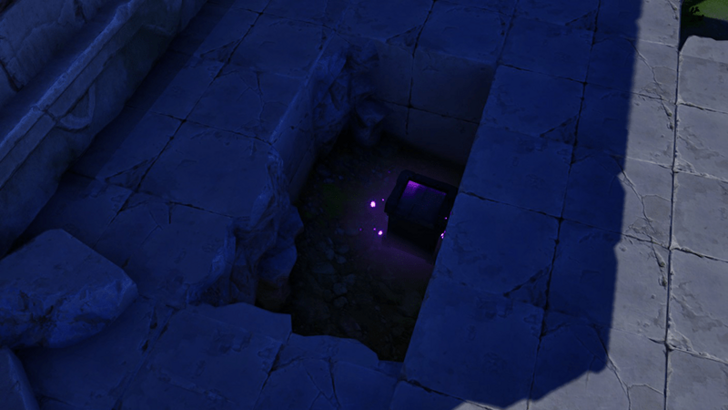 Coordinates: 0173, 0818 How to Get: Found buried underneath stones that can be broken with an Aniimo skill that can Break. |
|
Rosetower Woods Chest 79 |
 Coordinates: 0169, 0865 How to Get: Found buried underneath stones that can be broken with an Aniimo skill that can Break. |
|
Rosetower Woods Chest 80 |
 Coordinates: 0197, 0890 How to Get: Found buried underneath stones that can be broken with an Aniimo skill that can Break. |
|
Rosetower Woods Chest 81 |
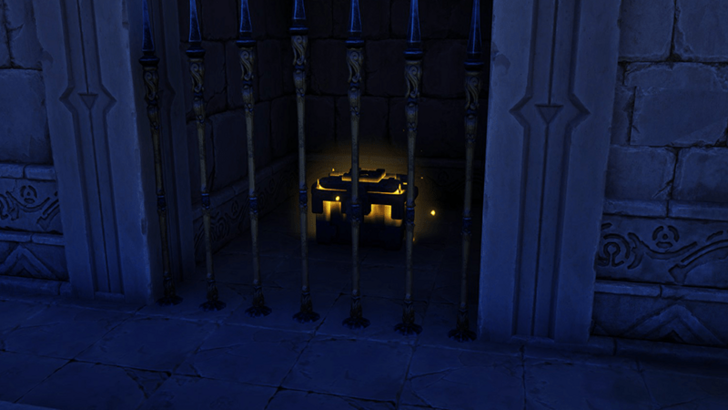 Coordinates: 0334, 0862 How to Get: Found behind iron bars that can be put down by activating a nearby mechanism with Electric Aniimo skills. |
|
Rosetower Woods Chest 82 |
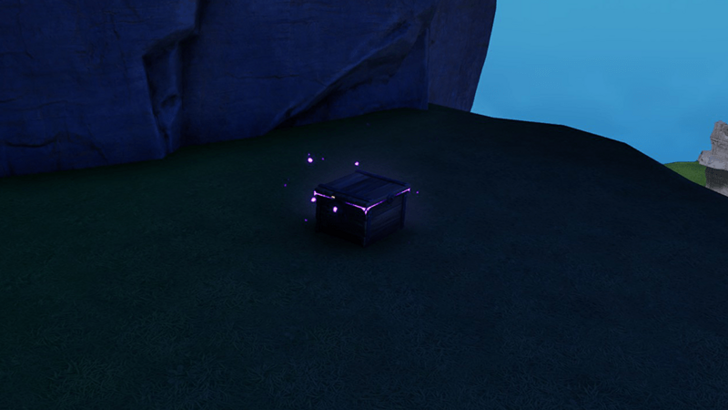 Coordinates: 0426, 0863 How to Get: Found along a cliffwall at an open spot near a ledge. |
|
Rosetower Woods Chest 83 |
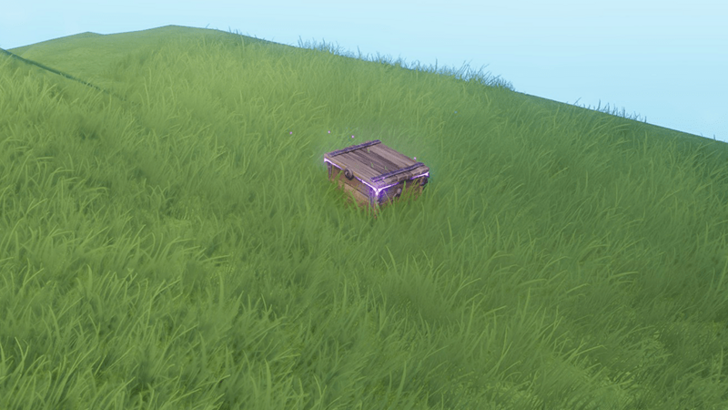 Coordinates: 0476, 0920 How to Get: Found in the open in the near a ledge. |
|
Rosetower Woods Chest 84 |
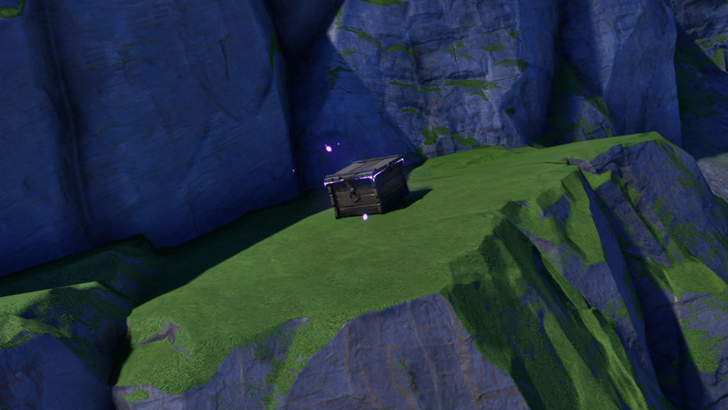 Coordinates: 0418, 0952 How to Get: Placed near a small ledge. |
|
Rosetower Woods Chest 85 |
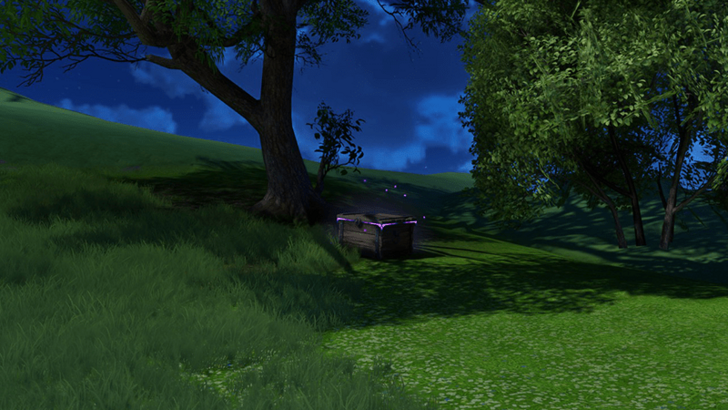 Coordinates: 0441, 0975 How to Get: Placed next to a tree. |
|
Rosetower Woods Chest 86 |
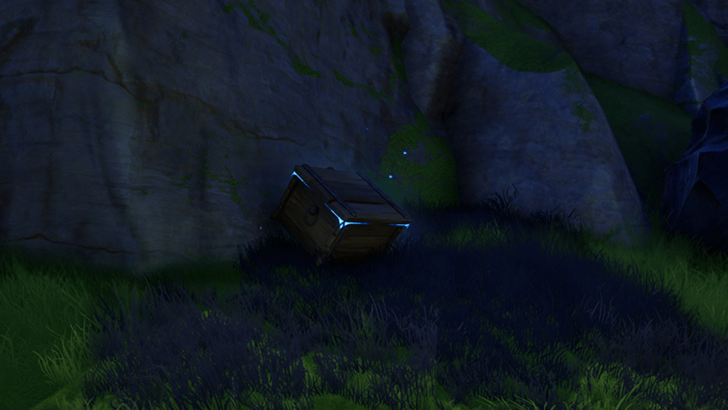 Coordinates: 0259, 1052 How to Get: Placed underneath a breakable stone. |
|
Rosetower Woods Chest 87 |
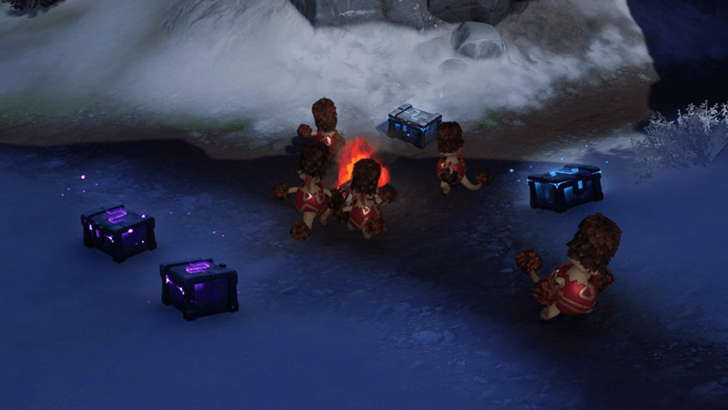 Coordinates: 0210, 1094 How to Get: Find four hiding Highland Pomeggs along the snowy path, and they will all meet up at the foot of the mountain to reward you with a chest. |
|
Rosetower Woods Chest 88 |
Coordinates: 0212, 1093 How to Get: Find four hiding Highland Pomeggs along the snowy path, and they will all meet up at the foot of the mountain to reward you with a chest. |
|
Rosetower Woods Chest 89 |
Coordinates: 0207, 1088 How to Get: Find four hiding Highland Pomeggs along the snowy path, and they will all meet up at the foot of the mountain to reward you with a chest. |
|
Rosetower Woods Chest 90 |
Coordinates: 0211, 1086 How to Get: Find four hiding Highland Pomeggs along the snowy path, and they will all meet up at the foot of the mountain to reward you with a chest. |
|
Rosetower Woods Chest 91 |
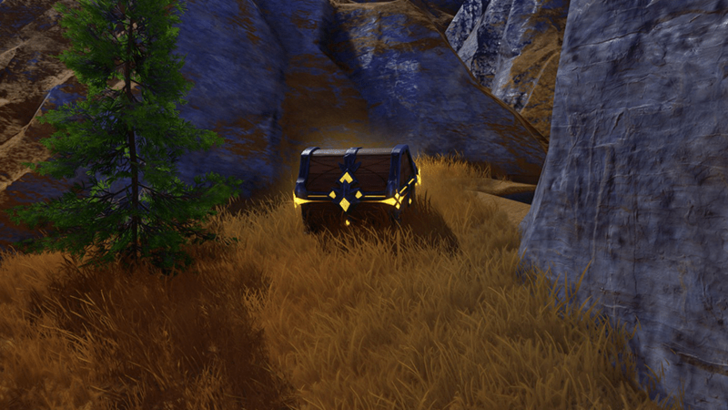 Coordinates: 0185, 1027 How to Get: Found in a secluded spot surrounded by larger stone formations. |
Rosetower Woods 100% Exploration Guide
All Chests Rewards
Credit, Experience, and Aniipods
 Credits |
 Growth Flowers |
 Aniipod Pro |
These are the items that are typically acquired when opening a chest. Bigger chests provide more valuable items, such as Sparkling Crystals, Breezy Plains Dewdrop Crystals, and Aniipod Megas. Be sure to always check your inventory for new items.
Aniimo Related Guides
Points of Interest
 Sanctum |
 Lumin Amber |
 Chests |
 Pathfinder Challenges |
 Morphling's Memory |
 Bloom |
 Dr. Glass Trial |
 All Cave Locations |
 RV Park Locations |
 Egg Locations |
Region Guides
Other Guides
| All Shops and Items Sold | Astra Map and Key Locations |
Comment



Author

All Chest Locations

Rankings
Gaming News





Popular Games

Genshin Impact Walkthrough & Guides Wiki
Fire Emblem: Fortune's Weave (FEFW) Walkthrough & Guides Wiki
Aniimo Walkthrough & Guides Wiki
Wuthering Waves Walkthrough & Guides Wiki
Dragon's Dogma 2 (DD2) Dark Arisen Walkthrough & Guides Wiki
Umamusume: Pretty Derby Walkthrough & Guides Wiki
Honkai: Star Rail Walkthrough & Guides Wiki
Zenless Zone Zero Walkthrough & Guides Wiki
Pokemon TCG Pocket (PTCGP) Strategies & Guides Wiki
AION 2 Walkthrough & Guides Wiki









Recommended Games
Fire Emblem Heroes (FEH) Walkthrough & Guides Wiki
Where Winds Meet Walkthrough & Guides Wiki
Diablo 4: Lord of Hatred Walkthrough & Guides Wiki
Super Smash Bros. Ultimate Walkthrough & Guides Wiki
Persona 3 Reload Walkthrough & Guides Wiki
The Legend of Zelda: Tears of the Kingdom Walkthrough & Guides Wiki
Elden Ring Walkthrough & Guides Wiki
Pokemon Brilliant Diamond and Shining Pearl (BDSP) Walkthrough & Guides Wiki
Cyberpunk 2077: Ultimate Edition Walkthrough & Guides Wiki
Monster Hunter World Walkthrough & Guides Wiki










All rights reserved
©2025 Pawprint Interactive Entertainment Pte. Ltd.. All rights reserved.
The copyrights of videos of games used in our content and other intellectual property rights belong to the provider of the game.
The contents we provide on this site were created personally by members of the Game8 editorial department.
We refuse the right to reuse or repost content taken without our permission such as data or images to other sites.