
Best DPS Aniimo
★ Season 1: Part 2 Releases 10/29!
☆ All Season 1 New Aniimo
★ Best Teams | Best Starter | Best DPS
☆ Trending: Lita | Wendell | Wonder Egg
✪ Follow Game8's Aniimo X for news & guides!
Share your thoughts! ➤ Aniimo Player Survey
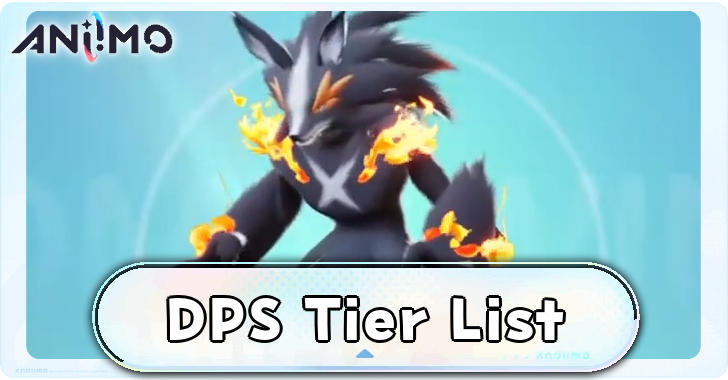
This Tier List shows the best DPS Aniimo in Aniimo. Find out which Aniimo to use as the DPS of your team and why in this page!
List of Contents
Best DPS Aniimo














































































Tier List Updated: October 6, 2026.
The best DPS aniimo to use include Fenmane, Fulmintis, Pawney, and the starter aniimo Helion and Lunara.
Take note that the rankings are based on the Aniimo's overall effectiveness in combat, taking into account not only their overall stats, but also their Skills and Traits.
Tier List Criteria
| Tier | Explanation |
|---|---|
|
S-tier aniimo are the best units in the game. They deliver maximum damage, superior utility, and unmatched breaking power while remaining extremely easy to use across multiple team setups. |
|
A-tier Aniimo are powerful, but they fall short of S-tier performance by having slightly lower damage ceilings or less impactful utility. They typically demand dedicated team compositions or strict rotations to maximize their output and support capabilities, making them less efficient overall. |
|
B-tier Aniimo are average units that fall noticeably behind the A-tier in raw damage and overall utility. Even when placed in the correct team setup, their support and breaking capabilities are strictly moderate, requiring you to put in much more investment for results that higher tiers achieve easily. |
|
C-tier Aniimo are below average in most metrics, from damage to supporting value. Their support and breaking capabilities require heavy investment just to function at a basic level, so they should not be a priority if your resources are limited. |
|
D-tier Aniimo offer the lowest overall value, falling significantly behind the rest of the roster. You should only dedicate resources to them if you personally favor the unit. |
Base Versus Other Form Rankings
In this tier list, forms are evaluated based on their innately unlocked skills. The new abilities brought by alternate forms are compared against the unit's entire kit to determine if they provide a distinct advantage over the base version. If a form's new skills fail to offer an upgrade, the units are then ranked according to how difficult they are to obtain. In such cases, if a form requires significant effort to obtain but provides no clear combat advantage, players are better off retaining the base form.
Another major factor when deciding form placement is the element they obtain. Acquiring a secondary element affects their overall elemental defenses, as the weaknesses and resistances stack on top of each other. A good example is Prismana Fulmintis, which receives x2.56 damage against Dark due to its combined Lightning and Light elements, making it more vulnerable against Dark enemies than the base form.
Having dual elements is not inherently bad, as STAB (Same-Type Attack Bonus) increases matching type damage by 10%. While this damage boost is considered in the tier list, resistances remain the focus because their higher multipliers affect matchups more noticeably.
Best DPS Aniimo Explanations
S Tier
| Aniimo | Explanation |
|---|---|
|
Fulmintis
|
The base form of Fulmintis has the highest overall Attack stat in the game, which makes it a formidable DPS aniimo. It can raise its critical rate by 35% at the cost of 0 EP using Enhanced Lightning Blade and can synergize with its trait, Electro Stash, to regain EP after activating a critical hit. |
|
Ignitis
|
Ignitis has the second-highest base ATK among DPS Aniimo, sitting at a very high base ATK. Its strength comes from stacking and maintaining Battle Fervor by consistently defeating targets. Its combat skills apply damage buffs, such as Scythe Dance's stacking damage buff. |
|
Forest Ignitis
|
Has all of the strengths of the regular Ignitis, but also has access to Forest Whirl, a Grass-type version of Scythe Dance that also applies a stacking damage buff. It does, however, have additional weaknesses like Fire and Dark, as well as an even more increased weakness to Grass. This is balanced to some extent by its additional resistance to Water and Grass. |
|
Fenmane
|
Fenmane is the counterpart of Fulmintis in terms of lightning DPS. Instead of dealing damage through multi-hit melee attacks, Fenmane deals multi-hit damage via ranged attacks. Despite that, if you don't have access to Fulmintis, Fenmane can be a substitute and is still a great lightning DPS. |
|
Grizbo
|
Grizbo’s damage output during its Enraged state is extremely high, but it requires a lengthy setup due to its Raging Rampage trait. It also has to apply Claw Marks first before actually dealing damage. |
|
Lunara
|
Lunara has a massive base ATK and is one of the starter aniimo that can be selected, making it a top-tier DPS pick overall. Even though its Lunar Power trait only works against Aniimo that are not weak against Light, its effects are simply too good—increasing its final damage by 20% and allowing it to deal 100% extra damage while restoring 0.5% HP using its basic attacks against targets with Silver Moon Mark stacks. On top of these, its combat skills offer more damage. |
|
Helion
|
Helion shares the same spot as Lunara as an overall top-tier DPS pick. It also has a high base ATK, and it can enhance its combat skills via its Solar Grace trait. |
|
Pawney
|
An EP and Ultimate-charge-hungry Dark-type DPS capable of dealing massive damage when you have enough energy to cast all of its skills. Can still deal sizable damage without its full combo. Pawney is weak to Wind and Light, but is resistant to Earth and neutral to every other element. |
|
Stellarys
|
Stellarys is arguably the best Magic-type DPS Aniimo in the current meta. It plays like a battlemage archetype due to its Grand Sorcerer trait, increasing its basic attack damage each time it uses a skill. Its combat skills are mostly offensive moves with scaling damage, but its Shadow Magic skill gives it a utility tool during battle. |
|
Irisalis
|
Irisalis stands as the best Grass DPS in the game. While it is an EP‑hungry attacker, its top-notch damage output more than compensates for the demanding energy cost, making it the most reliable choice for maximizing Grass‑type offense. |
|
Highland Scorchhowl
|
Similar to the base Scorchhowl, but has access to Pebble Kick, which can be useful in PvP scenarios. It also gains increased weakness to Water, but gains resistance to Lightning. |
|
Thunderstorm Scorchhowl
|
Has access to Lightning Kick, which is the Lightning version of the base version's Fire Kick. This aniimo is weak to Water, Earth, and Dark, but is resistant to every other element (except Ice). |
|
Mountain Woods Scorchhowl
|
Has access to Pebble Kick, making it a better PvP version compared to the base version. Has the same elemental strengths and weaknesses as the base Scorchhowl. |
|
Prismana Scorchhowl
|
The Prismana version of Scorchhowl. Functionally the same aniimo, but physically looks better. Has the same elemental strengths and weaknesses as the base Scorchhowl. |
A Tier
| Aniimo | Explanation |
|---|---|
|
Cornet
|
Cornet is the DPS of the Chirpi family and team. It is the Aniimo capable of dealing high wind damage to enemies while having access to a flying state using Scream Splitter. This skill makes most ground attacks useless against it. |
|
Beach Cornet
|
Cornet's Beach form gains access to Water Tornado. It lets Cornet cover the Water element if you need to against an enemy weak to water. |
|
Highland Ignitis
|
Has access to Fire Dash, which provides Super Armor to Ignitis. However, the skill's use case is limited, making the base Ignitis skills better. Additionally, it is weak to one additional element (Water) compared to the base version, but it also gains a few resistances, like to Fire and Grass. |
|
Mountain Woods Pawney
|
Functionally the same as a base Pawney, just with a different look. Relatively easy to acquire once you finish the Secret of the Golden Helmet quest, and can serve as an alternative to the base Pawney. Has the same resistances and weaknesses as the base Pawney. |
|
Prismana Cornet
|
Cornet's Prismana form gains access to Lightning Splitter. If you prefer to inflict paralysis on the enemy in exchange for damage buffs, then you can use this form instead of the base form. |
|
Prismana Fenmane
|
Similar to the regular Fenmane, but has access to Radiant Dart, which reduces healing and can be used in PvP situations. |
|
Prismana Fulmintis
|
Prismana Fulmintis retains all the power you can get from Fulmintis. However, its exclusive skill, Enhanced Light Blade, is exactly the same as Enhanced Lightning Blade. Additionally, it is harder to obtain one copy of Prismana Fulmintis because it is locked behind the paid battle pass. Overall, you are better off using the base Fulmintis over the Prismana one, as you do not lose anything noteworthy. |
|
Prismana Grizbo
|
Has access to the skill Claw of Madness, which allows Prismana Grizbo to stack Rage faster. |
|
Prismana Ignitis
|
This version of Ignitis both suffers from the weaknesses that Highland Ignitis has, but also enjoys the same advantages. It is, however, hard to acquire it compared to the other Ignitis forms. |
|
Prismana Pawney
|
The Prismana version of the base Pawney. It has functionally the same strengths and weaknesses as the base version, but is more difficult to get. |
|
Prismana Stellarys
|
Has access to Aquatic Glide for Water damage. However, the base form's Shadow Magic is still a better skill choice. This version also gains an additional weakness to Fire, but becomes more resistant to other elements like Lightning and Water. |
|
Prismana Thornblade
|
Prismana Thornblade is highly effective against Earth Aniimo, much like its basic form. However, thanks to its dual Grass and Water typing, it also takes significantly reduced Earth damage. This added resistance makes Prismana Thornblade generally superior to its base form. |
|
Rainstorm Stellarys
|
Has access to Chill Glide for Ice damage. However, the base form's Shadow Magic is still a better skill choice. Additionally, this version of Stellarys has more than double the weaknesses of the base form, including Grass, Lightning, and Ice, while also gaining some resistance to Fire, Water, and Dark. This does, however, make it less versatile. |
|
Sherro
|
Sherro is a good Water DPS that uses water terrain or puddles to enhance the damage of its skills. Its main offensive skill, Flowing Water Slash deals more damage when it absorbs a nearby puddle. It also comes with Torrent Slam, a skill that buffs its own damage to further strengthen its overall damage output. |
|
Prismana Sherro
|
Similar to the regular Sherro, but has access to Prismana Slam, which gets stronger when used in a water environment. |
|
Thunderstorm Sherro
|
Similar to the regular Sherro, but has access to Thunder Slam, which deals more damage when used near water terrain. |
|
Snowfield Pawney
|
Has access to Weakening Smash, an Ice-type version of Weakening Slam. It also has one additional weakness (Fire), but makes up for it by having more resistances, like to Water and Lightning. |
|
Waleetle
|
Waleetle can scale its damage output via its Overloaded Engine trait. Its drawback, however, is that Sandstorm Spin's EP consumption is too much, and it takes time to build up its trait. |
B Tier
| Aniimo | Explanation |
|---|---|
|
Glynsera
|
Glynsera is a decent Ice DPS that can potentially deal serious damage with the proper setup. However, it requires careful Ice Debuff management to maximize Frost Tail Strike's damage and consumes a significant amount of EP when using skills to deal damage or apply more Ice Debuff using Ice Strikes. |
|
Nighttime Glynsera
|
Nighttime Glynsera has access to Night Slash, which is a skill that silences enemies. This makes it particularly useful in PvP to disable opponents from using their skills. |
|
Prismana Glynsera
|
Prismana Glynsera is a decent Ice DPS that relies on Ice Debuff stacks to activate its Trait and increase its Critical Rate. Compared to the normal Glynsera, it gains Prismana Slash, which deals around the same damage as Ice Strikes but applies no Ice Debuff stacks, making it less useful for its Trait. |
|
Highland Cornet
|
Cornet's Highland form gains access to Leaf Tornado. This skill is an overall downgrade compared to Wind Bomb Rush, and switching out the Splitter skills is not recommended for Cornet. |
|
Infergon
|
Infergon is an EP-hungry Fire-type DPS that requires Fire Debuff management to maximize its damage. When played properly, however, it is capable of dealing massive amounts of Fire damage to enemies. |
|
Prismana Infergon
|
Similar to the base Infergon in its need for Fire Debuffs to deal good damage. Has access to Gale Charge, which can deflect ranged attacks. Gains Lightning and Light as weaknesses on top of Water and Earth, but becomes resistant to every other element. |
|
Irisal
|
Irisal is a decent Grass DPS, but it only truly shines when paired with Leafy. Leafy’s Power of Nature trait passively generates Turf for Irisal, directly enabling its Disco Aniimo trait. Without Leafy, Irisal’s damage potential is far less impactful, making this pairing essential to maximize its effectiveness. |
|
Scorchhowl
|
A strong Fire-type DPS when facing enemies that are weak to Fire. Otherwise, it is an average, short-ranged damage dealer that requires a lot of EP to deal damage. |
|
Thornblade
|
Thornblade is a decent crit‑based Grass DPS, but its overall damage output remains underwhelming, even with an optimized team and when facing aniimos weak to Grass. This limitation makes it less reliable as a primary damage dealer compared to other options. |
|
Prismana Waleetle
|
Prismana Waleetle's Darkwheel Slash can break shields quickly, which is an added value to its basic form. |
|
Thunderstorm Thornblade
|
Thunderstorm Thornblade doesn't have any significant advantages over its basic form. Its Lightning Impact skill is merely a Lightning version of Thorny Impact, which has no added value. |
|
Towerwood Thornblade
|
Towerwood Thornblade is practically the same as its basic form. It shares the exact same skills. |
C Tier
| Aniimo | Explanation |
|---|---|
|
Baleetle
|
Baleetle has the same function as Waleetle, but it has lower stats and doesn't have the Ultimate skill. |
|
Celestis
|
Celestis is a good early-game aniimo, but unlike Stellarys, the aniimo doesn't have clones. This puts it at a severe disadvantage compared to its evolution. |
|
Cubbo
|
Cubbo shares the same strengths and limitations as Grizbo, but it has lower stats and does not have the Ultimate skill. |
|
Fentuft
|
Fentuft is the Lumin Stage of Fenmane. It has lower stats, and has no access to Thunder Imprint yet. It is essentially the weaker version of it, but it can still do its ranged lightning damage well. |
|
Iris
|
Iris shares the same strengths and limitations as Irisal, but it has lower stats. It's better off evolved into Irisal. |
|
Forest Iris
|
Forest Iris shares the problems as its basic form and doesn't have any significant advantage. |
|
Grassland Iris
|
Grassland Iris shares the problems as its basic form and doesn't have any significant advantage. |
|
Highland Iris
|
Highland Iris shares the problems as its basic form and doesn't have any significant advantage. |
|
Mountain Woods Iris
|
Mountain Woods Iris shares the problems as its basic form and doesn't have any significant advantage. |
|
Plateau Iris
|
Plateau Iris shares the problems as its basic form and doesn't have any significant advantage. |
|
Prismana Iris
|
Prismana Iris shares the problems as its basic form and doesn't have any significant advantage. |
|
Snowfield Baleetle
|
Snowfield Baleetle is the pre-evolution of Waleetle and fills a similar DPS role, but has lower damage overall. |
|
Snowfield Waleetle
|
Snowfield Waleetle doesn't have any valuable skills that makes it better than its basic form. |
|
Wisptis
|
The Lumin version of Ignitis. Has fewer skills compared to its evolved version. |
|
Forest Wisptis
|
The Lumin version of Forest Ignitis. Has fewer skills compared to its evolved version. |
|
Highland Wisptis
|
The Lumin version of Highland Ignitis. Has fewer skills compared to its evolved version. |
D Tier
| Aniimo | Explanation |
|---|---|
|
Bonesky
|
Bonesky is the Lumin stage evolution of Glynsera and fills the same DPS role, but it has lower damage and lacks an Ultimate. |
|
Budsquire
|
Budsquire has the same skills as Thornblade but with lesser stats. It's better off evolved into Thornblade. |
|
Emberpup
|
Emberpup has lower stats than Flameruff and has no Ultimate skill. It's better evolved into Scorchhowl. |
|
Fenrier
|
Fenrier is the Gamma stage evolution of Glynsera, but it has lower damage and lacks an Ultimate, making it less effective as an Ice DPS. |
|
Flameruff
|
Flameruff gains little from evolving from Emberpup beyond higher stats. Without any added utility, it’s simply better evolved into Scorchhowl. |
|
Highland Emberpup
|
Highland Emberpup offers no additional value beyond its basic form. |
|
Highland Flameruff
|
Highland Flameruff offers no additional value beyond its basic form. |
|
Mountain Woods Emberpup
|
Mountain Woods Emberpup offers no additional value beyond its basic form. |
|
Mountain Woods Flameruff
|
Mountain Woods Flameruff offers no additional value beyond its basic form. |
|
Nighttime Bonesky
|
Nighttime Bonesky performs similarly to regular Bonesky, with lower damage and no access to an Ultimate. |
|
Nighttime Fenrier
|
Nighttime Fenrier shares the same issue as regular Fenrier, lacking an Ultimate and dealing less damage than Glynsera. |
|
Sheldon
|
Sheldon is the pre-evolution of Sherro and fills the same Water DPS role, but lacks Flowing Water Slash, an important source of damage in Sherro's kit. Its other skills also deal less damage, resulting in significantly lower overall DPS. |
|
Shelly
|
Shelly faces the same problem as Sheldon but has lower Attack, further reducing its damage output. |
|
Towerwood Budsquire
|
Towerwood Budsquire is the same as Budsquire, but it can't evolve into Melloblum, making it less valuable than its basic form. |
Aniimo Related Guides

 Attention! |
▶ Game8 Aniimo on X.com! We're sharing tips, guides, and news for Aniimo daily! |
|---|
Tier Lists and Meta Guides
 Best Aniimo Tier List
 Best Prismana Aniimo
 List of All Builds
 Best Teams
 Best Talents and Passives
 Best DPS
 Best Healers
 Best Supports
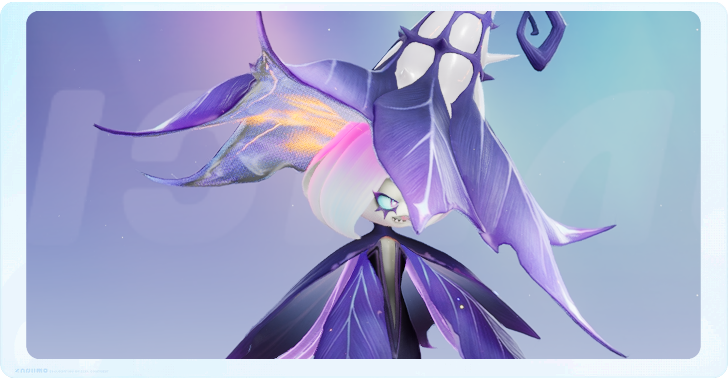 Best Regen Aniimo
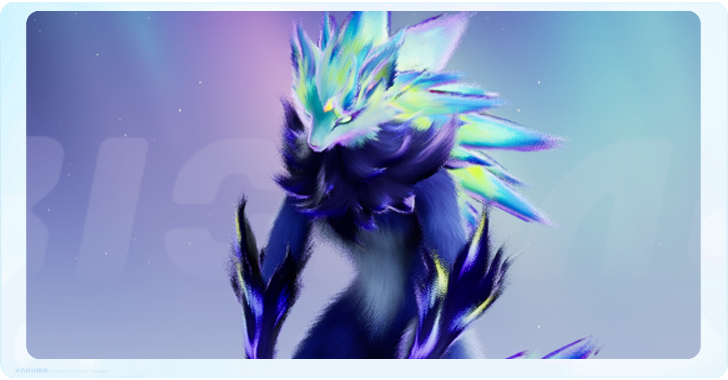 Best Break Aniimo
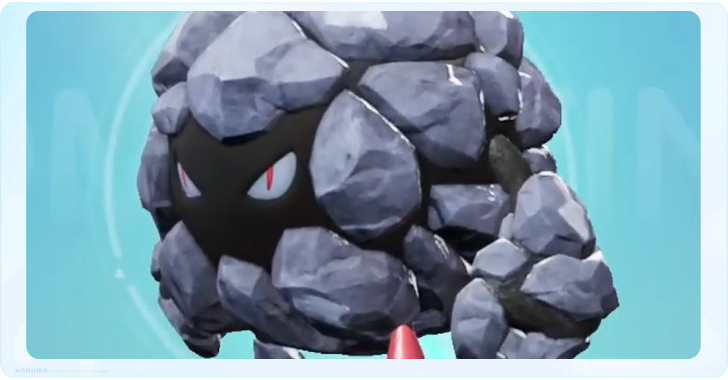 Best Earth Aniimo
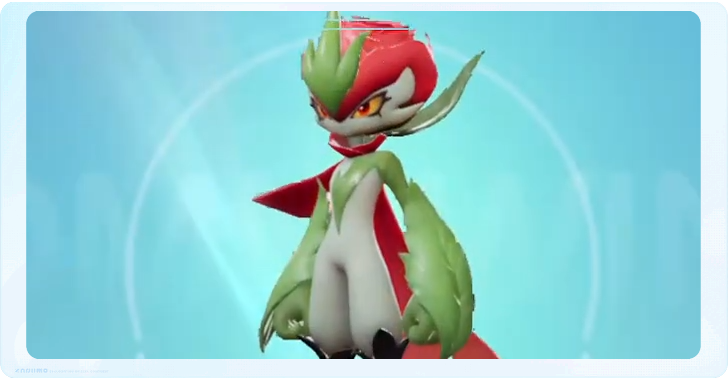 Best Grass Aniimo
 Best Lightning Aniimo
 Best Wind Aniimo
 Best Ice Aniimo
 Best Water Aniimo
 Best Fire Aniimo
 Best Dark Aniimo
 Best Light Aniimo
 Best Flying Aniimo
 Best Climbing Aniimo
 Best Swimming Aniimo
 Best Aniimo for Exploration
 Best Melee Aniimo
 Best Ranged Aniimo
 Best World Activities to Complete
Best Guides for Beginners
 Redeem Codes
 Best Starter Aniimo
 Essential Beginner Tips
 Best Early Aniimo
 All Permanent Choices
 How to Reach Wayfarer I Fast
 Character Creation Guide
 Can You Have Multiple Characters?
 Dailies and Weeklies Guide
 Progression Guide
 Best Side Quests to Complete
 Can You Change Gender?
 What to Do If You Get Stuck
 Best and Recommended Settings
 Is There a Difficulty Setting?
 Which Server Should You Choose?
 List of Controls
 How to Save
 Controller Support Guide
 How to Fix Account Login Failed Error
Gameplay Guides
 Multiplayer Explained
 Type Chart: All Element Weaknesses
 How to Level Up Your Character Fast
 How to Evolve Aniimo
 Capturing Guide
 Daily Reset Time
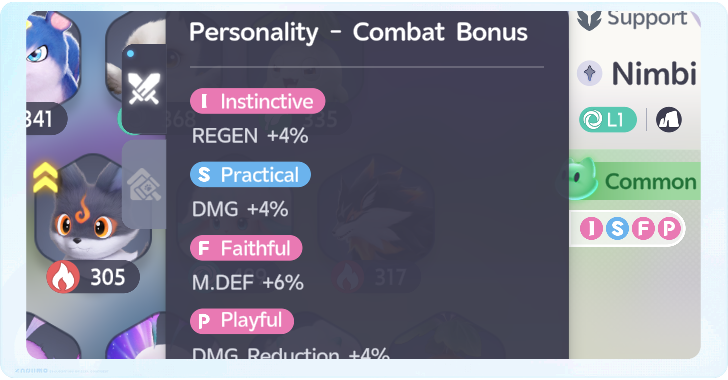 Best Aniimo Personalities
 Best Ways To Get Credits
 What to Do with Extra Aniimo
 How to Restore Primegy
 How to Get Lumin Crystals
 How to Get Glimmers
 How to Heal
 Twining vs Command Mode
 How to Change Weather
 How to Activate Prismana Flow
 Can You Name Your Aniimo?
 How to Delete Character
 How to Solve All Puzzles
 Transmogrify Explained
 Elite Training Guide
 How Long is Aniimo?
 What are Wild Surges?
 Spatial Counters Guide
 List of Research Levels and Rewards
 Aniimo vs Palworld: Comparison Guide
 Battle Pass Guide
 Microtransaction Shop Guide
 How Does Inherit Work
 PvP Release Date
 Shooting Stars Explained
 Stamp Shop Guide
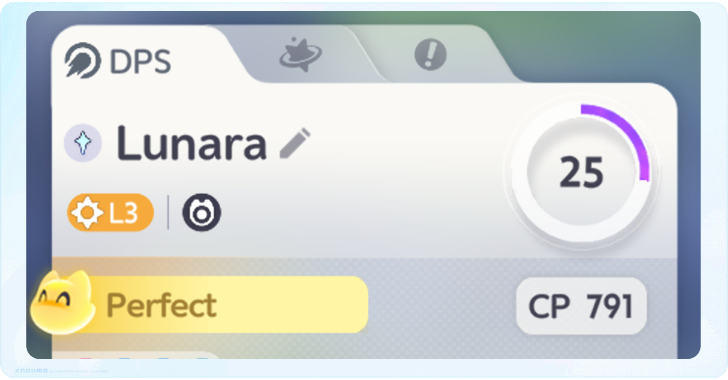 How to Level Up Aniimo Fast
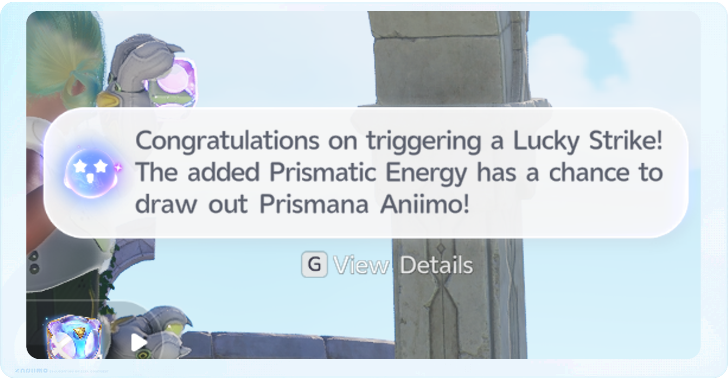 Lucky Catch (Strike) Explained
 Hatching Guide: Best Eggs to Catch
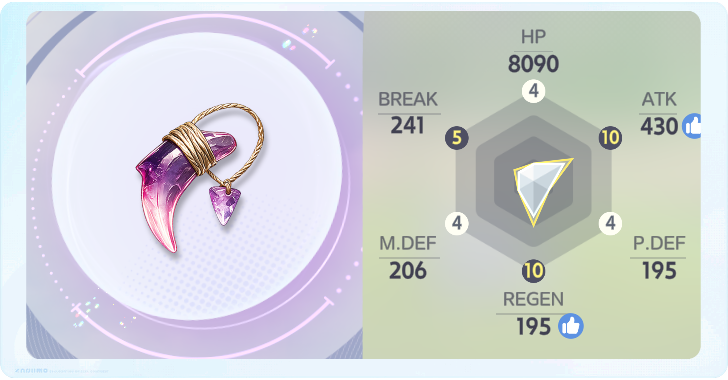 How to Increase Stats
 How to Become Illusory Friends
 Nurture Guide
 How to Rest from Night to Day
 How to Form Contract with Held Items
 How to Change TIme of Day
 How to Get Report Cards (Skill Points)
 How to Clear Obstacles
 Endgame Guide
 What Happens When You Die?
 How to Break Level 4 Rocks
 What is the Max Level?
 Can You Play Solo?
 All Upcoming Aniimo
 Innate Potential Guide
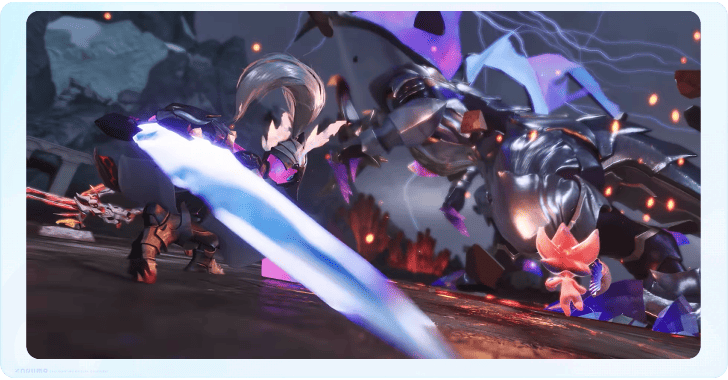 Holo-Battle Interlink Guide
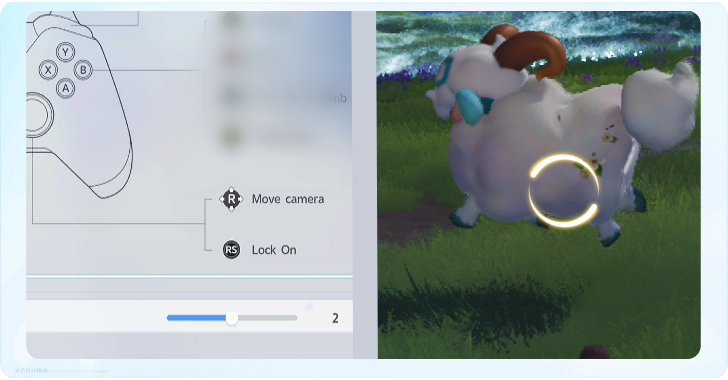 How to Lock-On Targets
 How to Play the Flute
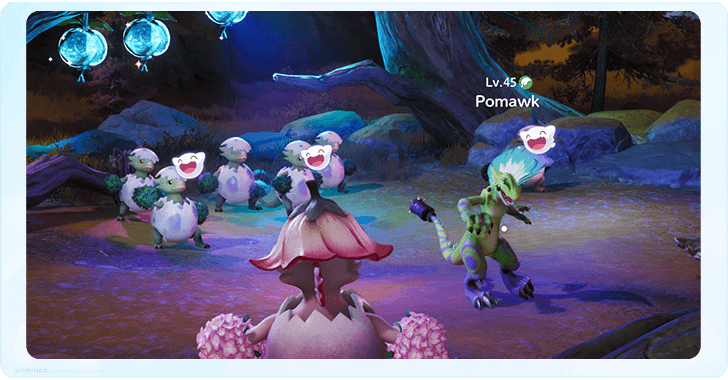 How to Host the Pomegg Party
 How to Increase Collection Level
 REGEN Explained
 Best Held Items
 How to Increase Storage Slots
 Holo-Battle Sim Guide
 How to Change Sparkling Types
 How to Increase Stamina
 How to Change Name
 EP (Energy Points) Explained
 Trophies and Achievements Guide
 Easter Eggs and Secrets
 Elemental Debuffs Explained
 Is There STAB in Aniimo?
 All Currencies Explained
 Break Explained
 All Theory Test Answers
 Photo Mode Guide
 How to Fast Travel
 How to Leave Markings
 Best Items to Sell and Dismantle
 Can You Reroll?
 How to Get Perfect Aniimo
 Damage Amp Explained
 What Does Petting the Hatchinator Do
 All Time-Locked Activities
 Capability Awakening Guide
 How to Raise Resonance Star Rank
 How to Respawn Aniimo
Sharing Boards
 Aniimo Trading Board |
 Face Codes Sharing Board |
 Friend ID Sharing Board |



Author

Best DPS Aniimo

Rankings
Gaming News




Popular Games

Genshin Impact Walkthrough & Guides Wiki
Fire Emblem: Fortune's Weave (FEFW) Walkthrough & Guides Wiki
Aniimo Walkthrough & Guides Wiki
Wuthering Waves Walkthrough & Guides Wiki
Dragon's Dogma 2 (DD2) Dark Arisen Walkthrough & Guides Wiki
Umamusume: Pretty Derby Walkthrough & Guides Wiki
Honkai: Star Rail Walkthrough & Guides Wiki
Zenless Zone Zero Walkthrough & Guides Wiki
Pokemon TCG Pocket (PTCGP) Strategies & Guides Wiki
AION 2 Walkthrough & Guides Wiki









Recommended Games
Fire Emblem Heroes (FEH) Walkthrough & Guides Wiki
Where Winds Meet Walkthrough & Guides Wiki
Diablo 4: Lord of Hatred Walkthrough & Guides Wiki
Super Smash Bros. Ultimate Walkthrough & Guides Wiki
Persona 3 Reload Walkthrough & Guides Wiki
The Legend of Zelda: Tears of the Kingdom Walkthrough & Guides Wiki
Elden Ring Walkthrough & Guides Wiki
Pokemon Brilliant Diamond and Shining Pearl (BDSP) Walkthrough & Guides Wiki
Cyberpunk 2077: Ultimate Edition Walkthrough & Guides Wiki
Monster Hunter World Walkthrough & Guides Wiki










All rights reserved
©2025 Pawprint Interactive Entertainment Pte. Ltd.. All rights reserved.
The copyrights of videos of games used in our content and other intellectual property rights belong to the provider of the game.
The contents we provide on this site were created personally by members of the Game8 editorial department.
We refuse the right to reuse or repost content taken without our permission such as data or images to other sites.
“We nerfed Prismana Fulmintis on this tier list because you have to pay for it” ok well you can acknowledge its paid while still objectively ranking stats and measured differences, now its just wonky and confusing.