
Break Explained
★ Season 1: Part 2 Releases 10/29!
☆ All Season 1 New Aniimo
★ Best Teams | Best Starter | Best DPS
☆ Trending: Lita | Wendell | Wonder Egg
✪ Follow Game8's Aniimo X for news & guides!
Share your thoughts! ➤ Aniimo Player Survey
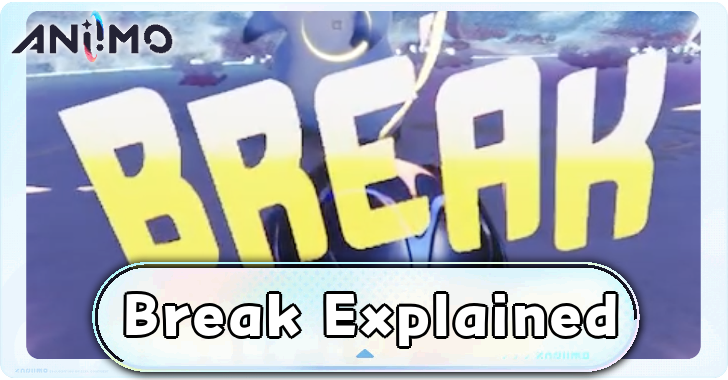
Deplete an enemy's Break meter to stun them for a short time in Aniimo. See an explanation of the Break mechanic and how to deplete it in this guide.
List of Contents
Break Explained
Break Bar Below An Enemy Aniimo's HP

An enemy Aniimo's Break bar is visible under their health bar. They are broken once this Break bar is fully depleted, which stuns them and lets them take 250% more damage. Although the enemy can still move at times while broken, the 250% damage increase still applies as long as the Break bar is still filling itself back up. The enemy then recovers from this state once the Break bar is fully refilled.
How to Increase Break
Break Aniimo Deplete the Bar Faster
Aniimo with high Break stats like Rookey and Inferlupa can deplete the Break bar faster than most Aniimo, and are ideally meant to supplement the main DPS of the team. Having an Aniimo dedicated to lowering the enemy's Break bar is good as this increases the damage output of a DPS Aniimo, especially if they have been buffed by Support skills.
Equip Held Items That Increase Break Efficiency
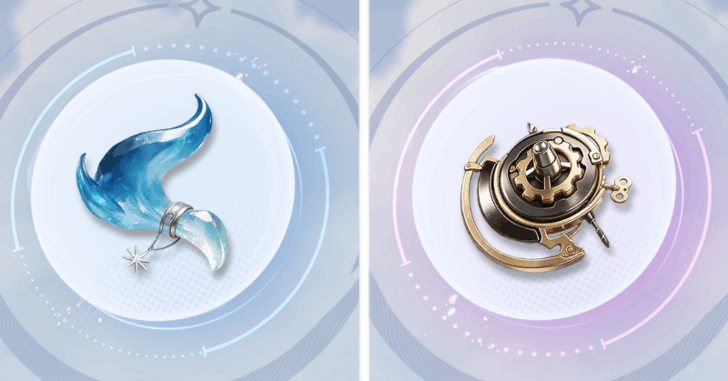
For Break Aniimo, equipping them with either Gargantuan Horn or Avenging Gear is preferable as both increase the Break stat by leveling them up. Both of these items' Core Effects further increase Break efficiency, with the Gargantuan Horn increasing the Break stat by 10% (20% if Break Potential is higher than 15), while the Avenging Gear gives your Aniimo a Counter Mark, increasing their next Break damage dealt by 30%.
Increase Innate Stats and Potential
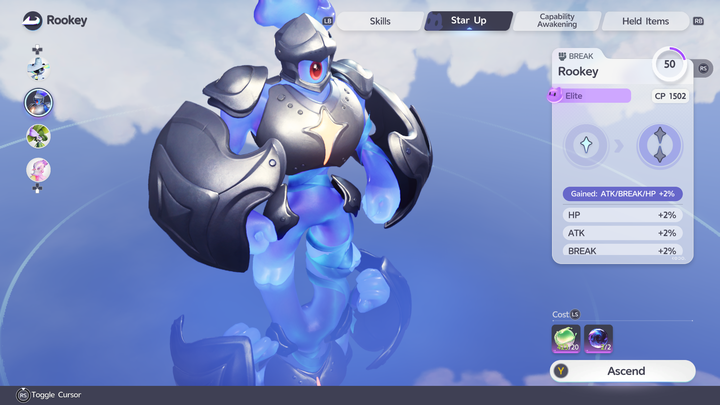
You can further increase an Aniimo's innate stats, including Break, by investing in them via Star Up. You can focus on specific stats via Capability Awakening, with Break Aniimo wanting to have their Break stat as high as possible. The higher their stats, the likelier their Potential level will increase as well.
Ideally, it's best for your Aniimo's Innate Potential to be Elite so that it's easier to work up to having Perfect. Common and Good Aniimo are still usable, though they need a lot more investment compared to Elite Aniimo.
Break Aniimo Skills
Break Damage Skills
| Skill | Element | DMG | EP |
|---|---|---|---|
 Unbroken Flameruff Spirit |
Dark | Physical | 20 |
| Fires a Flameruff Spirit that ricochets between targets, increasing BREAK efficiency against them by 10% per stack, up to 3 stacks, for 20s. Ricochets 5 times by default. While in the Full Energy state, ricochets 7 times. | |||
 Nimbi Burst |
Wind | Magical | 10 |
| Inhales to trigger an explosion that deals AoE damage. Increases the entire team's damage and BREAK efficiency by 15% for 20s. If the user is Shrouded in Mist, the damage and BREAK efficiency boost also applies to all nearby allies, with the boost increased to 30%. | |||
 Wild Show |
Grass | Magical | 20 |
| Hold to charge the microphone, then release to unleash a massive sound wave, damaging targets in front. A well-timed release deals an additional 30% BREAK damage. | |||
 Hydro Roll (Panpanta) |
Water | Physical | 30 |
| Rolls continuously to ram targets while draining stamina. If cast near a water environment, absorbs water to increase BREAK Efficiency by 30% for 15s. | |||
 Sandstorm Spin |
Earth | Physical | 10/s |
| Spins around by continuously consuming EP, dealing damage. Deals 20% extra damage to BREAK targets. Spin speed gradually increases, raising damage frequency by up to 100% without increasing EP cost. | |||
 Bouncy Sling |
Dark | Physical | 20 |
| Charges up in place and launches itself forward, dealing damage to the target hit and increasing its BREAK damage taken by 15% for 15s. If other targets are nearby after the hit, it ricochets to them up to 10 times. It can also ricochet to allies. | |||
 Wind Counter |
Wind | Physical | 20 |
| Enters a defensive stance, increasing Damage Reduction by 30% and immediately counterattacking when hit. If attacked at the moment the skill is cast, additionally increases BREAK efficiency by 20% for 10s and stuns the target for 1.5s. | |||
 Lunar Eclipse |
Light | Magical | 20 |
| Pours moonlight power onto the target, dealing heavy extra BREAK damage. | |||
 Ironclad Armament |
Dark | Physical | 0 |
| Lowers the mask and hardens the body, increasing EP recovery rate by 10% and dealing 30% extra damage to BREAK targets for 15s. During this effect, the Ultimate can be used again to unleash Dragon Slayer Strike, dealing heavy damage to targets ahead. | |||
Some DPS Aniimo also have Break efficiency coupled with their damage skills, such as Lunara and Pawney. These skills either increase Break efficiency or further increase damage dealt to Break targets, though it's still recommended to have a dedicated Break Aniimo in your lineup instead of spamming your DPS's Break skill.
Break Support Skills
| Skill | Element | DMG | EP |
|---|---|---|---|
 Draw Nourishment |
Earth | Support | 30 |
| Roots itself firmly in the soil, granting self and Hummin 20% BREAK efficiency. Instantly restores 50% HP to all Hummins, and heals self and nearby Hummins for 2% HP every second. | |||
 Healing Dance |
Grass | Support | 20 |
| Creates a warm wind area beneath the feet, continuously healing the entire team for 9% of the caster’s Max HP over 8s. Aniimo within the area also gain 40% BREAK damage reduction. | |||
 Dark Tide |
Dark | Support | 20 |
| Gains 15% BREAK Damage Reduction for 20s. If within 10m of a water environment, absorbs water to gain additional stacks of the effect each puddle absorbed grants one additional stack, up to 4 puddles at once. | |||
 Lightning Surge |
Lightning | Support | 0 |
| Channels energy to recharge allies. Lightning-type teammates' basic attack damage increases by 27%, and their BREAK efficiency increases by 16% for 20s. | |||
Some Support skills increase Break efficiency and Break damage reduction, like Piopiota's Dark Tide or Gracewing's Healing Dance. The latter adds a layer of protection in situations where your DPS is stunned and cannot move.
Aniimo Related Guides
 Aniimo Walkthrough and Guides Wiki
 Looking for Great Games! |
Is Aniimo one of your favorite games? Answer our Best Games Survey and share your unique voice with Game8's readers! |
|---|
Tier Lists and Meta Guides
 Best Aniimo Tier List
 Best Prismana Aniimo
 List of All Builds
 Best Teams
 Best Talents and Passives
 Best DPS
 Best Healers
 Best Supports
 Best Regen Aniimo
 Best Break Aniimo
 Best Earth Aniimo
 Best Grass Aniimo
 Best Lightning Aniimo
 Best Wind Aniimo
 Best Ice Aniimo
 Best Water Aniimo
 Best Fire Aniimo
 Best Dark Aniimo
 Best Light Aniimo
 Best Flying Aniimo
 Best Climbing Aniimo
 Best Swimming Aniimo
 Best Aniimo for Exploration
 Best Melee Aniimo
 Best Ranged Aniimo
 All New Season 1 Aniimo
Best Guides for Beginners
 Redeem Codes
 Best Starter Aniimo
 Essential Beginner Tips
 Best Early Aniimo
 All Permanent Choices
 How to Reach Wayfarer I Fast
 Character Creation Guide
 Can You Have Multiple Characters?
 Dailies and Weeklies Guide
 Progression Guide
 Best Side Quests to Complete
 Can You Change Gender?
 What to Do If You Get Stuck
 Best and Recommended Settings
 Is There a Difficulty Setting?
 Which Server Should You Choose?
 List of Controls
 How to Save
 Controller Support Guide
 How to Fix Account Login Failed Error
Gameplay Guides
 Multiplayer Explained
 Type Chart: All Element Weaknesses
 How to Level Up Your Character Fast
 How to Evolve Aniimo
 Capturing Guide
 Daily Reset Time
 Best Aniimo Personalities
 Best Ways To Get Credits
 What to Do with Extra Aniimo
 How to Restore Primegy
 How to Get Lumin Crystals
 How to Get Glimmers
 How to Heal
 Twining vs Command Mode
 How to Change Weather
 How to Activate Prismana Flow
 Can You Name Your Aniimo?
 How to Delete Character
 How to Solve All Puzzles
 Transmogrify Explained
 Elite Training Guide
 How Long is Aniimo?
 What are Wild Surges?
 Spatial Counters Guide
 List of Research Levels and Rewards
 Aniimo vs Palworld: Comparison Guide
 Battle Pass Guide
 Microtransaction Shop Guide
 How Does Inherit Work
 PvP Release Date
 Shooting Stars Explained
 Stamp Shop Guide
 How to Level Up Aniimo Fast
 Lucky Catch (Strike) Explained
 Hatching Guide: Best Eggs to Catch
 How to Increase Stats
 How to Become Illusory Friends
 Nurture Guide
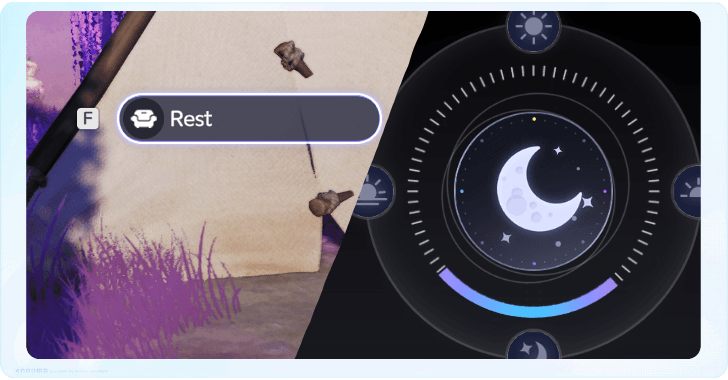 How to Rest from Night to Day
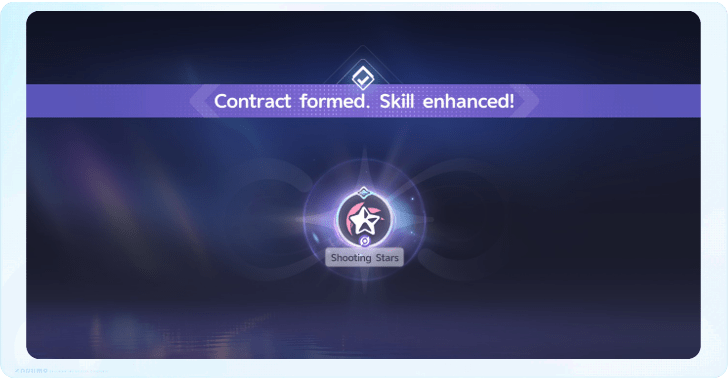 How to Form Contract with Held Items
 How to Change TIme of Day
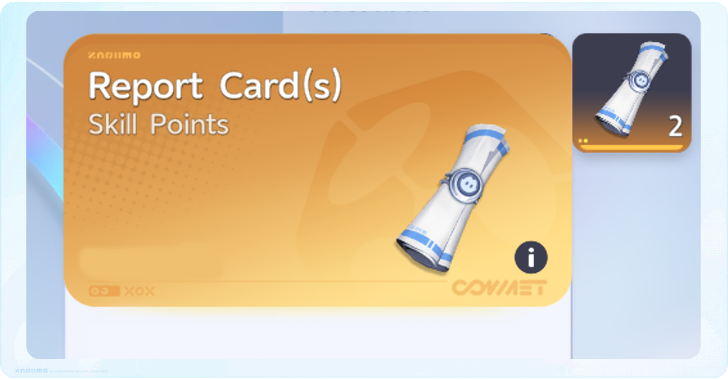 How to Get Report Cards (Skill Points)
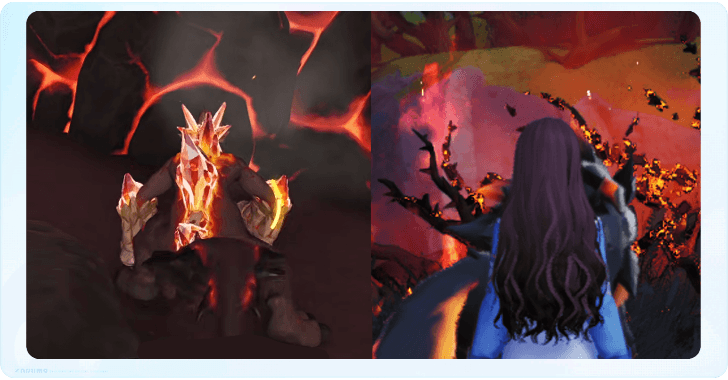 How to Clear Obstacles
 Endgame Guide
 What Happens When You Die?
 How to Break Level 4 Rocks
 What is the Max Level?
 Can You Play Solo?
 All Upcoming Aniimo
 Innate Potential Guide
 Holo-Battle Interlink Guide
 How to Lock-On Targets
 How to Play the Flute
 How to Host the Pomegg Party
 How to Increase Collection Level
 REGEN Explained
 Best Held Items
 How to Increase Storage Slots
 Holo-Battle Sim Guide
 How to Change Sparkling Types
 How to Increase Stamina
 How to Change Name
 EP (Energy Points) Explained
 Trophies and Achievements Guide
 Easter Eggs and Secrets
 Elemental Debuffs Explained
 Is There STAB in Aniimo?
 All Currencies Explained
 Break Explained
 All Theory Test Answers
 Photo Mode Guide
 How to Fast Travel
 How to Leave Markings
 Best Items to Sell and Dismantle
 Can You Reroll?
 How to Get Perfect Aniimo
 Damage Amp Explained
 What Does Petting the Hatchinator Do
 All Time-Locked Activities
 Capability Awakening Guide
 Best World Activities to Complete
 How to Raise Resonance Star Rank
 How to Respawn Aniimo
Sharing Boards
 Aniimo Trading Board |
 Face Codes Sharing Board |
 Friend ID Sharing Board |
Comment



Author

Break Explained

Rankings
Gaming News





Popular Games

Genshin Impact Walkthrough & Guides Wiki
Fire Emblem: Fortune's Weave (FEFW) Walkthrough & Guides Wiki
Aniimo Walkthrough & Guides Wiki
Wuthering Waves Walkthrough & Guides Wiki
Dragon's Dogma 2 (DD2) Dark Arisen Walkthrough & Guides Wiki
Umamusume: Pretty Derby Walkthrough & Guides Wiki
Honkai: Star Rail Walkthrough & Guides Wiki
Zenless Zone Zero Walkthrough & Guides Wiki
Pokemon TCG Pocket (PTCGP) Strategies & Guides Wiki
AION 2 Walkthrough & Guides Wiki









Recommended Games
Fire Emblem Heroes (FEH) Walkthrough & Guides Wiki
Where Winds Meet Walkthrough & Guides Wiki
Diablo 4: Lord of Hatred Walkthrough & Guides Wiki
Super Smash Bros. Ultimate Walkthrough & Guides Wiki
Persona 3 Reload Walkthrough & Guides Wiki
The Legend of Zelda: Tears of the Kingdom Walkthrough & Guides Wiki
Elden Ring Walkthrough & Guides Wiki
Pokemon Brilliant Diamond and Shining Pearl (BDSP) Walkthrough & Guides Wiki
Cyberpunk 2077: Ultimate Edition Walkthrough & Guides Wiki
Monster Hunter World Walkthrough & Guides Wiki










All rights reserved
©2025 Pawprint Interactive Entertainment Pte. Ltd.. All rights reserved.
The copyrights of videos of games used in our content and other intellectual property rights belong to the provider of the game.
The contents we provide on this site were created personally by members of the Game8 editorial department.
We refuse the right to reuse or repost content taken without our permission such as data or images to other sites.