
Courageous Wit Sanctum Walkthrough
★ Season 1: Part 2 Releases 10/29!
☆ All Season 1 New Aniimo
★ Best Teams | Best Starter | Best DPS
☆ Trending: Lita | Wendell | Wonder Egg
✪ Follow Game8's Aniimo X for news & guides!
Share your thoughts! ➤ Aniimo Player Survey
Courageous Wit is a Sanctum located in Zephyrus Landbridge in Aniimo. Learn how to complete Courageous Wit, where you can find it, and the rewards here!
List of Contents
Courageous Wit Walkthrough
| Jump to a Walkthrough! | |
|---|---|
 Pawney Walkthrough |
 Cozite Walkthrough |
Walkthrough for Pawney
| 1 | After awakening Pawney, proceed to the left entryway and grapple from platform to platform. The last platform requires you to turn off the flame traps off by interacting with the lever. |
|---|---|
| 2 | 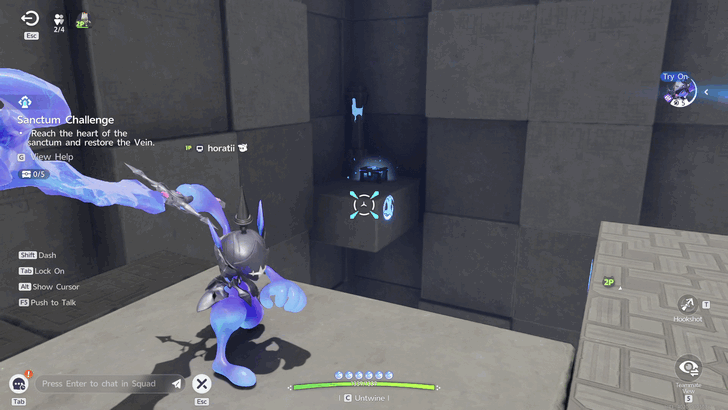 After passing the first set of flame traps, grapple to the platform on your left to reach and open the chest. |
| 3 | 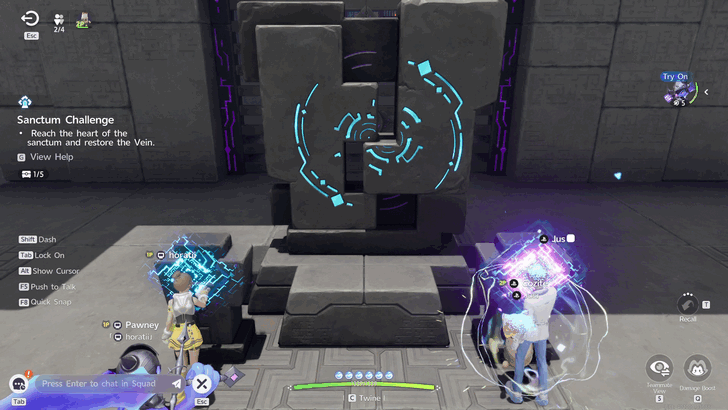 Wait for the other player to finish their set of puzzles. Then, both of you interact with the monument to unlock the gate to the next room. |
| 4 | Wait for Cozite to shoot the purple crystal to twist the platform. Grapple onto the platform and interact with the lever to turn off the flame traps, allowing both you and Cozite to go to the next area. |
| 5 | 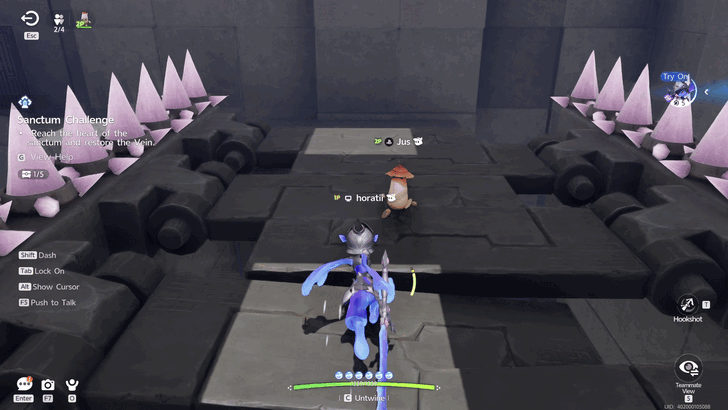 After proceeding to the locked gate that needed Cozite's abilities, pass through the collapsing floor as fast as you can. |
| 6 | There should be a grapple-able platform to your left when facing the spike trap. Grapple yourself to the platform and reach the pressure plate for Cozite to pass the spike traps. |
| 7 | 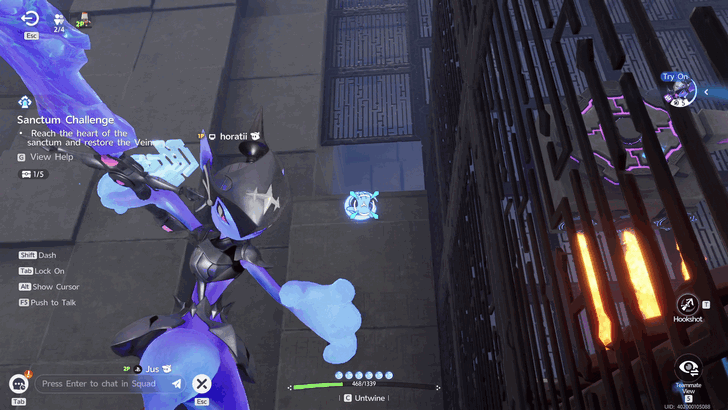 Wait for Cozite to shoot the crystal on its side to turn the mechanism, allowing you to grapple onto the tall platform on the left of the mechanism. |
| 8 | Grapple to next platform on the next room. Step on the new pressure plate to retract spikes, so Cozite can safely cross. There is a chest at the end of the room. Step on the pressure plate to have Cozite pass the first set of spikes, step off the pressure plate for it to pass the second set of spikes, then step on it again to pass the last set. |
| 9 | 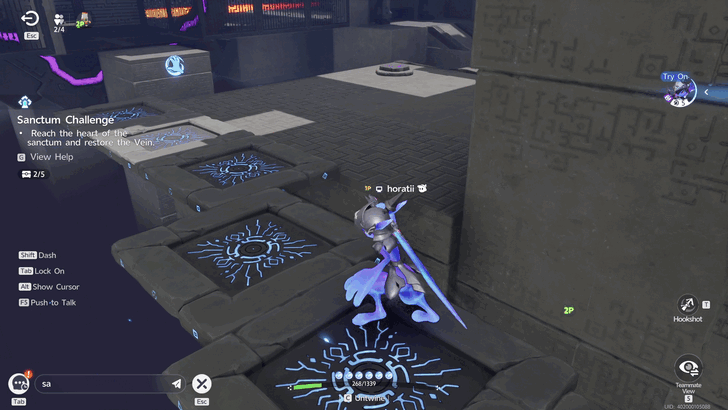 Ride the right set of moving platforms on the next room and carefully move forward until you reach the next area. |
| 10 | 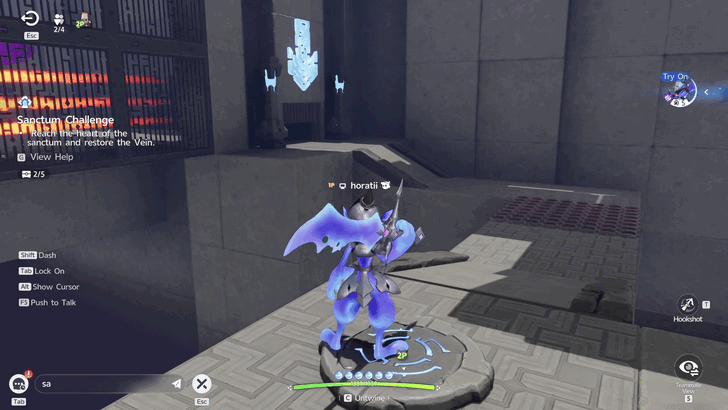 Step on the pressure plate to have Cozite move to the next area. |
| 11 | 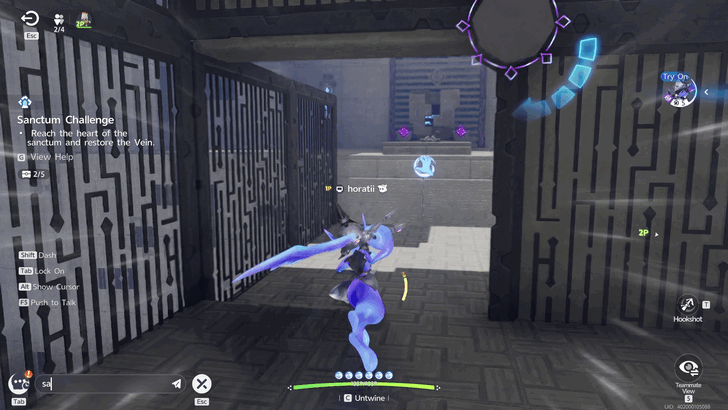 Enter the cage-like platform and wait for Cozite to hit the crystal with its skill to open up a path for you to exit. |
| 12 | 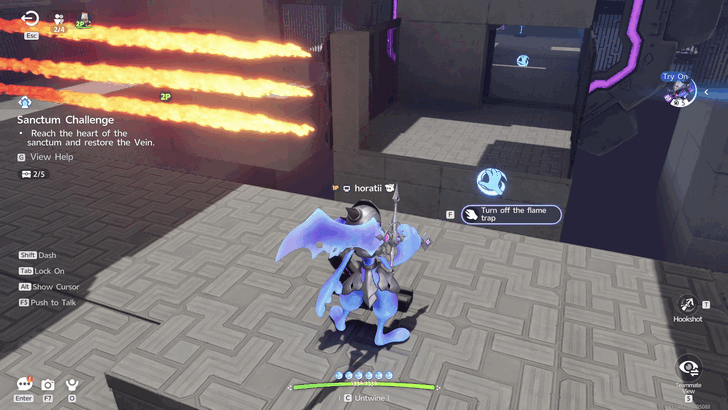 Interact with the lever to turn off the flame traps for Cozite, then interact with another monument to open the gate towards the next area. |
| 13 | 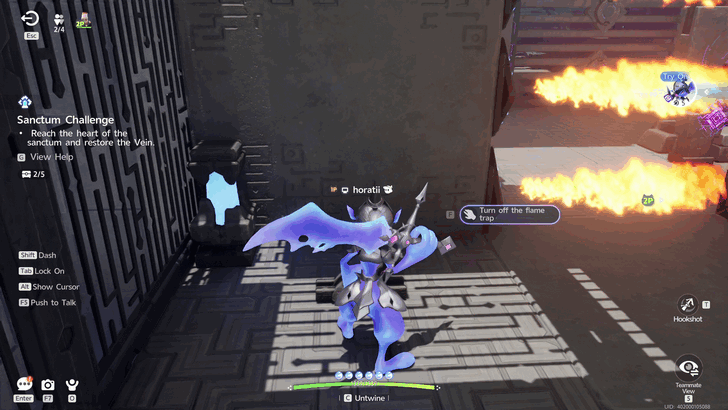 Enter another set of cage-like platforms and wait for Cozite to hit the crystals to twist the platform and open a path for you to exit. Once Cozite shoots the next crystal, collect the blue chest before proceeding to the next sector with the lever. have Cozite shoot the second crystal again while you're on the last sector to return the platform to its initial state. Then, collect the purple chest located behind you while you're facing the lever. After getting both chests, interact with the lever to turn off the flame trap so both you and Cozite can exit safely. |
| 14 | 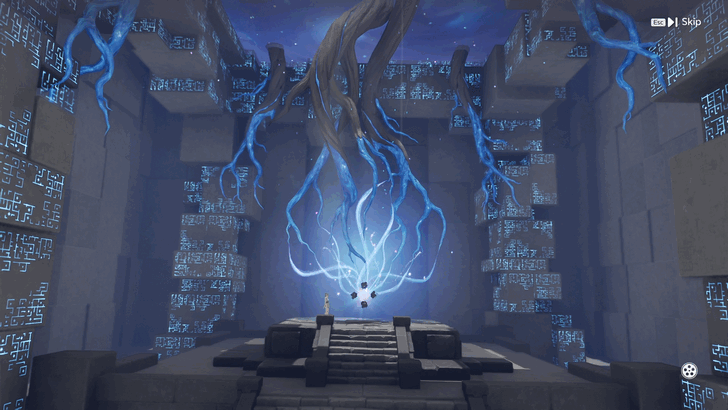 Interact with the last monument to reach the vines and clear the Sanctum. |
Walkthrough for Cozite
| 1 | 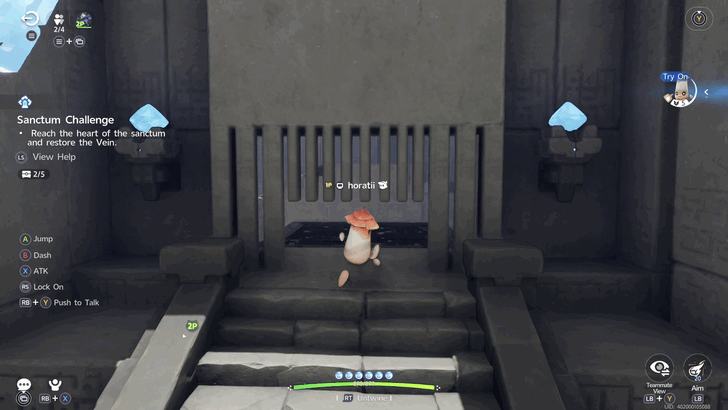 After awakening Cozite, Twine with it to become small and fit through the small gap to reach the next room. |
|---|---|
| 2 | Throw a mud ball on the purple taget to open the gate. Then, throw another mud ball on the purple crystal to turn the mechanism, opening up a path. |
| 3 | After passing the platform, shoot the crystal again to reveal a blue chest. |
| 4 | Jump and trigger Fly on top of the wind turbines to float upward and reach the monument. Interact with the Monument with Pawney to open the next room. |
| 5 | 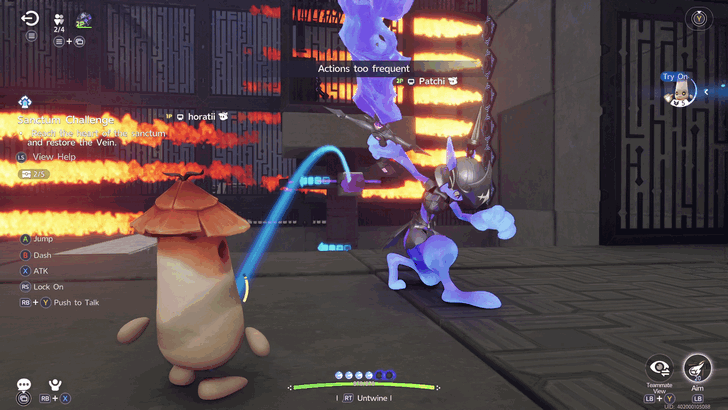 Hit the purple crystal to twist the platform to the left, allowing Pawney to grapple to the platform and disable the flame traps via a lever. |
| 6 | 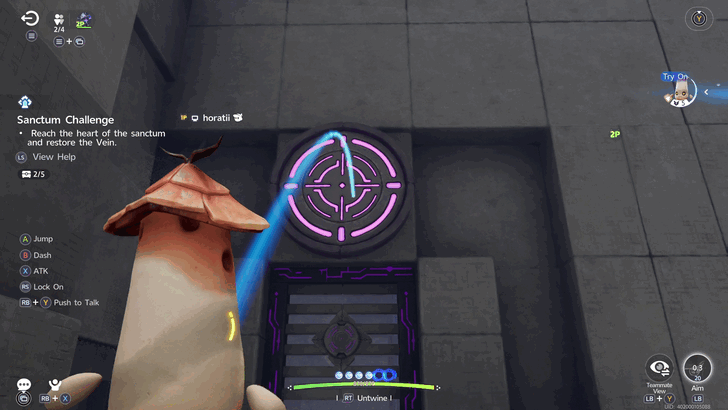 Pass the disabled flame traps and move to the next platform. Shoot the purple target with mud ball to open the gate. |
| 7 | 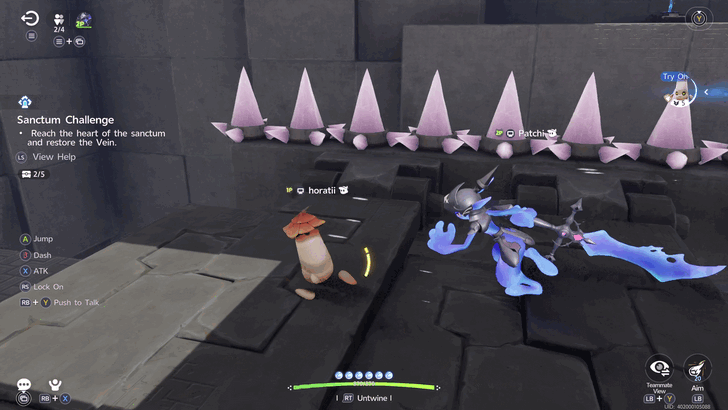 Pass through the collapsing floor as fast as you can with Pawney. You can have one Aniimo go through the collapsing floors and wait until they return to normal so you can pass through them as well. |
| 8 | 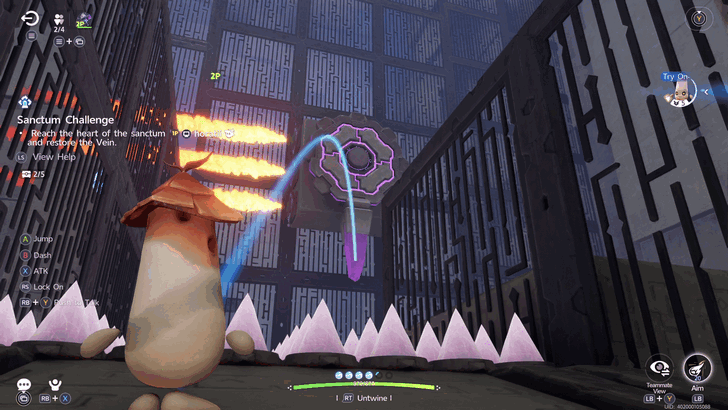 Wait for Pawney to trigger the pressure plate so you can get past the spike traps. Shoot a mud ball on the purple crystal to move the flame traps away from the platform that Pawney can grapple to to reach the next room. |
| 9 | 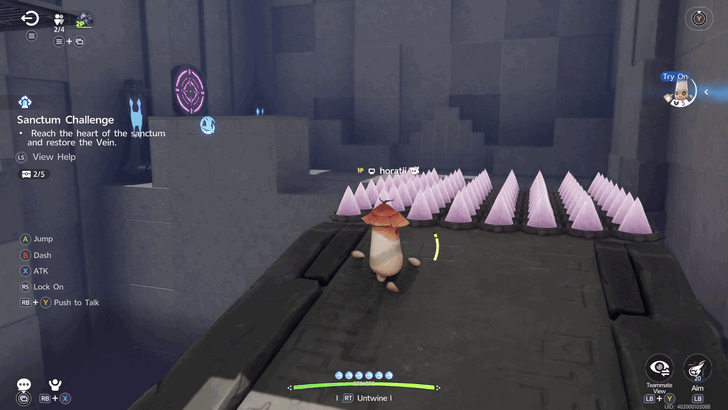 Coordinate with Pawney and pass through the spike traps. Pawney will need to step on and off the pressure plate at the right time for you to get past the spikes. Shoot the purple target to open the gate. |
| 10 | 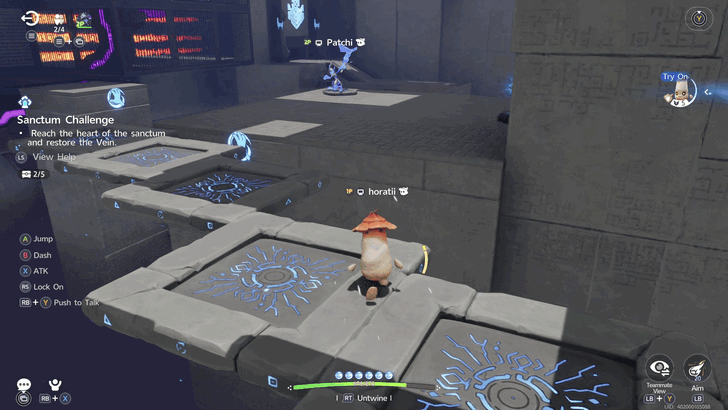 Ride the set of moving platforms on the right and carefully move forward until you reach the next area. |
| 11 | 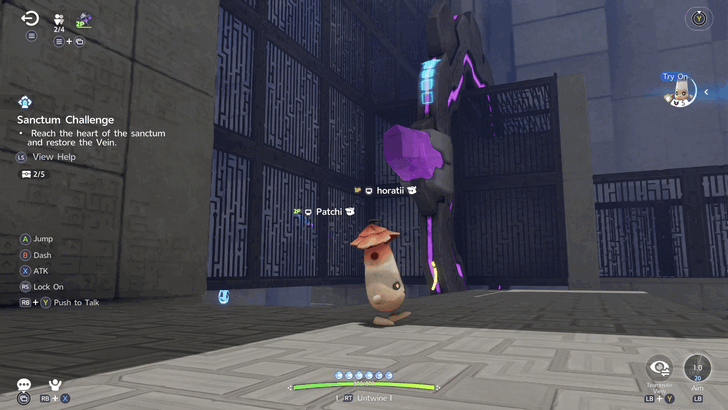 Have Pawney step on another pressure plate to get past the spikes and reach the next puzzle. Then, shoot the purple crystal to open a path for Pawney to go through. Interact with the monument to reach the next room. |
| 12 | 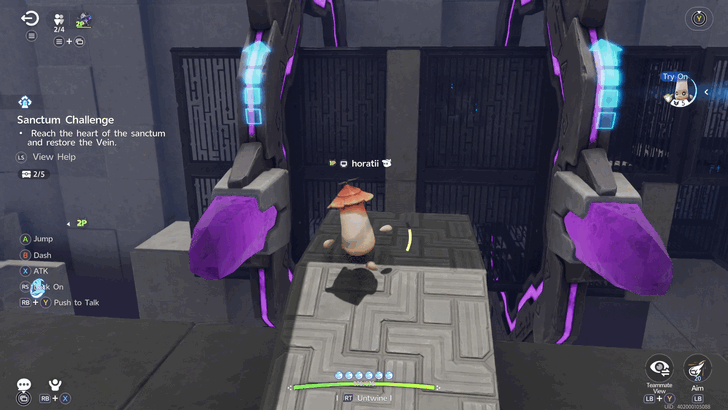 On the next area, there are two chests (one blue and one purple) inside the cage-like platforms. Face the two crystals and shoot the crystal to your left to have Pawney reach the next sector with the blue chest. Shoot the crystal to your right to twist the platform, allowing Pawney to open the blue chest in the same sector. Wait for Pawney to reach the last sector, then shoot the purple crystal to your right again. Have Pawney collect the purple chest located behind it when it's facing the lever. Interact with the lever to turn off the fire traps. |
| 13 | 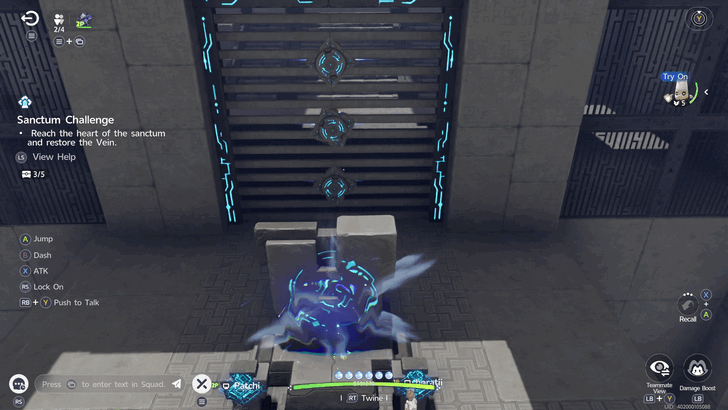 Interact with the final monument and reach the vine to clear the sanctum. |
Courageous Wit Completion Rewards
|
Sanctum Clear Rewards: ・Lumin Amber x1, EXP +500
Chest 1 Rewards: ・Glimmers x5
・Sparking Crystal x5 ・Credits x5000 Chest 2 Rewards: ・Glimmers x5
・Sparking Crystal x5 ・Credits x5000 Chest 3 Rewards: ・Glimmers x20
・Sparking Crystal x15 ・Giant Tortoise Shell x1 ・Credits x20000 Chest 4 Rewards: ・Glimmers x5
・Sparking Crystal x5 ・Credits x5000 Chest 5 Rewards: ・Glimmers x10
・Sparking Crystal x10 ・Ferocious Fang x1 ・Credits x10000 |
Courageous Wit Location
At the Top of Sandcastle Hill
The Courageous Wit Sanctum is found on the top floor inside Sandcastle Hill, located east of the Sandcastle Hill Bloom. It's coordinates are 0276, 1778.
Aniimo Related Guides

Points of Interest
 Sanctum |
 Lumin Amber |
 Chests |
 Pathfinder Challenges |
 Morphling's Memory |
 Bloom |
 Dr. Glass Trial |
 All Cave Locations |
 RV Park Locations |
 Egg Locations |
Region Guides
Other Guides
| All Shops and Items Sold | Astra Map and Key Locations |
List of All Sanctums
| First Spark | Flaming Wings |
| Soaring Glide | Rising Wind |
| Frigid Waters | Maze of Roots |
| Lightning and Wind | Wings Unfurled |
| Rushing Rapids | Burning Brambles |
| Courageous Wit |
Comment



Author

Courageous Wit Sanctum Walkthrough

Rankings
Gaming News





Popular Games

Genshin Impact Walkthrough & Guides Wiki
Fire Emblem: Fortune's Weave (FEFW) Walkthrough & Guides Wiki
Aniimo Walkthrough & Guides Wiki
Wuthering Waves Walkthrough & Guides Wiki
Dragon's Dogma 2 (DD2) Dark Arisen Walkthrough & Guides Wiki
Umamusume: Pretty Derby Walkthrough & Guides Wiki
Honkai: Star Rail Walkthrough & Guides Wiki
Zenless Zone Zero Walkthrough & Guides Wiki
Pokemon TCG Pocket (PTCGP) Strategies & Guides Wiki
AION 2 Walkthrough & Guides Wiki









Recommended Games
Fire Emblem Heroes (FEH) Walkthrough & Guides Wiki
Where Winds Meet Walkthrough & Guides Wiki
Diablo 4: Lord of Hatred Walkthrough & Guides Wiki
Super Smash Bros. Ultimate Walkthrough & Guides Wiki
Persona 3 Reload Walkthrough & Guides Wiki
The Legend of Zelda: Tears of the Kingdom Walkthrough & Guides Wiki
Elden Ring Walkthrough & Guides Wiki
Pokemon Brilliant Diamond and Shining Pearl (BDSP) Walkthrough & Guides Wiki
Cyberpunk 2077: Ultimate Edition Walkthrough & Guides Wiki
Monster Hunter World Walkthrough & Guides Wiki










All rights reserved
©2025 Pawprint Interactive Entertainment Pte. Ltd.. All rights reserved.
The copyrights of videos of games used in our content and other intellectual property rights belong to the provider of the game.
The contents we provide on this site were created personally by members of the Game8 editorial department.
We refuse the right to reuse or repost content taken without our permission such as data or images to other sites.