
Shrouded Warren Walkthrough and Location
Shrouded Warren is a Lost Rite dungeon added in the Dark Arisen DLC of Dragon's Dogma 2 (DD2). Check out our guide for a full walkthrough of the Shrouded Warren Lost Rite Dungeon and where to find it, best party composition, how to defeat the boss, and rewards!
Shrouded Warren Location
Located East of Battahl Ropeway Central Station
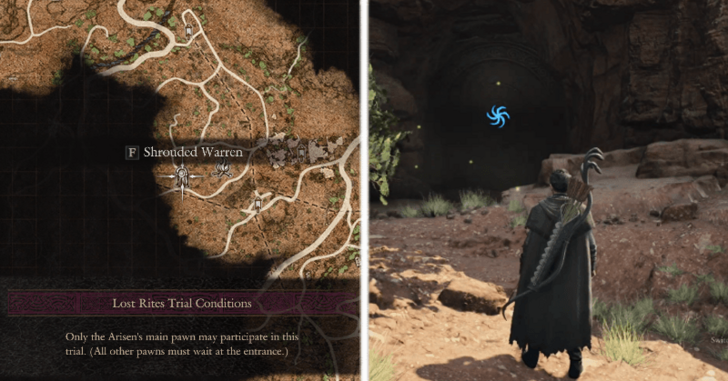
Shrouded Warren is located just east of the Battahl Ropeway Central Station which is also East of Bakbattahl.
Note: The Empowered Godsbane Blade from A New Godsway is required to enter the Shrouded Warren.
Shrouded Warren Trial Conditions
Main Pawn Only
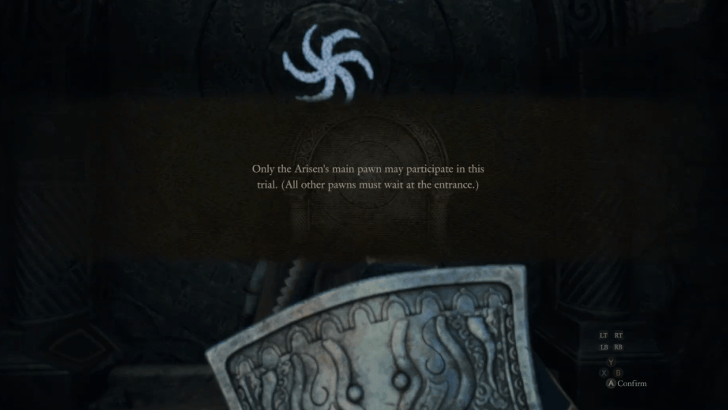
Only the Arisen's main pawn may participate in this trial. All other pawns must wait at the entrance.
Best Party for Shrouded Warren
Balanced Team
| Arisen | Main Pawn |
|---|---|
 Mystic Spearhand or  Magick Archer |
 Mage |
Equipping your Arisen as a Magick Archer or Mystic Spearhand is strongly recommended for this dungeon, as the party is strictly restricted to just you and your Main Pawn. A balance between damage output and defensive utility is vital when taking on the enemies here. Even after nerfs to Mirour Shelde, the Mystic Spearhand remains invaluable for its ability to apply party-wide shields during encounters.
For your Main Pawn, switch their vocation to a full support Mage to maximize duo survivability and combat momentum. Outfitting them with High Palladium provides extra damage absorption, while High Celerity grants haste to keep movement and actions fluid. Finally, equipping High Halidom ensures quick cleansing of harmful status debilitations, keeping your duo resilient throughout the dungeon.
Shrouded Warren Walkthrough
How to Complete Shrouded Warren
| # | Walkthrough |
|---|---|
| 1 | 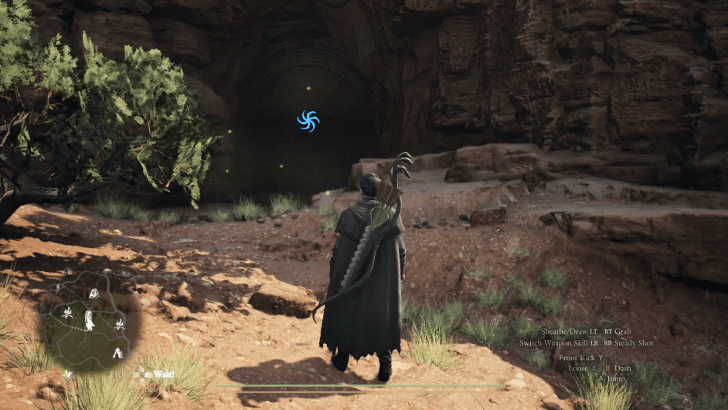 Go to the east of the Battahl Ropeway Station and you will immediately see the entrance with a sealed door. Use the Empowered Godsbane Blade to enter the Shrouded Warren. |
| 2 | 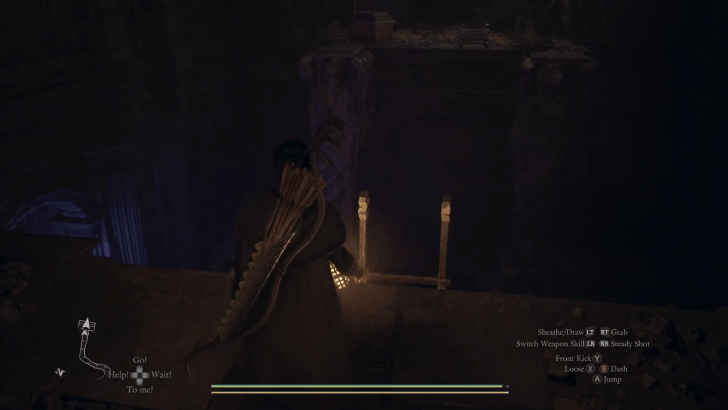 Upon entering you will see the main chamber with a ladder going down. Going to the right will face you with a few Corrupted Hobgoblins. Continuing onward will reward you with a chest that gives the Steel Urchin hammer and x2 Exquisite Dried Spud. Pushing on you will be met with more Corrupted Hobgoblins that will drop more Brinebeast Fragments. |
| 3 | 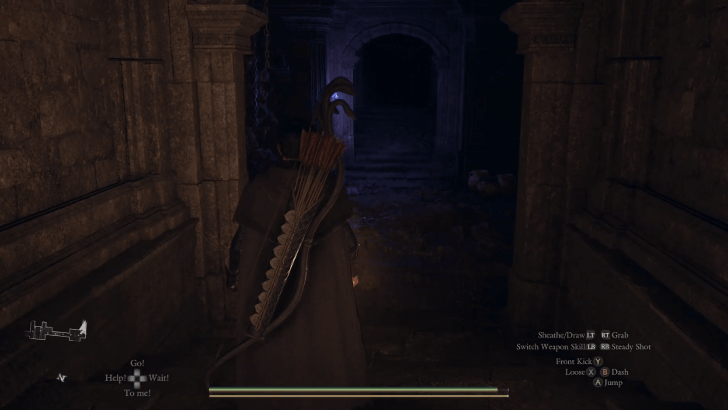 Past the chest room and Corrupted Hobgoblins, go to the right to enter a cavern with another chest and a Corrupted Asp Toxiscale. Opening the chest grants you an Allheal Elixir. |
| 4 | 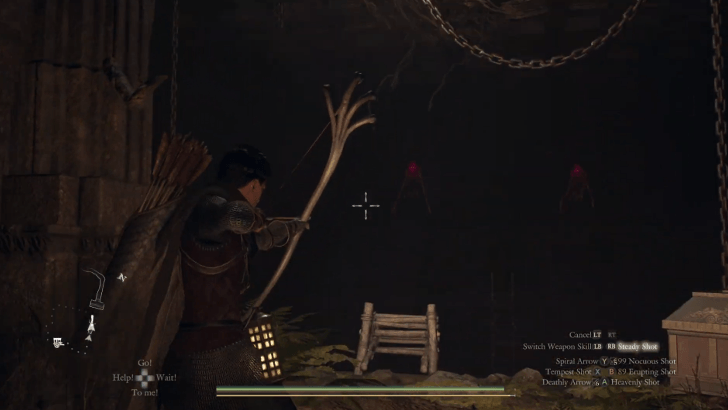 Go back to where you came from and then go to the opposite side (left of the previous room) to work your way up back towards the main chamber but now on the opposite side of the room where the tied rope ladder and chest is located. A couple of Corrupted Harpies will soon swarm you once you get here. Open the chest to obtain another Steel Urchin hammer. |
| 5 | 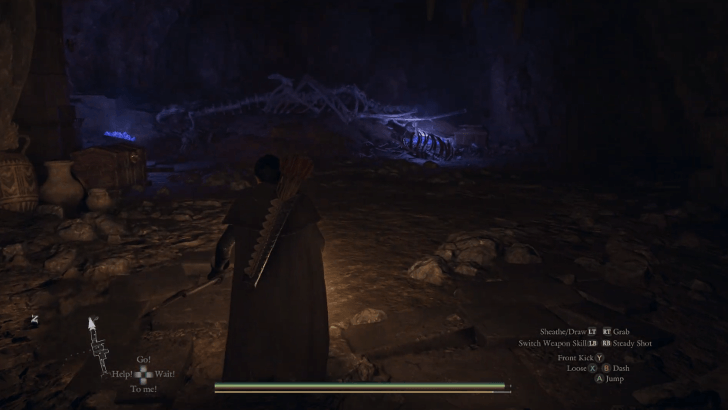 You are now back at the main chamber, go down the ladder you untied, and then go to the right to enter a chest room with chests that contain x2 Savagery Extract and the Black Matter hammer. |
| 6 | 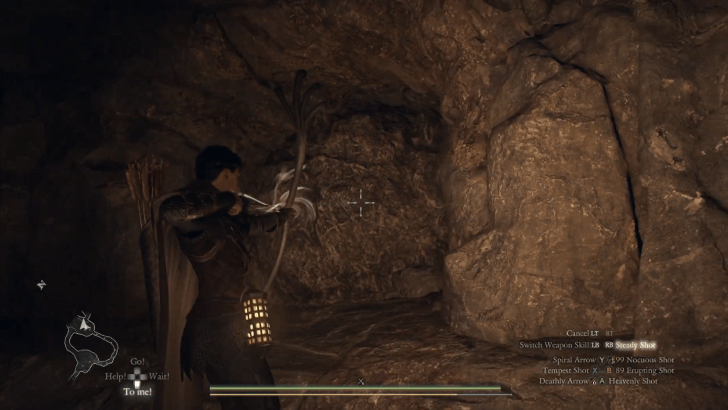 Continuing onward to either direction of the chest room, you will be greeted by a few Corrupted Skeletons, defeat them to loot a few Brinebeast Fragments. At the back center of the room, you will see a boulder which you can destroy and let you proceed forward. |
| 7 | 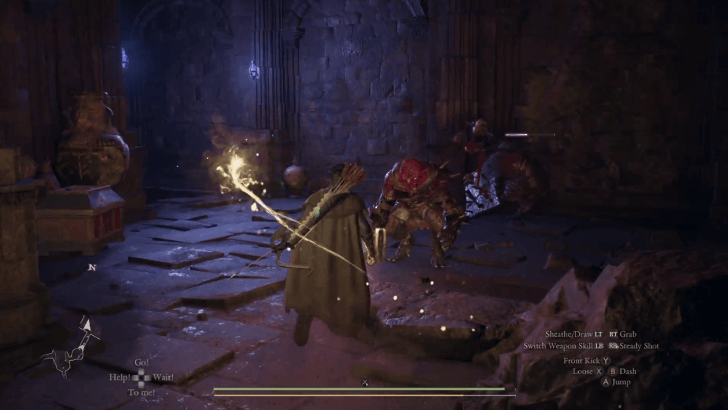 Moving forward from the boulder, you will soon be faced with a chest and another horde of Corrupted Hobgoblins. Opening the chest grants you an Eyecrusher hammer. |
| 8 | 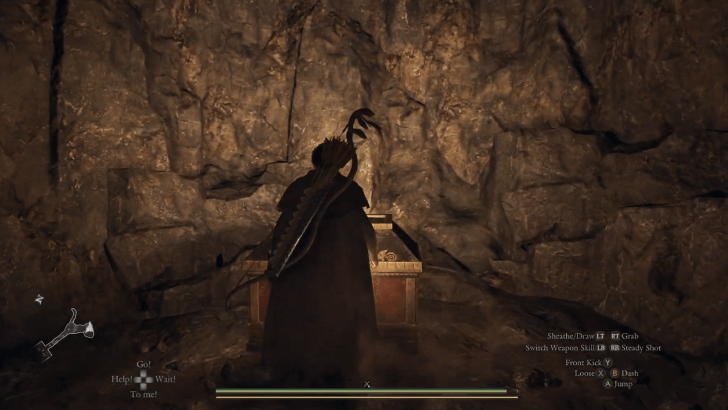 Going to the right of the room you will be met with a cavern with a Corrupted Asp Toxiscale and then a another chest containing Black Matter hammer. |
| 9 | 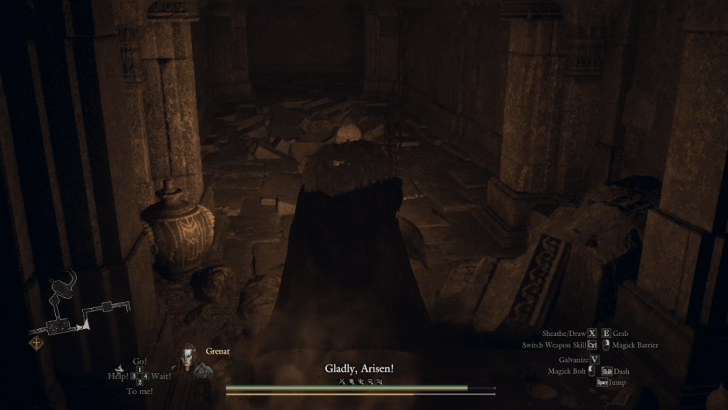 Go back to the previous room and then go to the other side and continue downward to reach a small corridor with a broken down floor. Passing by this broken down floor will cause it to break if you are at a Heavy Weight Carried status or above. It is recommended to pass by this for now and keep your carried weight below Heavy to prevent the floor from breaking. Note: In case you accidentally pass by the floor and accidentally break it, do not worry as you will be able to get back up but will only be more tedious. |
| 10 | 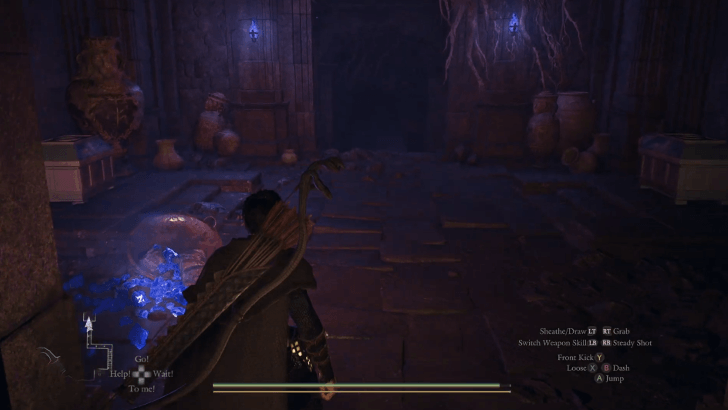 Continue past the broken floor to reach a small chamber with two chests containing another Eyecrusher hammer and a Sand-Patterned Camping Kit. |
| 11 | 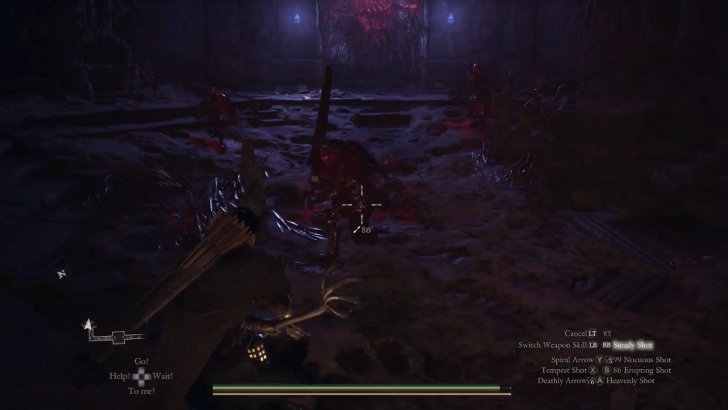 Proceed downward to enter a boss room where you will be locked in and you will need to defeat a Corrupted Skeleton Lord along with his companions. Doing so yields a high amount of EXP and Brinebeast Ores and Fragments. |
| 12 | 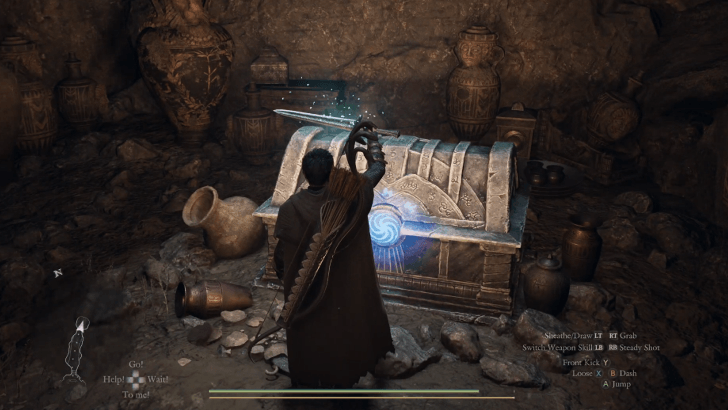 Continue to the chest room, and open the chest using the Empowered Godsbane Blade, granting you 100,000 gold. |
| 13 | 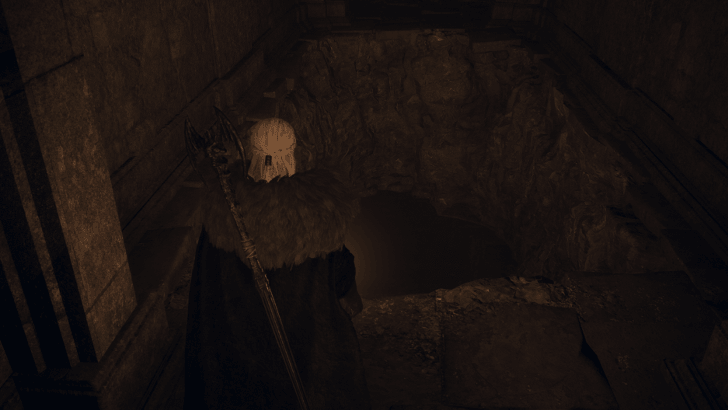 Go back up towards the broken floor and make sure to have a Heavy Carried Weight status. Note: If you do not have enough items, picking up the many different hammers and camping kits across the dungeon should get you to a Heavy weigh status. |
| 14 | 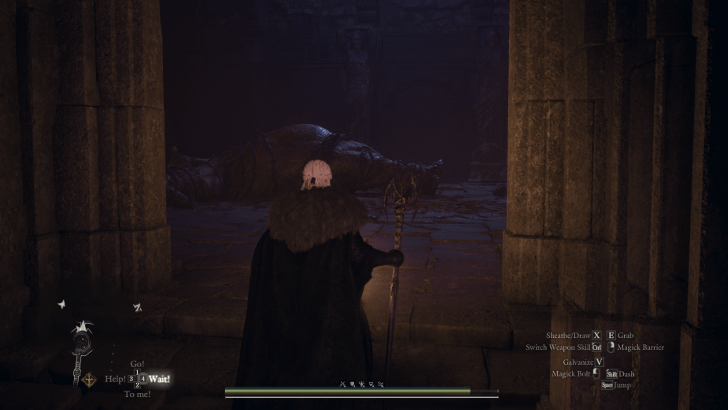 Once you are down the hole, you will see an empty chamber. Proceed forward after this room and you will be met with a dead Cyclops. |
| 15 | 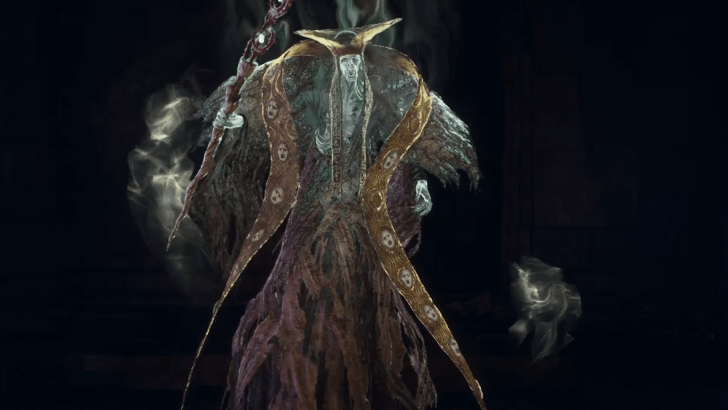 Going near the dead Cyclops will trigger a Lich to spawn in the previously empty chamber. Note: Be careful not to defeat the Lich yet at this moment, as he will revive the dead Cyclops in the nearby room. |
| 16 | 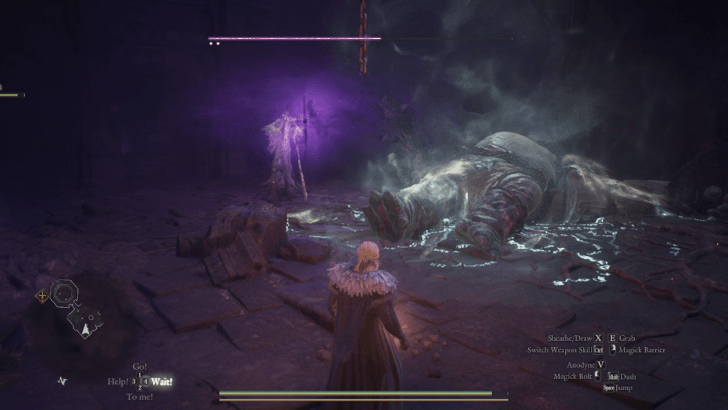 Lure the Lich into the room where the dead Cyclops is to let him revive it. |
| 17 | 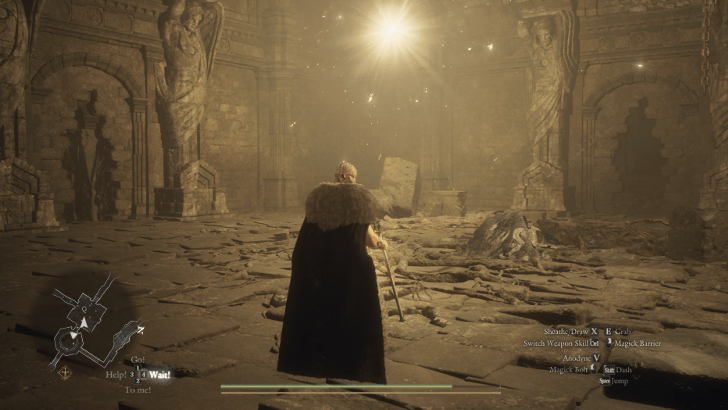 Once revived the Cyclops will get up and reveal a hidden hole where it was laying down. Try and take the Cyclops' aggro and go to both the back wall and left wall and let the revived Cyclops hit you, in turn hitting the wall behind you. If done properly, the Cyclops will destroy both walls and reveal two hidden paths. |
| 18 | 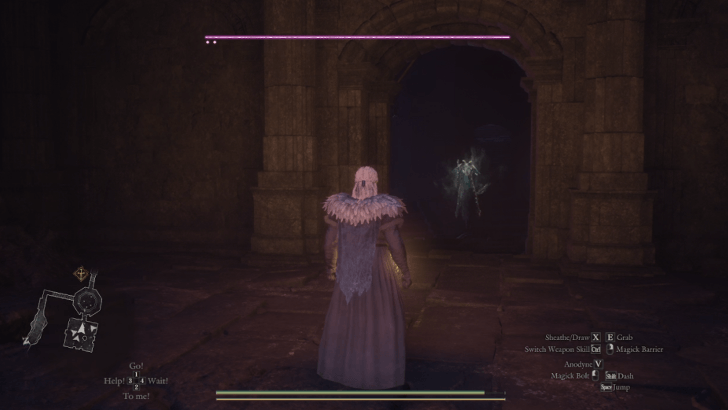 At your own discretion, feel free to kill the Lich and revived Cyclops. Killing the Lich will reveal a hidden door in the previously empty chamber where it originally spawns. |
| 19 | 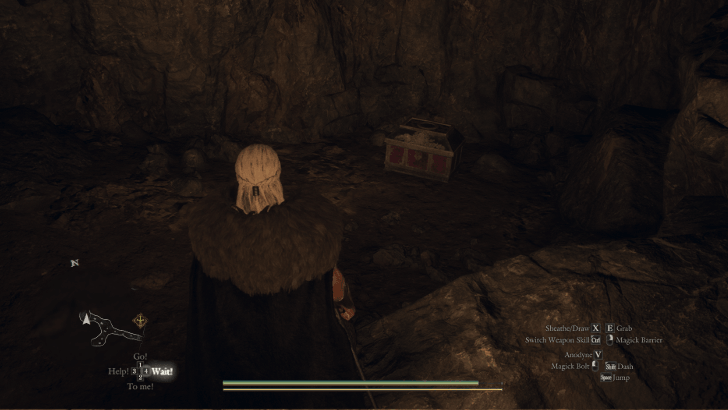 The back wall hidden path will reveal a small cavern with a chest containing an Abyssinal Neck Wrap. |
| 20 | 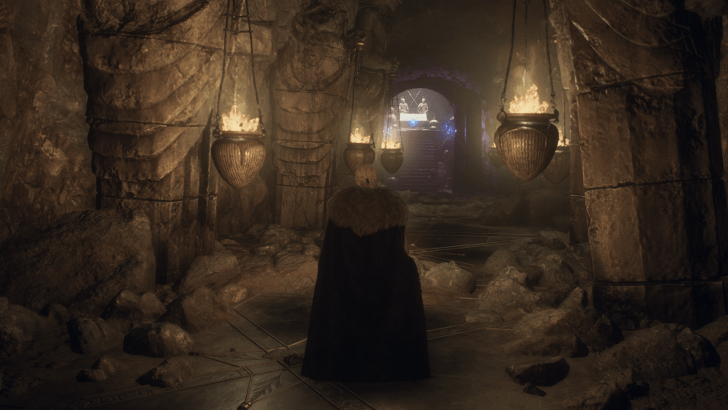 Continue towards the left wall hidden path to a chest room. Open the chest using the Empowered Godsbane Blade to acquire the Dragonscoil Harness and Sanctified Boots. |
| 20.1 | 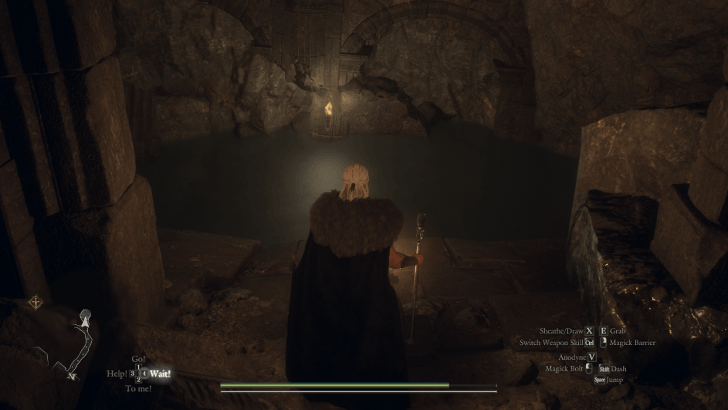 The left wall hidden path corridor has a small body of water prior to getting to the chest room. Note: This area will be revealed once you get to the Unmoored World. |
| 20.2 | 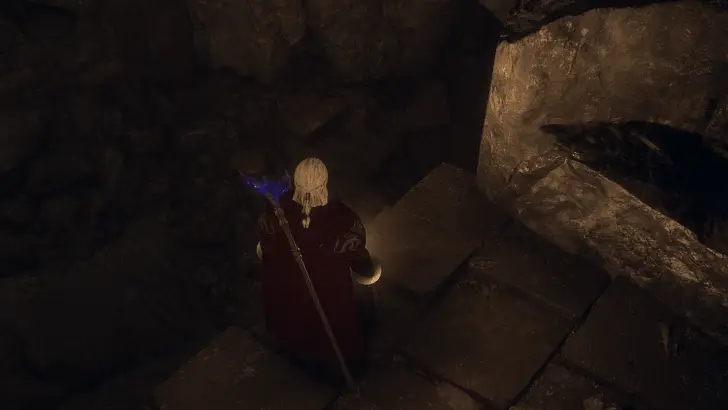 Unmoored World Only: Go down the path where the water was and continue downward. This is a deep fall and you will not be able to get back down the same path. Note: This area is also connected to the flooded ladder on the lower floors of the dungeon. |
| 20.3 | 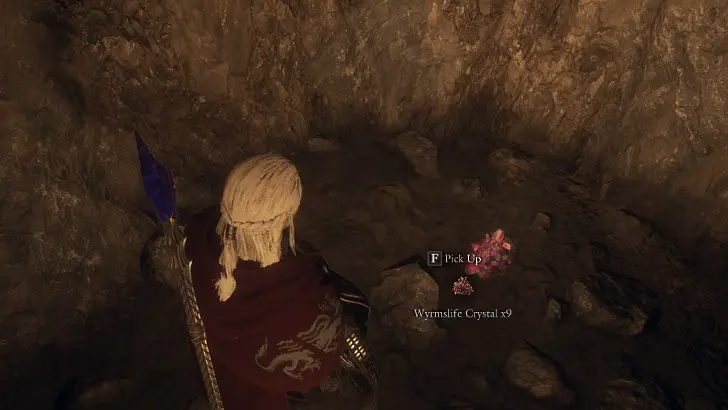 Unmoored World Only: Once you get to the end, there will only be x9 Wyrmslife Crystals. This area is most likely intended to lead you to the other hidden chest room in case it has not been found. |
| 21 | 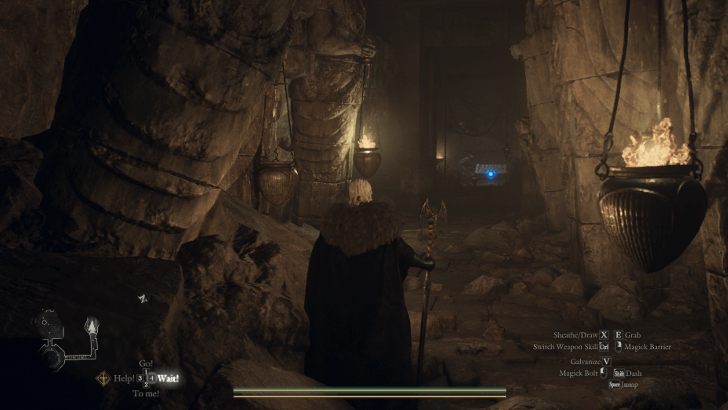 Proceed inside the hidden door in the Lich's chamber and continue to the chest room. Open the chest using the Empowered Godsbane Blade to acquire a Ring of Dragonsbane, a Ring of Exorcism, and an Offering Flame. |
| 22 | 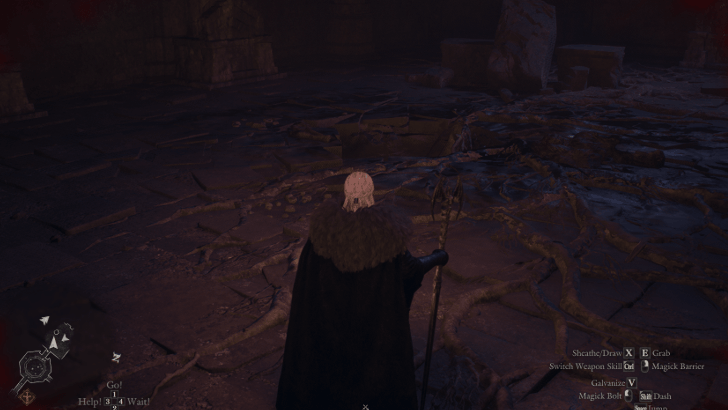 Go back up to the room where the dead Cyclops was located and go down the hidden hole where it was laying down. |
| 23 | 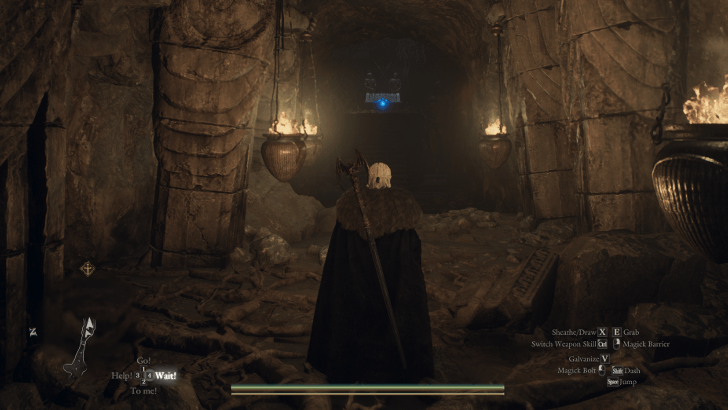 Proceed down the hole and continue to the final chest room. Open the chest using the Empowered Godsbane Blade to acquire the Lex Talionis, and the Insidiator's Boots finally ending the dungeon. You may now exit at your convenience. |
Shrouded Warren Rewards
| Main Loot |
|---|
|
・Gold: 100,000 ・Ring of Dragonsbane x1 ・Ring of Exorcism x1 ・Lex Talionis (Body Armor) x1 ・Insidiator's Boots (Leg Armor) x1 ・Dragonscoil Harness ・Sanctified Boots ・Offering Flame x1 |
| Other Rewards |
|
・Brinebeast Ore ・Steel Urchin x2 ・Black Matter x2 ・Eyecrusher x2 ・Abyssinal Neck Wrap x1 ・Allheal Elixir x1 ・Sand-Patterned Camping Kit x1 |
Dragon's Dogma 2 Dark Arisen Related Guides
Lost Rites Guide and Dungeon Locations
Lost Rites Recommended Guides
| Best Lost Rites Build and Party Comp | All Lost Rites Gear and Rewards |
| How to Respawn Lost Rites | How to Open Lost Rites Doors |
| How to Get Brinebeast Ore | - |
List of All Lost Rites Dungeons
| Vermund Lost Rites | |
|---|---|
| Devilkin Hollow | Daemon's Corral |
| Sunken Spire | Interminable Corridor |
| Batthal Lost Rites | |
| Mired Conduit | Embersand Mine |
| Shrouded Warren | Precipitous Catacombs |
| Wyrmsblood Arena | - |
| Unmoored World Lost Rites | |
| Molten Gauntlet | Seafloor Sepulcher |
| Final Proving Ground | |
Comment
 Anonymous 11 days
There's a ladder down an alternate path on on the 3rd floor thats flooded, do we need to a make progress through the main story again?



Author

Dragon's Dogma 2 (DD2) Dark Arisen Walkthrough & Guides Wiki
Shrouded Warren Walkthrough and Location

Rankings
- We could not find the message board you were looking for.
Gaming News





Popular Games

Genshin Impact Walkthrough & Guides Wiki
Fire Emblem: Fortune's Weave (FEFW) Walkthrough & Guides Wiki
Aniimo Walkthrough & Guides Wiki
Wuthering Waves Walkthrough & Guides Wiki
Dragon's Dogma 2 (DD2) Dark Arisen Walkthrough & Guides Wiki
Umamusume: Pretty Derby Walkthrough & Guides Wiki
Honkai: Star Rail Walkthrough & Guides Wiki
Zenless Zone Zero Walkthrough & Guides Wiki
Pokemon TCG Pocket (PTCGP) Strategies & Guides Wiki
AION 2 Walkthrough & Guides Wiki









Recommended Games
Fire Emblem Heroes (FEH) Walkthrough & Guides Wiki
Where Winds Meet Walkthrough & Guides Wiki
Diablo 4: Lord of Hatred Walkthrough & Guides Wiki
Super Smash Bros. Ultimate Walkthrough & Guides Wiki
Persona 3 Reload Walkthrough & Guides Wiki
The Legend of Zelda: Tears of the Kingdom Walkthrough & Guides Wiki
Elden Ring Walkthrough & Guides Wiki
Pokemon Brilliant Diamond and Shining Pearl (BDSP) Walkthrough & Guides Wiki
Cyberpunk 2077: Ultimate Edition Walkthrough & Guides Wiki
Monster Hunter World Walkthrough & Guides Wiki










All rights reserved
©CAPCOM CO., LTD. ALL RIGHTS RESERVED.
The copyrights of videos of games used in our content and other intellectual property rights belong to the provider of the game.
The contents we provide on this site were created personally by members of the Game8 editorial department.
We refuse the right to reuse or repost content taken without our permission such as data or images to other sites.
I think so. There is no other mechanism in the dungeon for it and the Unmoored World is known to remove all water from the game world. Sucks having to go through all of it again though...