
Final Proving Ground Walkthrough and Location
Final Proving Ground is a Lost Rite dungeon added in the Dark Arisen DLC of Dragon's Dogma 2 (DD2). Check out our guide for a full walkthrough of the Final Proving Ground Lost Rite Dungeon and where to find it, best party composition, how to defeat the boss, and rewards!
Final Proving Ground Location
Located at the Seafloor Shrine
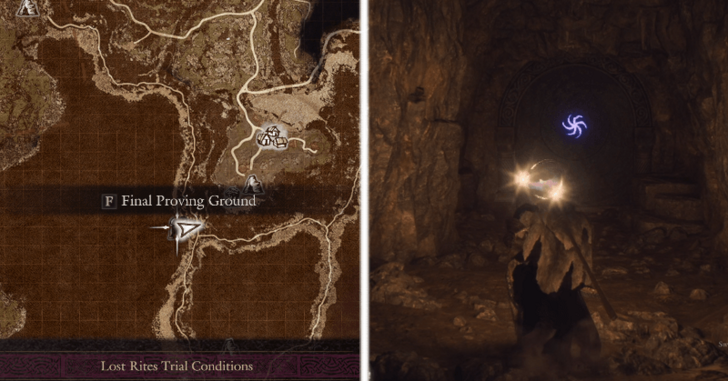
The Final Proving Ground is located inside the area of the Seafloor Shrine but is only accessible during the Unmoored World.
Requires Progressing Unmoored World to Unlock
As the dungeon is located inside the Seafloor Shrine in Unmoored World, you will need to progress and do the Legacy Main Quest. Doing so, will grant you access to the last three Lost Rites dungeons.
Final Proving Ground Trial Conditions
Conquered Molten Gauntlet and Seafloor Sepulcher
The challenger must previously have conquered the Molten Gauntlet and the Seafloor Sepulcher.
Best Party for Final Proving Ground
Balanced Team
| Arisen | Main Pawn | Hired Pawn | Hired Pawn |
|---|---|---|---|
 Sorcerer or  Thief |
 Mage |
 Fighter |
Thief
or  Archer |
The Sorcerer is a well-rounded pick for this dungeon, capable of handling a wide variety of boss encounters. Consider equipping large AOE spells across multiple elements such as High Hagol, High Salamander, and High Seism to deliver heavy burst damage, particularly against the Evil Eye and in rooms with multiple enemies. Pairing these with Augural Flare to destroy specific boss weak spots.
For your Main Pawn, consider switching to a full support Mage Pawn with High Palladium for extra party shielding, High Celerity for haste, and High Halidom for cleansing debilitations. Along with this use Exalted Bolt provides a lot of firepower when you are using Sorcerer especially when battling the Evil Eye.
For the rest of your hired Pawns, consider getting a Fighter with Shield Drum to draw the aggro of enemies and bosses. Along with an Archer/Thief to focus on high single target damage.
Final Proving Ground Walkthrough
Ten Trial Gauntlet
| # | Boss Trials |
|---|---|
| 1 | Corrupted Drake x1 |
| 2 | Corrupted Ogre x1, Corrupted Grim Ogre x1 |
| 3 | Corrupted Garm x3, Corrupted Skeleton Lord x1 |
| 4 | Corrupted Griffin x1, Corrupted Harpy x6 |
| 5 | Corrupted Lesser Dragon x1, Corrupted Wight x1 |
| 6 | Corrupted Dullahan x1, Corrupted Specter x2 |
| 7 | Corrupted Goreminotaur x2 |
| 8 | Corrupted Gorechimera x1, Evil Eye Tentacles |
| 9 | Evil Eye x1 |
| 10 | Medusa x1, Corrupted Sphinx x1 |
The Final Proving Ground is a boss gauntlet that features ten different trials. Each trial features different bosses to defeat. As it is a gauntlet, you will not be able to leave or escape until you finish all of the trials. Upon finishing it, you will be rewarded with the Dogma Demolisher Pawn Badge for your efforts.
How to Complete Final Proving Ground
| # | Walkthrough |
|---|---|
| 1 | 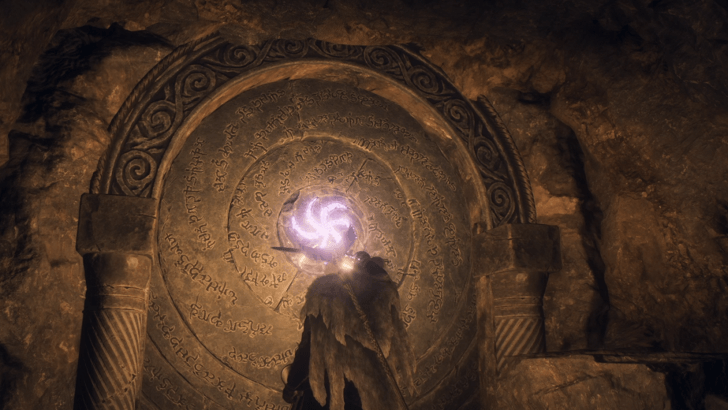 Go the entrance of the Final Proving Ground and enter. Note: Make sure that you have finished the Seafloor Sepulcher and Molten Gauntlet to be able to enter this dungeon. |
| 2 | 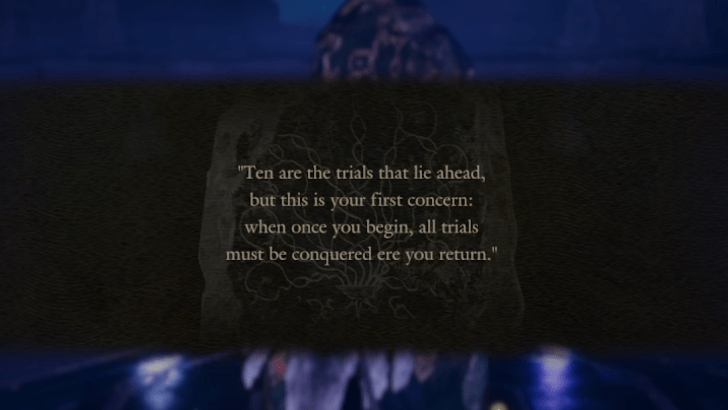 Upon entering you will be met with a sign that states a warning. You will need to finish all ten trials to be able to escape or return to the surface. |
| 3 | 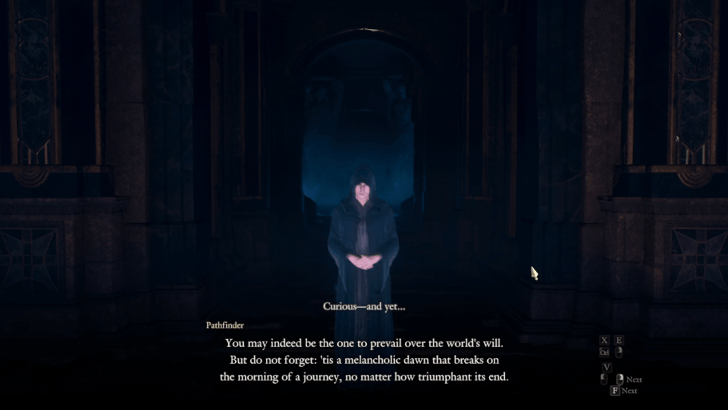 After the glyph, the Pathfinder will have a quick conversation with you. |
| 4 | 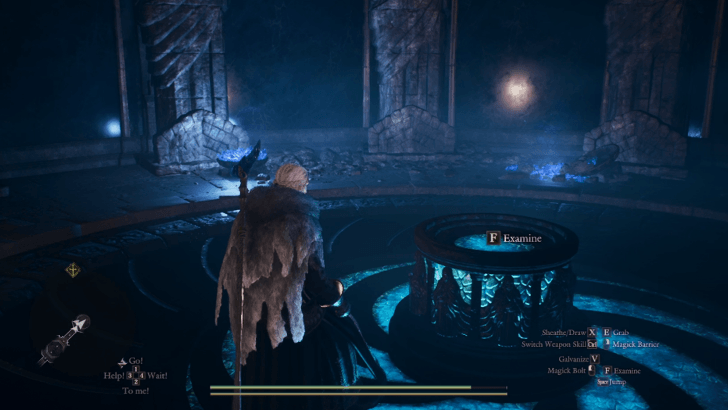 Once done, you will then be met with an elevator that will bring you to the dungeon proper. |
| 5 | 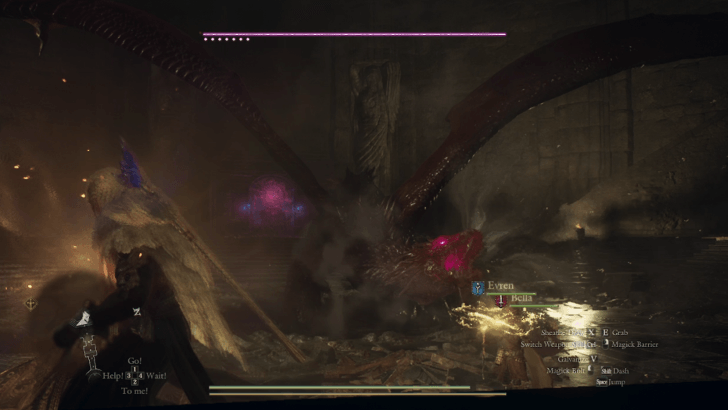 FIRST TRIAL: The first trial faces you with a Corrupted Drake. The boss room is wide enough to give you space to maneuver, defeat it by focusing on its heart and head. ➤ Drake Weaknesses |
| 6 | 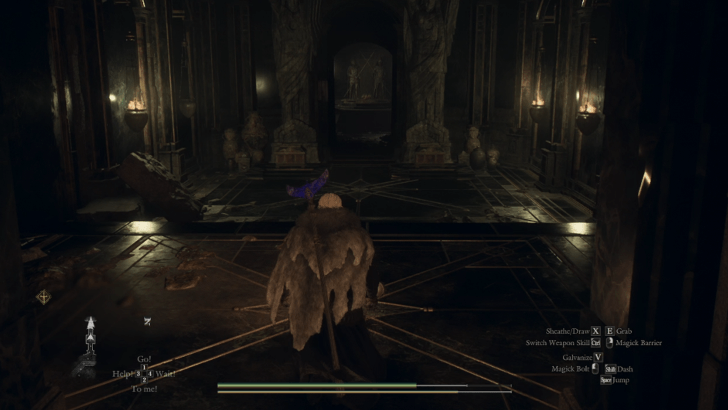 After defeating the Corrupted Drake, the sealed door will open allowing you into the next area. There will be three chests here containing an Allheal Elixir, a Wakestone, and a Ring of Predominance. |
| 7 | 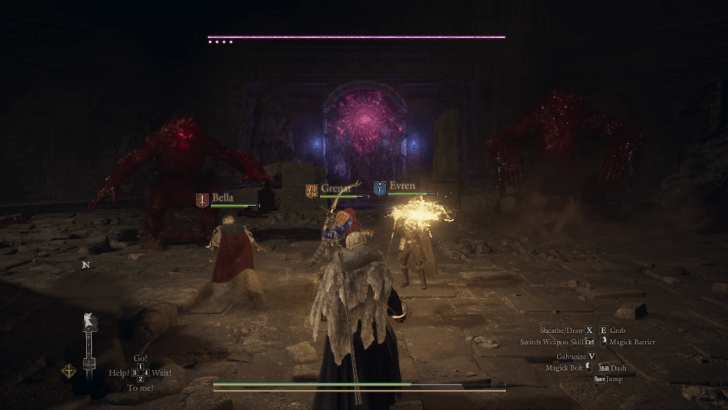 SECOND TRIAL: The second trial will have a smaller area met with a Corrupted Ogre, and a Corrupted Grim Ogre. Defeat them by pelting them fire attacks or spells to let them burn. ➤ Ogre Weaknesses |
| 8 | 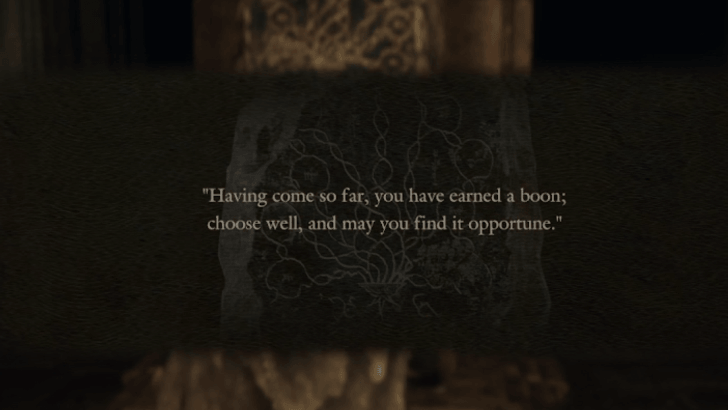 Once defeated, the sealed door will open. Past it is an area with a glyph that just means you will be given two options for a reward, picking one will lock you out of the other. The reward on the right is x3 Aged Beast Steak. Note: The Aged Beast-Steaks will help you in the next trial as it can be used to distract the Corrupted Garms. |
| 9 | 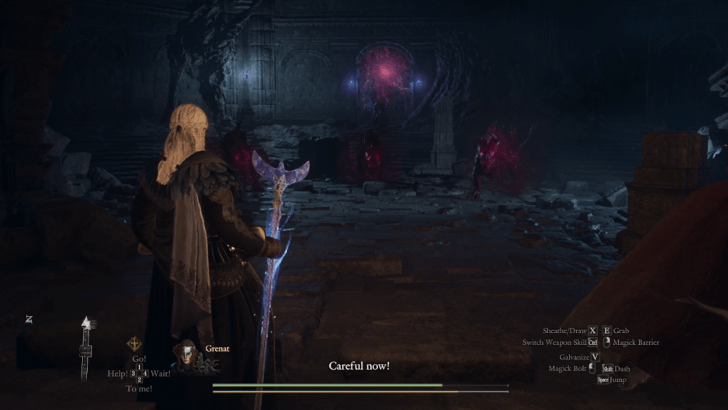 THIRD TRIAL: The third trial will face you with three Corrupted Garms along with a Corrupted Skeleton Lord. As the Corrupted Skeleton Lord is fairly easy to dodge due to its slower nature, it is recommended to fight and defeat the Corrupted Garms first. ➤ Garm Weaknesses |
| 10 | 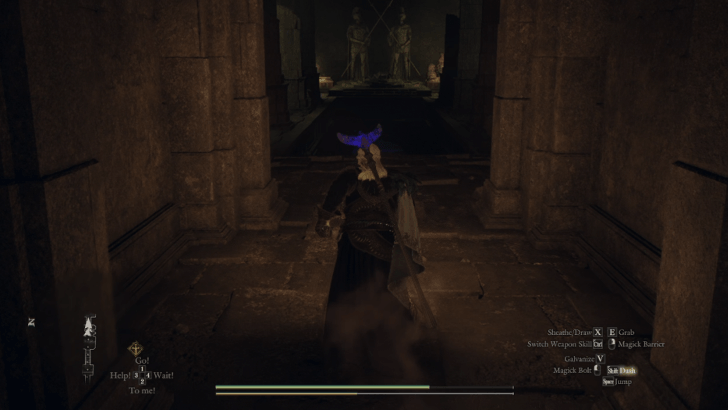 Defeating the enemies will open up the sealed door taking you to the next area. Once there you will be met with a forgotten Riftsone and two chests containing x2 Makeshift Gaol Key, and x2 Ring of Awareness. Note: Feel free to use this forgotten Riftstone if you lost a Pawn. The Makeshift Gaol Key, can be used in later areas where there are Gaoled Pawns. As for the Ring of Awareness, this is in preparation for the next trial where there will be Corrupted Harpies, feel free to equip this to help you in preventing the Sleep status. |
| 11 | 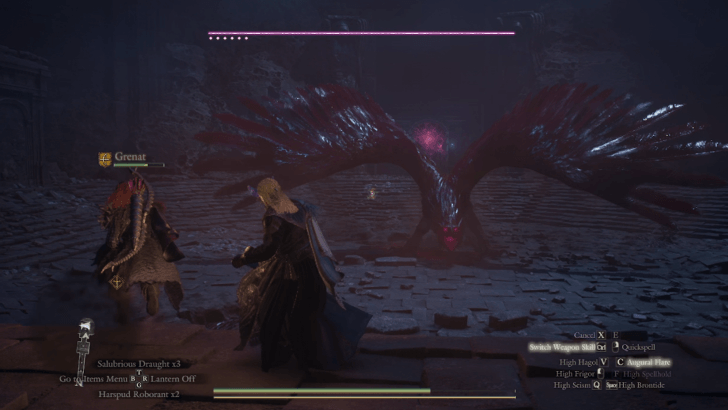 FOURTH TRIAL: The fourth trial will place you again in a larger area with a Corrupted Griffin. After taking the Corrupted Griffin down to a low enough HP, six Corrupted Harpies will spawn to help it out. ➤ Griffin Weaknesses ➤ Harpy Weaknesses |
| 12 |  The sealed door will open once you defeat the Corrupted Griffin along with the Corrupted Harpies. After the door will be a staircase going down to an area with another forgotten Riftstone, two Gaoled Pawns, and a chest containing x10 Fine Fruit Roborants. |
| 13 | 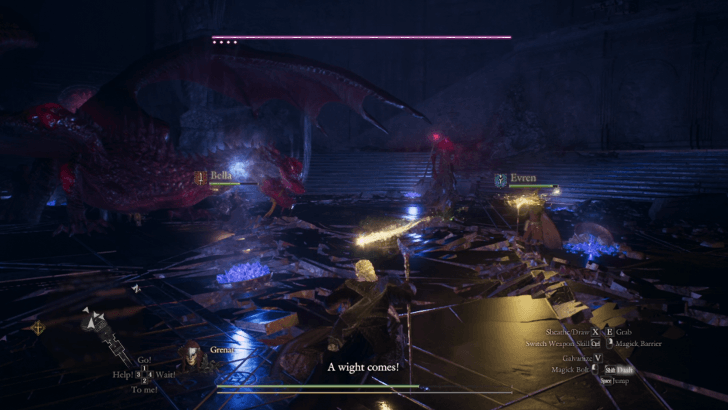 FIFTH TRIAL: The fifth trial faces you with a Corrupted Lesser Dragon and a Corrupted Wight. Note: Due to the large AOE attacks of both, a great tip that can help you out in the fight is to lure them in the same general area as their attacks affect and damage each other. ➤ Lesser Dragon Weaknesses ➤ Wight Weaknesses |
| 14 | 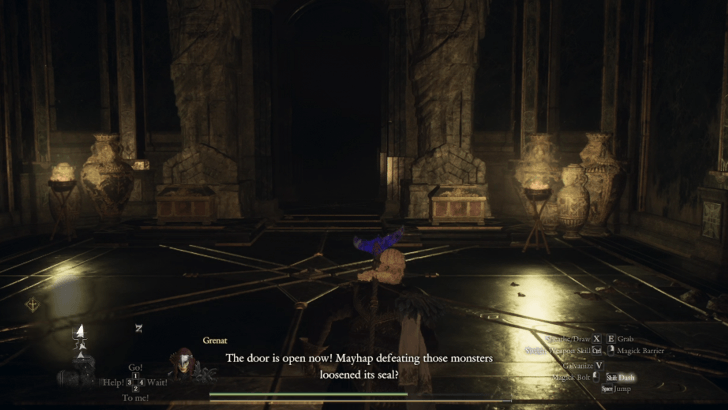 Opening the sealed door will immediately show you two chests each containing an Allheal Elixir. |
| 15 | 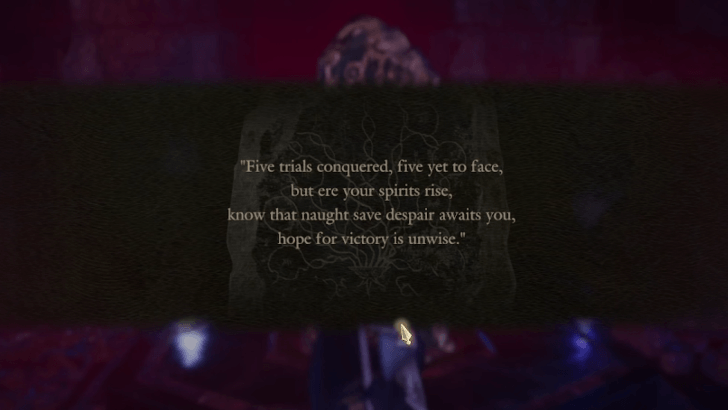 Moving to the next room, there will be another glyph that gives you an indication that you are now at the halfway point of the trial. The area also seems to be getting more tainted with a reddish hue. In this room will also be a minor chest containing x4 Lantern Oils signalling you on what the next trial is. |
| 16 | 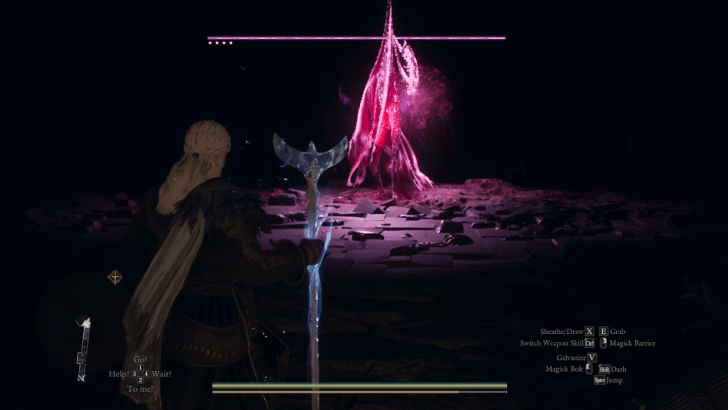 SIXTH TRIAL: The sixth trial will be a dark room as a Corrupted Dullahan will spawn. Midway through the battle, a couple of Corrupted Specters will also help out the Corrupted Dullahan. ➤ Dullahan Weaknesses |
| 17 | 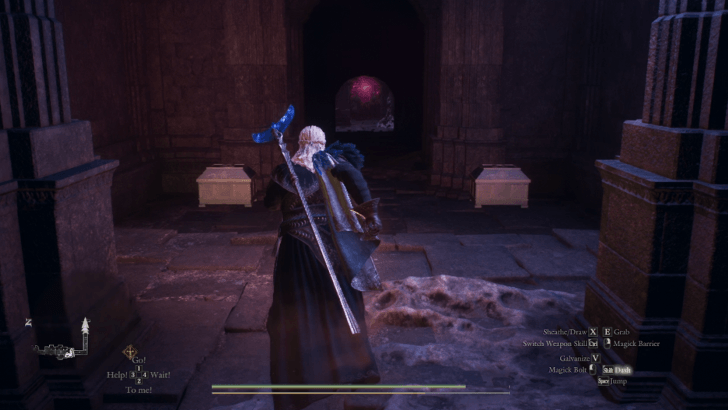 Defeating the enemies will send you to the next room where there will only be a forgotten Riftstone. Continue down the stairs to get to a room with two chests containing x10 Harspud Roborants, and x5 Stoutness Extracts. |
| 18 | 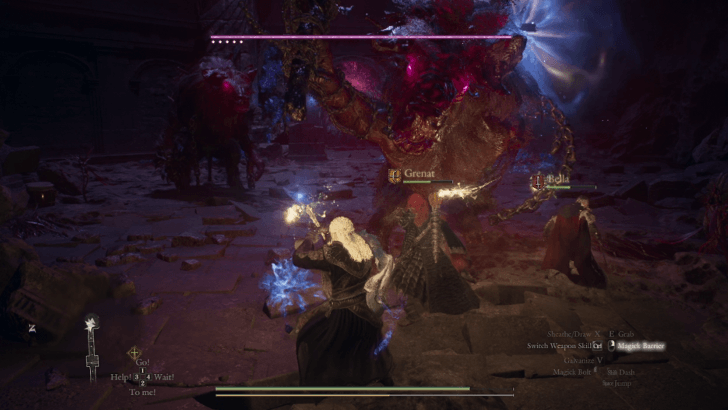 SEVENTH TRIAL: The seventh trial will be two Corrupted Goreminotaurs. Defeat it using fire damage as this is what its most susceptible to. ➤ Goreminotaur Weaknesses |
| 19 | 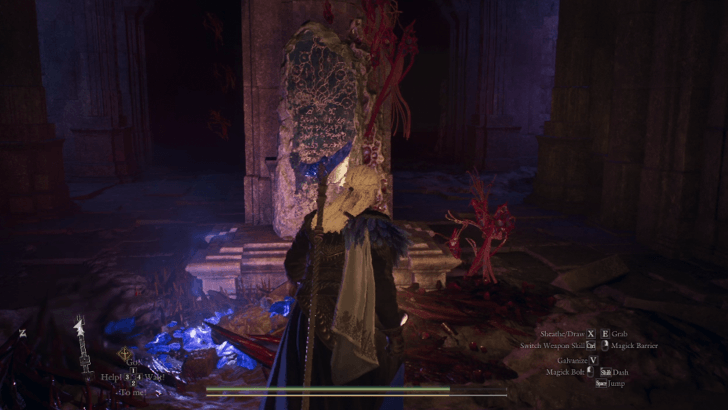 Once both have been defeated, the sealed door will open to reveal another glyph that gives you a two reward options to choose from. The reward on the left will be x2 Wakestones, while on the right will be x4 Makeshift Gaol Keys. Choose one according to your preference and then proceed to the next area. |
| 20 | 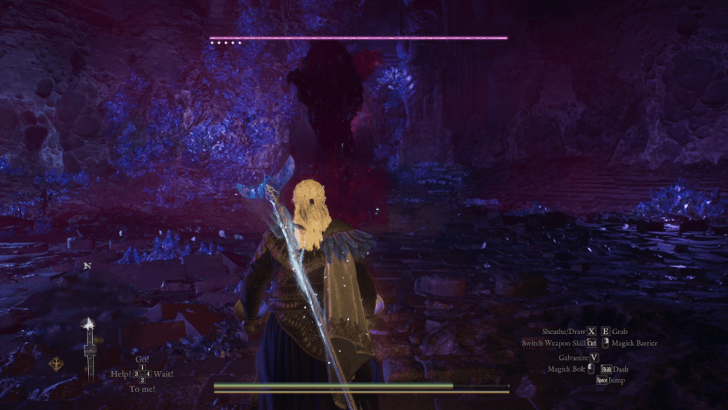 EIGHTH TRIAL: The eight trial will feature a room with a lot of crystals. A Corrupted Gorechimera will then spawn in. Getting it to a low enough HP will cause Evil Eye tentacles to spawn in assisting the Corrupted Gorechimera. Kill the boss along with the tentacles to be able to proceed. ➤ Gorechimera Weaknesses |
| 21 | 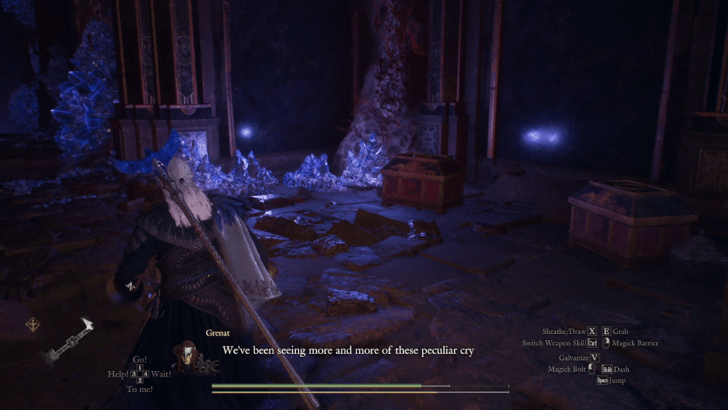 Once the sealed door opens, proceed to the next area and then down the stairs to see two chests containing an Allheal Elixir and x4 Stability Extracts. Note: The Stability Extracts are to prepare you for the next boss fight and help reduce the chance you get afflicted with any debilitation. |
| 22 | 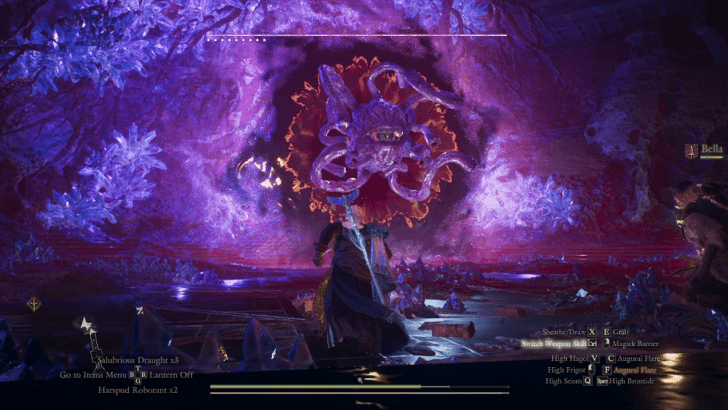 NINTH TRIAL: The ninth trial faces you with the Evil Eye. Kill it as how you did in the two prior Lost Rites dungeons, once done you will be able to absorb it to alter your Lost Rites weapon. |
| 23 | 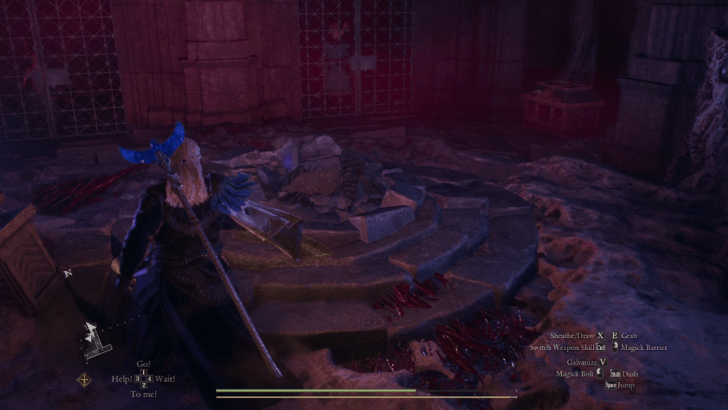 Upon defeating the Evil Eye, the sealed door will open leading you to a staircase. Go down to see a Gaol Cell with x2 Wakestones inside, going further down will be another Gaol Cell containing an Allheal Elixir. At the bottom of the staircase will be a room with a forgotten Riftstone, two Gaoled Pawns, and a chest containing x2 Dragonslayer's Mantles. Note: The Dragonslayer's Mantle is meant to be worn by you and your Main Pawn to help you out in the tenth and final trial. This mantle has a high Knockdown Res stat and +50% Stun Debilitation Res. |
| 24 | 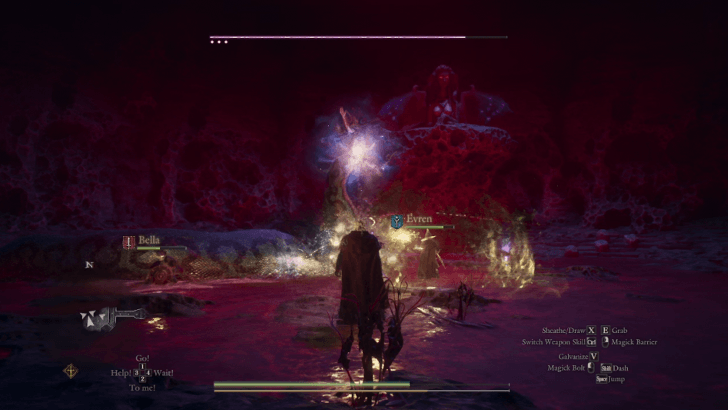 TENTH TRIAL: The tenth and final trial will feature a Corrupted Sphinx and a Medusa. Initially the Corrupted Sphinx will move to high platforms on either side and mostly leave you alone but will occasionally help out the Medusa until you get it to a low enough HP. After defeating the Medusa, the Corrupted Sphinx will come down and start fighting you directly. Defeat them both to proceed. Note: The Corrupted Sphinx will attempt to heal back to full HP upon getting it to a critical HP level. Try staggering it during this state to prevent a full HP heal. Lowering its HP enough times even after healing back to full HP will defeat it. ➤ Sphinx Weaknesses ➤ Medusa Weaknesses |
| 25 |  Upon defeat, the sealed room will then open. Once you get in, the Pathfinder will appear and speak to you. Proceed forward to a blood red room with a chalice in the middle to cause a cutscene to play out. |
| 26 | 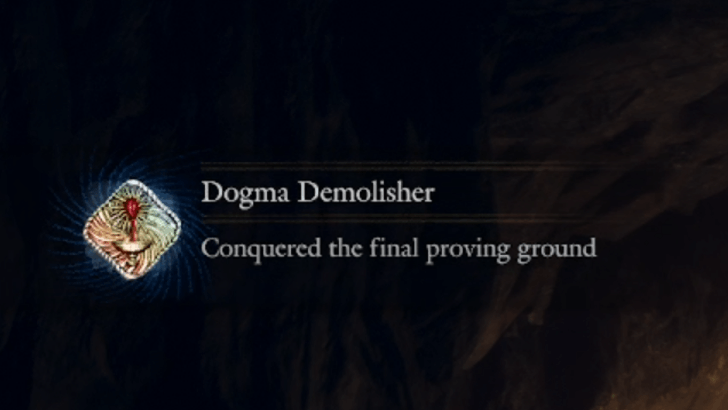 Once the cutscene finishes, it will send you out of the Final Proving Ground and teleport you to the entrance. Along with this, it will award you with the Dogma Demolisher Pawn Badge for bragging rights. |
Final Proving Ground Rewards
| Main Loot |
|---|
| ・Dragonslayer's Mantle x2 ・Dogma Demolisher (Pawn Badge) x1 |
| All Rewards |
|
・Ring of Predominance x1 ・Ring of Awareness x2 ・Allheal Elixir ・Wakestone ・Brinebeast Ore ・Brinebeast Fragment ・Malecryst ・Malecryst Shard |
Dragon's Dogma 2 Dark Arisen Related Guides
Lost Rites Guide and Dungeon Locations
Lost Rites Recommended Guides
| Best Lost Rites Build and Party Comp | All Lost Rites Gear and Rewards |
| How to Respawn Lost Rites | How to Open Lost Rites Doors |
| How to Get Brinebeast Ore | - |
List of All Lost Rites Dungeons
| Vermund Lost Rites | |
|---|---|
| Devilkin Hollow | Daemon's Corral |
| Sunken Spire | Interminable Corridor |
| Batthal Lost Rites | |
| Mired Conduit | Embersand Mine |
| Shrouded Warren | Precipitous Catacombs |
| Wyrmsblood Arena | - |
| Unmoored World Lost Rites | |
| Molten Gauntlet | Seafloor Sepulcher |
| Final Proving Ground | |



Author

Dragon's Dogma 2 (DD2) Dark Arisen Walkthrough & Guides Wiki
Final Proving Ground Walkthrough and Location

Rankings
- We could not find the message board you were looking for.
Gaming News





Popular Games

Genshin Impact Walkthrough & Guides Wiki
Fire Emblem: Fortune's Weave (FEFW) Walkthrough & Guides Wiki
Aniimo Walkthrough & Guides Wiki
Wuthering Waves Walkthrough & Guides Wiki
Dragon's Dogma 2 (DD2) Dark Arisen Walkthrough & Guides Wiki
Umamusume: Pretty Derby Walkthrough & Guides Wiki
Honkai: Star Rail Walkthrough & Guides Wiki
Zenless Zone Zero Walkthrough & Guides Wiki
Pokemon TCG Pocket (PTCGP) Strategies & Guides Wiki
AION 2 Walkthrough & Guides Wiki









Recommended Games
Fire Emblem Heroes (FEH) Walkthrough & Guides Wiki
Where Winds Meet Walkthrough & Guides Wiki
Diablo 4: Lord of Hatred Walkthrough & Guides Wiki
Super Smash Bros. Ultimate Walkthrough & Guides Wiki
Persona 3 Reload Walkthrough & Guides Wiki
The Legend of Zelda: Tears of the Kingdom Walkthrough & Guides Wiki
Elden Ring Walkthrough & Guides Wiki
Pokemon Brilliant Diamond and Shining Pearl (BDSP) Walkthrough & Guides Wiki
Cyberpunk 2077: Ultimate Edition Walkthrough & Guides Wiki
Monster Hunter World Walkthrough & Guides Wiki










All rights reserved
©CAPCOM CO., LTD. ALL RIGHTS RESERVED.
The copyrights of videos of games used in our content and other intellectual property rights belong to the provider of the game.
The contents we provide on this site were created personally by members of the Game8 editorial department.
We refuse the right to reuse or repost content taken without our permission such as data or images to other sites.
If you can try to decap the medusa and use the head to instakill the sphinx