
Precipitous Catacombs Walkthrough and Location
Precipitous Catacombs is a Lost Rite dungeon added in the Dark Arisen DLC of Dragon's Dogma 2 (DD2). Check out our guide for a full walkthrough of the Precipitous Catacombs Lost Rite Dungeon and where to find it, best party composition, how to defeat the boss, and rewards!
Precipitous Catacombs Location
Located Slightly Southwest of Battahl Ropeway Station
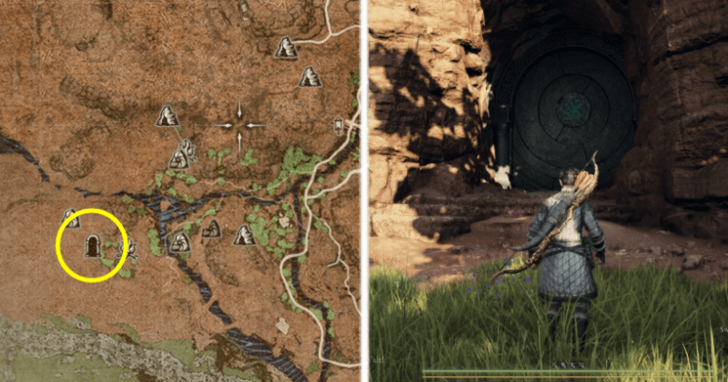
The Precipitous Catacombs are located on the side of a mountain southwest of Battahl Ropeway Station. Follow the river southwest from the ropeway station and head up the cliff to reach the sealed door on the side of the mountain.
Requires the Empowered Godbsane Blade to Unlock
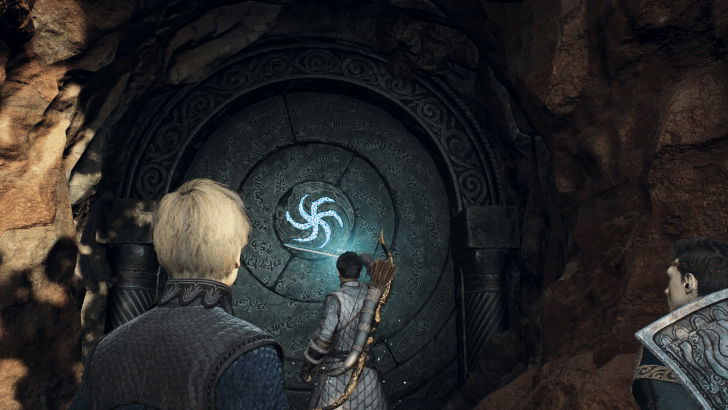
The Precipitous Catacombs requires the Empowered Godsbane Blade received at the end of the A New Godsway main quest to access.
Precipitous Catacombs Trial Conditions
Arisen Must Be an Archer or Magick Archer
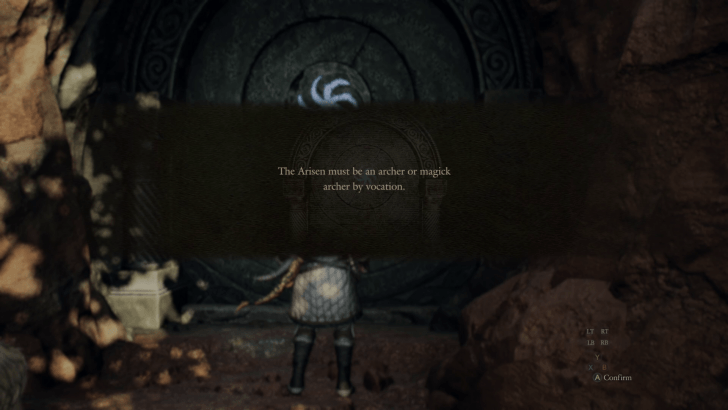
To access the Precipitous Catacombs, your character must switch to an Archer or Magick Archer vocation.
Best Party for Precipitous Catacombs
Balanced Team
| Arisen | Main Pawn | Hired Pawn | Hired Pawn |
|---|---|---|---|
 Archer or  Magick Archer |
 Mage |
 Sorcerer |
Archer
|
The Lost Rite dungeon only allows Archer or Magick Archer vocations to enter and both fare well in the dungeon with the right party setup. Keep in mind that the bosses in the dungeon have high resistance to magic so even a Magick Archer may struggle a bit.
A full support Mage Pawn with High Palladium, High Celerity, and Argent Tonic are extremely valuable for this dungeon due to the sheer number of powerful enemies that deal high AOE damage. We also recommend equipping them with High Solemnity as there are two bosses in the dungeon that can use powerful magick spells.
Hire a Sorcerer for Crowd Control
A Sorcerer with High Hagol and High Thundermine is a great choice for this dungeon for freezing and crowd control. Try looking for a Sorcerer with Maelstrom as well so that they can potentially one-shot the smaller corrupted enemies and deal high damage to the bosses.
Look for a Calm Archer for Weakpoint Sniping
An Archer pawn with the Calm inclination is good to have in this dungeon as there are several bottomless pits where aggressive Fighters and Thieves may fall into as they pursue enemies.
Calm Archers tend to keep their distance and their A.I. makes them prioritize hitting weak points which is useful when fighting the two Corrupted Golems.
Precipitous Catacombs Walkthrough
How to Complete Precipitous Catacombs
| # | Walkthrough |
|---|---|
| 1 | 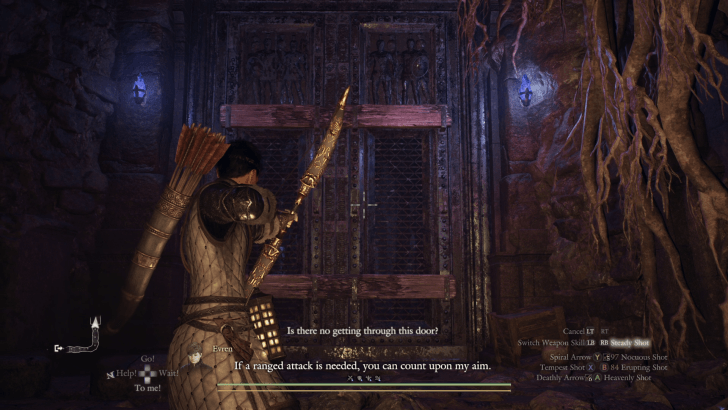 Destroy the two wooden beams blocking the main door then head down the stairs, destroying any obstacles in the way, until you reach a large room full of corrupted enemies. |
| 2 | 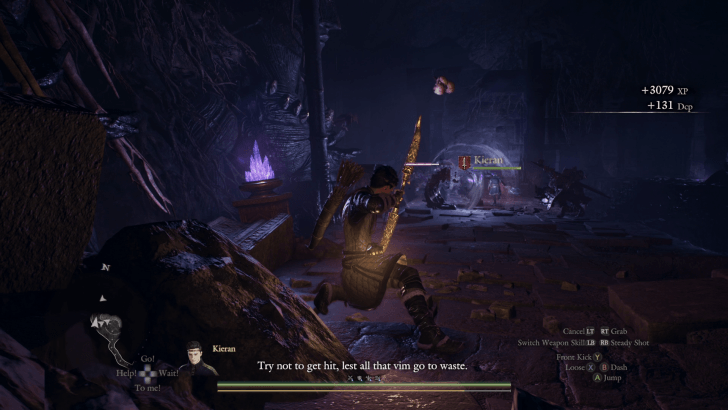 This room houses a large group of Corrupted Hobgoblins that will throw spears and explosives, as well as Corrupted Succubi that can deal ice damage with their claws. Take care running around the area as you or your pawns can easily fall into the bottomless pit below. Keep your distance and destroy the pillars to collapse them on top of the enemies, and then prioritize killing the Succubi to avoid getting harassed as you fight the Hobgoblins. Note: Make sure you defeat all of the regular enemies, including the Corrupted Asps near the cave, before you approach the large door. |
| 3 | 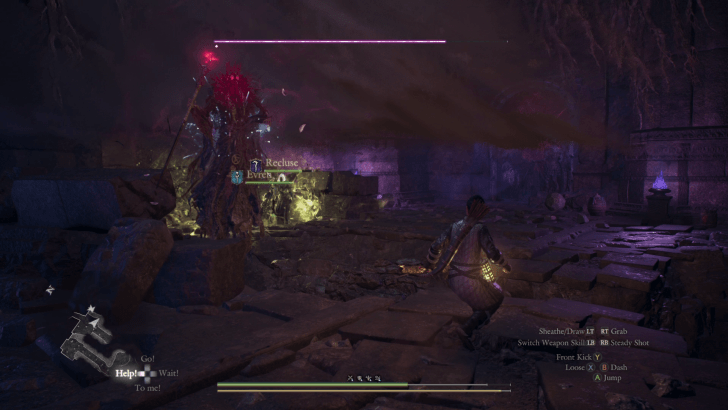 A Corrupted Wight will appear as soon as you approach the area near the door and is the first boss you'll encounter in the dungeon. It will mostly stay close to the door, but will charge at your party if you come close enough. This enemy can deal a lot of damage with its spells, so keep up the pressure and don't stop attacking to prevent it from getting an opening on your party. Note: If your Mage Pawn has High Solemnity, try to bait the Wight towards your Pawn so that it can cast the spell to silence it. |
| 4 | 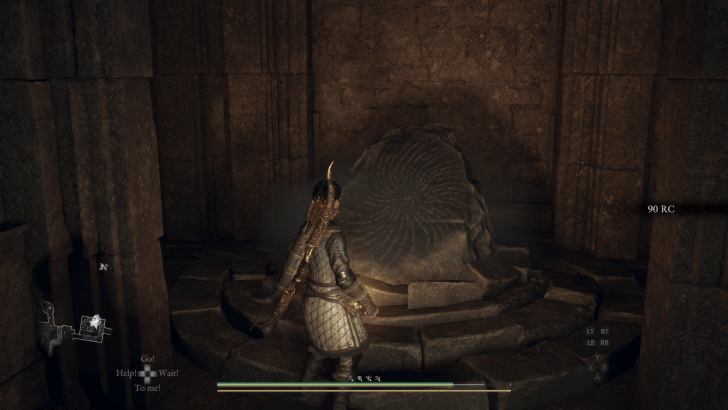 After defeating the Corrupted Wight, head down the newly opened door and make your way down where you can loot five Blighting Arrows from a chest. There's also a Forgotten Riftstone at the bottom floor where you can summon any fallen Pawns that you have previously met. When you're ready, follow the long corridor down to the next area. |
| 5 | 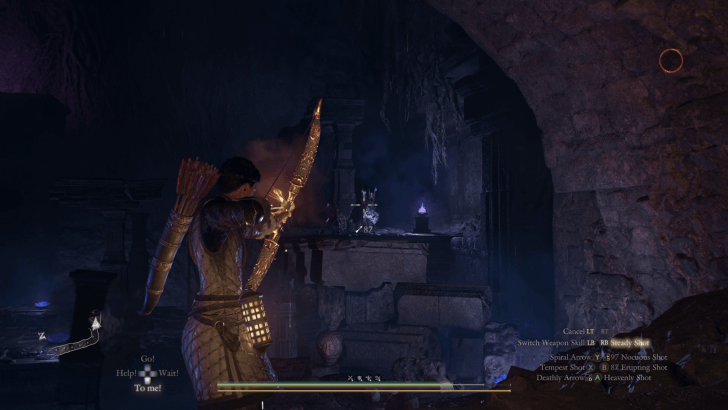 The next open area is relatively large and you'll need to jump across some platforms to reach the central area. We recommend sniping the Corrupted Hobgoblins from afar first as they will swarm your party as you're platforming across. |
| 6 | 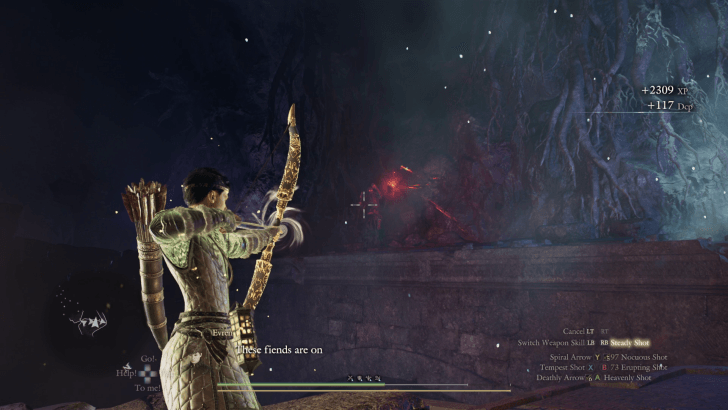 Continue down to the central area where you'll need to defeat some Corrupted Succubi and Corrupted Asps along the way. Follow the path upwards until you reach a narrow platform with two Corrupted Mages leading to the next door. |
| 7 | 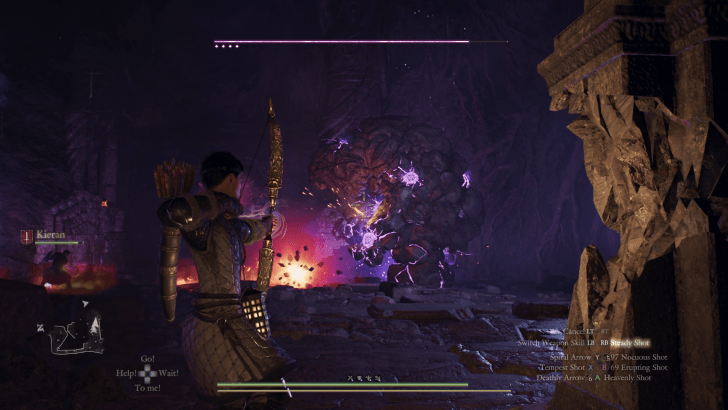 Two Corrupted Golems are guarding the next door and the narrow platform where you'll need to fight them makes dodging their wide swings and explosive attacks very difficult. Golems are highly resistant to magick and it will take several volleys from Sagittate Avalanche to shatter their magick seals if playing as Magick Archer. If playing as a regular Archer, use Erupting Shot to quickly destroy the Magick Seals as the Explosive Arrows have a large splash damage that can take out several magick seals. |
| 8 | 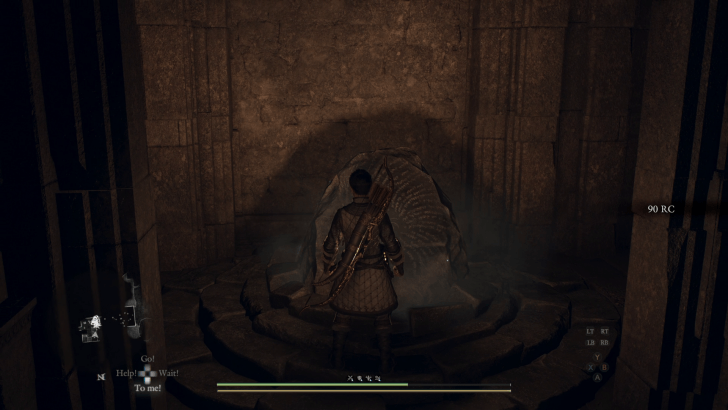 Head through the newly opened door after defeating the two Golems and make your way downstairs where you can find another Forgotten Riftstone that you can use to revive any fallen Pawns. When ready, head through the long corridor and into the final area. |
| 9 |  The doors will close once you reach the final open area. Head up the stairs for a short cutscene where a Corrupted Drake enters the room accompanied by two Corrupted Succubi. This boss is faster and deals more damage than regular drakes, and has very high knockdown resistance. You'll need to fire two to three Blighting Arrows using Nocuous Shot to make it flinch or drop from the sky, and the relatively large room means it's not possible to cheese the fight with Ricochet Hunter if playing as Magick Archer. The Corrupted Drake's chest area is still its weakpoint so focus your damage at its chest and try to deal as much damage once the wound opens up to defeat the boss. |
| 10 | 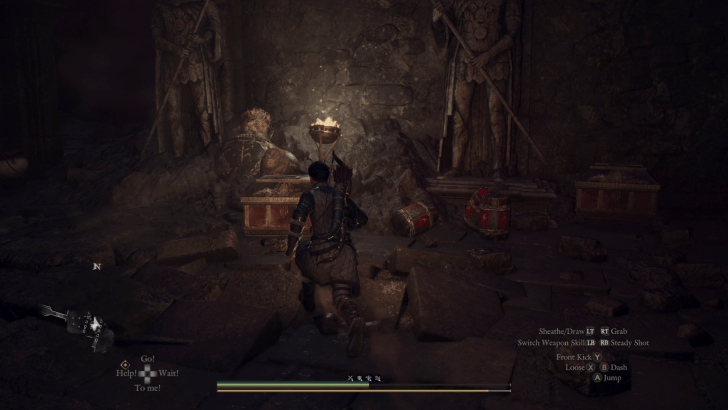 Once the Corrupted Drake is defeated, it will drop a Ring of Dragonsbane as well as some Brinebeast Ore that you can loot. Before teleporting out, make your way down and loot the remaining treasure chests scattered around the room for a Portcrystal and two Brinebeast Fragments, a Catamount Jacket, as well as a 26000 Gold and and Offering Flame. |
Precipitous Catacombs Rewards
| Main Loot |
|---|
| ・Ring of Dragonsbane x1 ・Catamount Jacket (Body Armor) ・Glasrew Galea (Head Armor) ・Brinebeast Ore x7 ・Portcrystal x1 ・Brinebeast Fragments x2 ・Gold: 26,000 ・Offering Flame x1 |
There is no main treasure chest similar to other Lost Rites dungeons. There are multiple chests that are below the boss/staging area.
The smaller corrupted enemies in the dungeon may also drop Brinebeast Fragments as random drops after being defeated.
Dragon's Dogma 2 Dark Arisen Related Guides

Lost Rites Guide and Dungeon Locations
Lost Rites Recommended Guides
| Best Lost Rites Build and Party Comp | All Lost Rites Gear and Rewards |
| How to Respawn Lost Rites | How to Open Lost Rites Doors |
| How to Get Brinebeast Ore | - |
List of All Lost Rites Dungeons
| Vermund Lost Rites | |
|---|---|
| Devilkin Hollow | Daemon's Corral |
| Sunken Spire | Interminable Corridor |
| Batthal Lost Rites | |
| Mired Conduit | Embersand Mine |
| Shrouded Warren | Precipitous Catacombs |
| Wyrmsblood Arena | - |
| Unmoored World Lost Rites | |
| Molten Gauntlet | Seafloor Sepulcher |
| Final Proving Ground | |
Comment
 Anonymous 3 days
u got go back to it in unmoored world. Water drain it’s down there



Author

Dragon's Dogma 2 (DD2) Dark Arisen Walkthrough & Guides Wiki
Precipitous Catacombs Walkthrough and Location

Rankings
- We could not find the message board you were looking for.
Gaming News





Popular Games

Genshin Impact Walkthrough & Guides Wiki
Fire Emblem: Fortune's Weave (FEFW) Walkthrough & Guides Wiki
Aniimo Walkthrough & Guides Wiki
Wuthering Waves Walkthrough & Guides Wiki
Dragon's Dogma 2 (DD2) Dark Arisen Walkthrough & Guides Wiki
Umamusume: Pretty Derby Walkthrough & Guides Wiki
Honkai: Star Rail Walkthrough & Guides Wiki
Zenless Zone Zero Walkthrough & Guides Wiki
Pokemon TCG Pocket (PTCGP) Strategies & Guides Wiki
AION 2 Walkthrough & Guides Wiki









Recommended Games
Fire Emblem Heroes (FEH) Walkthrough & Guides Wiki
Where Winds Meet Walkthrough & Guides Wiki
Diablo 4: Lord of Hatred Walkthrough & Guides Wiki
Super Smash Bros. Ultimate Walkthrough & Guides Wiki
Persona 3 Reload Walkthrough & Guides Wiki
The Legend of Zelda: Tears of the Kingdom Walkthrough & Guides Wiki
Elden Ring Walkthrough & Guides Wiki
Pokemon Brilliant Diamond and Shining Pearl (BDSP) Walkthrough & Guides Wiki
Cyberpunk 2077: Ultimate Edition Walkthrough & Guides Wiki
Monster Hunter World Walkthrough & Guides Wiki










All rights reserved
©CAPCOM CO., LTD. ALL RIGHTS RESERVED.
The copyrights of videos of games used in our content and other intellectual property rights belong to the provider of the game.
The contents we provide on this site were created personally by members of the Game8 editorial department.
We refuse the right to reuse or repost content taken without our permission such as data or images to other sites.
Also Geirolul's helm in the first lower area with the asps. Not a bottomless pit. There's even an incomplete ladder you can't kick down but it'll go low enough that you won't take fall damage.