
Interminable Corridor Walkthrough and Location
Interminable Corridor is a Lost Rite dungeon added in the Dark Arisen DLC of Dragon's Dogma 2 (DD2). Learn how to get to Interminable Corridor, its location, rewards best party composition, and how to defeat its boss!
How to Get to Interminable Corridor
Located in Dead-End Curve at Misty Marshes
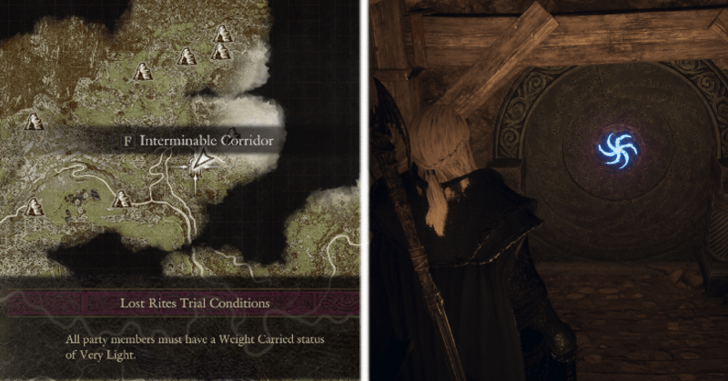
Interminable Corridor is located inside the Dead-End Curve located at the West of Misty Marshes.
Note: The Empowered Godsbane Blade from A New Godsway is required to enter the Interminable Corridor.
Pass Through Ancient Battleground Shortcut
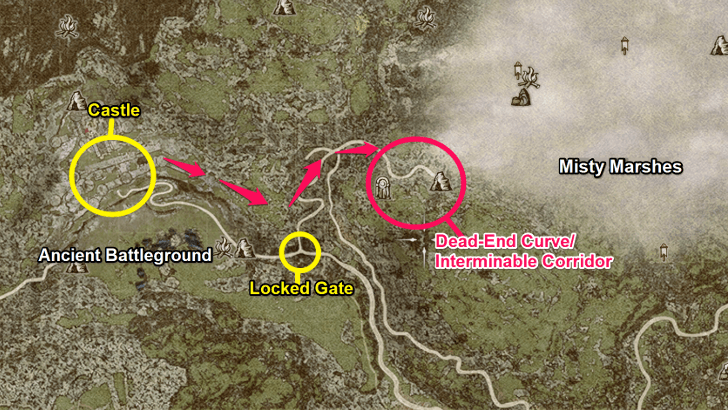
To reach Dead-End Curve efficiently, pass through the Ancient Battleground and work your way up the fort to open the door leading to the shortcut, which is strongly recommended over traversing the Misty Marshes directly.
If you have already unlocked this gate previously, you can head straight to that area to bypass the longer path at the top of the Ancient Battleground.
Interminable Corridor Trial Conditions
Very Light Weight Carried Status
All party members must have a Weight Carried status of Very Light.
What to Prepare for Interminable Corridor
Store Camping Kits, Lantern Oils, and Curatives
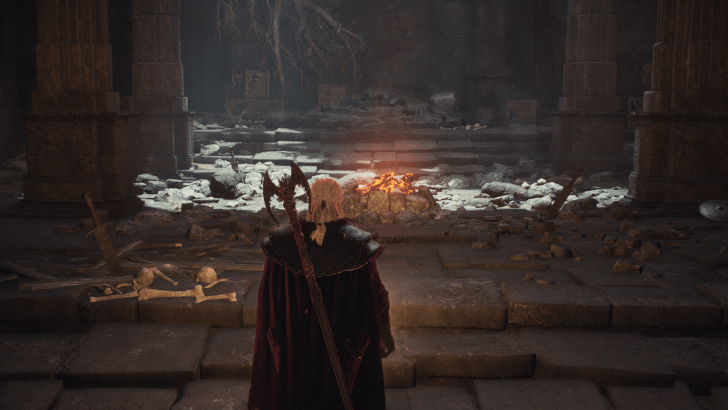
If you are having a hard time getting to a Very Light Weight Carried status, it is recommended to leave any camping kits, lantern oils, and curatives like Panacea and Food as you can find plenty of these within the dungeon.
Expect a Long and Tedious Dungeon
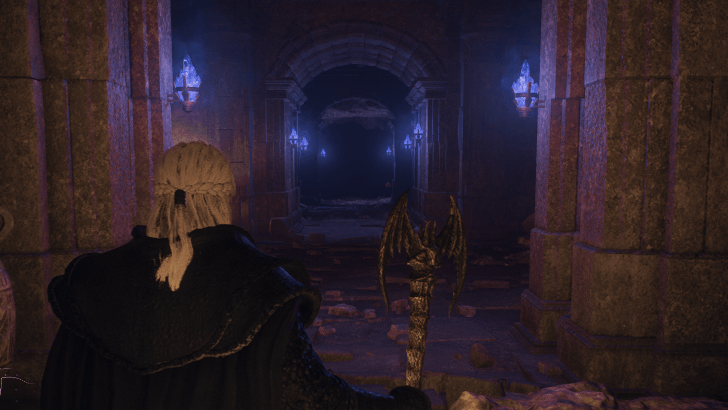
As the 'Interminable' name suggests, expect a long and confusing dungeon with winding corners and numerous areas. There are camping areas and Forgotten Riftstones throughout the dungeon that you can use to rest and re-hire pawns in case they get lost.
Numerous Purple Slimes
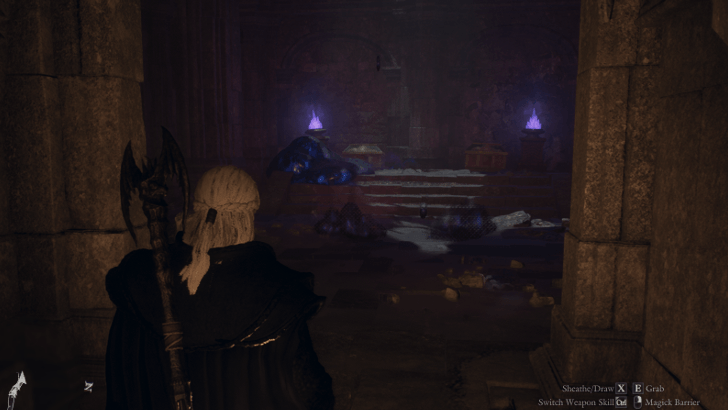
Numerous Blue and Purple Slimes are found within the dungeon, and we recommend running an Archer or Warfrarer with the Nocuous Shot equipped and have Blighting Arrows ready to defeat them.
You can also find Poison Casks within the dungeon that you can throw at the Blue and Purple slimes to defeat them. Finally, there are Corrupted Asps that you can bait to attacking the slimes to defeat them.
Interminable Corridor Walkthrough
How to Complete Interminable Corridor
| # | Walkthrough |
|---|---|
| 1 | 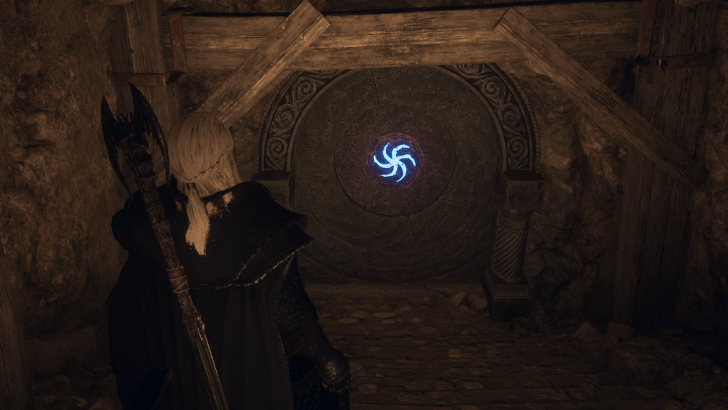 Go through the Dead-End Curve to make it to the entrance of Interminable Corridor. Note: There will be an Ogre right before the entrance, so be wary of this. |
| 2 | 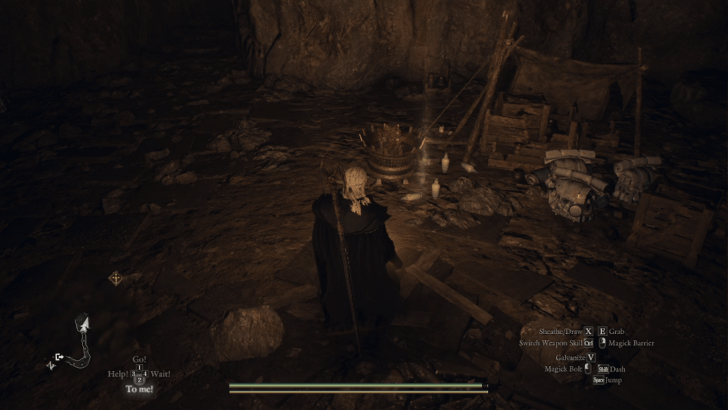 Go downward the staircase to enter an area with numerous Camping Kits, Lantern Oil, and Curatives. Use these to stock up as needed as you will be short on it due to the Very Light carry weight requirement, once inside the dungeon you won't need to be at a Very Light weight consistently. |
| 3 | 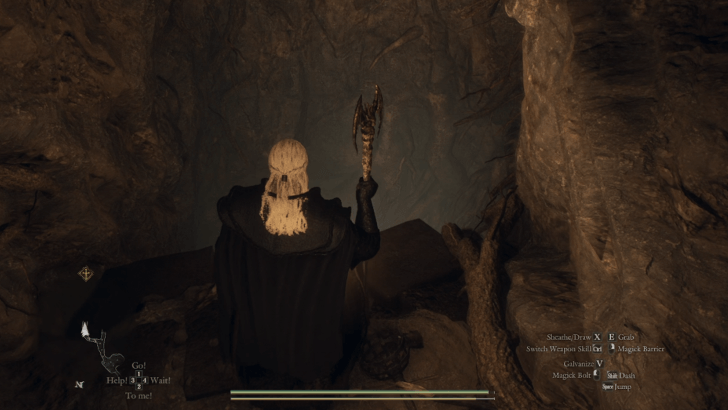 Continue forward to be met with a fork in the corridor. Going right leads to a dead end and inaccessible cliff. To proceed, go left and drop inside the hole in the wall. |
| 3.5 | 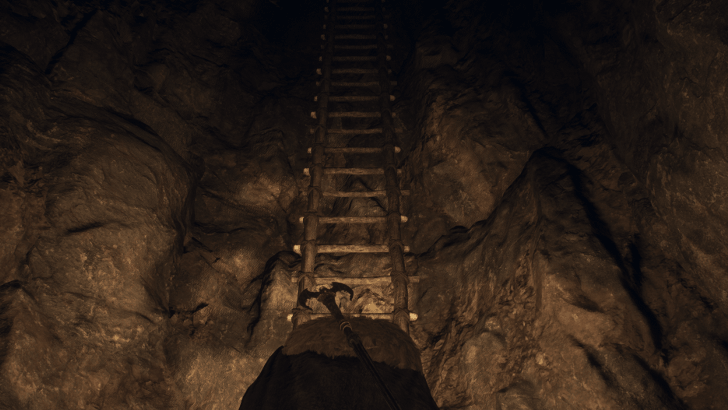 Upon dropping there will be a destructible wall to your immediate left, this will just lead to a path to get back out if ever you need to, and will lead to the inaccessible cliff from the prior step. |
| 4 | 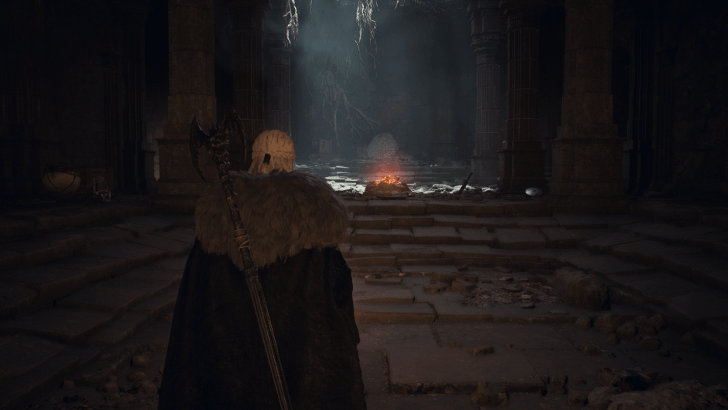 Proceed to get to a camping area with a Riftstone. Note: Feel free to hire pawns here as needed as the Very Light requirement will not restrict you anymore. This area is also open to the sky so a Ferrystone can be used to escape. |
| 4.5 | 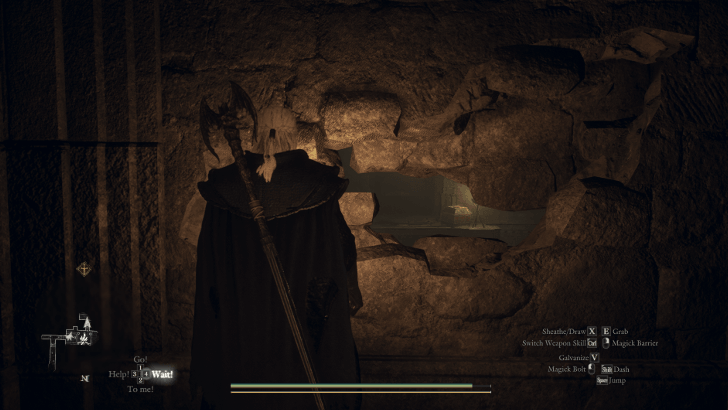 From the camping area, there will be a peep hole to the left to give you a sneak peek of a chest you can get later. Go towards the right of the camping area (opposite of the peep hole) to proceed. |
| 5 | 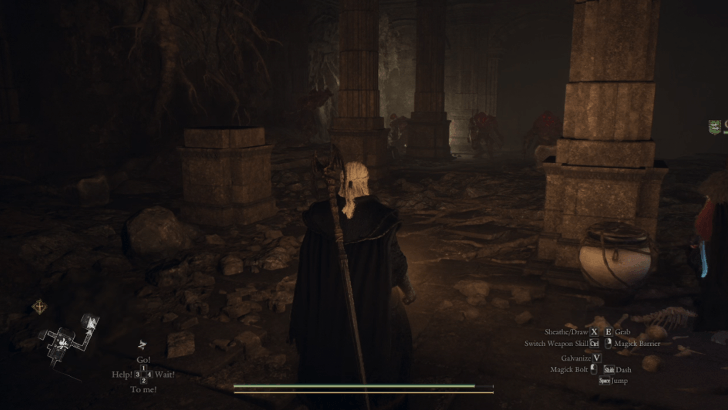 Proceeding downward the staircase will be a room with a bunch of Corrupted Hobgoblins ready to face you. There will be a second wave of Corrupted Hobgoblins that will spawn right after defeating the first bunch. |
| 5.5 | 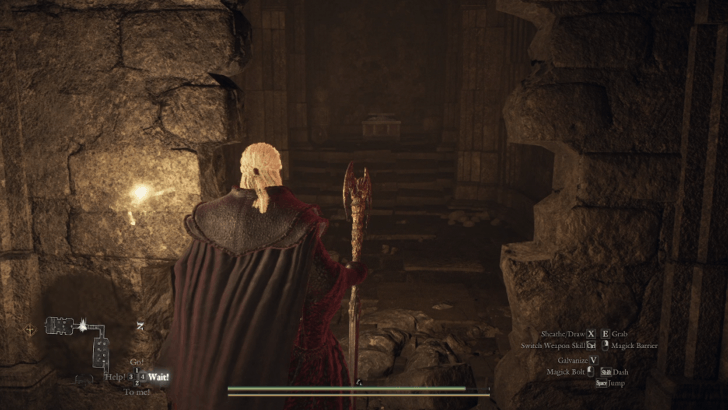 Move onward to the next room by going down a set of stairs. Prior to entering the room, there will be a destructible wall to the right just after the staircase. Looting the chest will yield you 18,000 gold and a Ring of Amplification. |
| 6 | 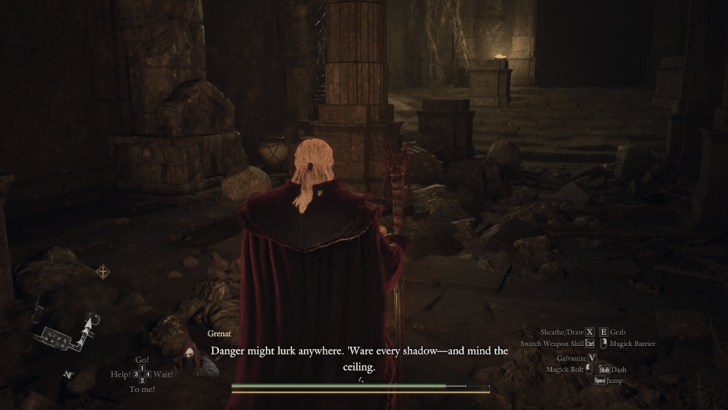 Upon entering the stepped chamber, you will be faced with a couple of Oozes. The room will contain a minor chest containing x2 Dried Fish, and x1 Dried Meat. |
| 7 | 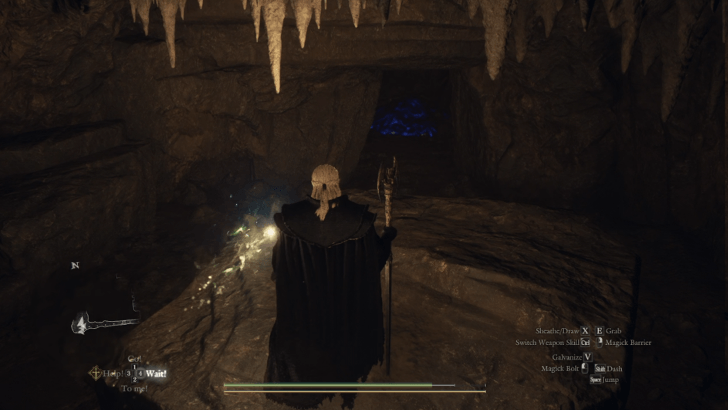 In the next area, there will be a fork in the corridor. Go to the right to see a destructible wall which leads you to a chamber with a chest cointaining the Band of Dunscaith, at the back of the room is another chest guarded by a Blue and Purple Slime containing x4 Dried Spuds. |
| 8 | 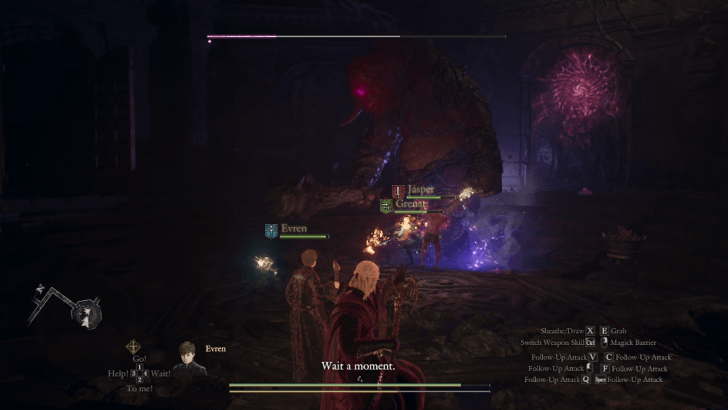 Go back to the other end of the fork and continue onward to end up in an open chamber with a sealed door. Entering will cause a pack of Corrupted Hobgoblins to spawn in, after defeating a few waves of them, a final Corrupted Cyclops will spawn. Defeating the enemies will open the sealed door. |
| 9 | 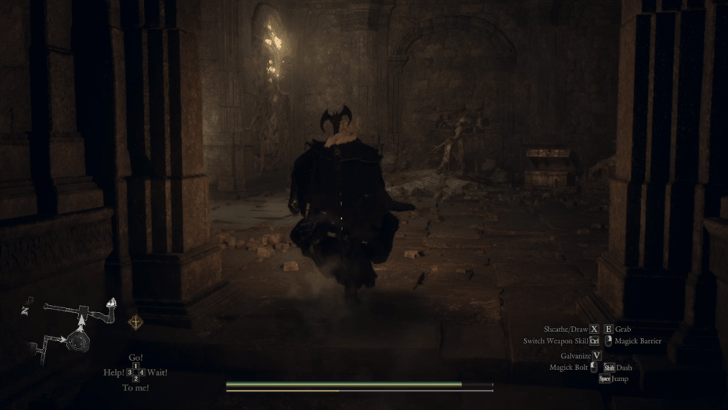 Continue forward to a small room with a minor chest containing x3 Exquisite Dried Meat. There will be a path to the right and the left of the room. |
| 10 | 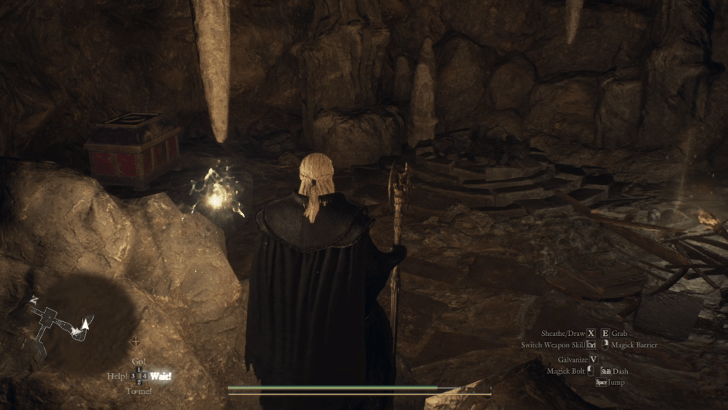 To the right of the room will be a destructible wall, destroy it and proceed forward to enter a small cavern with two minor chests containing x3 Savagery Extract, and x2 Harspud Roborants. Another destructible boulder will be on the left, destroy it to finally reveal a few Corrupted Skeletons guarding a chest and a Forgotten Riftstone. Looting the chest gives you 12,000 gold and a Lordly Eyepatch. |
| 11 | 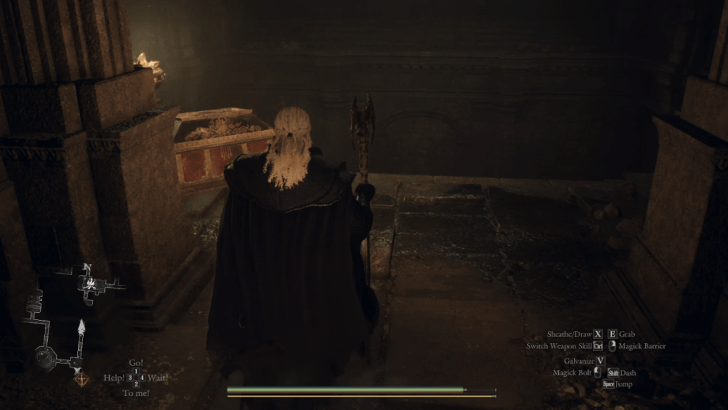 Go back to where you came from and to the left of the room will be the chest you saw earlier from the peep hole at Step 5. Looting this chest will yield you a Wakestone. |
| 12 | 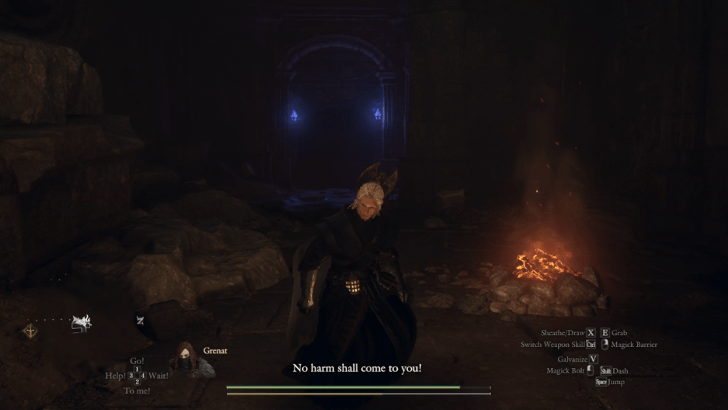 From here, drop down to be faced with another set of opposite paths and a camping site. Go to the left of the camping site to be faced with a couple of Corrupted Undead and a Blue and Purple Slime. Note: Be careful when treading the corridor as there will be a destructible floor that will send you plummeting down to a hallway below, though it is possible to get back up. |
| 13 | 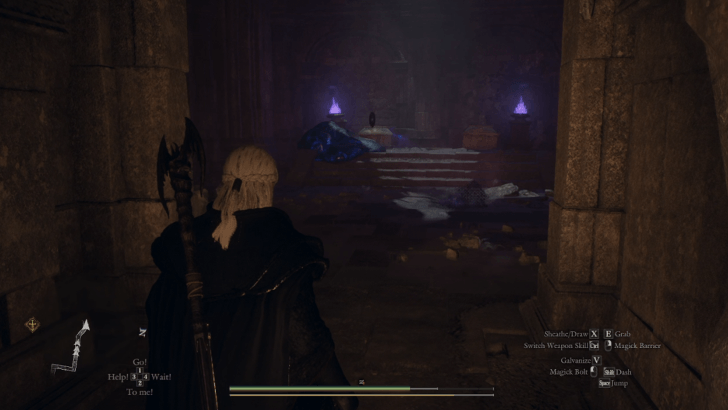 Moving past the enemies will be a room with two chests each guarded by a Blue and Purple Slime. Opening the chests will give you x3 Allheal Elixirs, and a Ferrystone. Note: This area is open to the sky so a Ferrystone can be used to escape. |
| 14 | 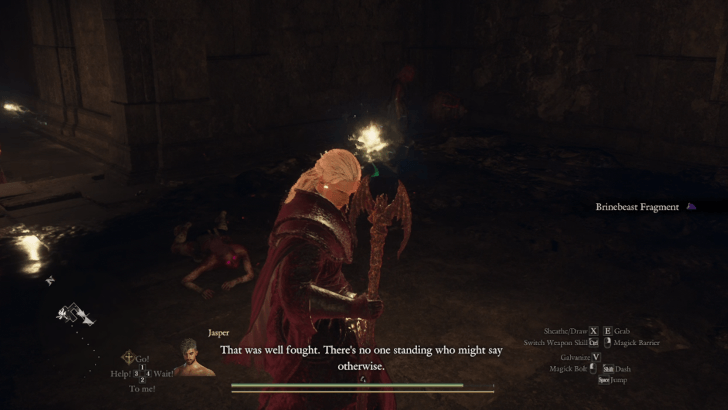 To the right will be a small room with a bunch of Corrupted Undead. There will also be a minor chest containing x3 Detoxifying Decoction and an Elite Camping Kit. Note: Use the opportunity to take a break and mend your Maximum HP to full by camping here. |
| 15 | 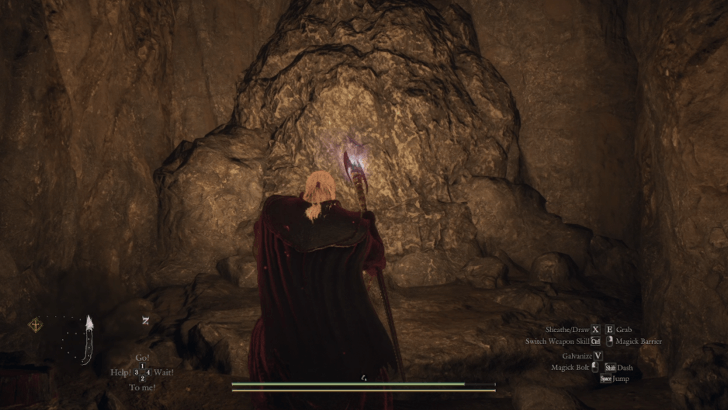 Moving forward from here will be two destructible boulders in a row. Destroy both to proceed further down the dungeon. Note: You can take a shortcut instead by going left from the camping area and dropping down the hole, immediately taking you to the end of the same hallway. |
| 16 | 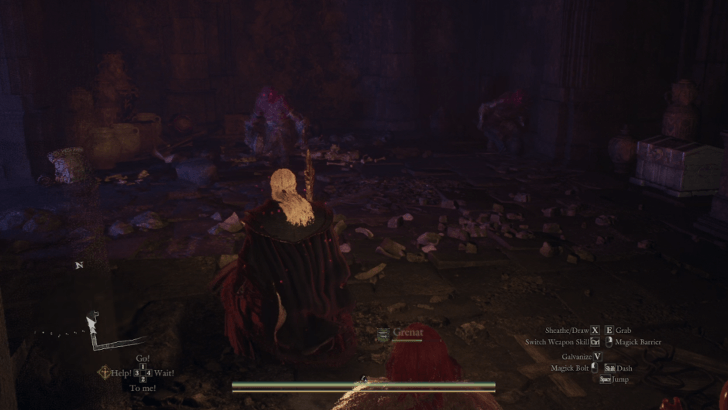 At the end of the hallway will be a couple of Corrupted Hobgoblins along with a minor chest containing x3 Roe Roborants. |
| 17 | 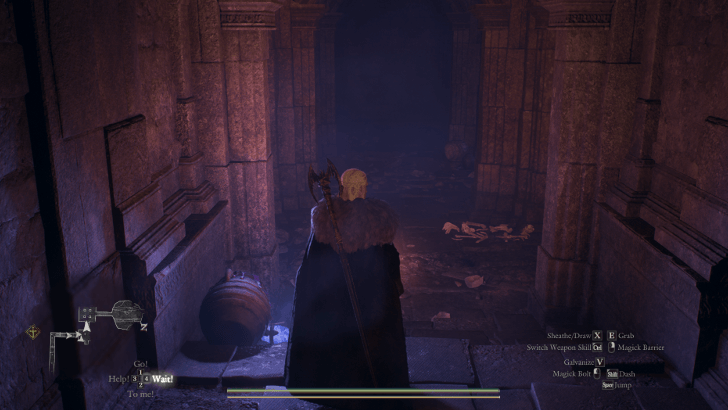 Pushing on to the next room, you will be met with a couple of Blue and Purple Slimes that can also just be skipped. Note: The prior hallway and the chamber after this has a few Poison Casks that can help you kill the Blue and Purple Slimes. |
| 18 | 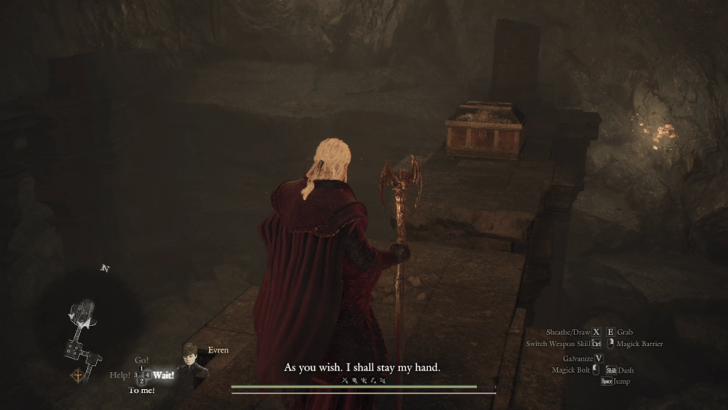 Moving to the next room, you will notice that the current chamber is long and high and you will be faced with a few Corrupted Harpies. Work your way up towards the pillars and rocks to loot a minor chest containing a Homespun Cloak and a chest containing the Phantasmic Shawl. |
| 19 | 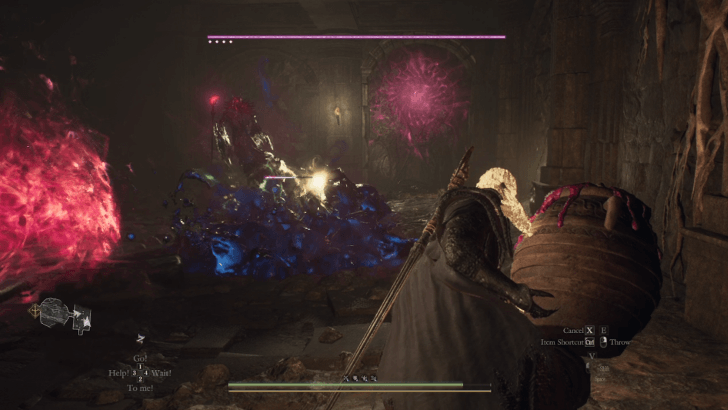 Continuing on, you will be in a room with a sealed door with a couple of Corrupted Hobgoblins, clear out a few waves of them to finally let a Corrupted Wight spawn along with a couple of Blue and Purple Slimes. Note: There are more Poison Casks in this room to assist you. After defeating the Corrupted Wight, the sealed door will open. |
| 20 | 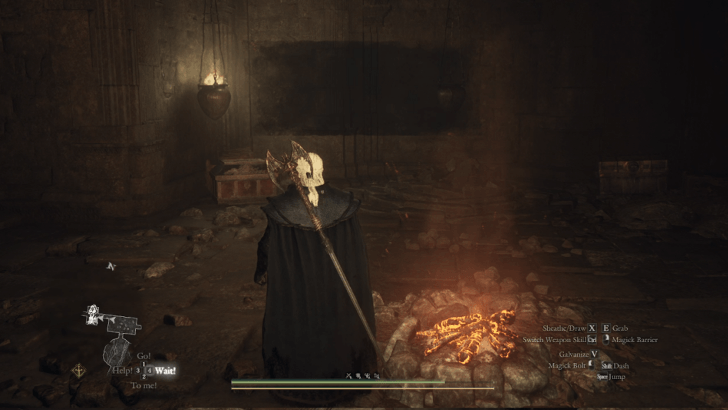 Past the sealed door will be two chests containing x3 Beast-Steak, and x2 Panacea. There will also be a camping area for you to rest at and a Forgotten Riftstone if ever you need a stronger Pawn at no-cost. Note: Use this as an opportunity to take a break and mend your Maximum HP to full by camping here as there will be more enemies and bosses to come. |
| 21 | 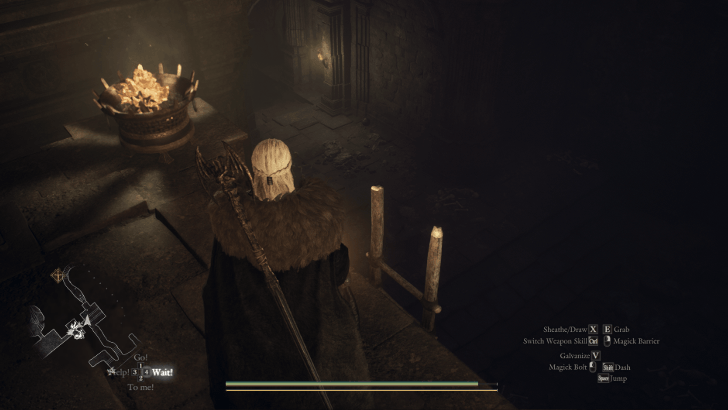 From the camping area, moving to the next room will take you to a ladder leading to a chamber with two opposite paths. Dropping down the ladder will cause a few Corrupted Skeletons to spawn in. |
| 22 | 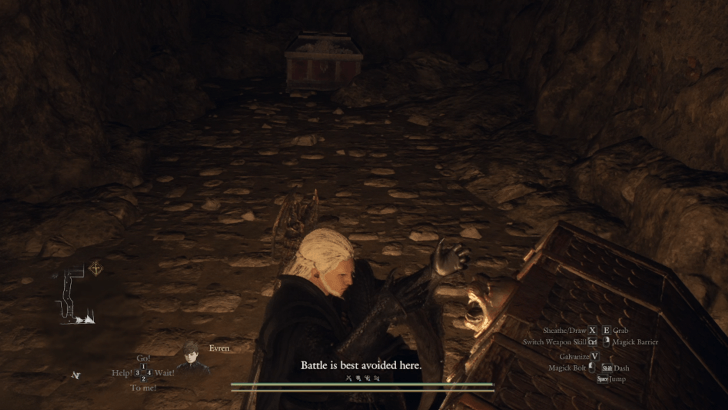 First, go to the right path and it will take you to a cavern with a boulder blocking the path to the left. Be wary as a couple of Blue and Purple Slimes will spawn here. Destroy the boulder to the left to reveal two chests containing x3 Saurian Tail and x5 Tiger Eye. Note: The opposite side of this room will have a path that leads directly to a destructible floor. Destroying this floor and dropping down will lead you to the opposite path from the prior chamber. |
| 23 | 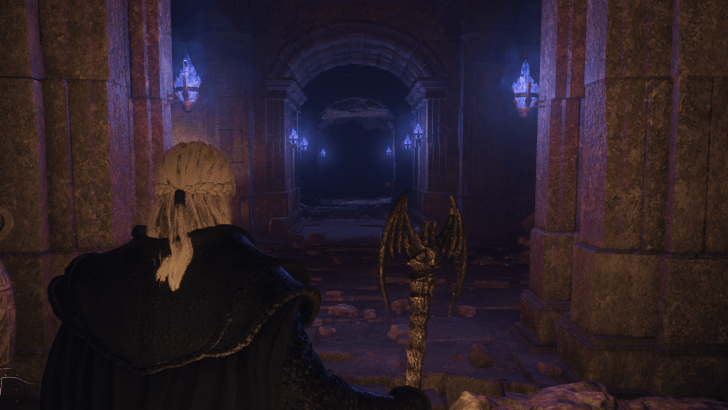 By either dropping down the hole on the right path, or using the staircase on the left path, you will be lead to a series of smaller chambers. |
| 24 | 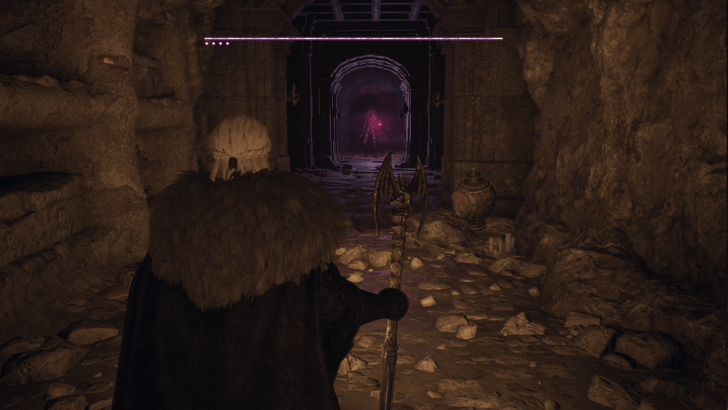 Upon getting near the inner chambers, a Corrupted Dullahan will spawn and attack you, and giving you a taste of what's to come. Note: Based on recent testing, the Corrupted Dullahan here will attack you up until the halfway point of its first HP bar. It will then escape and you can then proceed further into the dungeon. |
| 25 | 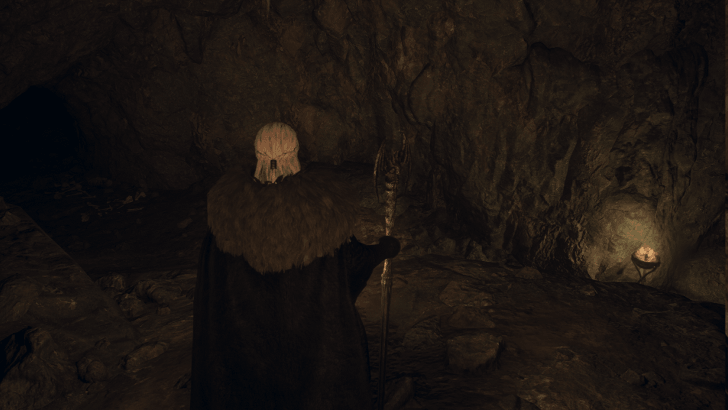 The area where the Corrupted Dullahan initially spawns will not have any loot apart from a Modest Camping Kit. Proceed further down the cavern to be met with two opposite paths again. Note: Both paths will eventually lead to the same area but it is recommended to take the left path first. |
| 26 | 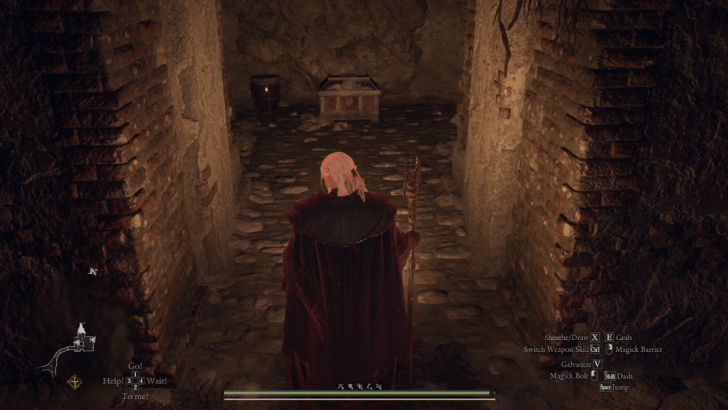 Go to the left path to be met with another fork in the corridor, with the left path being blocked by a boulder. Break the boulder to the left to access a small morgue with quite a few Corrupted Undead spawning from the tombs. At the end of this chamber will be a chest containing a Wakestone. |
| 27 | 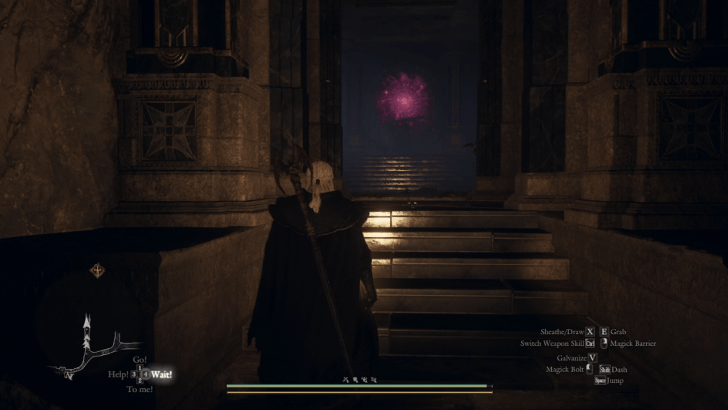 Go back down towards the opposite path to then be met with a sealed door guarded by a Corrupted Skeleton Lord. Defeating it will open up the sealed door that it was guarding. Note: This particular Corrupted Skeleton Lord will open up with a powerful sword slash that can wipe out your party. Be prepared as the move will be indicated by it charging up its sword up in the air and releasing the move once sword fully glows. |
| 28 | 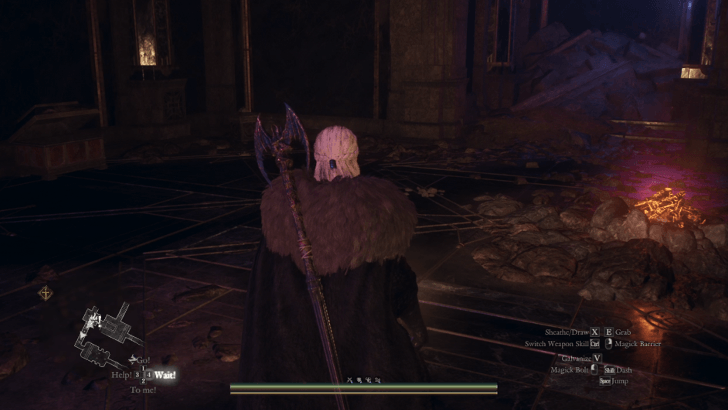 After defeating the Corrupted Skeleton Lord and opening the door, proceed upward to a room with a camping area and a chest containing the Ophidian Diadem. There is also going to be a barred door that leads you to the next area. |
| 29 | 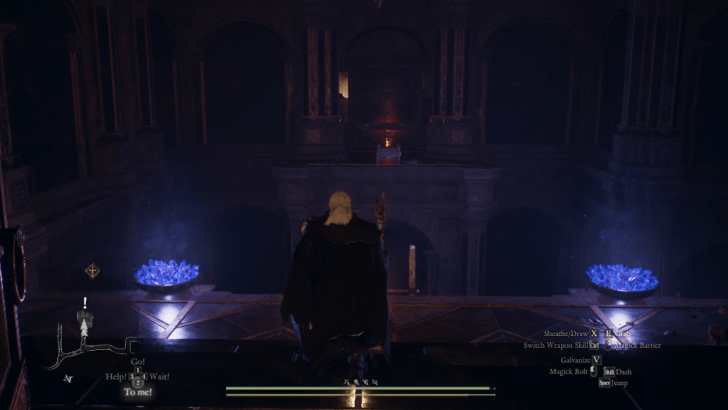 Open the barred door and untie the ladder to proceed down to the next area. Note: This area is also where the right facing path leads to back in Step 26. |
| 30 | 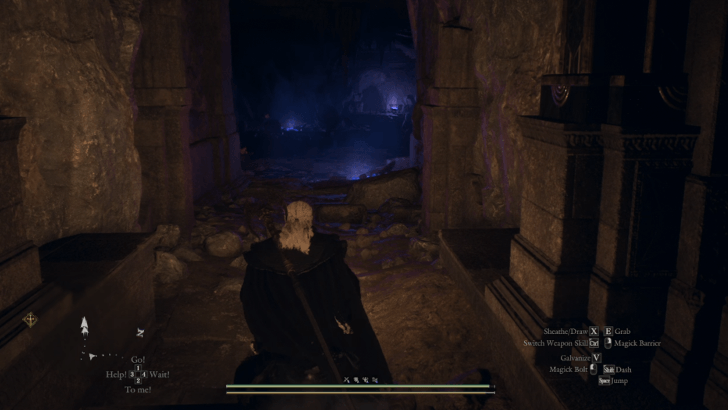 Continue downards towards the next corridor that leads you to a large open cavern riddled with Corrupted Asps and Corrupted Serpents. |
| 30.5 | 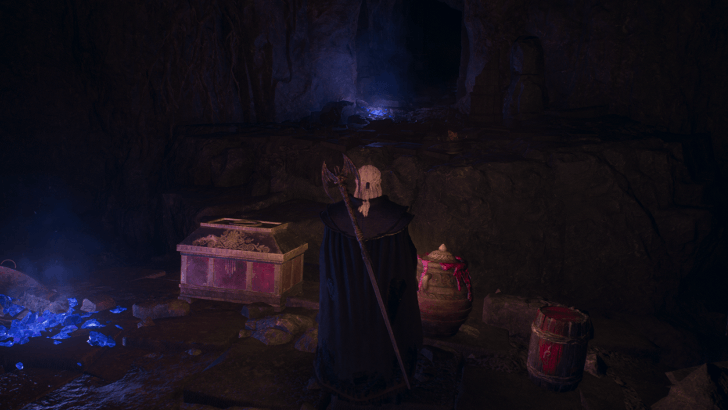 A chest will be located at one of the cliffs containing 3,000 RC, and 20,000 gold. |
| 31 | 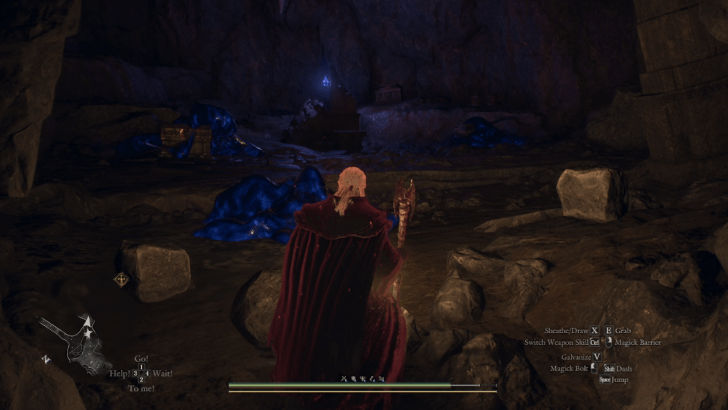 Towards the lower left side of the chamber is a path blocked by a boulder that leads to a Riftstone and three chests each protected by a Blue and Purple Slime. The previous chamber is riddled with Poison Casks that can help you in killing the slimes. The chests will yield you the Griffin-Feather Cloak, 30,000 gold, x2 Mighty Roborants, and x20 Wyrmslife Crystals. |
| 32 | 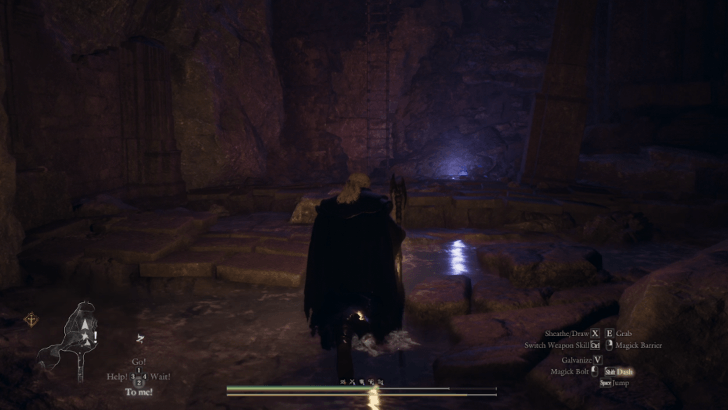 Go back to the large chamber and towards the back will be a ladder that will lead you to the next area. |
| 33 | 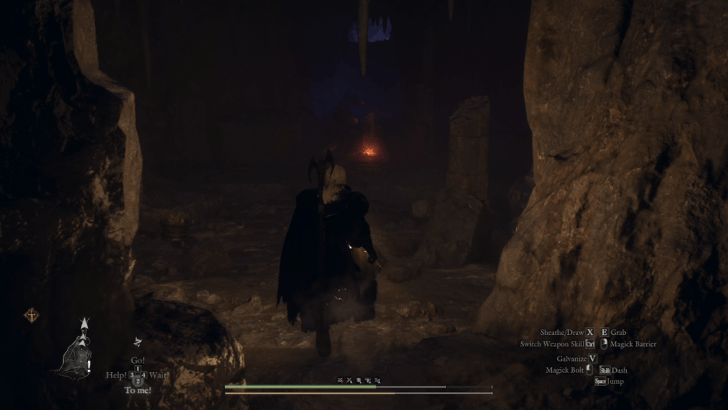 The next area will be another cavern with a camping area guarded by a few Corrupted Asps. |
| 33.5 | 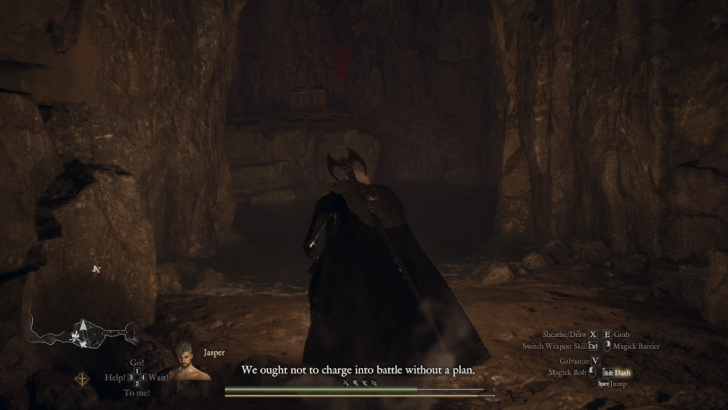 The middle of the room will have a crack that leads down to a chest containing an Allheal Elixir. |
| 34 | 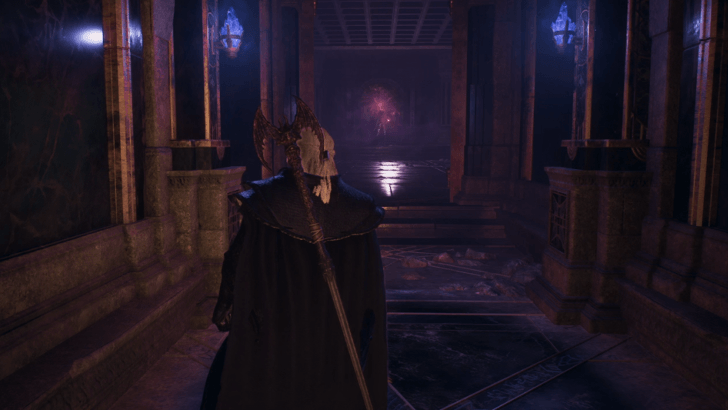 Past the camping area, you will finally be at the final boss room where the Corrupted Dullahan will face you. Defeat it to acquire the Ring of Imperception and some Brinebeast Ore. |
| 35 | 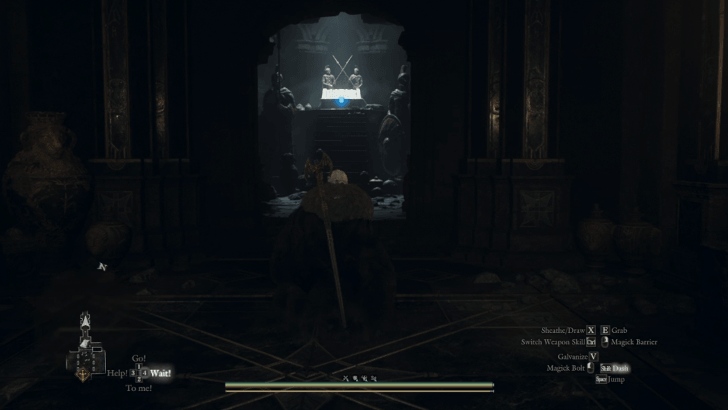 Finally, once the Corrupted Dullahan has been defeated, the final chest room will open where you will acquire the Kibisis Coat, Fleetstride Cuisses, and an Offering Flame. Afterwards, you are now free to exit the dungeon via Ferrystone. |
How to Beat Blue and Purple Slimes
Best Party for Interminable Corridor
Balanced Team
| Arisen | Main Pawn | Hired Pawn | Hired Pawn |
|---|---|---|---|
 Archer or  Mage |
Mage
|
 Fighter |
 Sorcerer |
Using the Archer equipped with Blighting Arrows is strongly recommended, as numerous Purple Slimes populate the dungeon which are only susceptible to poison.
For your Main Pawn, consider switching to a Mage Pawn with High Palladium for extra party shielding, High Empyrean for damage, and Exalted Bolt for more damage that can be applied to other mages or sorcerers in the party.
Make sure to also stick close to the Anodyne aura as there will be a Corrupted Dullahan and numerous Undead enemies within the dungeon.
For the rest of your hired Pawns, consider getting a Fighter with Shield Drum to draw the aggro of enemies and bosses. Try to find a Sorcerer as well with the spells High Hagol and High Thundermine for freezing and crowd control, or Maelstrom to potentially one-shot the regular enemies you'll encounter in the dungeon.
Interminable Corridor Rewards
| Main Loot |
|---|
| ・ Kibisis Coat (Body Armor) x1 ・ Fleetstride Cuisses (Leg Armor) x1 ・ Ophidian Diadem (Head Armor) x1 ・ Ring of Imperception x1 ・ Offering Flame x1 |
| All Rewards |
|
・Band of Dunscaith x1 ・Phantasmic Shawl x1 ・Griffin-Feather Cloak x1 ・Brinebeast Fragments ・Brinebeast Ore ・Lordly Eyepatch x1 |
Dragon's Dogma 2 Dark Arisen Related Guides

Lost Rites Guide and Dungeon Locations
Lost Rites Recommended Guides
| Best Lost Rites Build and Party Comp | All Lost Rites Gear and Rewards |
| How to Respawn Lost Rites | How to Open Lost Rites Doors |
| How to Get Brinebeast Ore | - |
List of All Lost Rites Dungeons
| Vermund Lost Rites | |
|---|---|
| Devilkin Hollow | Daemon's Corral |
| Sunken Spire | Interminable Corridor |
| Batthal Lost Rites | |
| Mired Conduit | Embersand Mine |
| Shrouded Warren | Precipitous Catacombs |
| Wyrmsblood Arena | - |
| Unmoored World Lost Rites | |
| Molten Gauntlet | Seafloor Sepulcher |
| Final Proving Ground | |



Author

Dragon's Dogma 2 (DD2) Dark Arisen Walkthrough & Guides Wiki
Interminable Corridor Walkthrough and Location

Rankings
Gaming News





Popular Games

Genshin Impact Walkthrough & Guides Wiki
Fire Emblem: Fortune's Weave (FEFW) Walkthrough & Guides Wiki
Aniimo Walkthrough & Guides Wiki
Wuthering Waves Walkthrough & Guides Wiki
Dragon's Dogma 2 (DD2) Dark Arisen Walkthrough & Guides Wiki
Umamusume: Pretty Derby Walkthrough & Guides Wiki
Honkai: Star Rail Walkthrough & Guides Wiki
Zenless Zone Zero Walkthrough & Guides Wiki
Pokemon TCG Pocket (PTCGP) Strategies & Guides Wiki
AION 2 Walkthrough & Guides Wiki









Recommended Games
Fire Emblem Heroes (FEH) Walkthrough & Guides Wiki
Where Winds Meet Walkthrough & Guides Wiki
Diablo 4: Lord of Hatred Walkthrough & Guides Wiki
Super Smash Bros. Ultimate Walkthrough & Guides Wiki
Persona 3 Reload Walkthrough & Guides Wiki
The Legend of Zelda: Tears of the Kingdom Walkthrough & Guides Wiki
Elden Ring Walkthrough & Guides Wiki
Pokemon Brilliant Diamond and Shining Pearl (BDSP) Walkthrough & Guides Wiki
Cyberpunk 2077: Ultimate Edition Walkthrough & Guides Wiki
Monster Hunter World Walkthrough & Guides Wiki










All rights reserved
©CAPCOM CO., LTD. ALL RIGHTS RESERVED.
The copyrights of videos of games used in our content and other intellectual property rights belong to the provider of the game.
The contents we provide on this site were created personally by members of the Game8 editorial department.
We refuse the right to reuse or repost content taken without our permission such as data or images to other sites.
definitely one of my dungeons so far. the final reward you get is pretty cool, but i wish it was stronger. especially considering how long the dungeon takes to complete