
Seafloor Sepulcher Walkthrough and Location
Seafloor Sepulcher is a Lost Rite dungeon added in the Dark Arisen DLC of Dragon's Dogma 2 (DD2). Check out our guide for a full walkthrough of the Seafloor Sepulcher Lost Rite Dungeon and where to find it, best party composition, how to defeat the boss, and rewards!
Seafloor Sepulcher Location
Located at the Seafloor Shrine
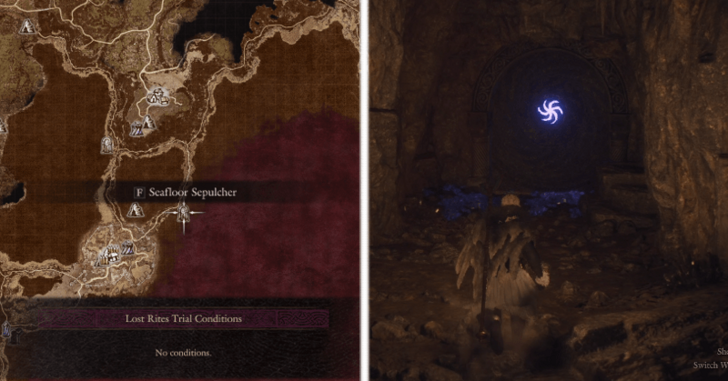
The Seafloor Sepulcher is located at the middle-right area of the Seafloor Shrine but is only accessible during the Unmoored World.
Requires Progressing Unmoored World to Unlock
As the dungeon is located inside the Seafloor Shrine area in Unmoored World, you will need to progress and do the Legacy Main Quest. Doing so, will grant you access to the last three Lost Rites dungeons.
Seafloor Sepulcher Trial Conditions
No Trial Conditions
There are no Trial Conditions and restrictions for Seafloor Sepulcher.
Best Party for Seafloor Sepulcher
Anti-Evil Eye Team
| Arisen | Main Pawn | Hired Pawn | Hired Pawn |
|---|---|---|---|
 Thief or  Sorcerer |
 Mage |
 Fighter |
 Archer or Thief
|
This team composition allows you to easily take on the Evil Eye boss in the dungeon. Switch to Thief and equip the Heaven's Key to take advantage of the boss' weakness to slashing and Holy damage. With a Sorcerer, consider equipping large AOE spells across multiple elements such as High Hagol,and High Seism to deliver heavy burst damage, particularly against the Evil Eye. Pair these with Augural Flare to destroy specific weak spots or tentacles of the Evil Eye.
The Evil Eye is resistant to almost all elemental damage from spells, but you should still have a dedicated support Mage Pawn who can apply quick shielding with High Palladium and burst healing with Argent Tonic. Make sure to slot High Halidom so you can cleanse the debilitations that the boss can inflict with its tentacles. Equipping Exalted Bolt as well aids you if you are a Sorcerer/Mage and any other with the same vocation in the party for added holy damage.
For the rest of your hired Pawns, consider getting a Fighter with Shield Drum to draw the aggro of enemies and bosses.Consider getting an Archer as well because Archer Pawns are great as they can attack the boss from range, and can provide burst damage if their kit has Erupting Shot and you supply them with Explosive Arrows.
Seafloor Sepulcher Walkthrough
How to Complete Seafloor Sepulcher
| # | Walkthrough |
|---|---|
| 1 | 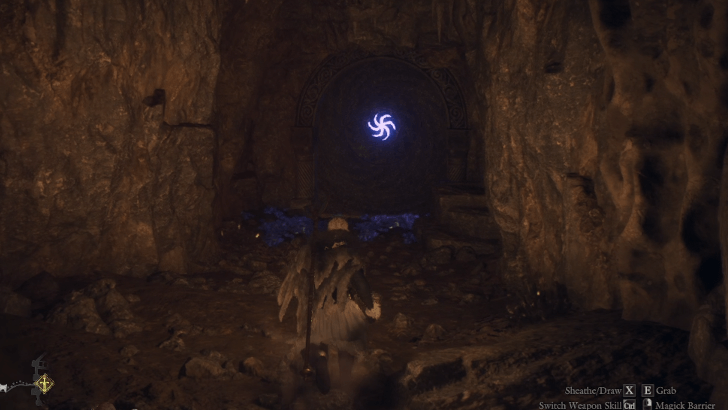 Proceed to the entrance of the Seafloor Sepulcher located at the top-right path of Seafloor Shrine. |
| 2 | 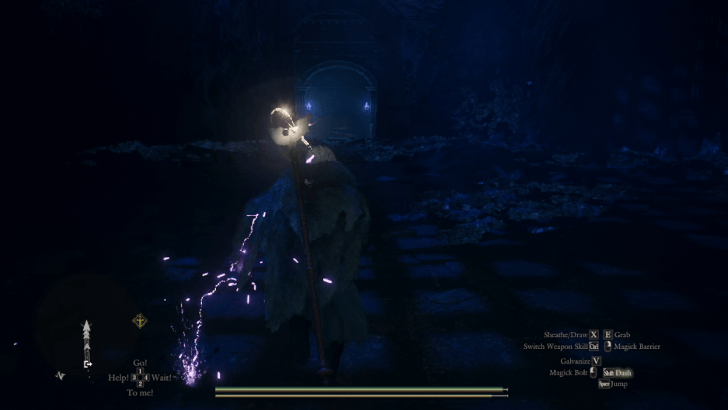 Upon entering and passing through a staircase, you will be in a chamber with high ceilings along with a few Corrupted Goreharpies. |
| 3 | 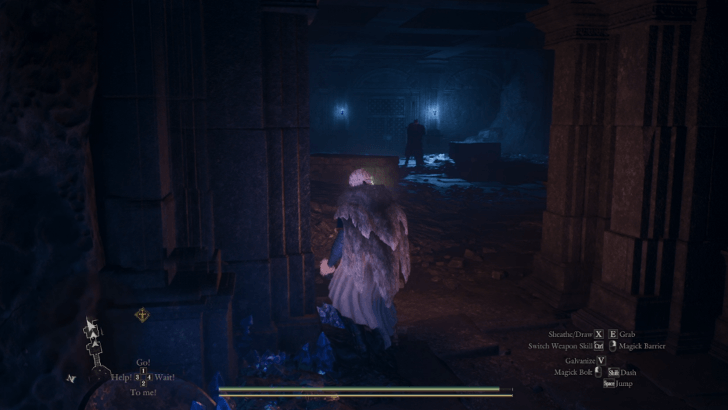 Continue downward passing a few more chambers until you reach a room guarded by a Corrupted Skeleton Lord accompanied by a few Corrupted Skeletons. Tentacles and Eyes from an Evil Eye will also assist the enemies in this fight. Note: This particular Corrupted Skeleton Lord will open up with a special and powerful slash attack, avoid it to prevent major damage to your party. |
| 4 | 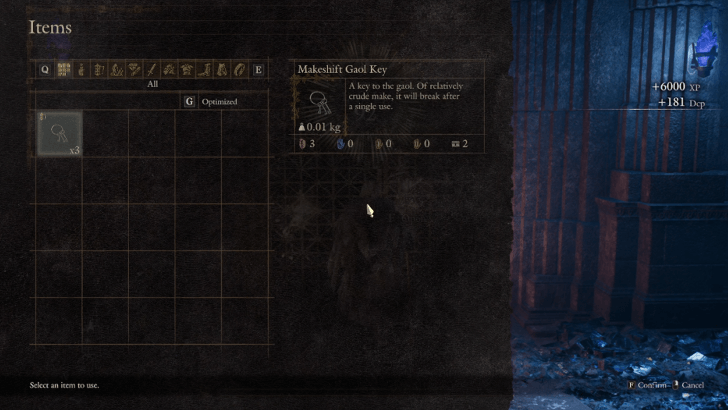 Behind the room will be a gate that can be opened by a Makeshift Gaol Key. If you already have one, feel free to proceed forward. Note: Proceed to Step 5 if you have already opened the door. |
| 4.1 | 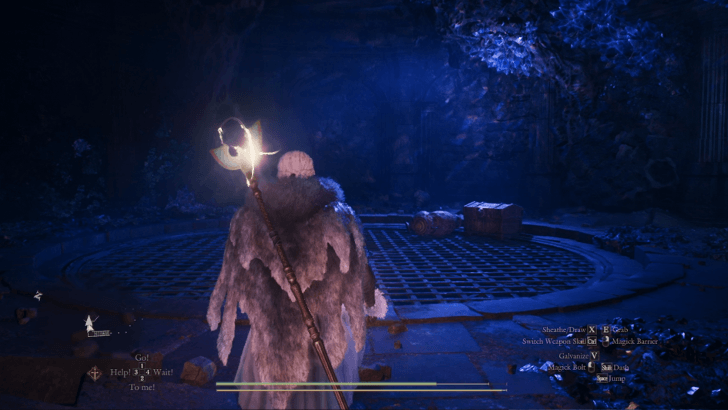 If you do not have a Gaol Key, proceed to the right of the entrance of the room towards a staircase. Go up towards a chamber that has two minor chests containing a Hiemal Euphony, and a Panacea. |
| 4.2 | 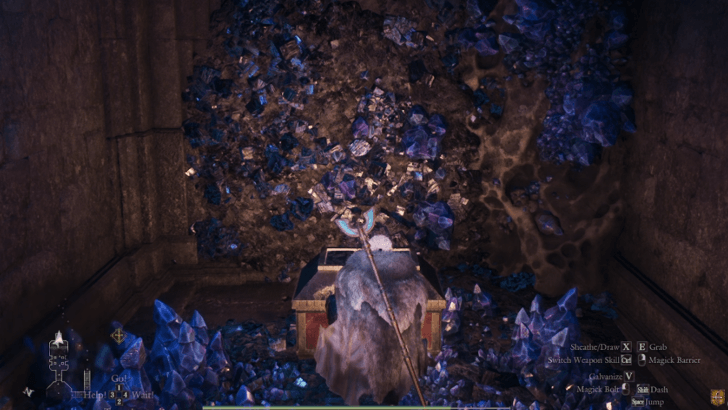 Move towards the next room. At the end will be a chest containing a Makeshift Gaol Key. Once you open the chest, Evil Eye Tentacles will start spawning in and attacking you. Feel free to run away as these do not stop spawning and do not yield any EXP or loot. Once you get back down to the initial room with the locked gate, the Evil Eye Tentacles will stop spawning. |
| 5 | 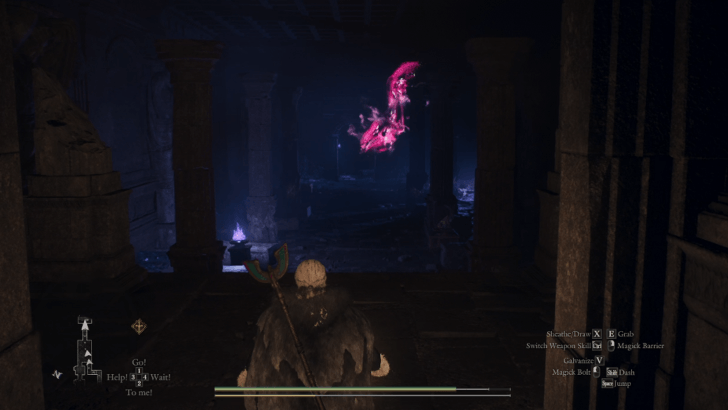 Upon entering the locked gate, you will be in a large open chamber where a few Corrupted Specters and Corrupted Undead will spawn. This room also has a few chests scattered about that contain, x2 Panacea, a Wakestone, x2 Stability Extract, 22,000 gold, x5 Fell-Lord's Bone, a Ferrystone, and x20 Wyrmslife Crystals. |
| 6 | 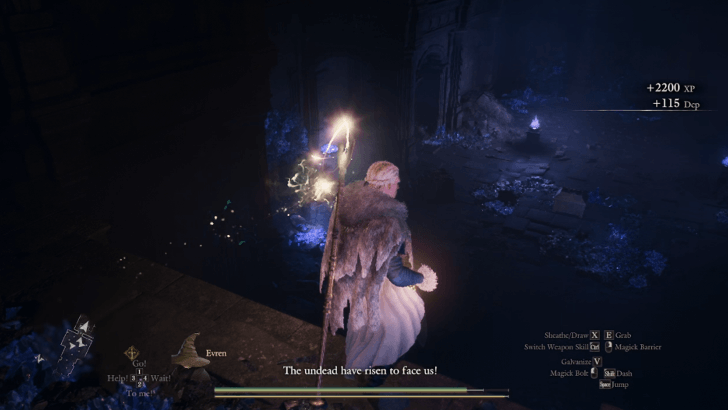 Upon getting to the next room, you will see a ladder going down with a chest in the middle. Towards the right of you will also be a staircase leading to a room with a sealed door. Note: It is completely optional to take the chest at the bottom. Doing so will only yield 999 RC and EXP from the boss that spawns in. |
| 6.1 | 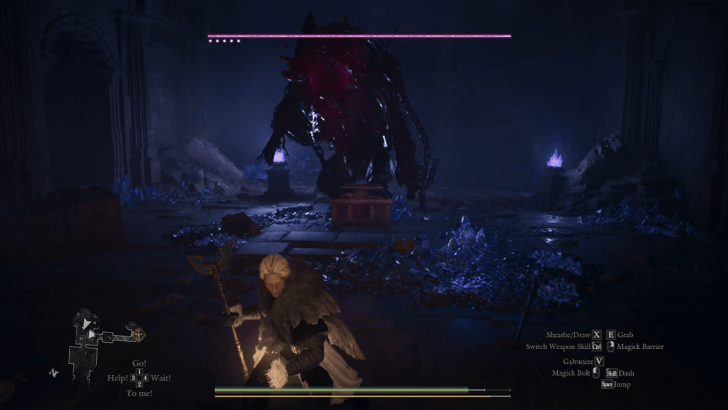 Go down towards the chest, doing so will spawn in a Corrupted Goreminotaur again assisted by a few Evil Eye Tentacles. Defeat it to open the chest safely that contains 999 RC. |
| 7 | 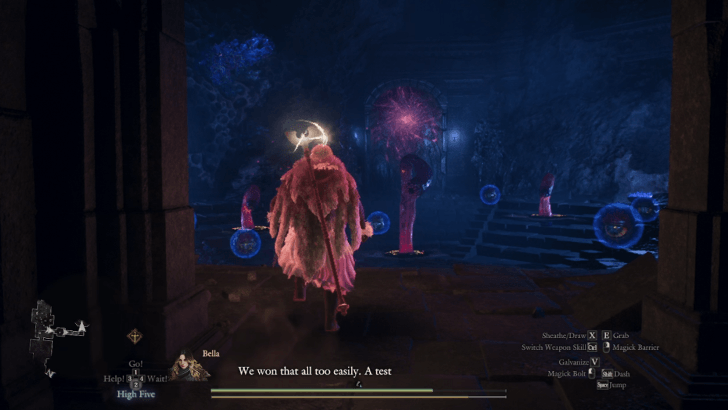 Upon going up the staircase to the right of the chamber, you will see a sealed door along with three Evil Eye Tentacles. Upon engaging them in battle, smaller Eyes will spawn in as well. Defeat them to unlock the sealed door. |
| 8 | 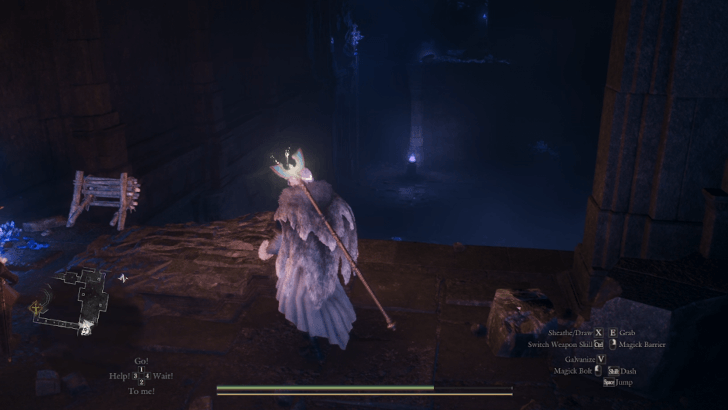 Past the door will be a corridor with a ladder. Go down the ladder to find yourself back in the same chamber as earlier but on the other side. There will be a Riftstone here and also a tied ladder that you can use if ever you decide to go back down to the chest area. |
| 9 | 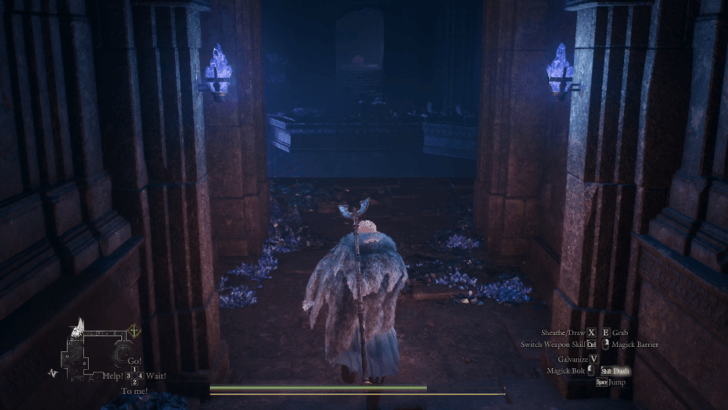 In the next area will be a tall chamber with a spiral staircase going down from where you are. Across it will be a room with a visible chest. Going inside this area will cause the gate behind you to close, locking you in for this segment. |
| 10 | 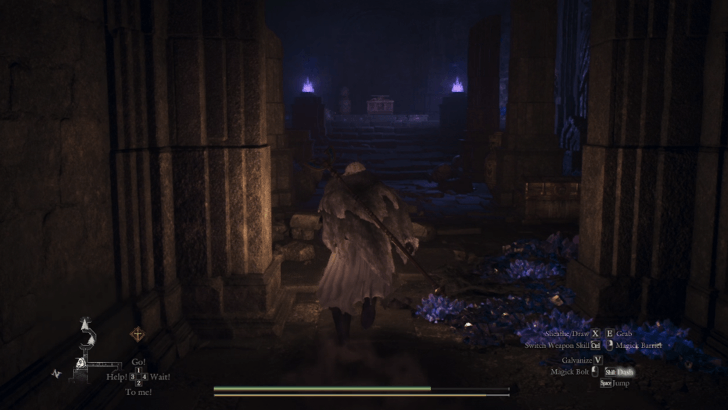 First, go to the room across from you to loot the Wyrmhorne Helm from the main chest, and x3 Salubrious Draught from the minor chest. |
| 11 | 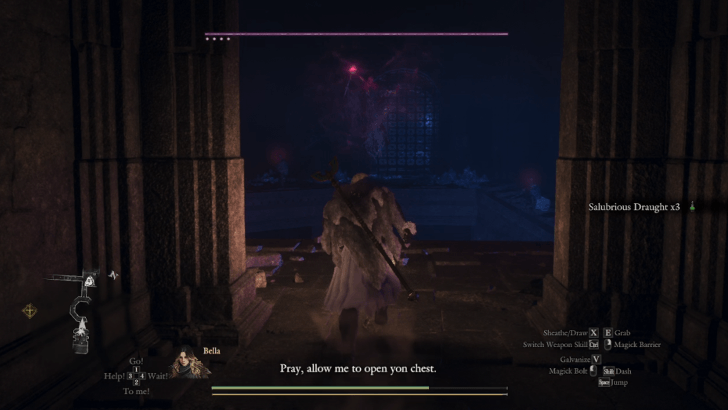 Once you go back out towards the spiral staircase, there is a chance that the boss in this area may have aggro'd you already which is a Corrupted Wight. Fight your way down the staircase as a few Corrupted Skeletons will assist the Corrupted Wight. At the bottom of the staircase will be a sealed door guarded by a few Evil Eye Tentacles and smaller Eyes. Note: You will only need to defeat the Corrupted Wight to open the sealed door. |
| 11.1 | 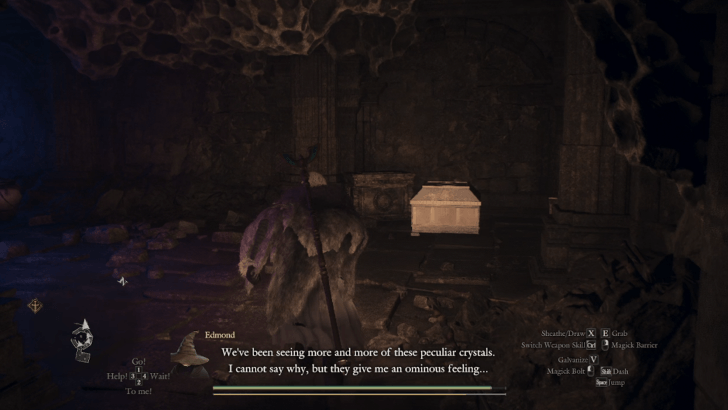 There are also other rooms along the staircase, the closest one towards the bottom will have a chest containing x5 Fine Fruit Roborants. while the chest closer to the top will contain a Ring of Insulation. |
| 12 | 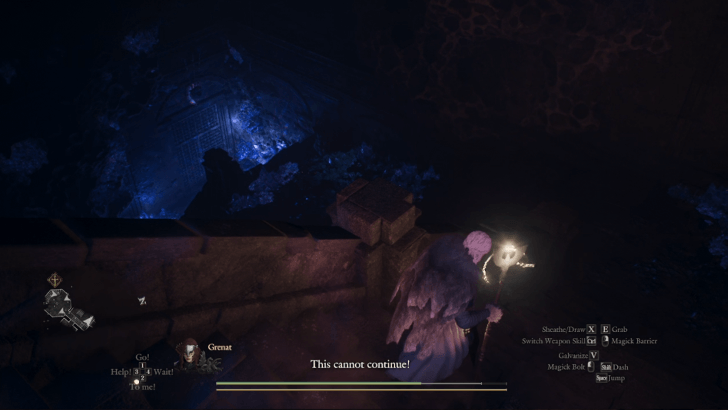 Moving past the sealed door takes you to another staircase that winds down. At the bottom will be three different paths you can take. |
| 13 | 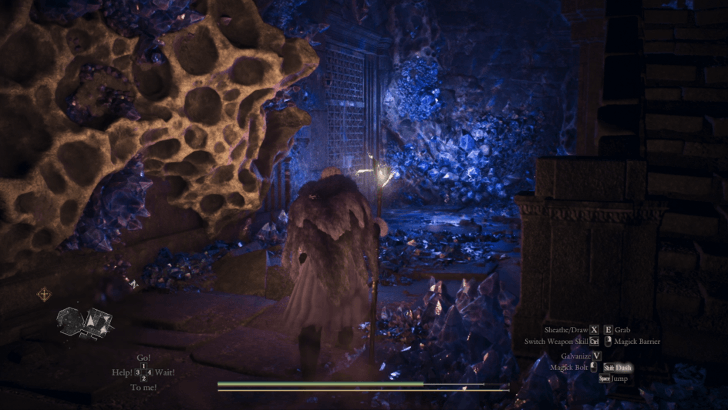 The path to the right covered by the stairs will be locked by a gate that can only be opened by a Makeshift Gaol Key, or Gaol Key. If you have one, you may proceed forward. Note: If you have already have a key, proceed to Step 16, otherwise proceed to the next step. |
| 14 | 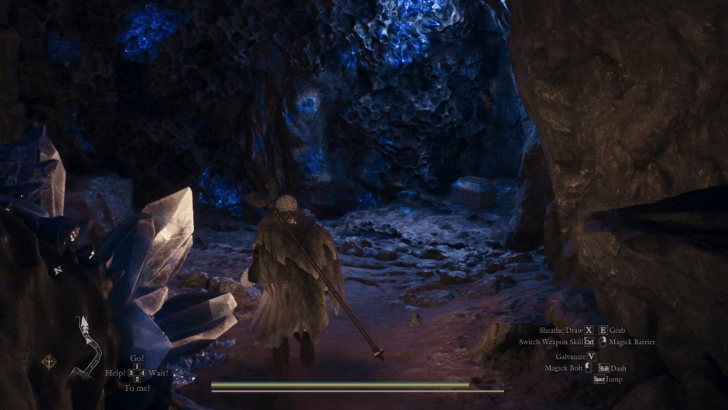 The path to the left will be a hole in the wall that leads you to a small cavern, at the end of it will be a chest containing a Makeshift Gaol Key. Looting this chest will again cause Evil Eye Tentacles to inifinitely spawn and attack you until you get out of this path. Move back to the staircase to stop the tentacles from spawning. |
| 15 | 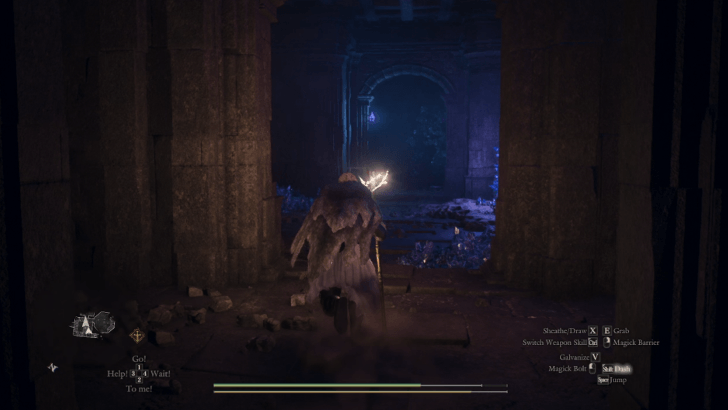 The path straight ahead leads to a corridor, once inside there will be a destructible wall to your left. Destroy the wall and continue inside to see a chest containing a Crystalline Shawl, beside it will also be an Allheal Elixir. |
| 15.1 | 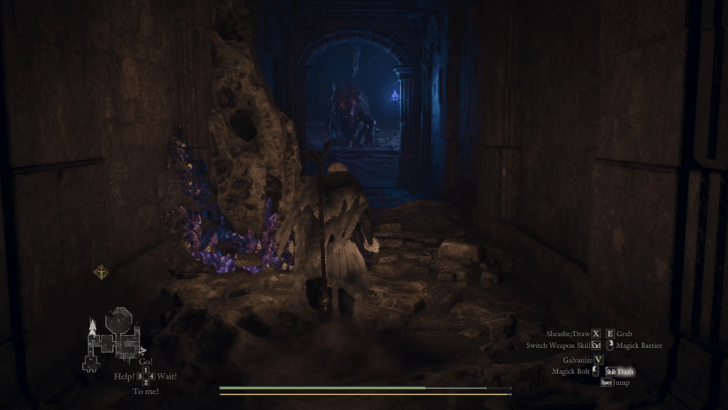 Go back to the corridor and into the main path of it to encounter a Corrupted Goreminotaur guarding another destructible wall. Defeat it to safely get into the wall and loot a chest containing a Wakestone. |
| 16 | 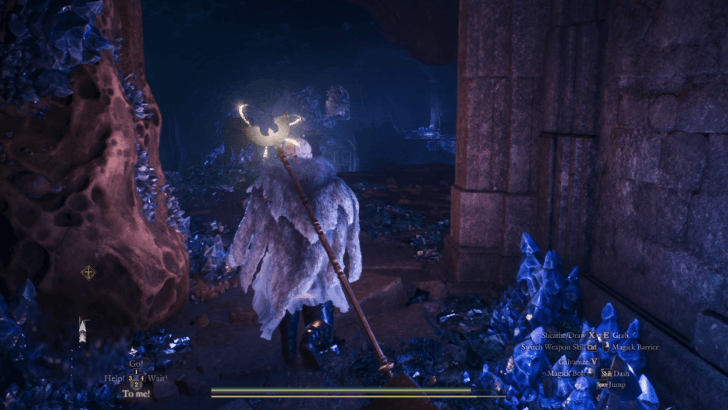 Back at the locked gate, once opened, move forward to be met with another large open area with pillars. |
| 17 | 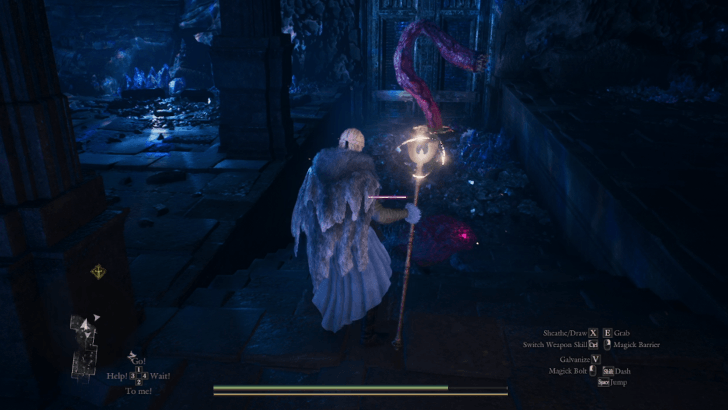 At the bottom will be a couple of Corrupted Serpents, clear them out to easily maneuver inside the room. At the end of the room will be a barred door that will be guarded by a single Evil Eye Tentacle. |
| 17.1 | 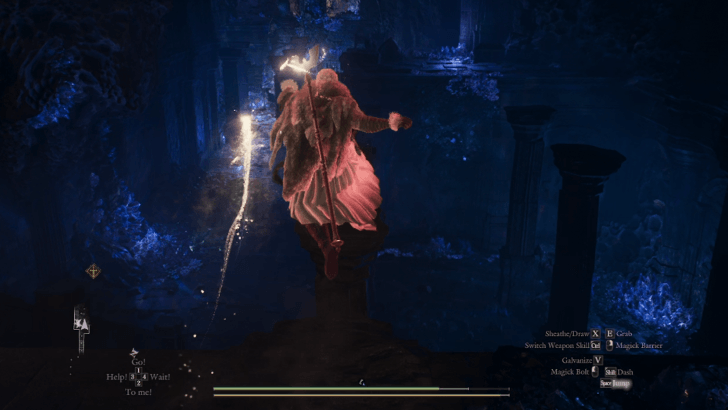 At the right side of the room will be a chest up on a platform containing an Allheal Elixir. To get to this you will need to jump on top of the pillars and use them to get to the platform or use Levitate if you are using a Mage/Sorcerer vocation. |
| 18 | 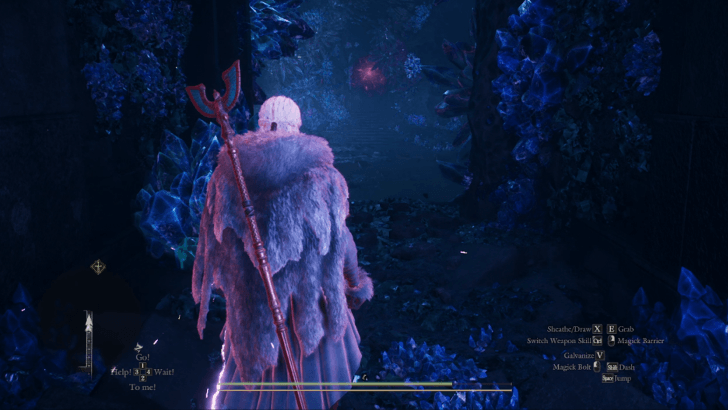 Destroy the barred door and enter it to see a descending staircase filled with crystals. At the bottom will be the final boss room with a sealed door behind it. |
| 19 | 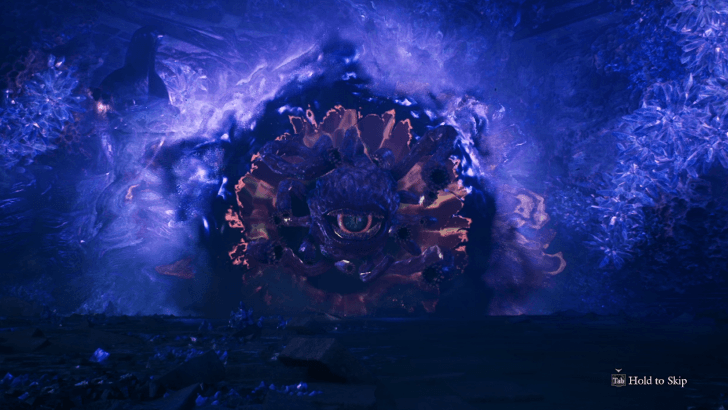 Going inside will lock you in and immediately prompt the Evil Eye to spawn. Defeat it to be able to open the sealed door and proceed. Upon defeat, it will drop a Pyrolyctic Cloth and a Circumventor's Burthen. |
| 20 | 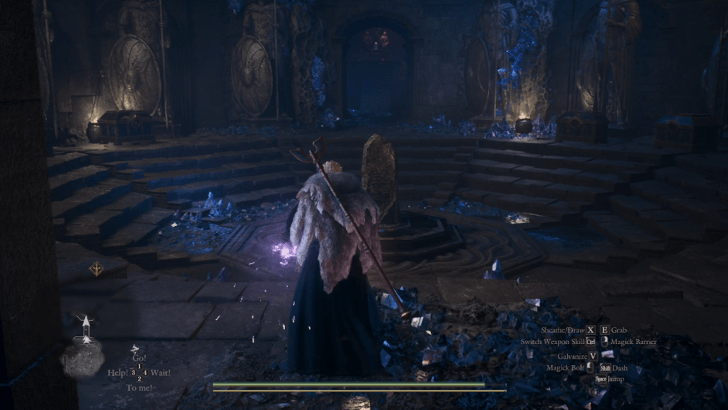 Past the door will be nine chests, and a glyph that indicates you can only take one treasure, along with an Ephemeral Key. Use this key to open any of the nine chests around the room. Warning: Only one Ephemeral Key is given in this room and it will be consumed upon opening a chest. |
| 21 | 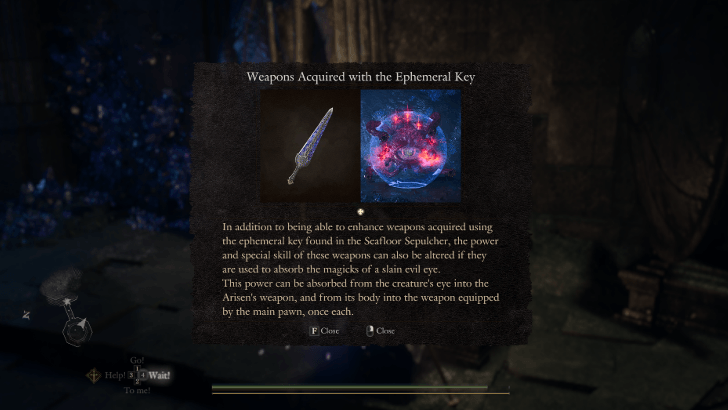 Each chest corresponds to a vocation signified by the insignia in front and the type of weapon that you can claim. Claim a weapon of your choice. |
| 22 | 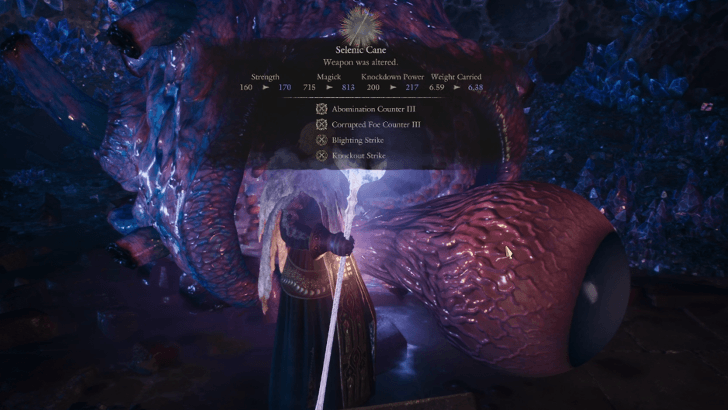 Go back to the Evil Eye in the boss room and while equipping the weapon you claimed, you will be able to absorb the Evil Eye's power to alter the stats of your weapon. Note: You will be able to do this for any future Evil Eyes or past ones if you managed to kill anything before as long as it has not yet despawned and you have any of the nine weapons equipped.. |
| 23 | 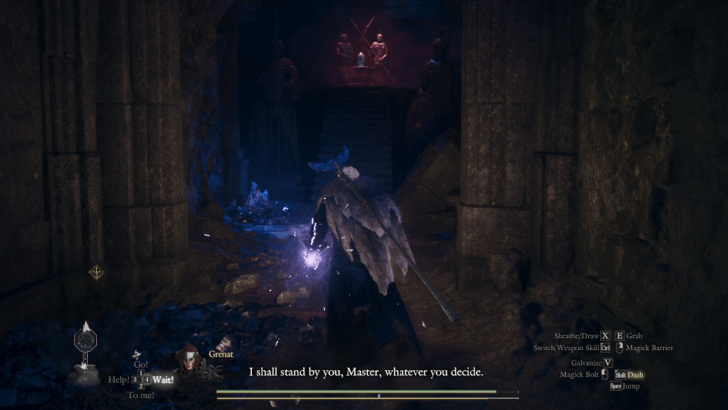 Past this room will be your way out and a Portcrystal waiting to be looted. On the platform you will be able to use a Ferrystone to teleport out and exit the dungeon. |
Seafloor Sepulcher Boss Guide
Seafloor Sepulcher Rewards
| Main Loot |
|---|
|
・Ephemeral Key x1 ・
 Pyrolytic Cloth x1 ・
Only one of the following:Circumventor's Burthen x1・
Seraphic Spar x1, and Celestial Crux x1・
Skygill x1・
Peregrine Totem x1・
Talons of the Magpie x1・
 Blade of Aldose x1 ・
Selenic Cane x1・
 Oscine x1 ・
 Parhelion x1 ・
Beckoning Delight x1 |
| All Rewards |
|
・Circumventor's Burthen x1 ・Pyrolyctic Cloth x1 ・Wyrmhorne Helmet x1 ・Crystalline Shawl x1 ・Malecryst x1 ・Malecryst Shard x1 |
Dragon's Dogma 2 Dark Arisen Related Guides
Lost Rites Guide and Dungeon Locations
Lost Rites Recommended Guides
| Best Lost Rites Build and Party Comp | All Lost Rites Gear and Rewards |
| How to Respawn Lost Rites | How to Open Lost Rites Doors |
| How to Get Brinebeast Ore | - |
List of All Lost Rites Dungeons
| Vermund Lost Rites | |
|---|---|
| Devilkin Hollow | Daemon's Corral |
| Sunken Spire | Interminable Corridor |
| Batthal Lost Rites | |
| Mired Conduit | Embersand Mine |
| Shrouded Warren | Precipitous Catacombs |
| Wyrmsblood Arena | - |
| Unmoored World Lost Rites | |
| Molten Gauntlet | Seafloor Sepulcher |
| Final Proving Ground | |
Comment



Author

Dragon's Dogma 2 (DD2) Dark Arisen Walkthrough & Guides Wiki
Seafloor Sepulcher Walkthrough and Location

Rankings
- We could not find the message board you were looking for.
Gaming News





Popular Games

Genshin Impact Walkthrough & Guides Wiki
Fire Emblem: Fortune's Weave (FEFW) Walkthrough & Guides Wiki
Aniimo Walkthrough & Guides Wiki
Wuthering Waves Walkthrough & Guides Wiki
Dragon's Dogma 2 (DD2) Dark Arisen Walkthrough & Guides Wiki
Umamusume: Pretty Derby Walkthrough & Guides Wiki
Honkai: Star Rail Walkthrough & Guides Wiki
Zenless Zone Zero Walkthrough & Guides Wiki
Pokemon TCG Pocket (PTCGP) Strategies & Guides Wiki
AION 2 Walkthrough & Guides Wiki









Recommended Games
Fire Emblem Heroes (FEH) Walkthrough & Guides Wiki
Where Winds Meet Walkthrough & Guides Wiki
Diablo 4: Lord of Hatred Walkthrough & Guides Wiki
Super Smash Bros. Ultimate Walkthrough & Guides Wiki
Persona 3 Reload Walkthrough & Guides Wiki
The Legend of Zelda: Tears of the Kingdom Walkthrough & Guides Wiki
Elden Ring Walkthrough & Guides Wiki
Pokemon Brilliant Diamond and Shining Pearl (BDSP) Walkthrough & Guides Wiki
Cyberpunk 2077: Ultimate Edition Walkthrough & Guides Wiki
Monster Hunter World Walkthrough & Guides Wiki










All rights reserved
©CAPCOM CO., LTD. ALL RIGHTS RESERVED.
The copyrights of videos of games used in our content and other intellectual property rights belong to the provider of the game.
The contents we provide on this site were created personally by members of the Game8 editorial department.
We refuse the right to reuse or repost content taken without our permission such as data or images to other sites.