
Seeking the Sage Walkthrough and Location
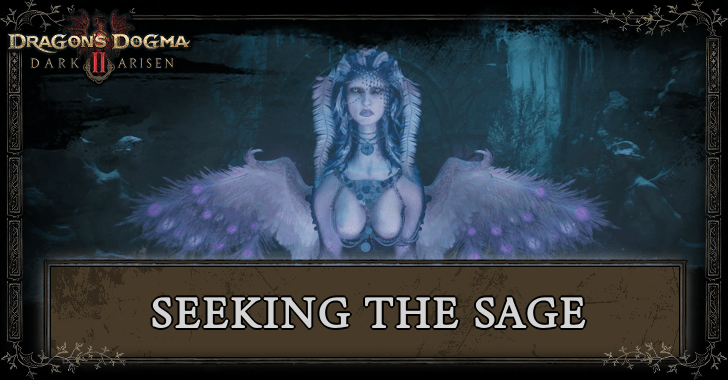
This is a Seeking the Sage walkthrough for the Dark Arisen DLC of Dragon’s Dogma 2 (DD2). Learn the Norgan Sphinx's riddle solutions and answers for the Sage's Wisdom!
List of Contents
Seeking the Sage Walkthrough
| Objectives | ||||||
|---|---|---|---|---|---|---|
| 1 | Acquire the Spirit Compass | |||||
| 2 | Follow the Path | |||||
| 3 | You Encounter the Sage | |||||
| 4 | Answer the Sphinx's Riddle | |||||
| Sage's Wisdom | ||||||
| Riddle of the Body | Riddle of the Soul | Riddle of the Will | ||||
| 5 | Return to Polyeidus | |||||
Click on a step to jump to its section in the walkthrough!
Acquire the Spirit Compass
| # | Walkthrough |
|---|---|
| 1 | 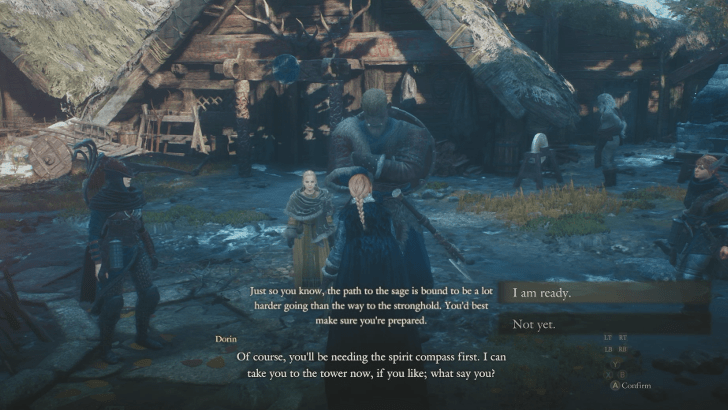 Talk to Dorin to start the Quest; he should be in the middle of the village. You will then follow Dorin to the camp's watch tower. |
| 2 | 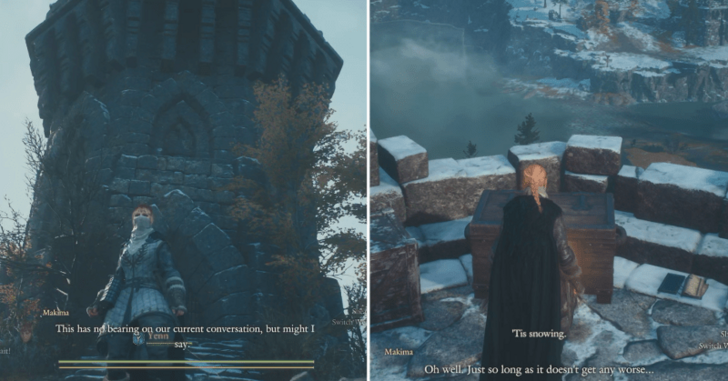 He will hint that the compass is somewhere within the tower, however it is located at the top, inside a treasure chest. |
| 3 | After acquiring the compass, simply head back down and talk back to Dorin to proceed. |
| 4 | 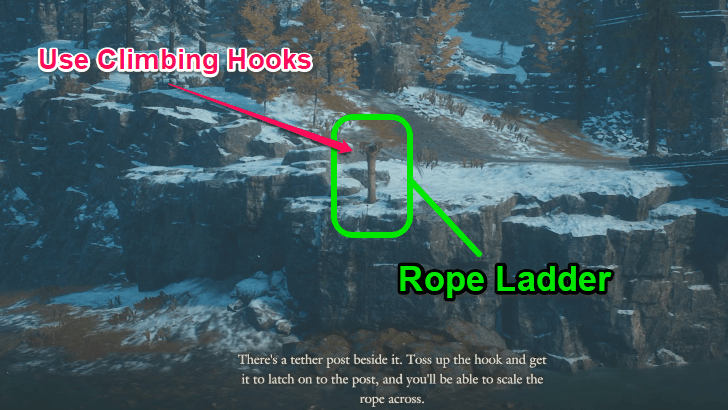 He will note that you need a climbing hook to scale around the broken bridge. He will give you one so you can proceed. |
Follow the Path
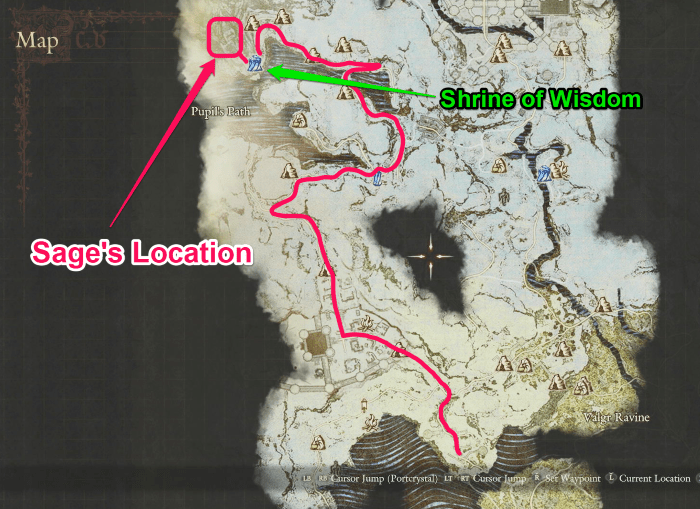
You will follow along the path that the compass is trying to guide. This will be a typical long travel through groups of enemies and extreme weather.
Be prepared for the trek, as this will take about 30 minutes of travelling. Gear up and buff up for your journey ahead.
Be sure to bring at least 5 heatstones to keep you and your team warm during the harsh blizzards in your trek to the Sage.
You Encounter the Sage
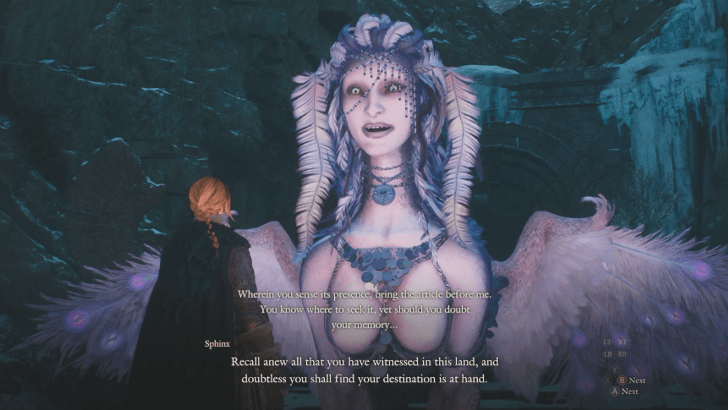
After reaching the top of the temple and passing the Shrine of Wisdom portcrystal, you will meet with the Sage - the Norgan Sphinx.
You will talk a bit about the second Arisen and the Undead Dragon. However, she will note that for her to give you the answers, you have to answer 3 Riddles to finish the Quest.
Sage's Wisdom Sub Quests
Do note that the quest will not finish until you are able to solve all three riddles of the Body, Soul, and Will.
| Sage's Wisdom Riddles | ||
|---|---|---|
| Body | Soul | Will |
Click on one of the riddles for their respective solution!
Riddle of the Body
| # | Walkthrough |
|---|---|
| 1 | 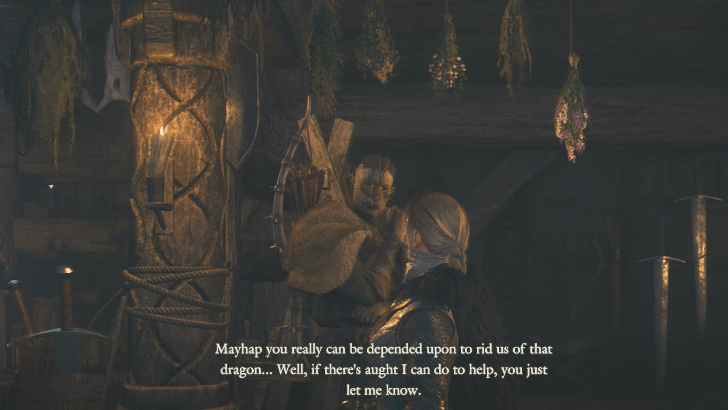 Talk to Dwayne at the Norgandian Inn. Keep talking to him until he starts looping about the Giant. |
| 2 | 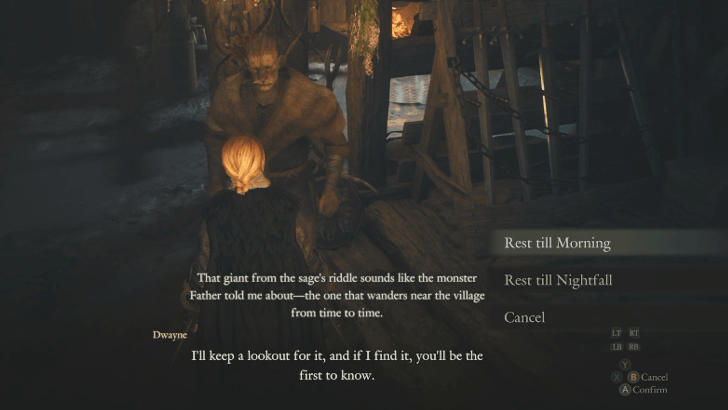 Rest till Morning at the Inn, as the riddle hints "At Dawn". During your sleep, you will hear a mighty roar hinting at the Giant. Afterwards, Dwayne wakes you to its whereabouts. |
| 3 | 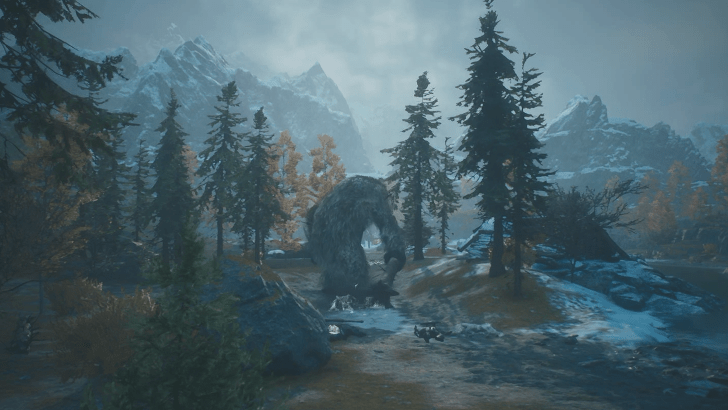 |
| 4 | 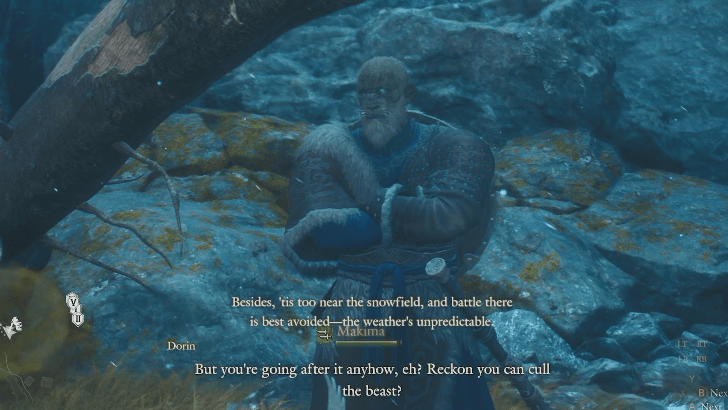 Follow the path towards the mountainside. You will encoutner Dorin as well trying to hunt the same Giant. He will be at the entrance of the Nival Gorge Collapse. |
| 5 | 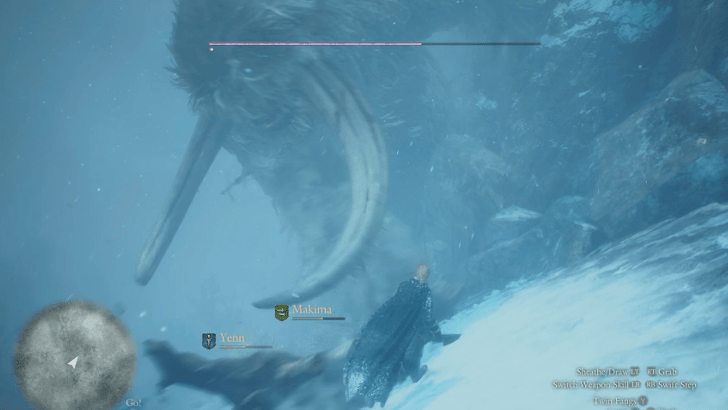 Proceeding through the gorge, you will fight the Mournful Giant. Be careful as he hits hard with a large health pool. Be prepared with a lot of heatstones as this fight will perpetually be in a blizzard. |
| 6 | 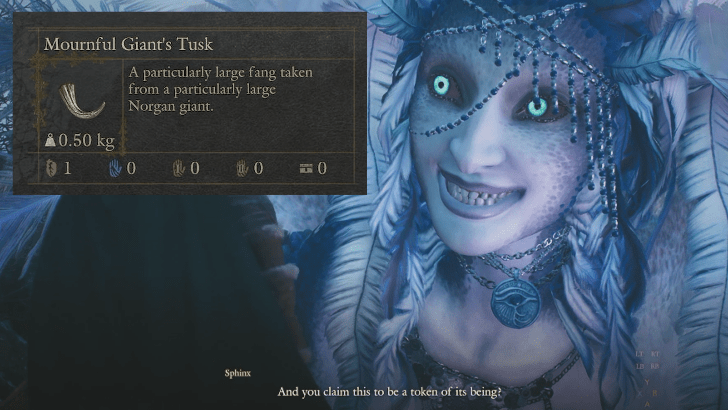 After collecting the Mournful Giant's Tusk, bring it back to the Sage, as submitting this item answers the riddle. |
Riddle of the Soul
| # | Walkthrough |
|---|---|
| 1 | 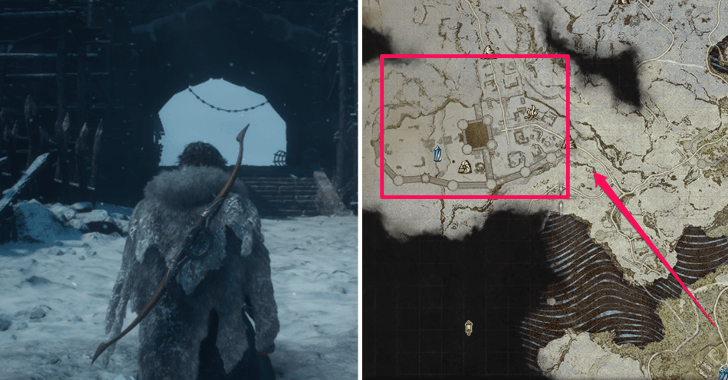 Travel to the Beorcan Stronghold. A blizzard inside the stronghold slowly drains your stamina. Bring at least 3 to 4 heatstones, as you will need them for the entirety of the fight later on. |
| 2 | 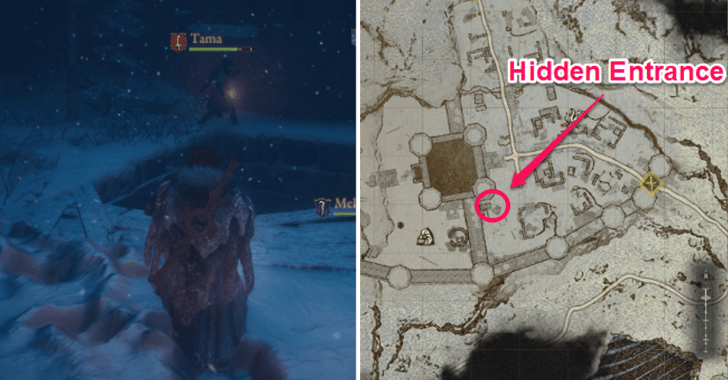 Head southwest of the Beorcan Stronghold. There is an opening hidden under the snow. Attack or step on the snow to uncover it, then go down the ladder. |
| 3 | 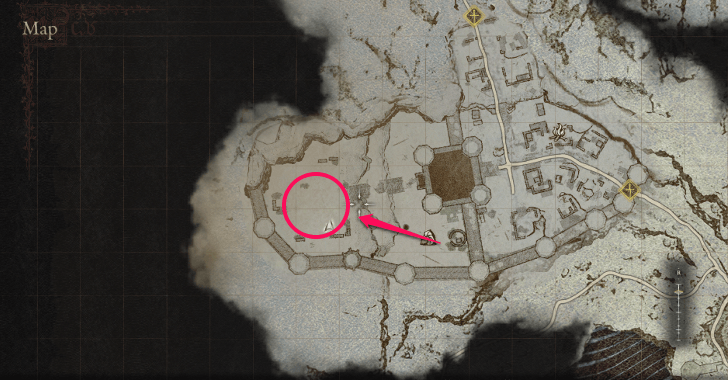 After climbing down, head into the next room and climb the ladder there to reach the other side of the keep. Walk past the riftstone and up to the top of the courtyard, where Fimbl, the dragon causing the blizzard, is waiting. |
| 4 | 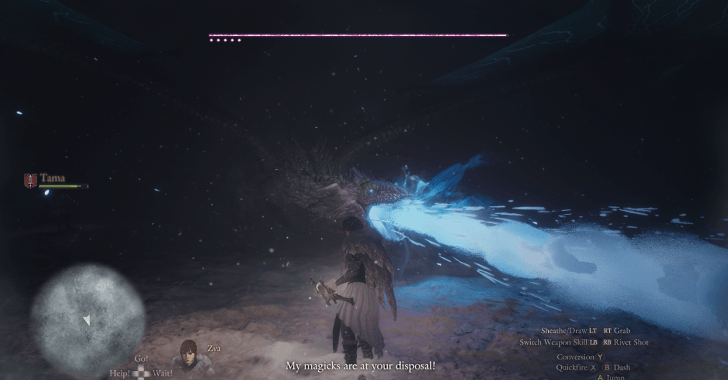 Defeat Fimbl to receive the Frozen Wyrmslife Crystal. Once the dragon falls, the blizzard in the Beorcan Stronghold disappears. |
| 5 | 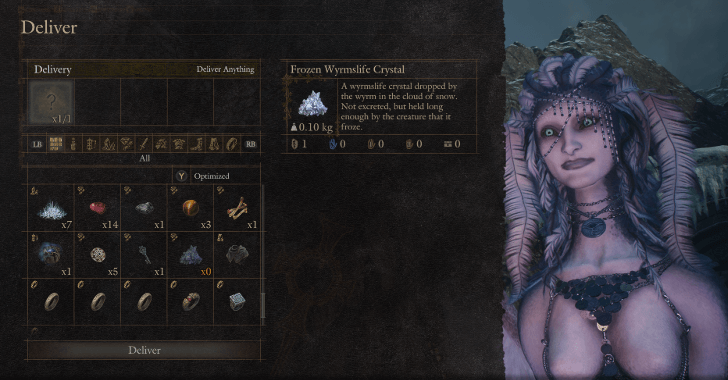 Use the Eternal Ferrystone to port back to the Shrine of Wisdom and hand the Frozen Wyrmslife Crystal to the Sphinx as your answer to the Riddle of the Soul. The Sphinx will then unlock one of the chests behind it as your reward. |
Riddle of the WIll
| # | Walkthrough |
|---|---|
| 1 | 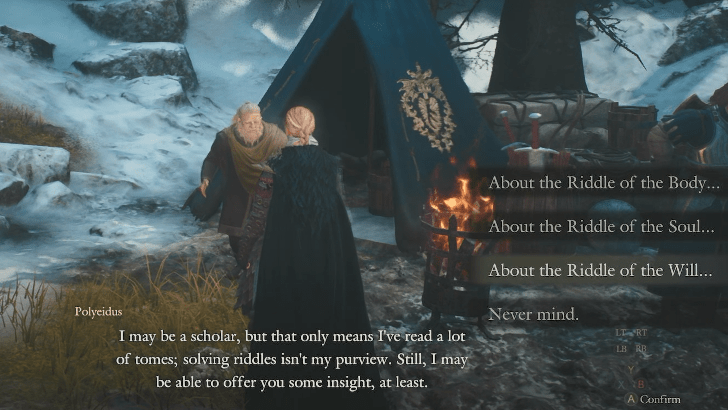 Talk to Polyeidus at the Norgandian Settlement. He mentions that you may have to retrace your steps back to the Undead Dragon. |
| 2 | 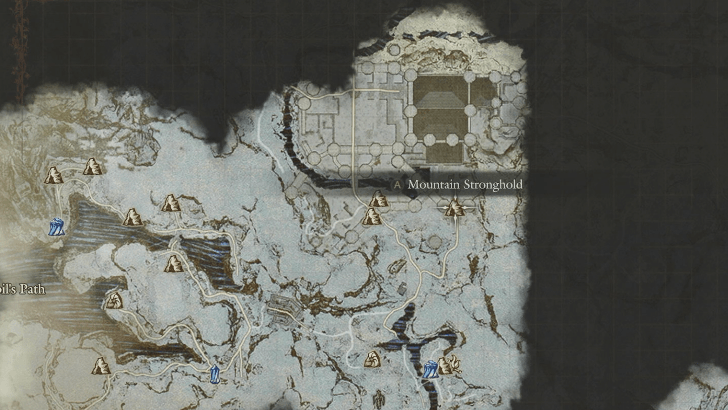 Make your way back to the Mountain Stronghold where you first fought the Undead Dragon. You can teleport to the Rivercave Campground Portcrystal to shorten the trek. |
| 3 | 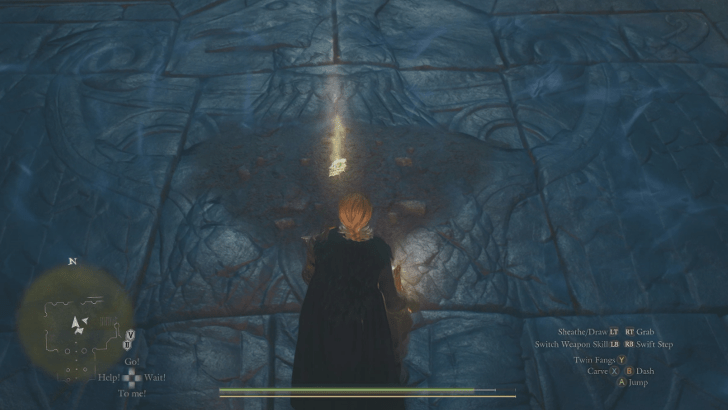 Find and pick up the Decorative Brooch at the middle of the area. This serves as the solution to the Riddle of the Will. |
| 4 | 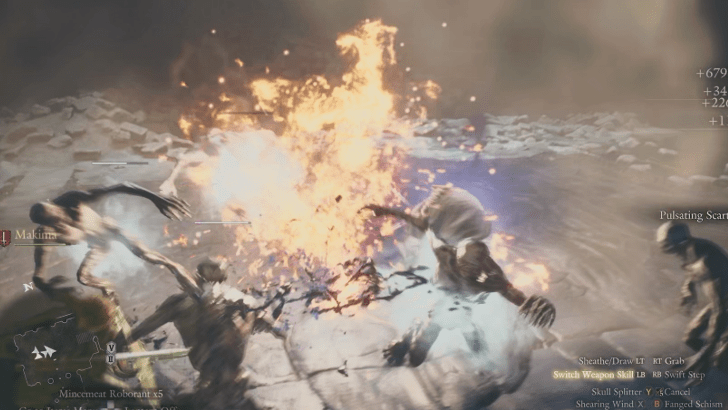 Fight your way through the horde of ghouls towards the Main Entrance of the Mountain Stronghold. Make sure to clear all enemies. A short cutscene will play of the soldiers remarking on your feat if you do so. |
| 5 | 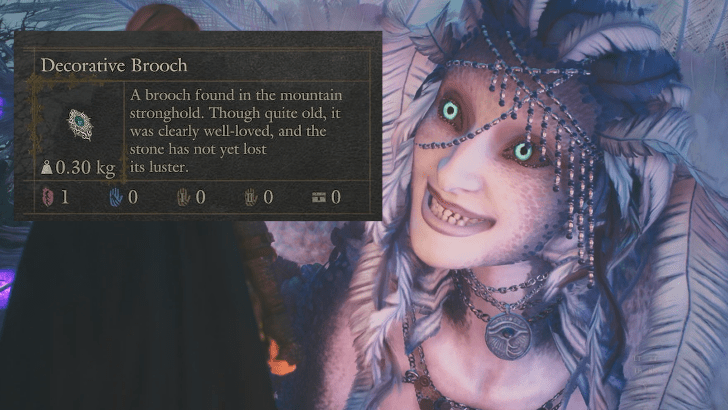 Head back to the Sage and present her with the Decorative Brooch. Upon submitting the item, you will complete the quest and solve the riddle. |
Return to Polyeidus
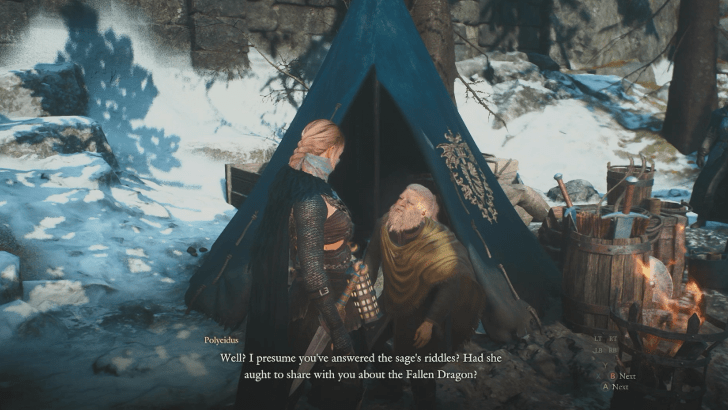
After answering all three riddles, you will be prompted to go back to the Norgandian Settlement by talking to Polyeidus.
Finishing the conversation will promptly end the quest and immediately start the next quest, Sealed History.
Seeking the Sage Rewards
Sphinx Treasures
| Sphinx Treasure Chest Reward |
|---|
|
・First Riddle: Norgan Portcrystal x1 ・Second Riddle: 6000 RC ・Third Riddle: Eternal Wakestone x1 |
Completing each Riddle will unlock one of the Sphinx treasure chest right behind the Sage. The rewards will always be sequential, so you can do all riddles at once and still recieve the same amount of rewards.
Dragon's Dogma 2 Dark Arisen Related Guides
Dark Arisen DLC Guide and All Content
Dark Arisen DLC Story Quests
| # | Story Quests |
|---|---|
| 1 | Chilling Tidings |
| 2 | Rumbles in the North |
| 3 | Seeking the Sage ┣ Sage's Wisdom: Riddle of the Body ┣ Sage's Wisdom: Riddle of the Soul ┗ Sage's Wisdom: Riddle of the Will |
| 4 | Sealed History |
| 5 | The Castle in the Ice |
| 6-7 | Soul Searching Where There's a Will, There's a Way |
| 8 | Reunion |
| 9 | Into Rancor (Post-Game) |
List of All Dark Arisen DLC Quests
Comment



Author

Dragon's Dogma 2 (DD2) Dark Arisen Walkthrough & Guides Wiki
Seeking the Sage Walkthrough and Location

Rankings
Gaming News





Popular Games

Genshin Impact Walkthrough & Guides Wiki
Fire Emblem: Fortune's Weave (FEFW) Walkthrough & Guides Wiki
Aniimo Walkthrough & Guides Wiki
Wuthering Waves Walkthrough & Guides Wiki
Dragon's Dogma 2 (DD2) Dark Arisen Walkthrough & Guides Wiki
Umamusume: Pretty Derby Walkthrough & Guides Wiki
Honkai: Star Rail Walkthrough & Guides Wiki
Zenless Zone Zero Walkthrough & Guides Wiki
Pokemon TCG Pocket (PTCGP) Strategies & Guides Wiki
AION 2 Walkthrough & Guides Wiki









Recommended Games
Fire Emblem Heroes (FEH) Walkthrough & Guides Wiki
Where Winds Meet Walkthrough & Guides Wiki
Diablo 4: Lord of Hatred Walkthrough & Guides Wiki
Super Smash Bros. Ultimate Walkthrough & Guides Wiki
Persona 3 Reload Walkthrough & Guides Wiki
The Legend of Zelda: Tears of the Kingdom Walkthrough & Guides Wiki
Elden Ring Walkthrough & Guides Wiki
Pokemon Brilliant Diamond and Shining Pearl (BDSP) Walkthrough & Guides Wiki
Cyberpunk 2077: Ultimate Edition Walkthrough & Guides Wiki
Monster Hunter World Walkthrough & Guides Wiki










All rights reserved
©CAPCOM CO., LTD. ALL RIGHTS RESERVED.
The copyrights of videos of games used in our content and other intellectual property rights belong to the provider of the game.
The contents we provide on this site were created personally by members of the Game8 editorial department.
We refuse the right to reuse or repost content taken without our permission such as data or images to other sites.