
Wyrmsblood Arena Walkthrough and Location
Wyrmsblood Arena is a Lost Rite dungeon added in the Dark Arisen DLC of Dragon's Dogma 2 (DD2). Check out our guide for a full walkthrough of the Wyrmsblood Arena Lost Rite Dungeon and where to find it, best party composition, how to defeat the boss, and rewards!
Wyrmsblood Arena Location
Located in Cave in Sal'Battahl Cavern
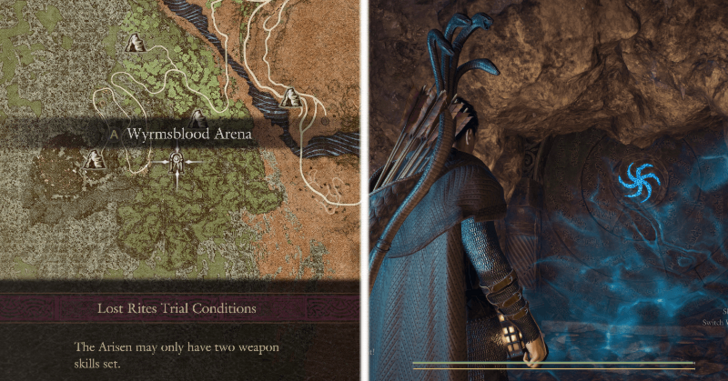
Wyrmsblood Arena is located inside the Sal'Battahl Cavern
Note: The Empowered Godsbane Blade from A New Godsway is required to enter Wyrmsblood Arena.
Wyrmsblood Arena Trial Conditions
Only Two Weapon Skills Set
The Arisen may only have two weapons skills set.
Best Party for Wyrmsblood Arena
Balanced Team
| Arisen | Main Pawn | Hired Pawn | Hired Pawn |
|---|---|---|---|
 Mystic Spearhand or  Thief or  Magick Archer |
 Mage |
 Fighter |
Thief
|
Even with the Mirour Shelde nerfs, the Mystic Spearhand's ability to apply a shield to the entire party is valuable for this dungeon due to the amount of enemies you'll need to face.
For your Main Pawn, consider switching to a full support Mage Pawn with High Palladium for extra party shielding, High Celerity for haste, and High Halidom for cleansing debilitations.
For the rest of your hired Pawns, consider getting a Fighter with Shield Drum to draw the aggro of enemies and bosses. Try to find a Thief as there will be numerous enemies and bosses and a Thief will benefit from hitting boss weak points.
Wyrmsblood Arena Walkthrough
How to Complete Wyrmsblood Arena
| # | Walkthrough |
|---|---|
| 1 | 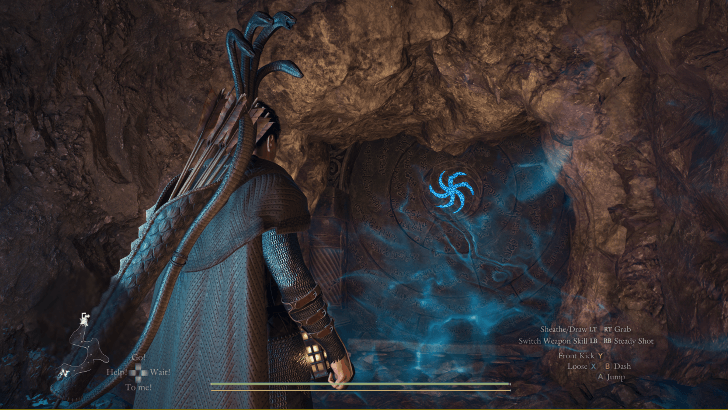 Make your way to the entrance of Wyrmsblood Arena and use the Empowered Godsbane Blade to open the sealed entrance. |
| 2 | 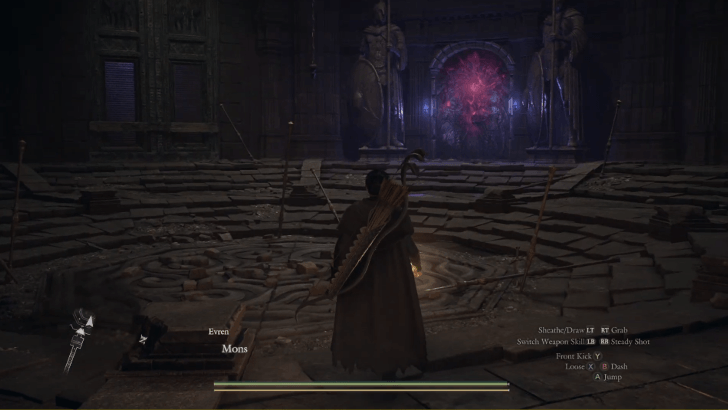 Move downward the staircase and enter a large chamber. Upon entering, all of your Pawns will be locked out of the area and you will be faced with the main sealed door, and a couple of barred and destroyed doors. Note: Opening the doors in any order is possible, but opening the correct door will free your pawns. The destroyed doors do not have any other loot besides one chest that contains a small amount of gold. |
| 3 | 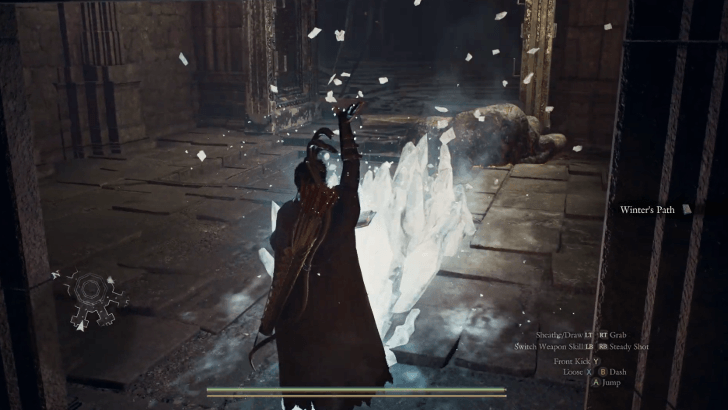 From the door you came from. The barred door on the left will face you with a Lava Slime. If you have no means of defeating it you can go inside the room and loot the any of the two chests which contains Winter's Path and Hiemal Euphony which can easily let you defeat the Lava Slime. |
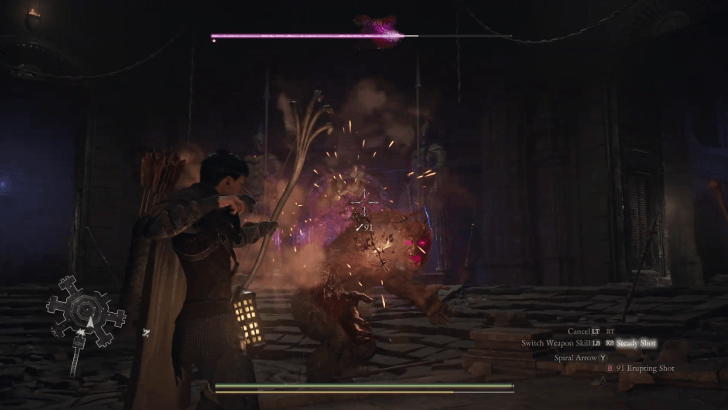 The barred door on the right will have a Corrupted Ogre inside which you will have to defeat to proceed. Killing the Corrupted Ogre will open the sealed door and the locked gate from where you came from, subsequently releasing your Pawns. |
|
| 4 | 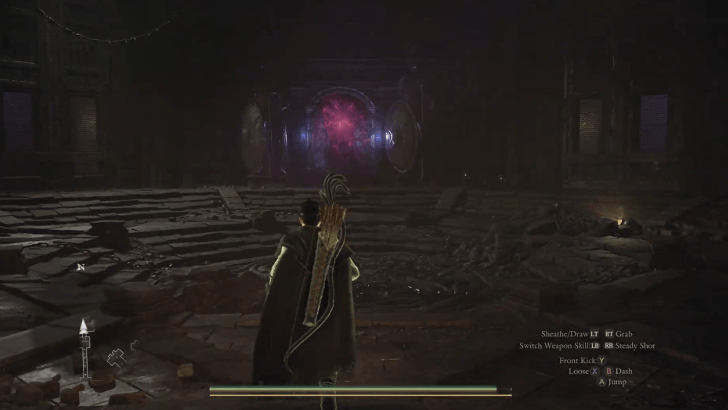 Continue forward to a chest that will give you the Wildskirl Breeches. In the next chamber, your Pawns will again be locked out of the area and you will be faced with a sealed door, and more barred doors than last time. You will need to defeat all of the enemies to proceed through the sealed door. |
| 5 | 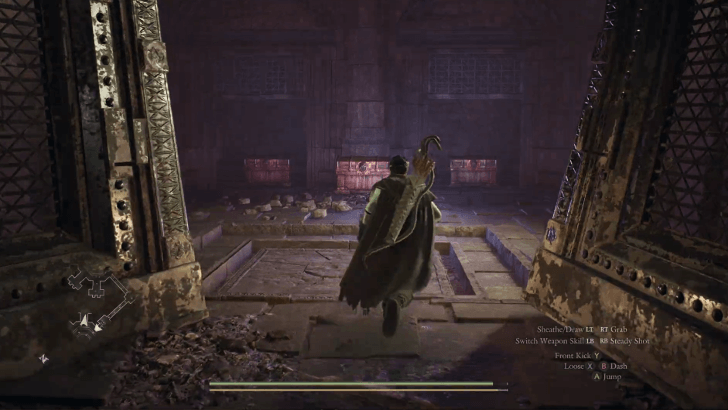 Starting from the one nearest to you on the right, the room will have three chests that contain, x3 Detoxifying Decoction, a Fine Harspud Roborant, x3 Rotten Beast-Steaks. These chests help you in defeating the enemies in the chamber. |
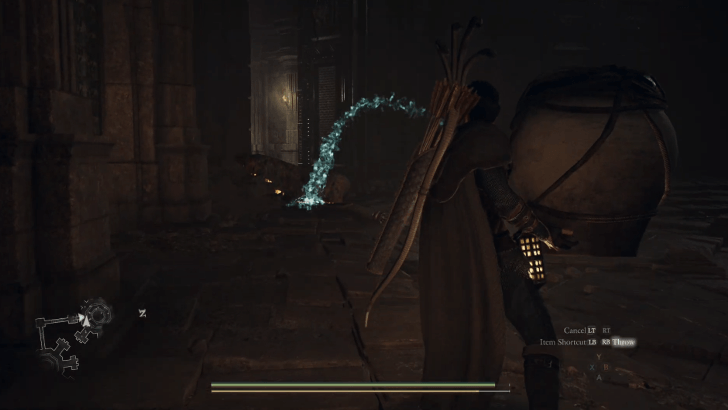 Near-left barred door will have another Lava Slime which you can easily kill by throwing one of the water jugs located in the previous chest room. You may also use one of the Grimoires you've looted in the previous chamber if you have not used them. |
|
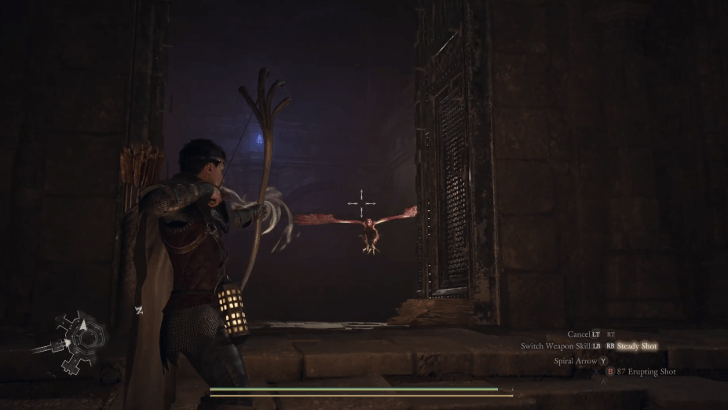 Middle-left barred door next to the Lava Slime, there will be a single Corrupted Harpy. |
|
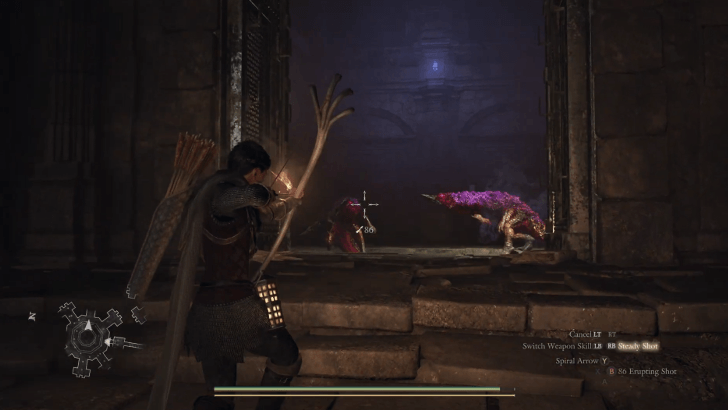 Middle-right barred door will be a couple of Corrupted Asp Toxiscales. In case you are poisoned, you can use the Detoxifying Decoctions looted from earlier. |
|
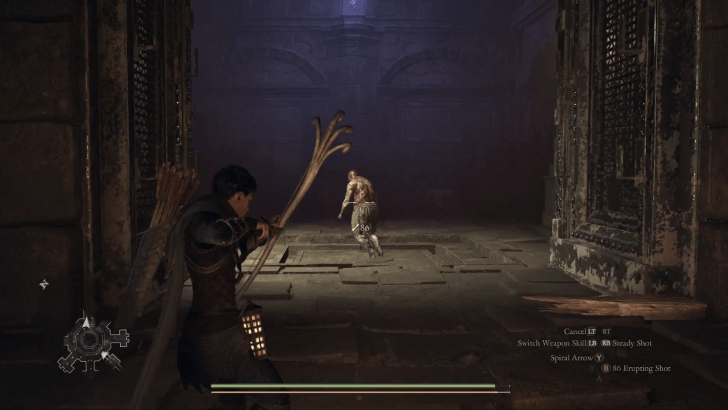 Far-right barred door will be a single Corrupted Undead that will have a chest behind it containing 9,800 gold. |
|
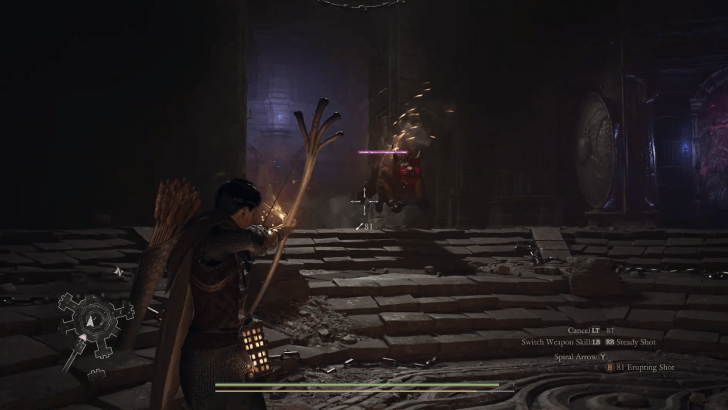 Lastly, the far-left barred door will have the strongest enemy in the chamber which is a Corrupted Garm. Use the Rotten Beast-Steaks you looted earlier to distract the Corrupted Garm. |
|
| 6 | 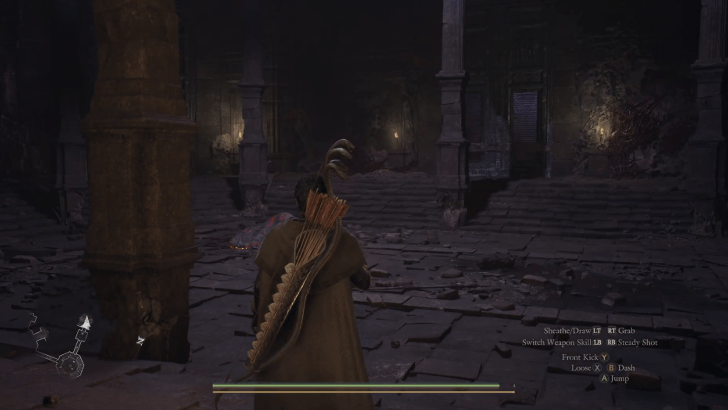 Continue through the door to loot a chest with the Chimeric Cloak. Proceed down the staircase and enter the chamber to be locked out from your Pawns yet again. |
| 7 | 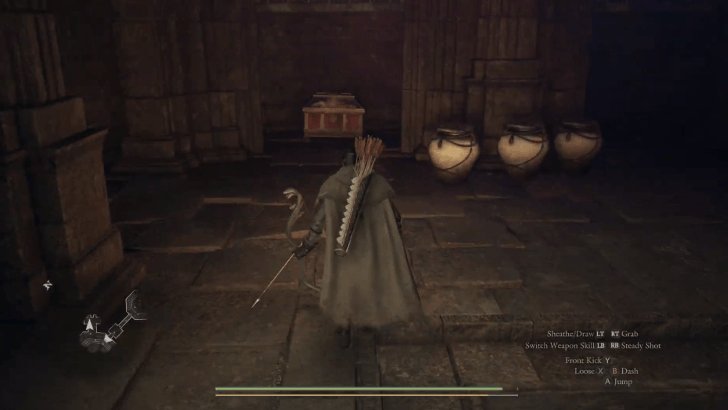 Compared to the previous chambers, the sealed door will now be located to the left. To your immediate left will be a chest containing an Allheal Elixir. Similarly like last time, go to the barred door nearest to your right as there will be Lava Slime and a couple of water jugs to easily kill it. Use the water jugs inside to easily kill the Lava Slime waiting at the center of the chamber as well. There is a chest inside this room containing 24,000 gold. |
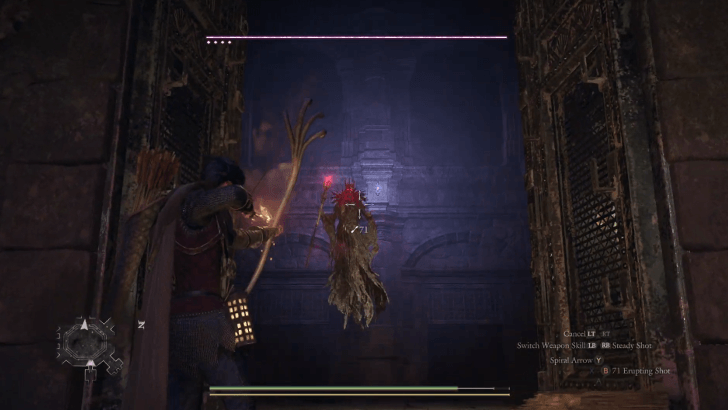 It is recommended to open the barred door right across where you came from and defeat the Corrupted Wight first as defeating it will free your Pawns from the locked gate. After which you are free to do the enemies in any order. |
|
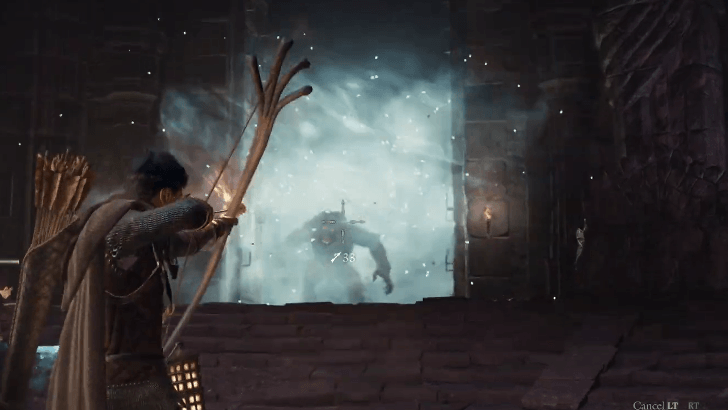 Near-left barred door with a Corrupted Ogre. There is a chest inside the room containing the Crown of Blades. |
|
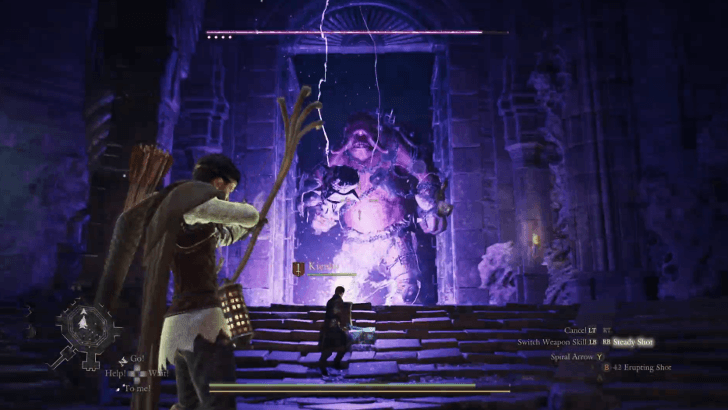 Far-left barred door with a Corrupted Cyclops. There is a chest inside the room containing 18,000 gold. |
|
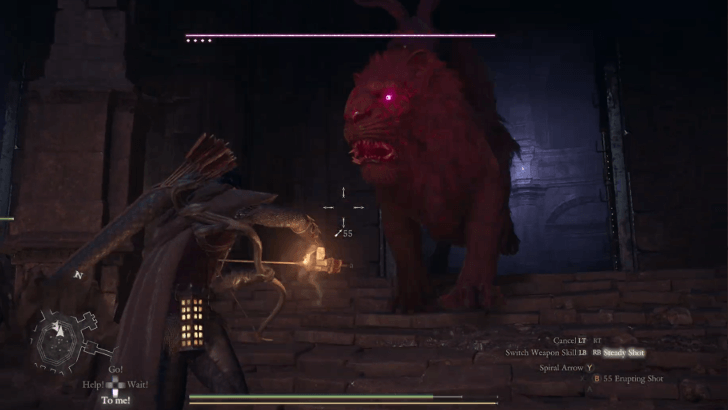 Far-right barred door with a Corrupted Gorechimera. |
|
| 8 | 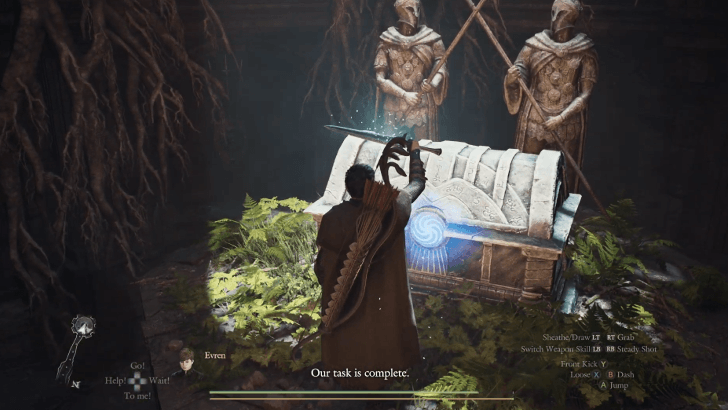 Finally, the sealed door will open and you may now proceed to the final chest room to acquire the Steelsilk Sabatons, and the Wyrmscale Cuirass, along with an Offering Flame. |
Wyrmsblood Arena Rewards
| Main Loot |
|---|
|
・Wildskirl Breeches (Leg Armor) x1 ・Chimeric Cloak (Cape) x1 ・Crown of Blades (Head Armor) x1 ・Steelsilk Sabatons (Leg Armor) x1 ・Wyrmscale Cuirass (Body Armor) x1 ・Offering Flame x1 |
| Other Rewards |
|
・Brinebeast Fragments ・Brinebeast Ore ・Allheal Elixir ・Gold: 51,000 |
Dragon's Dogma 2 Dark Arisen Related Guides
Lost Rites Guide and Dungeon Locations
Lost Rites Recommended Guides
| Best Lost Rites Build and Party Comp | All Lost Rites Gear and Rewards |
| How to Respawn Lost Rites | How to Open Lost Rites Doors |
| How to Get Brinebeast Ore | - |
List of All Lost Rites Dungeons
| Vermund Lost Rites | |
|---|---|
| Devilkin Hollow | Daemon's Corral |
| Sunken Spire | Interminable Corridor |
| Batthal Lost Rites | |
| Mired Conduit | Embersand Mine |
| Shrouded Warren | Precipitous Catacombs |
| Wyrmsblood Arena | - |
| Unmoored World Lost Rites | |
| Molten Gauntlet | Seafloor Sepulcher |
| Final Proving Ground | |



Author

Dragon's Dogma 2 (DD2) Dark Arisen Walkthrough & Guides Wiki
Wyrmsblood Arena Walkthrough and Location

Rankings
- We could not find the message board you were looking for.
Gaming News





Popular Games

Genshin Impact Walkthrough & Guides Wiki
Fire Emblem: Fortune's Weave (FEFW) Walkthrough & Guides Wiki
Aniimo Walkthrough & Guides Wiki
Wuthering Waves Walkthrough & Guides Wiki
Dragon's Dogma 2 (DD2) Dark Arisen Walkthrough & Guides Wiki
Umamusume: Pretty Derby Walkthrough & Guides Wiki
Honkai: Star Rail Walkthrough & Guides Wiki
Zenless Zone Zero Walkthrough & Guides Wiki
Pokemon TCG Pocket (PTCGP) Strategies & Guides Wiki
AION 2 Walkthrough & Guides Wiki









Recommended Games
Fire Emblem Heroes (FEH) Walkthrough & Guides Wiki
Where Winds Meet Walkthrough & Guides Wiki
Diablo 4: Lord of Hatred Walkthrough & Guides Wiki
Super Smash Bros. Ultimate Walkthrough & Guides Wiki
Persona 3 Reload Walkthrough & Guides Wiki
The Legend of Zelda: Tears of the Kingdom Walkthrough & Guides Wiki
Elden Ring Walkthrough & Guides Wiki
Pokemon Brilliant Diamond and Shining Pearl (BDSP) Walkthrough & Guides Wiki
Cyberpunk 2077: Ultimate Edition Walkthrough & Guides Wiki
Monster Hunter World Walkthrough & Guides Wiki










All rights reserved
©CAPCOM CO., LTD. ALL RIGHTS RESERVED.
The copyrights of videos of games used in our content and other intellectual property rights belong to the provider of the game.
The contents we provide on this site were created personally by members of the Game8 editorial department.
We refuse the right to reuse or repost content taken without our permission such as data or images to other sites.
Note that you can also utilize the lava slimes to kill the Ogre by kiting both and overlapping them if you have a hard time dealing with the Ogre solo. Worked very well in my case when I'm in the last room and nearly out of provisions.