
Mired Conduit Walkthrough and Location
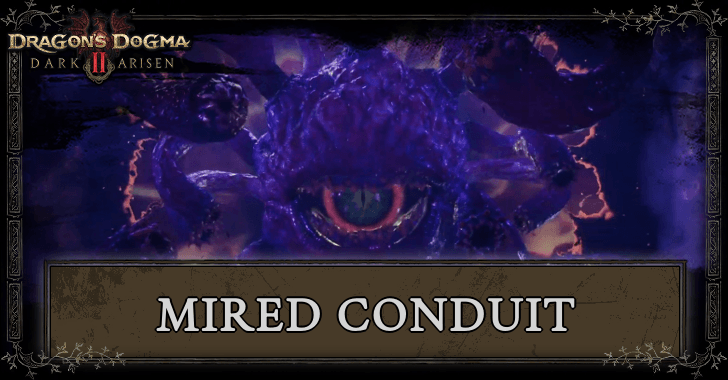
Mired Conduit is a Lost Rite dungeon added in the Dark Arisen DLC of Dragon's Dogma 2 (DD2). Check out our guide for a full walkthrough of the Mired Conduit Lost Rite Dungeon and where to find it, best party composition, how to defeat the boss, and rewards!
Mired Conduit Location
Located in Coral Snakes' Hideout
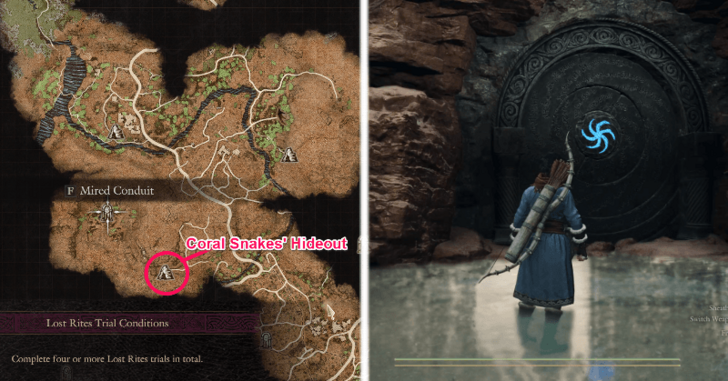
The Mired Conduit Lost Rites dungeon is located inside the Coral Snakes' Hideout dungeon.
Note: The Empowered Godsbane Blade from A New Godsway is required to enter the Mired Conduit.
Requires Progressing Mercy Among Thieves
You will need to progress the Mercy Among Thieves quest to get inside the Coral Snakes' Hideout and get access to the Mired Conduit Lost Rite dungeon.
Mired Conduit Trial Conditions
Complete Four Lost Rites Trials
Complete four or more Lost Rites trials in total.
Best Party for Mired Conduit
Anti-Evil Eye Team
| Arisen | Main Pawn | Hired Pawn | Hired Pawn |
|---|---|---|---|
 Thief |
 Mage |
 Warrior |
 Archer |
This team composition allows you to easily take on the Evil Eye boss in the dungeon. Switch to Thief and equip the Heaven's Key to take advantage of the boss' weakness to slashing and Holy damage.
The Evil Eye is resistant to almost all elemental damage from spells, but you should still have a dedicated support Mage Pawn who can apply quick shielding with High Palladium and burst healing with Argent Tonic. Make sure to slot High Halidom so you can cleanse the debilitations that the boss can inflict with its tentacles.
Consider getitng a Warrior and Archer for the rest of your team. Warriors are slow, but their wide and powerful swings can easily cut off the Evil Eye's tentacles. Archer Pawns are great as they can attack the boss from range, and can provide burst damage if t has Erupting Shot and you supply them with Explosive Arrows.
Mired Conduit Walkthrough
How to Complete Mired Conduit
| # | Walkthrough |
|---|---|
| 1 | 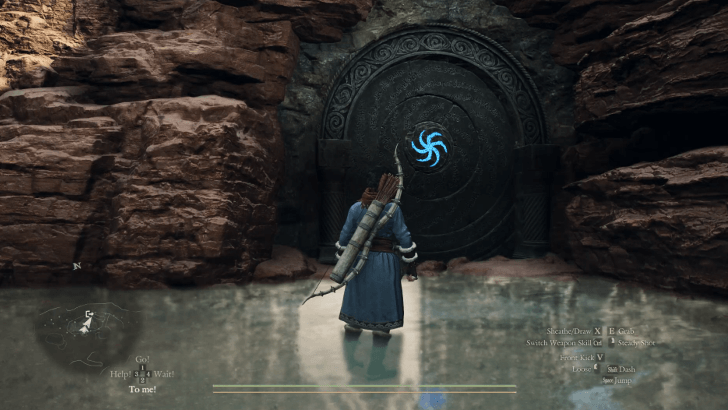 Make your way into the Coral Snakes' Hideout to get to the Mired Conduit entrance. Use the Empowered Godsbane Blade to enter. |
| 2 | 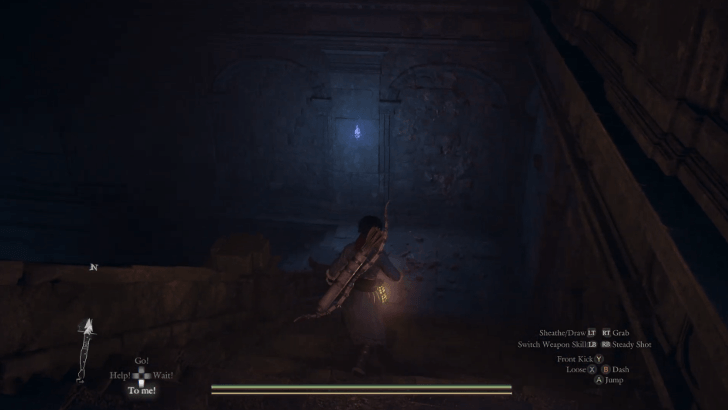 Upon entering there will be a staircase going down and a Corrupted Harpy ready to face you. Push forward until you reach the bottom where you will enter a cavern. |
| 3 | 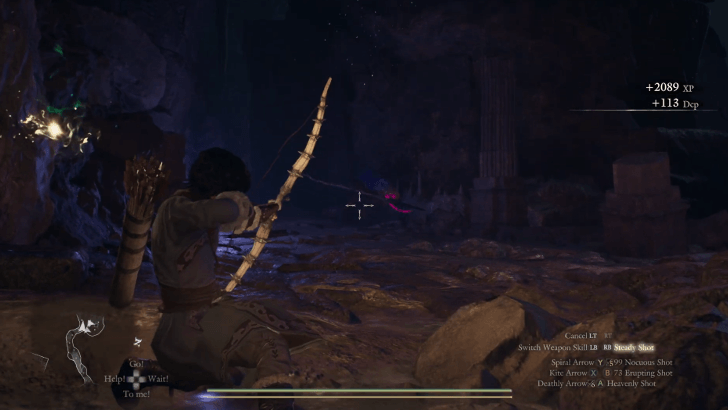 Once you enter, there will be a Corrupted Asp waiting for you. Go inward to the cavern to be met with more of these enemies. |
| 4 | 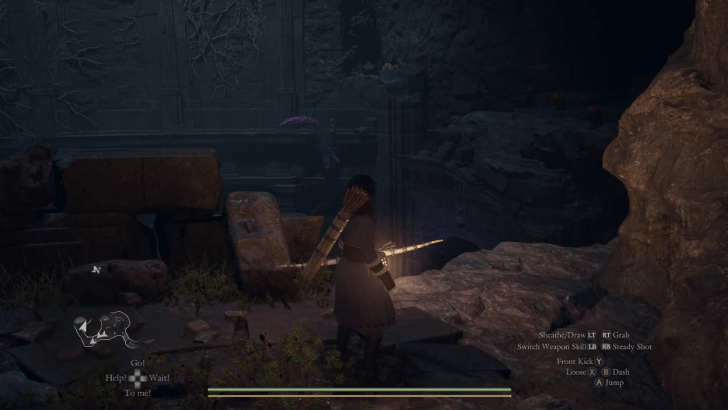 Continuing forward, you will see a huge open space area along with more Corrupted Asps, and Corrupted Harpies. Work your way down to the bottom. |
| 5 | 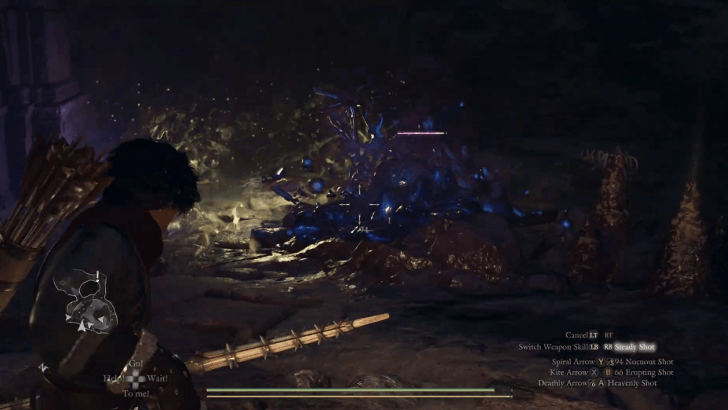 Arriving at the bottom, you will be met with Blue and Purple Slimes that are susceptible only to poison. You may lure them with the Corrupted Asps so they get poisoned, or use Blighting Arrows if you are an Archer. |
| 6 | 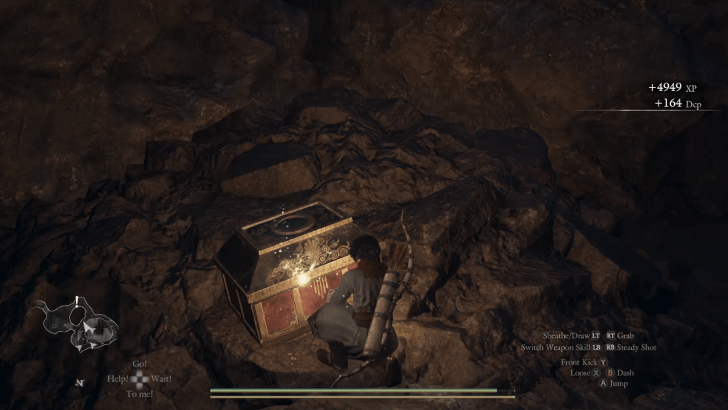 Loot the chest where the slimes were located to get x6 Wyrmslife Crystals. |
| 7 | 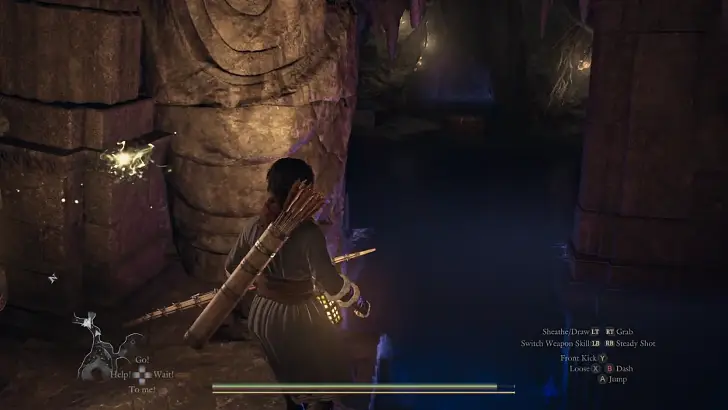 Continue towards the path to face a few Corrupted Hobgoblins. There will be a few chests here that contain x2 Dried Fish and x5 Fine Roe Roborant. Note: Along the path will be a flooded area that will be inaccessible during pre-Unmoored World. |
| 7.1 | 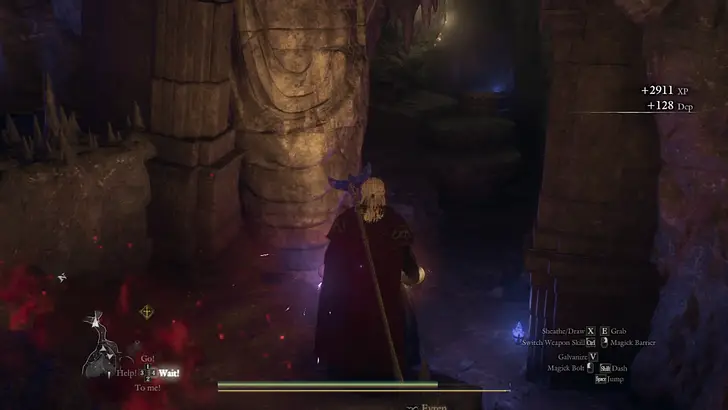 Unmoored World Only: During Unmoored World, you will be able to pass by this path and loot the two chests containing the Azurequill Circlet, and a Ring of Insulation. |
| 7.2 | 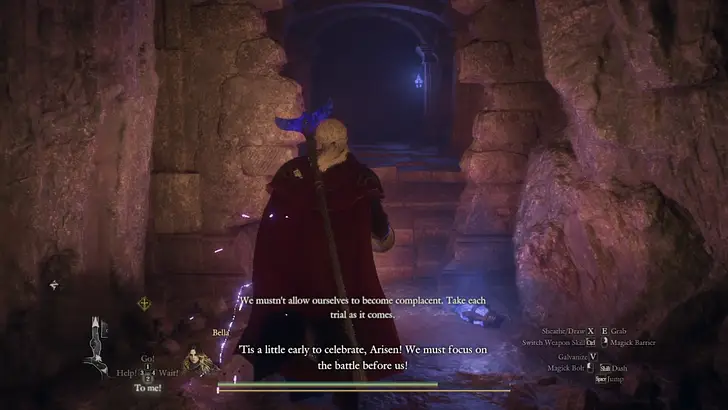 Unmoored World Only: Continue forward to pass by a hole in the wall getting you to the next corridor. Note: This segment will bypass a longer path that you have to take pre-Unmoored World. |
| 8 | 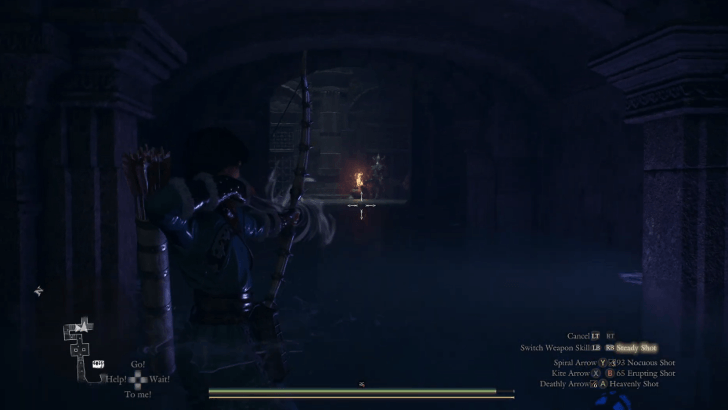 Pushing forward, you will be forced to push through a flooded corridor. Straight ahead you will see a sealed door, but going left you will be met with a few Corrupted Undead and more Corrupted Hobgoblins. Loot the chest inside to get 38,000 gold, a Makeshift Gaol Key, and x2 Brinebeast Fragments. |
| 8.1 | 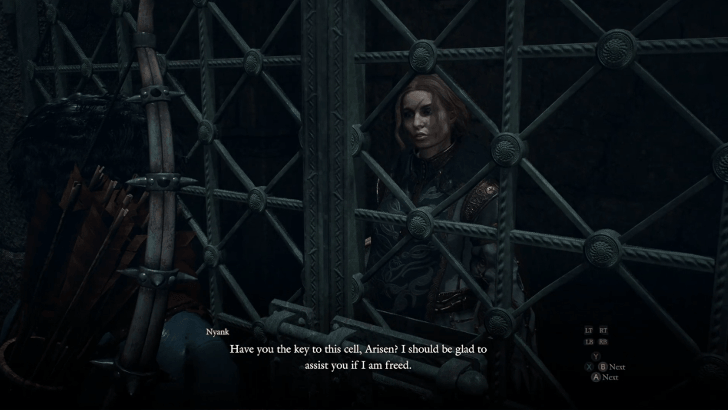 The Makeshift Gaol Key can be used on one of the cells in the room where a random Pawn is trapped inside. There will be two cells where you are free to choose if you will hire either Pawn. |
| 9 | 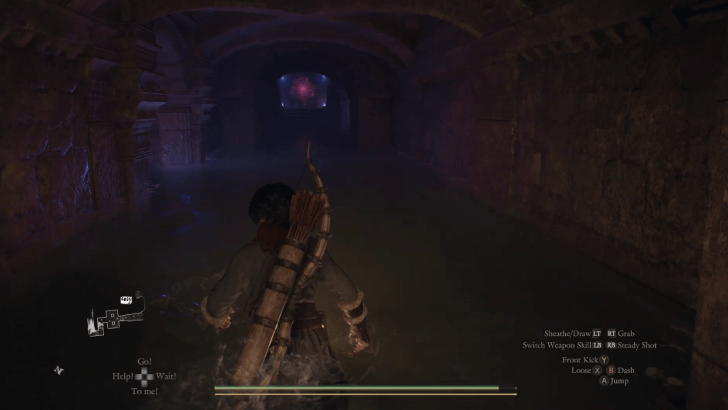 You will need to continue forward to the chamber with the sealed door to proceed. |
| 9.1 | 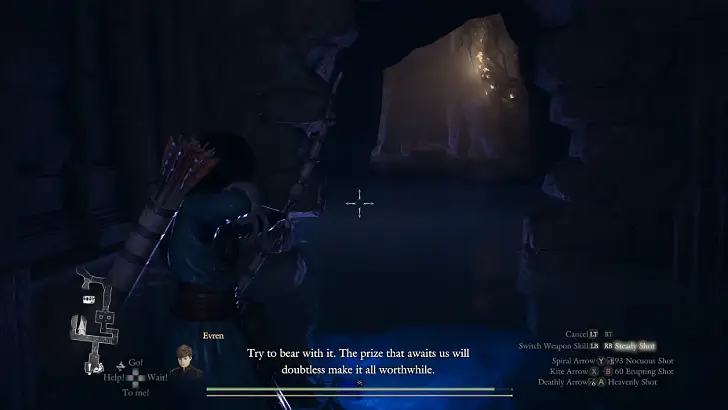 Prior to the sealed door, there will be two more paths that you will pass by. The first one will be a hole in the wall where a chest will be visible. Note: This is the same chest and path in step 7-7.2. |
| 9.2 | 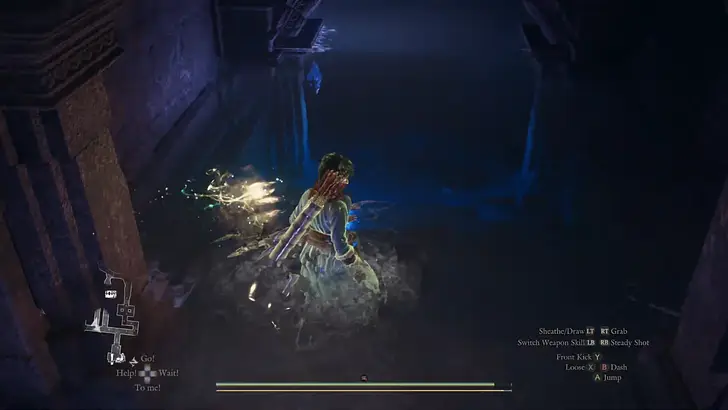 The second path after this will be a flooded staircase going down. Note: This path will be inaccessible during pre-Unmoored World. |
| 9.3 | 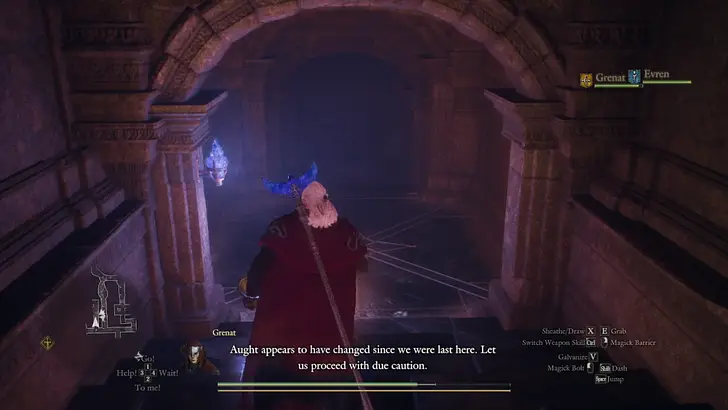 Unmoored World Only: During Unmoored World, you are now able to go down the staircase and into the area below. Note: This newly unflooded area will be riddled with numerous Corrupted Asps, Corrupted Serpents, and Blue and Purple Slimes. |
| 9.4 | 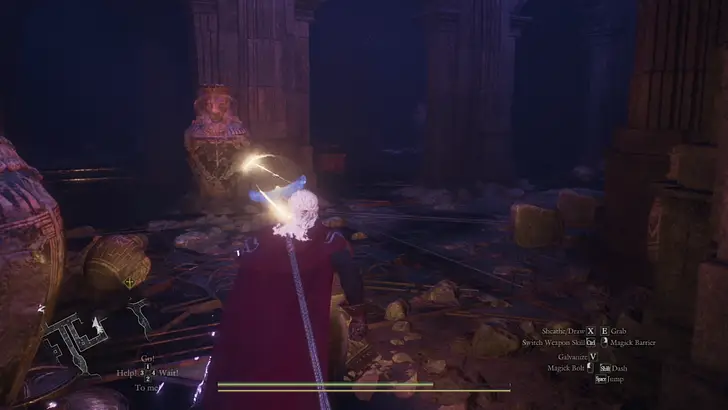 Unmoored World Only: Past the staircase, will be the area right below the boss room with the sealed door. This area will have three chests which contain the Plate of the Mad Sovran, Creusot's Mantle and an Allheal Elixir. |
| 9.5 | 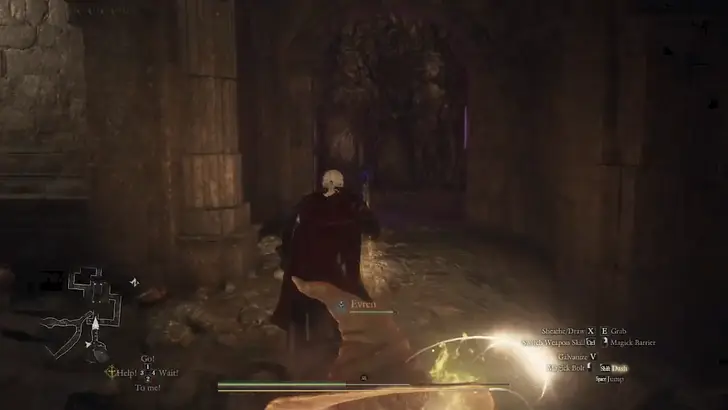 Unmoored World Only: Continue moving forward and you will get to the path after the sealed door. Note: This path completely bypasses Step 10 as you will arrive behind the sealed door by the end. You can go back to the sealed room and proceed to Step 10 if you want to clear the boss for EXP. Proceed to Step 11 to continue. |
| 10 | 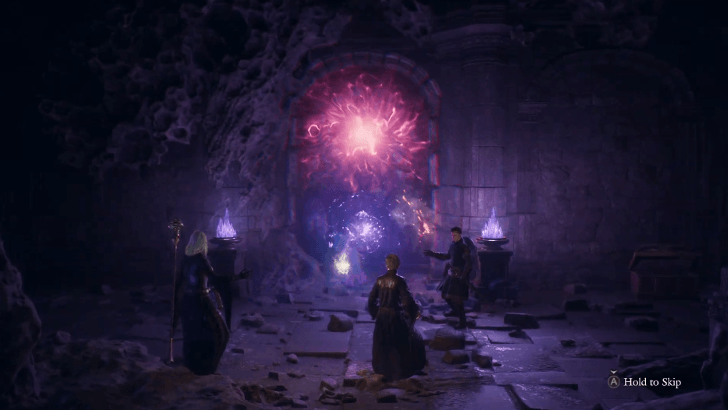 Once you arrive at the sealed door chamber, you will be met with a couple of Corrupted Skeletons and Harpies. Killing the mob of enemies causes the final Corrupted Skeleton Lord to spawn, defeat it to open the sealed door reaping you two chests that contain 900 RC and x20 Wyrmslife Crystals. |
| 11 | 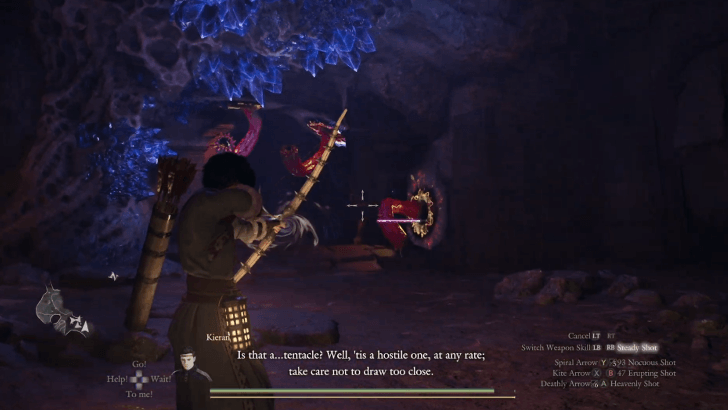 Move to the next room full of purple crystals to face a few more Corrupted Asps. During combat, you will notice that a few tentacles will start spawning in to attack you. This is a hint that an Evil Eye is within the dungeon. |
| 11.1 | 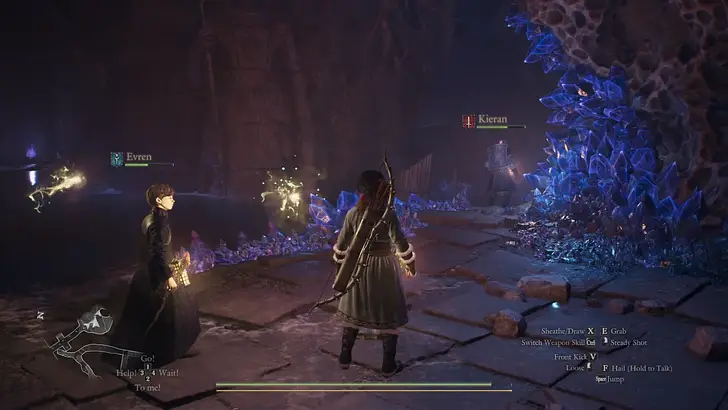 This area will have flooded segments that is inaccessible during pre-Unmoored World. |
| 11.2 | 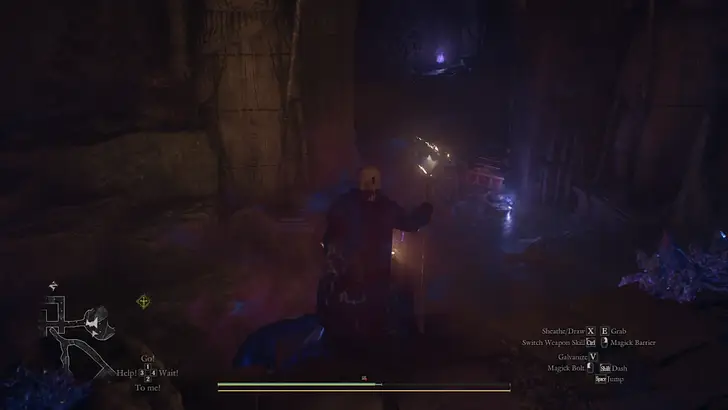 Unmoored World Only: A few segments will be unflooded once you get to Unmoored World. The only notable one will be the area in the middle that will reveal a chest containing a Wakestone. |
| 12 | 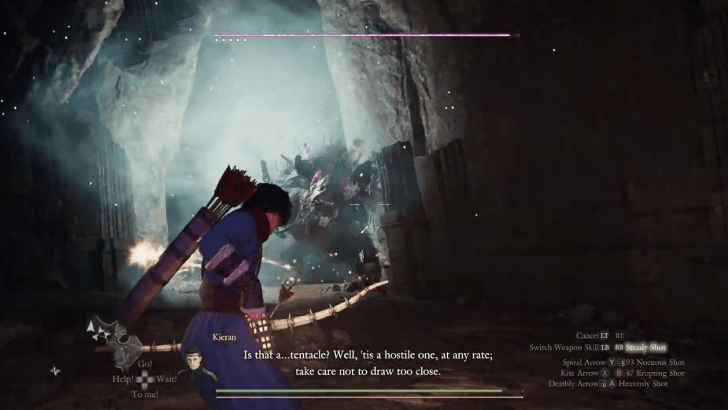 In the same room, you will be attacked by a Corrupted Goreminotaur. Defeating it will yield 90,000+ EXP so it is well worth it. |
| 12.1 | 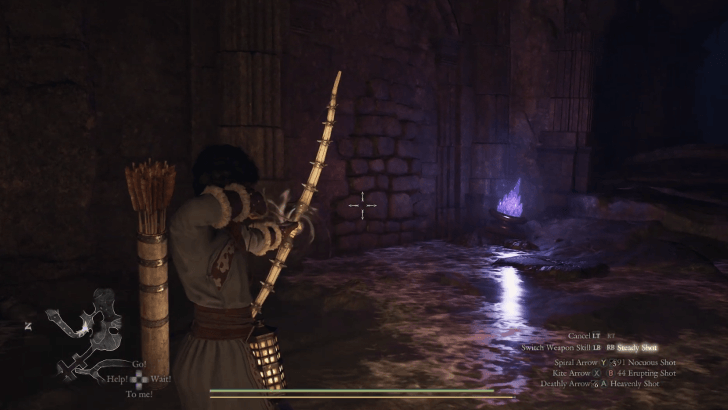 Inside the same area, you will find a hidden chest room that will yield you 3,000 RC. |
| 13 |  Proceed forward to another room filled with purple crystals and a sealed door. Finally, you will be faced with the final boss which is an Evil Eye. Note: This is a very difficult boss, but you don't need to kill it since it flees the battle once you lower its health significantly. You will still unlock the door and get the final loot from the treasure hoard once it flees. |
| 14 | 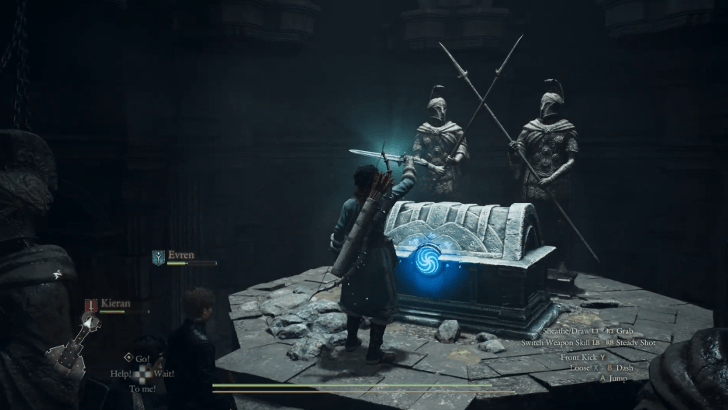 Finally, you may now proceed to the final chest room to acquire, an Allegoric Plate, Meteoric Cuisses, and an Offering Flame. |
Mired Conduit Rewards
| Main Loot |
|---|
| ・Allegoric Plate (Body Armor) x1 ・Meteoric Cuisses (Leg Armor) x1 ・Offering Flame x1 |
| Other Rewards |
|
・Plate of the Mad Sovran x1 ・Creusot's Mantle x1 ・Azurequill Circlet x1 ・Wyrmslife Crystals ・Brinebeast Fragments ・Brinebeast Ore ・Gold: 38,000 |
Dragon's Dogma 2 Dark Arisen Related Guides

Lost Rites Guide and Dungeon Locations
Lost Rites Recommended Guides
| Best Lost Rites Build and Party Comp | All Lost Rites Gear and Rewards |
| How to Respawn Lost Rites | How to Open Lost Rites Doors |
| How to Get Brinebeast Ore | - |
List of All Lost Rites Dungeons
| Vermund Lost Rites | |
|---|---|
| Devilkin Hollow | Daemon's Corral |
| Sunken Spire | Interminable Corridor |
| Batthal Lost Rites | |
| Mired Conduit | Embersand Mine |
| Shrouded Warren | Precipitous Catacombs |
| Wyrmsblood Arena | - |
| Unmoored World Lost Rites | |
| Molten Gauntlet | Seafloor Sepulcher |
| Final Proving Ground | |



Author

Dragon's Dogma 2 (DD2) Dark Arisen Walkthrough & Guides Wiki
Mired Conduit Walkthrough and Location

Rankings
Gaming News





Popular Games

Genshin Impact Walkthrough & Guides Wiki
Fire Emblem: Fortune's Weave (FEFW) Walkthrough & Guides Wiki
Aniimo Walkthrough & Guides Wiki
Wuthering Waves Walkthrough & Guides Wiki
Dragon's Dogma 2 (DD2) Dark Arisen Walkthrough & Guides Wiki
Umamusume: Pretty Derby Walkthrough & Guides Wiki
Honkai: Star Rail Walkthrough & Guides Wiki
Zenless Zone Zero Walkthrough & Guides Wiki
Pokemon TCG Pocket (PTCGP) Strategies & Guides Wiki
AION 2 Walkthrough & Guides Wiki









Recommended Games
Fire Emblem Heroes (FEH) Walkthrough & Guides Wiki
Where Winds Meet Walkthrough & Guides Wiki
Diablo 4: Lord of Hatred Walkthrough & Guides Wiki
Super Smash Bros. Ultimate Walkthrough & Guides Wiki
Persona 3 Reload Walkthrough & Guides Wiki
The Legend of Zelda: Tears of the Kingdom Walkthrough & Guides Wiki
Elden Ring Walkthrough & Guides Wiki
Pokemon Brilliant Diamond and Shining Pearl (BDSP) Walkthrough & Guides Wiki
Cyberpunk 2077: Ultimate Edition Walkthrough & Guides Wiki
Monster Hunter World Walkthrough & Guides Wiki










All rights reserved
©CAPCOM CO., LTD. ALL RIGHTS RESERVED.
The copyrights of videos of games used in our content and other intellectual property rights belong to the provider of the game.
The contents we provide on this site were created personally by members of the Game8 editorial department.
We refuse the right to reuse or repost content taken without our permission such as data or images to other sites.
Entering the Unmoored World drains the water in the various parts of the map, revealing chests containing Creusot's Mantle(a cloak) and the Plate of the Mad Sovran(chest armor)