
Bravely Breach the Hostile Winds Main Mission Guide
✪ Check Game8 Endfield Twitter for daily tips!
★ Exclusive: Endfield's Connection to Arknights
✰ Version 1.6 is out! | Yuanyuan's Blazing Stoves
├ P1: Si (Builds / Teams / Banner)
├ P2: Argent Flow (Builds / Banner)
└ Rerun: Tangtang (Builds | Teams | Banner)
Bravely Breach the Hostile Winds is a Main Mission in the Ruins in the Miasma quest series of Arknights: Endfield. Check out how to unlock this mission, its walkthrough, and all its rewards in this guide!
| Previous Mission | Next Mission |
|---|---|
| Kindred Souls Who Share a Vision | Thus Begins the Homeward March |
List of Contents
Bravely Breach the Hostile Winds Quest Information
Bravely Breach the Hostile Winds Quest Details
| Mission Type | Main Mission |
|---|---|
| Quest Line | Ruins in the Miasma |
| Chapter | Chapter 2 - Process 7 |
| Location | Yinglung Pass, Wuling |
Bravely Breach the Hostile Winds is the first quest under the Ruins in the Miasma mission series. This quest is under Chapter 2 - Process 7 of the main story and is located in Yinglung Pass.
How to Unlock Bravely Breach the Hostile Winds

Bravely Breach the Hostile Winds is unlocked after completing the previous Main Mission quest, Kindred Souls Who Share a Vision.
Kindred Souls Who Share a Vision Guide
Bravely Breach the Hostile Winds Walkthrough
Bravely Breach the Hostile Winds Quest Guide
- Read the Message from Zhuang Fangyi
- Return to the Dijiang
- Approach the Mysterious Girl
- Go to Yinglung Pass
- Keep Advancing in Yinglung Pass
- Defeat the Enemies
- Talk to Arcane and Go to the Prison
- Talk to Si
- Go to the First Balepyre Tower
- Go to the Second Balepyre Tower
- Go to the Third Balepyre Tower
- Return to the Main Altar
- Defend the Xiranite Nexus
- Talk to Arcane
- Talk to Summit
Read the Message from Zhuang Fangyi
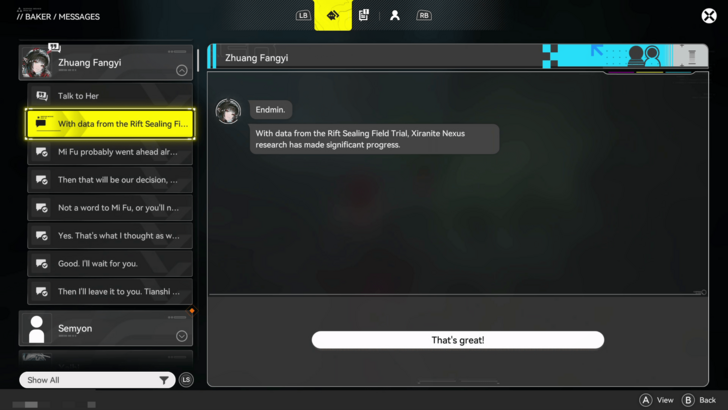
At the start of this quest, read the message that Zhuang Fangyi sent you in your Baker notifying you that she'll be arriving in the Dijiang.
Zhuang Fangyi Best Builds and Weapons
Return to the Dijiang
| Step | Walkthrough |
|---|---|
| 1 | 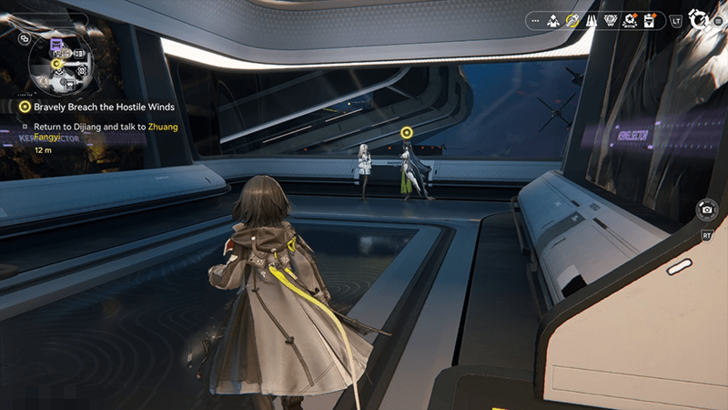 Open your map and use the Fast Travel function to teleport to the Dijiang, preferably by the Reception Room. Perlica and Zhuang Fangyi can be found on your right at the end of the hall when exiting the Reception Room. |
| 2 | 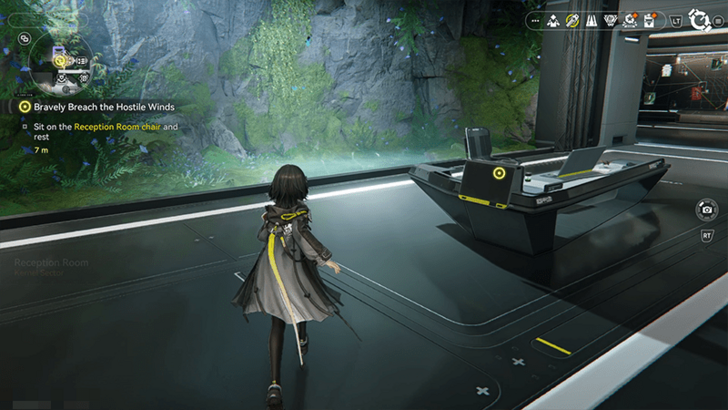 Head back into the Reception Room and take a seat on the Reception Room chair to rest. |
OMV Dijiang Features and How to Unlock
Approach the Mysterious Girl
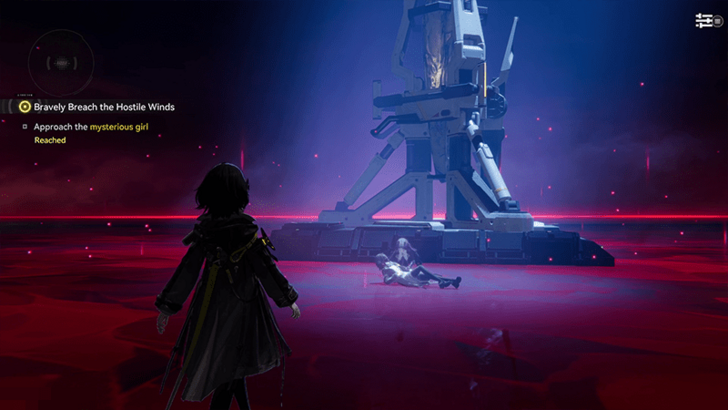
Experience a strange dream as the Endmin and approach a Mysterious Girl in your dream who resembles the person you encountered during the Ereignis boss fight in the Cold Start main mission during the Prologue Main Mission.
After approaching the Mysterious Girl, a familiar figure resembling Perlica will appear in the distance, and attempting to approach them will jolt the Endministrator awake.
Go to Yinglung Pass
| Step | Walkthrough |
|---|---|
| 1 | 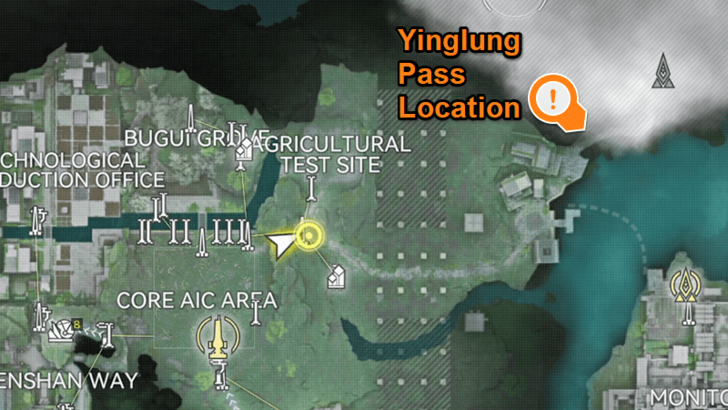 After meeting with Arcane, head to the Yinglung Pass situated at the northeastern part of the map of Wuling City, near the Core AIC Area of Wuling. |
| 2 | 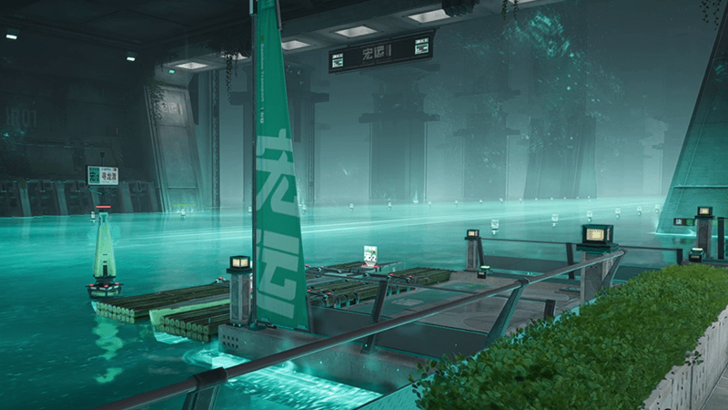 Upon arriving at the path of Yinglung Pass, board a powered raft; it will take you near the entrance of Yinglung Pass, which can be found on top of a set of stairs to the left of the docks. |
Yinglung Pass Map Release Date
Keep Advancing in Yinglung Pass
| Step | Walkthrough |
|---|---|
| 1 | 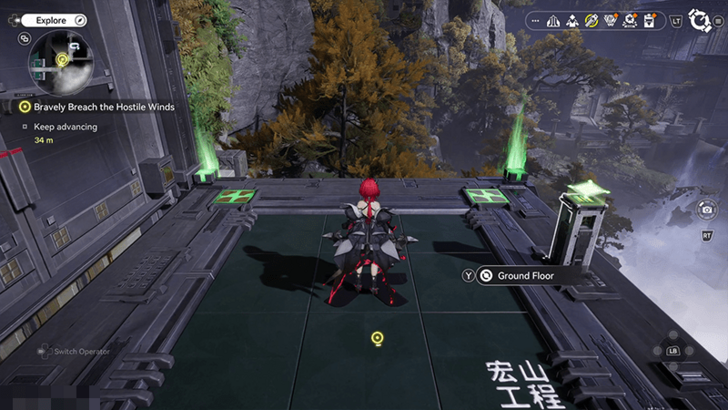 Keep moving ahead after arriving at the Yinglung Pass entrance and take the nearby elevator down. |
| 2 | 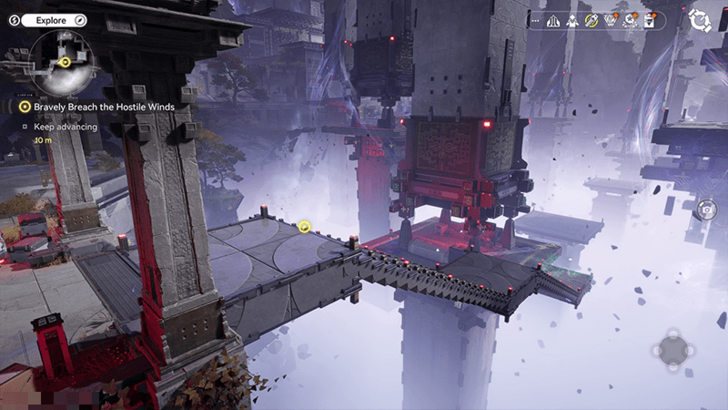 Move ahead slightly, interact with a nearby mechanism to extend the path outwards across the chasm, then continue following the path. |
Defeat the Enemies
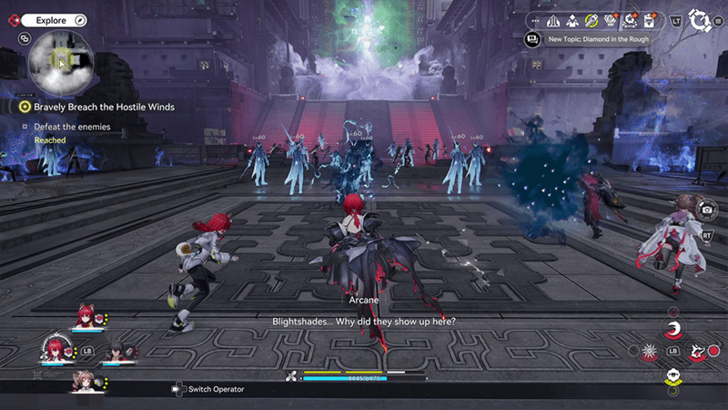
At the end of the path, prepare for battle against several Blightshades and support the Yinglung Special Taskforce.
Talk to Arcane and Go to the Prison
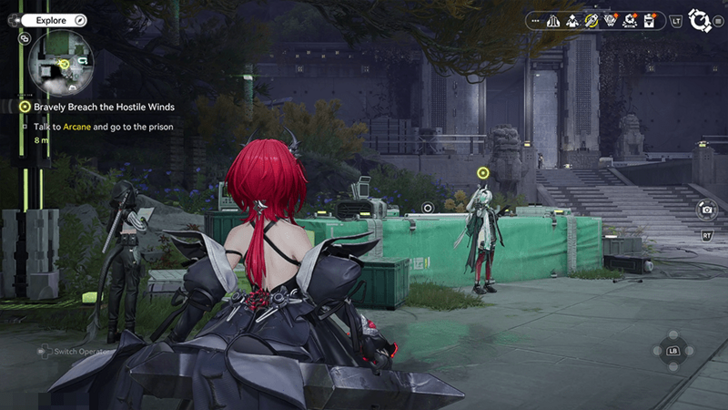
After the battle, meet with Arcane up ahead and talk to her. Follow the path ahead towards the Prison and interrogate Ardashir, imprisoned in a room at the bottom of the elevator.
Arcane Best Builds and Weapons
Talk to Si
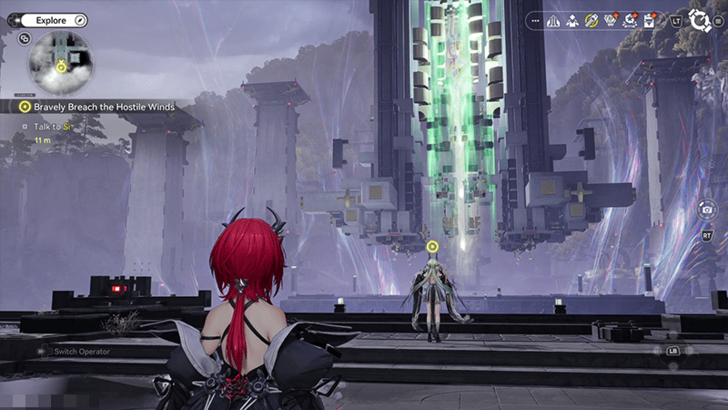
Return the way you came and meet with Si at the area where you first fought the Blightshades to discuss what to do next.
Go to the First Balepyre Tower
| Step | Walkthrough |
|---|---|
| 1 | 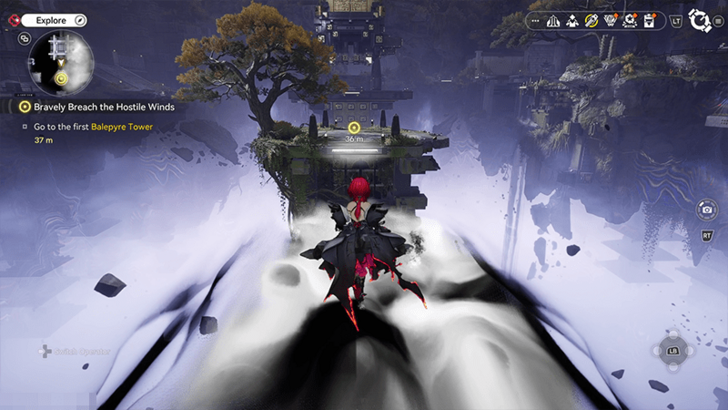 Walk along the Ink Bridge ahead to go towards the first of the three Balepyre Towers that need to be activated. |
| 2 | 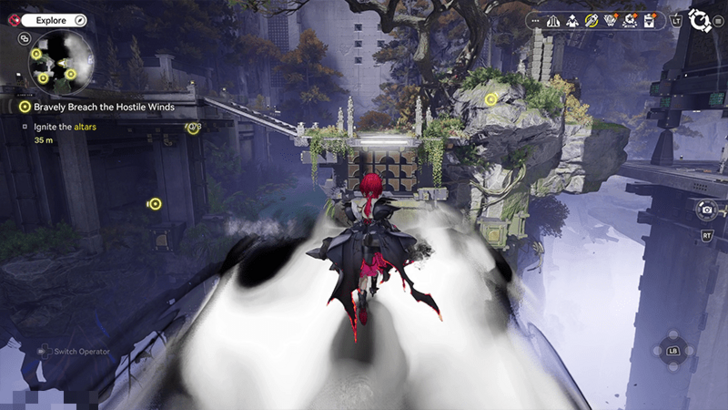 Upon arriving at the first Balepyre Tower, follow the path ahead towards the three altars that need to be ignited. |
| 2 | 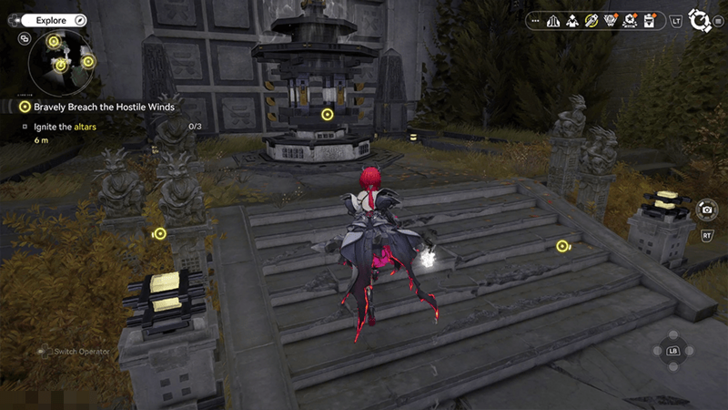 You can ignite the three altars of the first Balepyre Tower in any order, but for this guide, we'll ignite the first altar you can come across that's placed in the middle of the path that diverges to the left and right. |
| 3 | 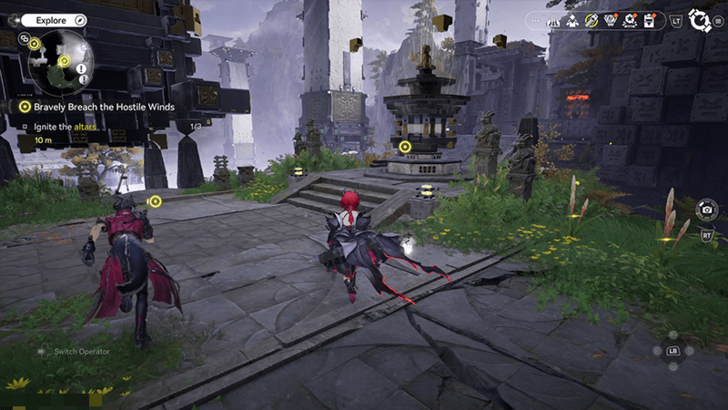 For the second one, we take the path to the left first and head to the altar at the end of it and ignite it. A couple of enemies will spawn inside the cave, so prepare for another fight. |
| 4 | 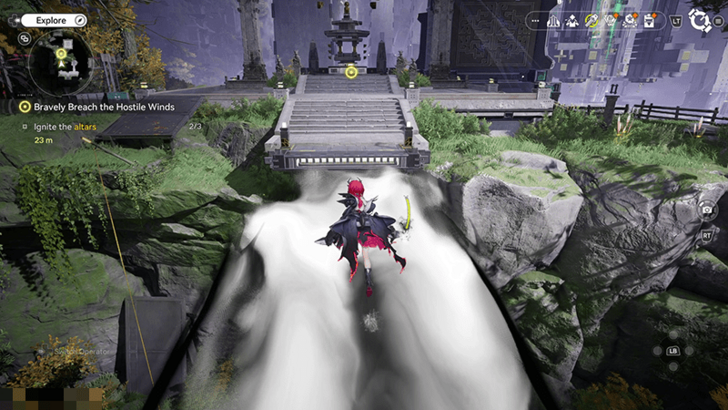 For the third altar, go back down the same path you came and head to the right path from the first altar instead. Keep following the path and walk over a chasm with the Ink Bridge and ignite the altar found at the end of it. |
| 5 | 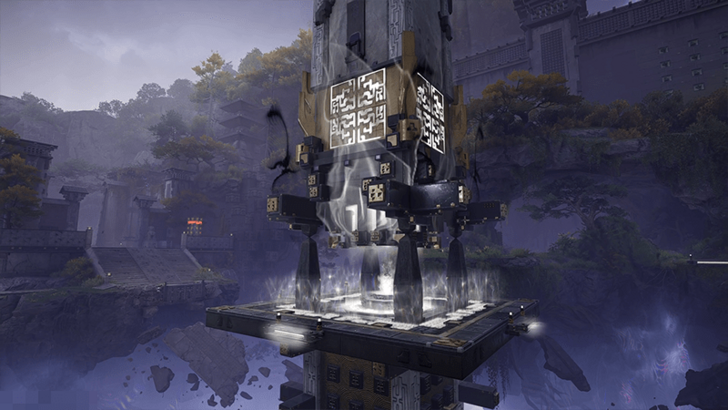 After igniting the third altar, head back to the first Balepyre Tower and activate it. You can take a shortcut from the right of the third altar we ignited to get back faster. |
Go to the Second Balepyre Tower
| Step | Walkthrough |
|---|---|
| 1 | 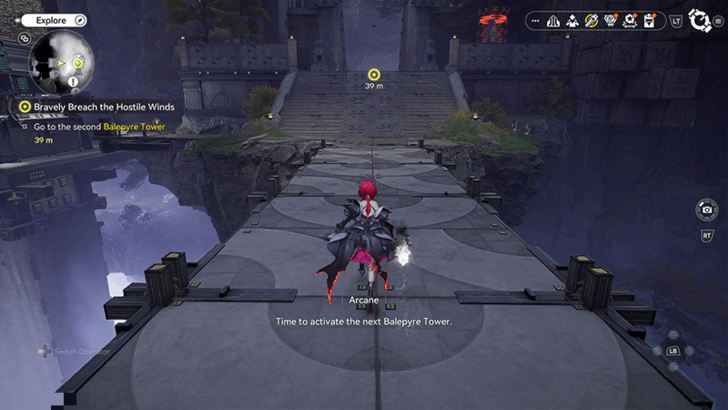 Activate a nearby mechanism and walk along the bridge it spawns towards the second Balepyre Tower. Prepare for another enemy encounter at the other side of the bridge and continue towards the next Tower. |
| 2 | 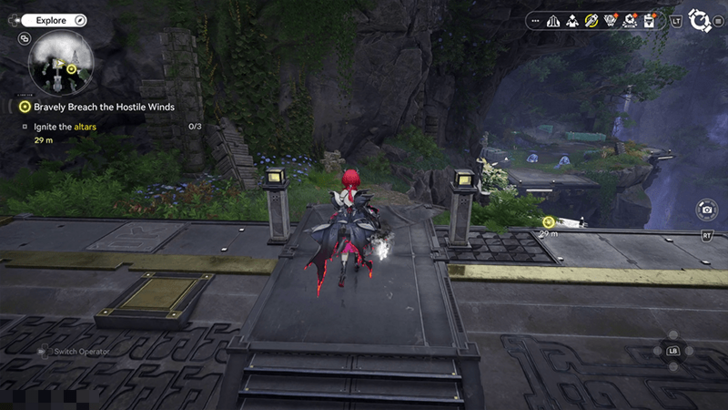 Continue past the second Balepyre Tower and head towards the eastern path that will lead you to the altars that will activate it. |
| 3 | 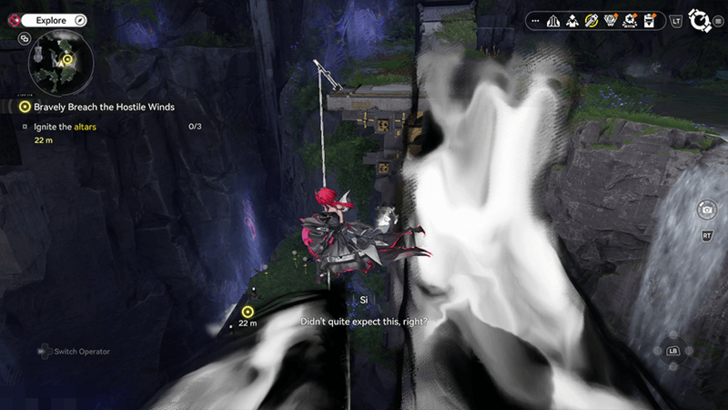 Prepare for more enemy encounters and some light platforming, as Ink Bridges from this point on will have gaps and twists that you'll need to look out for when progressing onward. |
| 4 | 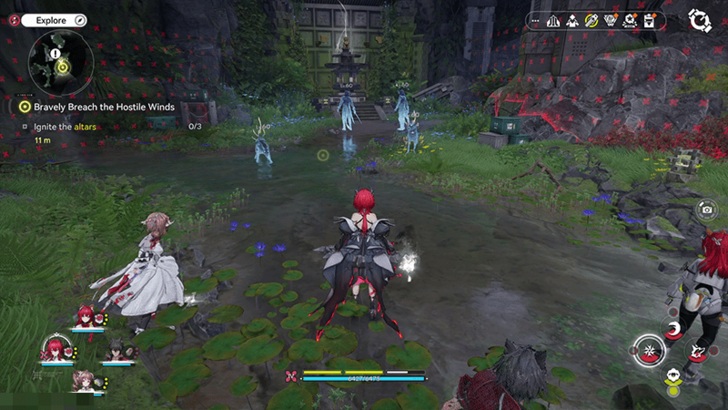 Defeat the enemies in front of the first altar and ignite it after the battle. Continue along the path to the right towards the next altars, fight a few more enemies, and perform some more light platforming along the way. |
| 5 | 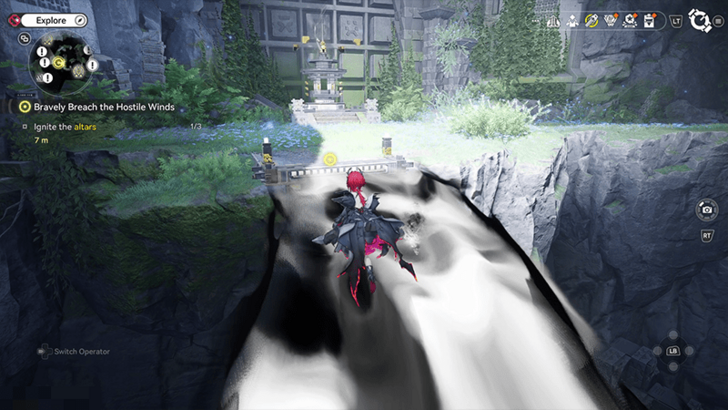 Approach the second altar and defeat the enemy ambush. Ignite the second altar after the battle, then proceed along the pathway to the right towards the third altar. Defeat more enemies along the way, and overcome some more light platforming. |
| 6 | 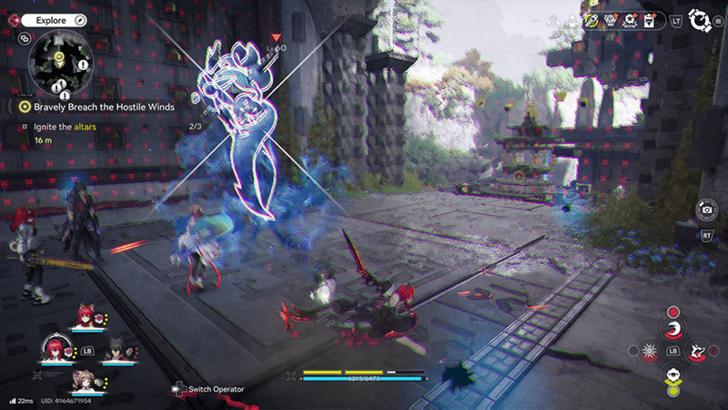 Approach the third altar at the end of the path and defeat the last enemy ambush lying in wait. Ignite the altar and head towards the Balepyre Tower, which can be reached via a shortcut behind the altar by interacting with a nearby mechanism that will extend a staircase towards it. |
| 7 | 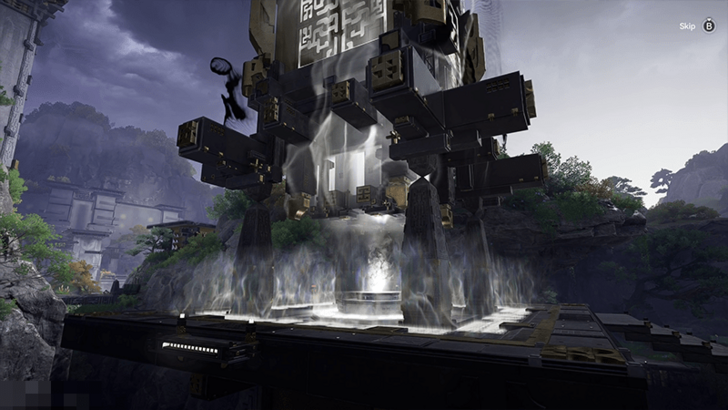 Activate the second Balepyre Tower and proceed to head ot the third Tower towards the north after activating a mechanism nearby to extend a bridge towards it. |
Go to the Third Balepyre Tower
| Step | Walkthrough |
|---|---|
| 1 | 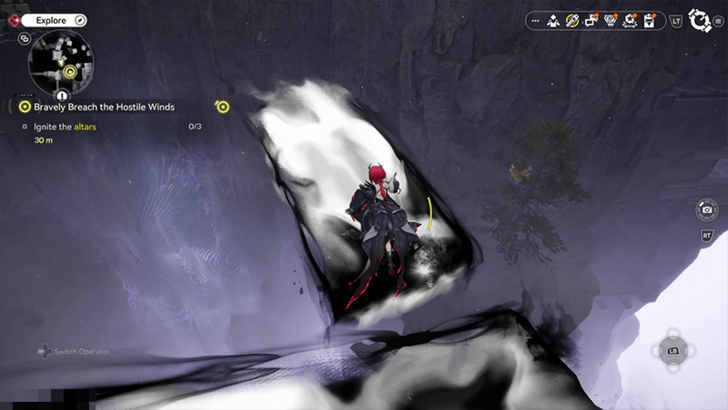 Upon arriving at the third Tower, rappel down the right side of the tower and jump across several Ink Bridges on your way to the first altar. |
| 2 | 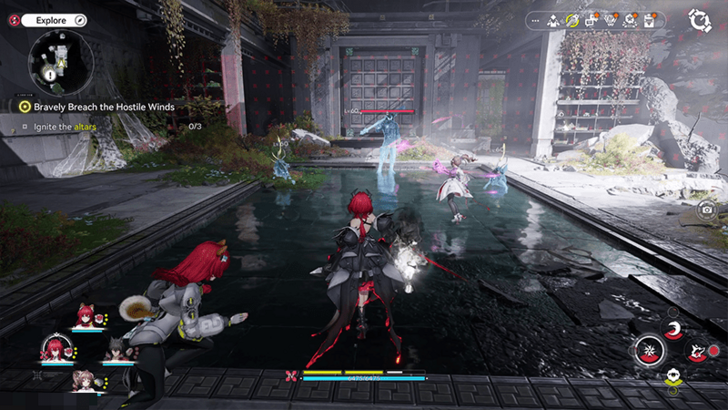 Head inside the YSTF Filling Room area and defeat the enemies inside to get past the area. |
| 3 | 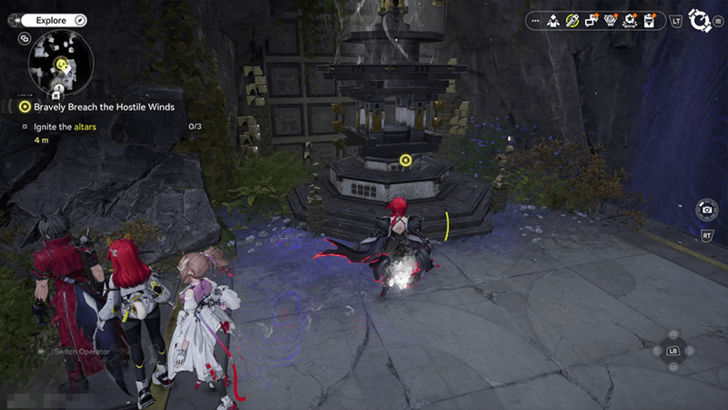 Outside behind the YSTF Filling room, head towards the Ink Bridge and jump to the left onto the platform to the first altar and ignite it. |
| 4 | 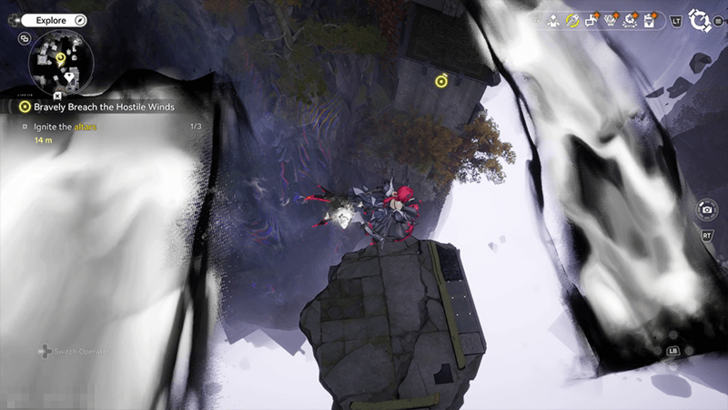 Continue along the path in front of the altar and platform your way across several floating debris and Ink Bridges, then defeat a group of enemies along the way. |
| 5 | 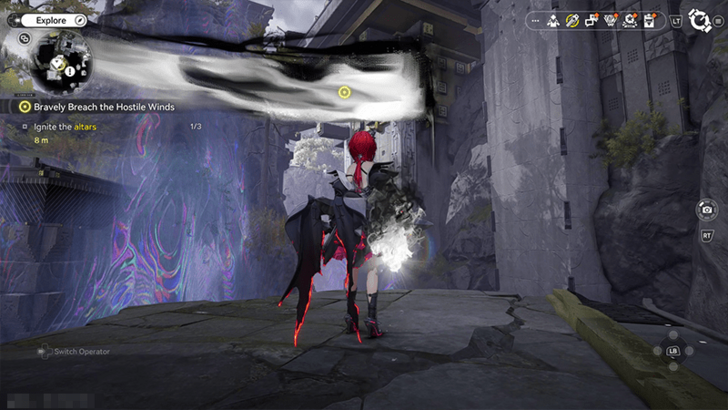 After defeating the group of enemies, jump on top of a piece of floating debris nearby and wait for it to elevate you high above, next to another Ink Bridge. Keep walking along the bridge until you reach the second altar and ignite it. A Chest can be picked up along this path. |
| 6 | 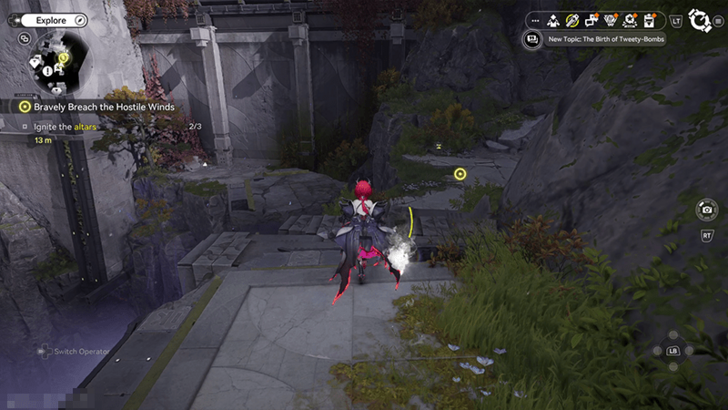 Head towards the path to the north and navigate across the cliffside towards the next area where the altar is. |
| 7 | 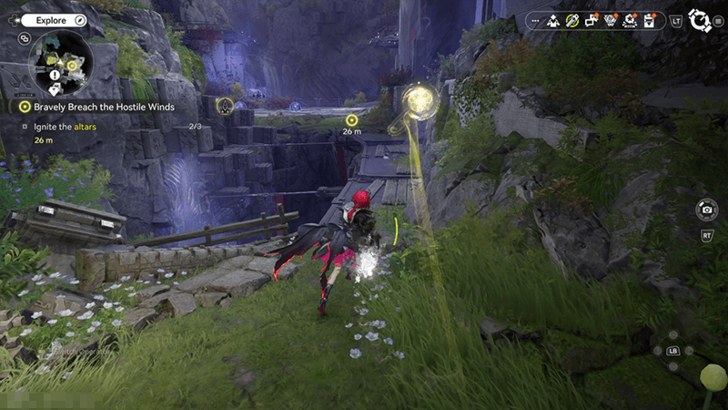 Pass through a passageway, fight the enemies along the way, and climb along the sides to head inside a building nearby where the altar is stationed. An Aurelyne can be encountered along the way so it'd be good to collect it as well. |
| 8 | 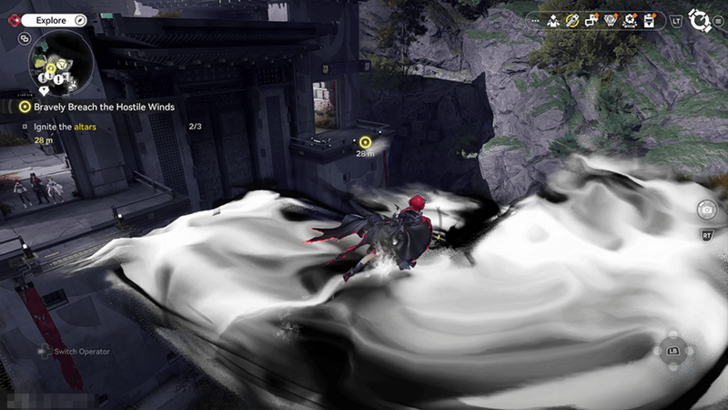 Inside the building, go to the altar at the other end and ignite it. The stone platform before you will collapse if you walk across it and drop you to the bottom, where enemies will spawn, and a Chest can be found there as well. To get to the altar, climb back up using a rappel nearby and take the pathway on the right side of the entrance instead, and use the Ink Bridges to get to the altar, along with another Chest on the way. |
| 9 | 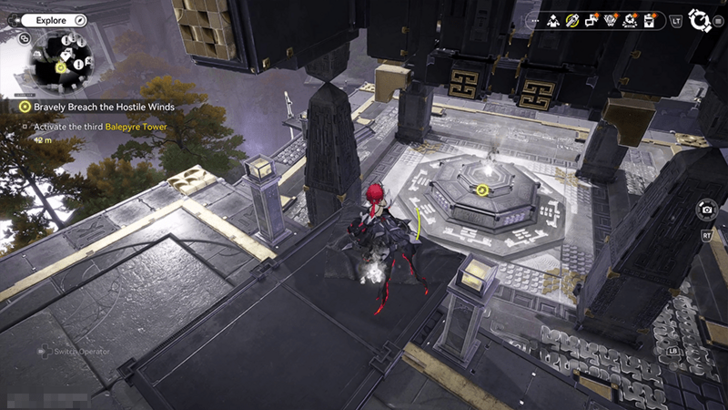 After activating the last altar, head back to the Balepyre Tower via a shortcut of an Ink Bridge nearby and jump a small gap to reach the Tower and activate it. |
Return to the Main Altar
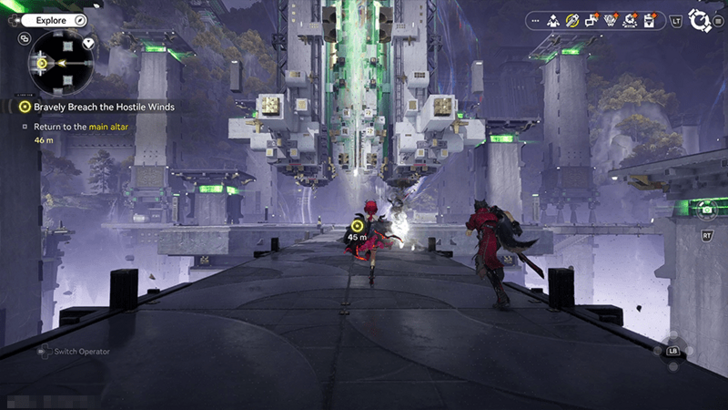
After activating the final Balepyre Tower, head back to the Main Altar where Si is. You can use a nearby elevator and spawn a bridge that gives you a direct pathway back to the Main Altar.
Defend the Xiranite Nexus
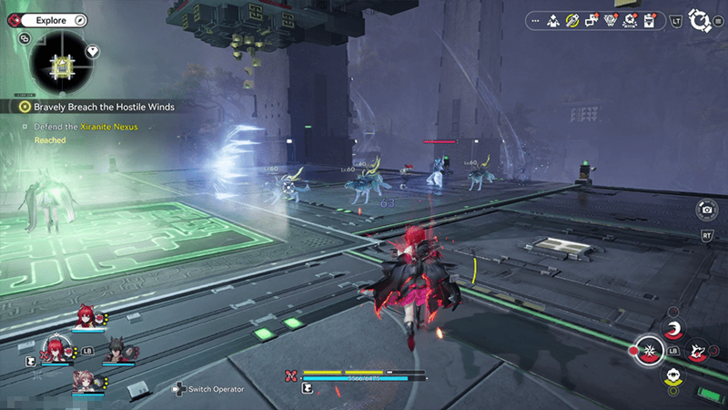
Defend Si and the Xiranite Nexus from waves of spawning Blightshades. More and more enemies will keep spawning until Si finishes the ritual, so keep up the fight until she is done.
Unlock Personal Devices
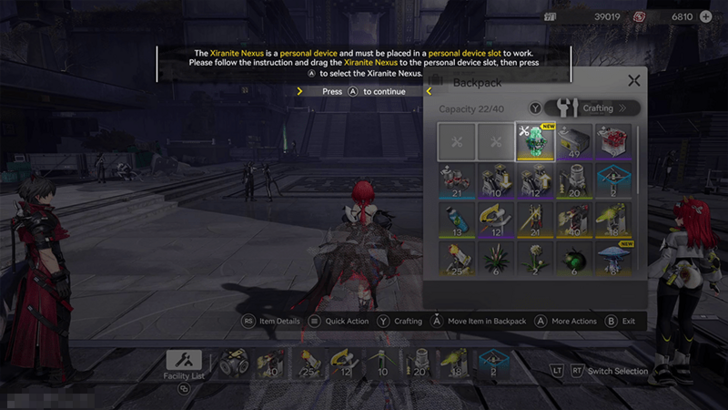
Completing this objective will unlock the Xiranite Nexus as a Personal Device, which will be used in later content. They must be placed in the personal device slot in the Backpack to use them in the overworld. .
Talk to Arcane
After the battle, talk to Arcane once more nearby to prepare for the expedition towards the North Wuling Exclusion Zone.
North Wuling Exclusion Zone Map
Talk to Summit
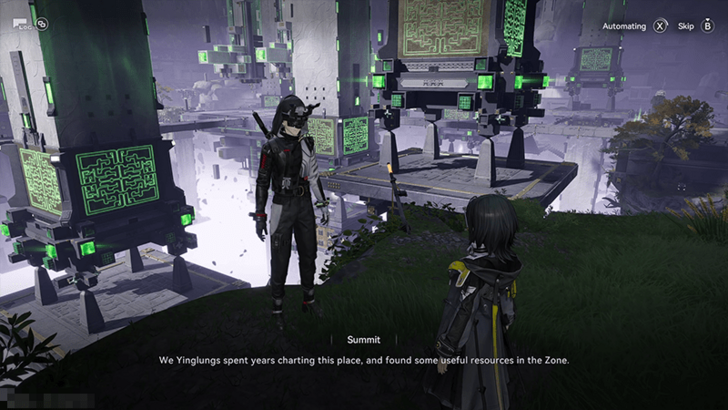
Before you head to the next area, go and talk to Summit nearby to hear what he has to say. You can find him by following the objective markers in the game.
Gas-Related AIC Technology Unlocked
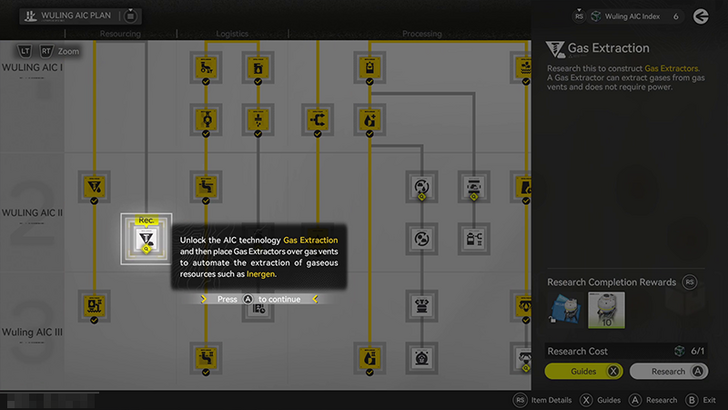
You'll be prompted to take a tutorial about gas resources for the AIC that can be found all over Wuling. These gas minerals will be useful for further development of your AIC, as well as providing new resources for crafting new equipment for your Operators or new facilities for your AIC.
Bravely Breach the Hostile Winds Quest Rewards
Total Item Rewards
 Origeometry
x5 |
 T-Creds
x22000 |
 Advanced Cognitive Carrier
x3 |
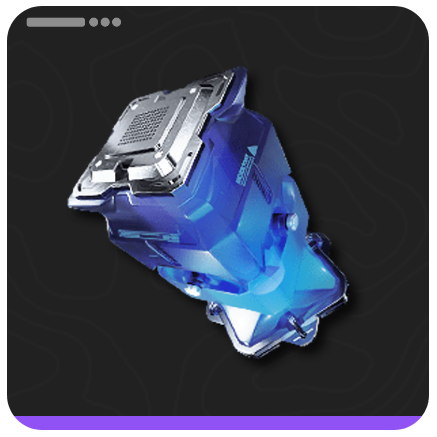 Protohedron
x8 |
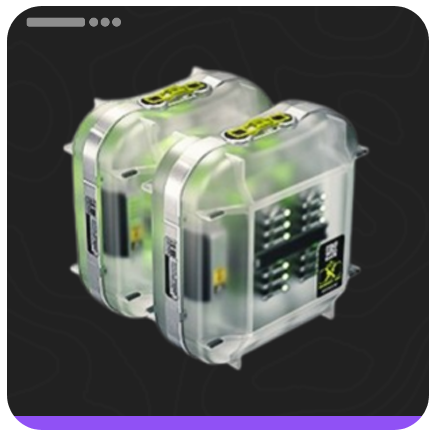 Arms INSP Set
x5 |
 Operational EXP
x900 |
Arknights: Endfield Related Guides

All Main Chapters and Processes
Comment




Bravely Breach the Hostile Winds Main Mission Guide

Premium Articles

Rankings
- We could not find the message board you were looking for.

Gaming News





Popular Games

Genshin Impact Walkthrough & Guides Wiki
Fire Emblem: Fortune's Weave (FEFW) Walkthrough & Guides Wiki
Aniimo Walkthrough & Guides Wiki
Wuthering Waves Walkthrough & Guides Wiki
Dragon's Dogma 2 (DD2) Dark Arisen Walkthrough & Guides Wiki
Umamusume: Pretty Derby Walkthrough & Guides Wiki
Honkai: Star Rail Walkthrough & Guides Wiki
Zenless Zone Zero Walkthrough & Guides Wiki
Pokemon TCG Pocket (PTCGP) Strategies & Guides Wiki
AION 2 Walkthrough & Guides Wiki










Recommended Games
Fire Emblem Heroes (FEH) Walkthrough & Guides Wiki
Where Winds Meet Walkthrough & Guides Wiki
Diablo 4: Lord of Hatred Walkthrough & Guides Wiki
Super Smash Bros. Ultimate Walkthrough & Guides Wiki
Persona 3 Reload Walkthrough & Guides Wiki
The Legend of Zelda: Tears of the Kingdom Walkthrough & Guides Wiki
Elden Ring Walkthrough & Guides Wiki
Pokemon Brilliant Diamond and Shining Pearl (BDSP) Walkthrough & Guides Wiki
Cyberpunk 2077: Ultimate Edition Walkthrough & Guides Wiki
Monster Hunter World Walkthrough & Guides Wiki










All rights reserved
Copyright © 2022 - 2025 GRYPHLINE. All Rights Reserved.
The copyrights of videos of games used in our content and other intellectual property rights belong to the provider of the game.
The contents we provide on this site were created personally by members of the Game8 editorial department.
We refuse the right to reuse or repost content taken without our permission such as data or images to other sites.