
Season of Phantasia Guide
✪ Check Game8 Endfield Twitter for daily tips!
★ Exclusive: Endfield's Connection to Arknights
✰ Version 1.6 is out! | Yuanyuan's Blazing Stoves
├ P1: Si (Builds / Teams / Banner)
├ P2: Argent Flow (Builds / Banner)
└ Rerun: Tangtang (Builds | Teams | Banner)
Season of Phantasia is the fifth season of Echoes of War and features Cycles of Phantasia in Arknights: Endfield. See all Cycle of Phantasia stages, cycle schedule, and all rewards here!
List of Contents
Cycle of Phantasia Schedule
All Cycle of Phantasia Schedule
Cycle of Phantasia Countdown
| Asia (UTC+8) |
Time left until Cycle of Phantasia III: |
|---|---|
| NA/EU (UTC-5) |
Time left until Cycle of Phantasia III: |
Cycle of Phantasia II Stages
| Jump to a Stage! | ||
|---|---|---|
| Stage 1 | Stage 2 | Stage 3 |
Glaiver File: Yinglung Stage 1 Guide
| Best Teams | |
|---|---|
| Cryo Team |




|
| Physical Team |




|
| Stage Mechanics | |
|
・After the battle begins, operators' starting SP and Max SP are increased to 700.
・All SP recovery and regeneration -50%. ・Enemies have better stats ・Only HP Treatment tacticals and consumables can be used. |
|
| Bonus Challenge Goal (Brutal) | |
| ・Clear within 2 minutes (timer has more than 5 minutes left). | |
| Enemies | |
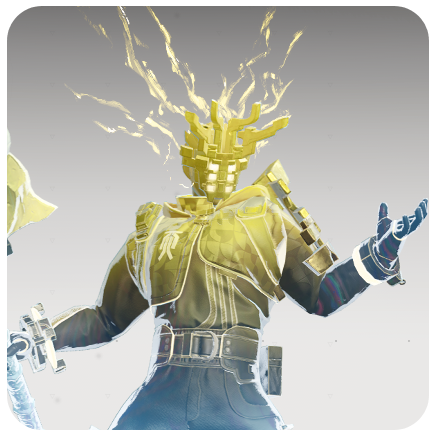 YSTF Captain Blightshade
For this stage, you need to carefully plot out how you'll be using your SP throughout the fight, given how SP recovery and regen are reduced by 50%.
Single-Target focused teams are really good for this fight. Mi Fu and Rossi can save enough SP to allow their team to rotate for at least two burst phases while the Cryo Team can melt the boss down thanks to Arcane's corrosion and Si's Cryo Amp.
Silver Watercutter Stage 2 Guide
| Best Teams | |
|---|---|
| Fang Yi Hypercarry |



|
| Laevatain Team |




|
| Stage Mechanics | |
|
・After applying Arts Infliction 20 time(s), all operators gain Final DMG Dealt +50%.
・Enemies have better stats ・Only HP Treatment tacticals and consumables can be used. |
|
| Bonus Challenge Goal (Brutal) | |
| ・Clear within 3 minutes (timer has more than 7 minutes left). | |
| Enemies | |
 Hedron δ
 Mudflow δ
 Tidewalker
Teams that can both apply a ton of Arts Infliction and deal AoE damage are good for this stage. A character like Zhuang Fangyi can deal a massive amount of AoE damage whenever she's in her Ultimate form.
Laevatain is also good here, as she can quickly apply 20 Arts Infliction as her kit revolves around building up her Melting Flame stacks, and her Ultimate can deal a ton of damage while simultaneously dealing AoE damage.
Wall of Shields Stage 3 Guide
| Best Teams | |
|---|---|
| Typhoeus Team |

|
| Cryo Team |
|
| Stage Mechanics | |
|
・When a Prism is defeated, another Prism will spawn on the battlefield after a while.
・Prisms are now much harder to interrupt. ・Defeat the Quillbeast Blightshade to beat the stage. Defeating the Prisms does not affect stage completion. ・Enemies have better stats ・Only HP Treatment tacticals and consumables can be used. |
|
| Bonus Challenge Goal (Brutal) | |
| ・Clear within 2 minutes (timer has more than 5 minutes left). | |
| Enemies | |
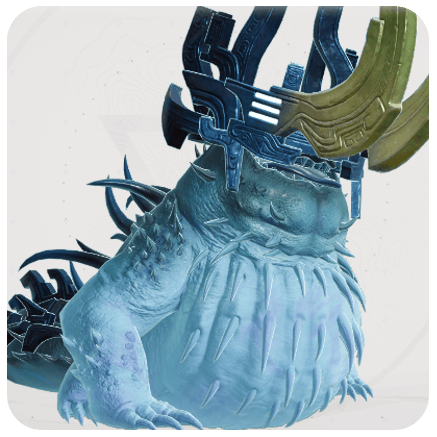 Quillbeast Blightshade
 Prism
For Stage 3, you'll need to fight both the Quillbeast and Prism simultaneously, so characters that can deal both at the same time are preferable here.
Typhoeus is an excellent recommendation here as her Battle Skill allows her to deal damage to two targets at the same time.
Cycle of Phantasia I Stages
| Jump to a Stage! | ||
|---|---|---|
| Stage 1 | Stage 2 | Stage 3 |
Blightshade File: Thunderclap Stage 1 Guide
| Best Teams | |
|---|---|
| Cryo Team |
|
| Hybrid Team |
|
| Stage Mechanics | |
|
・The Blitzcrash Blightshade will not enter its Enraged state.
・Enemies have better stats ・Only HP Treatment tacticals and consumables can be used. |
|
| Bonus Challenge Goal (Brutal) | |
| ・Clear within 3 minutes (timer has more than 7 minutes left). | |
| Enemies | |
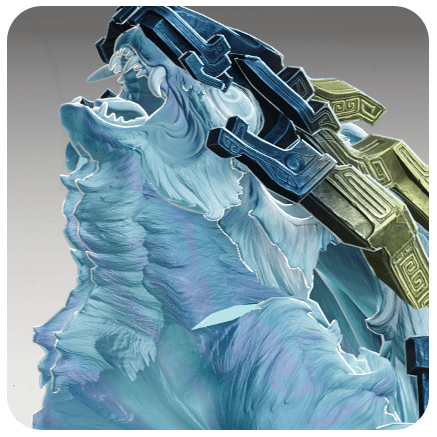 Blitzcrash Blightshade
At this stage, you're mostly going to be fighting against a single enemy. The boss doesn't have any particular skills you have to watch out for, as he won't go on an enrage, so feel free to focus on dealing as much damage as possible.
Try to bring operators that can inflict debuffs like corrosion to reduce its resistance, making it easier to defeat. Single-target focused teams like Mi Fu and Last Rite teams are good here.
Beast File: Qingbo Stockade Stage 2 Guide
| Best Teams | |
|---|---|
| Zhuang Fangyi Hypercarry |
|
| Cryo Team |
|
| Stage Mechanics | |
|
・After defeating the Cloud Stalker, +1 to the stacks of Arts Infliction / Vulnerability applied.
・After defeating the Quillbeast, +1 to the Status Level of Arts Reactions / Crush / Breach applied. ・After defeating Heavy Sting α, immediately recover +25 SP when consuming Arts Infliction / Vulnerability stacks. ・Defeating any set of enemies grants HP +50% to the remaining enemies. ・Enemies have better stats ・Only HP Treatment tacticals and consumables can be used. |
|
| Bonus Challenge Goal (Brutal) | |
| ・Clear within 3 minutes (timer has more than 7 minutes left). | |
| Enemies | |
 Cloud Stalker
 Quillbeast
 Heavy Sting α
For this fight, you'll need to properly order which enemy you'll focus on depending on your team's needs. For teams that want to stack as much Arts Infliction as possible, like Last Rite, Cloud Stalker will be beneficial for them to focus on.
Grievously Besieged Stage 3 Guide
| Best Teams | |
|---|---|
| Cryo Team |
|
| Nature Flex Team |
|
| Stage Mechanics | |
|
・The battlefield has a Pain Zone. An enemy suffers DMG Taken +10% for every second within the Zone, up to a max of +150%. The debuff gradually wears off once the enemy leaves the Pain Zone.
・Enemies have better stats ・Only HP Treatment tacticals and consumables can be used. |
|
| Bonus Challenge Goal (Brutal) | |
| ・Clear within 3 minutes (timer has more than 7 minutes left). | |
| Enemies | |
 Heavy Ram
 Bonekrusher Arsonist
For this stage, you'd want to just pin the enemy within the Pain Zone, and as such, Arcane and Tangtang will have the most value here as their Skills or Ultimate can effectively stop the enemy from moving.
Cycle of Phantasia Rewards
Cycle of Phantasia I Rewards
| Blightshade File: Thunderclap | |
|---|---|
| 1★ Earned |
 Oroberyl
x100  T-Creds
x25000 |
| 2★ Earned |
T-Creds
x25000 |
| 3★ Earned | |
| Beast File: Qingbo Stockade | |
| 1★ Earned |
Oroberyl
x100 T-Creds
x25000 |
| 2★ Earned |
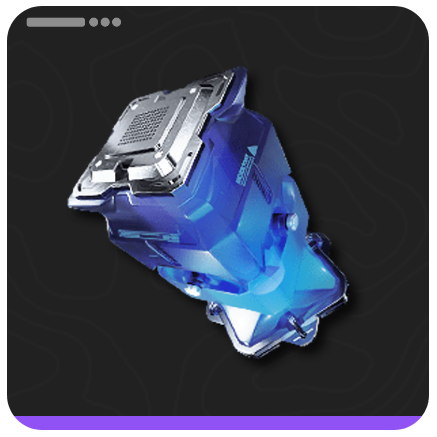 Protohedron
x15 T-Creds
x25000 |
| 3★ Earned | |
| Grievously Besieged | |
| 1★ Earned |
Oroberyl
x100 T-Creds
x25000 |
| 2★ Earned |
T-Creds
x25000 |
| 3★ Earned | |
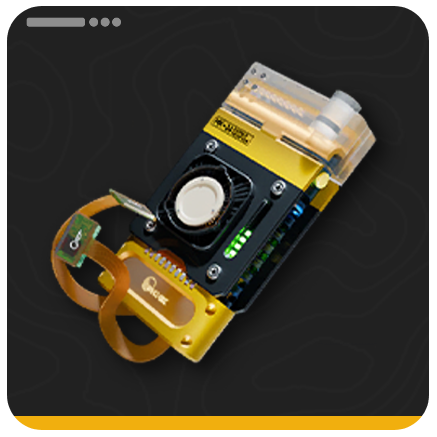 Advanced Cognitive Carrier
 Mark of Perseverance
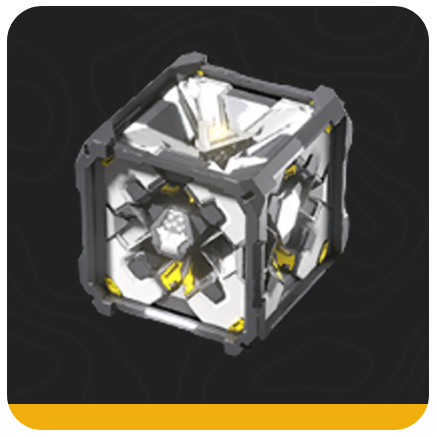 Advanced Progression Selection Crate I
Cycle of Phantasia II Rewards
| Glaiver File: Yinglung | |
|---|---|
| 1★ Earned |
Oroberyl
x100 T-Creds
x25000 |
| 2★ Earned |
Protohedron
x15 T-Creds
x25000 |
| 3★ Earned | |
| Silver Watercutter | |
| 1★ Earned |
Oroberyl
x100 T-Creds
x25000 |
| 2★ Earned |
T-Creds
x25000 |
| 3★ Earned | |
| Wall of Shields | |
| 1★ Earned |
Oroberyl
x100 T-Creds
x25000 |
| 2★ Earned |
Protohedron
x15 T-Creds
x25000 |
| 3★ Earned | |
Arknights: Endfield Related Guides
All Echoes of War Seasons
 Season of Fervor |
Season of Phantasia |
 Season of Illusion |
 Season of Virtuality |
 Season of Delirating |
 Season of Recalling |
Comment




Season of Phantasia Guide

Premium Articles
Rankings
- We could not find the message board you were looking for.

Gaming News





Popular Games

Genshin Impact Walkthrough & Guides Wiki
Fire Emblem: Fortune's Weave (FEFW) Walkthrough & Guides Wiki
Aniimo Walkthrough & Guides Wiki
Wuthering Waves Walkthrough & Guides Wiki
Dragon's Dogma 2 (DD2) Dark Arisen Walkthrough & Guides Wiki
Umamusume: Pretty Derby Walkthrough & Guides Wiki
Honkai: Star Rail Walkthrough & Guides Wiki
Zenless Zone Zero Walkthrough & Guides Wiki
Pokemon TCG Pocket (PTCGP) Strategies & Guides Wiki
AION 2 Walkthrough & Guides Wiki










Recommended Games
Fire Emblem Heroes (FEH) Walkthrough & Guides Wiki
Where Winds Meet Walkthrough & Guides Wiki
Diablo 4: Lord of Hatred Walkthrough & Guides Wiki
Super Smash Bros. Ultimate Walkthrough & Guides Wiki
Persona 3 Reload Walkthrough & Guides Wiki
The Legend of Zelda: Tears of the Kingdom Walkthrough & Guides Wiki
Elden Ring Walkthrough & Guides Wiki
Pokemon Brilliant Diamond and Shining Pearl (BDSP) Walkthrough & Guides Wiki
Cyberpunk 2077: Ultimate Edition Walkthrough & Guides Wiki
Monster Hunter World Walkthrough & Guides Wiki










All rights reserved
Copyright © 2022 - 2025 GRYPHLINE. All Rights Reserved.
The copyrights of videos of games used in our content and other intellectual property rights belong to the provider of the game.
The contents we provide on this site were created personally by members of the Game8 editorial department.
We refuse the right to reuse or repost content taken without our permission such as data or images to other sites.