
Wuling Interactive Map and Locations
✪ Check Game8 Endfield Twitter for daily tips!
★ Exclusive: Endfield's Connection to Arknights
✰ Version 1.6 is out! | Yuanyuan's Blazing Stoves
├ P1: Si (Builds / Teams / Banner)
├ P2: Argent Flow (Builds / Banner)
└ Rerun: Tangtang (Builds | Teams | Banner)

Wuling is an area found in Talos-II in Arknights: Endfield. See all information and an interactive map of Wuling, a list of all locations in Wuling, as well as collectibles, missions, characters and achievements in this guide!
List of Contents
Wuling Interactive Map
Full Wuling Map
| ・Pins checked off the map will reflect in the list below. ・Use the upper dropdown menu to select the Region. Then, use the lower dropdown menu to swap between Areas within that Region. ・To suggest map pins, simply click anywhere on the map. Please list down as much information as you can including reward data or acquisition methods. For images, uploading a full rectangular screenshot with a resolution of at least 728 x 410 pixels will be highly appreciated. ・Farmable map pins now reset automatically when items are ready for regathering. Select the Asia or US/EU server region for accurate timing.NEW ┗ This is a new feature, so we are looking for feedback from our users. Please leave a comment to let us know what you think! We encourage users to Sign Up and Log In to save your progress with the map. |
All Areas in Wuling
| List of All Wuling Areas | |
|---|---|
| Jingyu Valley | Wuling City |
| Qingbo Stockade | Marker Stone |
| Test Area | Sword Vault Dale |
| Yinglung Pass | North Wuling Exclusion Zone |
| Snowy Forest | Suiming |
| Si's Painting | |
Jingyu Valley

A gorgeous valley where residents of Wuling City come to unwind. Here, you'll find the Ecological Research Station among green hills, bamboo forests, scenic rivers, as well as spooky occurrences at Stragglers Grove.
Wuling City

In Wuling City, you will find the Tianshi Pillar Array, which defends the city from outside threats. Wuling also holds the prestigious Tianshi Bureau Academy, as well as Fangxing Avenue, where you can find various local cuisines.
Qingbo Stockade

Qingbo Stockade has been around even before Wuling City came to be. The area is known for their buildings being raised off the ground, allowing them to avoid the Active Blight. The area is known for their giant waterwheels, and is the stomping grounds of its Supreme Chief, Tangtang!
Qingbo Stockade Interactive Map
Marker Stone
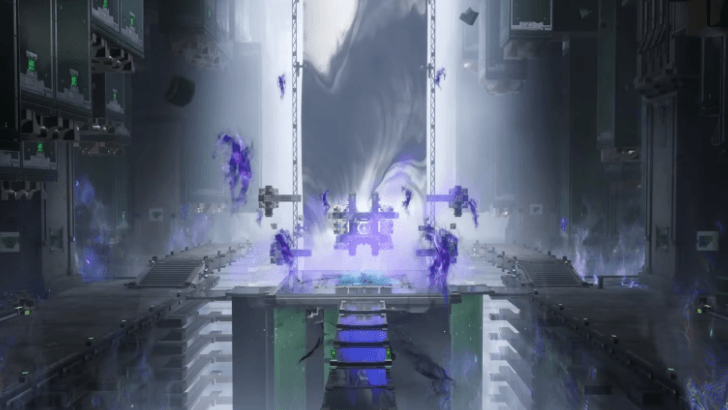
The Marker Stone area is riddled with traps, obstacles and puzzles, as this seems to be an area where the Endministrator will be confronting Ardashir. This area also has various pools of Precipitation Acid, a corrosive liquid that needs higher technology to process.
Test Area

The Test Area is a site dedicated to research and experiments in Wuling. This location was closed due to the Blight Tide, but has since been open to the public after the crisis.
Most notably, this location houses the Type-C Tianshi Pillar that resembles a tree, as well as multiple exhibits to educate its visitors with the various researches conducted in the area.
Sword Vault Dale
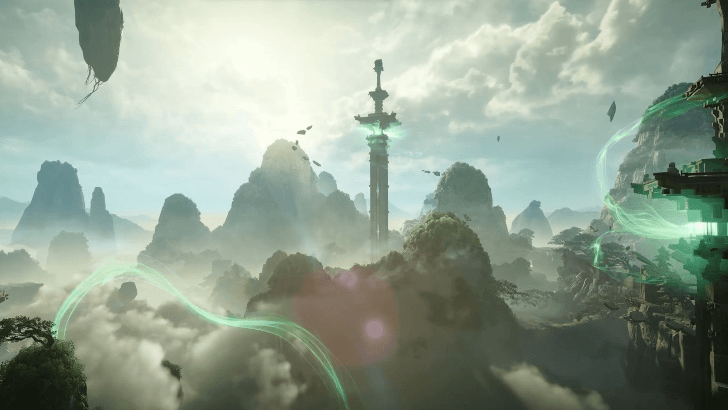
Sword Vault Dale is an area that resurfaced after the retreat of Blight Tides in Wuling. These long lost ruins are rumored to contain technological heritage left behind by the Great Yan.
Here, you can learn about the history of Sword Vault Dale and discover hidden treasures such as the legendary Chi Xiao Swordmancy manual.
Sword Vault Dale Map Interactive Map
Yinglung Pass
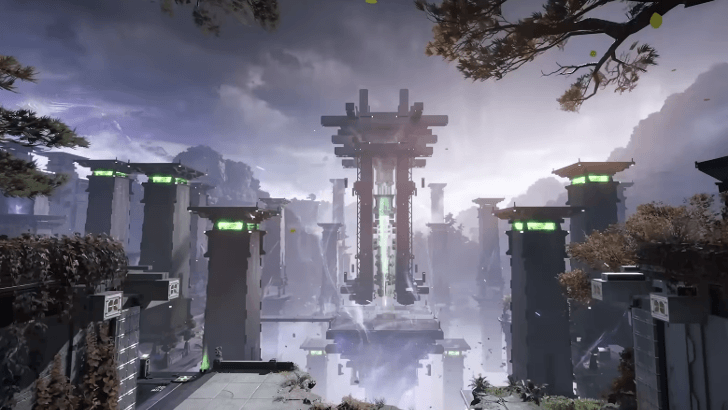
Yinglung Pass serves as the bastion and front line against the Exclusion Zone. This is the only area that stands between Wuling and the Very Large Rift.
The area is where the Balepyre Towers is found which is said to house the power of the Feranmut.
Yinglung Pass Map Interactive Map
North Wuling Exclusion Zone
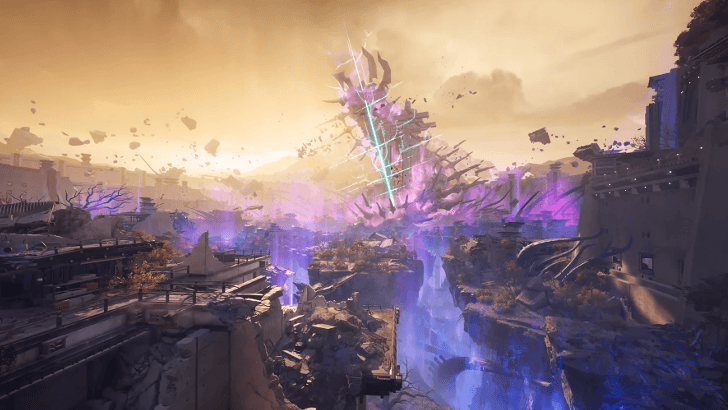
This part of Wuling was sealed off due to heavy corruption brought up by the Blight Miasma. This is where the Very Large Rift can be found, which is said to be the largest Blight fissure found under Wuling.
North Wuling Exclusion Zone Interactive Map
Snowy Forest

Snowy Forest is connected to Yinglung Pass, described to be a "mist-covered woodland". It features an archery range in its midst, along with icy caverns and a mysterious purple seal.
Suiming
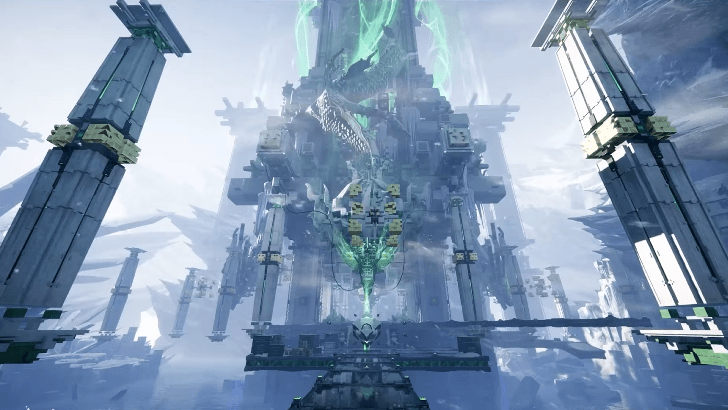
Suiming houses the Waking Bell, and is a city with a tide mechanic, along with plenty of puzzles to complete. Players must find the parts scattered throughout the city to repair the Waking Bell before the starts rising again.
Si's Painting
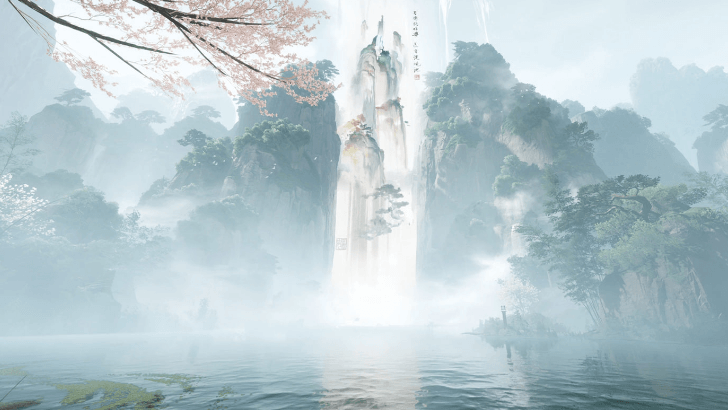
Si's Painting is her home, where brings the Endministrator into to treat their injuries after a major fight. In this world, changes can be made with a single brushstroke. She resides in and runs the Yuanyuan Manor, which also serves as an inn.
Wuling Collectibles
| All Collectibles in Wuling | |
|---|---|
| Aurylene | Chest |
| Protocol Datalogger | Facility Repair Robot |
| Repair Logic | Talosite |
Tip: Checking off collectibles in these tables also checks them off in the Interactive Map above.
Wuling Aurylene Locations
Aurylenes are glowing orbs found throughout Talos-II. Some Aurylenes can be obtained at fixed positions, while others will float away and will need to be chased first before collecting.
Submit Aurylenes at TP Points to obtain rewards such as additional Stamina, Origeometry, and EXP.
| ✔️ | Overworld View | How to Get |
|---|---|---|
 |
On top of some metal platforms inside the main fort, do a little parkour to get there, and make sure to activate the rope nearby once you arrive at the location. | |
 |
Slightly Southeast of the Main Fort. Use the water wheel elevator to get to the area. This one will move around, so you have to chase it. | |
 |
Use the big water wheel and some parkour to get to this location southwest of the Main fort. You can make your way starting from chest 25, and this aurylene will be the direct opposite location of chest 26. | |
 |
Southeast of Main Fort, use the water wheels to get to it. | |
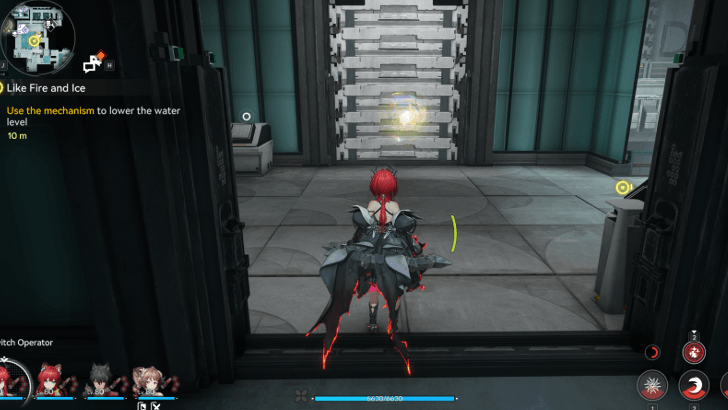 |
Inside the Watchtower Reservoir Station, positioned southeast of the TP waypoint. | |
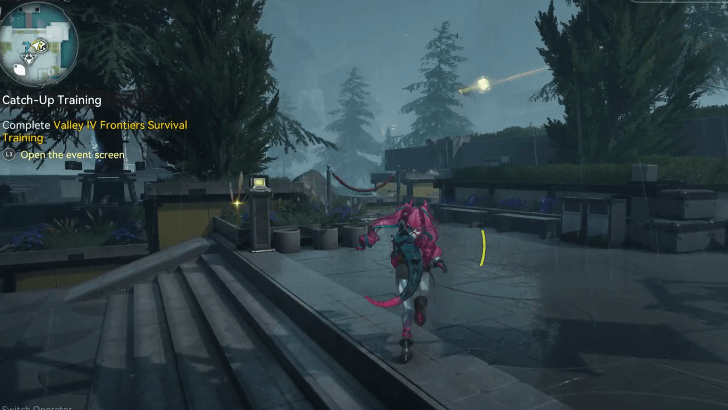 |
In Serenity Garden, by a tree on an elevated plant box northeast of the area. | |
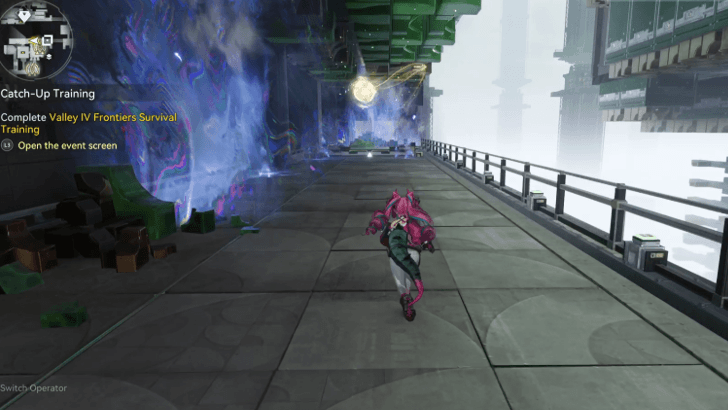 |
In the Marker Stone Interior - Middle Floor. Found moving along the railway on the southern corridors. | |
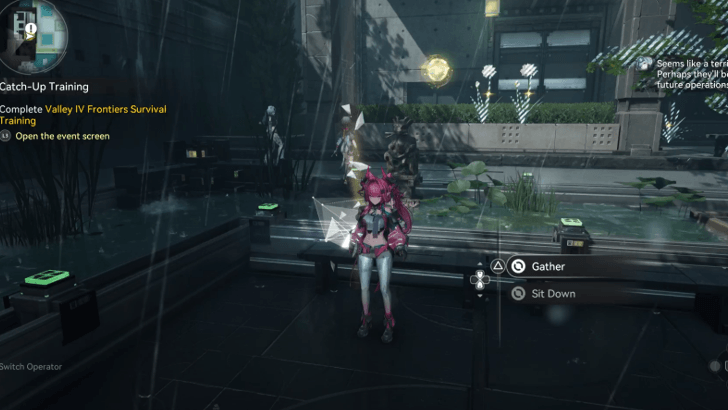 |
At the Urban Development Hall. Found moving around the western building. | |
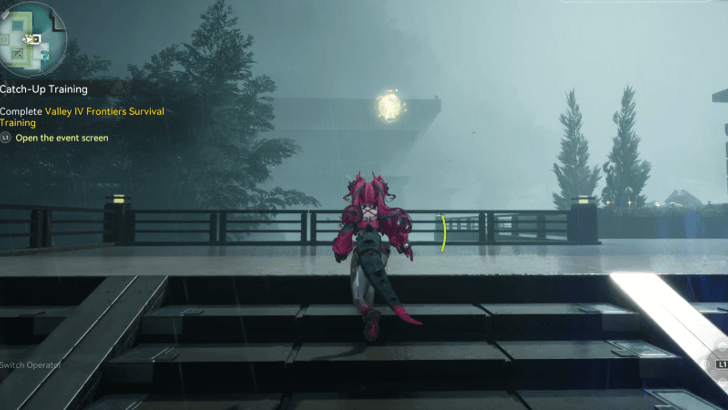 |
At the Urban Development Hall and on top of the easternmost railing. You're gonna have to chase it south. | |
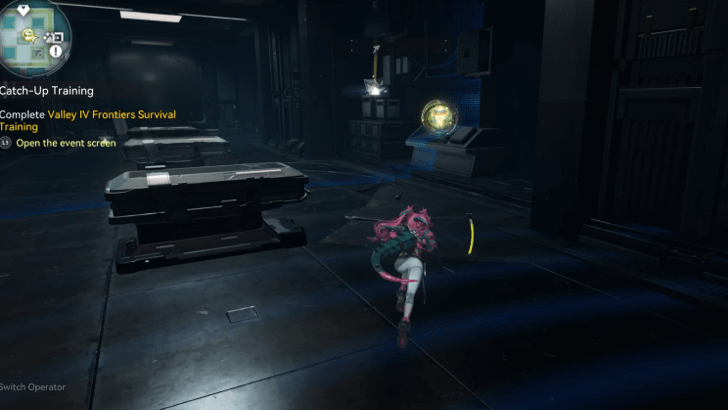 |
At the Urban Development Hall. On a panel in the underground cell, which can be accessed via Mi Fu's side quest, "Comrades - The Nameless" | |
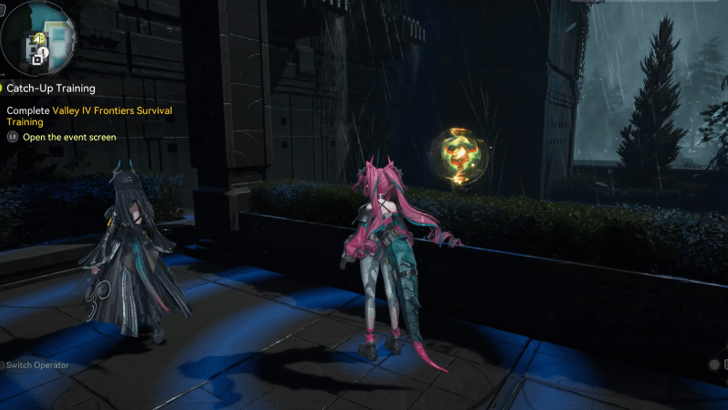 |
At the Urban Development Hall. At the northern corner of the western building. Scan to reveal. | |
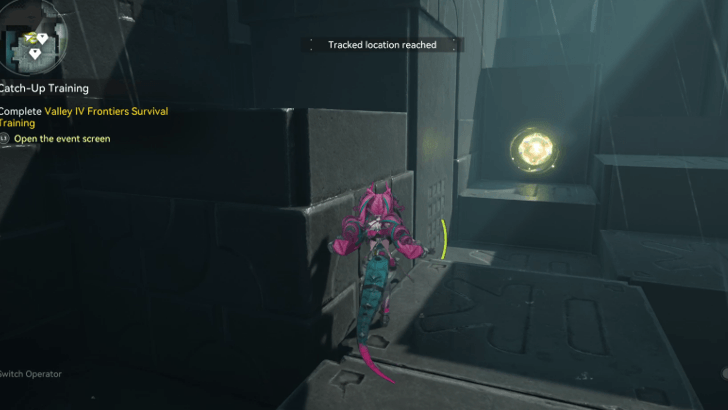 |
At Lake Islet, in the isolated western area with the Blight Tide. Players will need a lot of Liquid Xiranite. Located on the stairs to the north of the area. Players will have to give chase. | |
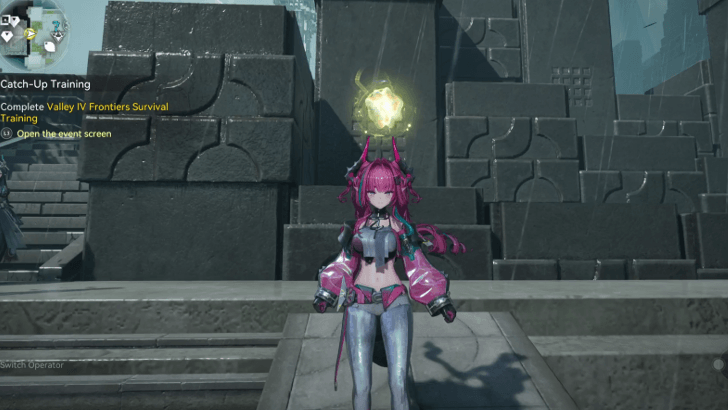 |
At Lake Islet, by the entrance of the Blight Tide area. Scan to reveal. | |
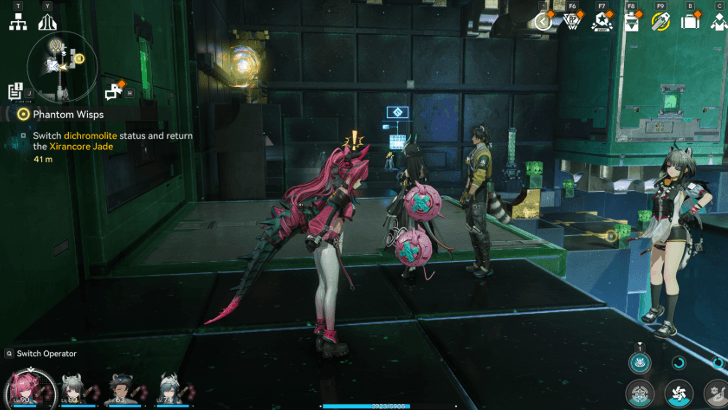 |
In tthe Marker Stone Interior Middle Floor, Secondary Section. Cross the dichromolite to access the area. Accessible during the main quest "Phantom Wisps. | |
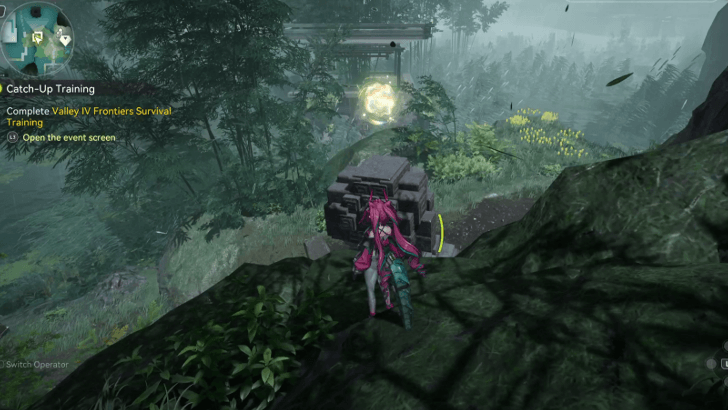 |
In Cloudrest Woods. Near the western pier, on top of a broken statue. Scan to reveal. Players will need to climb some surrounding rocks. | |
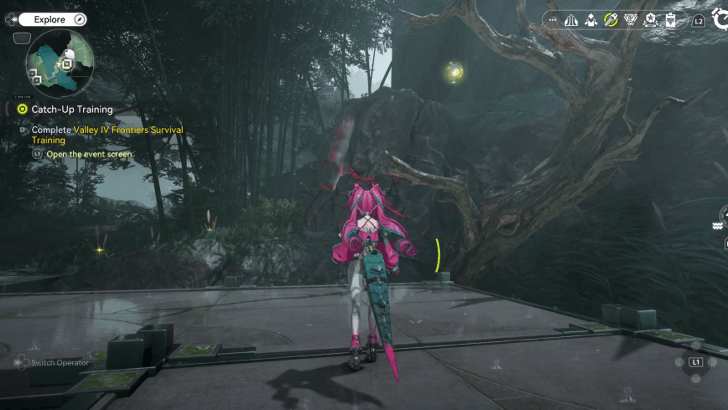 |
On a cliff at Cloudrest Woods. Use an explosive to destroy the boulder below and gain access to a geyser that can propel you upwards to reach the Aurylene. | |
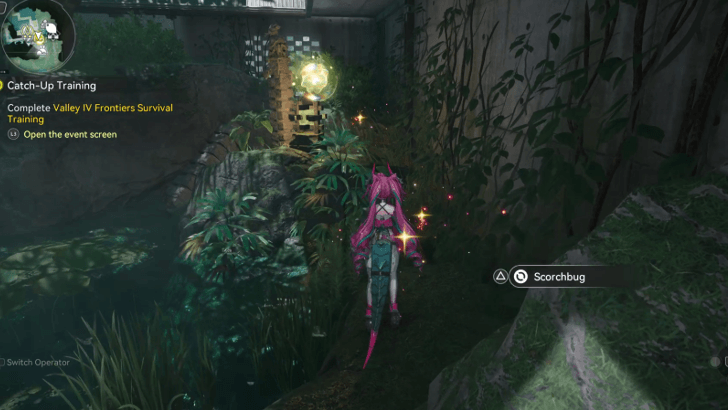 |
By a lantern behind a pond in the Restricted Area. Scan to reveal. Be careful when making your way via the narrow path around the pond. | |
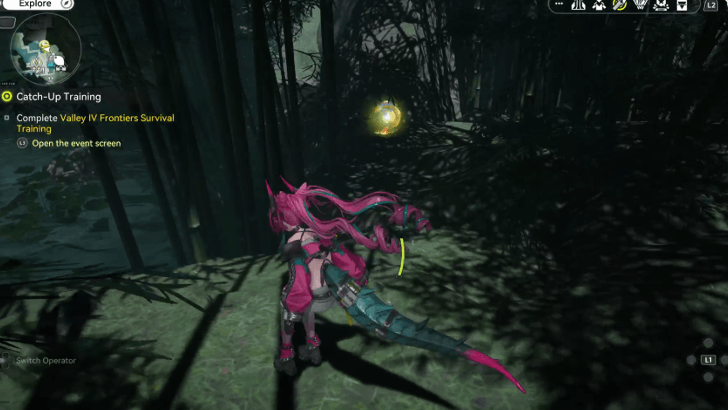 |
In the Restricted Area. Go past the Cuprium Ore vein near the pond to find a path within the bamboo thicket. | |
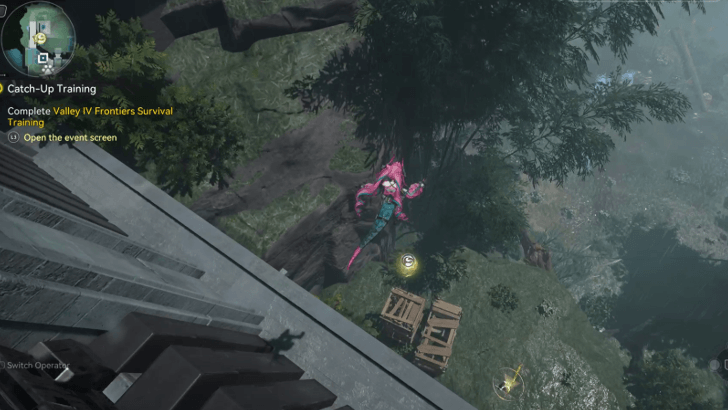 |
Outside the Watchtower Reservoir Station and on top of some broken crates. Best way to reach it is to drop down from above. | |
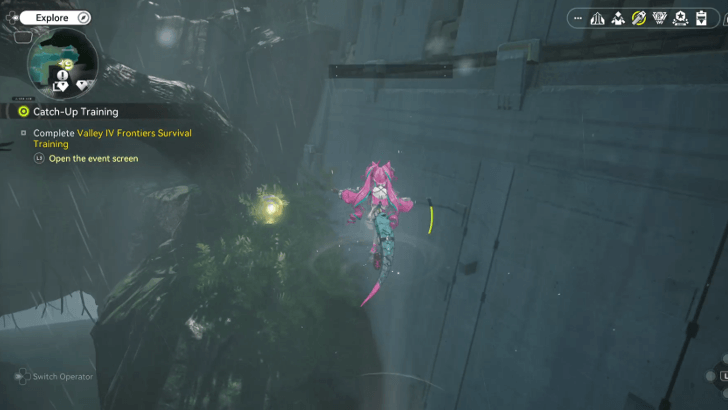 |
Outside the Watchtower Reservoir Station and at the end of a small trail on the other side of the river. Best way to reach it is to drop down onto the trail and follow it all the way to the end. Then, use the steam geyser to reach the Aurylene. | |
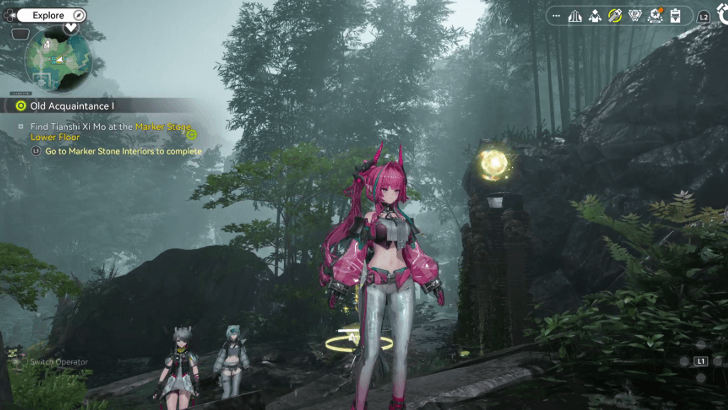 |
In Cloudrest Woods, by the trail of the entrance coming from the Sub-PAC and on top of a broken statue. Climb up the hill behind it, then drop down from there. | |
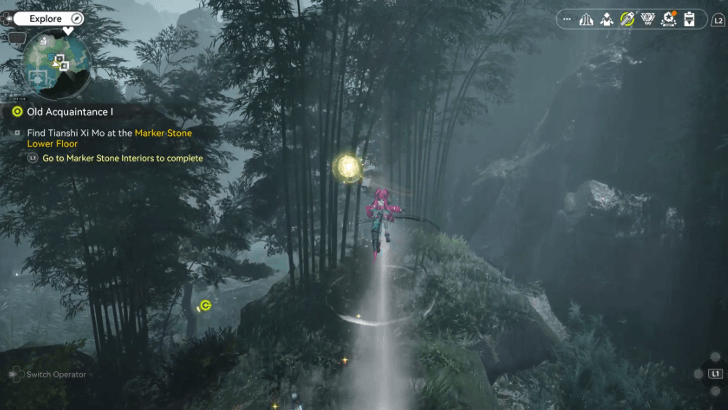 |
In Cloudrest Woods. Find a steam geyser you can use to reach the encircling Aurylene midair. | |
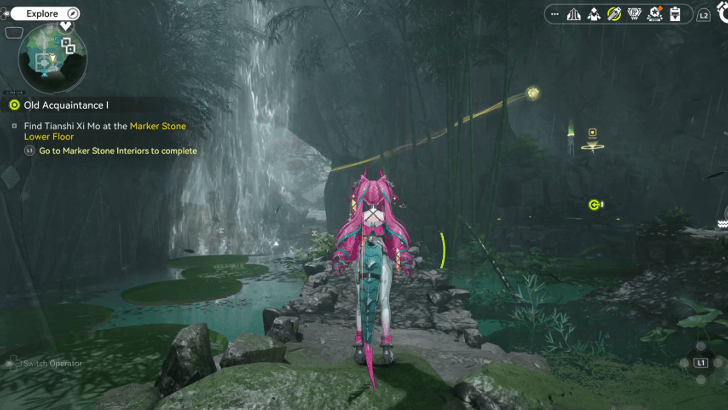 |
In Cloudrest Grotto. Found by the Tianshi Pillar, encircling a cave behind it. | |
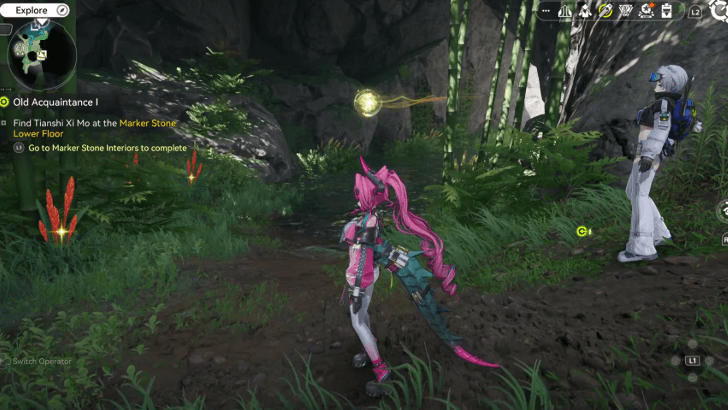 |
In the looping cave at the south of Cloudrest Grotto. The Aurylene goes all around the loop. | |
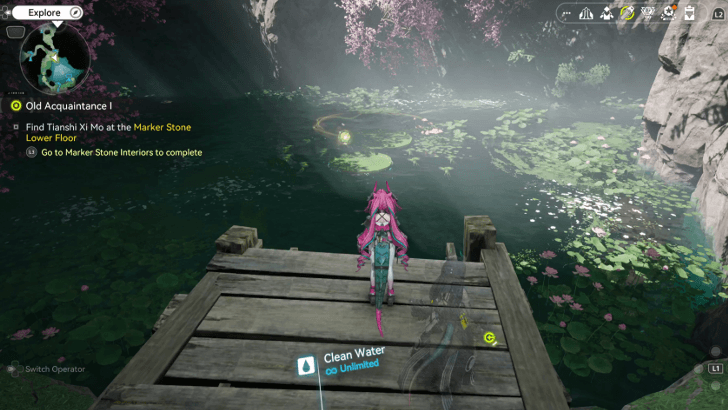 |
In the middle of a large pond at Cloudrest Grotto. By the outpost at the southern cave, there'll be a speed boost. Pick up the speed boost while running, then jump off the platform while trying to land on the lily pad where the Aurylene is. | |
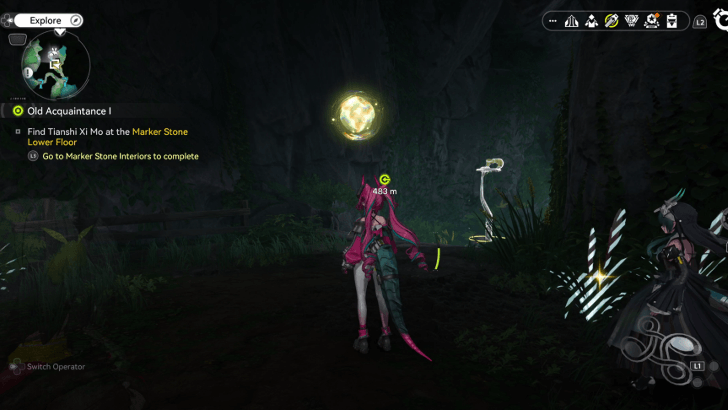 |
In the looping cave at the northwestern area of Cloudrest Grotto. | |
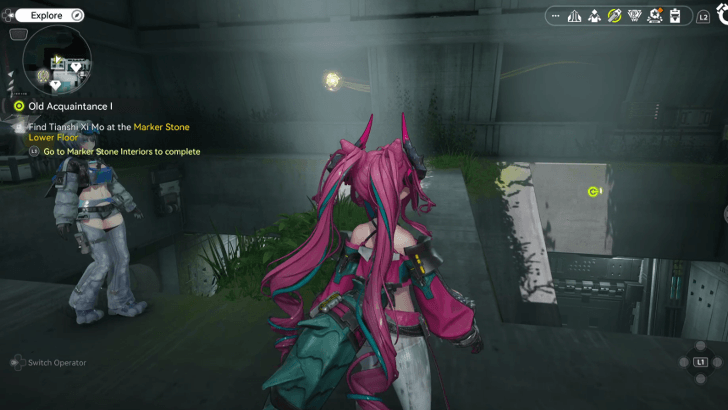 |
Found in a hidden room at the Watchtower Reservoir Station. Attack the bookshelf to shatter the illusion and reveal the entrance. The Aurylene can be seen moving behind a wall. | |
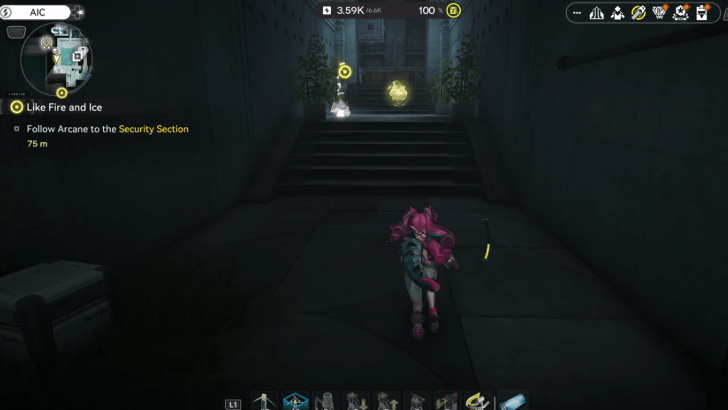 |
In the Watchtower Reservoir Station. After lowering the water level in the reservoir, jump down and enter the western hallway. The Aurylene will be there. Players will have to give chase. | |
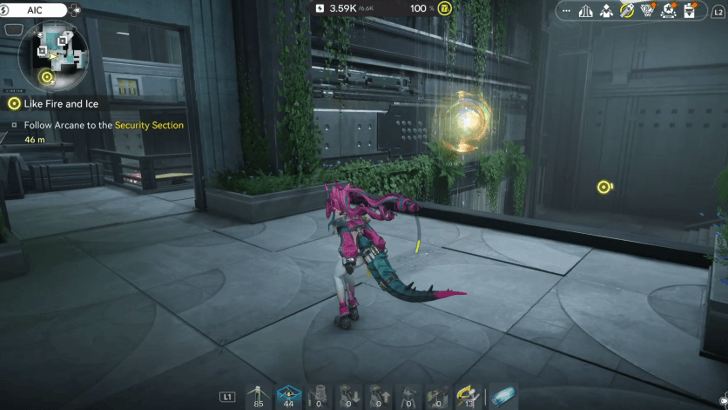 |
On a balcony above the southern hallway in the Watchtower Reservoir Station. Players can reach this by following the previous Aurylene and exploring a bit. | |
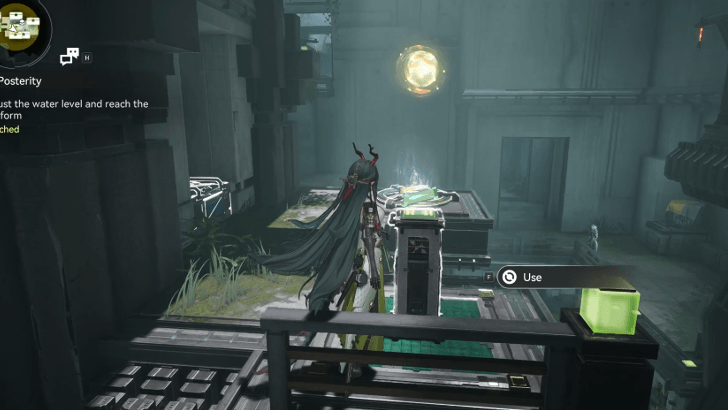 |
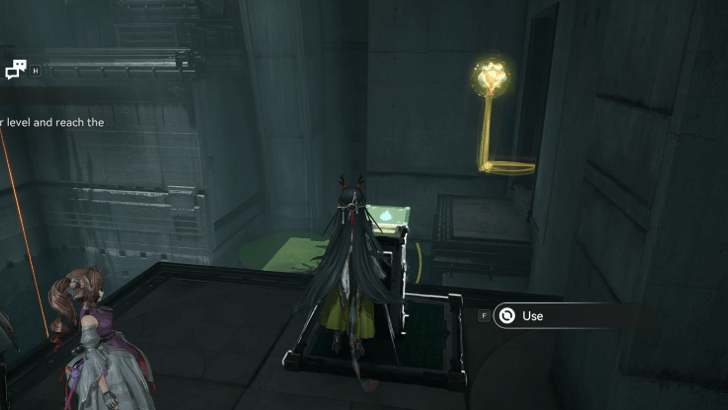
In Sector D of Watchtower Reservoir Station, on top of one of the jump pads on the center pillar. Accessible during and after the quest "To Posterity". | |
 |
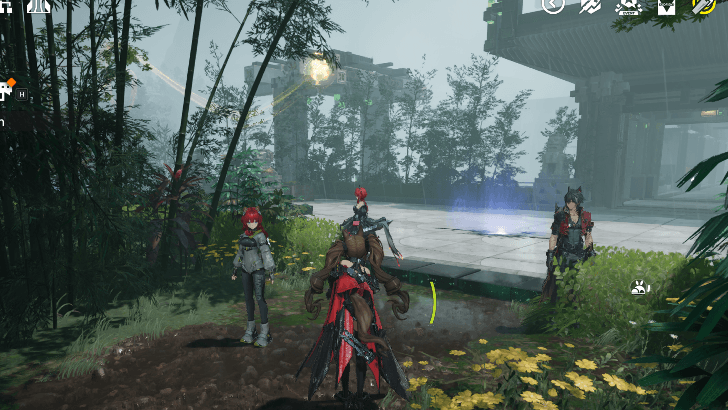
Found in Sector D of Watchtower Reservoir Station, circling around the east side. Accessible during and after the quest "To Posterity". | |
 |
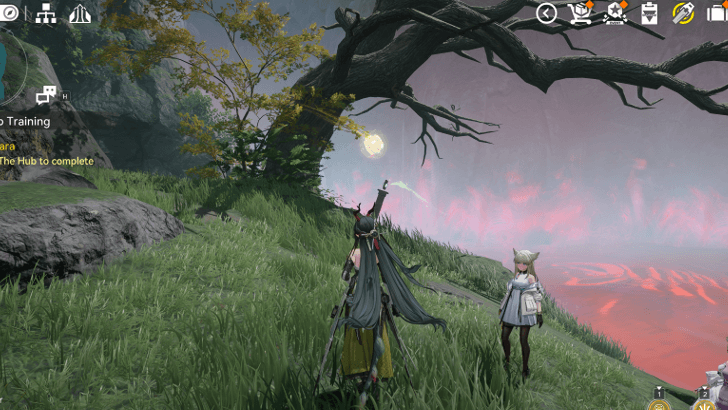
Located circling the area west of the Watchtower Reservoir Station TP waypoint. Stand in its path instead of chasing it around. | |
 |
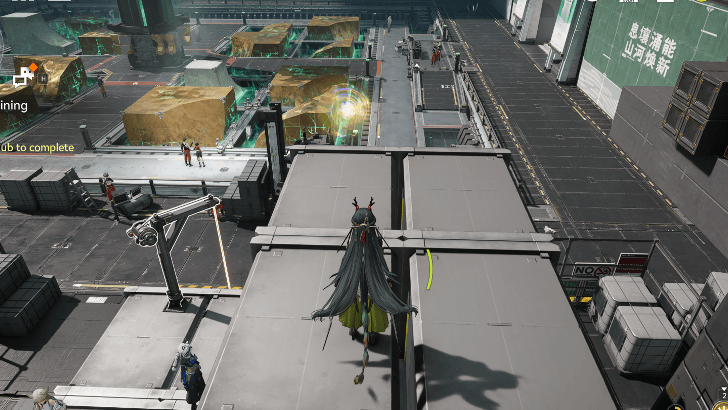
Found northeast of Qijian Dais circling around a tree. | |
 |
Southwest section of the Bureau, adjust the forklift accordingly to reach this as well as a chest. | |
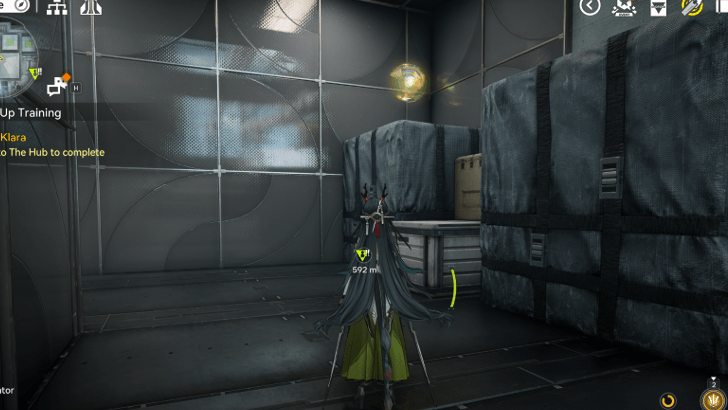 |
Northeast of the Bureau, above some boxes. | |
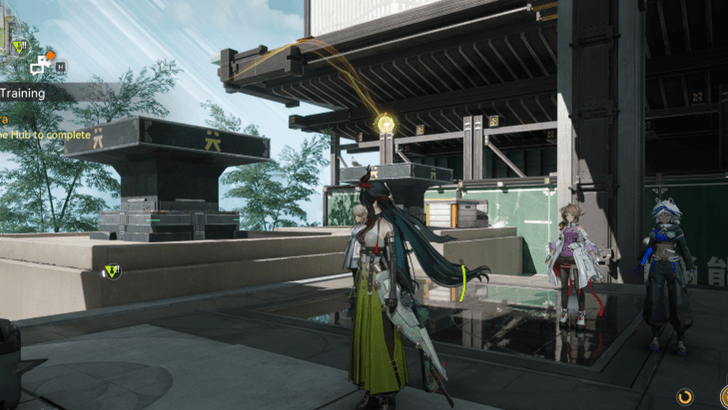 |
Located east of the Bureau, moving along the wall. | |
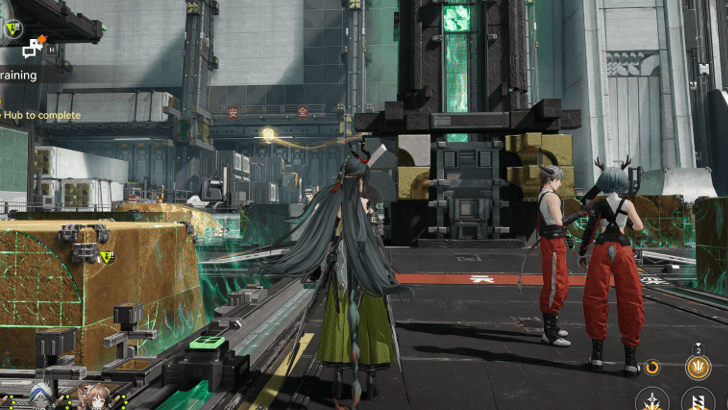 |
Found circling the center pillar in the Bureau. | |
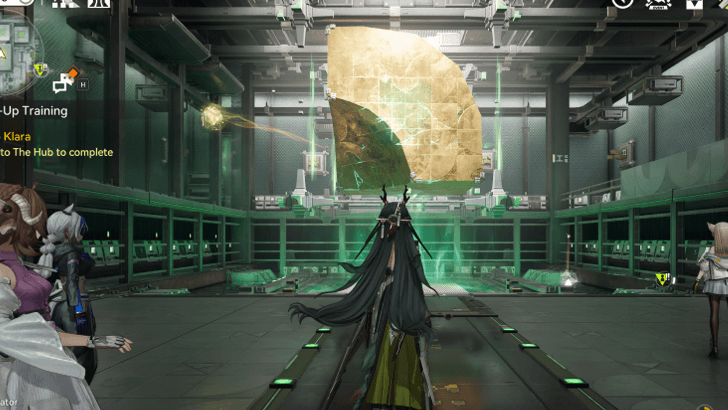 |
Northeast of the Bureau, circling around the elevated structure inside the building. | |
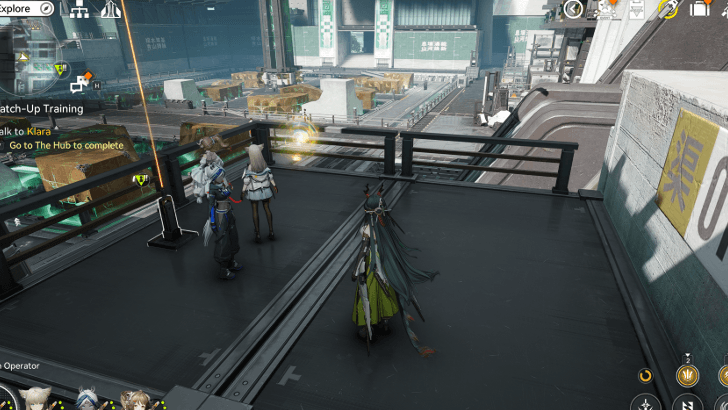 |
Above the boxes on the northwest of the Bureau. To get to this area you have to gain access to the top platform and make your way here via the rope. | |
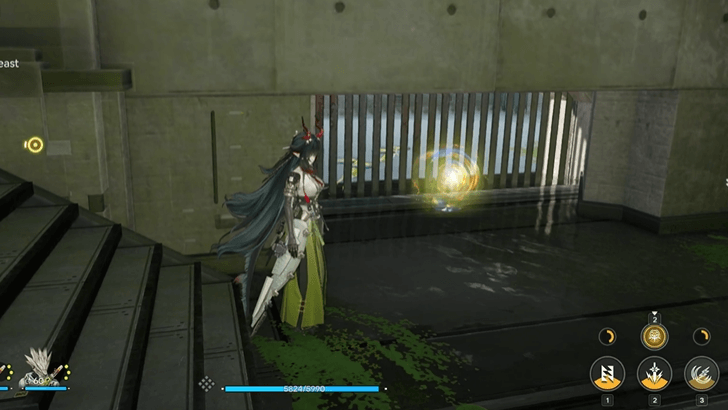 |
Slightly northwest of the TP Point near Type-C Auxiliary Pillar Area 1, in a small corner by the stairs. | |
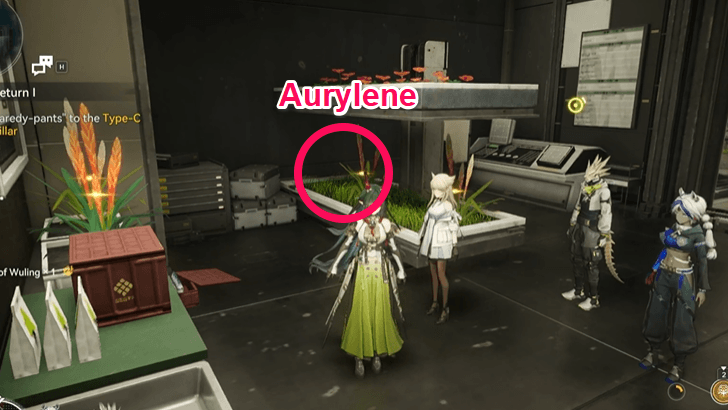 |
North of Eco Specimen Room near the Yazhen plants. | |
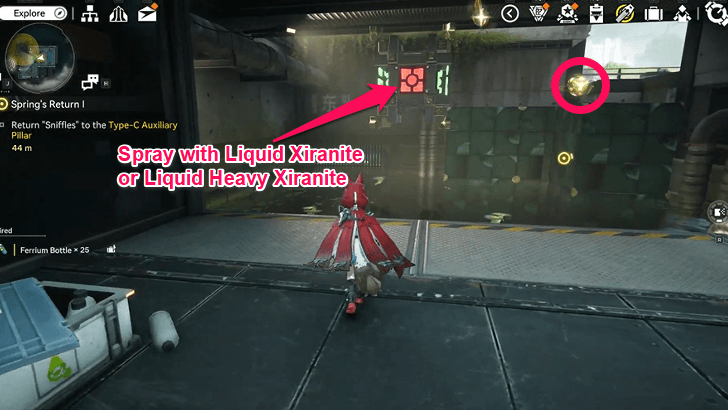 |
Found floating above the Xiranite blocks, northwest of the Material Preparation Room. Spray the red side of the floating block with Liquid Xiranite or Liquid Heavy Xiranite to make a path for you to reach the Aurylene. | |
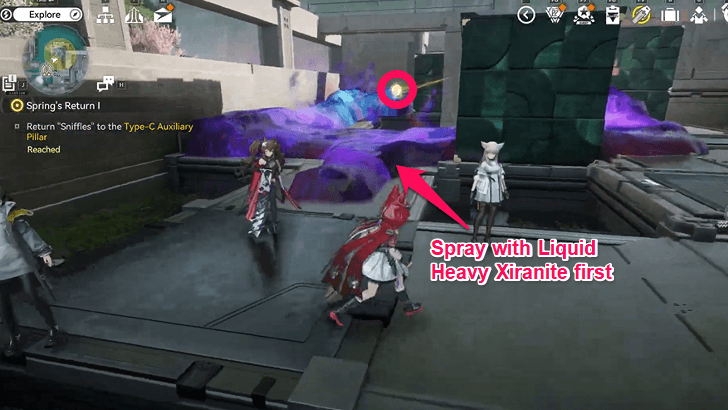 |
Found looping around the northwest area of Type-C Auxiliary Pillar Area 3, clear the Superactive Blight first to safely get the Aurylene. | |
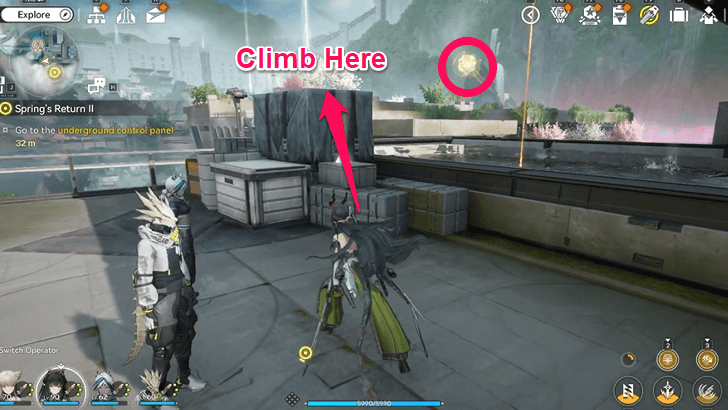 |
West of the Auxiliary Pillar in Area 3. Jump on top of the containers and either jump to reach the Aurylene, or wait for it to loop towards your position. | |
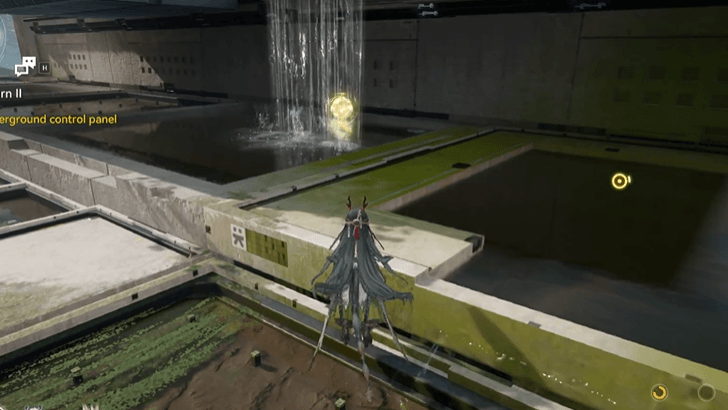 |
Behind a stream of falling water slightly northeast of the TP Point in the Meridian Grid Area. | |
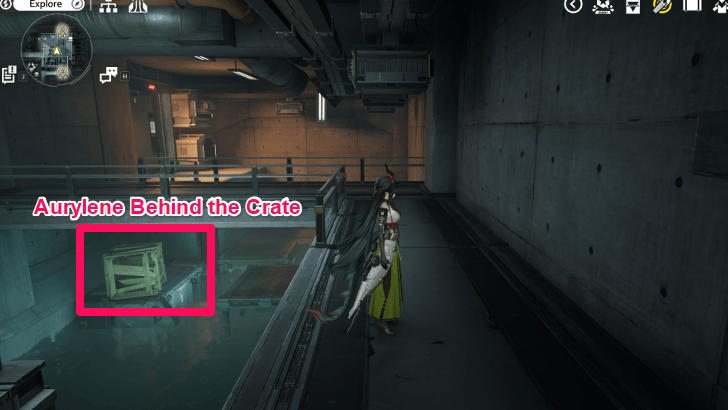 |
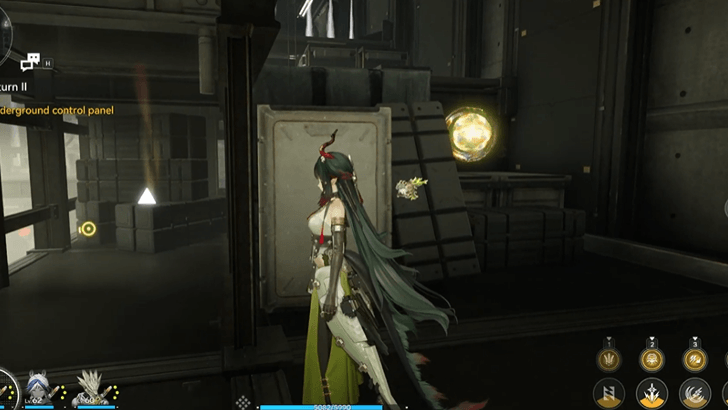
Found hiding behind a crate beneath the platform in the Testing Zone. Jump down to the lower platforms nearby and jump towards the Aurylene's platform. | |
 |
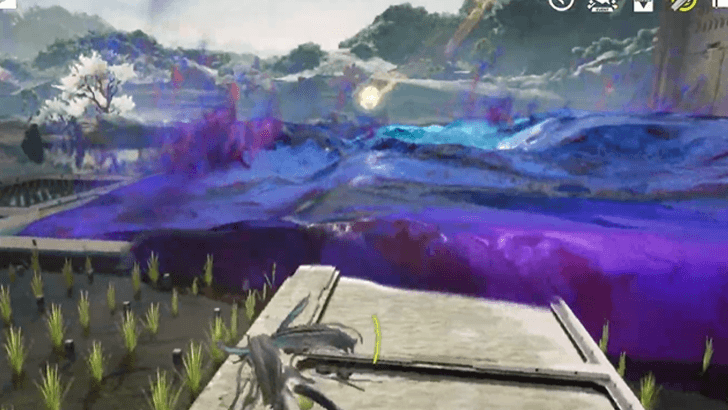
By the eastern side of the Testing Zone, chase the Aurylene until you reach the highest platform in the room. | |
 |
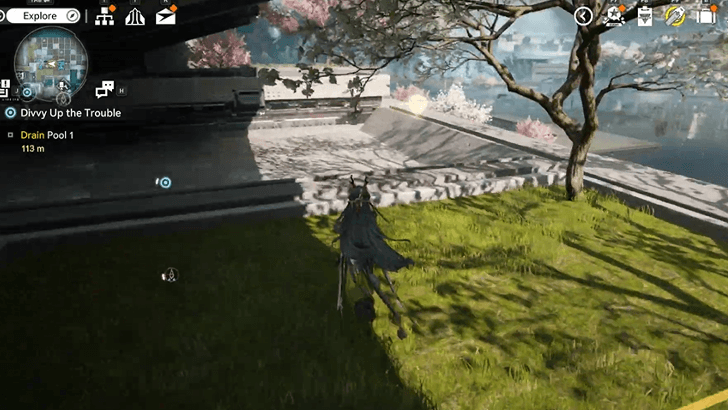
East of the Integrated R&D Area, chase the Aurylene as it flies down further east to the area full of Superactive Blight. Spray the Blight first before capturing the Aurylene. | |
 |
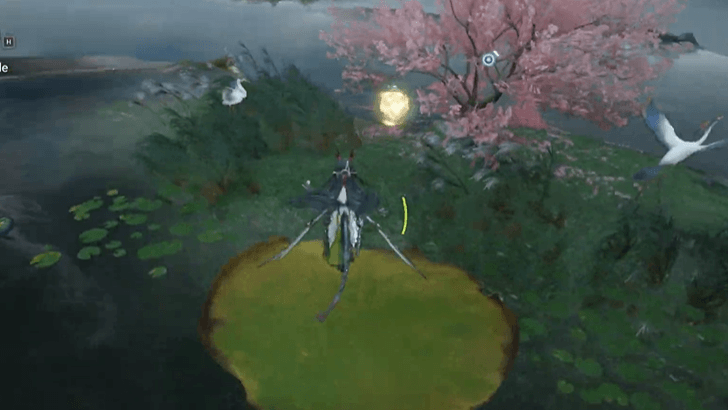
Looping around the west area of the Meridian Grid Area. You can either head west from the Meridian Grid Area TP Point , or jump down from the farming area above to find the Aurylene. | |
 |
Found on the small area northeast of the TP Point in the Type-C Auxiliary Pillar Area 1, jump across lily pads to get to the area. | |
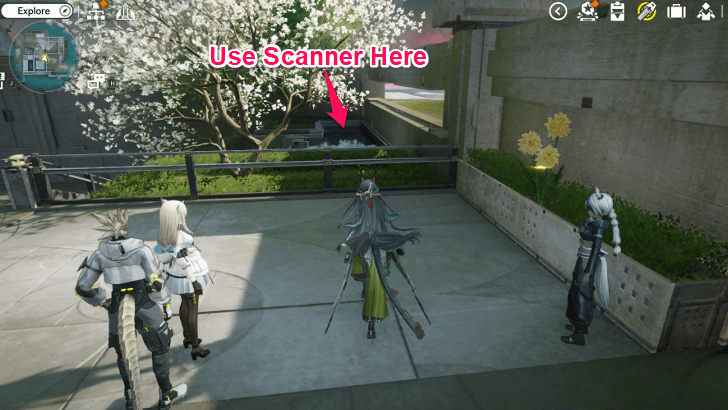 |
Head north from the Type-C Auxilliary Pillar in Area 2 and jump over the railing on the right side. Use the Scanner tool to find the Aurylene on the water. | |
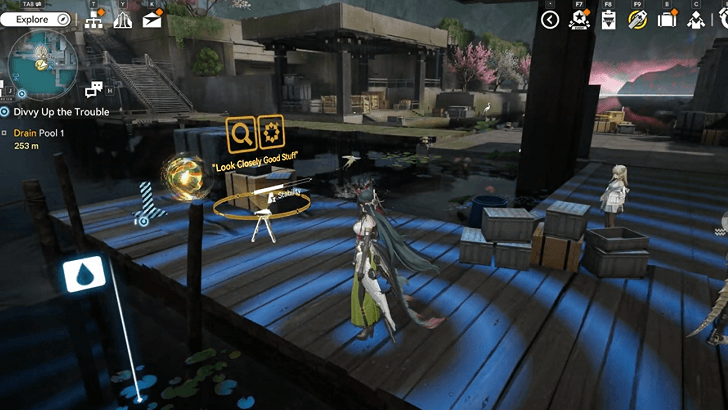 |
From the TP Point nearest to the Type-C Auxiliary Pillar Area 3, clear the Superactive Blight within the area, then use the Scanner tool by the wooden dock to find the Aurylene. | |
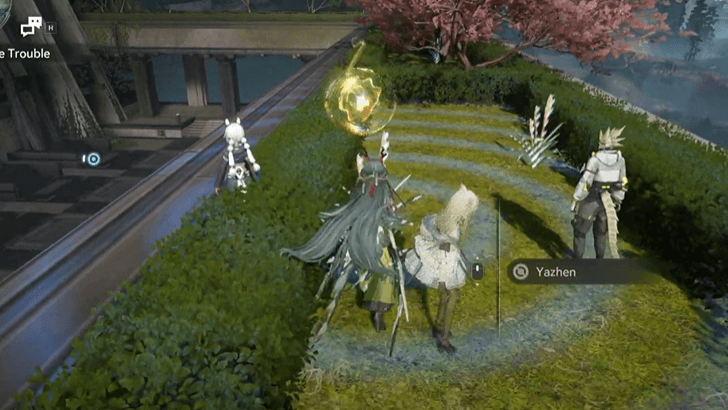 |
Found floating around the top of the Water Treatment Sector building. | |
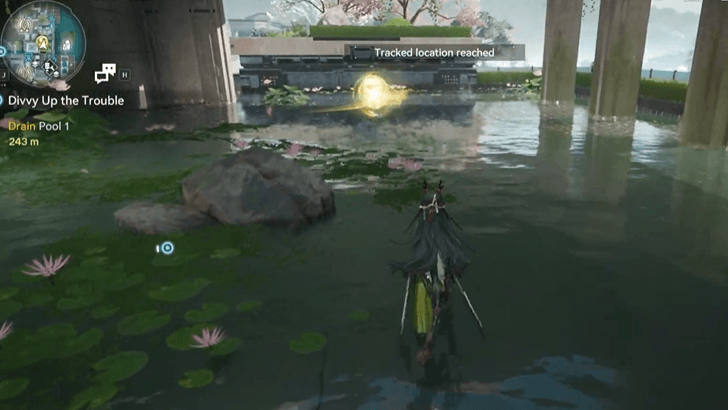 |
Found by the pond to the southeast of the Meridian Grid Area TP Point. | |
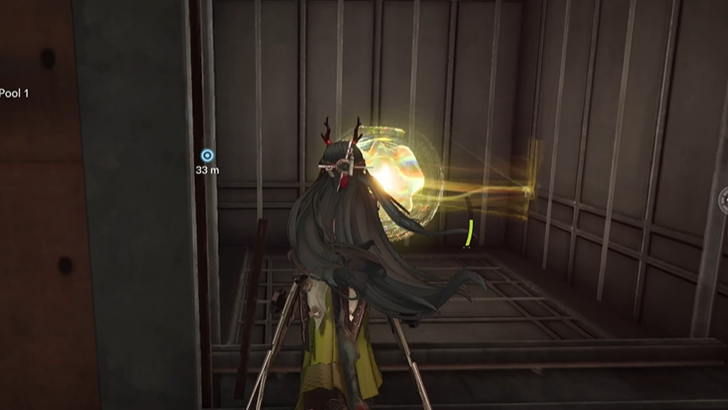 |
Found in a corner in the Pool 1 Inspection Zone. Clear the sewage pool during the Divvy Up the Trouble Exploration Mission to have access to this part of the area. | |
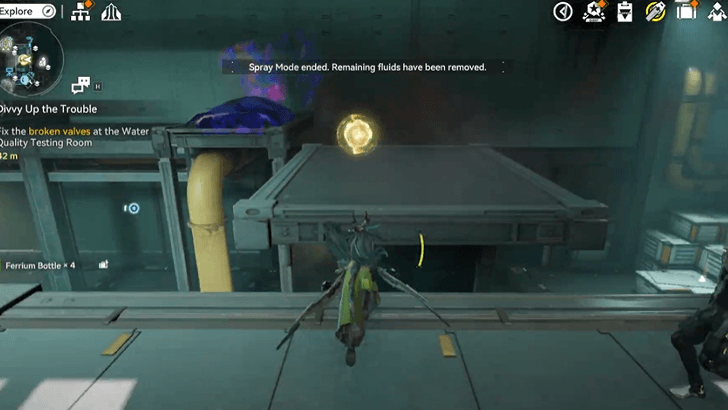 |
Found at the center of the northeast area of the Testing Zone Sanctum. Follow the Aurylene and clear the Superactive Blight to reach it. | |
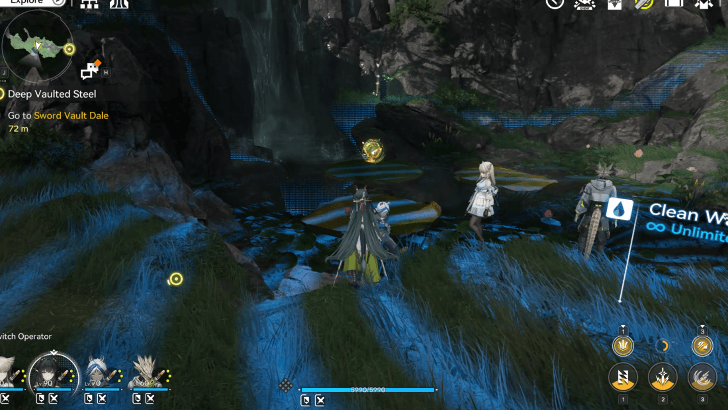 |
Found on a lily pad in West Gorge Path, use the Scan tool to reveal the Aurylene's position. | |
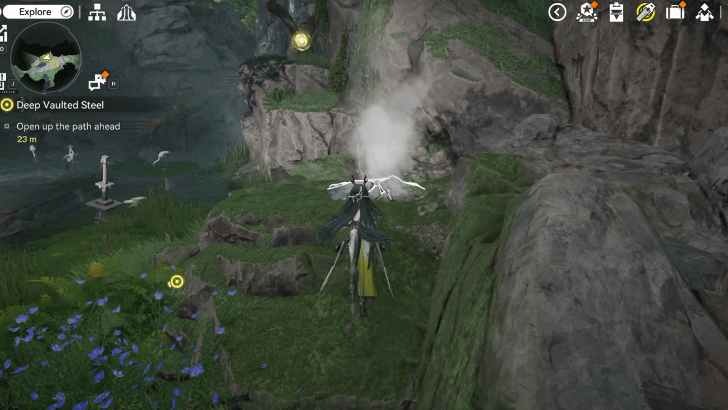 |
Located on top of a rock near the first Mechanism Puzzle in West Gorge Path. Throw a bomb at a destructible rock nearby to find and use an Auto-Jet Vent to get to the Aurylene's position. | |
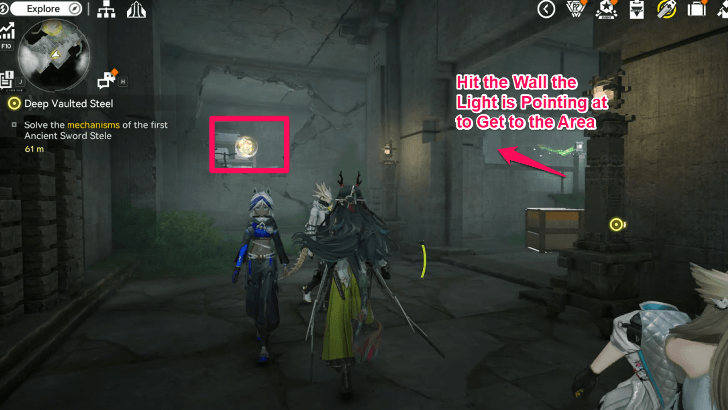 |
From the Rune Mechanism Pillar puzzle in South Gorge Rampart, go south to find the post emitting green light and attack the wall to find a hidden room. Head straight inside and make a right to find the Aurylene's room through a hole in a wall. Hit the wall nearby to access the area. | |
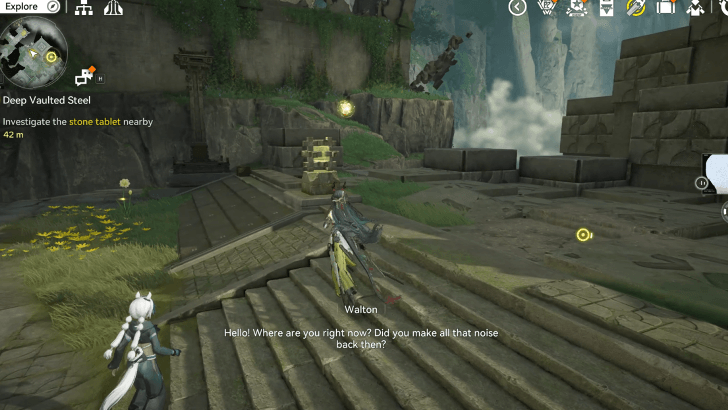 |
From the Mechanism Puzzle in South Gorge Rampart, head north to find an Aurylene by the edge and chase it to acquire it. | |
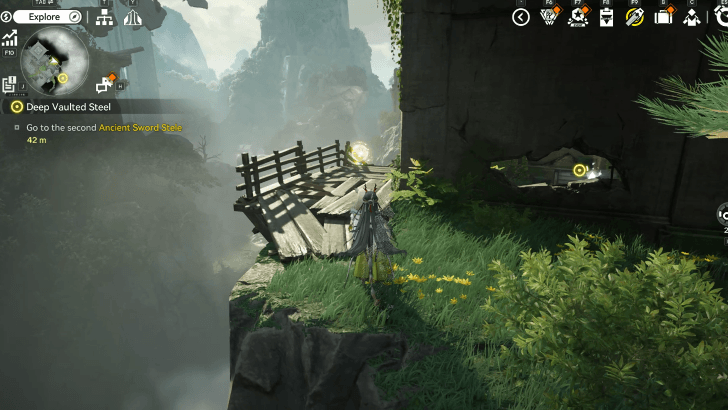 |
From the South Gorge Rampart mechanism puzzle, head east towards the wooden platform by the edge of land. Follow where the Aurylene moves to catch it. | |
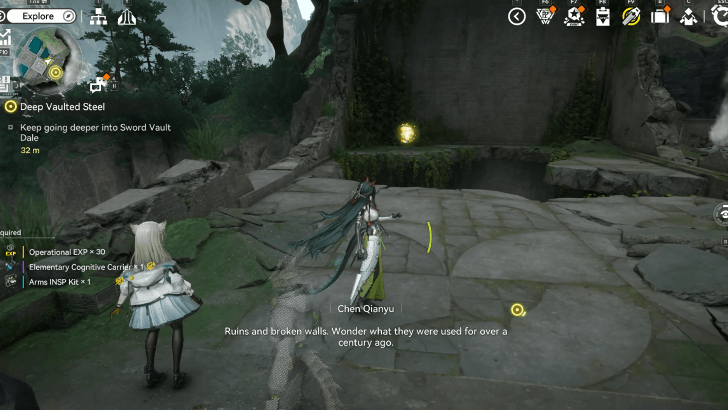 |
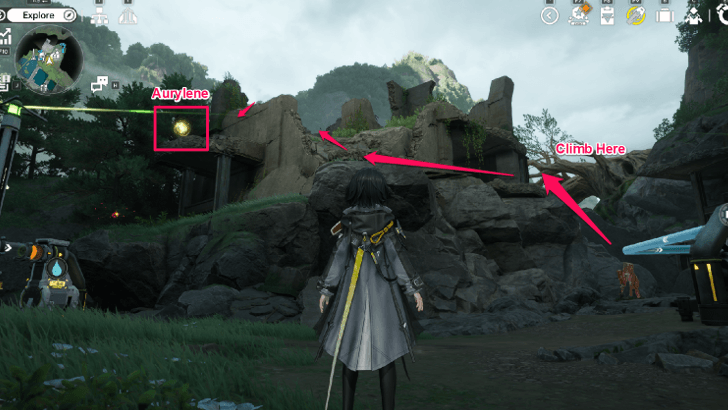
Head up the rope near the second Mechanism Puzzle in East Gorge Ruins. Follow the Aurylene as it tries to move away. | |
 |
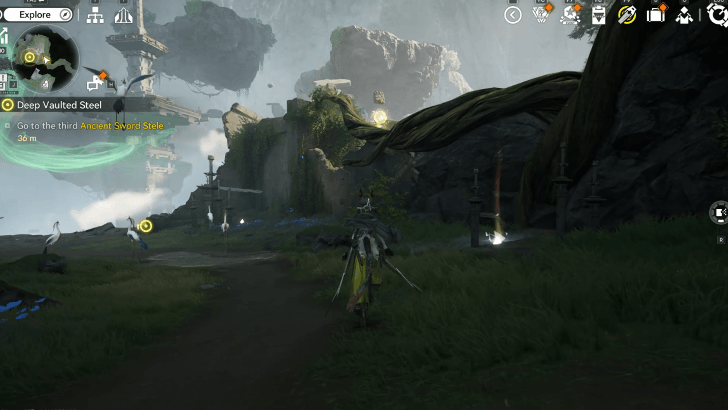
From the TP Point in East Gorge Ruins, head north and hop on top and across rocks to reach the building. Jump your way up the building to reach the Aurylene and chase it as it flies down. | |
 |
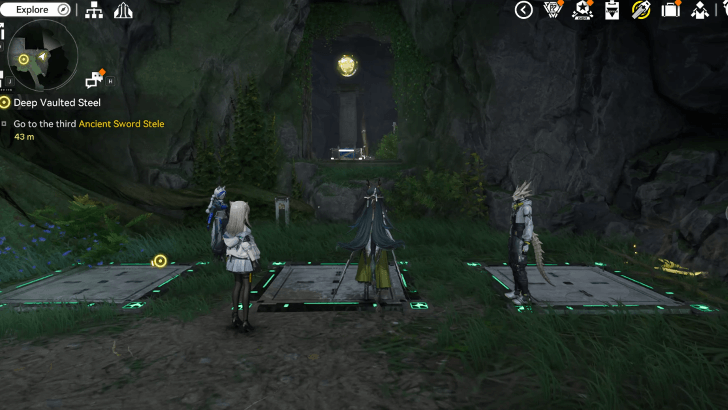
Found on top of a tree brench as you exit Shadow Tunnel. Circle around the walls by the ledge to reach the area and jump on the branch to chase after the Aurylene. | |
 |
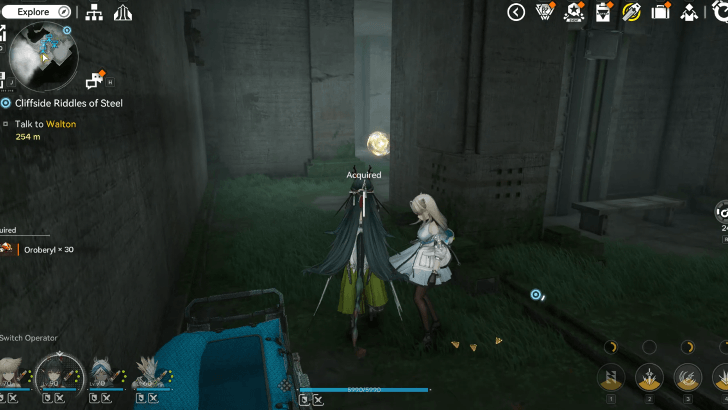
From the northernmost side of North Gorge Crag, head down east until you find a group of enemies by the the pressure plate puzzle. Defeat the enemies and solve the puzzle to open up a room with a chest and Aurylene. | |
 |
Inside the secret room south of the Mechanism Pillar in South Gorge Rampart, attack the wall near an Aurylene spot to reveal a new path to find a chest and another Aurylene to the right. | |
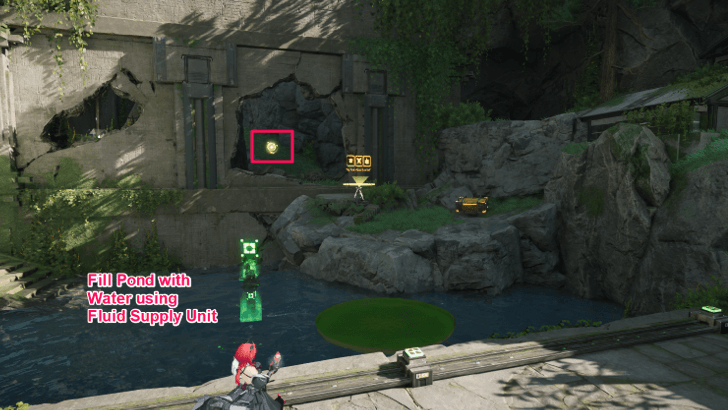 |
Fill the pool with water to access the lily pad used to reach the area, then hit the wall to reveal the Aurylene. Use the water from the pool next to the sword stele by connecting a Fluid Pump to a Fluid Supply Unit to fill the space. | |
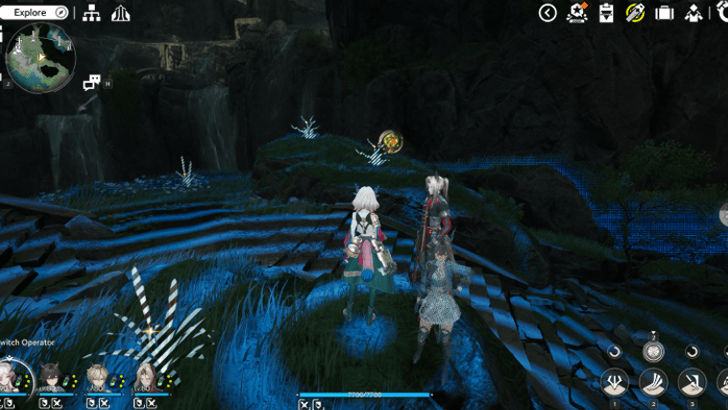 |
Use Scan to reveal the Aurylene between the Aketines. | |
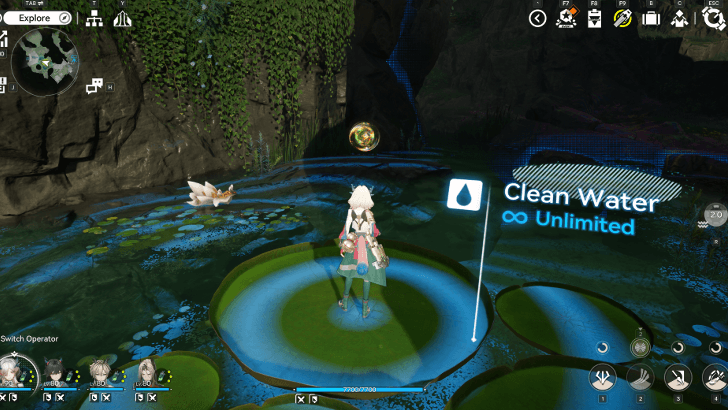 |
Requires progressing the Cliffside Riddles of Steel quest. Use Scan to reveal the Aurylene. | |
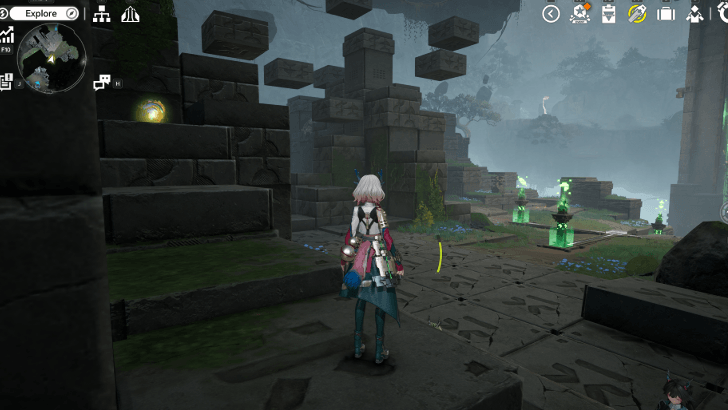 |
Climb up the stones on the southern corner to find the Aurylene. | |
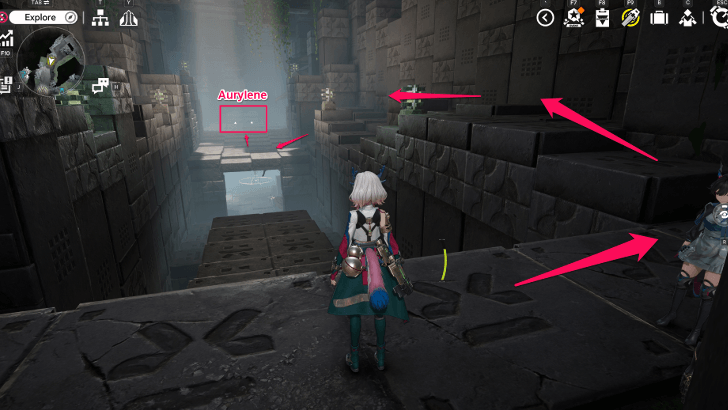 |
After completing Deep Vaulted Steel, return to this area and use the stones on the right wall to reach the Aurylene on the platform. | |
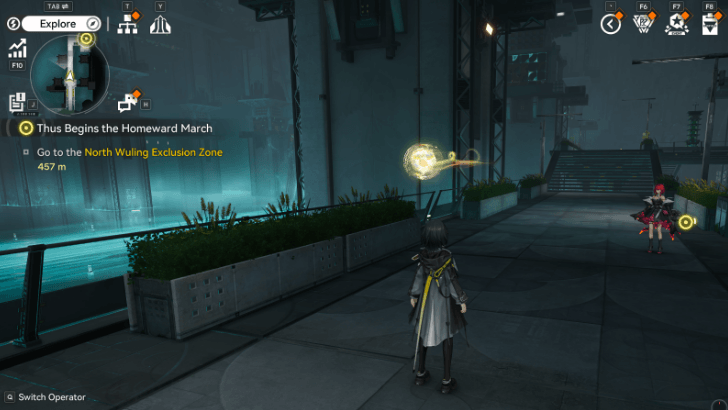 |
Yinglung Pass Entrance from Wuling City, floating around the straight path besides Pass-Side Canal. | |
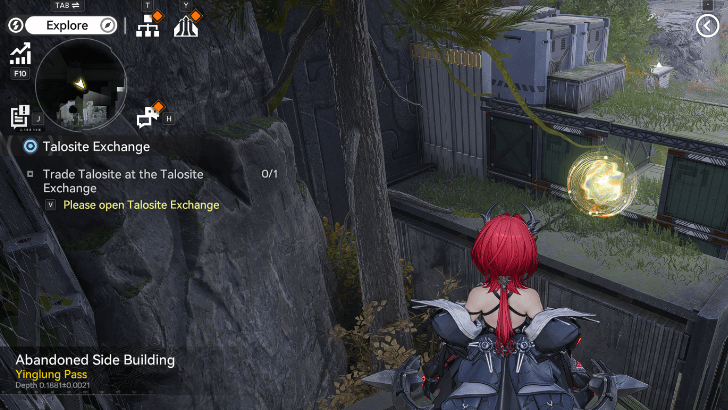 |
On top of some metal crates found north of the Abandoned Side Building. | |
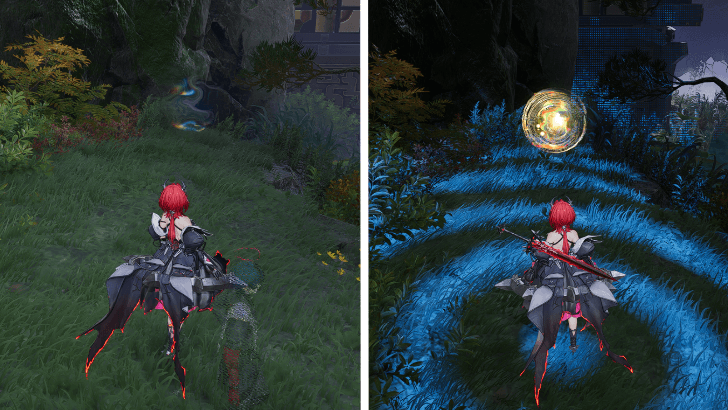 |
Invisible Aurylene found slightly south of Odd Pine Ridge. Use your scanner to reveal the Aurylene. | |
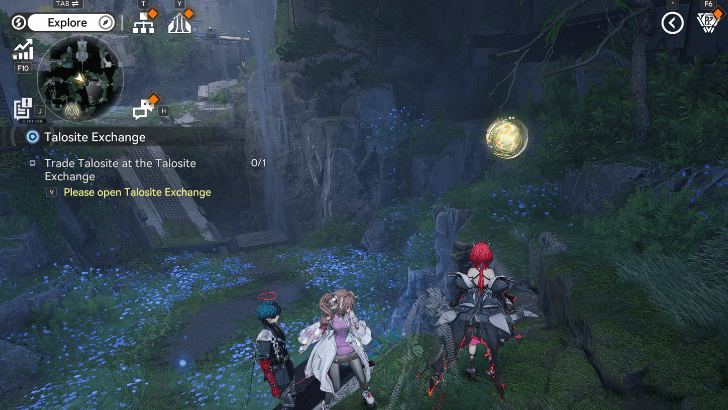 |
Slightly south of Stonepond Cliff, will move when you approach it so make sure to chase it down. | |
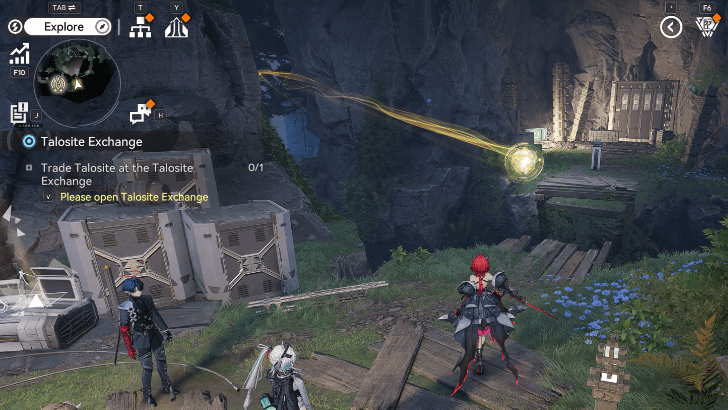 |
Southwest of Stonepond Cliff, time your jump accordingly to reach the Aurylene. | |
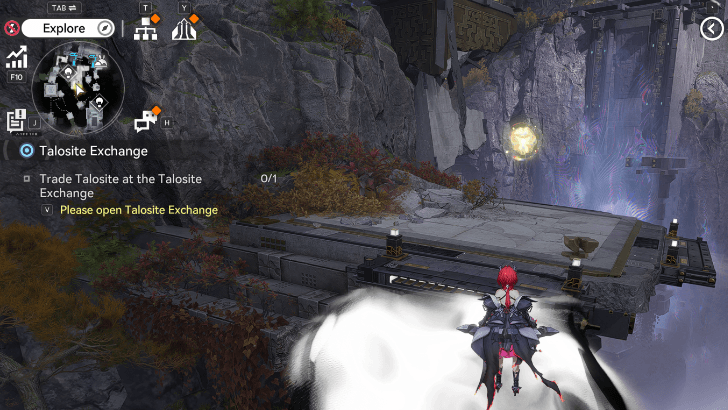 |
On top of a platform slightly south of the Cloudscraper Flats. Will run away so you have to chase it towards the next ink bridge to catch it. | |
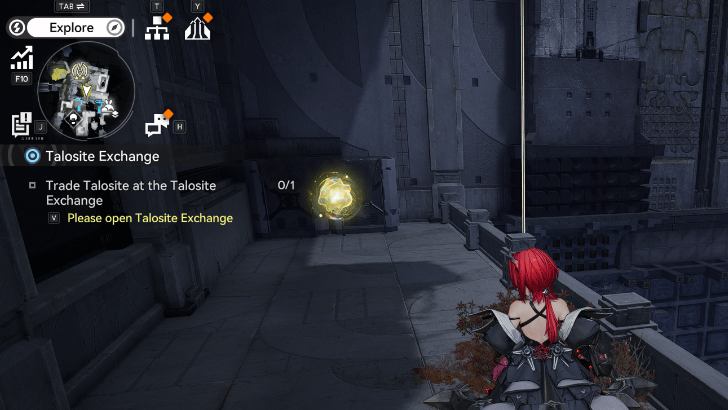 |
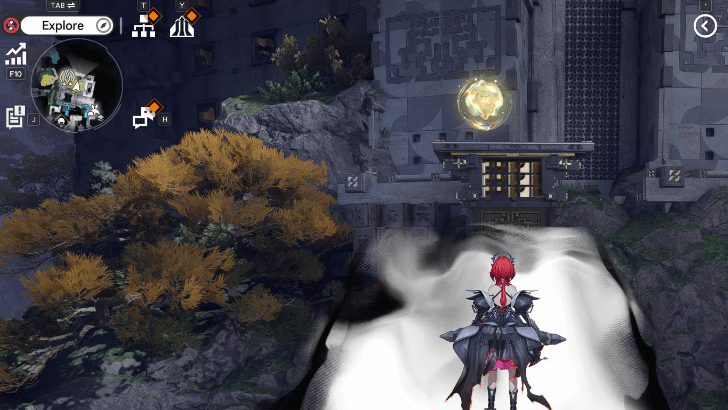
On the second floor as you descend from top of the Device Pavilion using the zipline. | |
 |
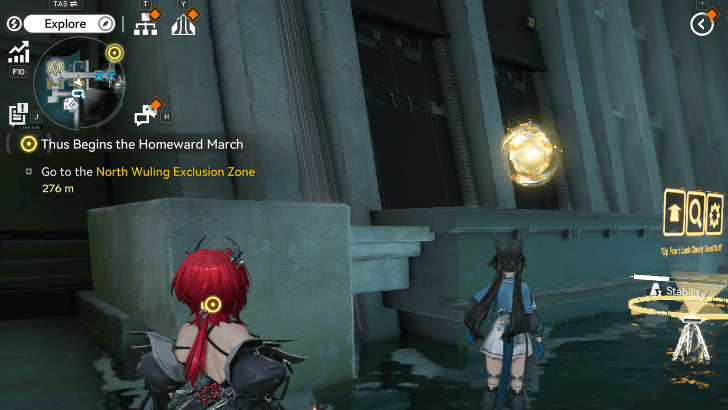
Found on top of an ink bridge slightly Southwest of the waypoint in Device Pavilion. Will try to run away so you have to chase it towards the Ink platform to the right. | |
 |
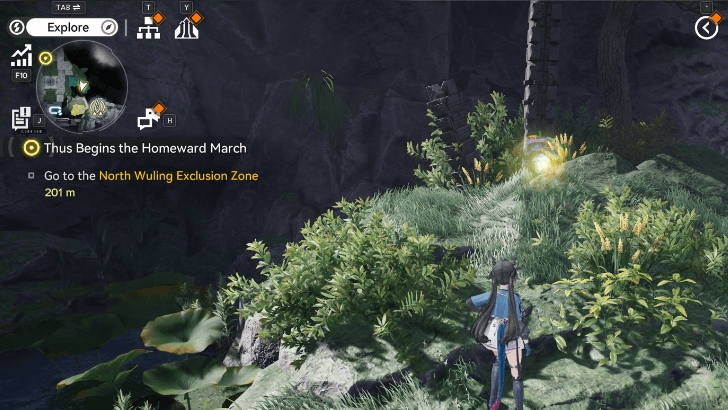
Left side near the exit of Pass-side Canal. Invisible at first, you have to Scan the area first to reveal the Aurylene. | |
 |
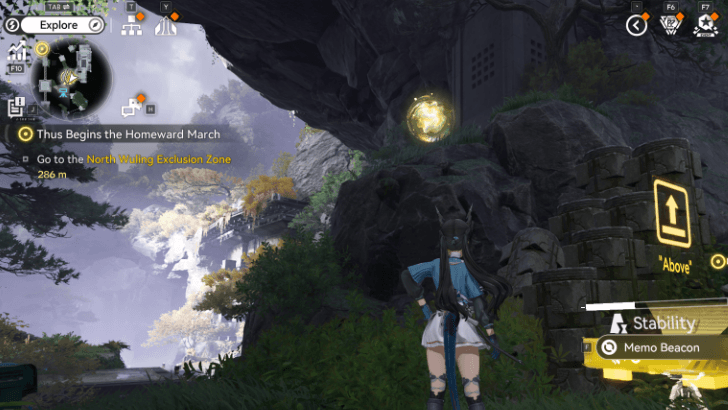
East side of the Xiranflow Cloudseeder Station. Use a jump pad to get on the second floor of the area, then cross the waterfall on the right to get to the Aurylene. | |
 |
Near the TP Point in the YSTF Filing Room. The Aurylene can be found on top of a small cliffside, which you can scale using the nearby stairs-like structure. | |
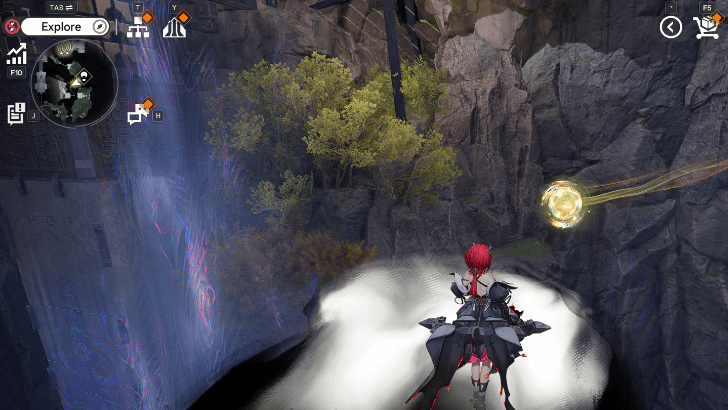 |
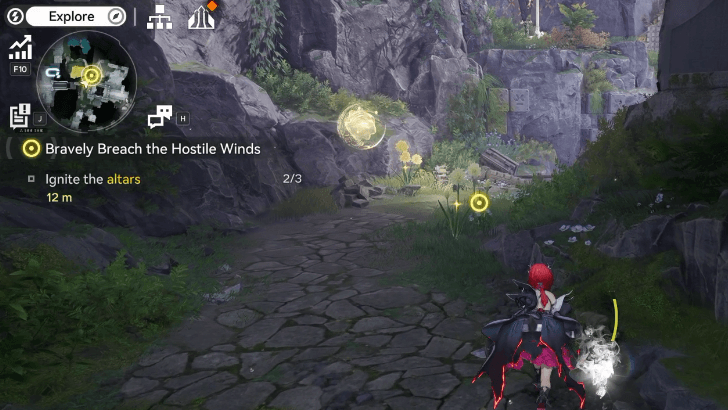
Eastern side of Stonepond Cliff. Found on the lower area, withe Aurylene floating where an ink bridge should be. | |
 |
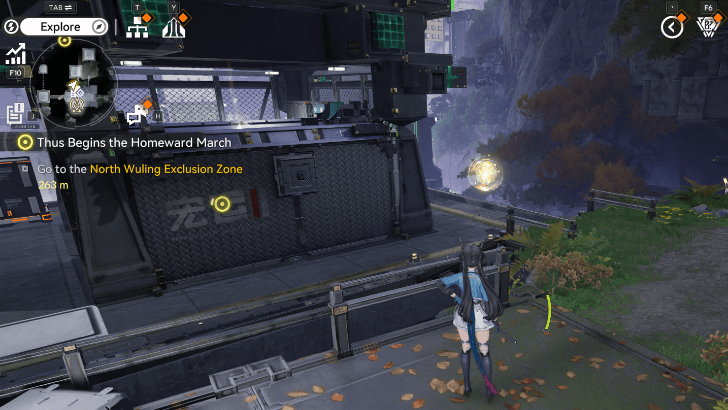
Just slightly southwest of the Device Pavilion waypoint, will move so you have to quickly chase it down. | |
 |
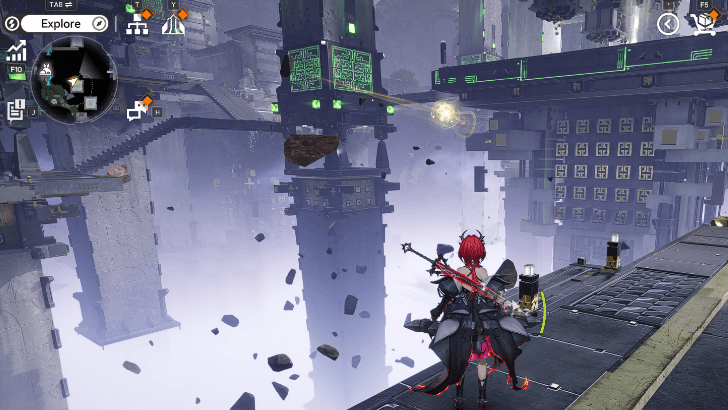
Yinglung Pass, found near the TP point between Odd Pine Ridge and Stonepond Cliff. It will fly away when approached, so you will have to chase it down a bit. Then, use the tall hovering crate to open the electric gate, and use the small hovering crate to jump up and get the Aurylene. | |
 |
On one of the floating platforms northwest of Odd Pine Ridge. You can use the ink bridge to reach the Aurylene. | |
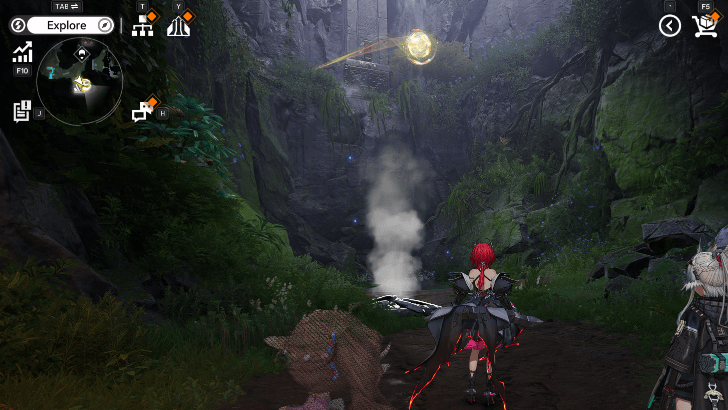 |
Floating in the air behind an illusionary wall found Southwest of Stonepond Cliff, use the geyser to reach the Aurylene. | |
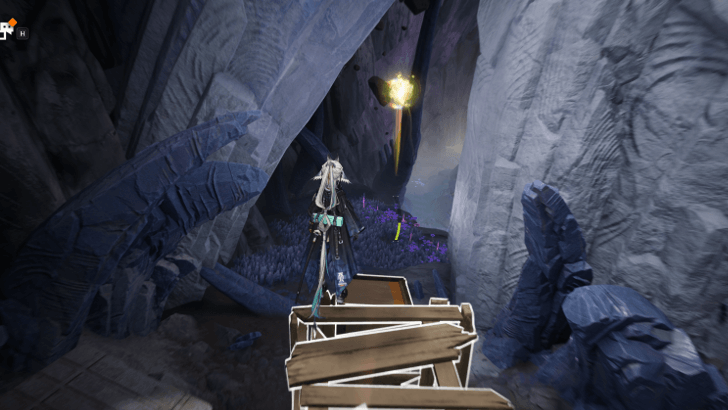 |
Bobbing up and down west of the Cliffside Courtyard. This area is hidden behind an illusory wall, attack the wall to dispel the illusion. | |
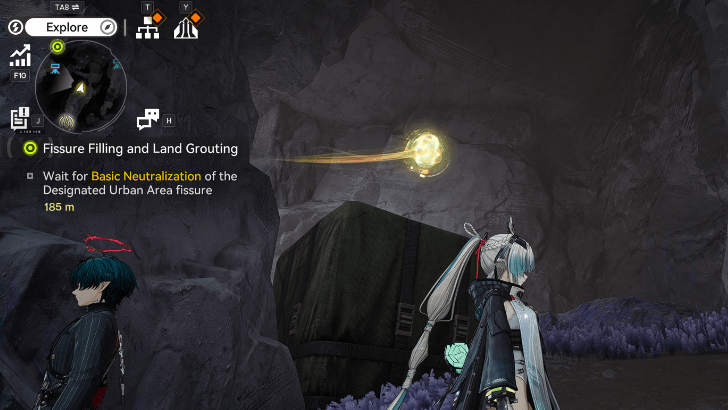 |
Circling around a rock southwest of Quelltide Levee. Lower the glowing crate using the Xiranite Nexus to reach the Aurylene. | |
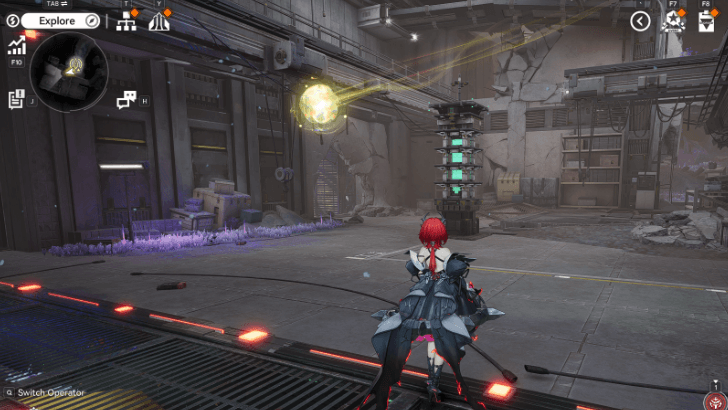 |
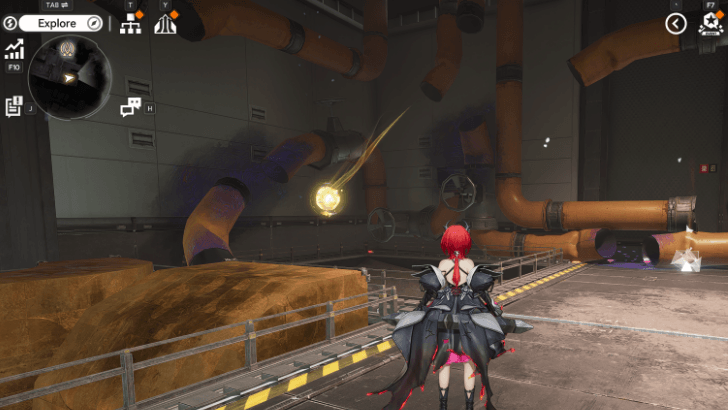
Circling around the Guide Pillar inside the building slightly Southwest of Quelltide Levee. | |
 |
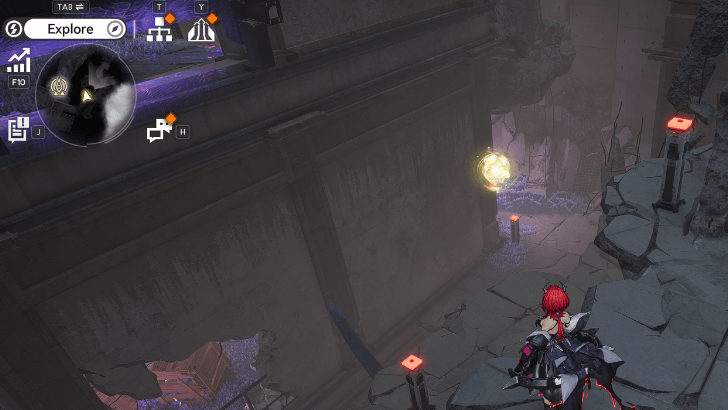
Circling between some broken pipes inside the Building. Positioned South of the waypoint in Quelltide Levee on the map. | |
 |
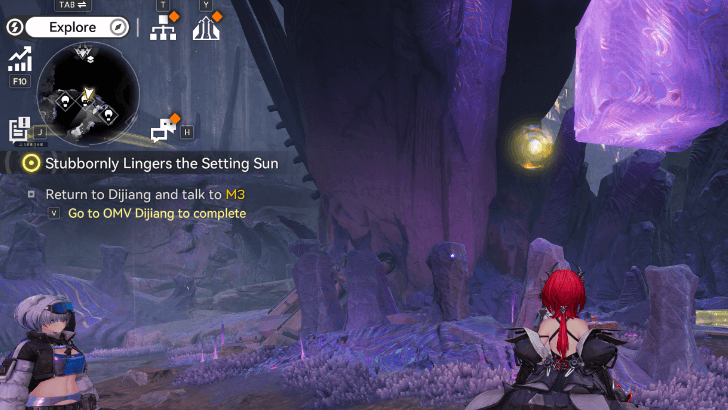
East of the waypoint in Quelltide Levee, floating above some platforms. The Aurylene will move as you get close so you have to chase it down. | |
 |
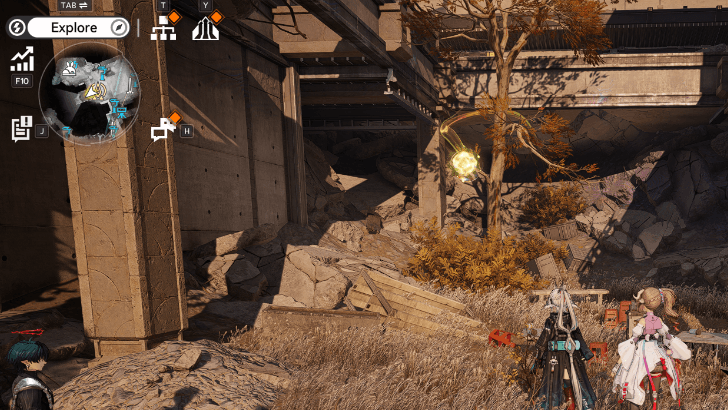
On the nothernmost part of the Designated Urban Area. The Aurylene can be found hovering over a nearby Salvageable item. Use the nearby rock formation to get enough height on your jump to get it. | |
 |
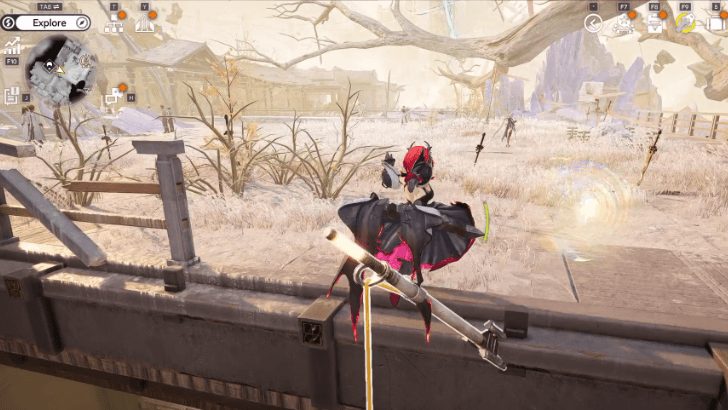
Circling a small tree just very slightly West of the waypoint in Sentry Base. | |
 |
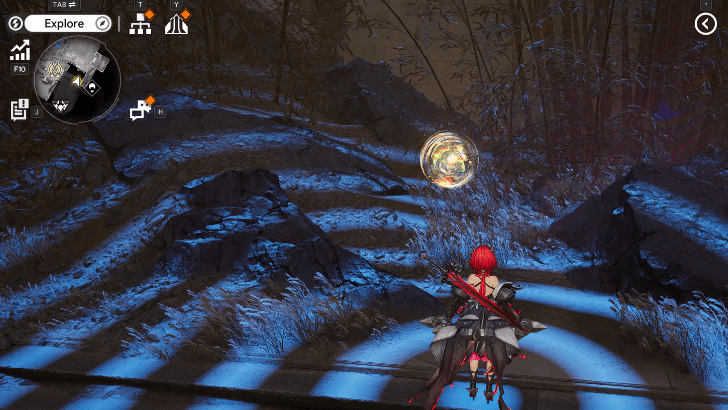
Immediately atop the zipline found Southwest of the waypoint in Tanjian Hall. | |
 |
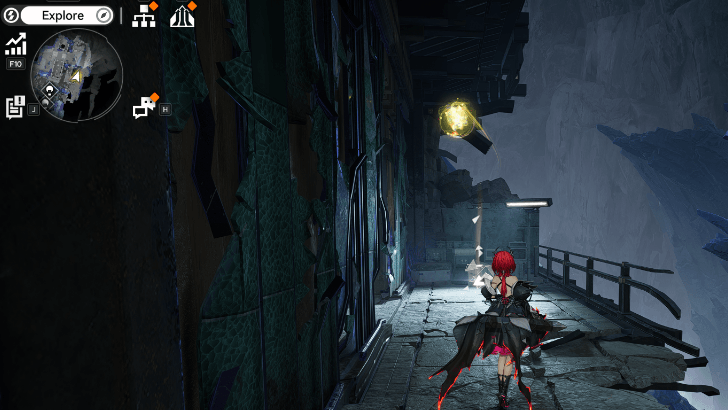
Slightly North east of the Crisis Fragment, invisible at first so you must scan the area to reveal the Aurylene. | |
 |
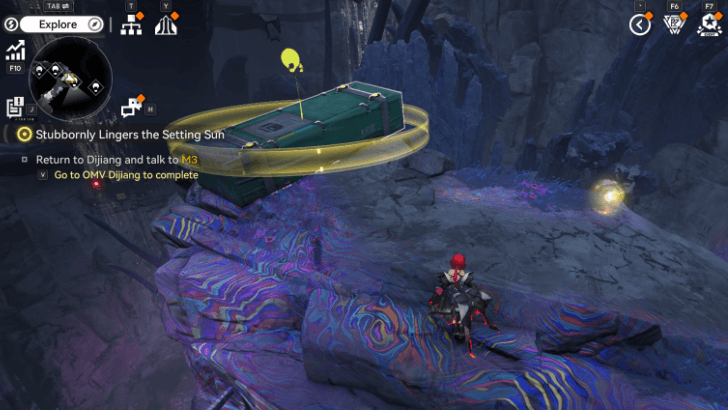
Found on the side of the building East of the Tianshi Pillar R&D Center. | |
 |
Northernmost point of Designated Urban Area. The Aurylene can be found on top of a rock formation, and is right beside a Salvageable item. | |
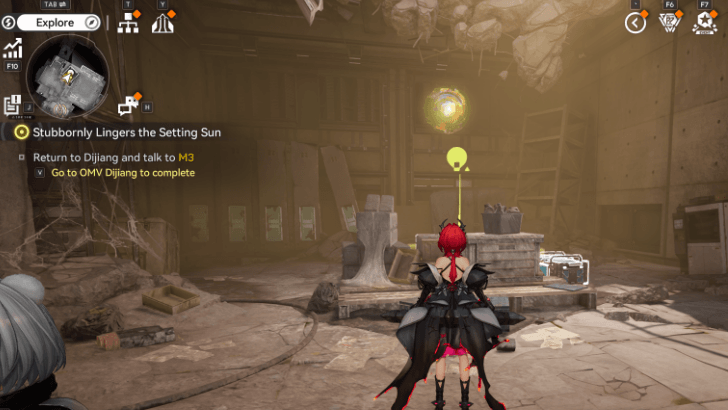 |
Found north of the northern TP Point in the sub-region. This Aurylene is hidden behind an Optical Fog faking a wall in a corner. | |
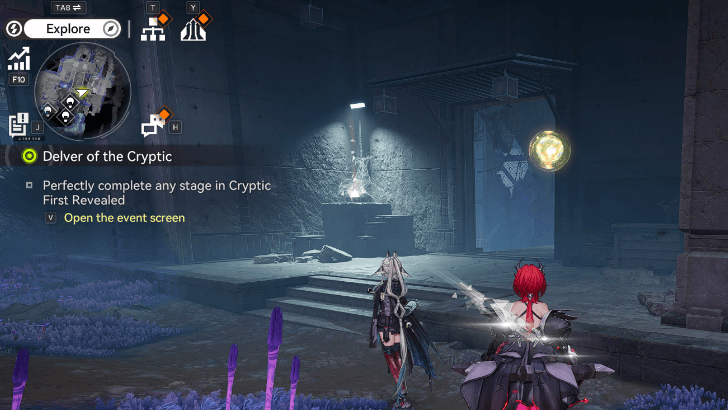 |
By the entry way of a room found Southeast of the Tianshi Pillar R&D Center. Will move around so you must chase it. | |
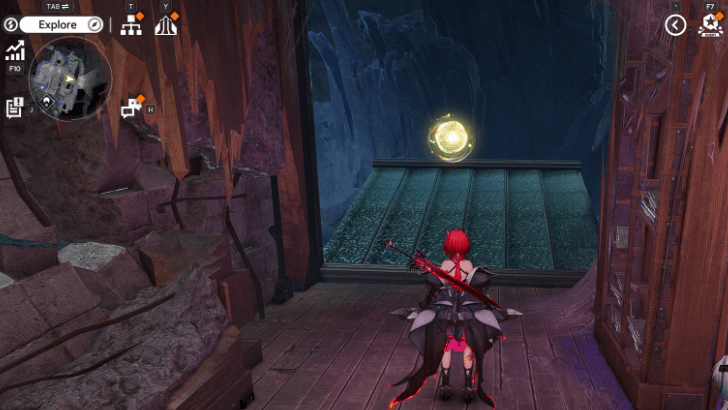 |
East of the Tianshi Pillar R&D Center, can be found behind a wall that you have to bring down using the Xiranite Nexus. | |
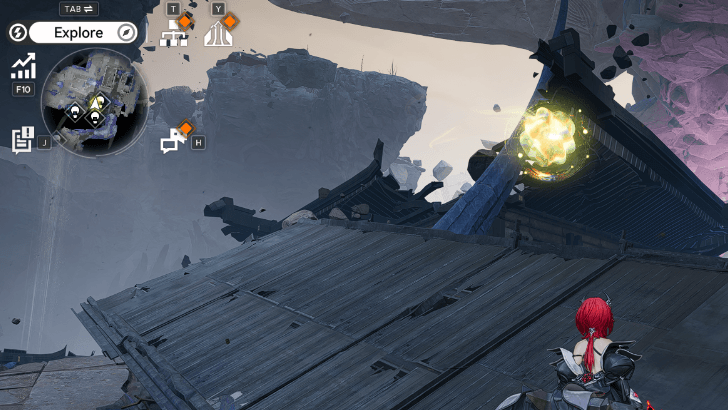 |
Behind some salvageable ruins on the roof of a hallway Southeast of Tianshi Pillar R&D Center. | |
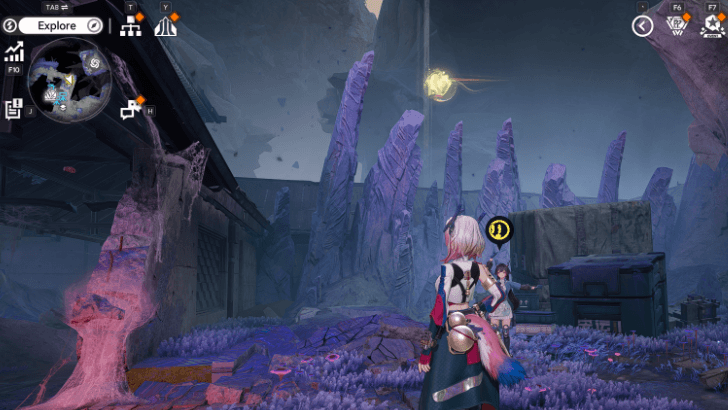 |
Floating on top of the crates Slightly north of the Tianshi Pillar R&D Center. Pull down the large crate using your Xiranite Nexus to reach the Aurylene. | |
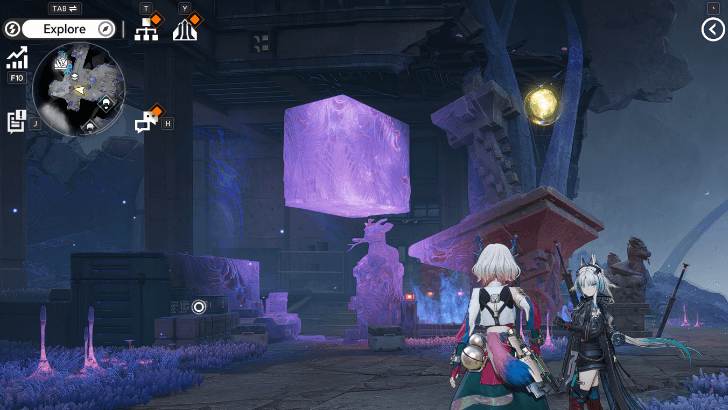 |
Slightly south of the Tianshi Pillar R&D Center, pull down the crate nearby using the Xiranite Nexus to reach the Aurylene. | |
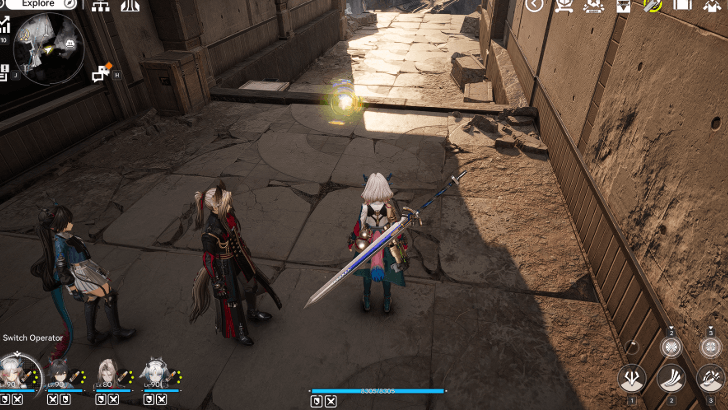 |
East side of the Sentry Base. An Aurylene can be found sitting on the top of the stairs. | |
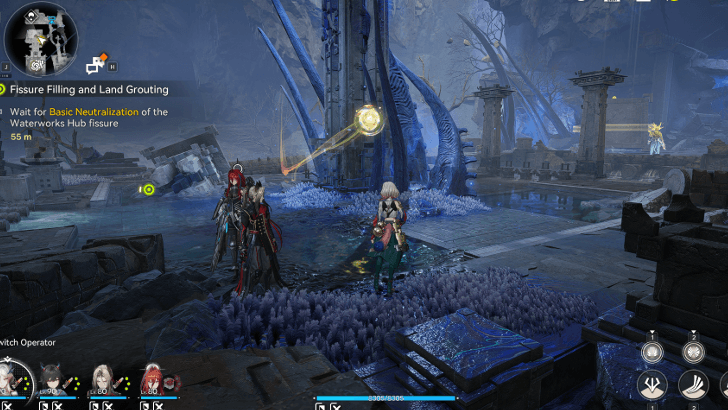 |
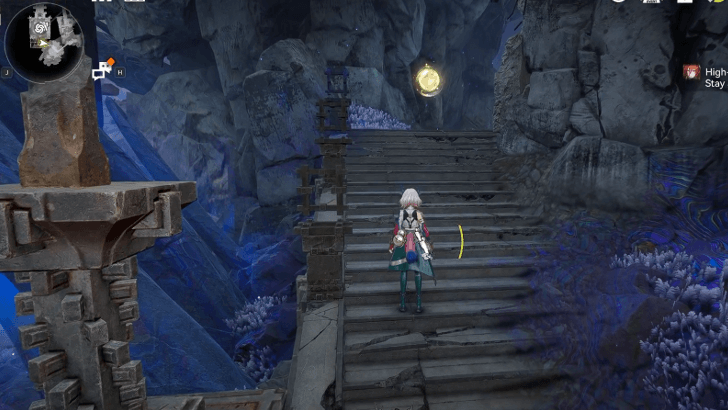
Encircling a pillar North of the Rift in the Waterworks Hub. You must progress the quest "Fissure Filling and Land Grouting" until you clear the rift in Quelltide Levee to unlock this area. | |
 |
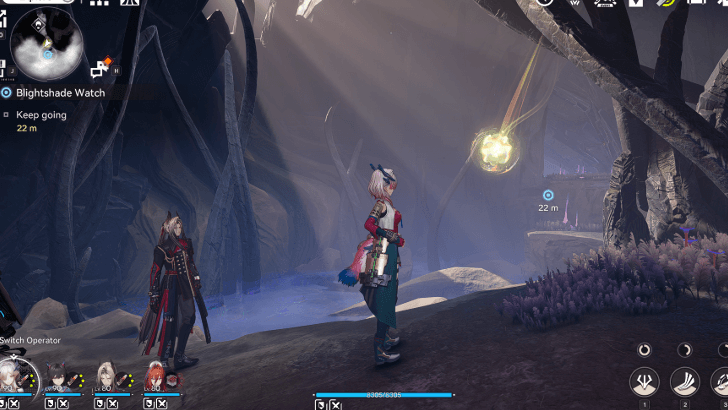
Slightly Southeast of the Rift in Waterworks Hub, will move around so you must go and chase it. You must progress the quest "Fissure Filling and Land Grouting" until you clear the rift in Quelltide Levee to unlock this area. | |
 |
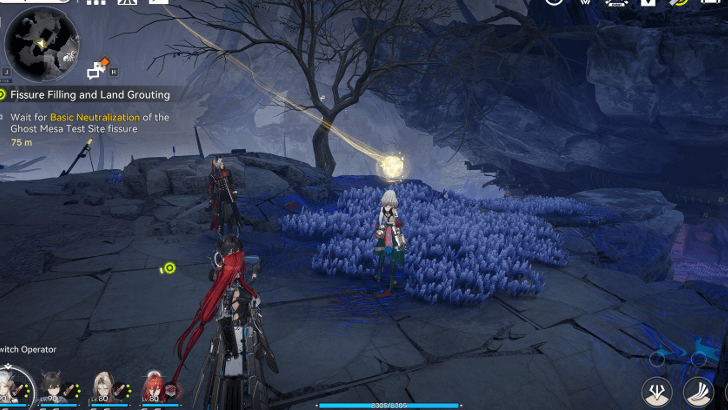
Along the path towards the area South of Quelltide Levee, this area can only be unlocked by progressing the exploration quest "Blightshade Watch". | |
 |
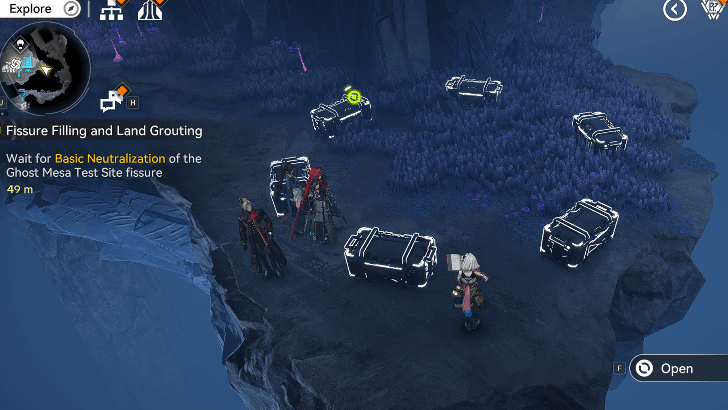
Northwest of the Rift in the Ghost Mesa Test Site, wait until it stops close to you to collect it. You must progress the quest "Fissure Filling and Land Grouting" until you can set up grouting for the Rift in the Ghost Mesa Test Site to safely collect this. | |
 |
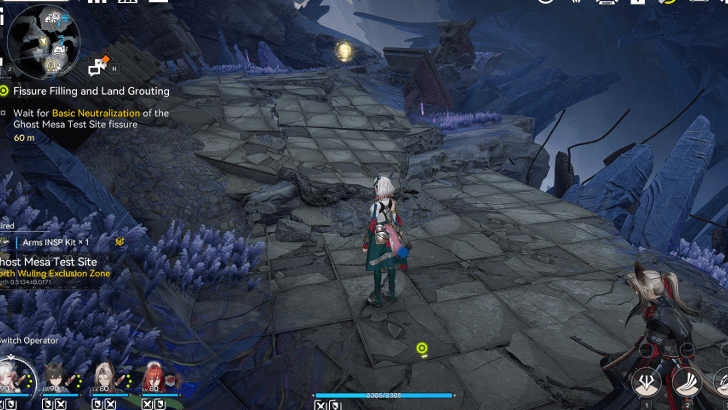
East of the Rift in the Ghost Mesa Test Site, encircling the rock near the group of chests. You must progress the quest "Fissure Filling and Land Grouting" until you can set up grouting for the Rift in the Ghost Mesa Test Site to safely collect this. | |
 |
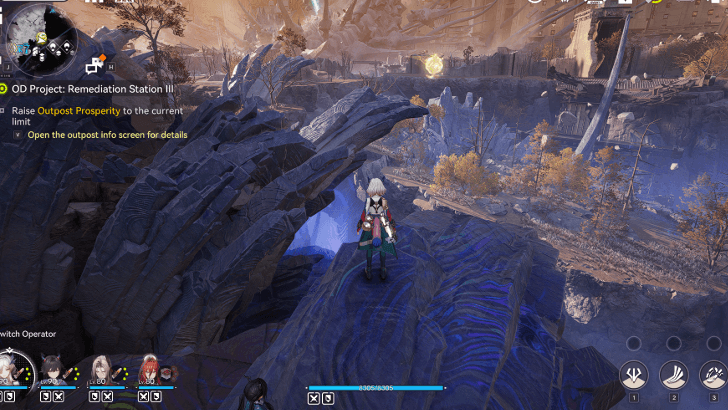
Southeast of the Rift in the Ghost Mesa Test Site, will move around so you may need to chase it down. You must progress the quest "Fissure Filling and Land Grouting" until you can set up grouting for the Rift in the Ghost Mesa Test Site to safely collect this. | |
 |
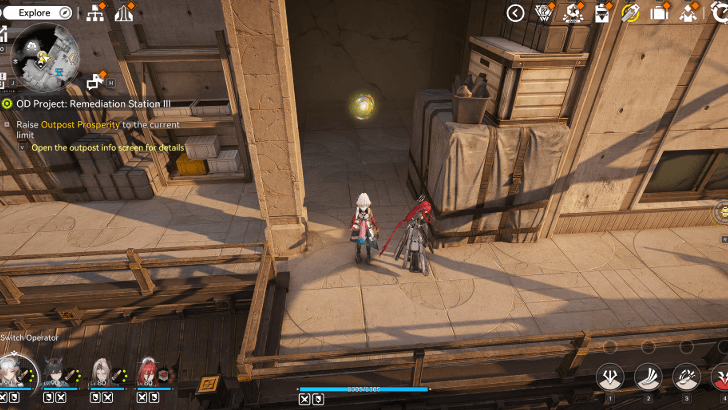
Slowly moving around the rocks Northeast of the waypoint found in the Designated Urban Area. | |
 |
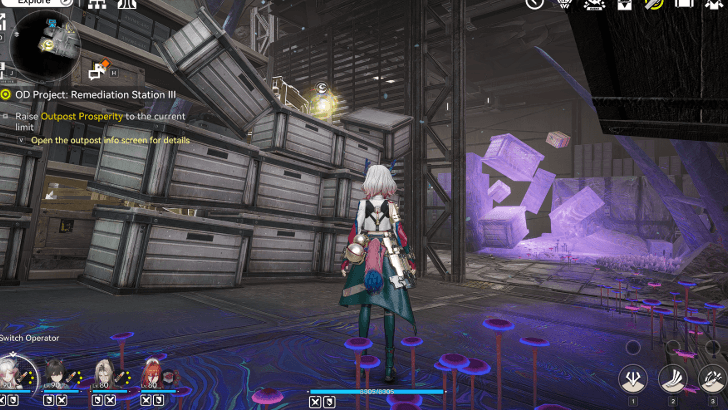
In a small space in the second floor of the building West of the waypoint of Tanjian Hall. | |
 |
On top of some metal crates Southwest of the waypoint in the southwestern area of Quelltide Levee, jump a top the crates behind it to reach the aurylene. | |
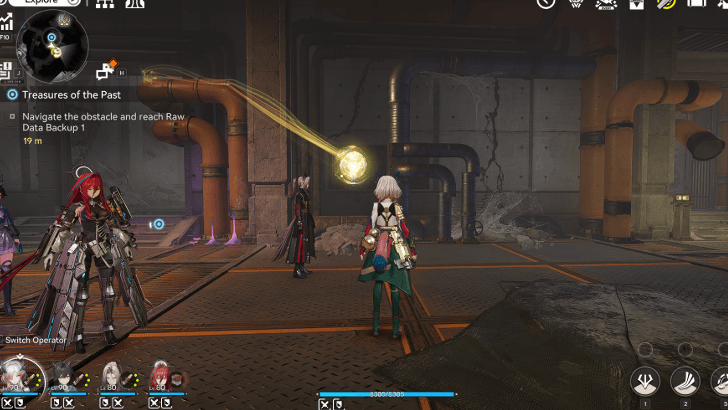 |
Circling around the wall filled with steam pipes in the Cliffside Courtyard. Encountered during the quest "Treasures of the Past". | |
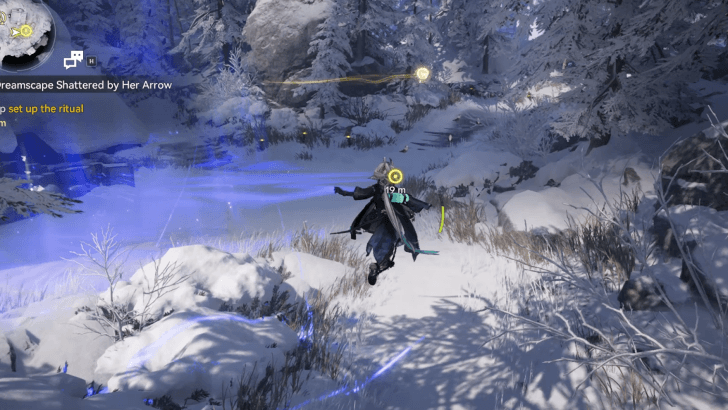 |
Found southeast of the Snowpriestess's Cabin, follow its path around the trees. | |
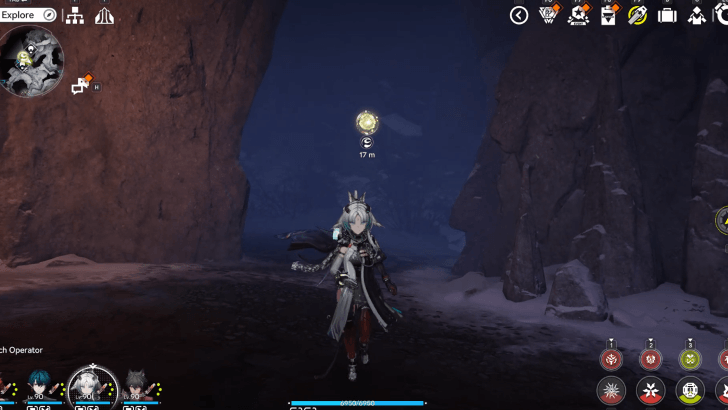 |
Found in the forest in Hoarfrost Woods behind the optical fog. Attack the fake wall to reveal a secret room. | |
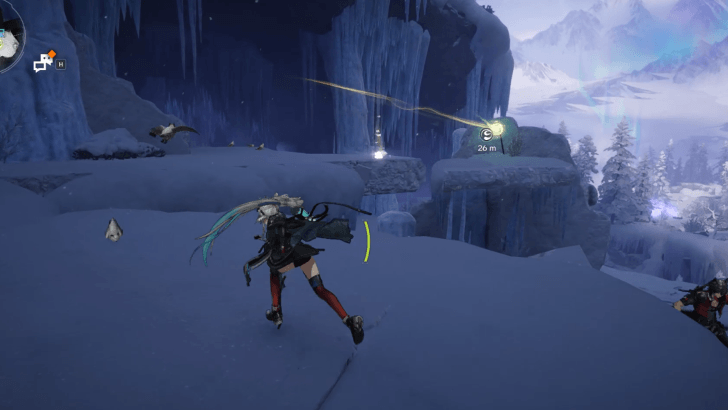 |
North of Hoarfrost Woods, head up the platform behind the Originium Slugs to find it at the top. | |
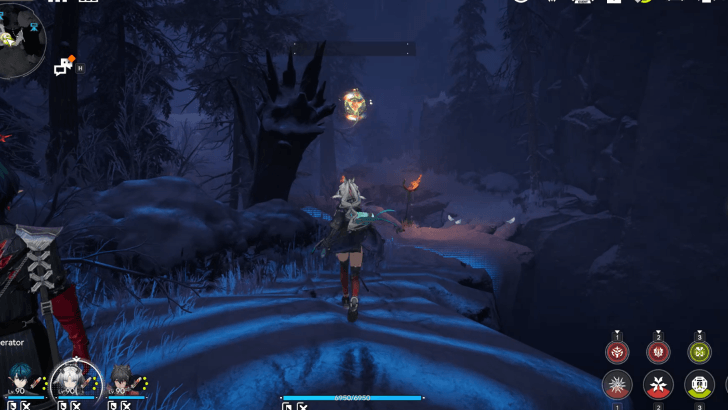 |
Found northeast of the forest below Hoarfrost Woods. Use the Scanner tool to reveal the Aurylene circling around a broken tree trunk. | |
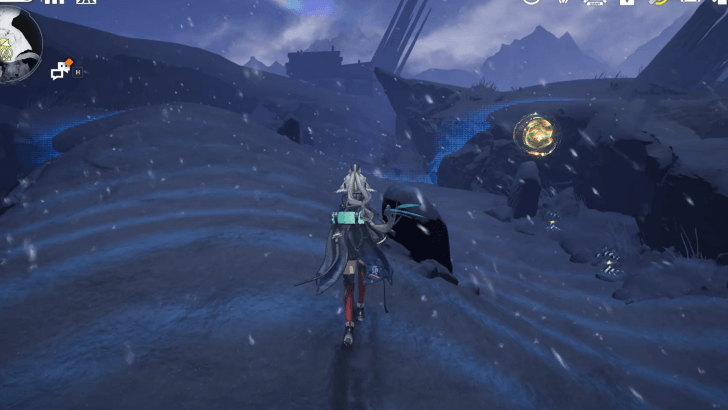 |
Found north of the TP Point in Ritual Shrine. Use the Scanner tool to reveal the Aurylene's position. | |
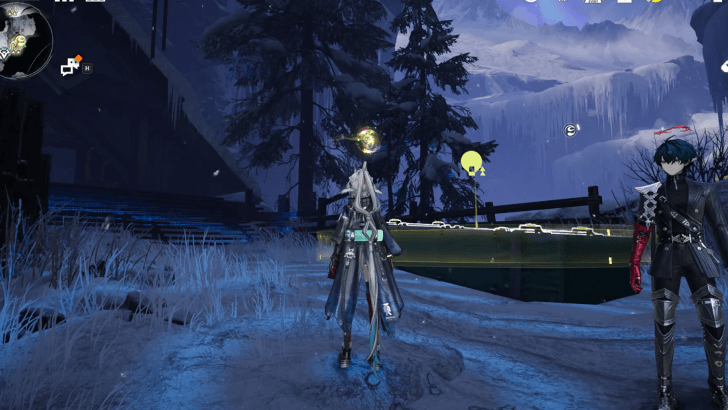 |
From the TP Point east of the Snowpriestess's Cabin, head north and use the Scanner tool to reveal the Aurylene flying near a Salvageable puzzle. | |
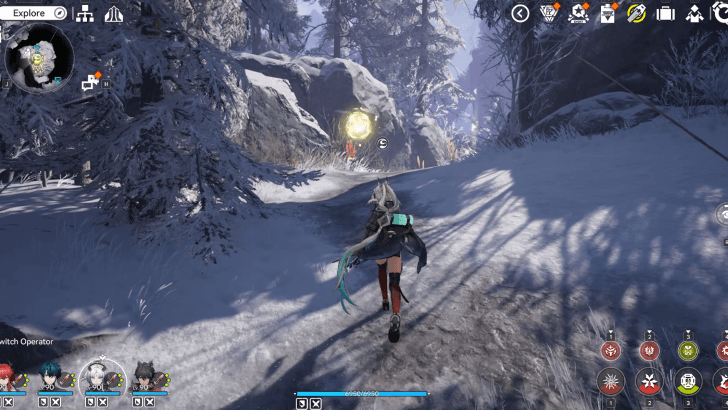 |
Found north of the Hoarfrost Dale TP Point, follow the Aurylene's path to catch it. | |
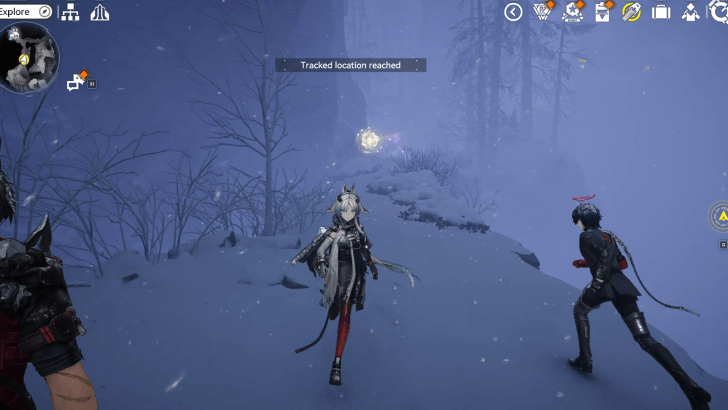 |
Head east of Hoarfrost Dale to find it flying near a narrow path leading to a group of Woodcraft Wanderers. | |
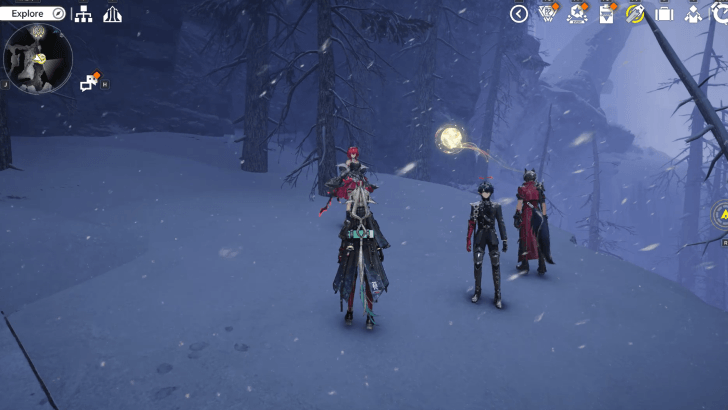 |
From the east TP Point of Hoarfrost Dale, head south and go up the hill to find the Aurylene. | |
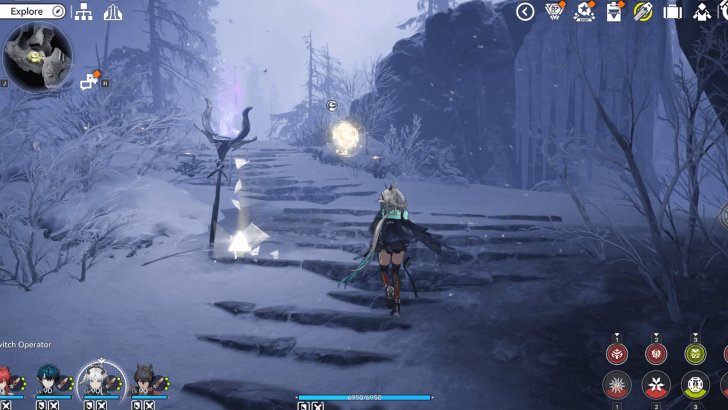 |
Found by the stairs southeast of Hoarfrost Dale, follow it up the mountain until it stops at the wooden platform. | |
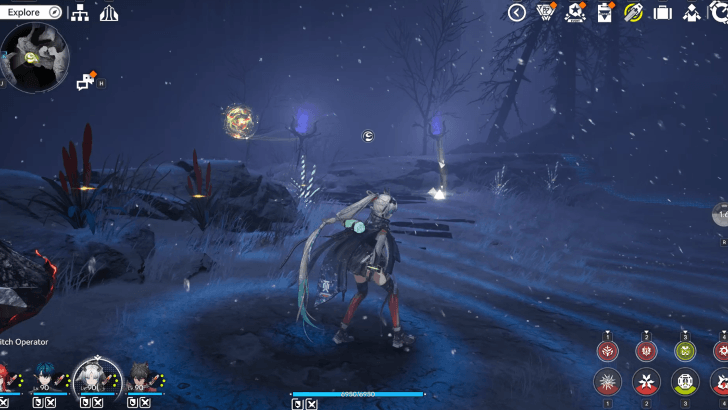 |
Southeast of Hoarfrost Dale, use the Scanner tool to reveal it circling around the nearby torches. | |
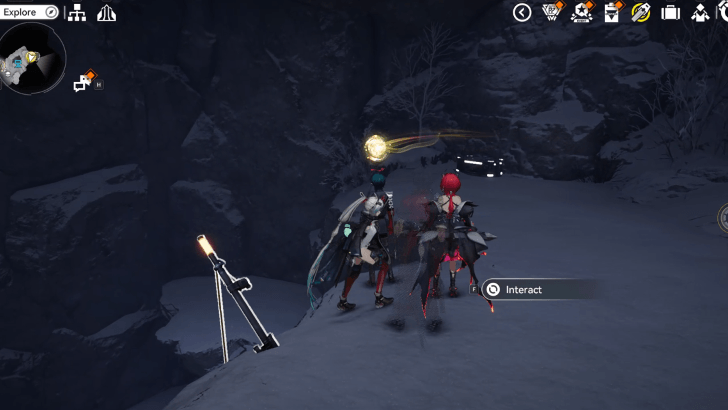 |
Found inside a cave in Little Grotto. To open the cave, take the nearby auto-jet vent and attack the icicles to make the boulder fall and open up the entrance. Then, use Typhoeus's Bow and Arrows tool to shatter the runes. Take the rope up to find the Aurylene. | |
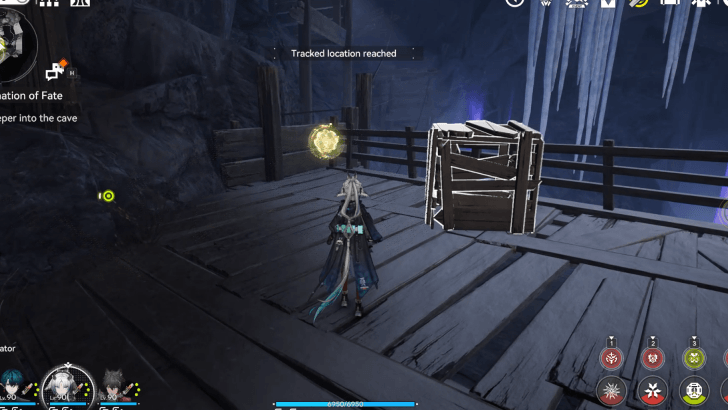 |
Found behind crates inside the Old Resting Point LF cave. The area is unlocked during the Illumination of Fate quest. | |
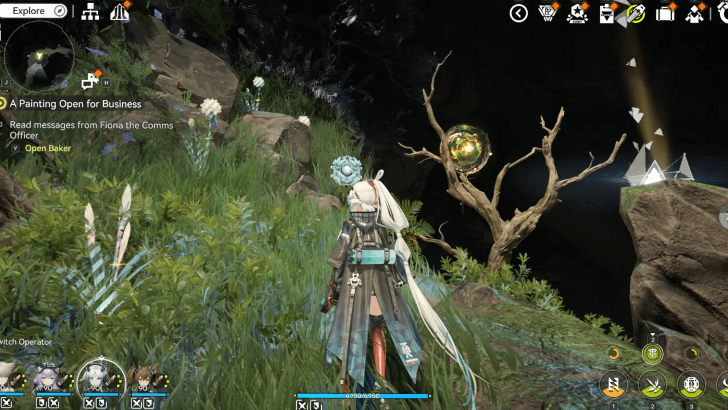 |
Along the entrance to Si's Painting, head up the hill and use the Scan tool to reveal the Aurylene's position by the branch. | |
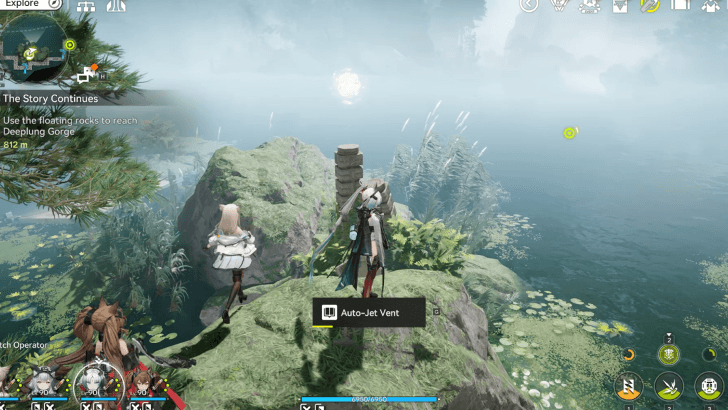 |
Found south of Pinesmoke Basin floating on top of pillars near the rocks. | |
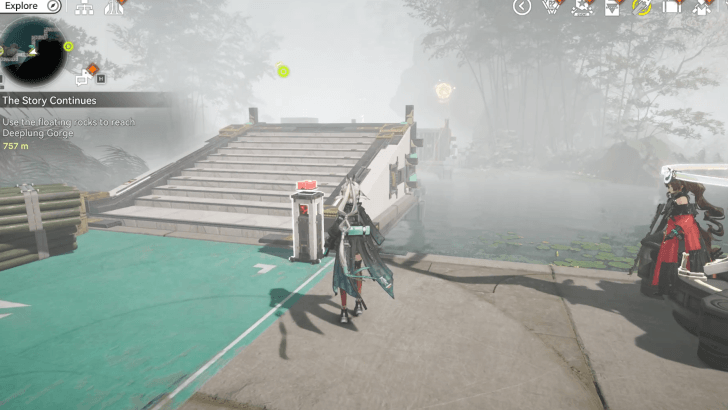 |
Found floating around the bridge by Pinesmoke Basin. From the east side of the bridge, press the button to build the bridge and get the Aurylene. | |
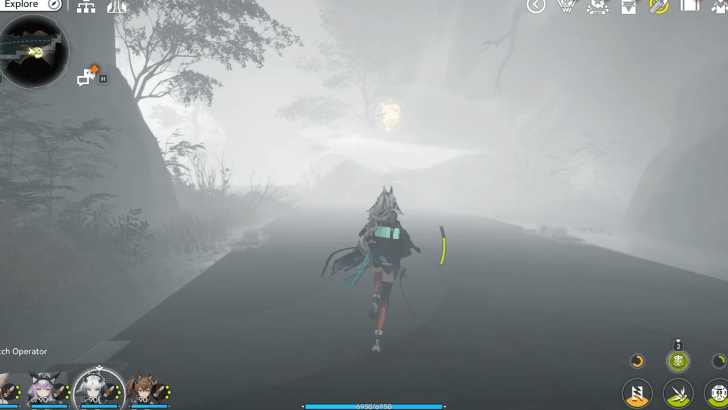 |
East of Pinesmoke Basin, follow the Aurylene as it wanders through the fog. | |
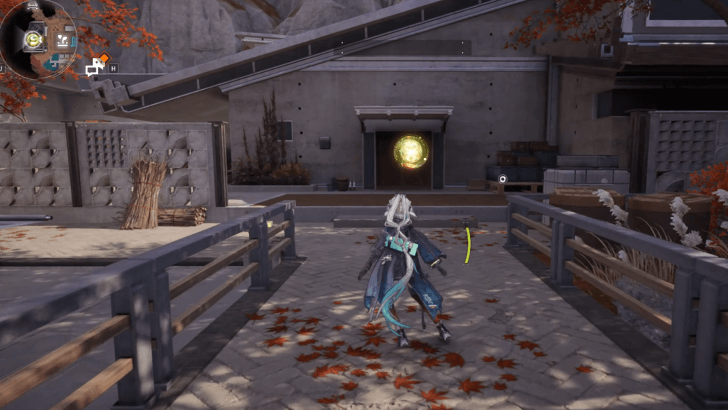 |
From the Farm, head west and follow the Aurylene to the roof. | |
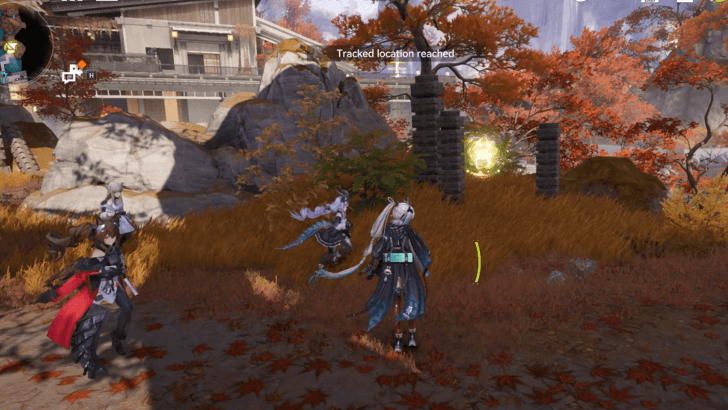 |
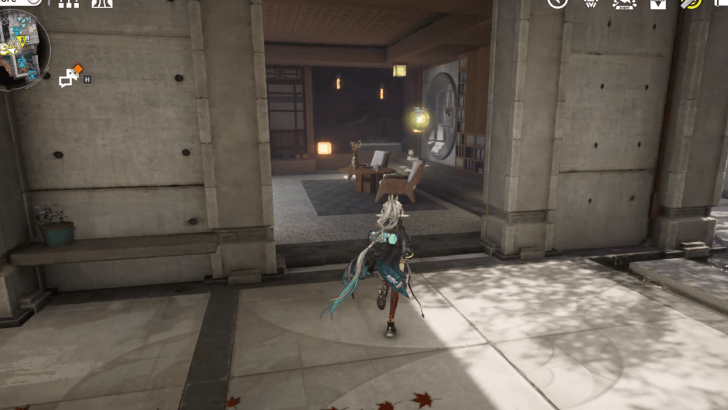
North of Yuanyuan Manor hiding behind rocks and pillars beside the bridge. | |
 |
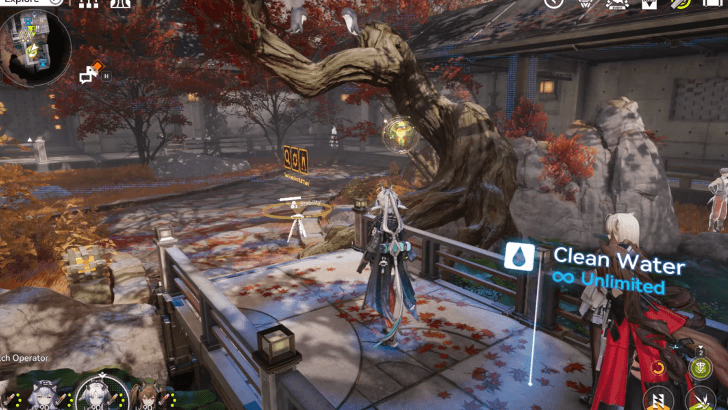
West of the Yuanyuan Manor TP Point. Jump down and head to the room to find it by the window. | |
 |
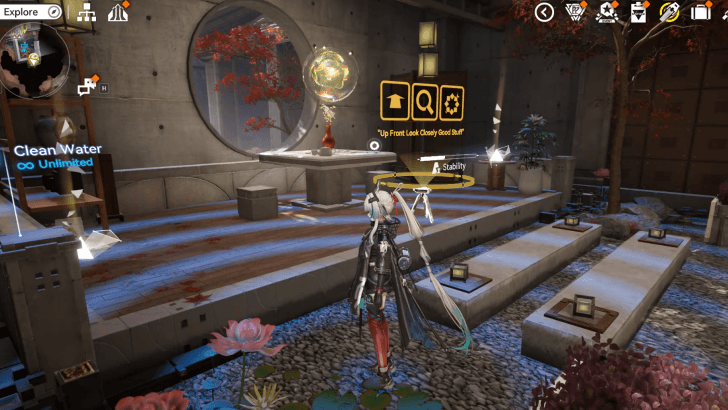
South of the Yuanyuan Manor TP Point. Use the Scan tool to reveal the Aurylene's position by the tree. | |
 |
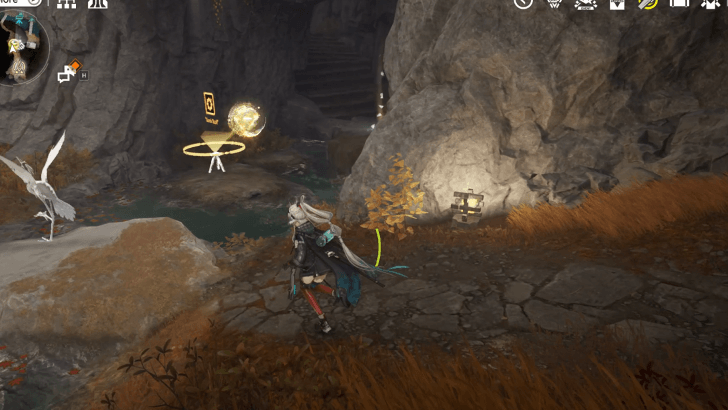
South of Yuanyuan Manor, use the Scan tool to reveal the Aurylene's position by the window. | |
 |
From the north TP Point of Pearlveiled Brook, continue to head north and follow the Aurylene up the stairs. | |
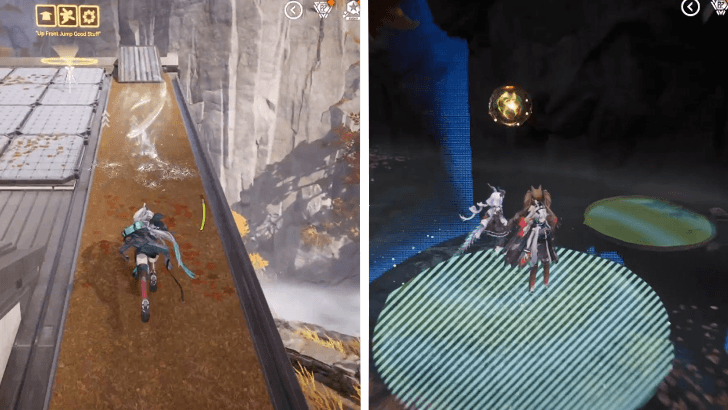 |
South of Xiaohe Manor, head up the roof of the house and use the Vortex to gain momentum and jump off the ramp to reach the Aurylene by the lily pad. Use the Scan tool quickly to reveal its position. | |
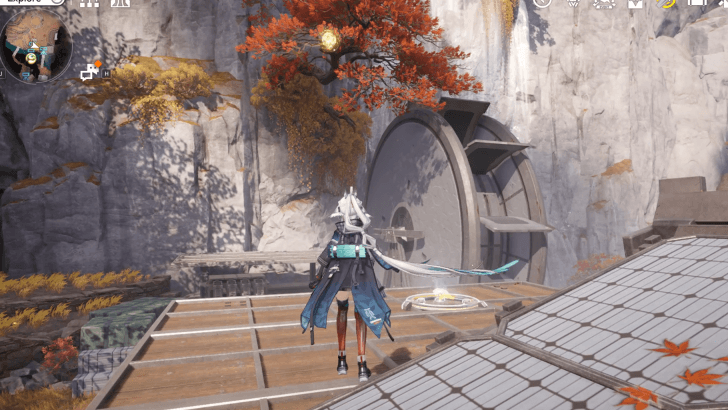 |
Found floating high above the bridge south of Xiaohe Manor. Head up the roof of the house to use the Bounce Device to reach the Aurylene. | |
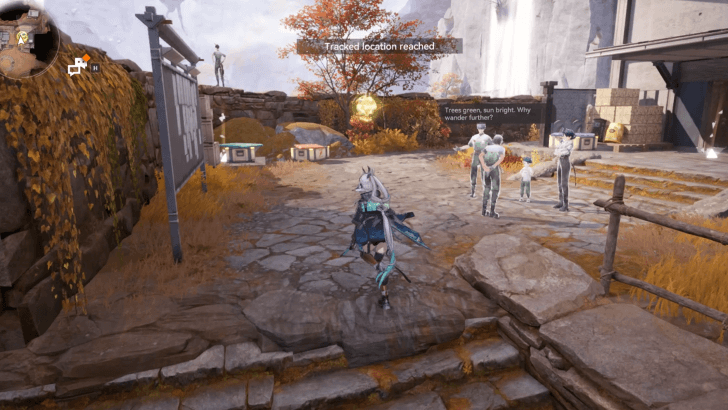 |
Found northeast of Xiaohe Manor near the house. | |
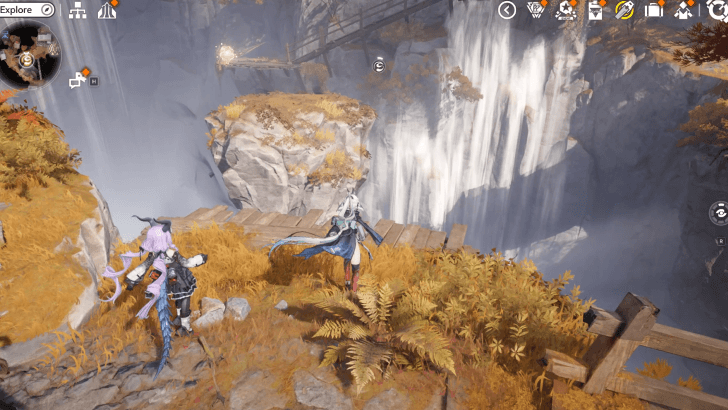 |
North of Xiaohe Manor, wait for the floating rocks to take you to the floating Aurylene. | |
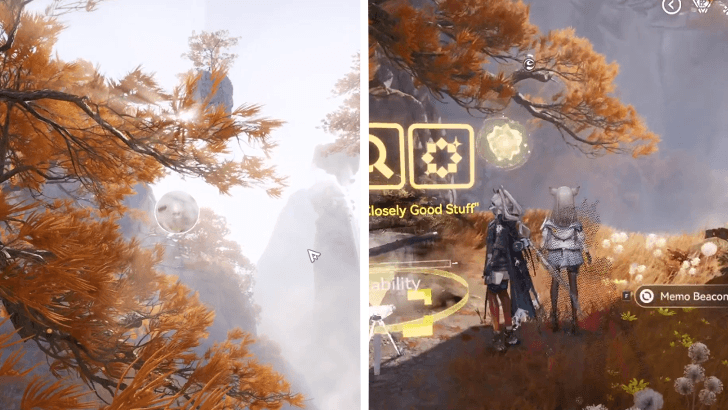 |
Found in the northernmost part of Xiaohe Manor, attack the fake wall to find a puzzle. You must solve the Align and Place puzzle by aligning the circle to the Aurylene's outline by the tree branch. | |
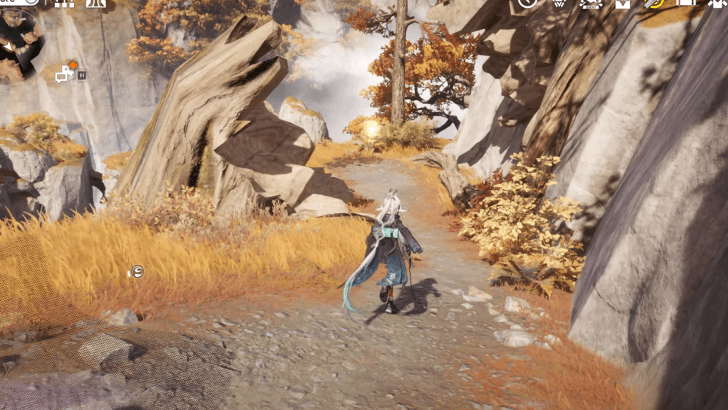 |
East of the Inkrise Peak TP Point as you progress through the side quest, The Story Continues. Interact with the scroll to enter Paint mode and press Re-Imagine to open the path and find the Aurylene. | |
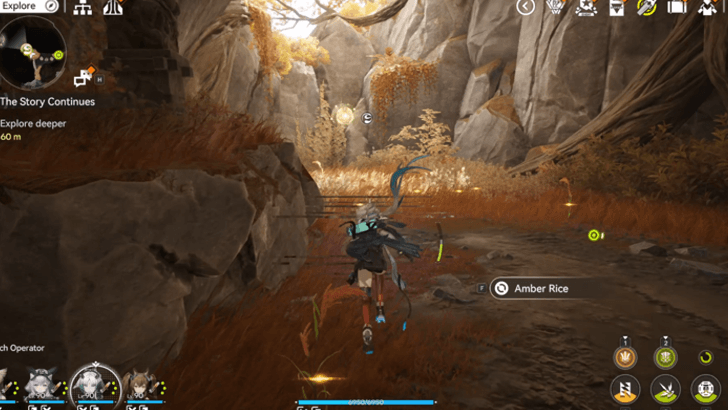 |
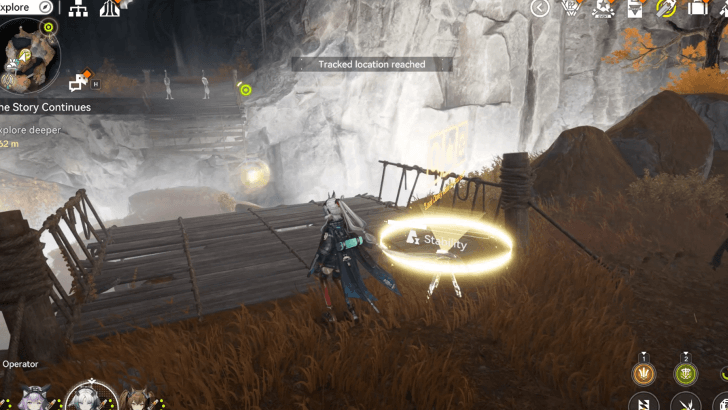
Found at the northwest point of Inkrise Peak. You must progress through The Story Continues quest to access the area. | |
 |
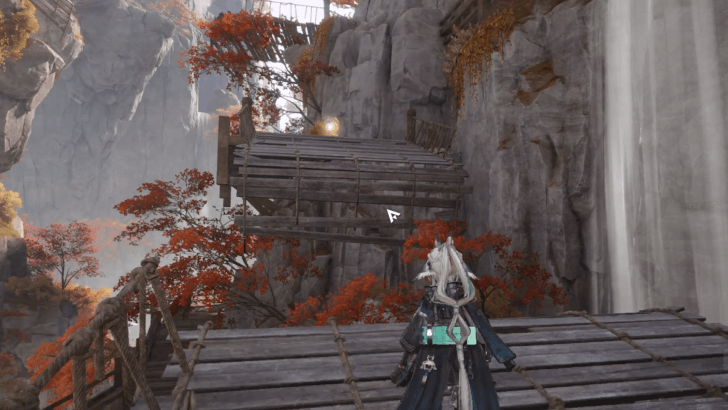
North of the TP Point in Raintap Grotto BF, found by the broken bridge. | |
 |
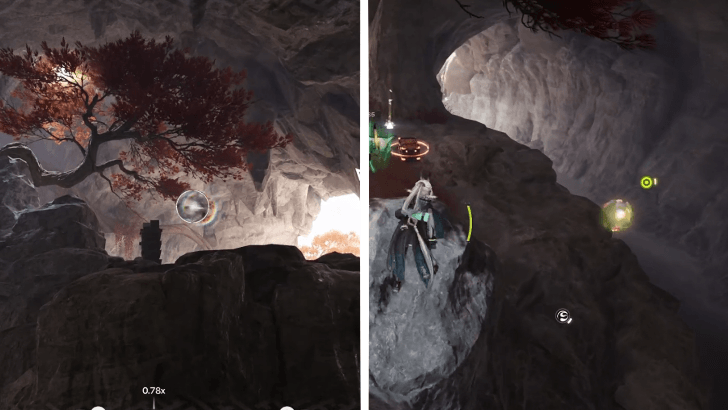
Found within Raintap Grotto BF atop the broken bridge. | |
 |
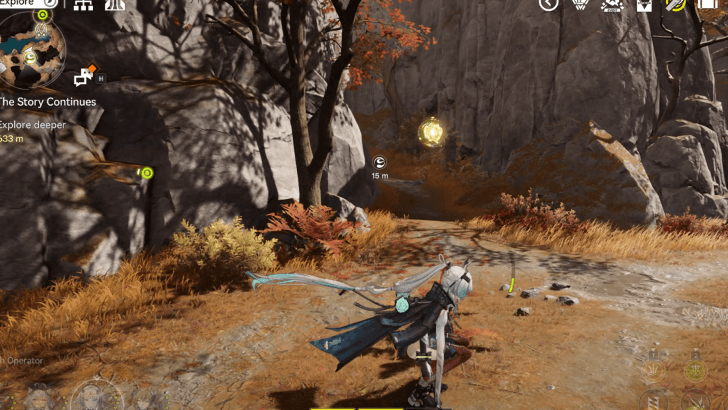
Head inside the cave near the Meandering Hike TP Point and solve the Align and Place puzzle to align the shape by the tree above your position. | |
 |
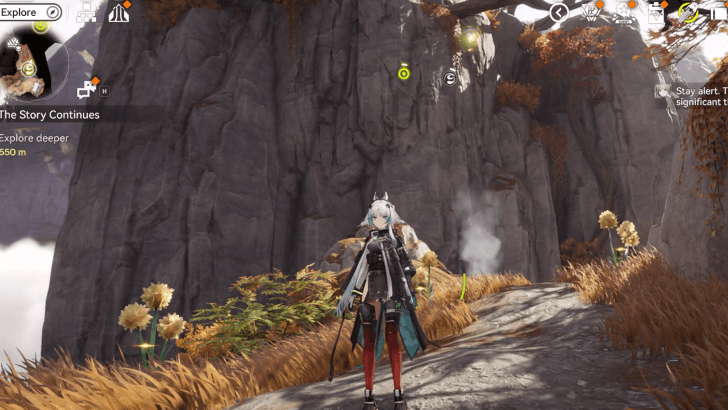
East of Pavilion of Parting, follow the Aurylene to Drybrush Peak and use the Spirit Paint to reach the Aurylene. | |
 |
Use the Auto-Jet Vent to launch yourself and reach the Aurylene floating above. | |
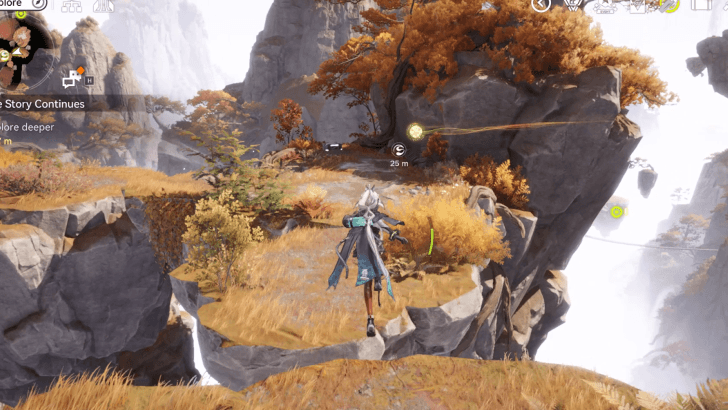 |
Floating around the floating island south of Cormorant's Rest, near a treasure chest. | |
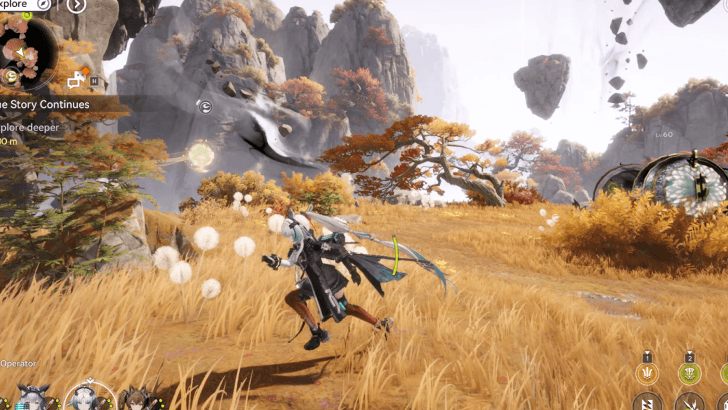 |
South of Cormorant's Rest near the Maned Measure enemy. | |
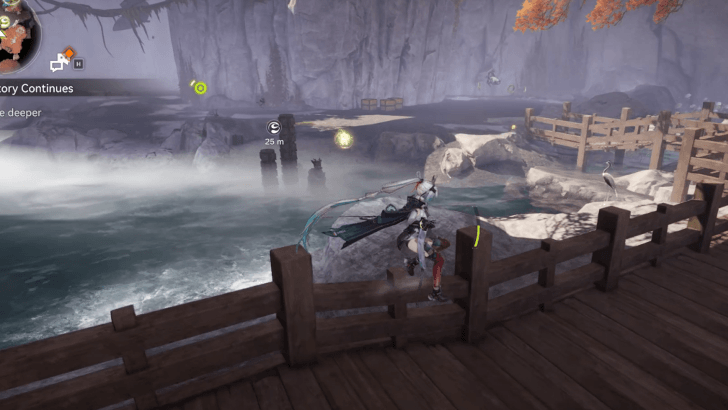 |
Found floating by the pillars in the water east of Cormorant's Rest. | |
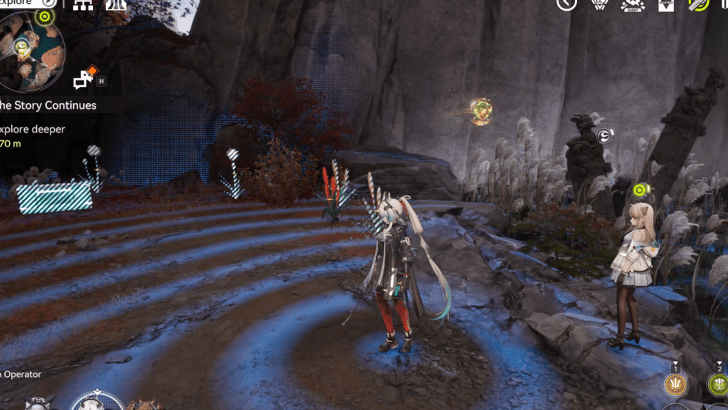 |
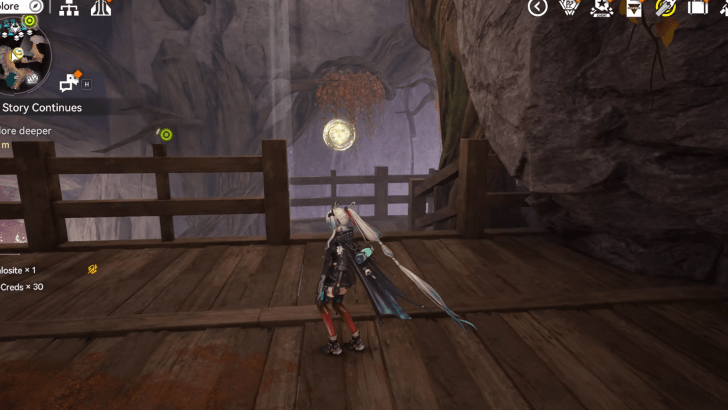
From the nearest TP Point, head to the south bridge and use the Scan tool by the waterfalls to find the Aurylene. | |
 |
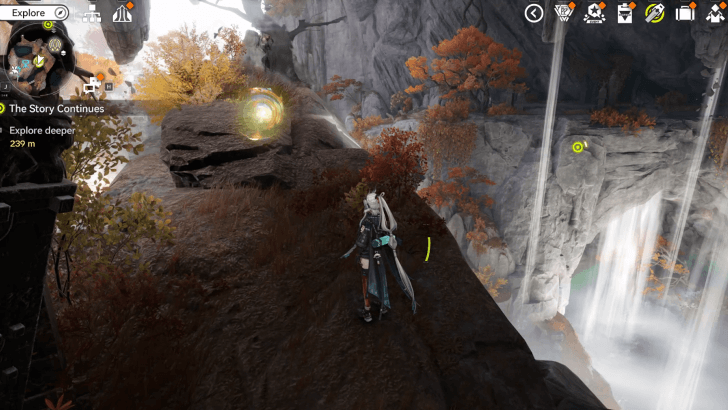
Found inside the Grotto BF cave, found near the Maned Measure enemy. | |
 |
Found on top of a hill northeast of Raintap Grotto BF. | |
 |
Found under a waterfall. Scan to make it appear. | |
 |
A moving Aurylene that you must chase through a stairwell. | |
 |
Hidden Aurylene near the lake. Located beside a few common reeds by the bridge. | |
 |
Aurelyne that moves around near the Stock Distribution Terminal to the right of Sky King Flats. | |
 |
Aurylene positioned above the dam. You must fill the dam with water using a lever to gain access to the collectible. | |
 |
Aurylene that appears after you scan it. | |
 |
Aurylene that moves around the Burdosnout Hill. Chase it quickly to get the item. | |
 |
Moves in the air near the bamboo forest. | |
 |
Circles around the tree. Head down to the stairwell to get it. | |
 |
Located under the cliff just beside the jump pad. | |
 |
Appears when scanned. Chase the Aurylene around the tree to get it. | |
 |
Located near the edge of the cliff. | |
 |
Ride the lotus and wait for it to reach the small island. The Aurylene will be located above it. | |
 |
Above the platform at the center of the area. Use the explosive box to get to the Aurylene. | |
 |
Make your way through a path hidden beneath shallow water. Scan the area to find the Aurylene. | |
 |
Scan the area and use the lily pads to get to the Aurylene. | |
 |
Hidden behind an illusory bamboo wall. Attack it to reveal the Aurylene. | |
 |
Circles the dead tree in the bamboo forest. Scan to reveal the Aurylene. | |
 |
Appears when scanned. Located under the waterfall. | |
 |
Appears when scanned. Located above the rock below the waterfall. | |
 |
On the roof of the house on the north side of the waterway. You can get here by progressing through the main story. | |
 |
Moving around in the air at a temple to the west of the Core AIC Area, at Chenshan Way. | |
 |
Moving around in the air southwest of the AIC Area. | |
 |
Northwest of the Bureau of Swordmancers, in front of waterfalls. Moves around in the air when approached. | |
 |
Northwest of the Bureau of Swordmancers, over a staircase. Moves when approached. | |
 |
On the roof. Catch the speed boost on the roof of the Bureau of Swordmancers building and jump onto this roof. | |
 |
Moving around in the air, on the eastern side of Bureau of Swordmancers. | |
 |
It moves around on the water at the central pond at Bureau of Swordmancers. | |
 |
Inside the gazebo, north of the Residential Area. Appears when scanned. | |
 |
On the roof of a house at the northwest part of the Residential Area. | |
 |
Over the awning of a house near the northwest part of the Residential Area. | |
 |
Moving around in the air at the central pond of the Residential Area. | |
 |
Moving around under the building on the east side of the Residential Area. | |
 |
Floating around outside Wuling City, to the east of the Residential Area. | |
 |
Moving around under the giant bell, northeast of the Residential Area. Scan to reveal. | |
 |
Moving around in the air in a place with yellow umbrellas, to the southwest of the Residential Area. This place is close to Fangxing Avenue. | |
 |
Moving around on the bridge at Fangxing Avenue. | |
 |
On the giant lily pads in the pond northwest of Citizen Square. | |
 |
Moving around the tree at the northwest part of Citizen Square. | |
 |
Moving around in the air on the rooftops, on the west side of Citizen Square. Climb up the nearby rope and go further up the stairs to get it. | |
 |
Near a group of dancing people, near the center of Citizen Square. | |
 |
Moving around the stone statue, in the central park at Citizen Square. Appears when scanned. | |
 |
Suspended in the air, on the southwest side of Citizen Square. | |
 |
Moving around in the air inside the building, at the southwest part of Citizen Square. Appears when scanned. | |
 |
Moving around in the air at the northern part of Citizen Square. | |
 |
Near the row of trees along the red path on the eastern side of Citizen Square. | |
 |
It moves around in the air, outside Wuling City, to the east of Citizen Square. | |
 |
Moving around under the giant bell, east of Citizen Square. Scan to reveal. | |
 |
Moving around in the air, on the southwest side of Xiranflow Channel. | |
 |
On top of the antenna/radar, south of Xiranflow Channel. Jump off at the third floor of the building to get it. | |
 |
5th floor of a building at Tianshi Bureau Academy. Moving around in the air. | |
 |
Moving around under the giant bell at Tianshi Bureau Academy. Scan to reveal. | |
 |
Moving around in the air, around the grassy grounds of Tianshi Bureau Academy. | |
 |
It's suspended in mid-air, a little west of Tianshi Bureau Academy. Go up the stairs and pick it up from the second floor. | |
 |
Moving around in the air on the third floor of the Institute of Materials Science. You can enter by progressing through the main story. | |
 |
Moving around in the air on the third floor of the Institute of Materials Science. You can enter by progressing through the main story. | |
 |
Activate the device to drain the water, then step on the panel to move the platform. Appears when you Scan. To activate the device, you need to progress through the story. | |
 |
Activate the device to drain the water, then step on the panel to move the platform. Appears when you Scan. To activate the device, you need to progress through the story. | |
 |
Moving around in the air, south of the Institute of Materials Science. In an area with a pond, a tree in the center, and a staircase. | |
 |
South of the Tianshi Bureau Academy. It moves counterclockwise when you approach it, so approach it from the opposite direction to take it. | |
 |
At the northern part of the map, east of the Agricultural Test Site. Moves when approached. | |
 |
Moving around on the roof, at the north part of the Monitoring Center. Found very close to the TP Point. | |
 |
Flying over the roof, on the northeast part of Monitoring Center. | |
 |
At the south side of Monitoring Center. Moves when approached. | |
 |
Flying around outside and underneath the Monitoring Center, at the very south end. | |
 |
Moving around at the gazebo to the northwest of the Maintenance Zone. Appears when scanned. | |
 |
Moving around in the air, at the Maintenance Zone, near the path intersection. | |
 |
Found at Tianjing Courtyard. Complete the Treasure Beneath the Pond quest. | |
 |
Moving around in the air at the Outskirt Barrens. | |
 |
Surrounded by a herd of animals. Appears when scanned. | |
 |
Flying around the cliffside at Sanku Ridge. | |
 |
At Hulu Cave. It will move when you approach. Attack to clear the mist of light and proceed forward. | |
 |
Moving around in the air, above the river to the east of Hulu Cave. | |
 |
Moving around on the scaffolding on the first floor of the Field Logistics Depot. | |
 |
Inside one of the cages in the Main Fort. Use the scanner to make it visible, then obtain it. | |
 |
Slightly Northwest of Bladewoods, surrounded by active blight and invisible. Use the scanner and spray module to obtain. | |
 |
Circling on top of the metal scaffolding south of Skyhold Ridge. | |
 |
It can be found circling the roof of this metal structure, northwest of Bladewoods. | |
 |
Found in the lower ground area southeast of Ancestral Spring. Use the spray drone on the water wheel to bring up the platform and time your jumps on the lily pads to obtain it. | |
 |
Inside the center area of the Main Fort, behind some boxes. | |
 |
Found northwest of Bladewoods, it will run away, so you have to chase it. | |
 |
North of Bladewoods, on top of the metal bridge, it will move away, so you have to chase it. | |
 |
Southeast of Bladewoods, accessible through the rope line. Be careful of active blight. | |
 |
Circling this metal structure southwest of Bladewoods, simply wait for it to come to you. |
Aurylene Interactive Map and Locations
Wuling Chests
Chests, or Crates, are collectible containers that reward you with EXP, money, and various items and equipment.
| ✔️ | Overworld View | How to Get |
|---|---|---|
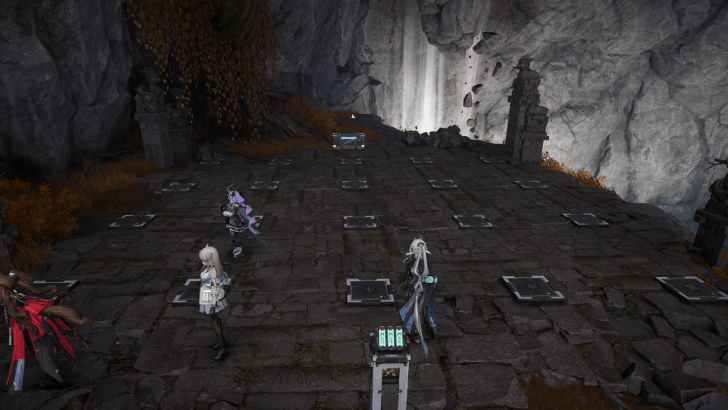 |
From the Raintap Grotto TP Point, head up the north bridge to find a Kaleidograph puzzle. Spot the differences in the puzzle to get the chest. | |
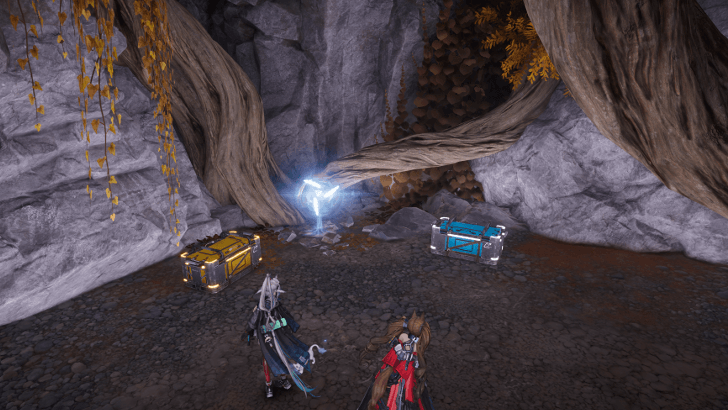 |
Attack the optical fog behind a chest in the same area to find a hidden room with chests and Talosites. | |
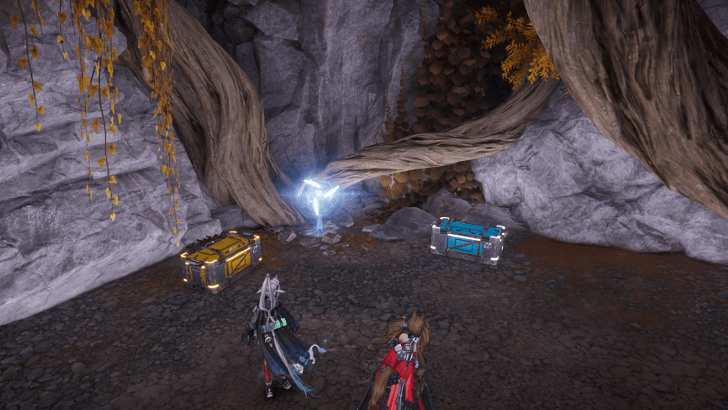 |
Attack the optical fog behind a chest in the same area to find a hidden room with chests and Talosites. | |
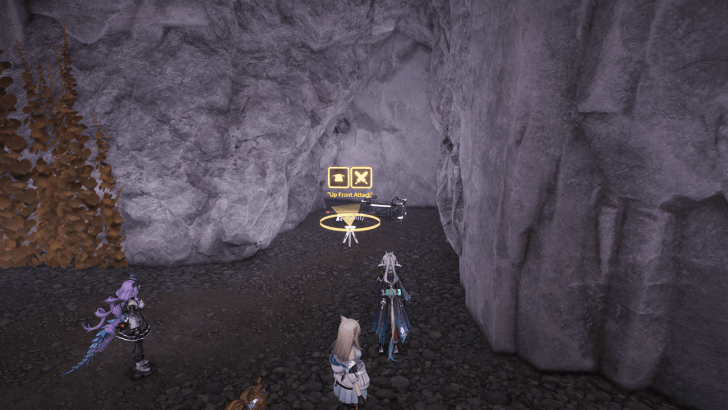 |
In a small corner northeast of Cormorant's Rest, in front of an optical fog. Attack the optical fog near the scroll to find more chests inside. | |
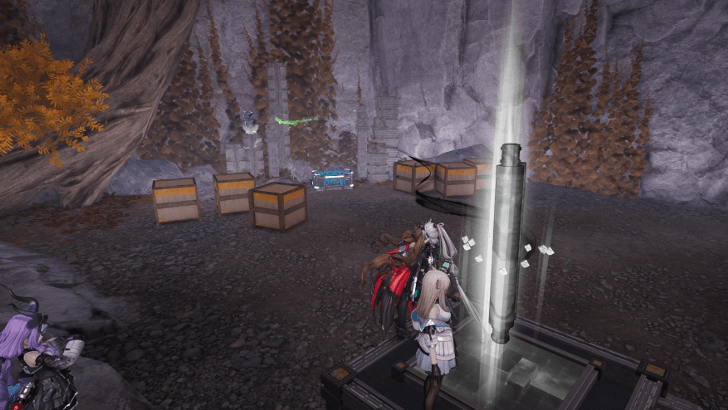 |
Head northeast of Cormorant's Rest to find a scroll. Use the Spirit Paint to paint the chest in front of the pillars to unlock it. | |
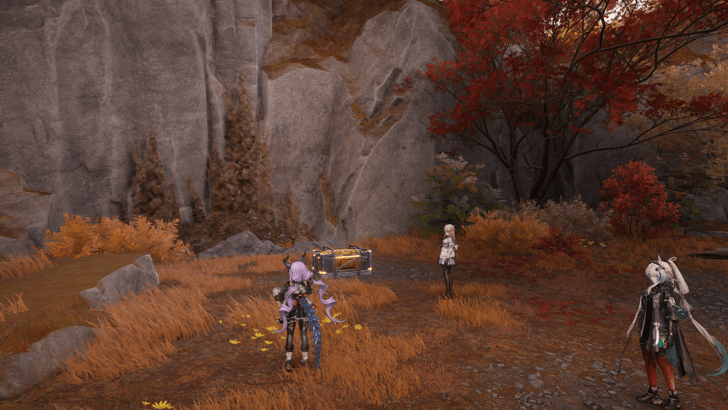 |
Defeat the Temporary Energy Alluvium at Cormorant's Rest to unlock the chest. | |
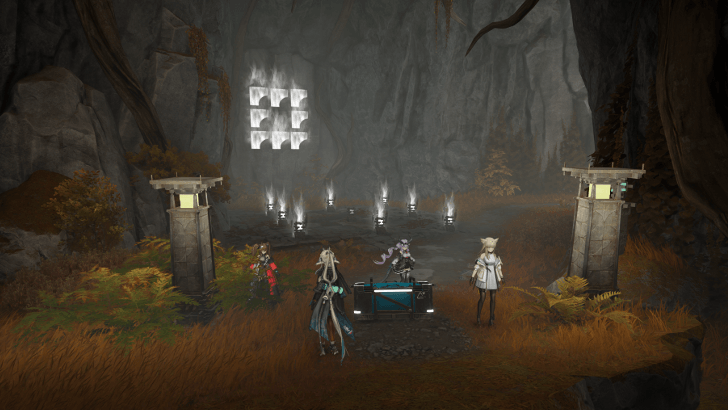 |
Progress through the quest, The Story Continues, to get access to Inkrise Peak. Inside the cave, light up all lanterns except the middle lantern to solve the puzzle. | |
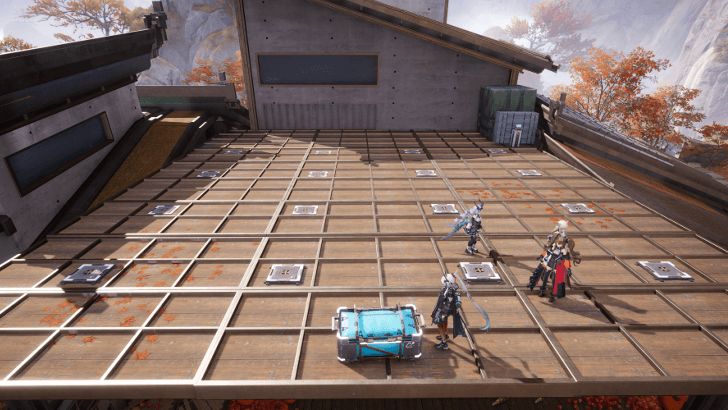 |
Solve the Kaleidograph puzzle on the roof of the northwest house in Xiaohe Manor. Make sure to spot the differences in the holograms to get the chest. | |
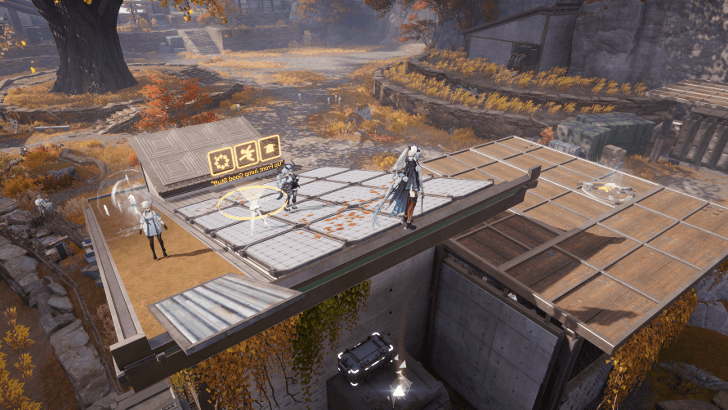 |
On top of a machine behind the house south of Xiaohe Manor. | |
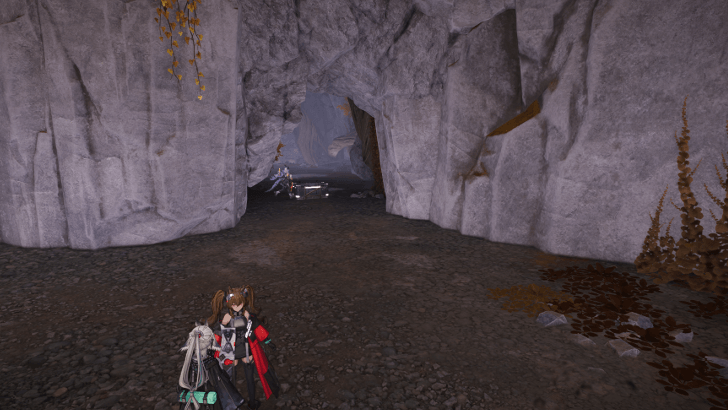 |
Found by a small cave entrance east of Cormorant's Rest. Defeat the group of enemies in front of the entrance. | |
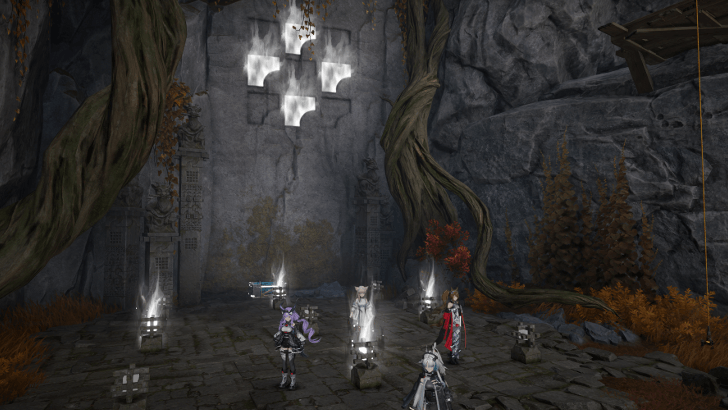 |
Head to the north Stone Puzzle in Raintap Grotto BF past the north cave entrance. Light up the lanterns in the same position as the runes to get the chest. | |
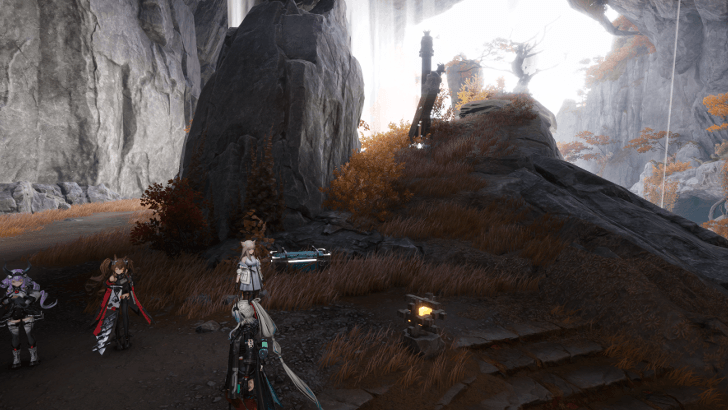 |
Located behind a boulder northeast of Raintap Grotto BF. | |
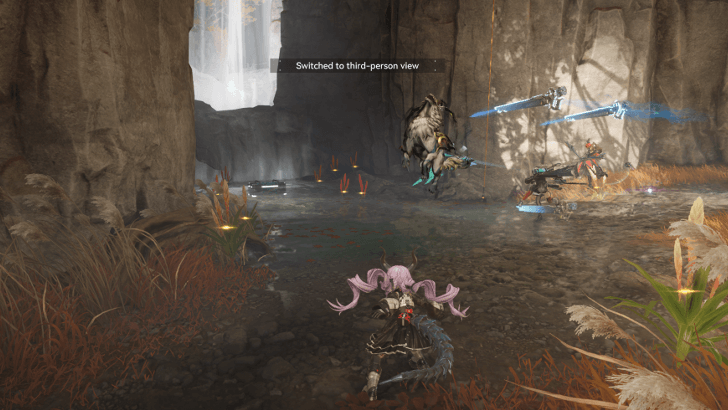 |
Head east of Raintap Grotto BF then jump down the cliff to find the chest behind a Simmer's Purge enemy. | |
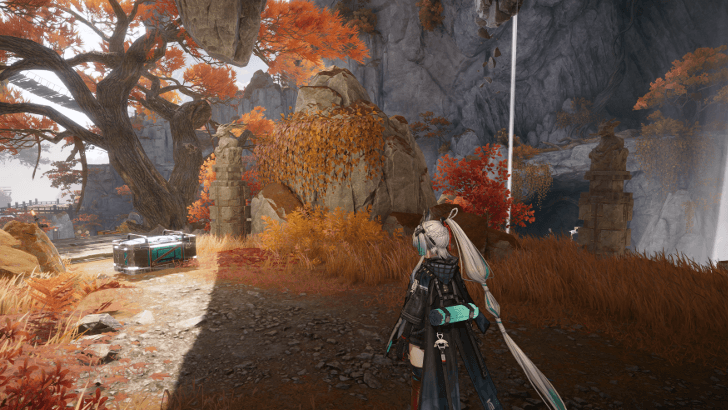 |
Complete the puzzle east of Raintap Grotto by placing and aligning the statue on top of the pillar to get the chest. | |
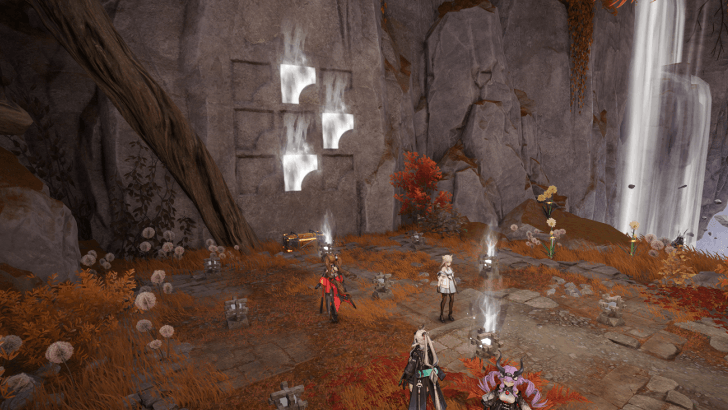 |
Solve the Stone Lantern Puzzle by lighting up the lanterns in the same position as the runes on the wall. | |
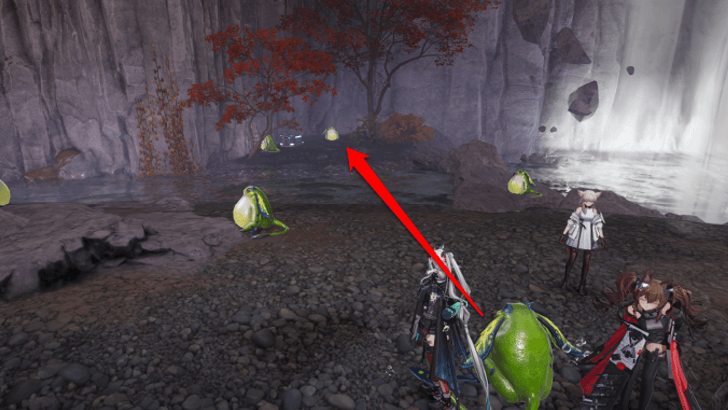 |
Solve the Pass the Bug puzzle located west of Cormorant's Rest. Just move the frogs blocking the way before patting to get the chest. | |
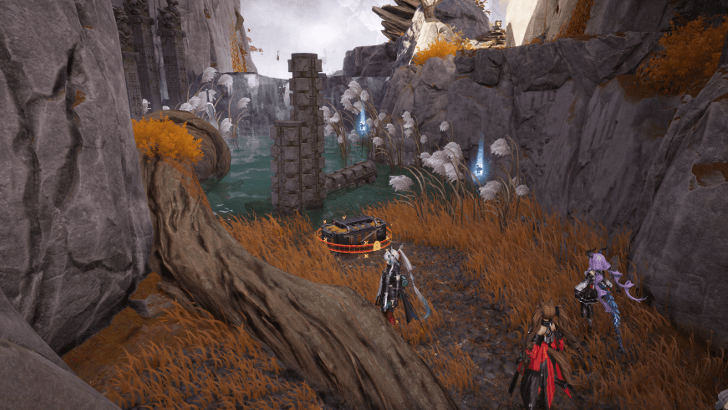 |
Find all Sealed Aurylenes to open the Locked Chest east of the TP Point. | |
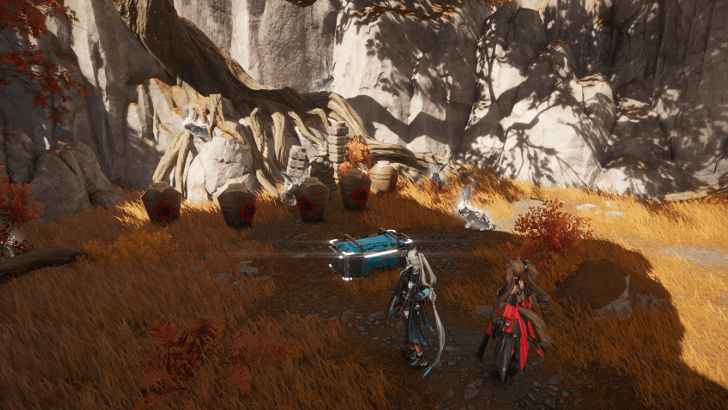 |
From the TP Point north of Linglong Grotto, go past the cave and use the scroll to Spirit Paint a bridge to the next mountain. Then, solve the puzzle by aligning the item to get the chest. | |
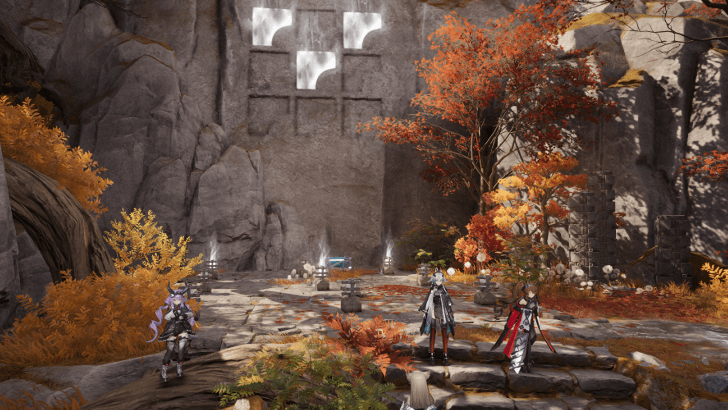 |
Solve the Stone Lantern on top of the mountain in Cormorant's Rest. Use the Spirit Paint south of the puzzle to reveal the runes that will help solve the puzzle. | |
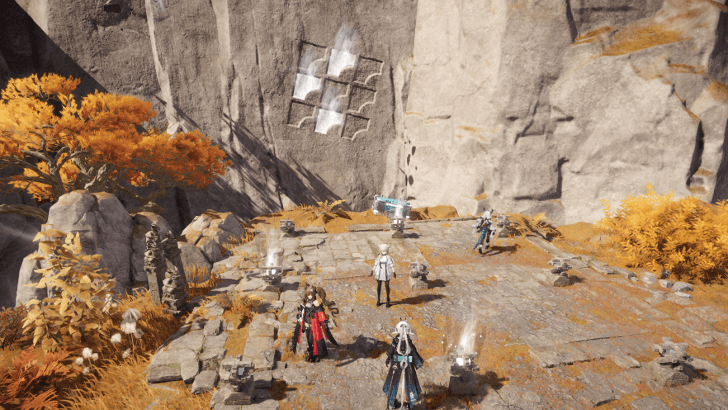 |
Head to the east mountain in Cormorant's Rest and use the Spirit Paint nearby to reveal the runes on the side of the mountain. Solve the Stone Lantern puzzle to get the chest. | |
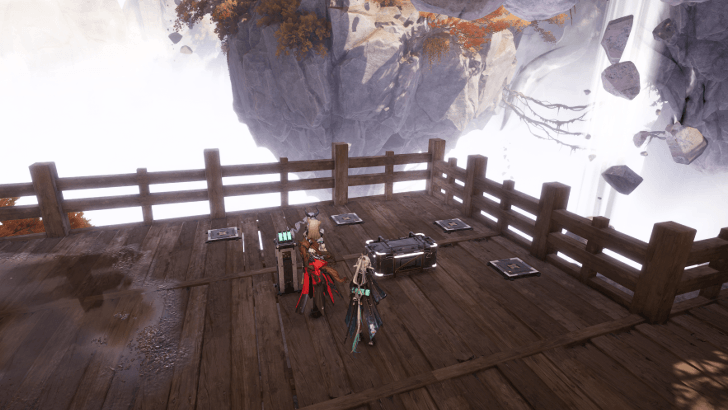 |
Cross the wooden bridge at the lower part of Cormorant's Rest to find a Kaleidograph puzzle on the right corner. Find the differences to solve the puzzle and unlock a chest. | |
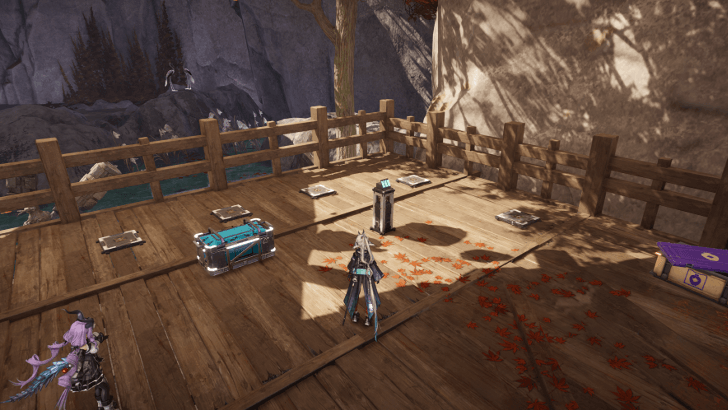 |
Solve the top-left Kaleidograph puzzle at the lower area of Cormorant's Rest to unlock a chest. | |
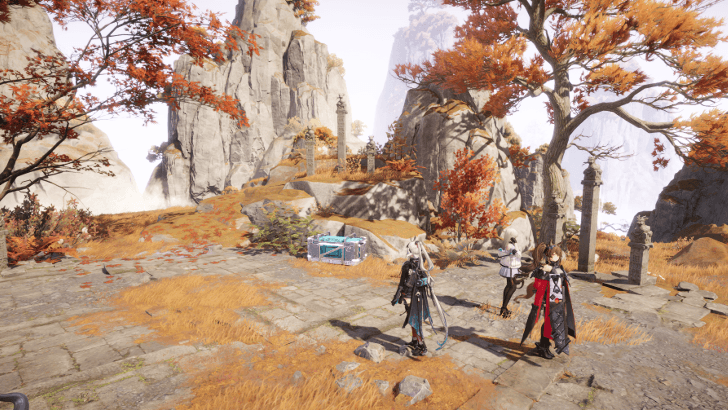 |
Solve the puzzle at the highest point in Cormorant's Rest by placing the pillar in the right position to get the chest. | |
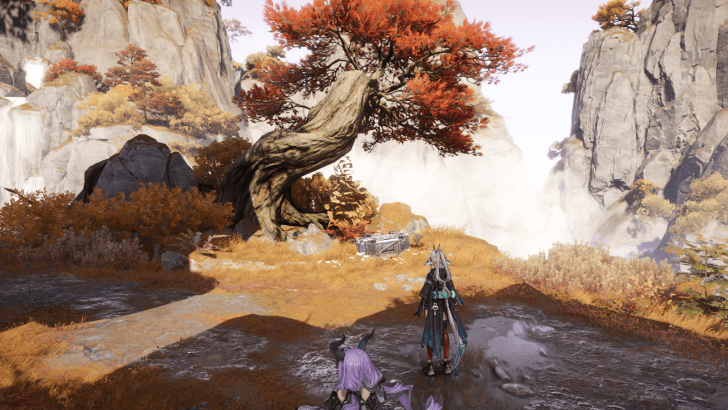 |
Head south of Cormorant's Rest and take the floating rock near the Maned Measure enemy to take you up. You can find the chest beside a tree. | |
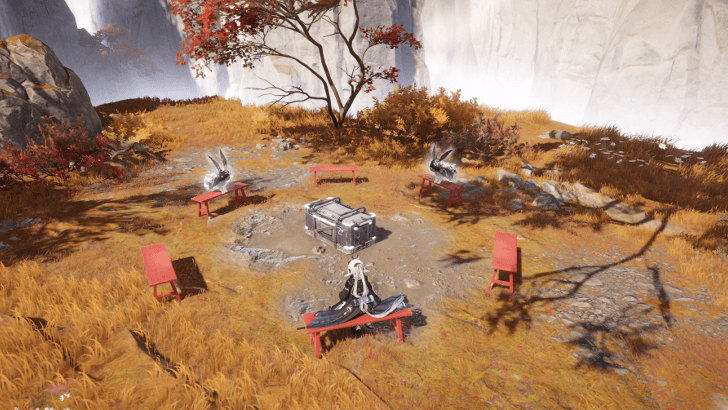 |
At the southernmost point of Cormorant's Rest, sit down on one of the empty seats and complete the dialogue with the Long-Ears to get the chest. | |
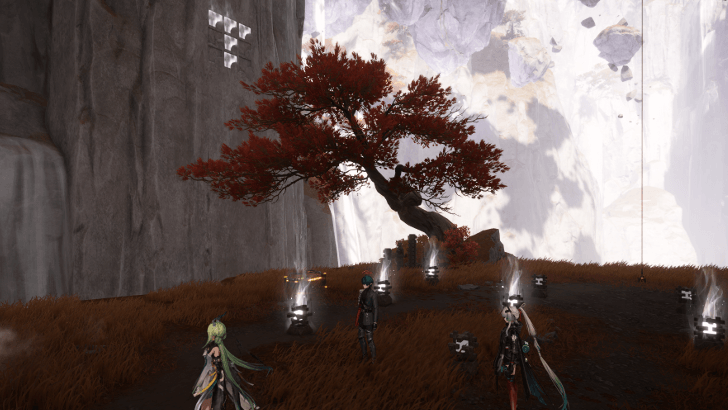 |
Head out the Grotto BF cave up north and take two ropes down to Linglong Grotto. Solve the Stone Lantern puzzle by making a T-pattern to get the chest. | |
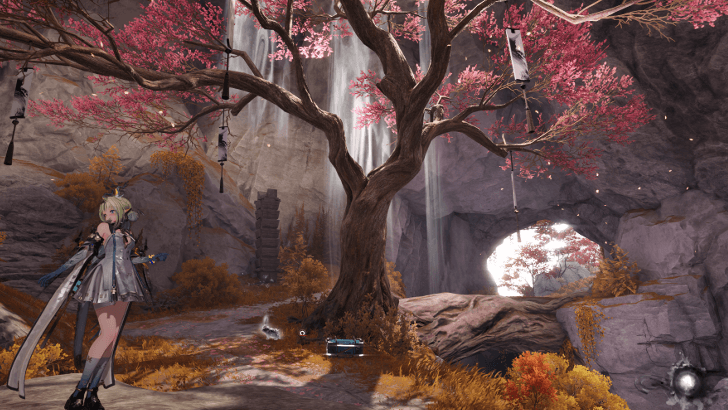 |
In Linglong Grotto, use the scroll that's west of the tree to place the hanging lights on the branches and get the chest. | |
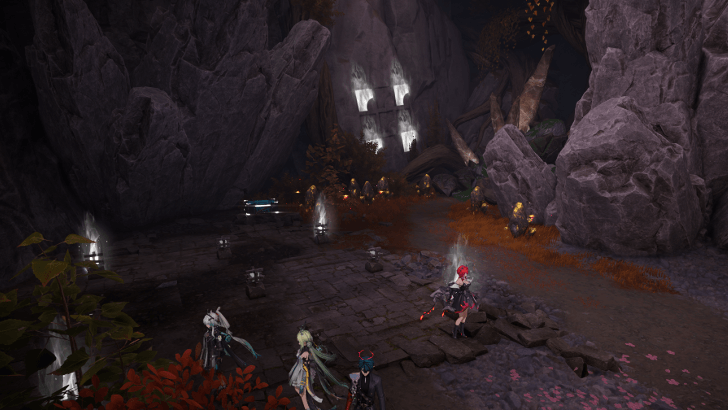 |
Use the Spirit Paint above in Linglong Grotto first to reveal the pattern. Then, jump down to the Stone Lantern puzzle in Grotto BF and light up the corners to complete the puzzle. | |
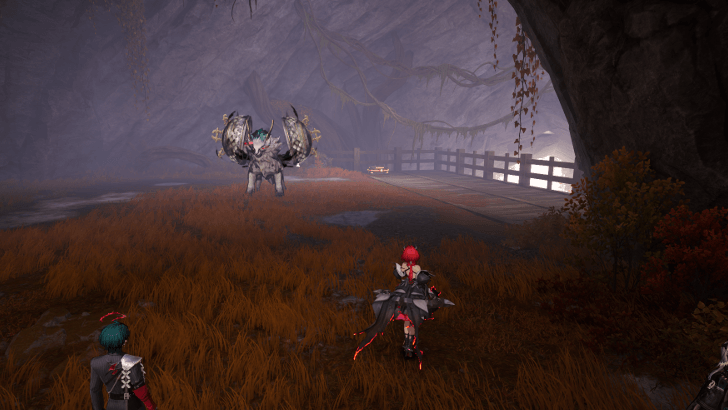 |
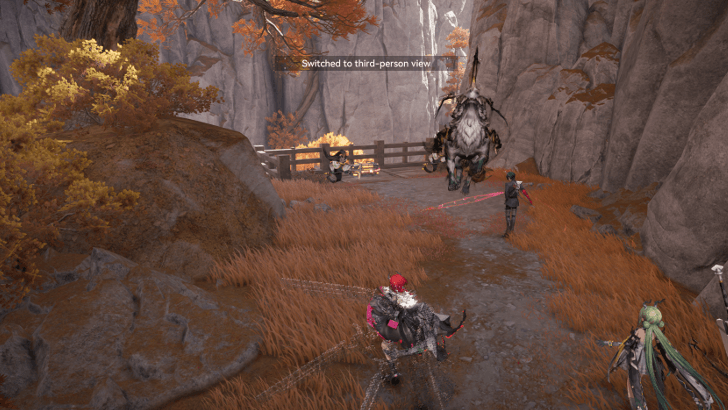
Head deep in the Grotto BF cave and defeat the Maned Measure to unlock the chest. | |
 |
Defeat a group of enemies after taking the northeast exit in Linglong Grotto. | |
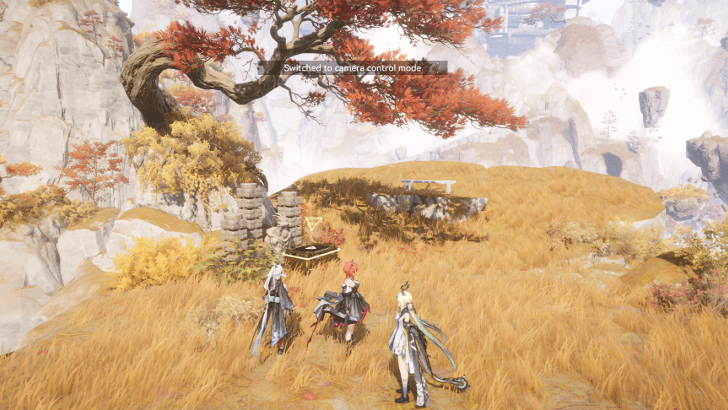 |
From the nearest TP Point, go through the cave and make a left from the scroll. Take the floating rock to lift you to a higher point where the chest will be. | |
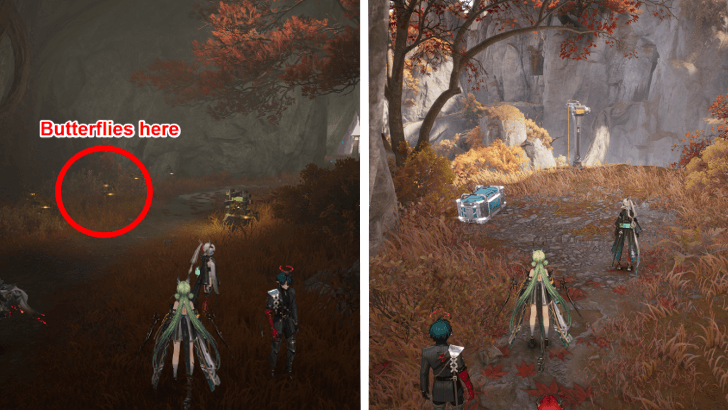 |
Follow the butterflies until you exit the cave to get the chest. You must progress through the quest, The Story Continues to access the area. Once you reach the cave after crossing the long bridge up north. | |
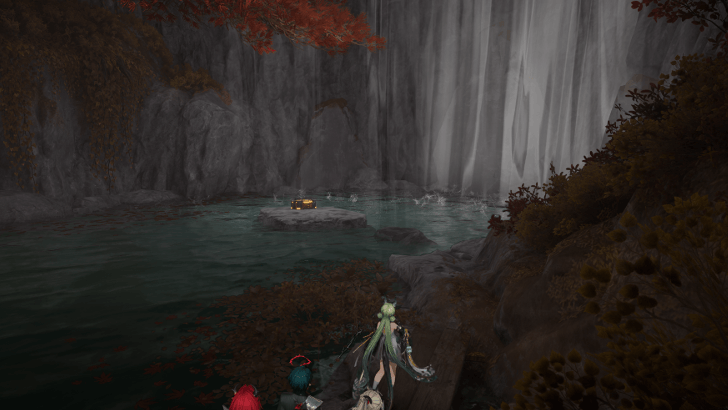 |
At the northeast point of Inkrise Peak sitting on a rock in the middle of the water. Take the path on the side to get to the chest safely. | |
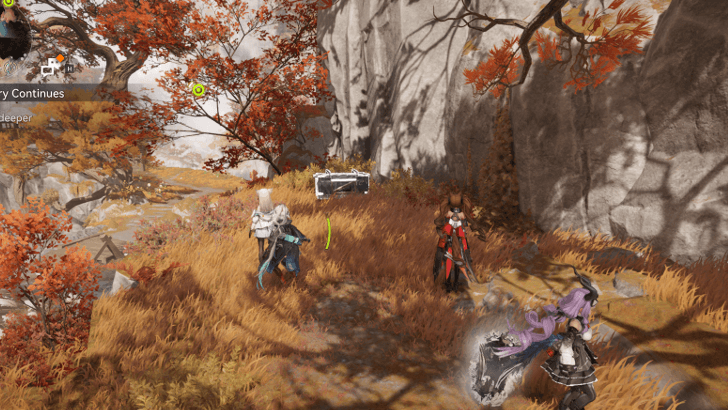 |
Located beside the stairs along the Meandering Hike path. | |
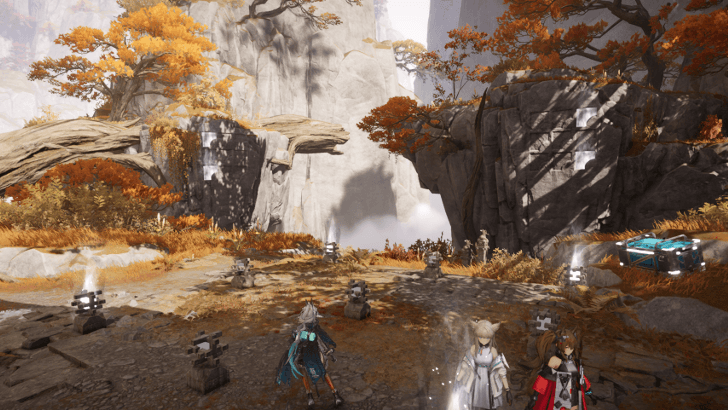 |
Solve the Stone Lantern Puzzle at the center of Drybrush Peak by lighting all 4 edges to get the chest. | |
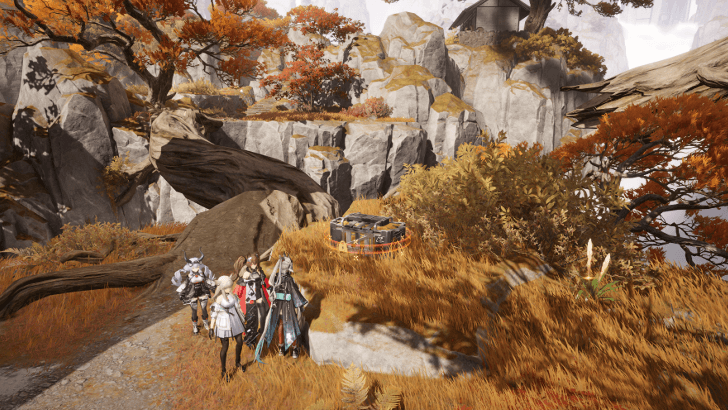 |
Locked chest found at the center of Drybrush Peak. Use the Spirit Paint to paint bridges access all areas of Drybrush Peak and find all the scattered Sealed Aurylenes. | |
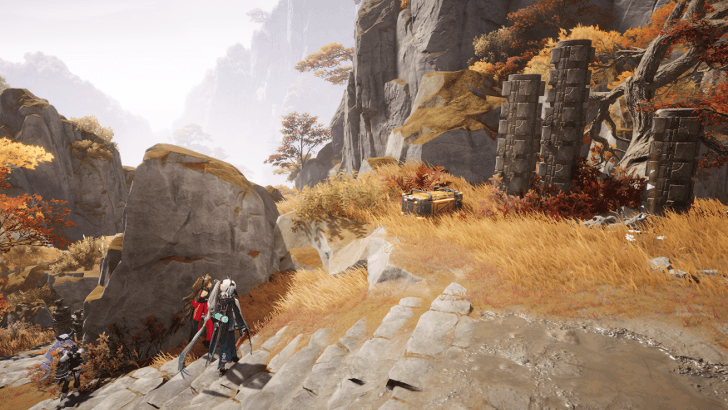 |
North of Drybrush Peak beside the stairs that leads to the house. Either take the ropes southeast of the TP Point, or use the Spirit Paint in Drybrush Peak to make a path to the area. | |
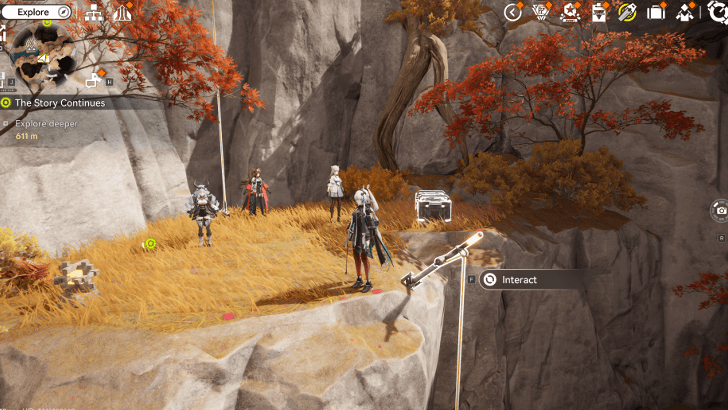 |
Slightly southeast of the Pavilion of Passing TP Point. Take the rope up to reach the chest. If the ropes are inaccessible, use the scroll in Drybrush Peak to make a path north of the area. | |
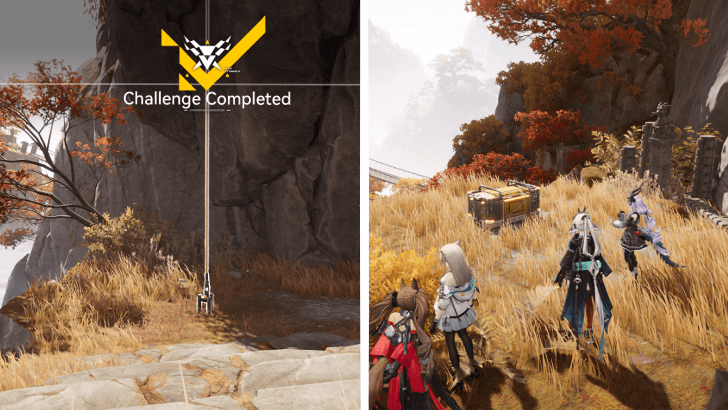 |
Head west from the Pavilion of Parting TP Point. Use the scroll to solve the Align and Place puzzle to complete the rope. | |
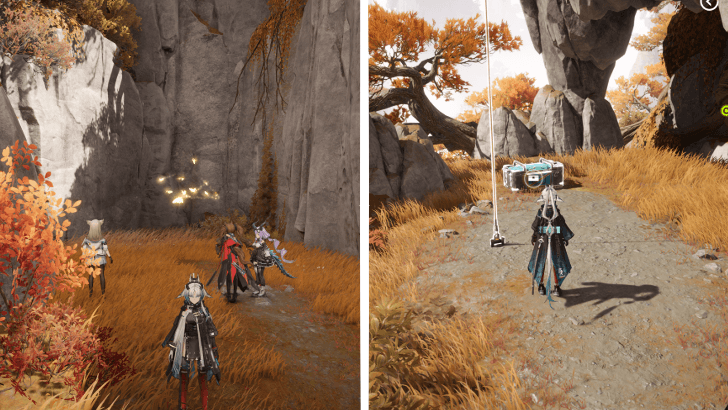 |
Head down west from the Meandering Hike TP Point to find the butterflies in the corner near the Stone Lantern puzzle. | |
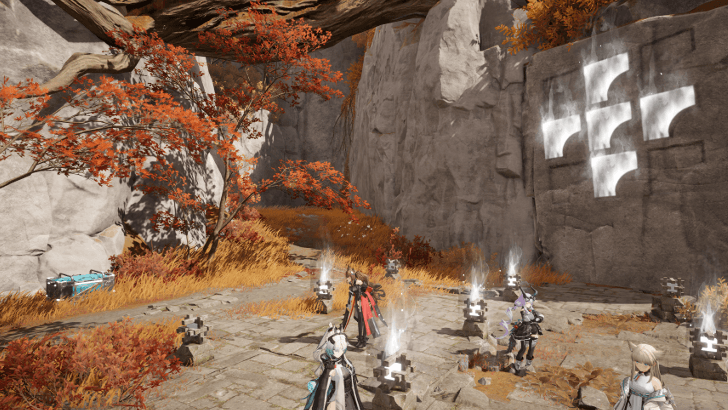 |
From the Meandering Hike TP Point, paint the Stone Puzzle solution on the wall before taking the rope down. | |
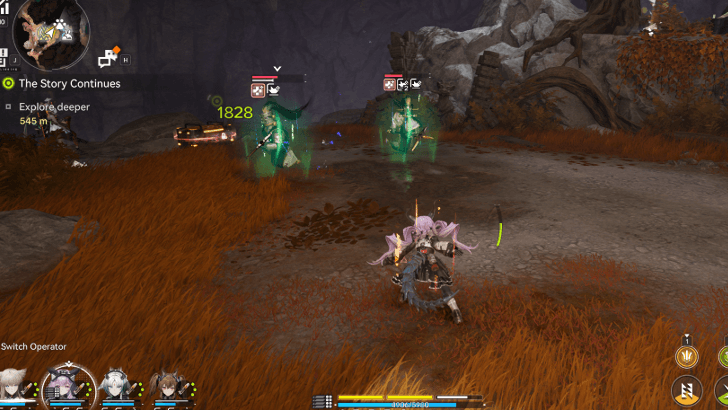 |
Defeat a group of Fortune's Stash enemies to unlock the chest near the cave past Meandering Hike. | |
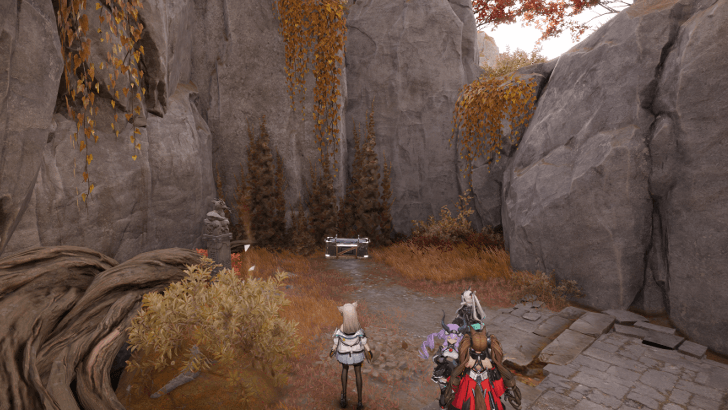 |
Located at the west corner of Drybrush Peak. Jump down to the right as you enter the area. | |
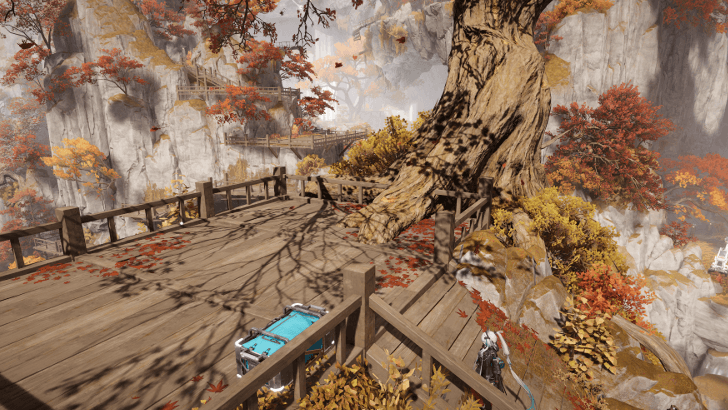 |
From the Meandering Hike TP Point, head north to find the chest on the lookout area near a tree. | |
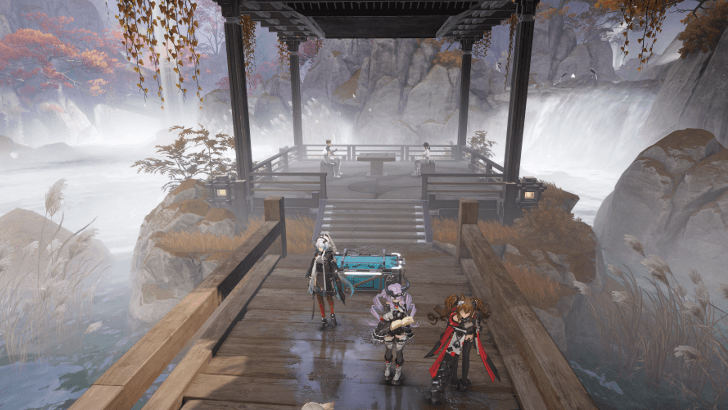 |
Head to the lowest point in Pearlveiled Brook. Complete the Align and Place puzzle by placing the table in between the chairs to get the chest. | |
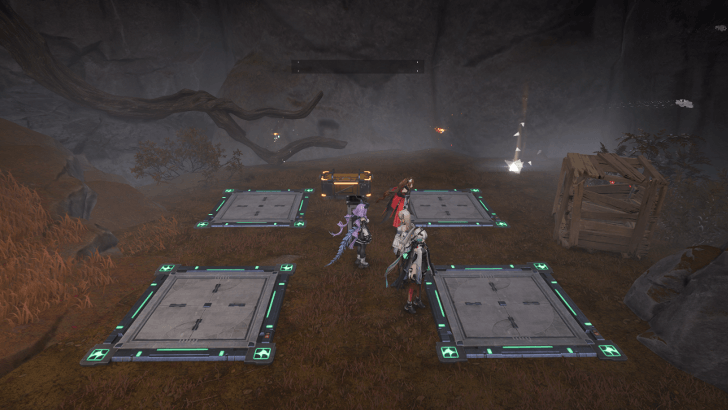 |
Solve the Pressure Plate Switch puzzle by performing a dive attack on the correct pressure plate to complete the sequence and unlock the chest. | |
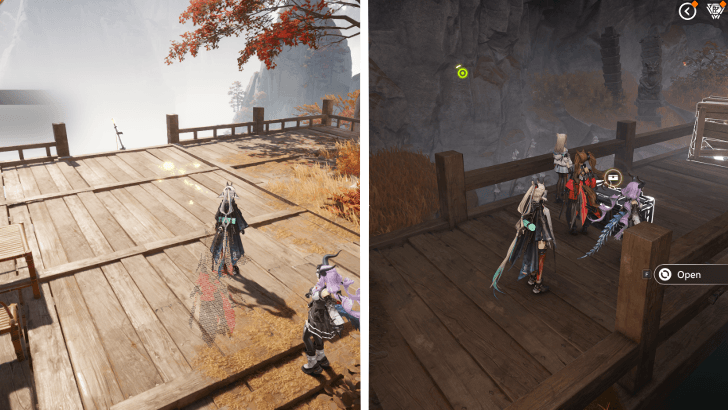 |
Follow the butterflies in the lookout area to unlock the chest at the bottom of the area. | |
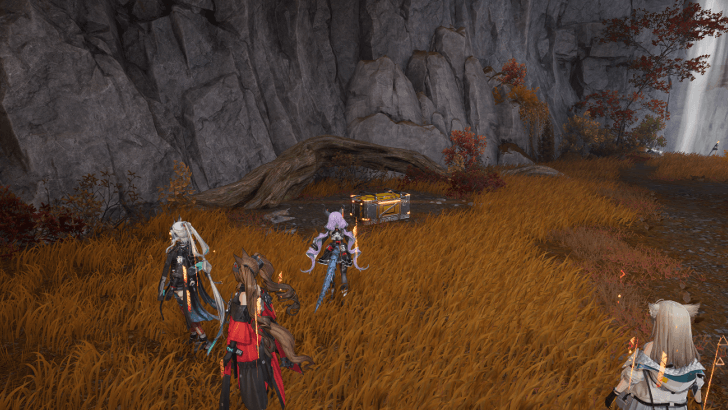 |
Clear the Temporary Energy Alluvium in the east side of Raintap Grotto to unlock the chest. | |
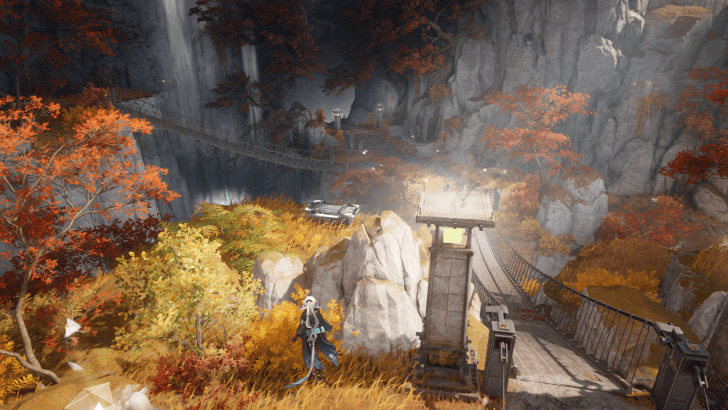 |
On top of the rock beside the small bridge in Raintap Grotto. | |
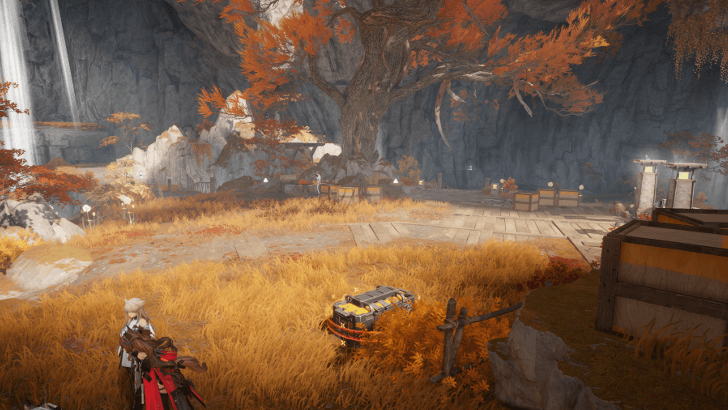 |
Located beside the Raintap Grotto TP Point. Find the Sealed Aurylenes nearby to unlock the chest. | |
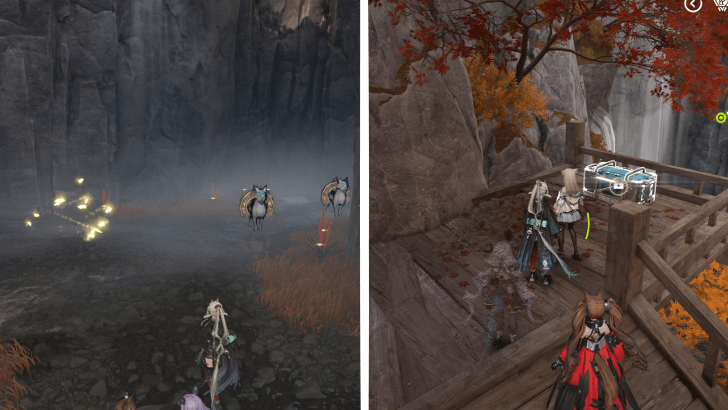 |
From the Raintap Grotto TP Point, head south and take the rope down to find the butterflies near a group of enemies. Follow the butterflies back up to get the chest. | |
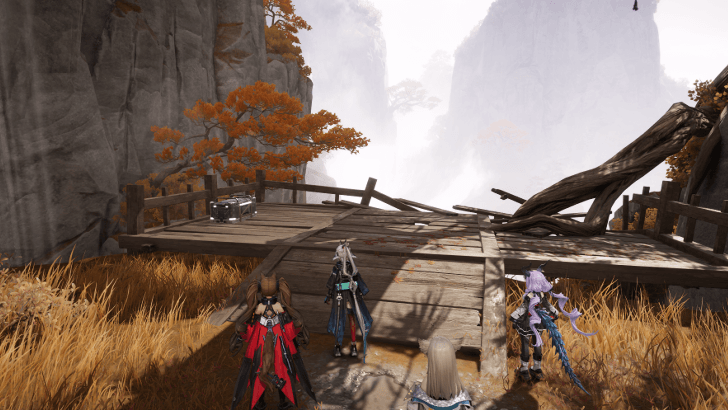 |
At the southernmost point of Pavilion of Parting by the cliff. | |
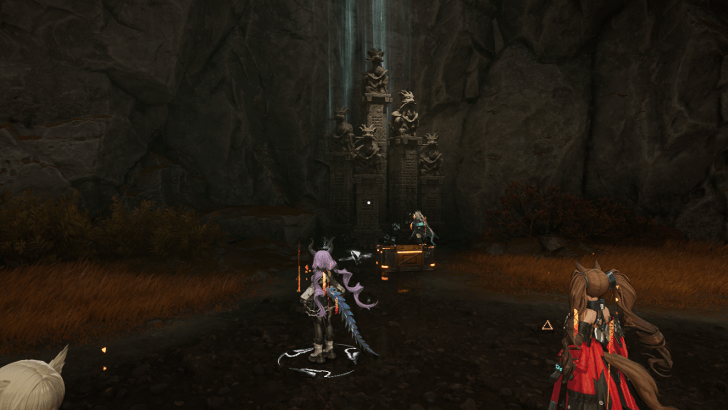 |
Defeat the Temporary Energy Alluvium in the southwest cave in Drybrush Peak. | |
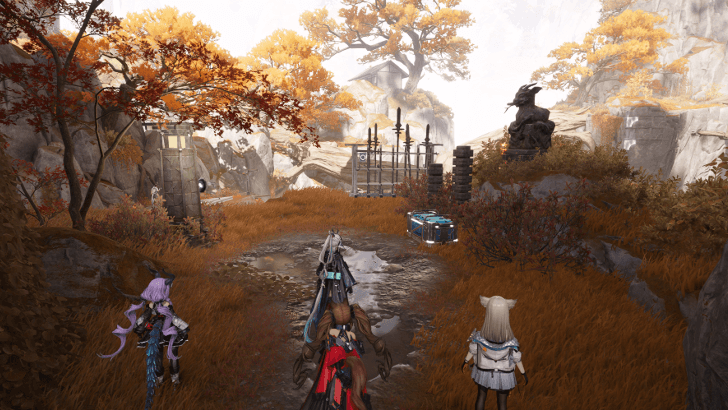 |
Outside the southwest cave in Drybrush Peak. You can get to this area after using the Spirit Paint to make a path around. | |
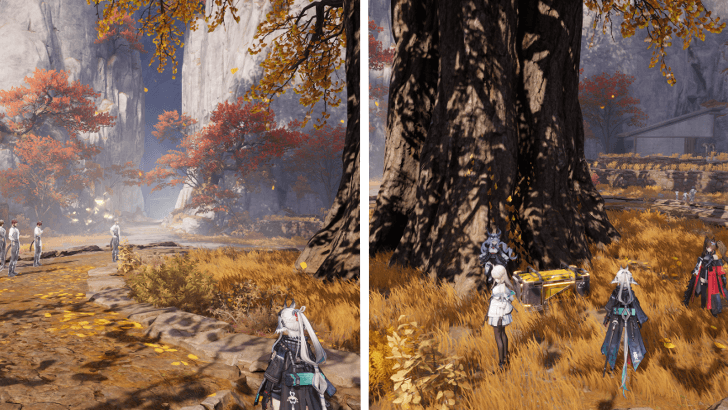 |
Follow the butterflies by the tree at the center of Xiaohe Manor. | |
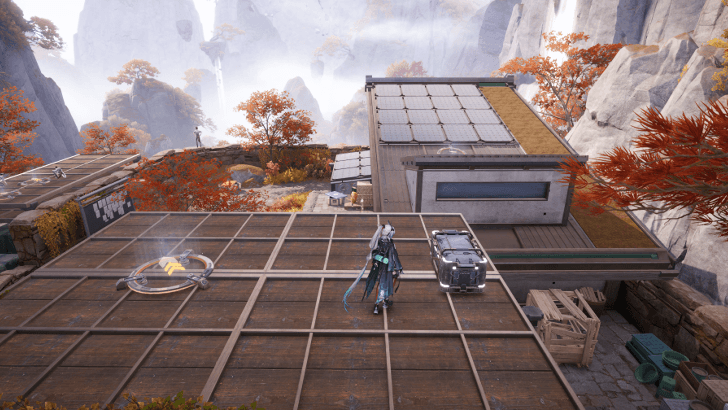 |
Head up the roof of the northeast house in Xiaohe Manor and take the Bounce Device to the next roof with the chest. | |
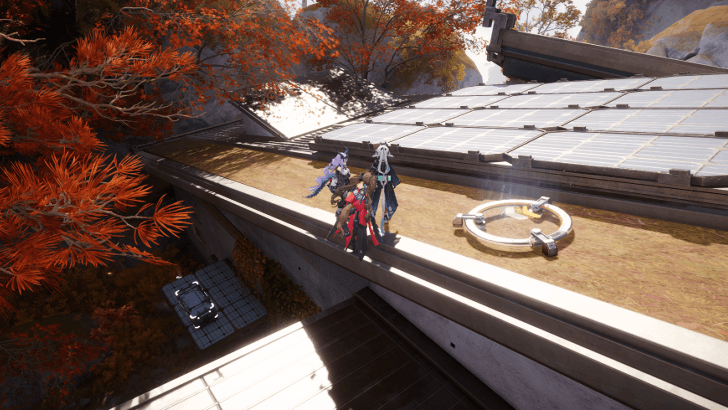 |
From the roof of the northeast house in Xiaohe Manor, take the next 5 Bounce Devices to reach the northwest roof with the chest. | |
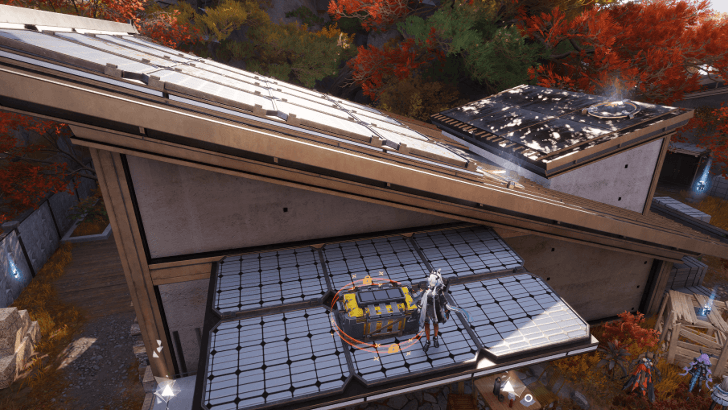 |
Locked chest located on the roof of the house west of Xiaohe Manor. You can find all Sealed Aurylenes around the house. | |
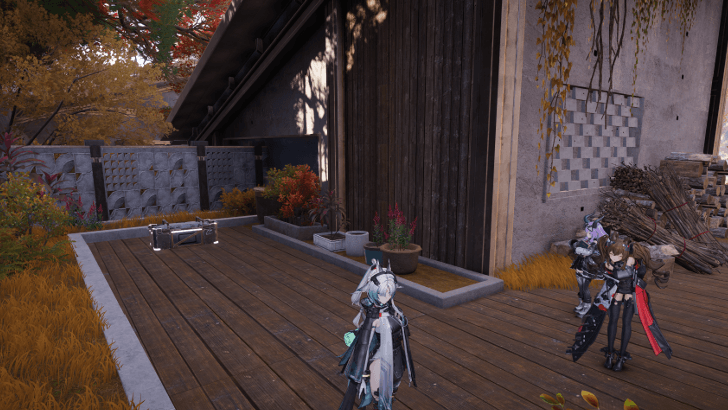 |
Found behind the west house in Xiaohe Manor. | |
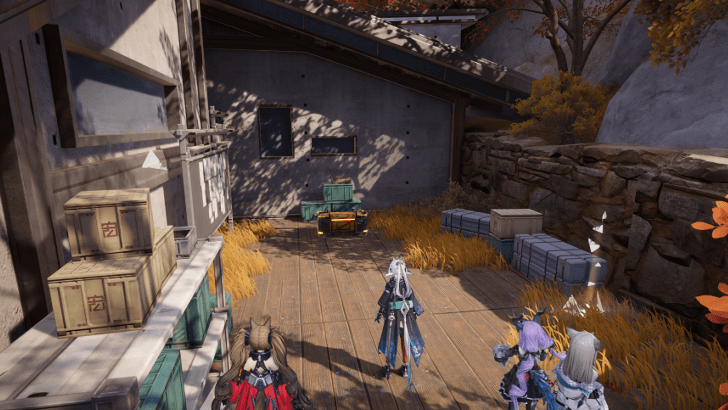 |
Behind the northwest house in Xiaohe Manor. Destroy the crates blocking the path to reach the chest. | |
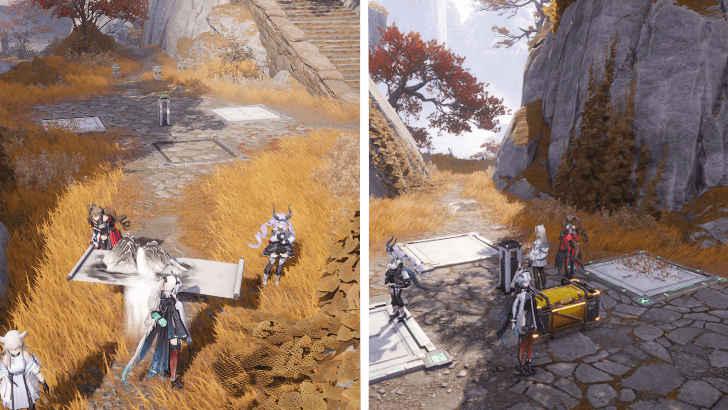 |
Attack the fake rock first to dispel the fog. Interact with the scroll to do the Align and Place puzzle and place the missing pressure plate. Then, you can finally start the Pressure Plate puzzle to get the chest. | |
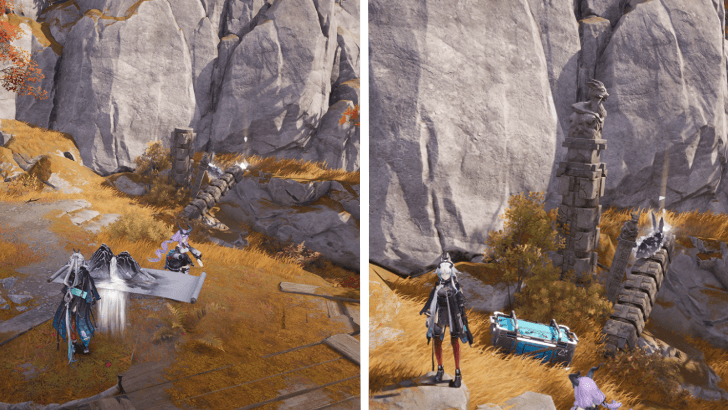 |
Head north past Xiaohe Manor and solve the Align and Place puzzle to get the chest. | |
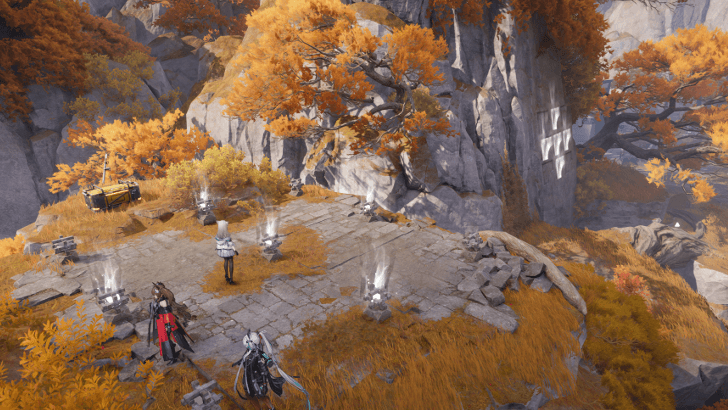 |
First, use the scroll south of this pin to Spirit Paint the path to the Stone Lantern puzzle. Destroy the crate and complete the puzzle to get the chest. | |
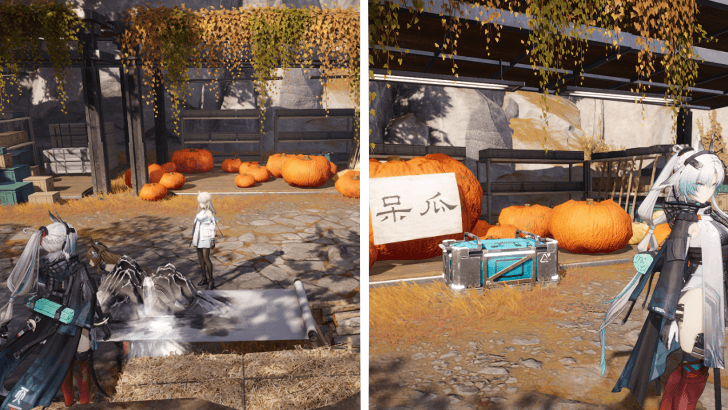 |
From the TP Point, head north to find a scroll. Align the giant pumpkin to the left to get the chest. | |
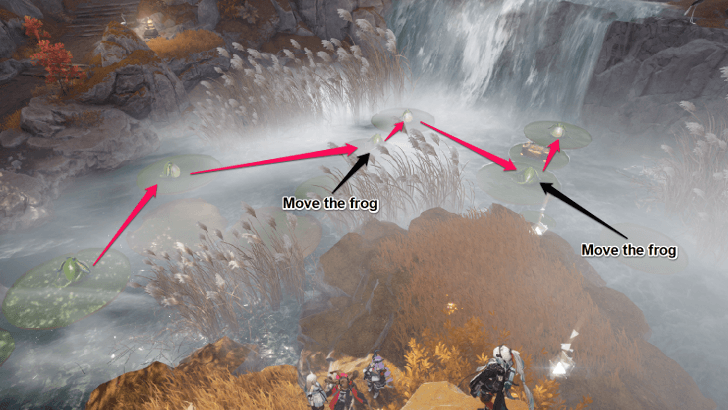 |
Solve the Pass the Bug puzzle in Pearlveiled Brook to get the chest. Make sure to move the 2 frogs to the right position to complete the puzzle. | |
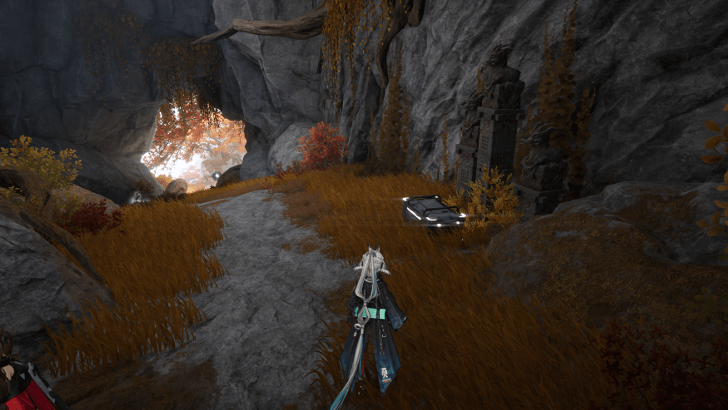 |
From the TP Point north of Linglong Grotto, continue north to a cave to find the chest near a Talosite. | |
 |
Just outside the Monitoring Center to the south. | |
 |
Use Xiranite Spray to remove the blight outside the Monitoring Center in the southeastern area to get the chest. | |
 |
Go under the Monitoring Center from the south side then use the device to open the door. | |
 |
Go under the Monitoring Center from the south side then use the device to open the door and gather the Sealing Aurylenes to unlock the chest. | |
 |
Follow the glowing butterflies outside the Monitoring Center to the east to reveal a chest at the end. | |
 |
Guarded by some enemies outside the Monitoring Center to the east. | |
 |
Under the building northeast of Monitoring Center, use Xiranite Spray to remove the blight and get the chest. | |
 |
On the roof of the building northeast of Monitoring Center, use Xiranite Spray to remove the blight and get the chest. | |
 |
Inside the building northeast of Monitoring Center. | |
 |
Under the Monitoring Center which you can access from the south side, use nearby crates to get the chest. | |
 |
Use the nearby crates to reach the chest just around the middle of Monitoring Center. | |
 |
At the edge of the wall west of Monitoring Center. | |
 |
Highest point of the Water Feel south of Main fort. | |
 |
Northwest of Bladewoods, simply get to the location as it will be out in the open among some cages. | |
 |
Southeast of Bladewoods | |
 |
East of Causeway Trail, use the large rotating platform to get to it. | |
 |
Slightly Northwest of Causeway Trail, Guarded by an enemy. | |
 |
On top of the small metal tower, Southeast of Skyhold Ridge. | |
 |
North of Skyhold Ridge Guarded by an enemy. | |
 |
East of Causeway Trail, use the large rotating platform to get to it. | |
 |
Guarded by an enemy slightly Northwest of Bladewoods. | |
 |
Locked Chest, found west of the Main Fort. | |
 |
In the underground area southwest of Ancestral Spring. | |
 |
Lower Fort Waterwheel area, just south of the Main Fort. Can be encountered as you make your way up the water wheels using elevators. | |
 |
Follow the butterflies found south of Bladewoods | |
 |
Guarded by 2 Elite enemies slightly southwest of Bladewoods. | |
 |
Crisis Chest found northwest of the Bladewoods and close to a Protocol Datalogger. Defeat the enemies in the crisis to get the chest. | |
 |
Butterfly Chest found northwest of Bladewoods, follow the butterflies to get the chest. | |
 |
Near the bridge by the border between Qingbo Stockade and Jingyu Valley. | |
 |
North of Bladewoods, on top of the metal structure. | |
 |
Lowest area of the structure Northwest of Bladewoods. | |
 |
Lower area of the structure Northwest of Bladewoods, before you reach chest 19. | |
 |
Southwest of Bladewoods, just on top of the metal structure. Use the rope line to climb to it. | |
 |
Butterfly chest Southeast of Bladewoods, follow the butterflies to get the chest. | |
 |
Crisis Chest, defeat the enemies in the crisis to get the chest. Found slightly northeast of Bladewoods. | |
 |
Sealed Chest guarded by some enemies. On top of the metal platform roofing southeast of Main Fort. Use the water wheel elevator to navigate towards it. | |
 |
Slightly southwest part inside the Main fort, jump through a small hall to get to it. | |
 |
From chest 25, use the moving water wheels to make your way to this location. Found South of the Main Fort. | |
 |
Far east of Bladewoods, between Bladewoods and the eastmost TP waypoint. | |
 |
Southeast of Bladewoods, near the border of the map and close to a Rakerbeast enemy group. | |
 |
Southeast of Bladewoods there is a pool of Blighted water. Set up a water pump and a water treatment unit to drain and clean the pool. The chest will be at the bottom of the emptied pool. | |
 |
Frog puzzle chest southeast of Bladewoods; complete the puzzle to reveal the chest. | |
 |
Northwest of Bladewoods, underneath the metal platform. | |
 |
Slightly west of Causeway Trail, near the rope you use to climb to the rotating platform coming from the TP Waypoint. Jump up the barrels to get to the chest. | |
 |
Just south of Skyhold Ridge, guarded by a few enemies. | |
 |
Southwest of Skyhold ridge, use the moving water wheel as a platform to get to the chest. | |
 |
In the underground area of the Main Fort. | |
 |
Inside the Main Fort, easily visible. | |
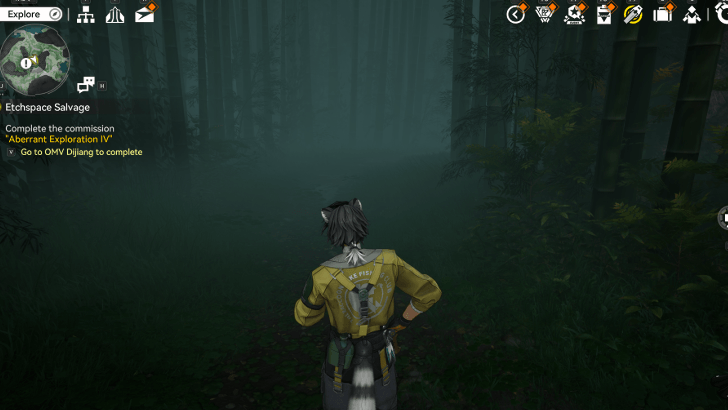 |
Head to location on the map and follow the butterflies to reveal the chest. | |
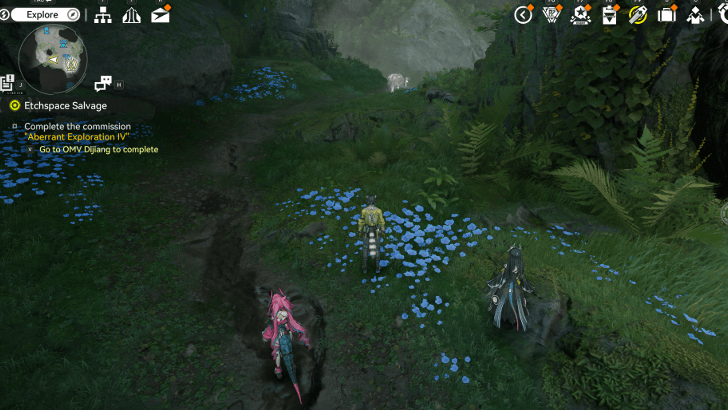 |
Teleport to the nearby TP-Point, and walk northwest until you spot butterflies. Follow them to reveal the chest. | |
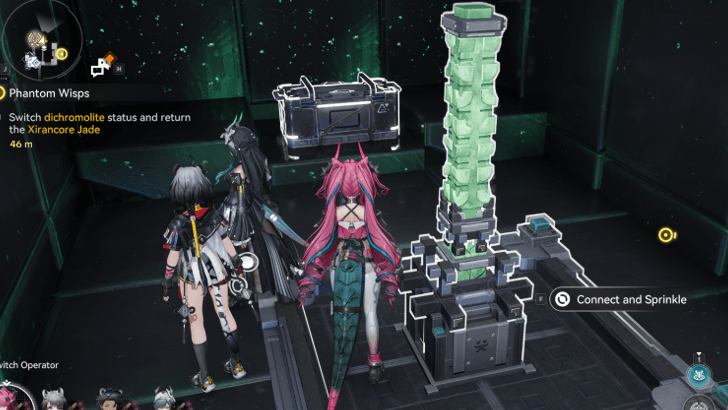 |
In the Marker Stone Interior Middle Floor, Secondary Section. Beside the Xiranite Pylon used to power the dichromolite. Accessible during the quest "Phantom Wisps." | |
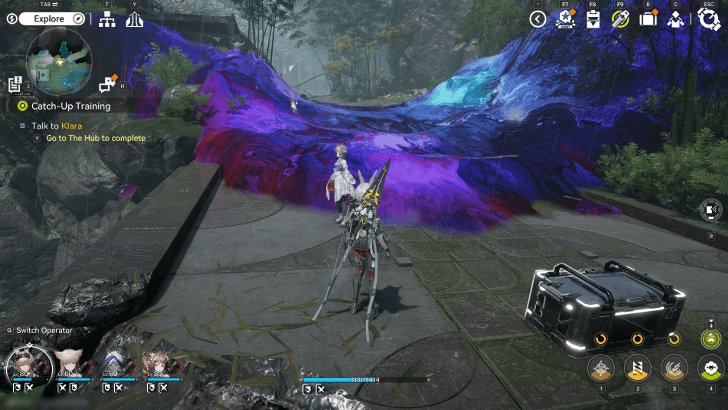 |
Use Heavy Xiranite to clear the superactive blight or do some parkour to reach it. | |
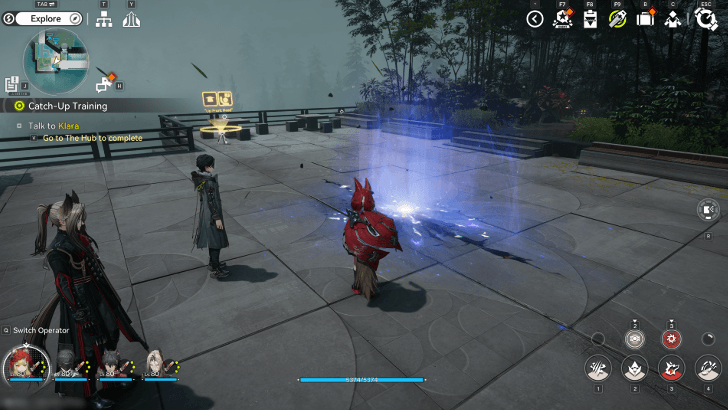 |
Found at the west side of the Watchtower Reservoir Station, complete the temporary energy alluvium to reveal the chest. | |
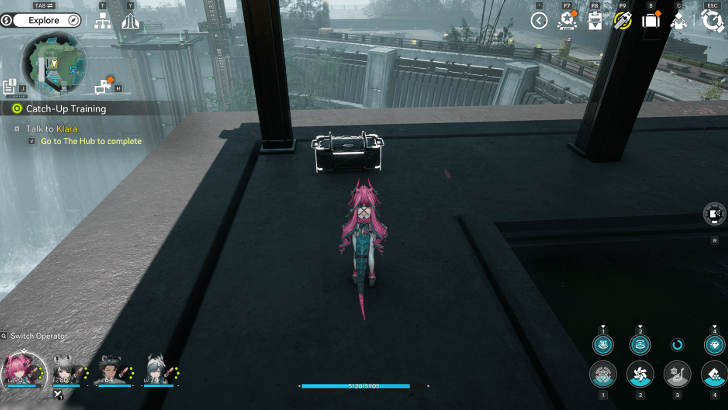 |
Inside the Pavilion found near the border of Wuling City and Marker Stone. | |
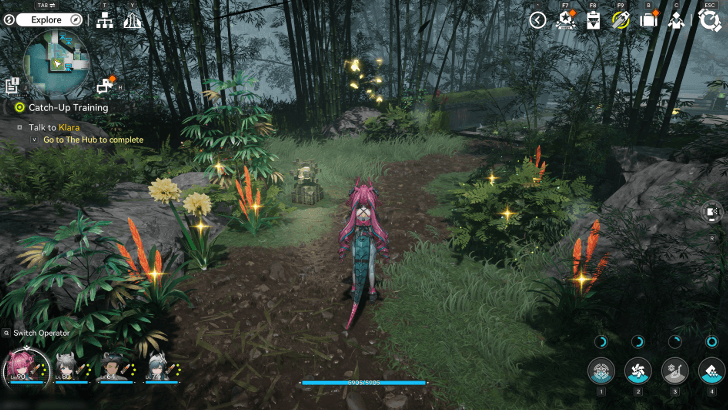 |
Follow the golden butterflies found west of the watchtower reservoir station to reveal the chest | |
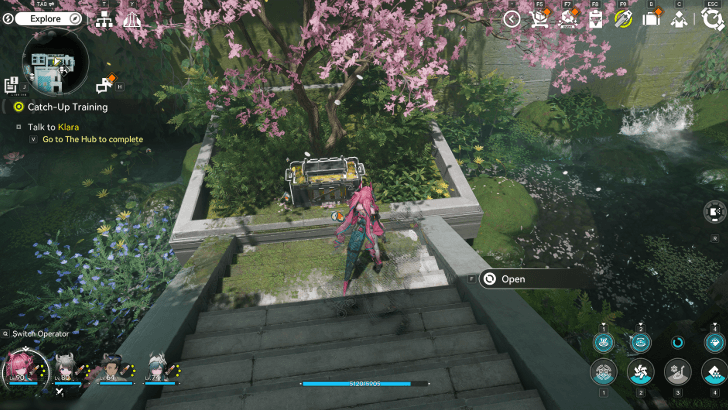 |
Sealed Chest, found inside sector B of the Watchtower Reservoir Station underneath the Sakura Tree. Positioned Northeast of the TP Waypoint on the map. | |
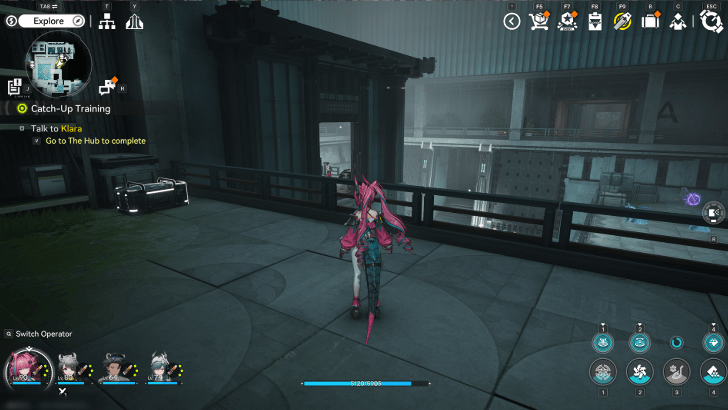 |
Overlooking the inner pond in the Watchtower Reservoir Station, southeast of the TP Waypoint. | |
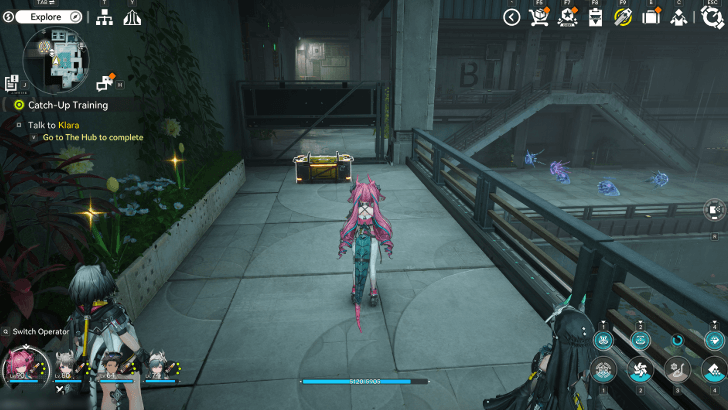 |
Behind a wall beside the entrance to the Watchtower Reservoir station. Navigate the inner pond and giant lily pads to get to this location. | |
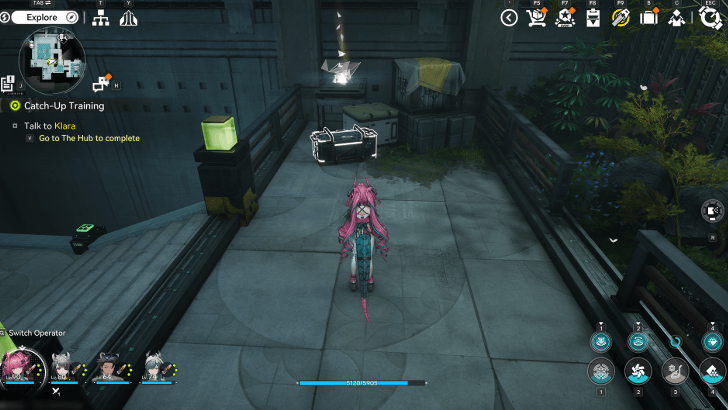 |
Southeast of the TP Waypoint. Navigate the inner pond and giant lily pads to get to this location. | |
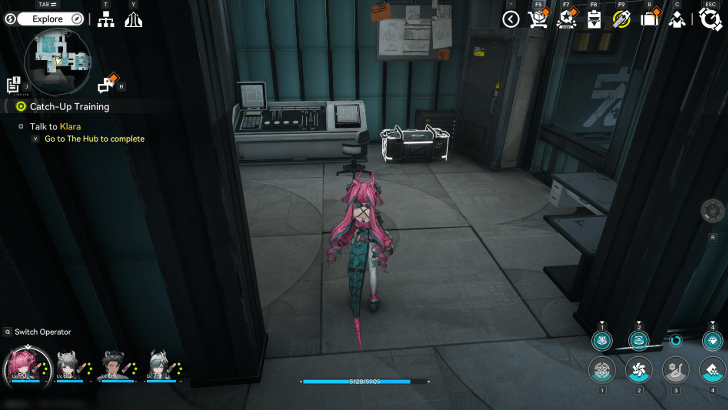 |
Inside the Watchtower Reservoir Station, position southeast of the TP waypoint. | |
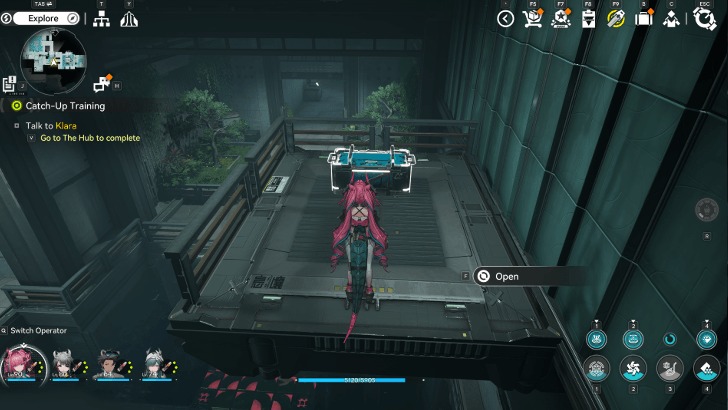 |
Visible from the balcony on the left of Chest 10, positioned southeast of the TP waypoint. | |
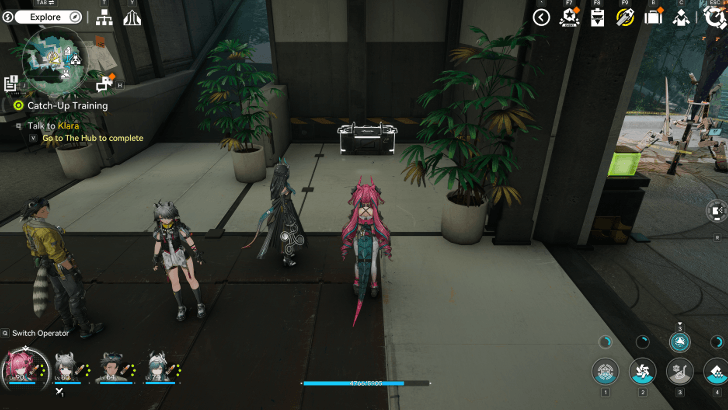 |
Inside the restricted area, slightly southeast of the TP waypoint. | |
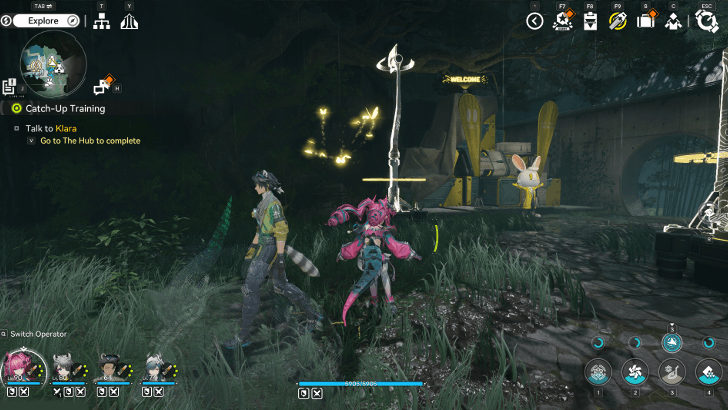 |
Find the butterflies close to the Stock Redistribution Terminal and follow them to reveal a chest at the end. | |
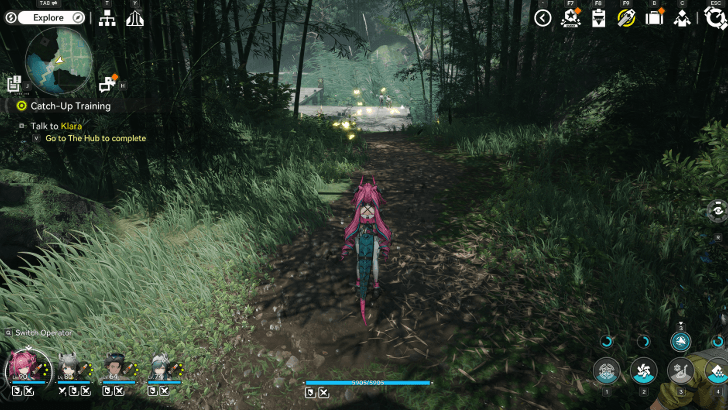 |
Follow the butterflies by the southwest path from the subpac area towards cloudrest woods. The chest will be revealed at the end. | |
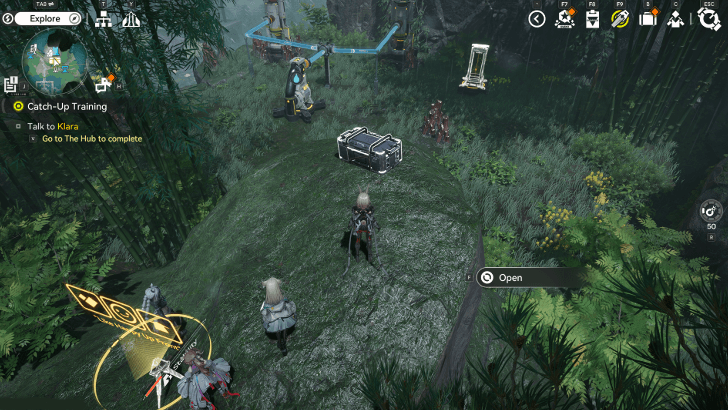 |
On top of some rocks overlooking the cuprium veins at the center of Cloudrest Woods. | |
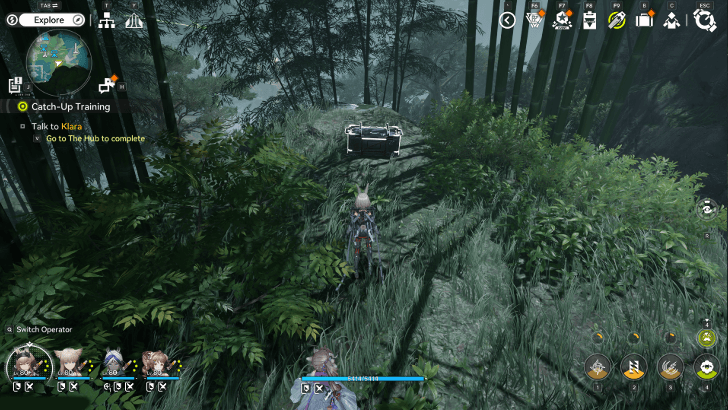 |
Southwest of Cloudrest woods, near the jump boost geyser and an aurylene. | |
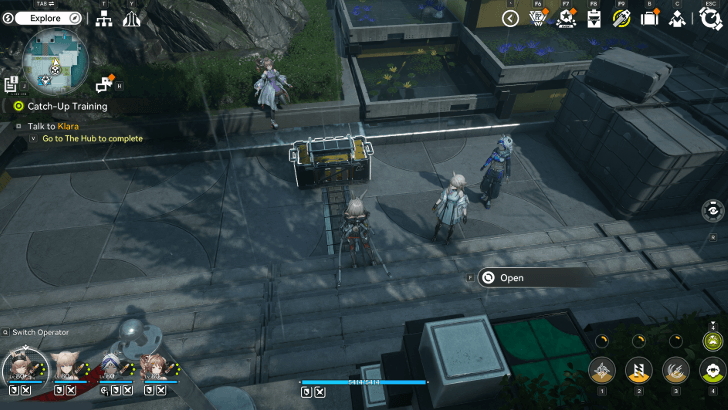 |
Sealed Chest, located at the north side of the Environmental Monitoring terminal in serenity garden. | |
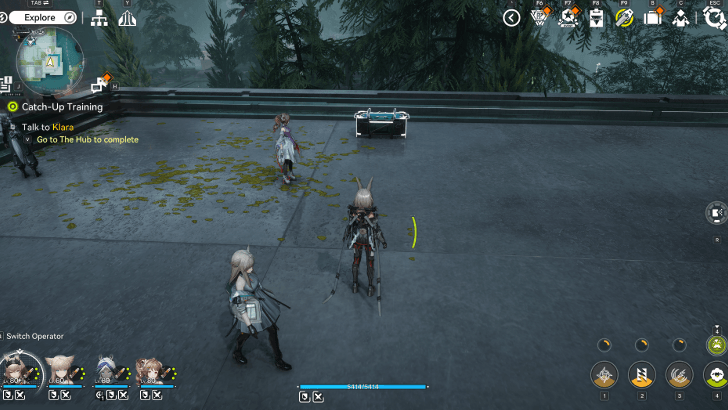 |
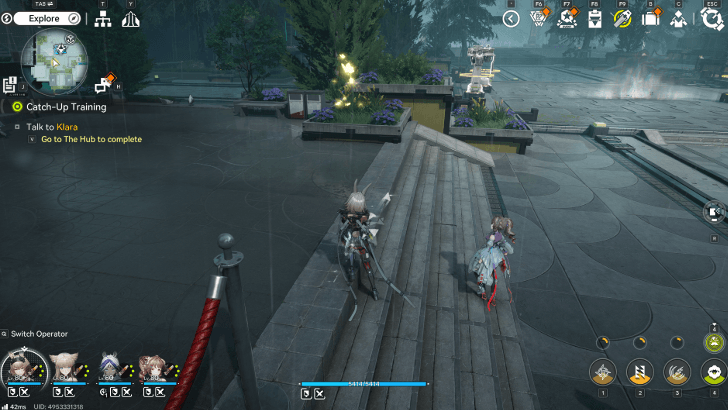
At the top of the elevated corner southeast of Serenity Garden. Clear the super active blights to reveal the jump boosts used to get to climb the area. | |
 |
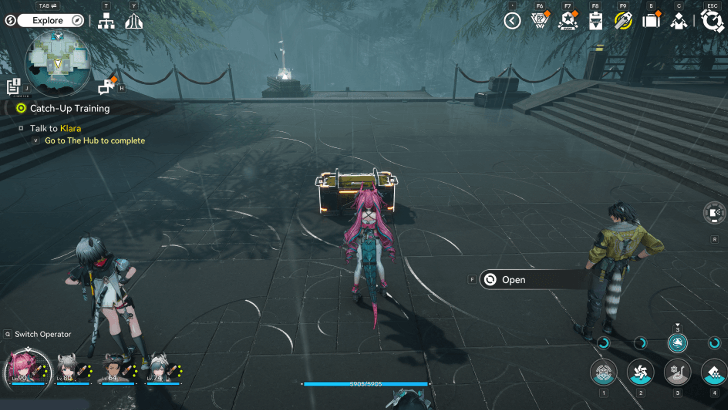
Butterfly chest, start southwest of the energy alluvium and follow the butterflies to reveal the chest located east of the energy alluvium. | |
 |
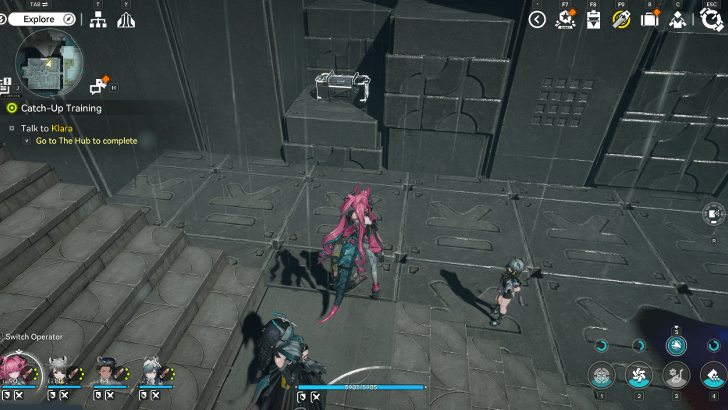
Temporary Energy Alluvium Chest, complete the crisis to reveal the chest. Found south of Serenity Garden. | |
 |
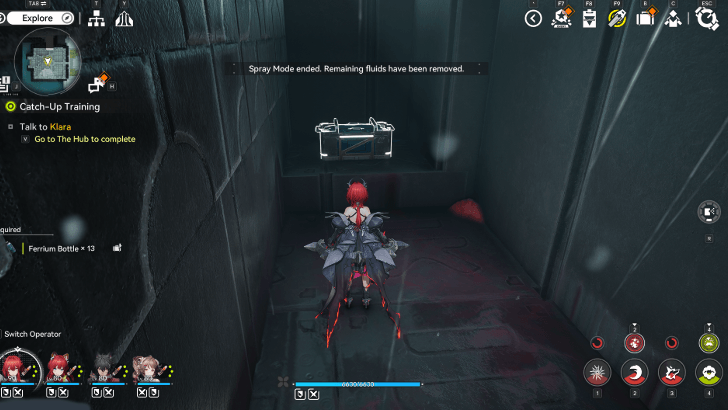
Northwest of Serenity Garden, clear the blight to unlock the chest. | |
 |
West of Serenity Garden, clear the blight to unlock the chest. Positioned underneath the large pillar. | |
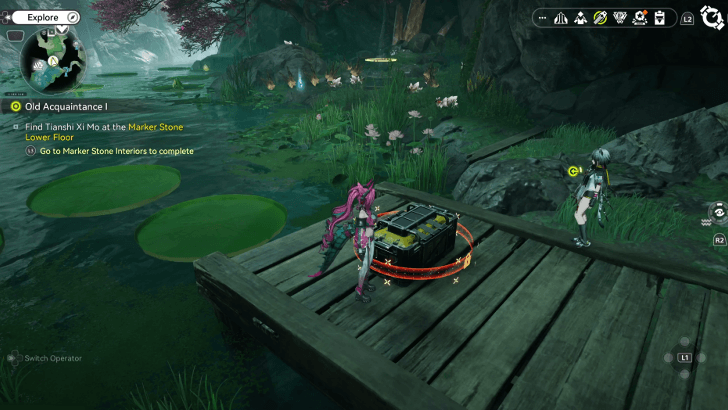 |
Right side of the Cloudrest Grotto, located after entering the area and one key requires the usage of a steam geyser. | |
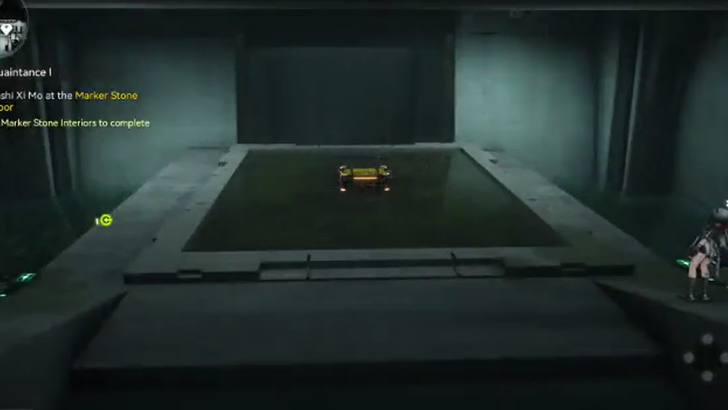 |
Unlocked after completing the Pressure plate puzzle. | |
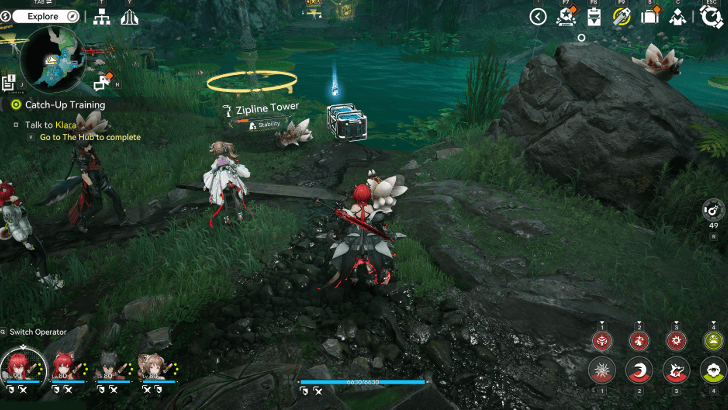 |
Butterfly Chest, start outside Cloudrest Grotto by breaking the wall with an explosive, from there follow the butterflies to reveal the chest. | |
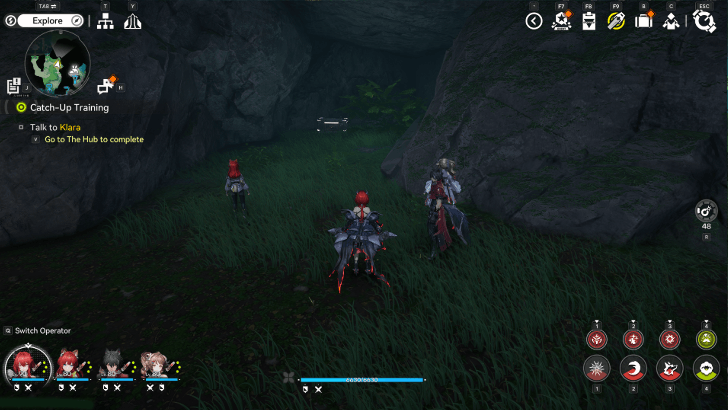 |
Behind a breakable wall inside of Cloudrest Grotto, use an explosive to get the chest. | |
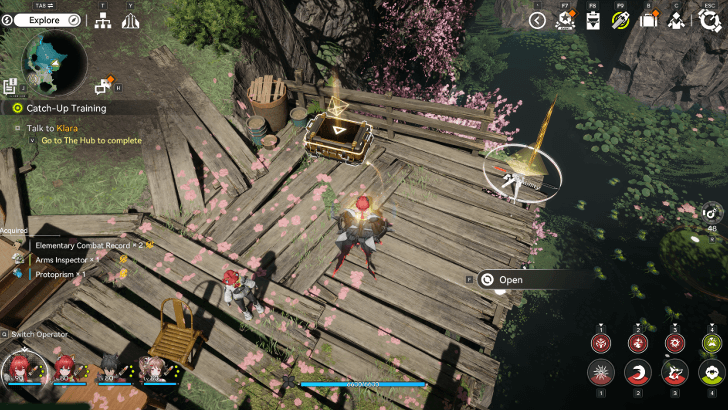 |
By the edge of the wooden platform overlooking the pond, northeast of the cloudrest grotto TP point. | |
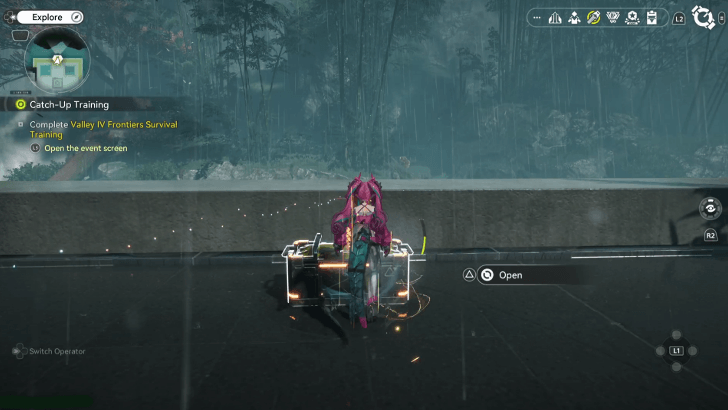 |
Located at the northside, guarded by Aggeloi. | |
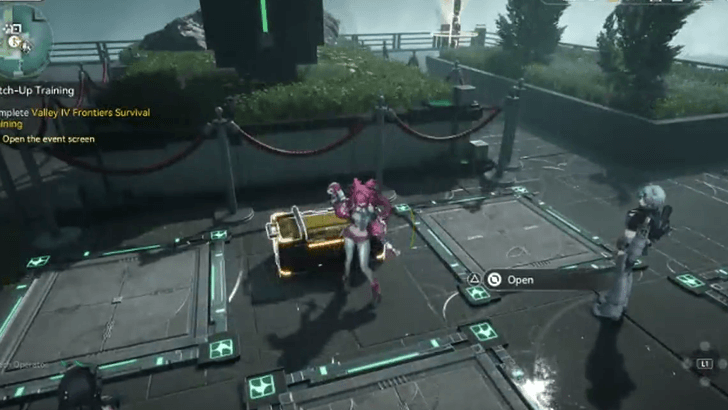 |
Unlocked after completing the Pressure plate puzzle at the east side. | |
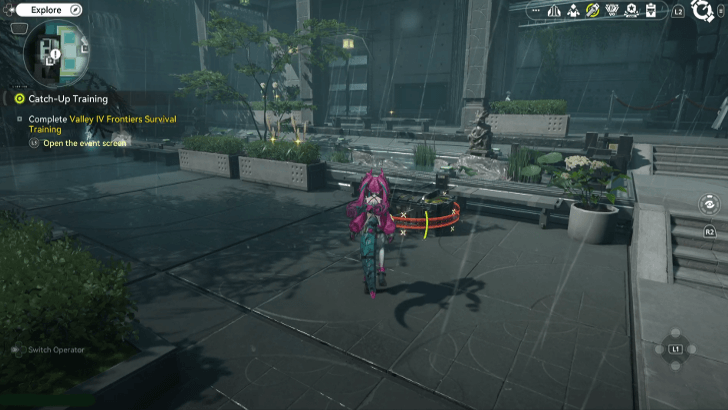 |
Sealed Chest located by the western building. | |
 |
To the east of the Aurylene Temporary Energy Alluvium. | |
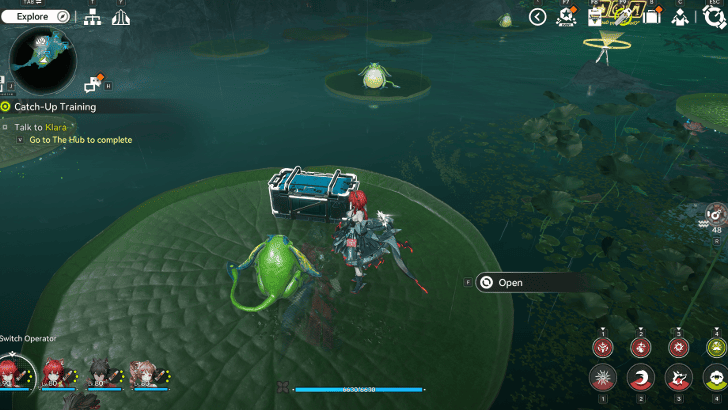 |
Found by completing the puzzle at the southwest corner of Cloudrest Grotto. | |
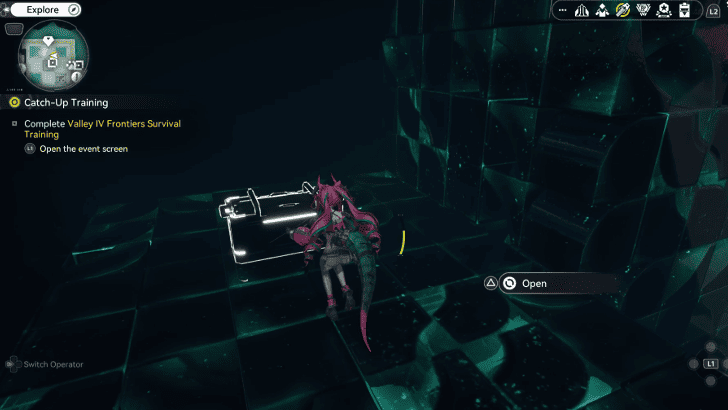 |
In the northeastern pool. Open the gate there using the switch in the Underground Hall and immediately turn left. | |
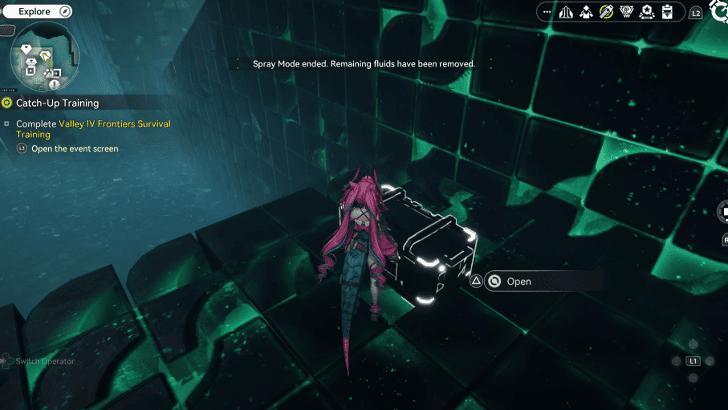 |
In the northeastern pool. Use Liquid Xiranite to alter the path. | |
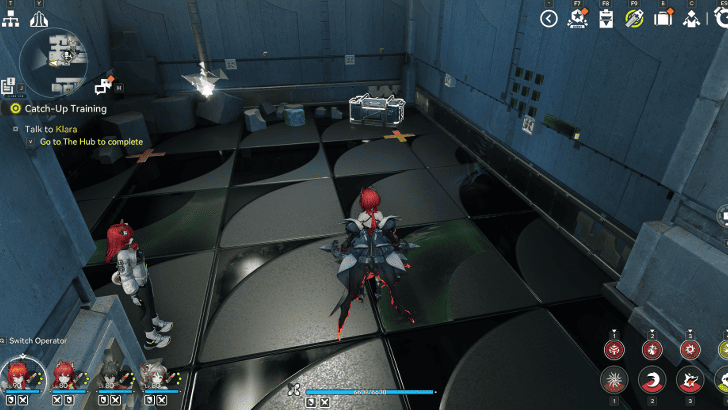 |
Found inside the room on the middle floor. Southwest of the northern waypoint. | |
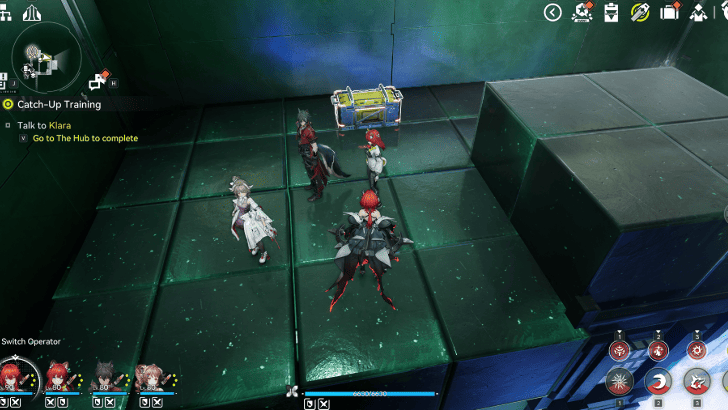 |
Found inside the room on the middle floor in the secondary section. Spray Liquid Xiranite on the dichromolite to form a path towards the chest. | |
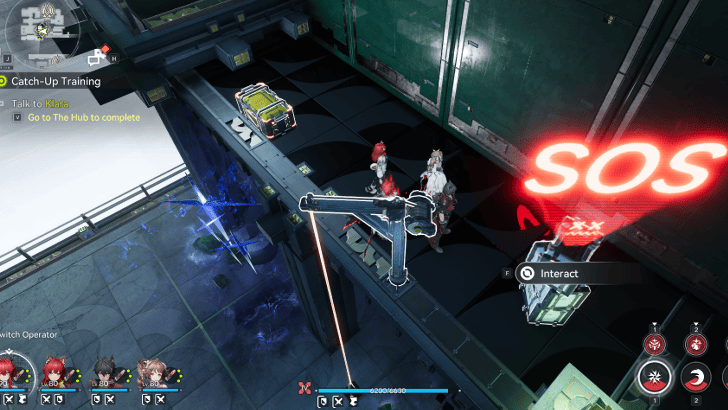 |
Atop a ropeline behind some enemies. Positioned south of the teleport point and beside a delta bot. | |
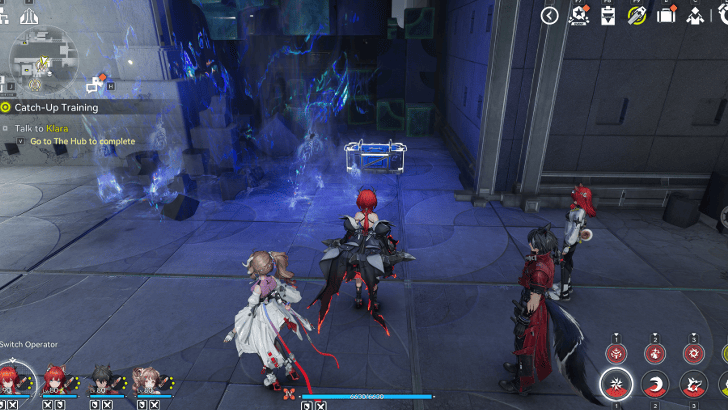 |
Cross the bridge and look for it on the side of the path by some walls. | |
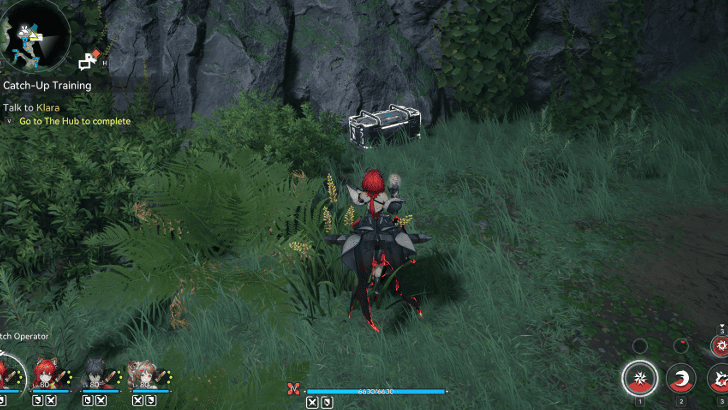 |
Inside Cloudrest Grotto, east of the blood cap growths. Use an explosive to reveal the chest. | |
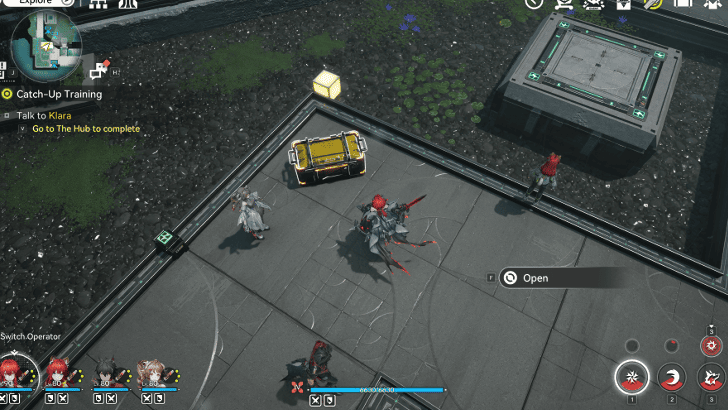 |
West of the Watchtower Reservoir Station teleport point. Complete the Memory Puzzle to reveal the chest. | |
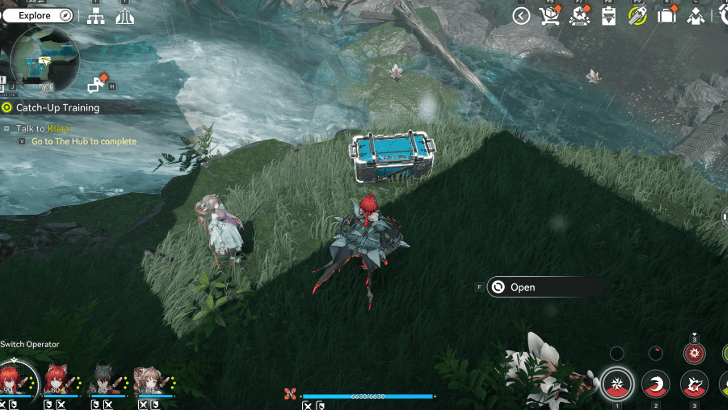 |
Found at the edge of the wall at the north of the Watchtower Reservoir teleport point. Follow the butterflies to collect the chest. | |
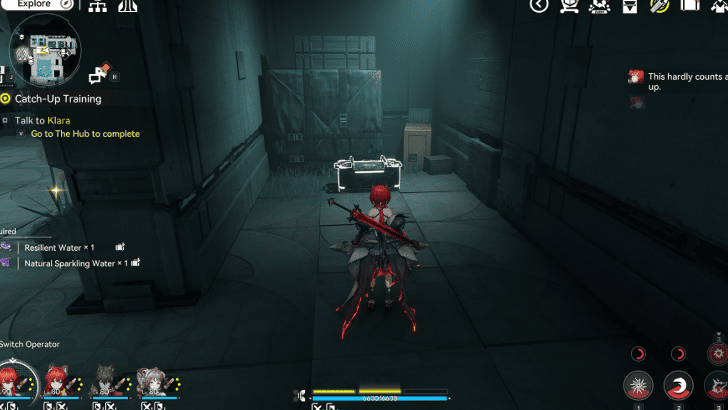 |
Underneath the pathway to sector B in the Watchtower Reservoir station. | |
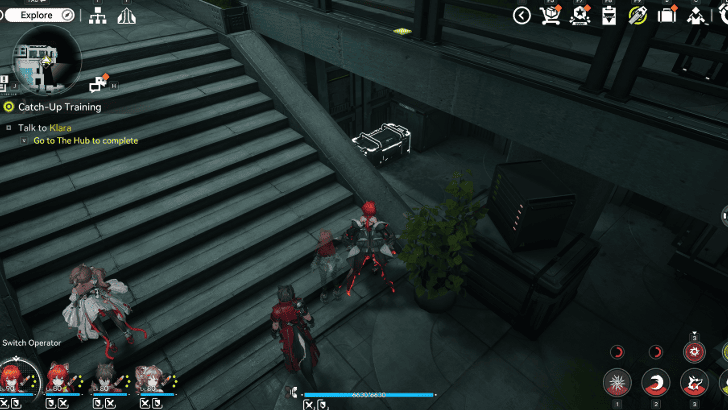 |
Underneath the platform of the Delta bot in the eastern part of the Watchtower Reservoir station. | |
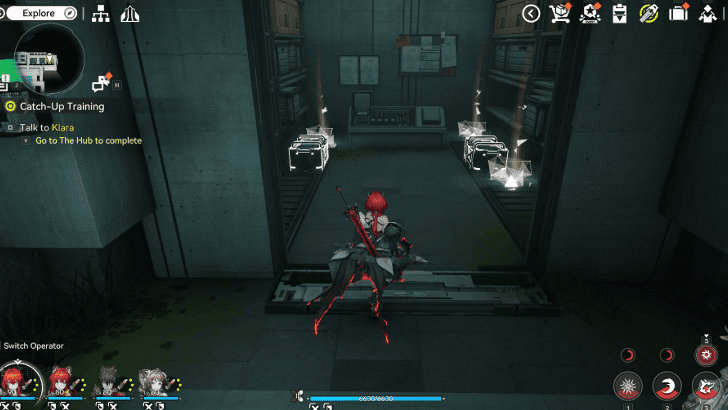 |
Inside a room that can be opened by spraying Liquid Xiranite at the waterwheels by the locked gate. Unlocks both chests | |
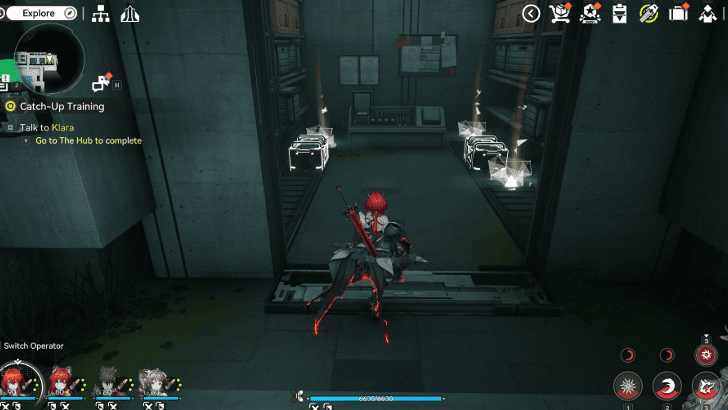 |
Inside a room that can be opened by spraying Liquid Xiranite at the waterwheels by the locked gate. Unlocks both chests | |
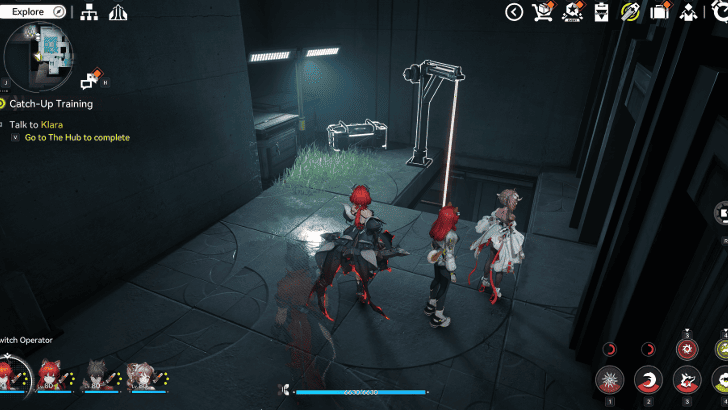 |
Southwestern corner of the Watchtower Reservoir Station . | |
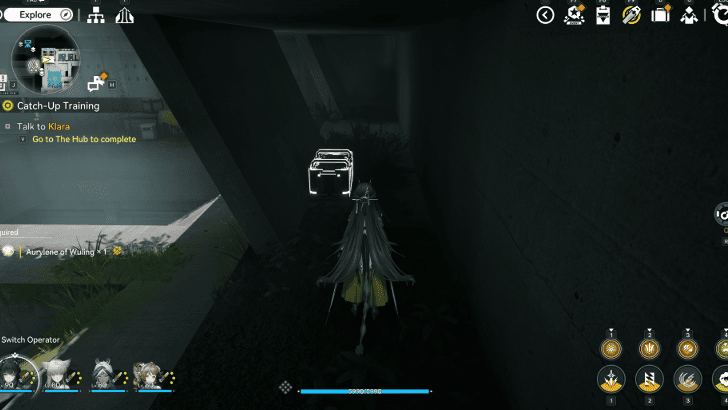 |
In Sector B of the Watchtower Reservoir Station, behind a wall alongside a moving Aurylene. | |
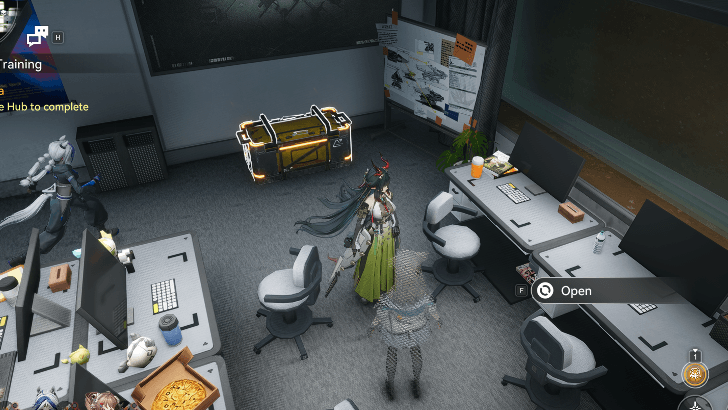 |
Southeast of TP waypoint, behind an illusion wall that you hit to reveal a hidden room. The area can be accessed as soon as you lower the first water level during "To Posterity". Accessible during and after the quest "To Posterity". | |
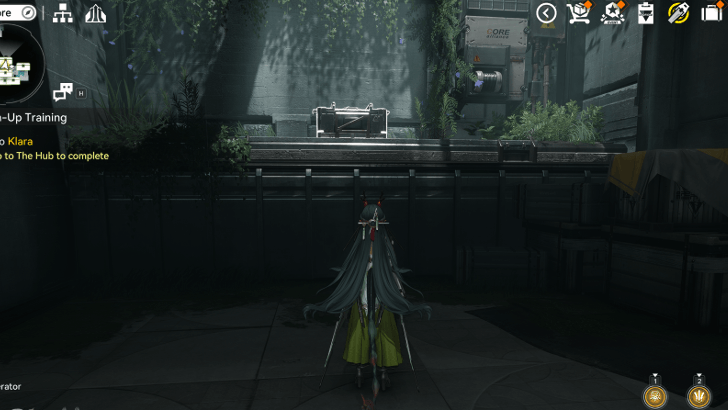 |
Found on top of a wall on the north side of Sector D. Accessible during and after the quest "To Posterity". | |
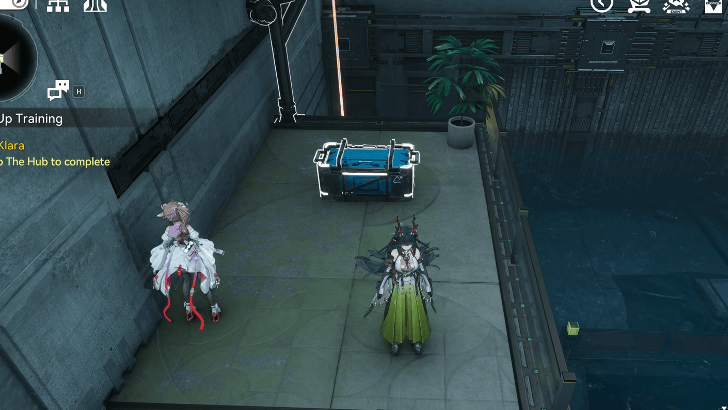 |
On the east side of Sector D in Watchtower Reservoir Station. Raise the water level correspondingly to reach the chest. Accessible during and after the quest "To Posterity". | |
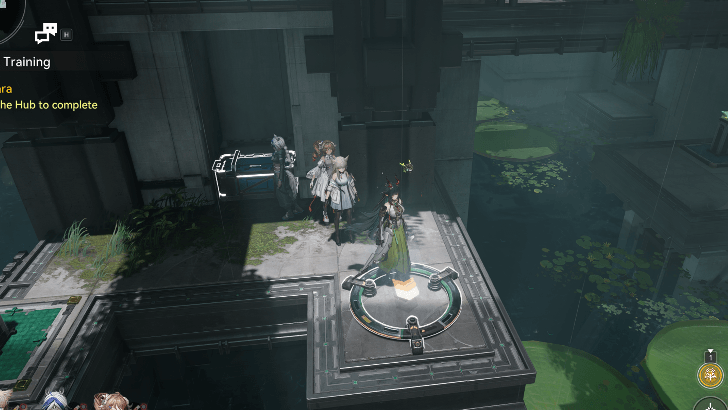 |
Found on the center of Sector D in Watchtower Reservoir Station, underneath the main tower pillar. Raise the water level correspondingly to reach the chest. Accessible during and after the quest "To Posterity". | |
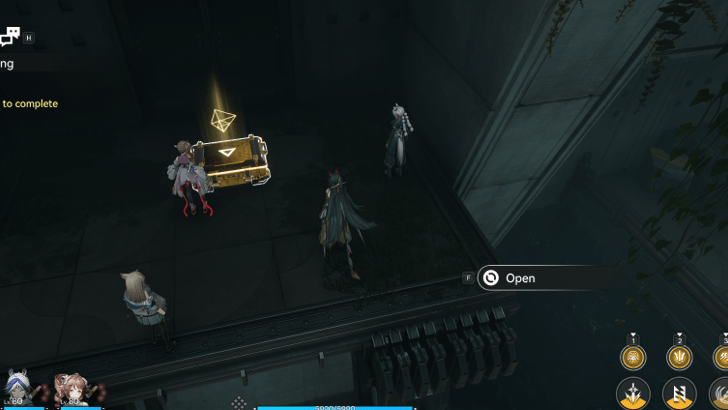 |
Found on the south side of Sector D in Watchtower Reservoir Station, easily reachable after progressing the quest "To Posterity". Accessible during and after the quest "To Posterity". | |
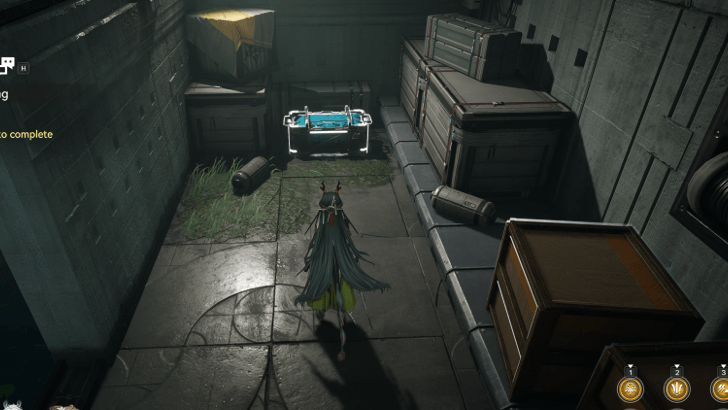 |
On the south side of Sector D in Watchtower Reservoir Station. Lower the water level to the lowest setting and jump on the lily pads to reach it. Accessible during and after the quest "To Posterity". | |
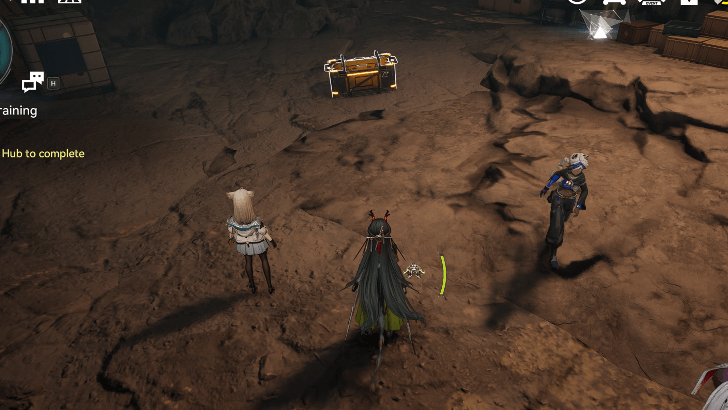 |
Underneath Qijian Dais behind an illusion wall and guarded by some Aggeloi. | |
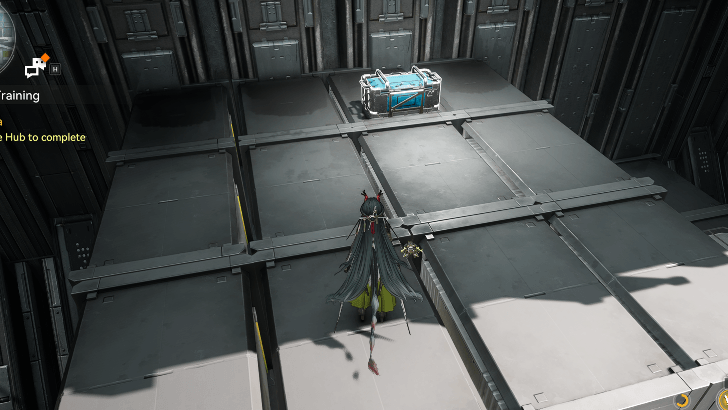 |
Southwest section of the Bureau, adjust the forklift accordingly to reach this as well as an Aurylene. | |
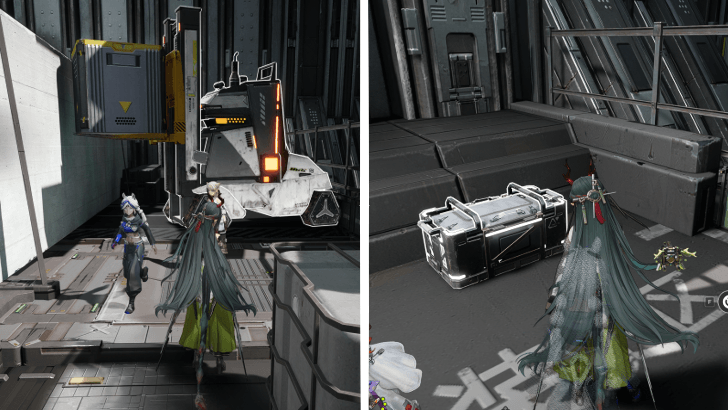 |
Southwest section of the Bureau, adjust the forklift accordingly to reach and the chest will be behind the forklift. | |
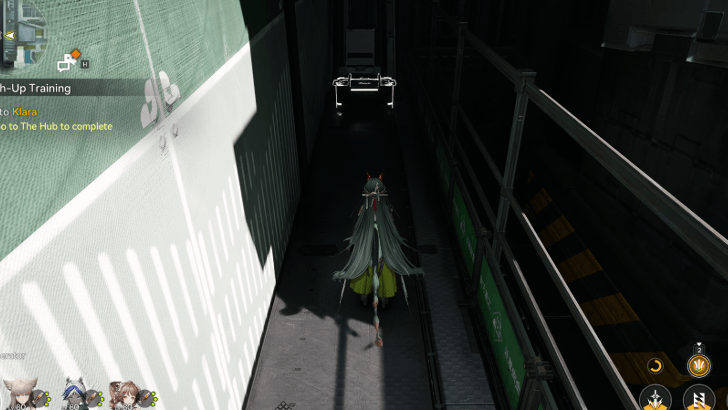 |
Southwest most corner of the Bureau, tucked away in a small alley. | |
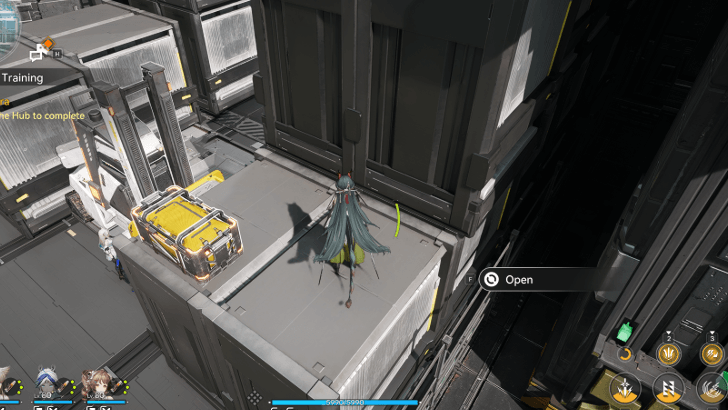 |
West of the Bureau, adjust the forklifts accordingly to reach the chest. | |
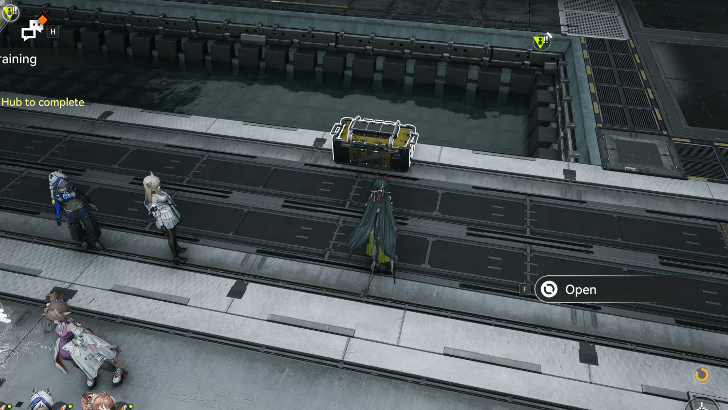 |
Slightly northeast of the center pillar in the Bureau. Find all three Sealing Aurylenes naerby to unlock the chest. | |
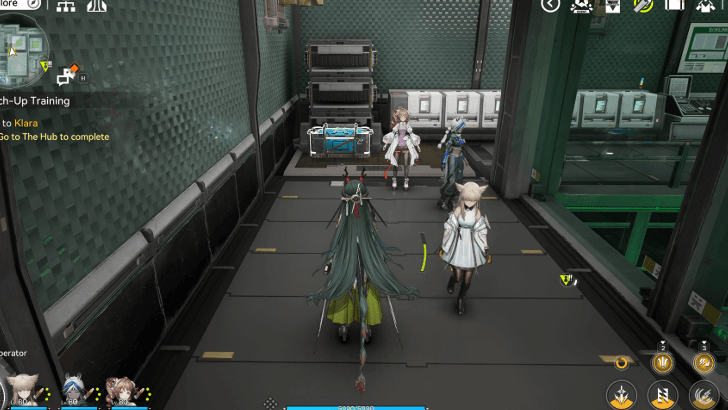 |
Behind the gate inside the building Northeast of the Bureau. | |
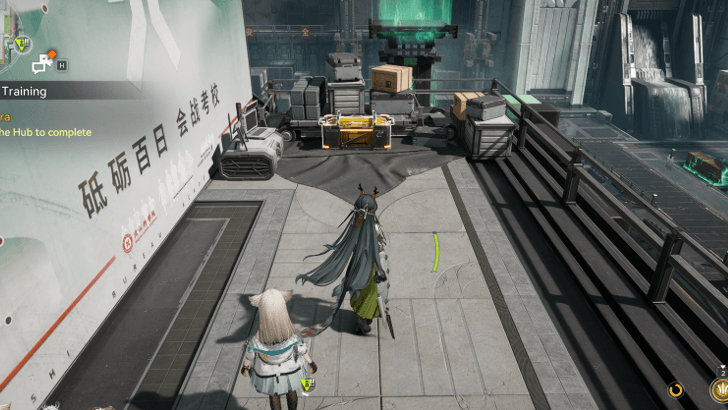 |
Found on the top platform on the east overlooking the center pillar. Open the gate on the northeast building to access this area. | |
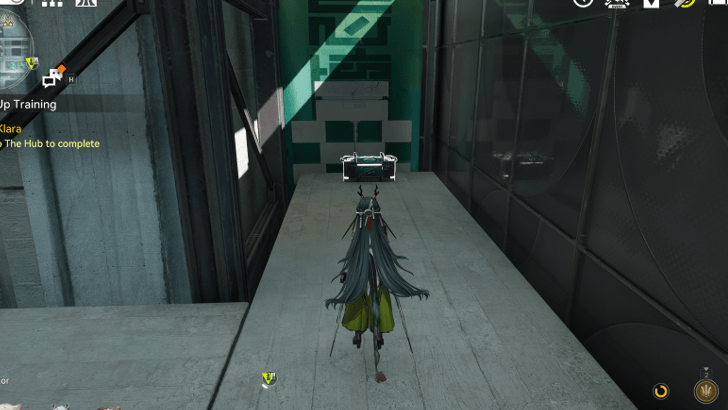 |
Tucked away in an alley on the northwest side of the Bureau, access this area via rope downwards from the top most platform. | |
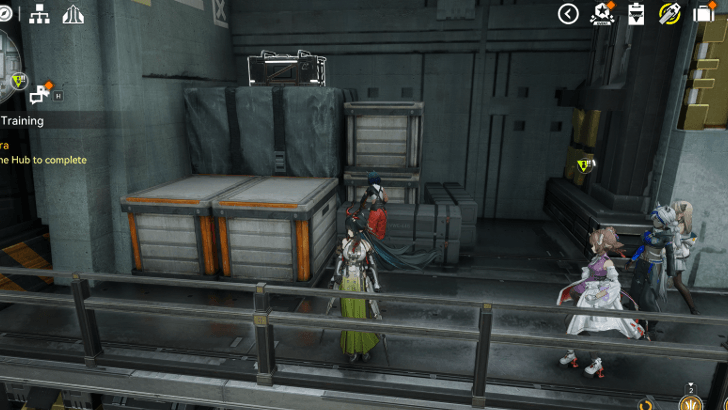 |
North of the Bureau on top of boxes. | |
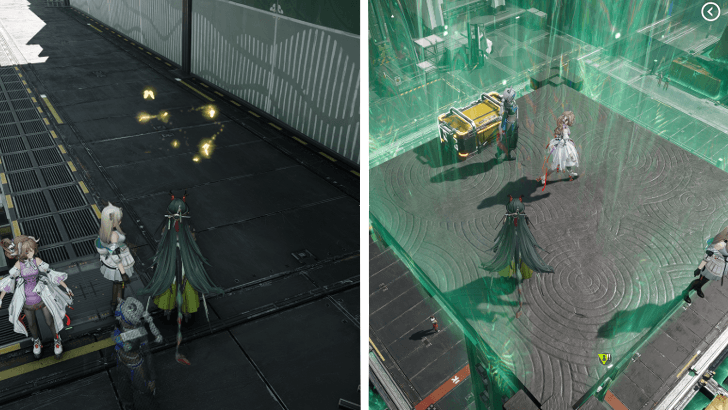 |
Follow the butterflies on the southeast side of the Bureau until it reveals a chest at the end. | |
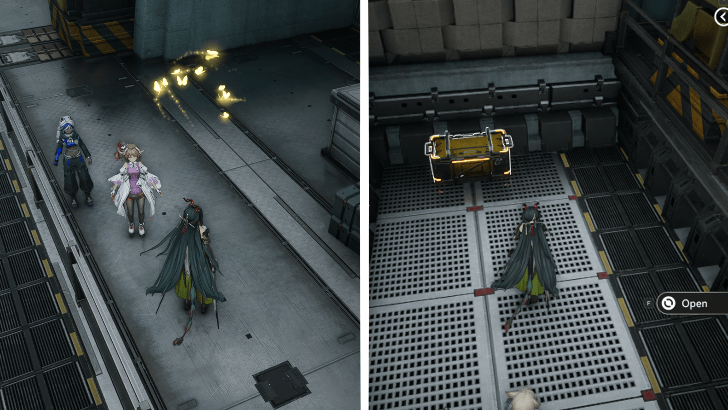 |
On the northwest area of the Bureau. Follow the butterflies to reveal the chest at the end. | |
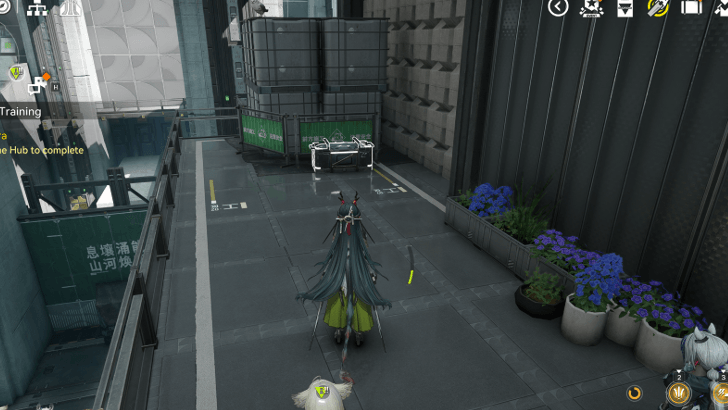 |
Northern side of the Buruea, on the platform at the same level as the TP waypoint, overlooking the entire Bureau. | |
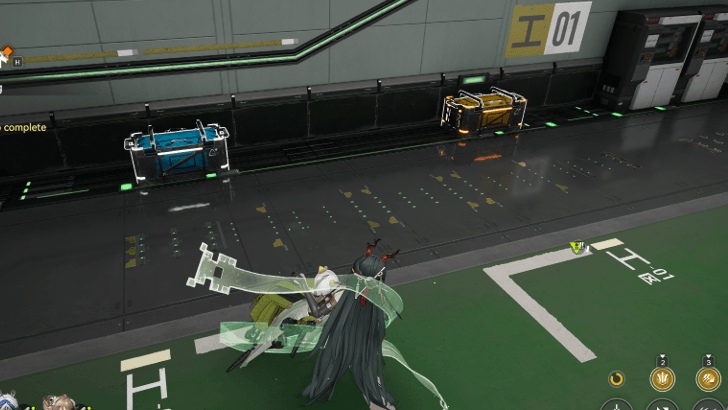 |
Underneath the north TP Point of the Bureau, open two gates by spraying with liquid. Open the first gate with Clean Water, then open the second gate with Liquid Xiranite. | |
|
|
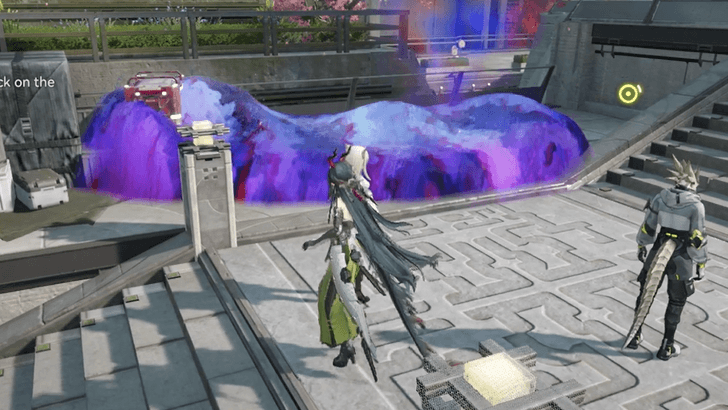
Underneath the north TP Point of the Bureau, open two gates by spraying with liquid. Open the first gate with Clean Water, then open the second gate with Liquid Xiranite. | |
 |
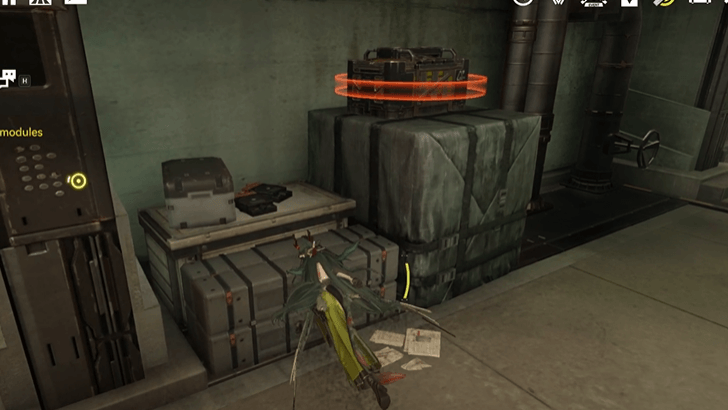
Slightly northeast of the Type-C Auxiliary Pillar Area 1 TP Point. Clear the Superactive Blight with Liquid Heavy Xiranite first to access the chest. | |
 |
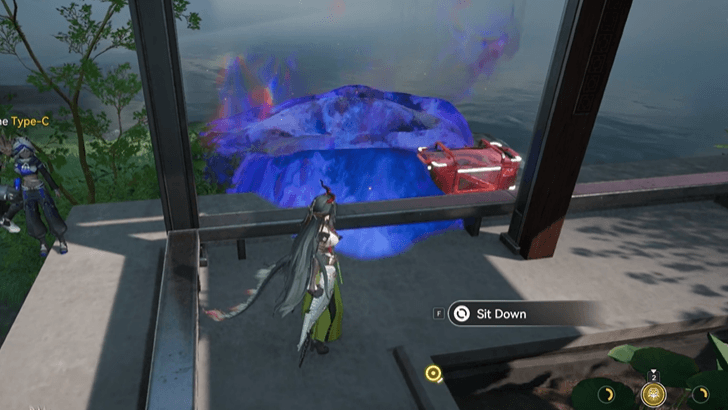
Locked chest in a lower room east of Type-C Auxiliary Pillar Area 1. | |
 |
Northeast of the Type-C Auxiliary Pillar Area 1 by the bench. Clear the Superactive Blight with Liquid Heavy Xiranite first to unlock the chest. | |
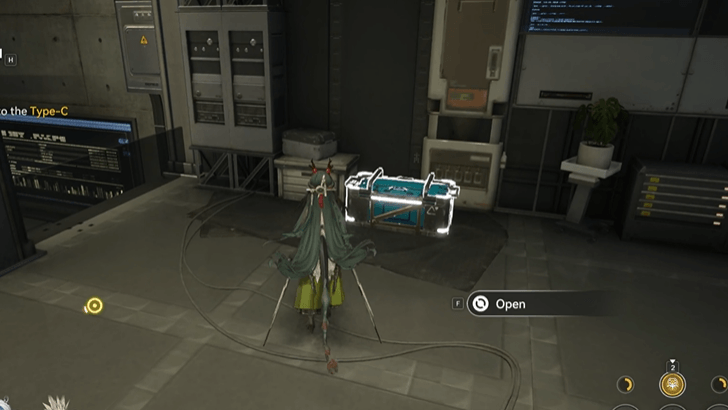 |
North side of the Data Monitoring Office in Type-C Auxiliary Pillar Area 1. Clear the Superactive Blight with Liquid Heavy Xiranite first to find the chest. | |
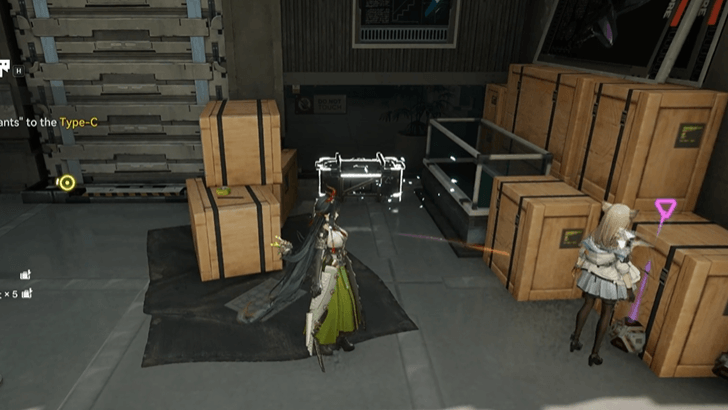 |
North of Type-C Auxiliary Pillar Area 2, behind a wooden crate. Destroy the crate to reach the chest. | |
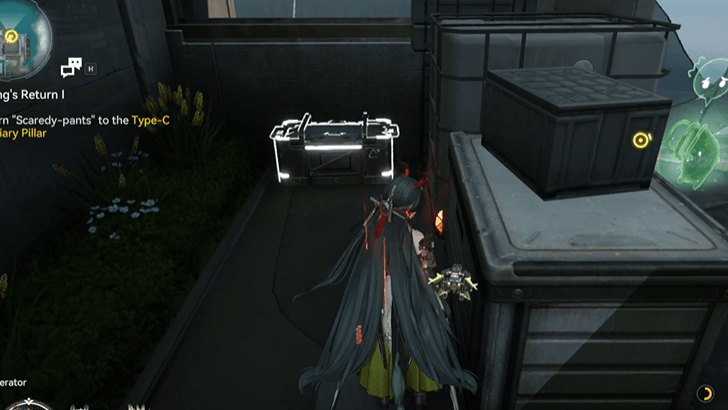 |
Found in a corner behind boxes just north of Type-C Auxiliary Pillar Area 2. | |
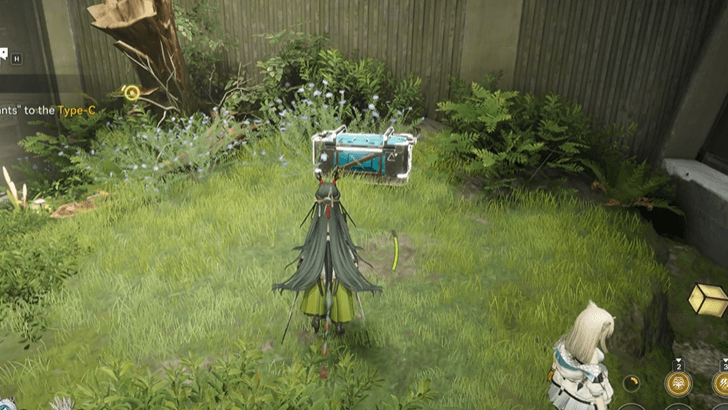 |
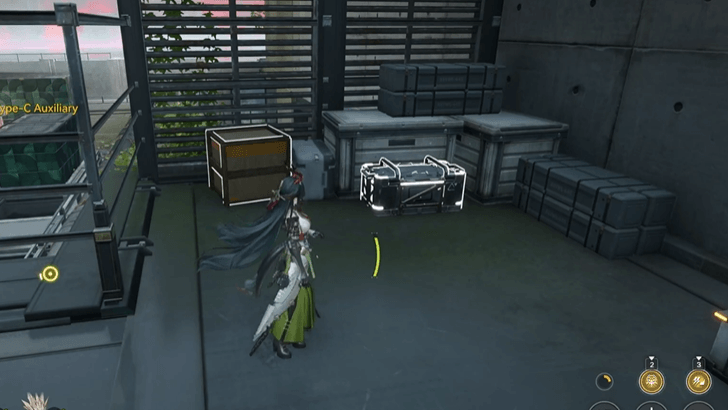
In the south area of the Eco Specimen Room, on top of the land near a broken tree trunk. | |
 |
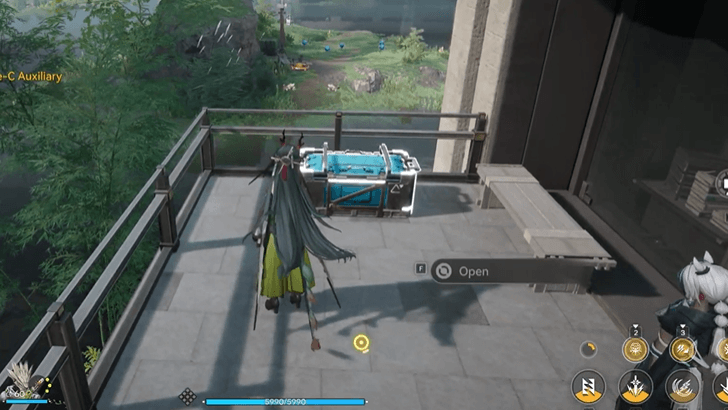
To the east of the TP Point in the Type-C Auxiliary Pillar Area 3, in a corner near boxes and crates. | |
 |
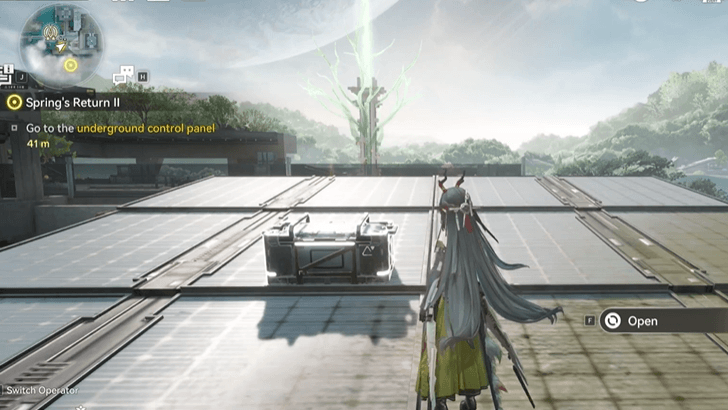
Found by the east side of the Type-C Auxiliary Pillar Area 3, by the balcony just outside of the Prototype R&D Room. | |
 |
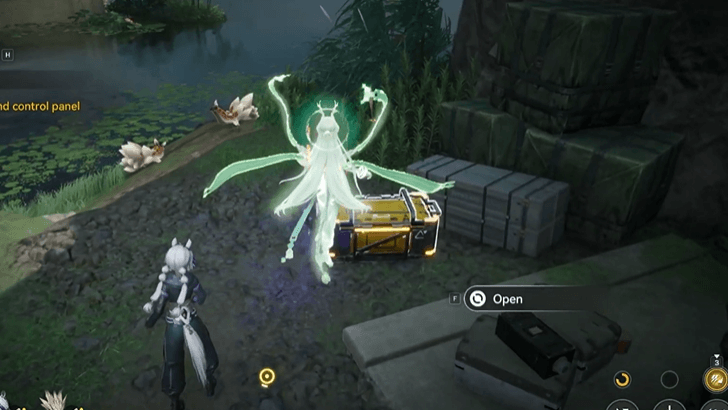
Located west of the Auxiliary Pillar in Area 3, jump over the glass railing to reach the other roof to find the chest on top of solar panels. You can also take the rope near the Aurylene below. | |
 |
On the area northeast of the Meridian Grid Area, defeat the group of enemies first to unlock the chest. | |
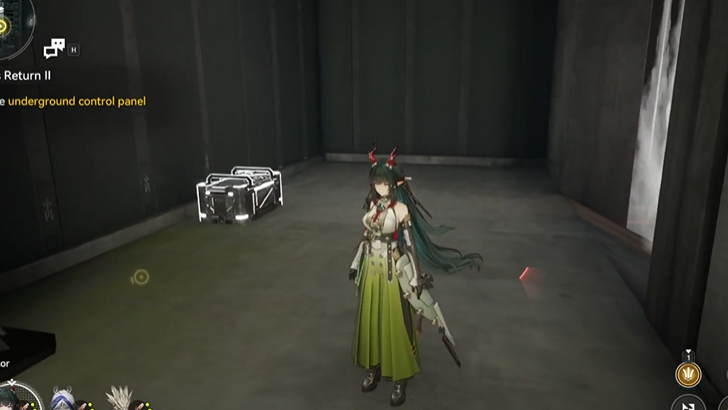 |
Inside the northeast room of the Testing Zone area, near the room full of slugs. | |
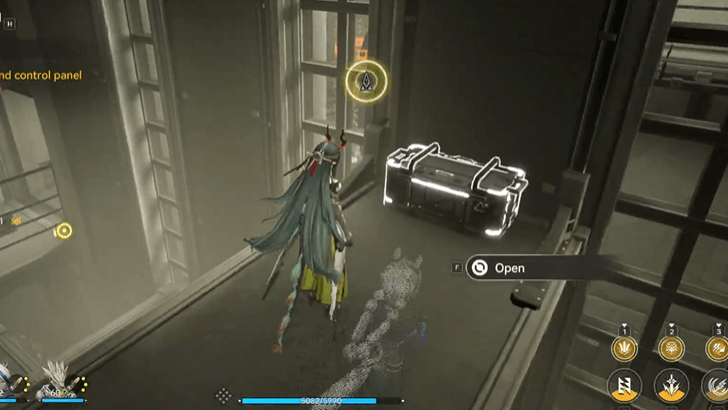 |
Slightly northeast of the Testing Zone TP Point, head up the highest platform to find the chest at the end. | |
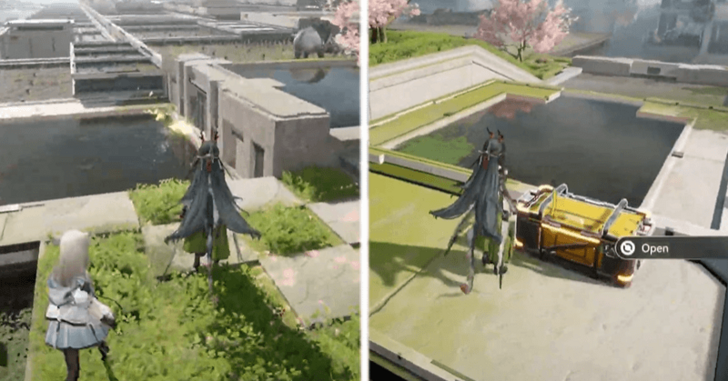 |
Follow the butterflies found to the west of the Meridian Grid Area to unlock the chest. | |
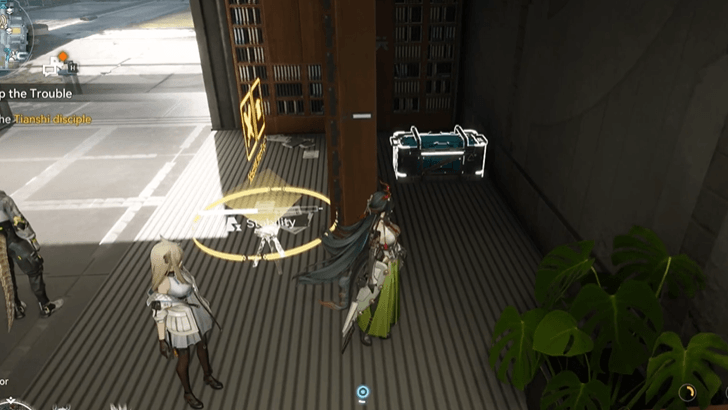 |
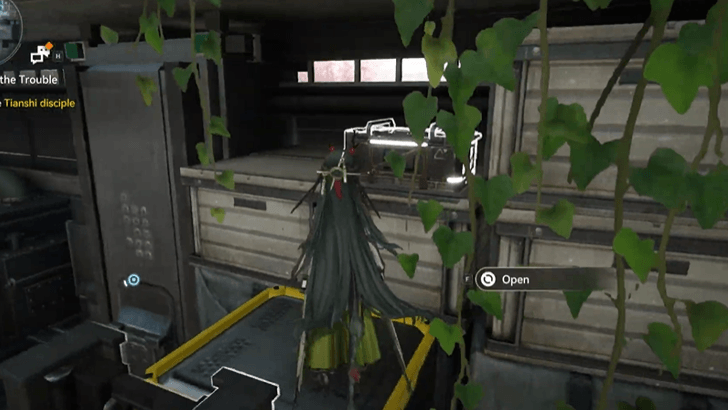
Inside the building east of the Integrated R&D Area, attack the shelf to make it disappear to find the chest behind it. | |
 |
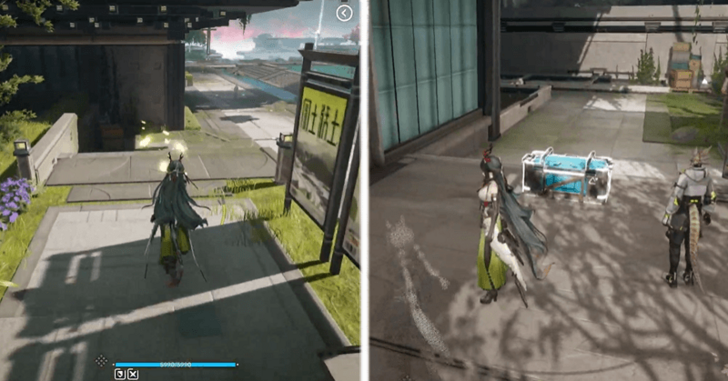
Found on top of containers by the southeast side of the Integrated R&D Area. Interact with the forklift and jump on the containers beside it to reach the chest. | |
 |
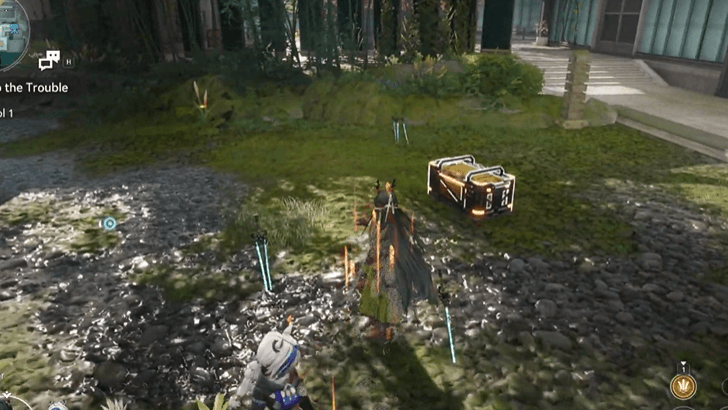
Follow the butterflies found southwest of the Integrated R&D Area to unlock the chest. | |
 |
Handle the crisis of the Energy Alluvium by the corner southwest of the Integrated R&D Area to get the chest. | |
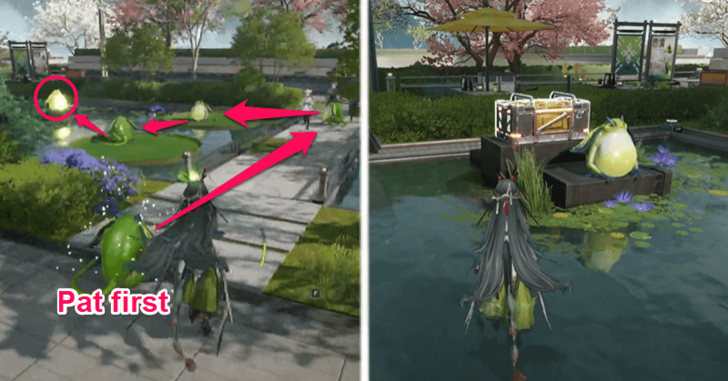 |
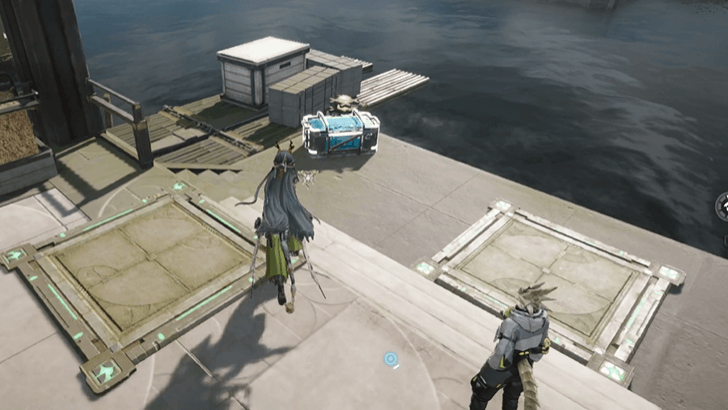
Solve the frog puzzle by moving the north frog on top of the rock twice, and moving the south frog on top of another rock twice. Pat the first frog once all frogs are in the right | |
 |
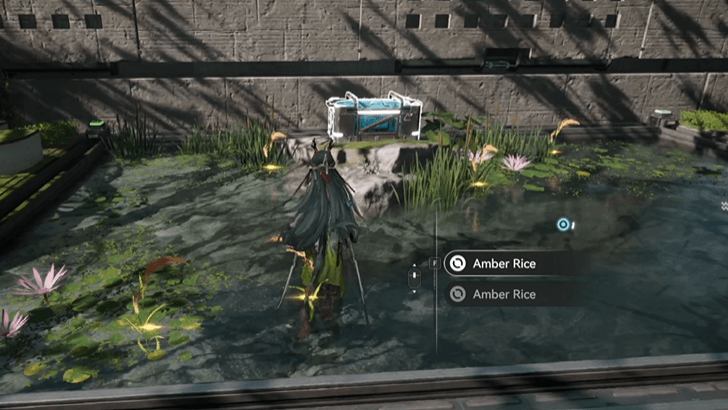
Northwest of the TP Point in the Type-C Auxiliary Pillar Area 3. Solve the pressure plate puzzle by doing plunge attacks on the pressure plates in the correct order. | |
 |
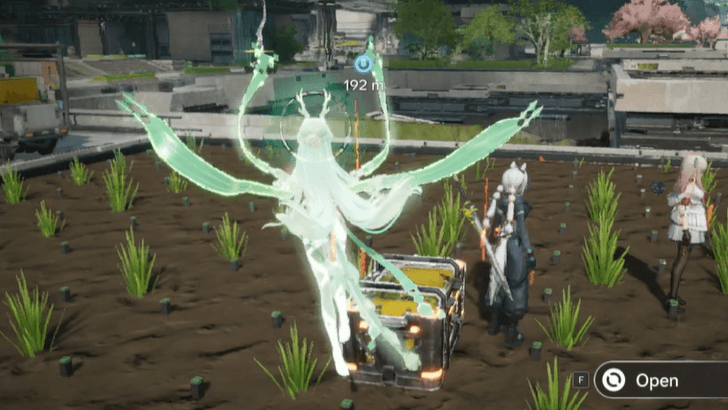
Unlock the chest by solving the pressure plate puzzle. Perform plunging attacks on the pressure plates in the correct order. | |
 |
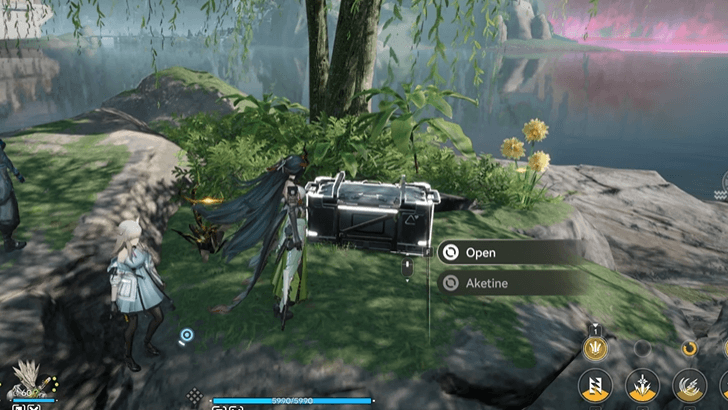
Handle the Energy Alluvium crisis found southwest of the TP Point in the Meridian Grid Area to unlock the chest. | |
 |
In the northernmost part of the Type-C Auxiliary Pillar Area 1, on top of the rocks. | |
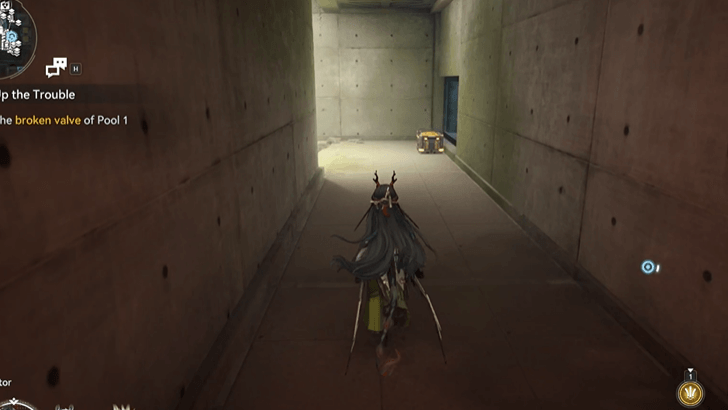 |
Found in the Pool 1 Inspection Zone after jumping on pipes to reach the room. Clear the sewage pool during the Divvy Up the Trouble Exploration Mission to have access to this part of the area. | |
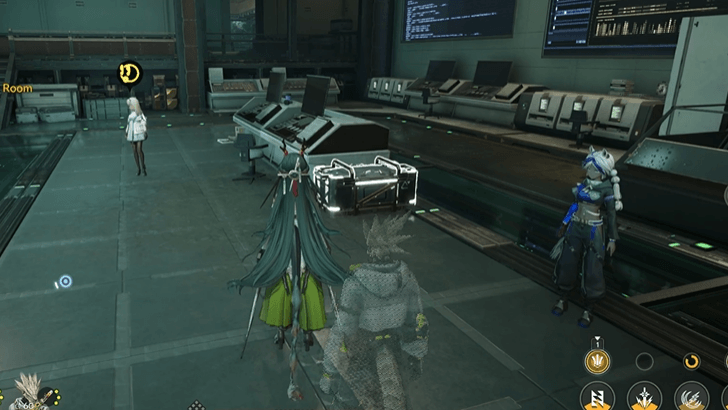 |
Found in the northwest room of the Testing Zone after clearing the Superactive Blight. The area is accessible during the Divvy Up the Trouble Exploration Mission. | |
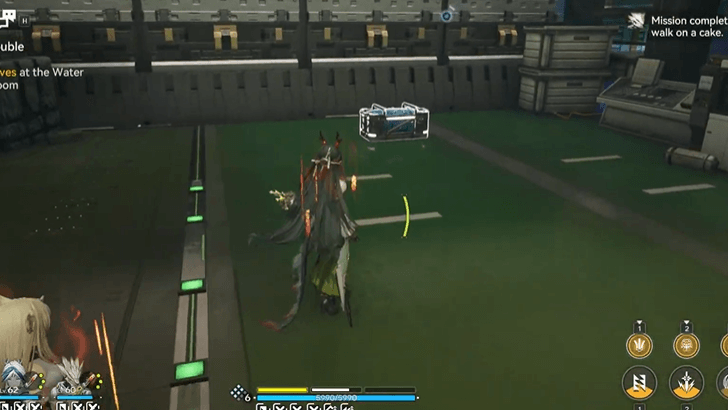 |
Locked chest found in the northeast room of the Testing Zone Sanctum area. Defeat the group of enemy slugs to unlock the chest. The area is first accessible during the Divvy Up the Trouble quest | |
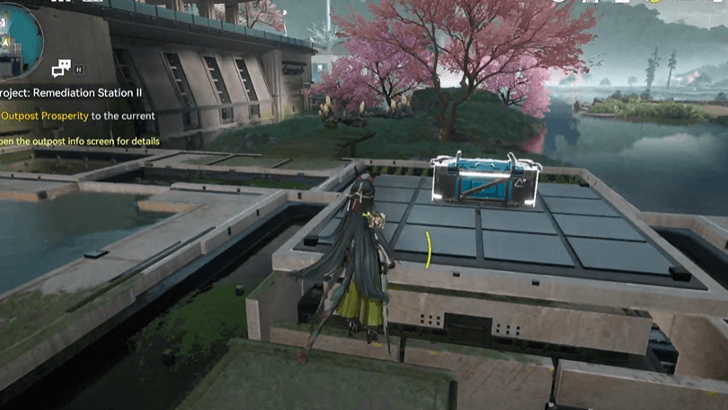 |
Head northeast from the TP Point south of the Integrated R&D Area. Unlock the chest after completing the pressure plate puzzle | |
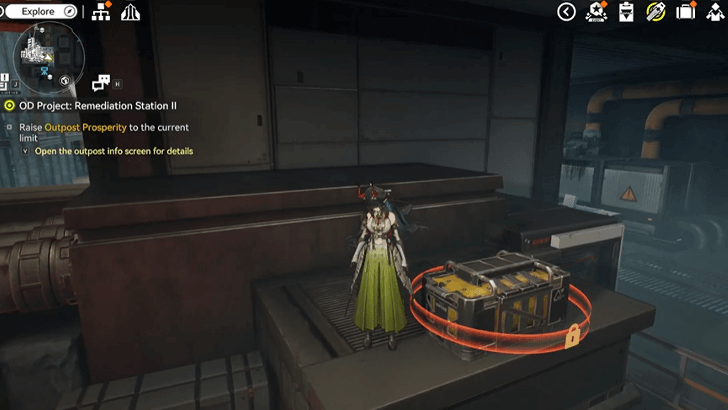 |
Sealed chest found underneath the second Sewage Pool west of the Integrated R&D Area. You can access the area after pumping out the Sewage. | |
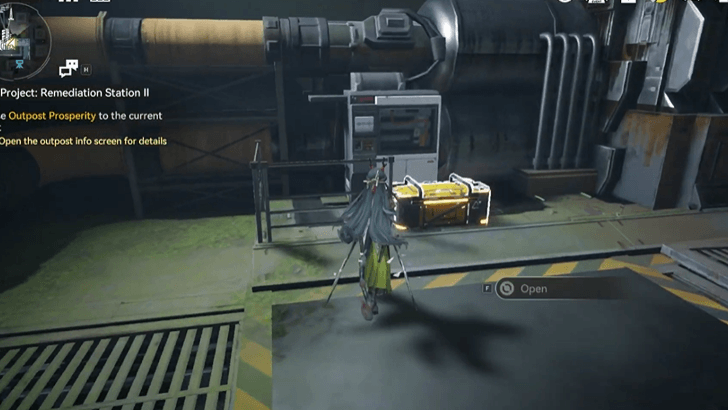 |
Found beneath the second Sewage Pool west of the Integrated R&D Area. Pump out the sewage and connect it to an Inlet and wait for it to completely clear out. | |
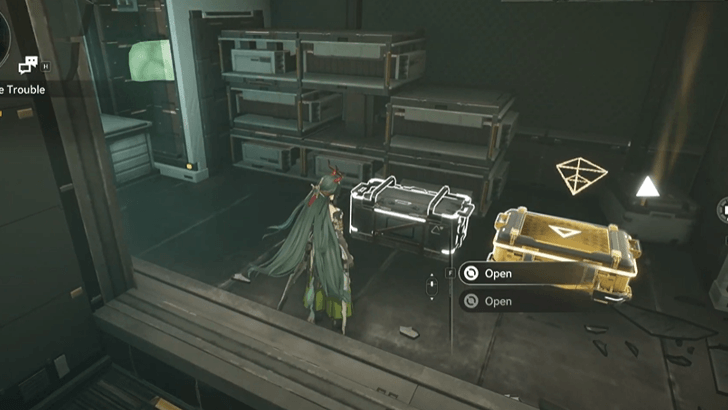 |
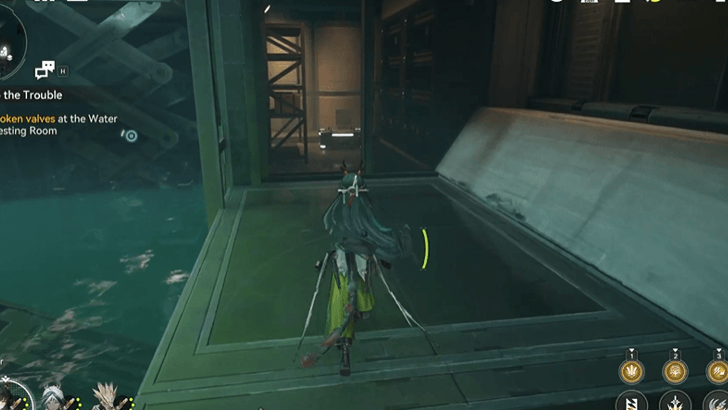
In the east room of the Testing Zone Sanctum, after fixing the broken valves. You can access the area during the Divvy Up the Trouble mission. | |
|
|
In the east room of the Testing Zone Sanctum, after fixing the broken valves. You can access the area during the Divvy Up the Trouble mission. | |
 |
In the northeast corner of the Testing Zone Sanctum inside a small room. The area is first accessible during the Divvy Up the Trouble quest. | |
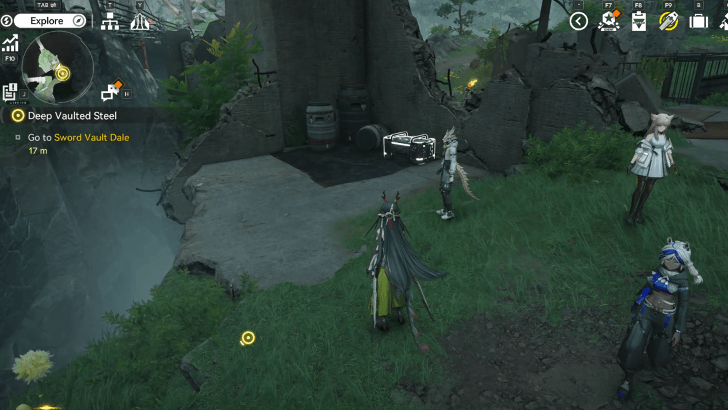 |
Found by a broken wall near a cliff as you exit Qingbo Stockade and just before heading Leeward Trail. | |
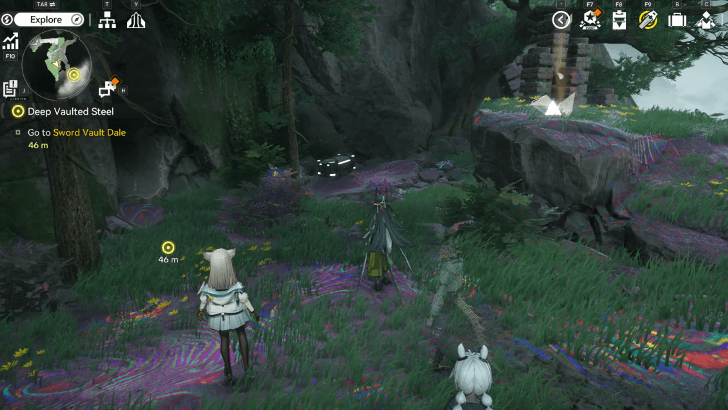 |
Clear the Blight pool in Leeward Trail with Liquid Xiranite/Liquid Heavy Xiranite to find the chest by the southeast side. | |
 |
Found hidden in the grass beside cut-off bamboo stalks. | |
 |
Chest located on top of the Lotus. | |
 |
Locked Chest. Open it by collecting the floating orbs in the area. | |
 |
Follow the butterflies and bring them to the Chest location. | |
 |
Use the jump pad where the moving Aurylene is to get to the chest. | |
 |
Use the jump pad to get to the chest above the roof. | |
 |
Located on a rock just a few feet from the lake. | |
 |
Unlocked by defeating enemies in the area. | |
 |
Clear the Energy Alluvium near the TP point north of Burdosnout Hill. | |
 |
Found on the pathway going up the hill. Use the rope to reach the chest. | |
 |
Collect the three glowing orbs in the area to unlock the chest. | |
 |
Located underneath the wooden ramp. Break the boxes to access the chest. | |
 |
Found in an overlooking area on a wooden platform. | |
 |
Locked Chest. Collect thre three glowing orbs in the area to unlock it. | |
 |
Hidden underneath a large rock that requires an explosive to be destroyed. | |
 |
Behind a large rock. | |
 |
Located at the edge of the cliff. | |
 |
Solve the frog puzzle to get the chest. | |
 |
Defeat the mini-boss near the cliff to unlock the chest. | |
 |
Located on the floating platform. | |
 |
Found at one end of the wooden bridge. | |
 |
Attack the illusory bamboo wall to reveal the chest. | |
 |
Solve the frog puzzle to unlock this chest. | |
 |
Solve the frog puzzle to get this chest. | |
 |
Found on a pathway in the bamboo forest. Located at the foot of the stairway. | |
 |
Clear the Energy Alluvium at Stragglers Ford. | |
 |
Located at the edge of the platform. | |
 |
Solve the frog puzzle to get the chest. | |
 |
Hidden in a flower bed. | |
 |
Found near a big tree in the area. On top of one of the rock platforms. | |
 |
Locked Chest. Collect the glowing orbs to unlock it. | |
 |
Defeat the mini-boss in the area to unlock this chest. | |
 |
Follow the butterflies and bring them to the Chest location. | |
 |
Solve the pressure plate puzzle to get the chest. | |
 |
Defeat the surrounding enemies to get the chest. | |
 |
Unlocked by defeating the special enemy. | |
 |
Attack the illusory rock to get to the chest. | |
 |
Follow the butterflies and bring them to the Chest location. | |
 |
Located just beside the flower pots outside the house. | |
 |
Found behind the wall of the outdoor tea set. | |
 |
Located behind the right side of the dam wall. | |
 |
Collect the three glowing orbs in the area to unlock the chest. | |
 |
Open up the gate with the rotating device and enter the 1F Facility. | |
 |
Open up the gate with the rotating device and enter the 1F Facility. | |
 |
Unlocked after collecting the Sealing Aurylenes at the 2F Facility. | |
 |
Found inside the room on the north side, 1F Facility | |
 |
On the shelf in the first floor of Field Logistics Depot. | |
 |
Found after draining the water with a pump at the Field Logistics Depot. | |
 |
Follow the butterflies east of Field Logistics Depot to reveal the chest. | |
 |
Drain the water into another tank at Field Logistics Depot to reach the chest. | |
 |
Drain the water into another tank at Field Logistics Depot to reach the chest. | |
 |
Activate the device and attack the panel in order from bottom right, bottom left, top left, then top right. | |
 |
On a roof in the northern area of Field Logistics Depot. | |
 |
In the northern part of Field Logistics Depot and unlocked by gathering the Sealing Aurylenes found under the water after draining with the pump. | |
 |
In the cave by the river northeast of Field Logistics Depot. | |
 |
South of Tianjing Courtyard guarded by some enemies. | |
 |
In the ruins southeast of Tianjing Courtyard guarded by some enemies. | |
 |
Drain the water at Tianjing Courtyard using a pump then activate the impeller device to open the door in the third basement floor. | |
 |
Drain the water at Tianjing Courtyard using a pump then break the wooden box in the third basement floor. | |
 |
Found on one of the ruins at Tianjing Courtyard and opened by draining the nearby pond and gathering the Sealing Aurylenes that were under the water. | |
 |
Guarded by some enemies at the western ruins of Tianjing Courtyard. | |
 |
Drain the pond at Tianjing Courtyard to reach the chest. | |
 |
Complete the mission "Treasure Beneath the Pond" and then unlock the chest by gathering the nearby Sealing Aurylene. | |
 |
Found in the lowest floor of Tianjing Courtyard during the mission "Treasure Beneath the Pond". | |
 |
Found in the lowest floor of Tianjing Courtyard during the mission "Treasure Beneath the Pond". | |
 |
Found in the lowest floor of Tianjing Courtyard during the mission "Treasure Beneath the Pond". | |
 |
Found in the lowest floor of Tianjing Courtyard during the mission "Treasure Beneath the Pond". | |
 |
Follow the glowing butterflies to Riverbank Grotto to reveal the chest. | |
 |
Activate the device to lower the bridge then get up with a rope to find the chest. | |
 |
Defeat the beast that appears after clearing the mist in the cave at the south end of Riverbank Grotto. | |
 |
Defeat the beast that appears after clearing the mist in the cave at the south end of Riverbank Grotto. | |
 |
Defeat the beast that appears after clearing the mist in the cave at the south end of Riverbank Grotto. | |
 |
Found north of Tianjing Courtyard by the river guarded by some enemies. | |
 |
Unlocked by defeating the strong beast at the Maintenance Zone. | |
 |
Clear the Energy Alluvium at the Maintenance Zone. | |
 |
Found at the Maintenance Zone guarded by some enemies. | |
 |
Gather the nearby Sealing Aurylene to open the chest at the Maintenance Zone. | |
 |
Follow the butterflies across the bridge west of Maintenance Zone. | |
 |
Use Xiranite Spray to clear the blight at the Restricted Area then defeat all nearby enemies to find three chests. | |
 |
Use Xiranite Spray to clear the blight at the Restricted Area then defeat all nearby enemies to find three chests. | |
 |
Use Xiranite Spray to clear the blight at the Restricted Area then defeat all nearby enemies to find three chests. | |
|
|
Follow the butterflies in the area southwest of Maintenance Zone. | |
 |
Found north of Outskirt Barrens guarded by some enemies. | |
 |
Near the fallen stone pillar at the Outskirt Barrens. | |
 |
By the river northeast of Outskirt Barrens. | |
 |
Defeat the beast at Outskirt Barrens to unlock two chests. | |
 |
Defeat the beast at Outskirt Barrens to unlock two chests. | |
 |
Across the river by the water northwest of Outskirt Barrens. | |
 |
Activate the device west of Outskirt Barrens and push the pannels starting from bottom left, top right, bottom right, top left, then center to open the chest. | |
 |
Guarded by some enemies southwest of Outskirt Barrens. | |
 |
Open the chest by gathering the nearby Sealing Aurylenes southwest of the Outskirt Barrens in the rocky water area. | |
 |
Under the waterfall southwest of Outskirt Barrens in the rocky water area. | |
 |
Follow the butterflies southwest of Outskirt Barrens in the rocky water area to reveal the chest. | |
 |
Solve the Pass the Bug puzzle in the rocky water area southwest of Outskirt Barrens. | |
 |
Guarded by some enemies east of Guhou Marsh. | |
 |
Guarded by some enemies southeast of Guhou Marsh. | |
 |
Near the bamboo thicket south of Guhou Marsh. | |
 |
Gather the nearby Sealing Aurylene to unlock the chest at the southend of Guhou Marsh. | |
 |
On a cliff at the south end of Guhou Marsh after clearing the mist. | |
 |
Under the bridge west of Guhou Marsh. | |
 |
On a cliff after clearing some mist in Hulu Cave southwest of Guhou Marsh. | |
 |
Clear the mist at the south end of Hulu Cave to unlock three chests. | |
 |
Clear the mist at the south end of Hulu Cave to unlock three chests. | |
 |
Clear the mist at the south end of Hulu Cave to unlock three chests. | |
 |
Guarded by some enemies east of Sanku Ridge. | |
 |
By the waters northeast of Sanku Ridge. | |
 |
Destroy the rock with a bomb and capture the Originium Slug at Sanku Ridge. | |
 |
Follow the glowing butterflies at Sanku Ridge to reveal a chest at the end. | |
 |
In the bamboo thicket south of Sanku Ridge. | |
 |
Clear the Energy Alluvium northeast of Lingshui Way just south of the city's southern entrance. | |
|
|
Follow the glowing butterflies at Lingshui Way to reveal a chest at the end. | |
 |
Gather the nearby Sealing Aurylenes at Lingshui Way to unlock the chest. | |
 |
Guarded by some enemies in the area north of Tianshi Pillar Array. | |
 |
Guarded by some enemies in the area north of Tianshi Pillar Array. | |
 |
Clear the Energy Alluvium in the area north of Tianshi Pillar Array. | |
 |
On the 2nd floor of the building next to the southern entrance of the big city. | |
 |
On the 2nd floor of the building south of the TP point at Tianshi Bureau Academy, gather the nearby Aurylenes to unlock the chest. | |
 |
On the 2nd floor of the building south of the TP point at Tianshi Bureau Academy. | |
 |
Follow the glowing butterflies from the southern entrance of the big city to reveal a chest at the end. | |
 |
Follow the glowing butterflies at Tianshi Bureau Academy to reveal a chest at the end. | |
 |
On the 2nd floor of the building at Tianshi Bureau Academy. | |
 |
Found under the stairs leading to the 3rd floor on the 2nd floor of the building at Tianshi Bureau Academy. | |
 |
On the 2nd floor of the building southeast of the Institute of Materials Science. | |
 |
On the 1st floor of the building south of the Institute of Materials Science. | |
 |
Next to the building south of the Institute of Materials Science. | |
 |
Follow the glowing butterfleis in the garden area south of the Institute of Materials Science to reveal a chest at the end. | |
 |
Follow the glowing butterfleis in the garden area south of the Institute of Materials Science to reveal a chest at the end. | |
 |
Next to the building southwest of the Institute of Materials Science. | |
 |
Clear the mist on the second floor of the Institute of Materials Science, which can be accessed by progressing the main missions. | |
 |
Clear the mist on the second floor of the Institute of Materials Science, which can be accessed by progressing the main missions. | |
 |
On the first floor of the Institute of Materials Science, which can be accessed by progressing the main missions. | |
 |
Clear the mist on the third floor of the Institute of Materials Science, which can be accessed by progressing the main missions. | |
 |
Under the western walls northwest of the Institute of Materials Science. | |
 |
Follow the butterflies in the garden north of the Institute of Materials Science by the water to reveal a chest at the end. | |
 |
Found in the north garden at Marker Stone Flats and unlocked by gathering the nearby Sealing Aurylenes. | |
 |
Under the western walls just north of the entrance to the Main Pillar Office. | |
 |
On the 2nd floor of the building northwest of Tianshi Bureau Academy. | |
 |
Under the building northwest of Tianshi Bureau Academy. | |
 |
Near the water north of Tianshi Bureau Academy. | |
 |
On the 4th floor of the building just north of Tianshi Bureau Academy, access by using the air vent from the 3rd floor of the building across to the right. | |
 |
On the 5th floor of the building just north of Tianshi Bureau Academy, access by using the air vent from the 3rd floor of the building across to the right then take the stairs to the 5th floor. | |
 |
On the 4th floor of the building just north of Tianshi Bureau Academy, access by using the air vent from the 3rd floor of the building across to the right. | |
 |
On the 4th floor of the building northeast of Tianshi Bureau Academy. | |
 |
On the 2nd floor of the building northeast of Tianshi Bureau Academy under the stairs that leads to the 3rd floor. | |
 |
In the waterways northeast of Tianshi Bureau Academy next to the central square. | |
 |
On the 3rd floor of the building northeast from the central square. | |
 |
Next to one of the buildings southwest of Citizen Square. | |
 |
Follow the glowing butterflies southwest of Citizen Square to reveal a chest at the end. | |
 |
Next to one of the buildings southwest of Citizen Square. | |
 |
In the pond southwest of Citizen Square. | |
 |
Found in the waters southwest of Citizen Square and unlocked by gathering the nearby Sealing Aurylenes. | |
 |
Next to the building west of Citizen Square. | |
 |
Behind the falling water west of Citizen Square. | |
 |
Solve the Pass the Bug puzzle west of Citizen Square. | |
 |
Follow the glowing butterflies from the eastern section of Citizen Square to the center to reveal a chest. | |
 |
Follow the glowing butterflies from the edge of the eastern walls by the water east of Citizen Square to reveal a chest at the end. | |
 |
Found by the eastern walls to the east of Citizen Square and unlocked by gathering the nearby Sealing Aurylenes. | |
 |
Under the building southwest of Fangxing Avenue and unlocked by gathering the nearby Sealing Aurylenes. | |
 |
Behind the falling water in the waterways east of Xiranflow Channel. | |
 |
In the water west of Fangxing Avenue | |
 |
Inside the building northwest of Fangxing Avenue. | |
 |
North of Fanxing Avenue and unlocked by gathering the nearby Sealing Aurylenes. | |
 |
In the waters of Xiranflow Channel, unlock by gathering the nearby Sealing Aurylenes. | |
 |
On a terrace north of Xiranflow Channel. | |
 |
Next to the lotus flower garden south of the Buireau of Swordmancers. | |
 |
Next to the building on the 2nd floor west of Bureau of Swordmancers. | |
 |
Inside the building west of the Bureau of Swordmancers. | |
 |
On the roof northwest of the Bureau of Swordmancers. | |
 |
On the 2nd floor of the building northeast of the Bureau of Swordmancers. | |
 |
Use a jump device to reach the roof of the building northeast of the Bureau of Swordmancers. | |
 |
On the 2nd floor of the building east of the Bureau of Swordmancers. | |
 |
On the 2nd floor of the building southeast of the Bureau of Swordmancers. | |
 |
Activate the device to lower the water level and reveal the chest west of Residential Area by the waters. | |
 |
In the water channel west of Residential Area. | |
 |
Activate the device to lower the water level and reveal the chest west of Residential Area by the waters. | |
 |
Next to the building by the water west of Residential Area. | |
 |
Activate the device to lower the water level and reveal the chest northwest of Residential Area. | |
 |
Follow the glowing butterflies starting from the walkways northwest of Residential Area to reveal a chest. | |
 |
Between the buildings northwest of Residential Area. | |
 |
On the roof of the building west of Residential Area and unlocked by gathering nearby Sealing Aurylenes. | |
 |
On the roof of the building north of Residential Area. | |
 |
On the roof of the building north of Residential Area. | |
 |
On one of the roofs south of the Residential Area. | |
 |
Next to the building southeast of Residential Area. | |
 |
Found east of the Residential Area and unlocked by gathering nearby Sealing Aurylenes. | |
 |
Found northeast of Residential Area by the walls and unlocked by gathering nearby Sealing Aurylenes. | |
 |
Under the walls at the northeastern edge of the city, northeast of Residential Area. | |
 |
Gather the nearby Sealing Aurylenes in the area north of the Bureau of Swordmancers along the north wall to unlock the chest. | |
 |
Follow the glowing butterflies starting from the stairs northeast of the Bureau of Swordmancers to reveal a chest at the end. | |
 |
Under the cliff just south of Chenshan Way. | |
 |
Near the north wall of the city just southwest of Chenshan Way. | |
 |
Follow the glowing butterfleis at Chenshan Way to reveal a chest at the end. | |
 |
Next to a zip rope on one of the cliffs at Chenshan Way. | |
 |
Next to one of the buildings in the area north of Residential Area. | |
 |
On the roof of one of the buildings in the area north of Residential Area. | |
 |
On the roof of one of the buildings in the area north of Residential Area. | |
 |
Next to one of the buildings in the area north of Residential Area. | |
 |
On the roof of one of the buildings in the area north of Residential Area. | |
 |
Follow the glowing butterflies starting from the area northeast of Residential Area outside the city to reveal a chest at the end. | |
 |
Follow the glowing butterflies in the area north of Residential Area to reveal a chest at the end. | |
 |
Collect the nearby Sealing Aurylenes at Technological Production Office to unlock the chest. | |
 |
On the roof of the entrance of the building southwest of Technological Production Office. | |
 |
Behind the building southwest of Technological Production Office. | |
 |
Next to the building right on Technological Production Office. | |
 |
Near the wall next to the building northwest of Technological Production Office. | |
 |
Inside the building northwest of Technological Production Office. | |
 |
Clear the Energy Alluvium east of Agricultural Test Site. | |
 |
In front of one of the buildings in the area to the far east of Agricultural Test Site. | |
 |
On the roof of one of the buildings in the area to the far east of Agricultural Test Site. | |
 |
Clear the Energy Alluvium in the area to the far east of Agricultural Test Site. | |
 |
Near the water in the area to the far southeast of Agricultural Test Site. | |
 |
Use Xiranite Spray to remove the blight in the southwestern part of Monitoring Center to reach the chest. | |
 |
Use Xiranite Spray to remove the blight in the southwestern part of Monitoring Center to reach the chest. | |
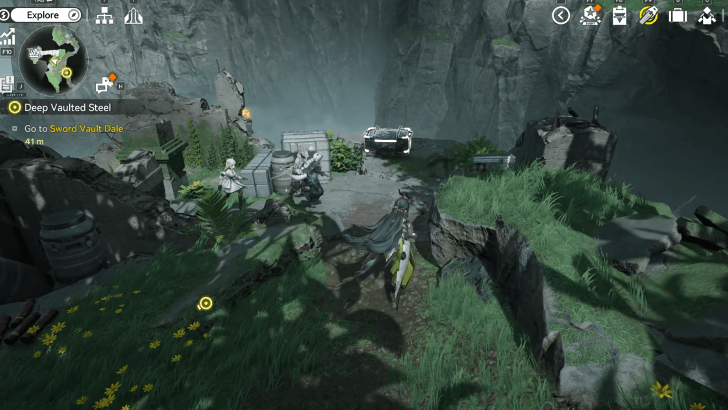 |
From the Blight pool area, take the path up north of the Blight pool area in Leeward Trail. | |
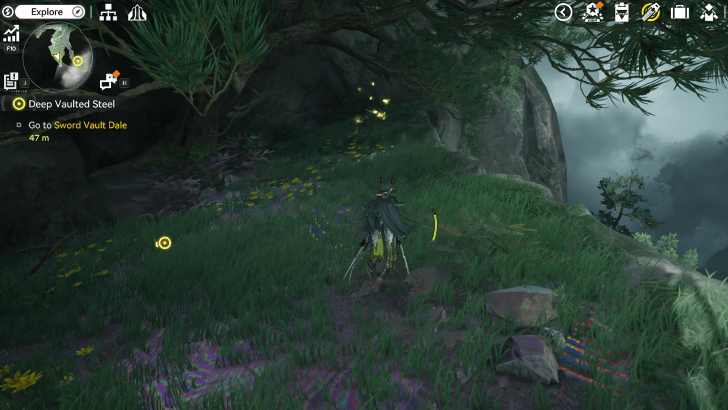 |
South of Leeward Trail, follow the butterflies after clearing the Blight pool to get the chest. | |
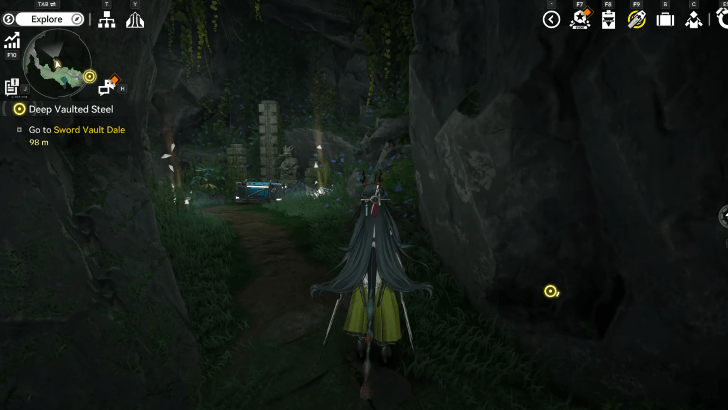 |
Inside a hidden cave blocked by an optical fog. As you enter West Gorge Path, attack the wall to the left of the trail to reveal the hidden cave. | |
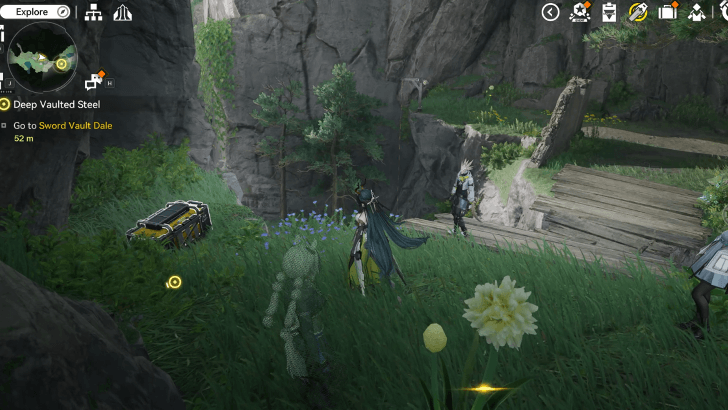 |
Locked chest near the wooden bridge in West Gorge Path. Find all 3 Sealing Aurylenes nearby to open the chest. | |
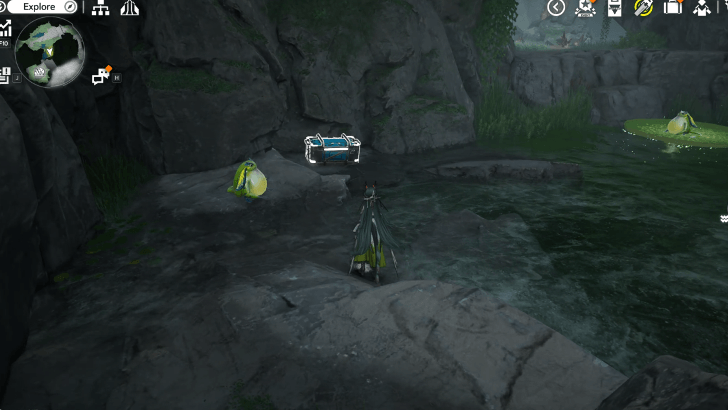 |
Solve the frog puzzle south of the Mechanism Puzzle in West Gorge Path to get the chest. Move the nearest frog twice, then pat the glowing frog only when the frog in the moving lily pad is approaching near you. | |
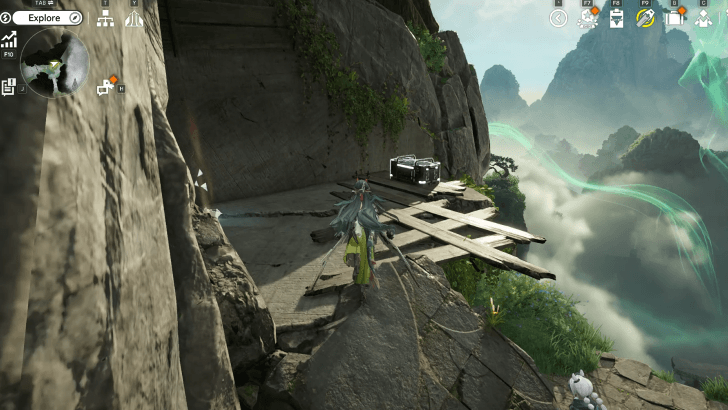 |
As you enter the gate to South Gorge Rampart, head up the pile of rubble on the left to find the chest on top. | |
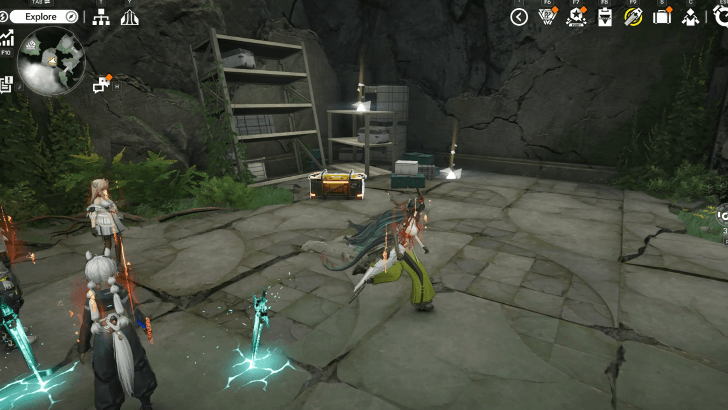 |
From the north TP Point in South Gorge Rampart, head southwest and defeat the enemies to unlock the chest in the southeast corner. | |
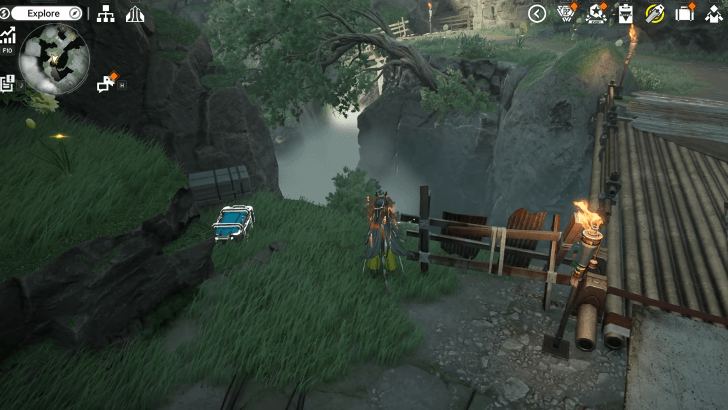 |
Located near the edge past the enemies guarding the bridge in South Gorge Rampart. | |
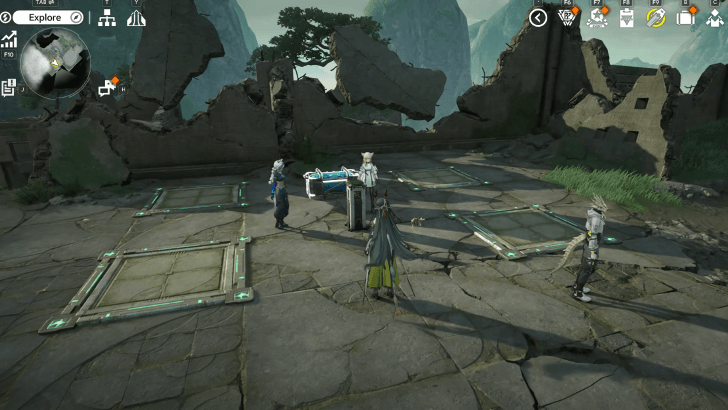 |
Solve the pressure plate puzzle in the southern area of South Gorge Rampart to get the chest. | |
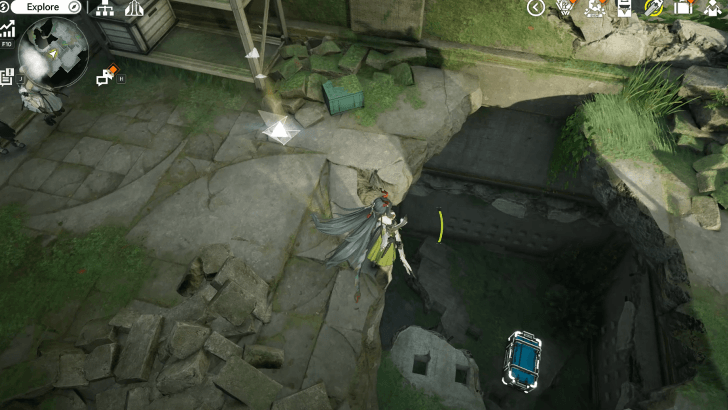 |
South of South Gorge Rampart, find the post emitting a green light and attack the wall its pointing at to dissipate the wall and find the hidden area. Jump down the hole to find the chest. | |
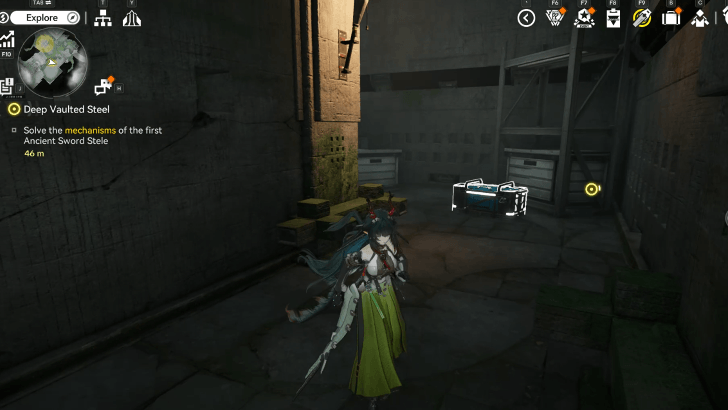 |
From the Rune Mechanism Pillar puzzle in South Gorge Rampart, go south to find the post emitting green light and attack the wall its pointing at to find a hidden room. As soon as you enter the room, jump through the hole in the wall to find the chest. | |
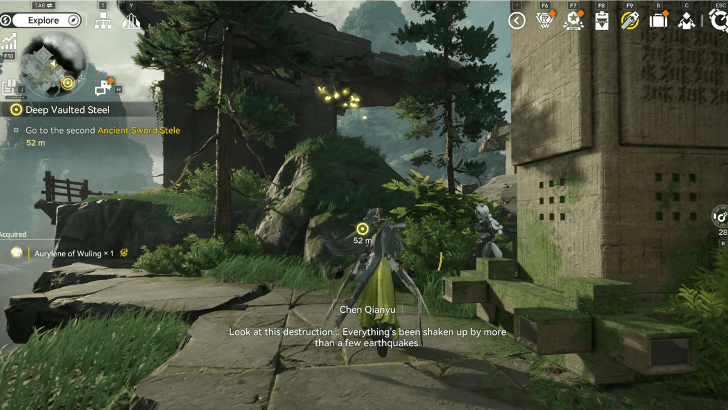 |
As you enter East Gorge Ruins, follow the butterflies from the top of the rock up to the floating debris to get a chest. | |
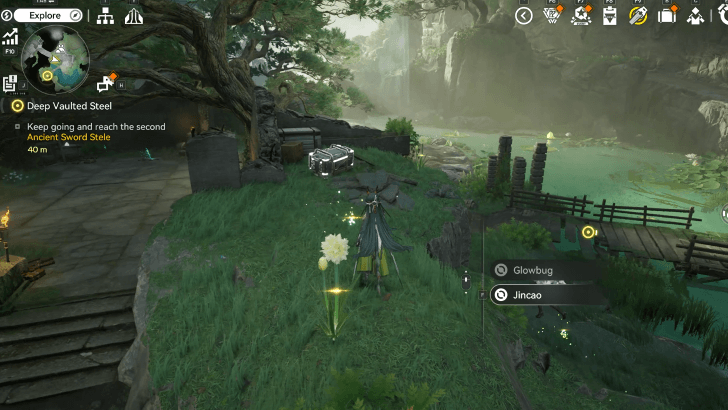 |
Located in the southwest area of East Gorge Ruins near the wooden bridge. | |
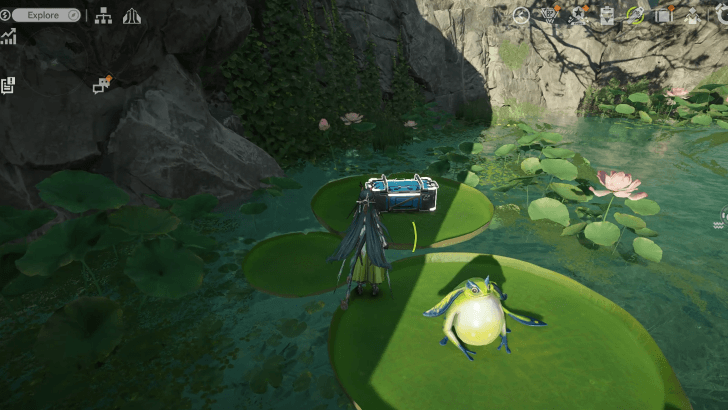 |
Solve the frog puzzle in the south area of East Gorge Ruins by patting the sparkling frog as soon as the right frog is near the glowing frog. | |
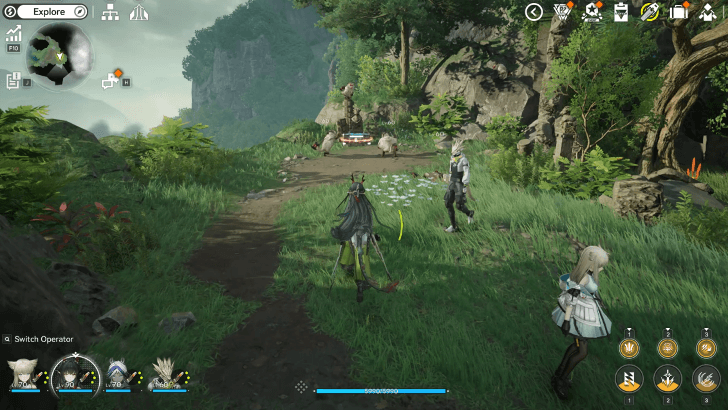 |
Defeat the group of enemies in the southeast area of East Gorge Ruins to unlock the chest. | |
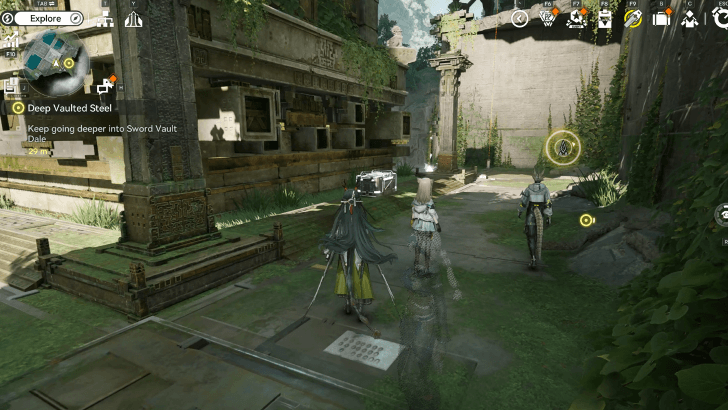 |
Found behind the second sword stele in the East Gorge Ruins. | |
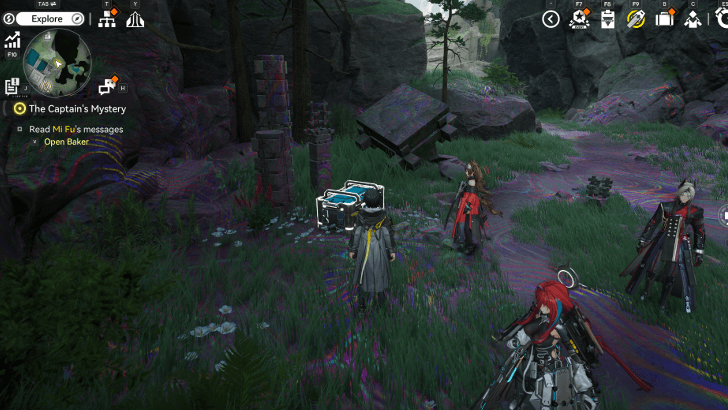 |
From the East Gorge Ruins TP Point, head northeast and clear the Blight pool to find a chest. | |
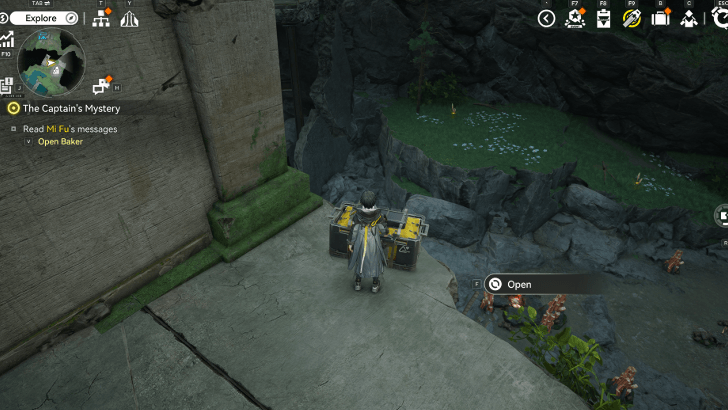 |
North from the East Gorge Ruins TP Point, locked chest located on top of the broken building. Collect all 3 Sealed Aurylenes as you make your way up towards the chest. | |
 |
Clear the Energy Alluvium inside the Shadow Tunnel east of the East Gorge Ruins TP Point. | |
 |
Solve the frog puzzle inside the Shadow Tunnel. With only having 2 movable frogs, move both of them twice then pat the starting frog to drain the water and access the chest. | |
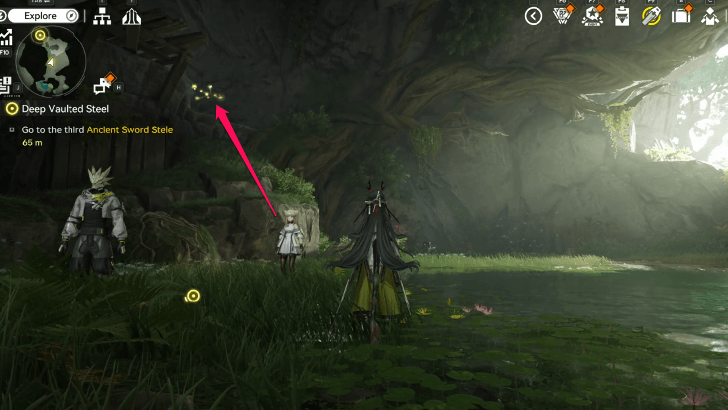 |
Northeast of Shadow Tunnel, follow the butterflies from the top of the hill that's left of the Rockhowler down towards the platform near the rope to access the chest. | |
 |
Clear the Energy Alluvium north of the exit of Shadow Tunnel. Take the path beside the wall to get to the area. | |
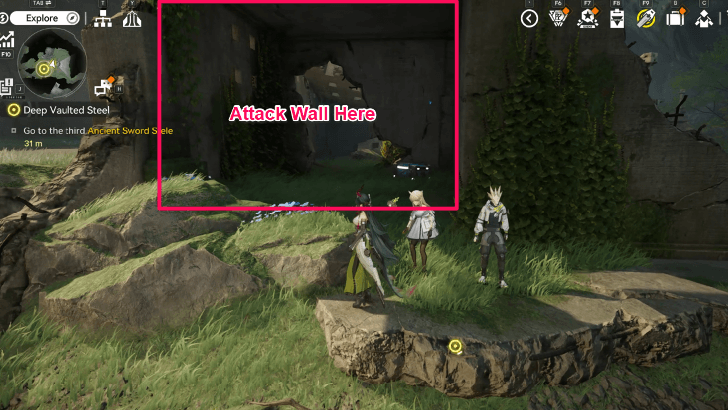 |
Found behind an Optical Fog after entering North Gorge Crag, attack the wall to reveal the chest inside. | |
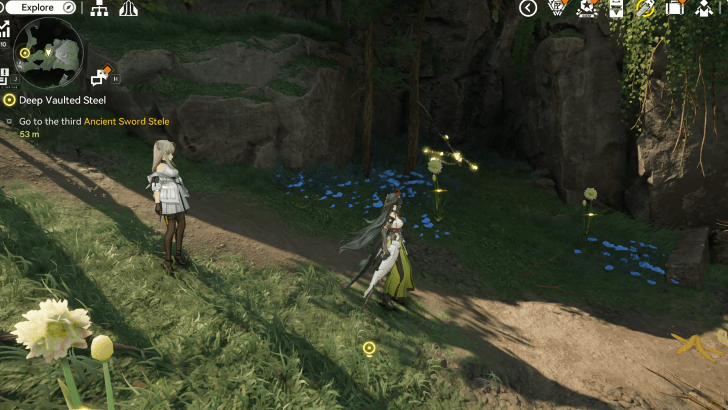 |
Southeast of North Gorge Crag, follow the butterflies found by the gap near a tree, to the path towards the Rare Growths spot to get the chest. | |
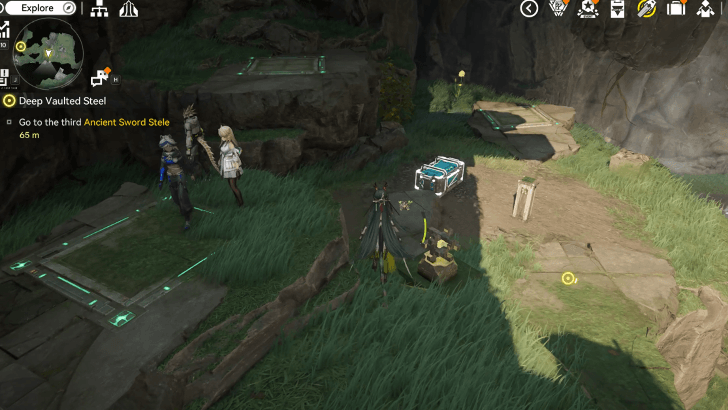 |
Solve the pressure plate puzzle in the southeast area of North Gorge Crag to get the chest. | |
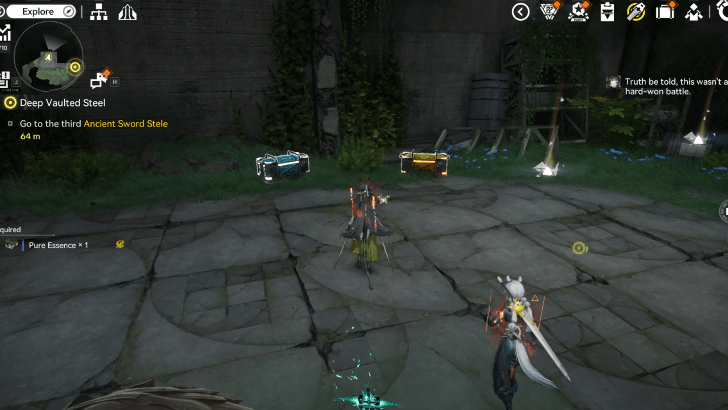 |
On top of the hill in North Gorge Crag, defeat the group of Rockhowlers and Manglerbeasts to unlock both chests. | |
|
|
On top of the hill in North Gorge Crag, defeat the group of Rockhowlers and Manglerbeasts to unlock both chests. | |
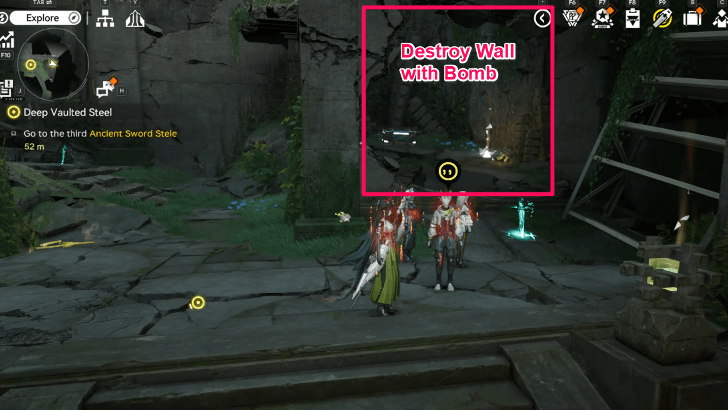 |
Found behind a wall, head east from the northernmost area of North Gorge Crag and throw a bomb to destroy the wall and get the chest. | |
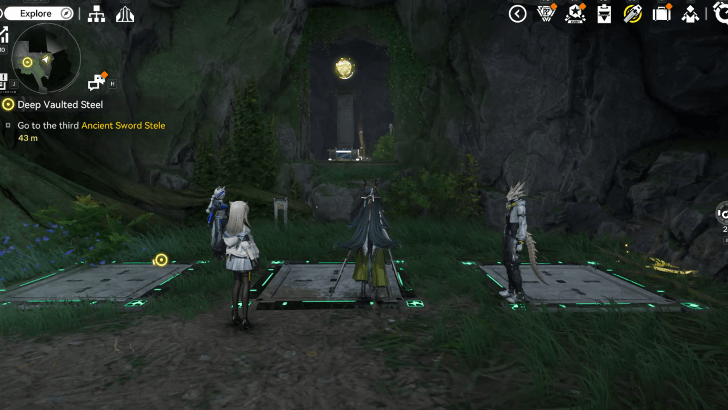 |
From the northernmost side of North Gorge Crag, head down east until you find a group of enemies by the the pressure plate puzzle. Defeat the enemies and solve the puzzle to open up a room with a chest and Aurylene. | |
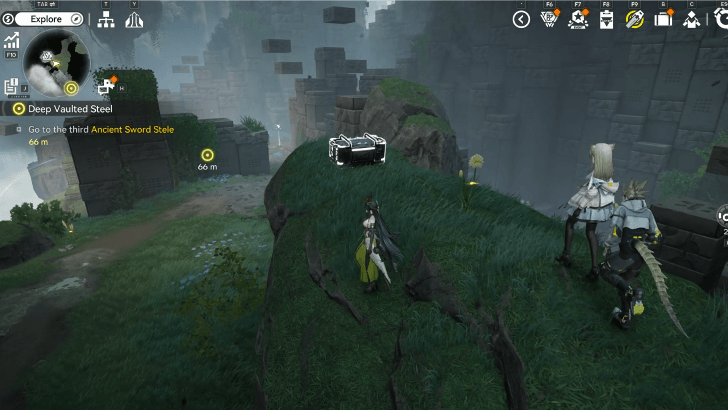 |
West of North Gorge Crag, head up the hill near the Rare Ores spot to find a chest. | |
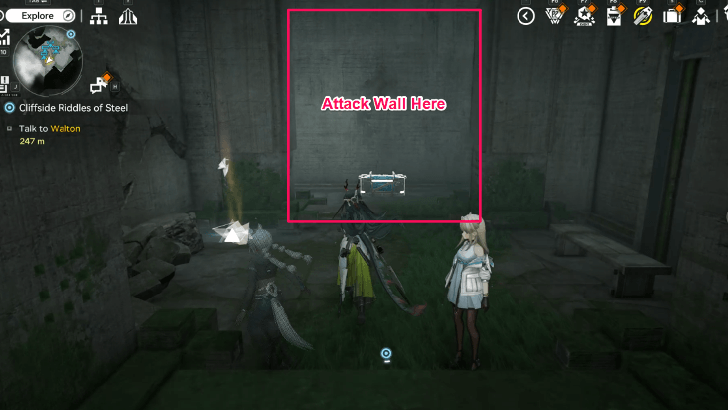 |
Inside the secret room south of the Mechanism Pillar in South Gorge Rampart, attack the wall near an Aurylene spot to reveal a new path and the chest. | |
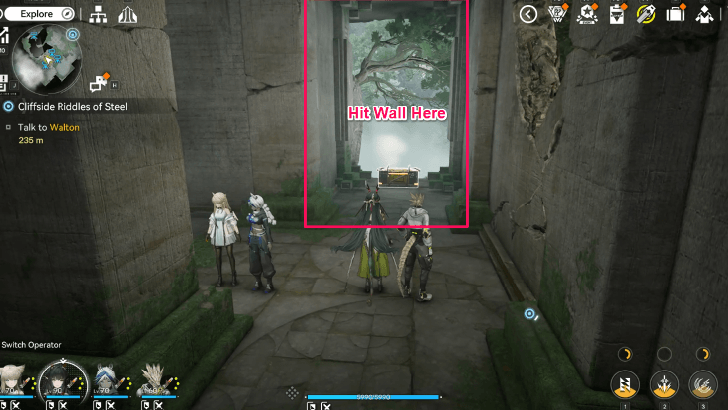 |
Inside the secret room south of the Mechanism Pillar in South Gorge Rampart, after hitting a wall and revealing a path, follow the path to find an Aurylene and take a right. Hit another wall to reveal a secret room to find this chest. | |
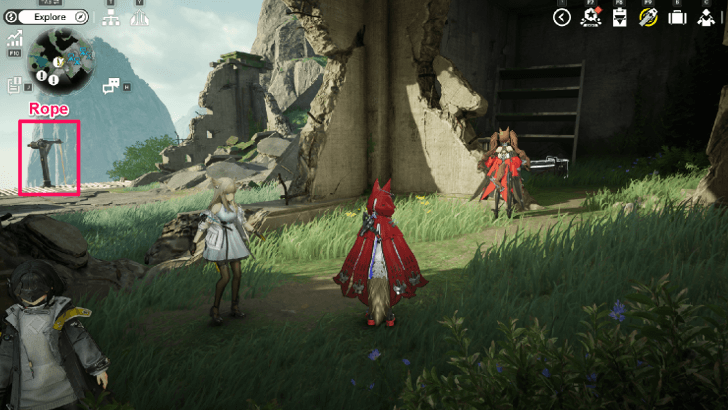 |
Requires progressing the Cliffside Riddles of Steel quest. After heading up the rope unlocked by Smartie, enter the broken wall directly in front, then turn left to find the chest. | |
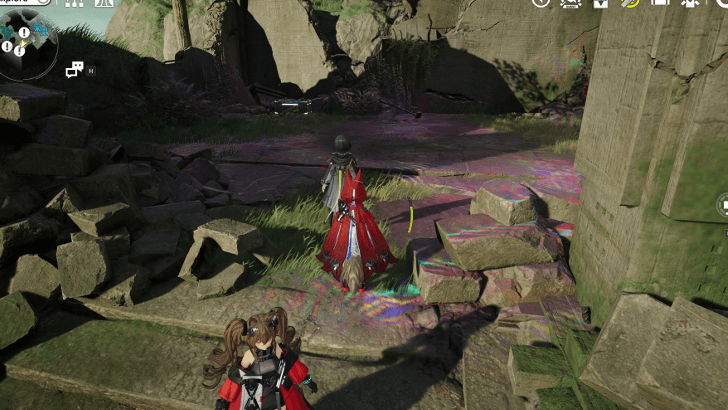 |
Requires progressing the Cliffside Riddles of Steel quest. Clear the blight with Liquid Heavy Xiranite to find the chest. | |
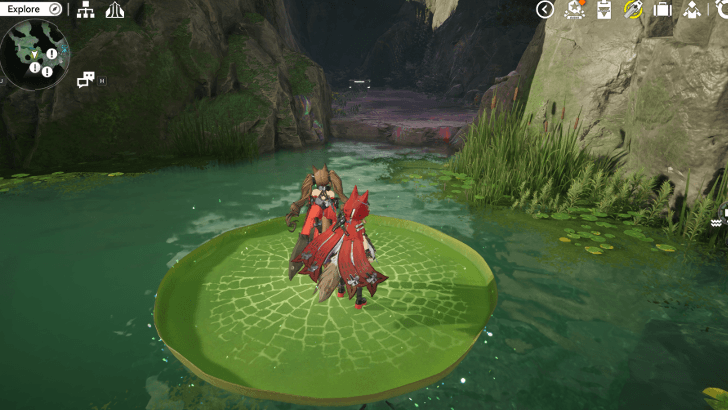 |
Requires progressing the Cliffside Riddles of Steel quest. Clear the blight with Liquid Heavy Xiranite to find the chest. | |
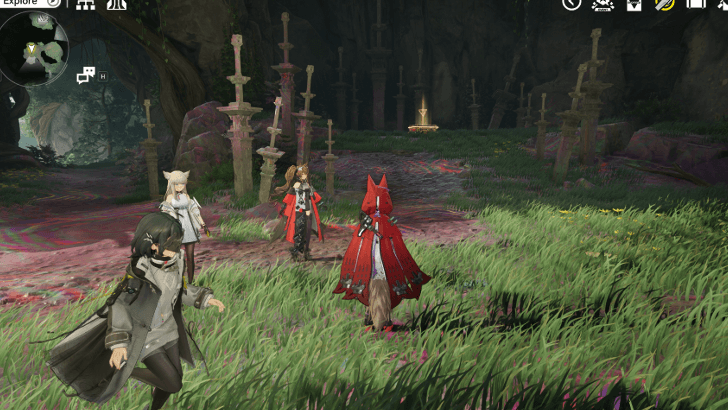 |
Requires progressing the Cliffside Riddles of Steel quest. Clear the blight with Liquid Heavy Xiranite to find the chest. | |
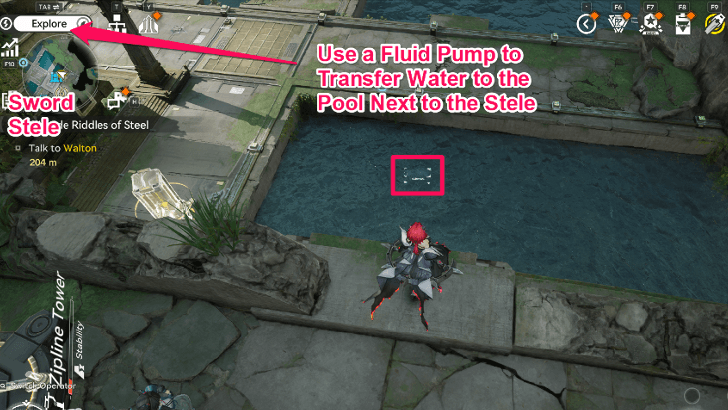 |
Use a Fluid Pump to direct the water to the pool south of the sword stele. | |
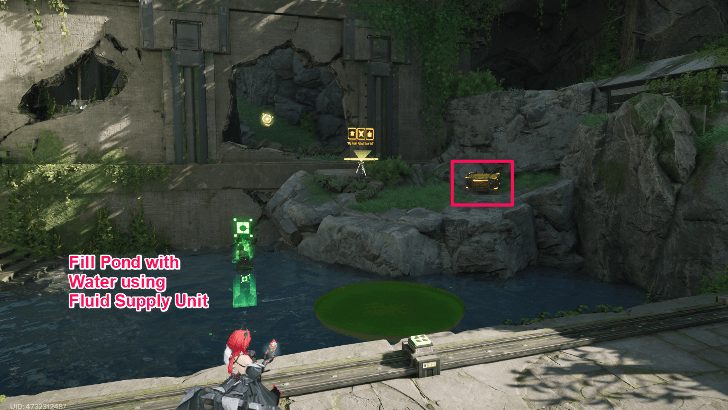 |
Supply water into the pond to access the lily pad used to reach the chest. Use the water from the pool beside the sword stele with a Fluid Pump connected to a Fluid Supply Unit. | |
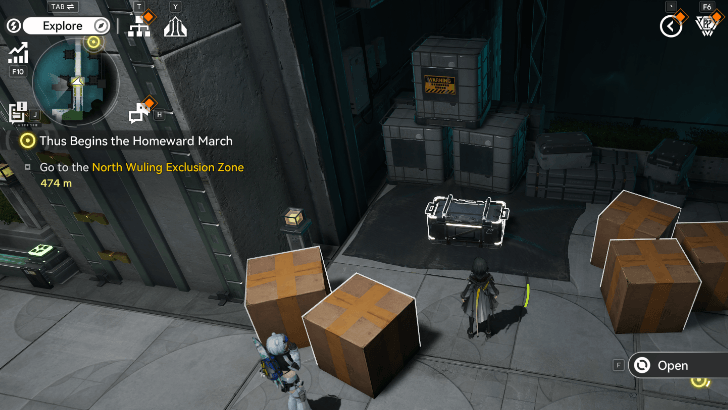 |
Yinglung Pass Entrance from Wuling City, found to the right and obscured by a number of destructible boxes. | |
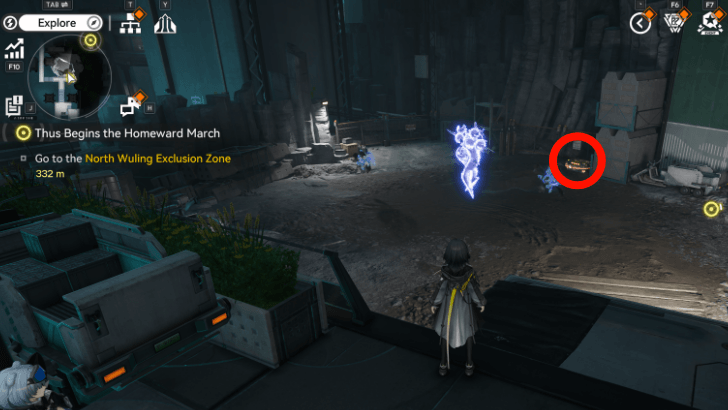 |
Yinglung Pass Entrance from Wuling City, on the northern end of the path besides Pass-Side Canal. Defeat the two high-level Hedron δ and a high-level Tidewalker δ guarding the chest to unlock it. | |
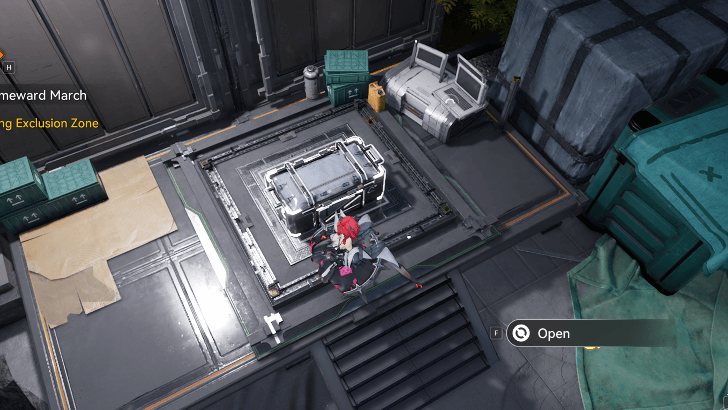 |
Southwest from the Abandoned Side Building, just beside a Gas Vent. It is found right beside a switch that builds a bridge to the entrance of the starting area of the sub-region. | |
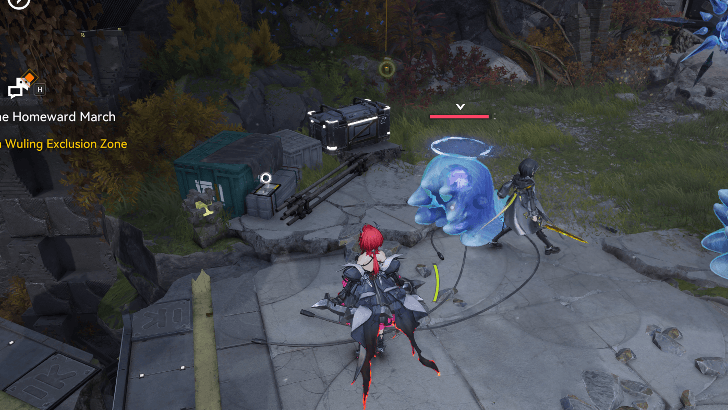 |
Between the Cloudscraper Flats and Device Pavilion. You have to rappel down a rope to get to this area. There are two Mudflows and a Hedron in the area to fight, but there is no need to defeat them to unlock the chest. | |
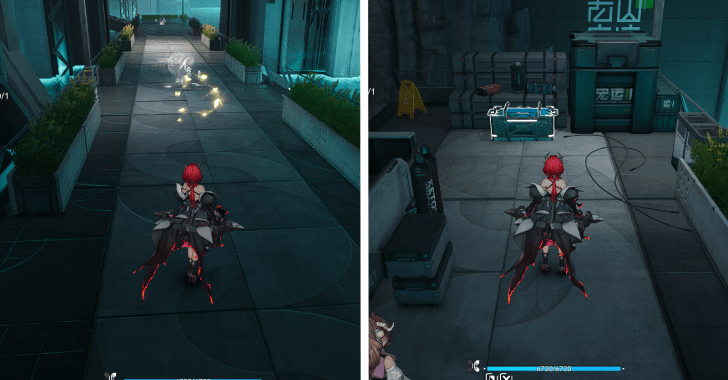 |
Southeast of the waypoint in Pass-side canal, follow the butterflies to reveal the chest at the end | |
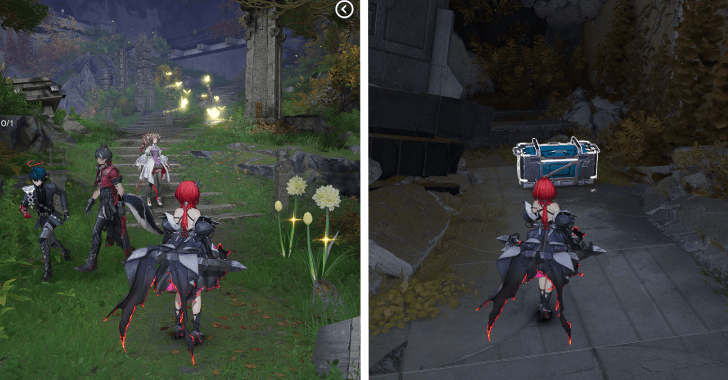 |
Southwest of the Abandoned Side Building, follow the butterflies to reveal the chest at the end. | |
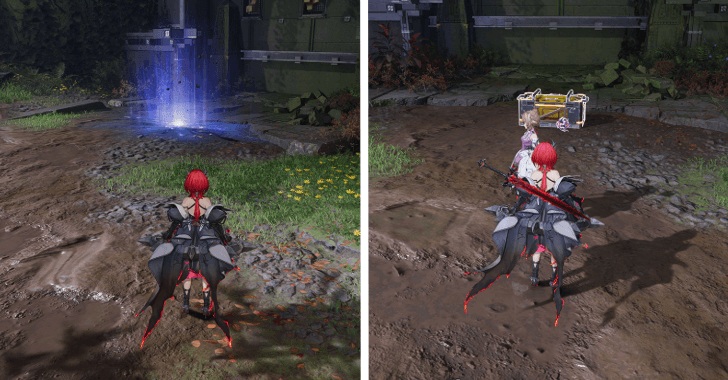 |
Clear the Temporary Energy Alluvium found northwest of the Odd Pine Ridge. | |
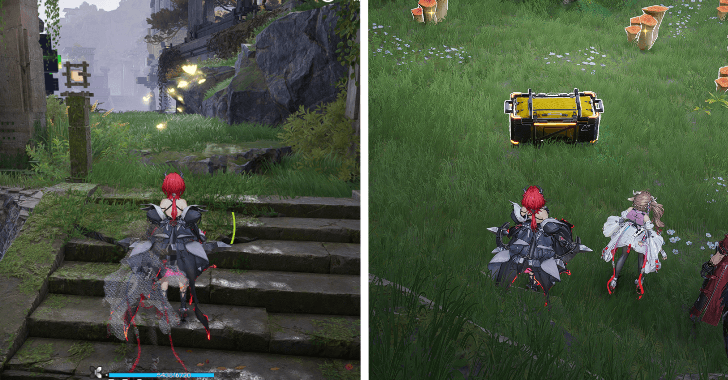 |
Slightly northwest of Odd Pine Ridge, follow the butterflies to reveal the chest at the end. | |
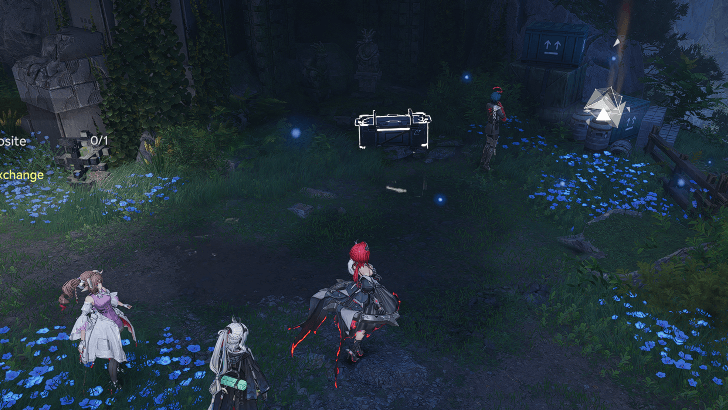 |
Slightly south of Stonepond Cliff, rappel upwards from the nearby zipline to access this area. | |
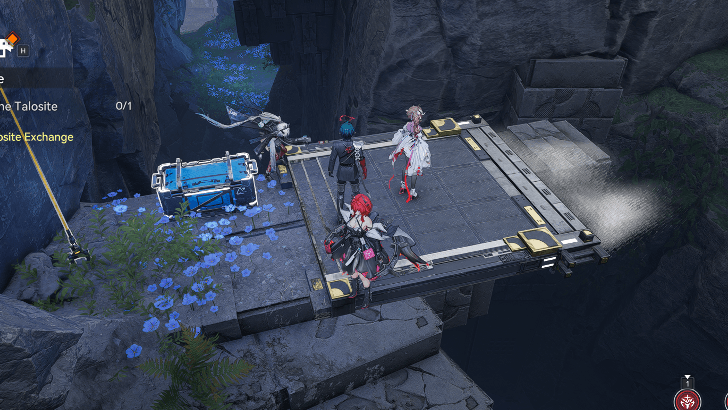 |
West of Stonepond Cliff. Rappel downwards from the nearby zipline to access this area. | |
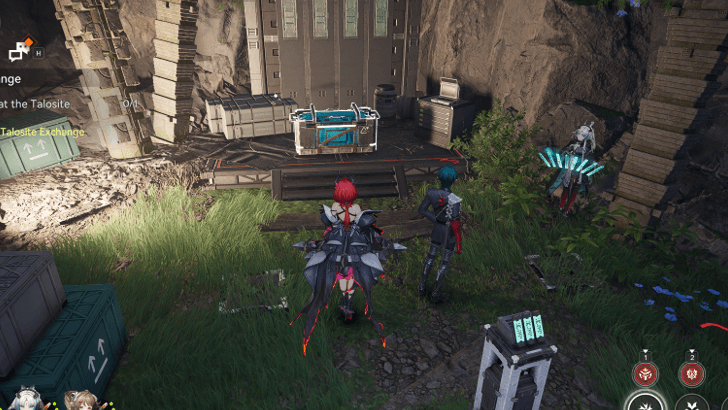 |
Southwest of Stonepond Cliff, activate the terminal to show holograhpic images. From left to right press 4-3-3 to complete the puzzle and reveal the chest. | |
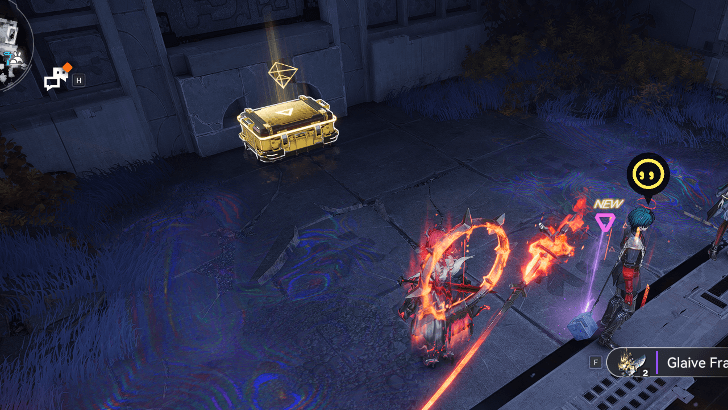 |
Descend to the bottom of the Device Pavilion and defeat the enemies to unlock the chest. | |
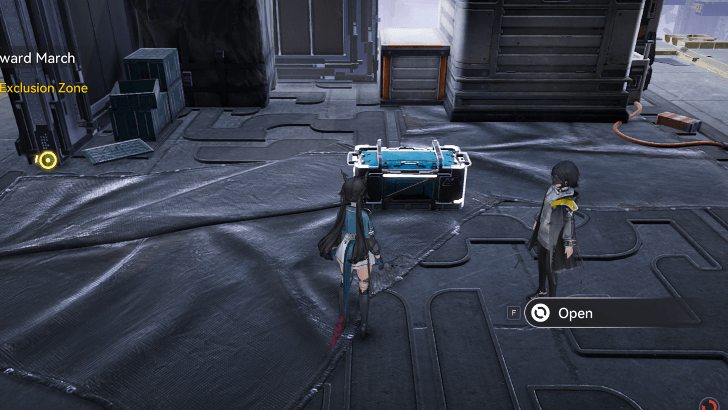 |
Found in the Old Pine Ridge on one of the floating platforms. Dive attack the pressure plate in the following order to unlock the chest: down, right, left, right. | |
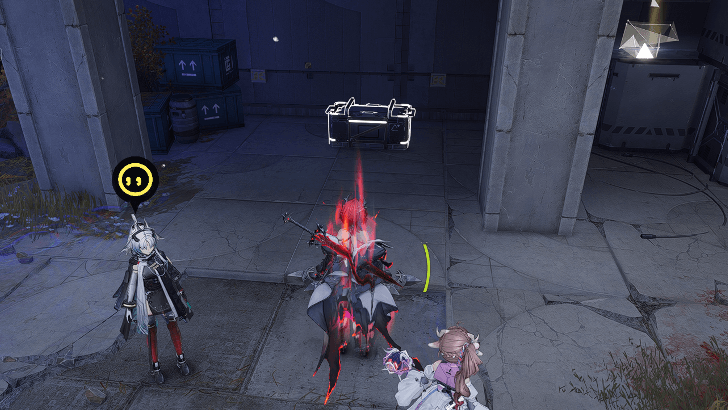 |
Guarded by multiple enemies and found southeast of the waypoint in Device Pavilion. | |
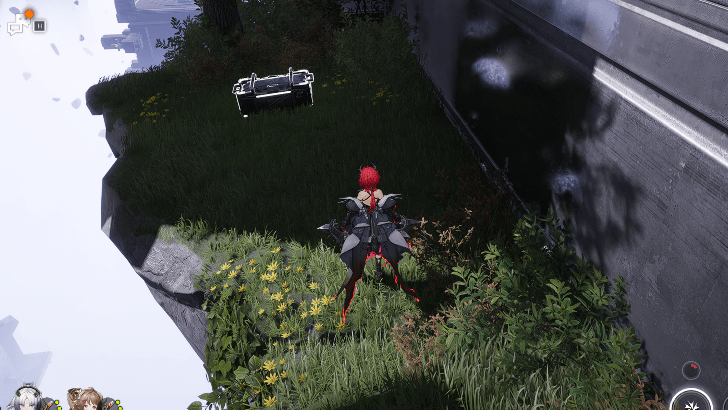 |
To the side of the large platform, jump down to reach the chest located Southwest of the YSTF Main Camp. | |
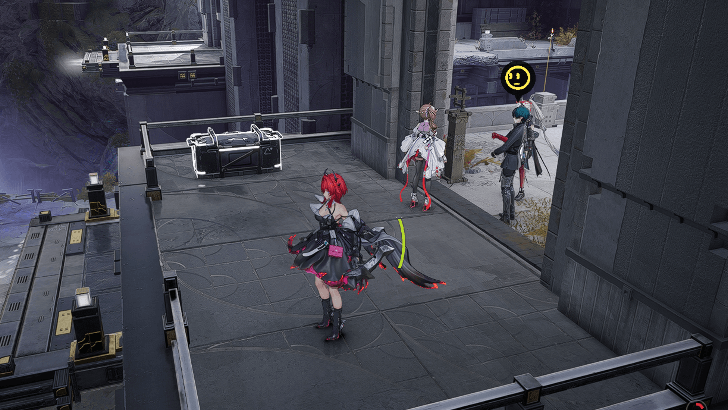 |
Just beside an ink bridge outside of Device Pavilion, located south of the waypoint. | |
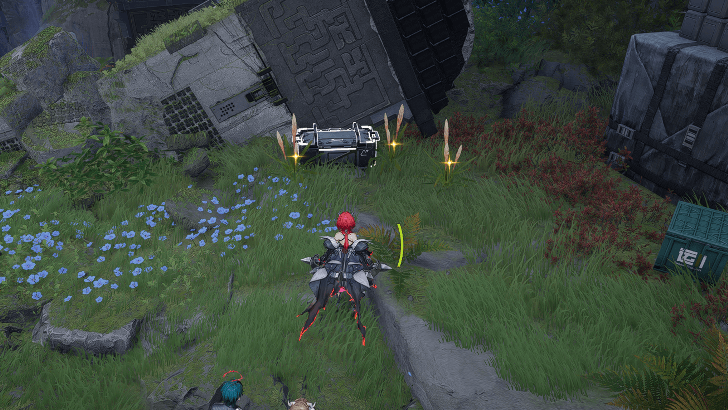 |
East of Stonepond Cliff, can be found beside a ruined pillar. | |
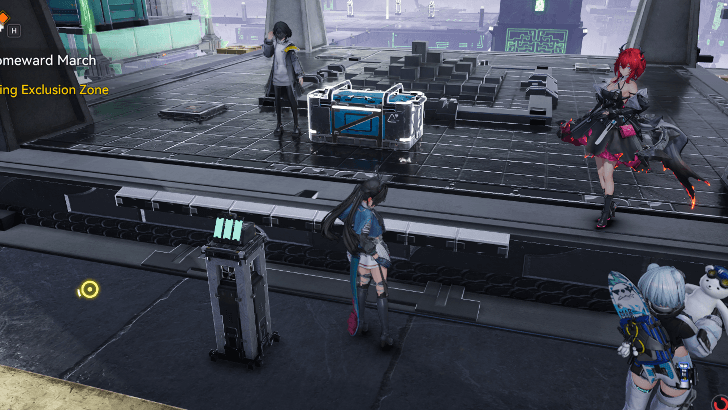 |
Southwest of the Exclusion Gate. You have to jump over a barricade carefully to get within jumping distance for this platform. Then, solve the puzzle by picking a design different from the rest of the choices. | |
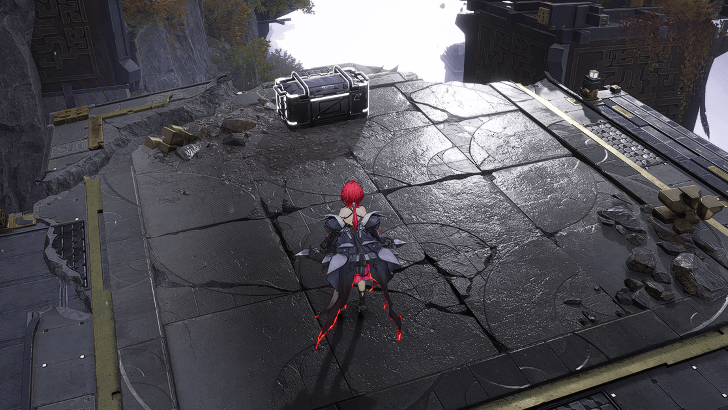 |
On a small floating platform just slightly east of Cloudscraper Flats, traverse through the ink bridges to get to this location. | |
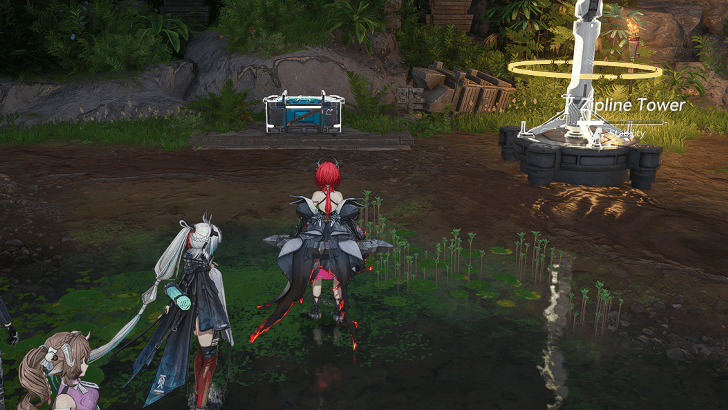 |
South of Odd Pine Bridge. | |
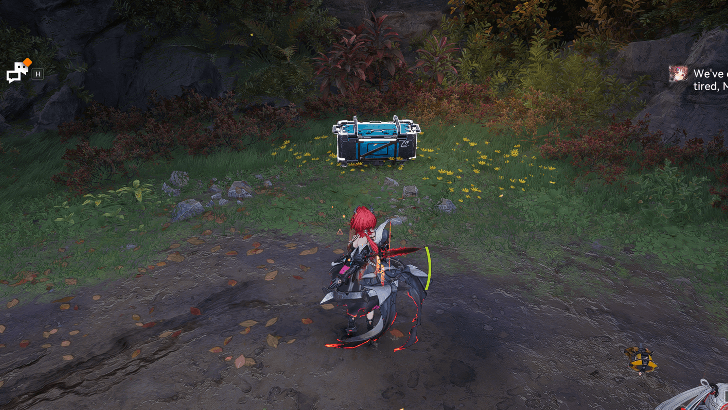 |
Guarded by some enemies just northeast of the waypoint between Odd Pine Ridge and Stonepond Cliff. From the waypoint, go to the side of the stairs and descend the zipline to reach the area. | |
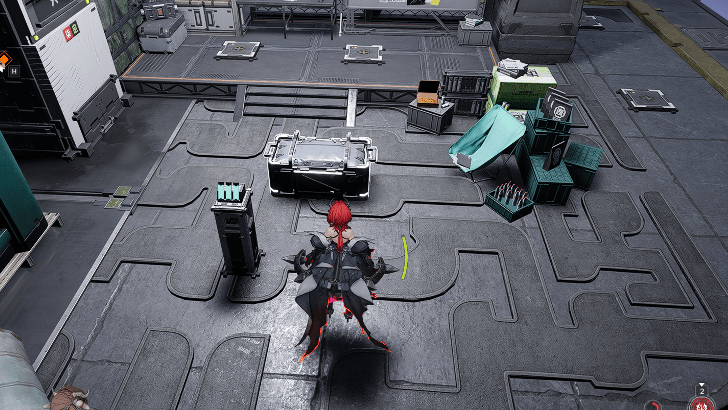 |
Found on the lower segment of the floating pillar northwest of Stonepond Cliff. Select the hologram in front of the whiteboard first, then the furthest hologram on the right, then the hologram near the shelves. | |
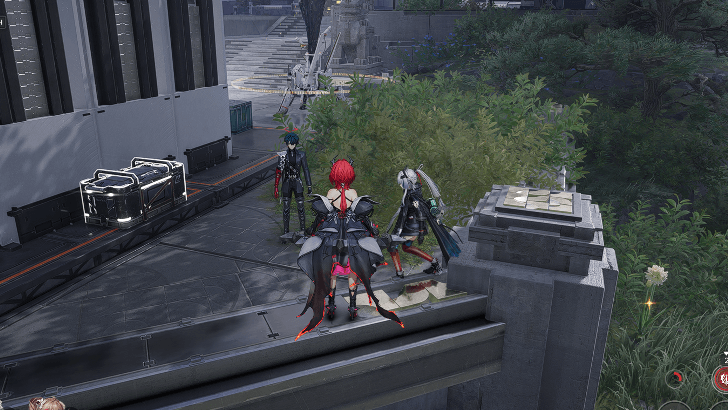 |
Just very slightly southwest of the waypoint in YSTF Main Camp. Behind some machinery. | |
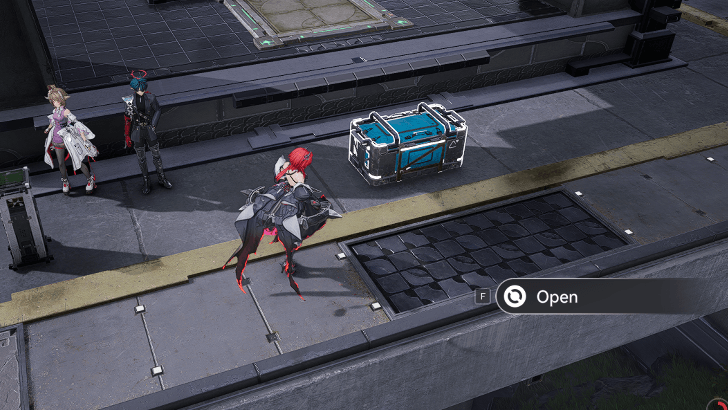 |
On the pillar just to the left of the waypoint in YSTF Main Camp. Unlock the chest by pressing the plates in this order: left, right, up, down. | |
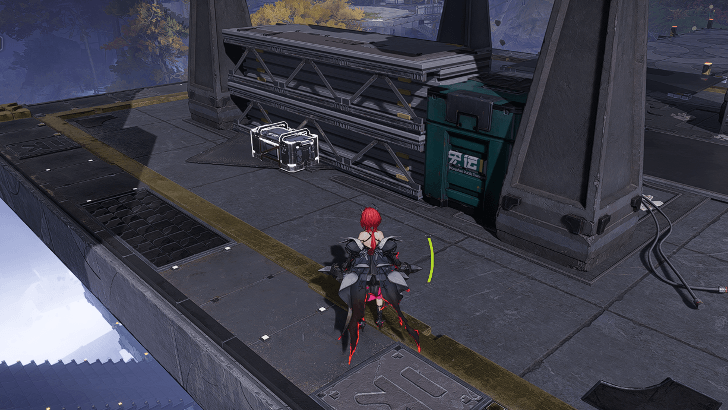 |
Behind the crates on one of the floating pillars northwest of Balepyre Dais. | |
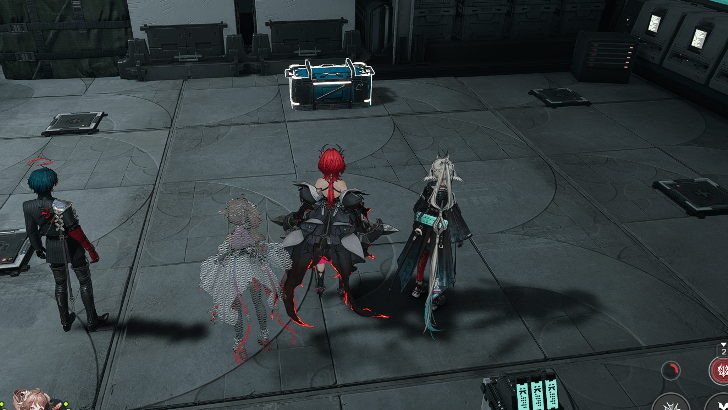 |
On the platform where you can find the Talosite, complete the puzzle by interacting with the different hologram out of the four displayed. It can be found just east of Pass-side Canal. | |
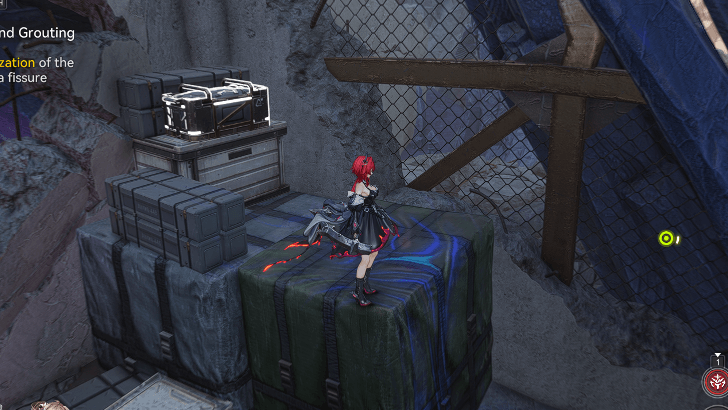 |
On top of some crates found west of the Cliffsider Courtyard, use the Xiranite Nexus to move down one of the crates to get to the chest. | |
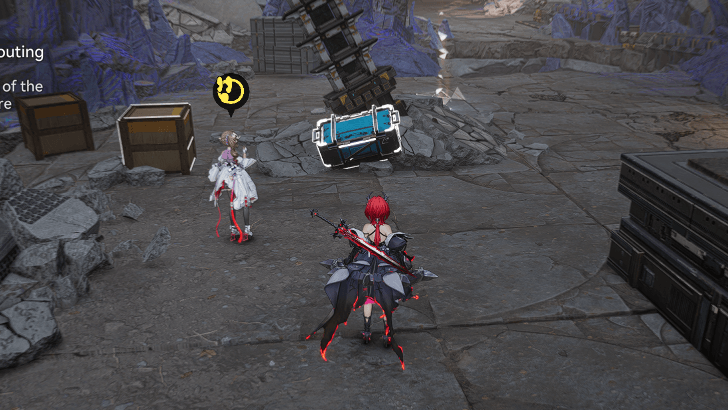 |
Southeast of the Energy Alluvium in Quelltide Levee, can be found resting underneath a Xiranite pillar. | |
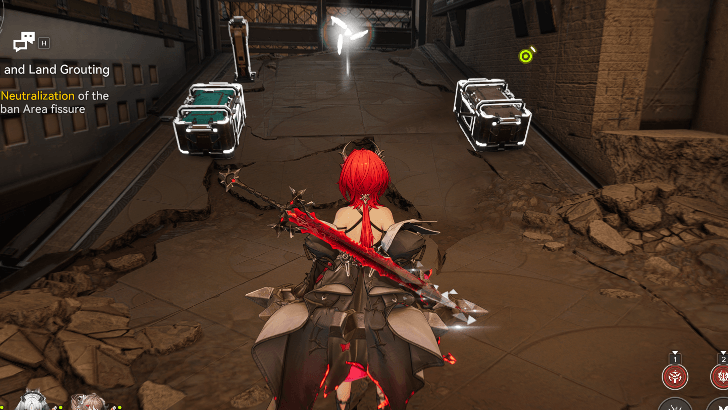 |
Can be found behind an illusory wall in the area underneath the Energy Alluvium in Quelltide Levee. Attack the wall to dispel the illusion. | |
|
|
Can be found behind an illusory wall in the area underneath the Energy Alluvium in Quelltide Levee. Attack the wall to dispel the illusion. | |
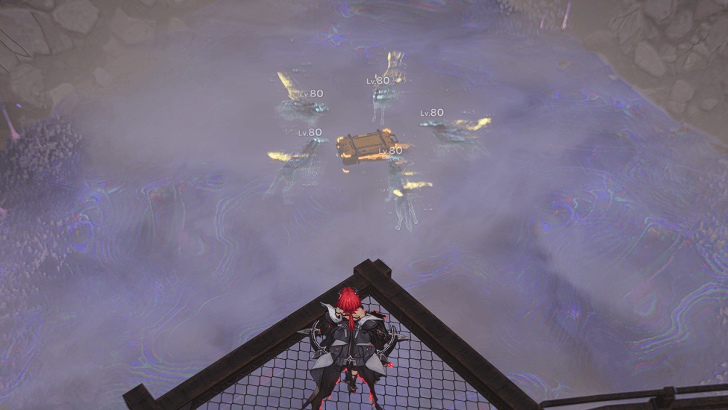 |
Guarded by some higher levelled enemies in a shallow pit found slightly southwest of Quelltide Levee. | |
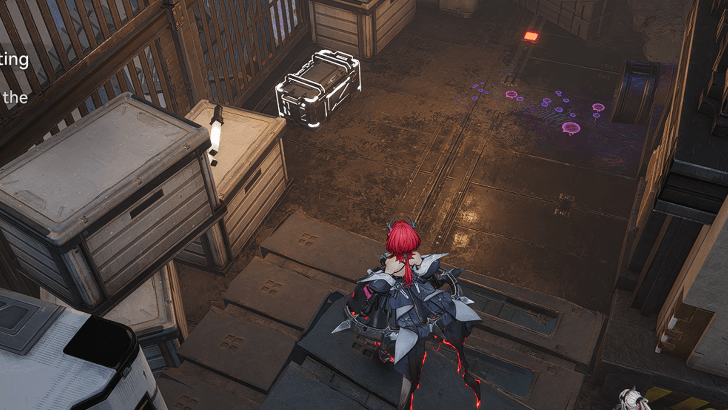 |
Behind some crates and rubble Southwest of Quelltide Levee. | |
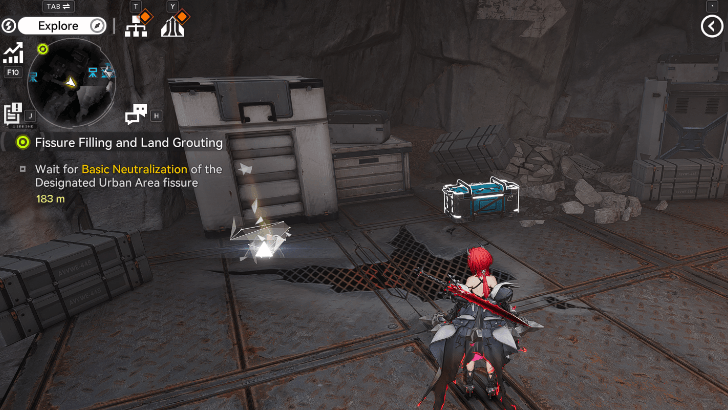 |
Within some breakable crates southwest of Quelltide Levee. | |
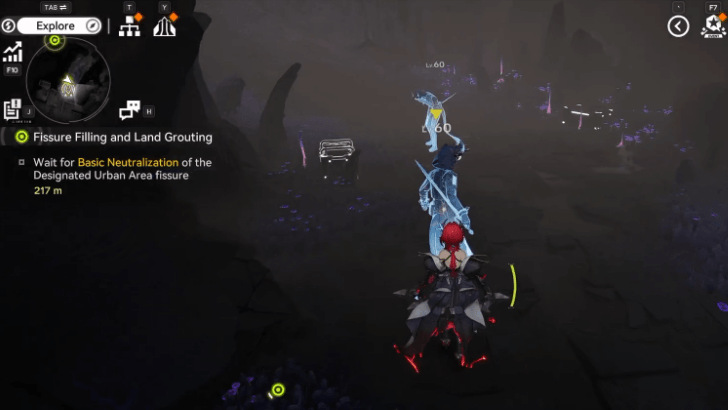 |
Directly underneath the waypoint southwest of Quelltide Levee | |
|
|
Directly underneath the waypoint southwest of Quelltide Levee | |
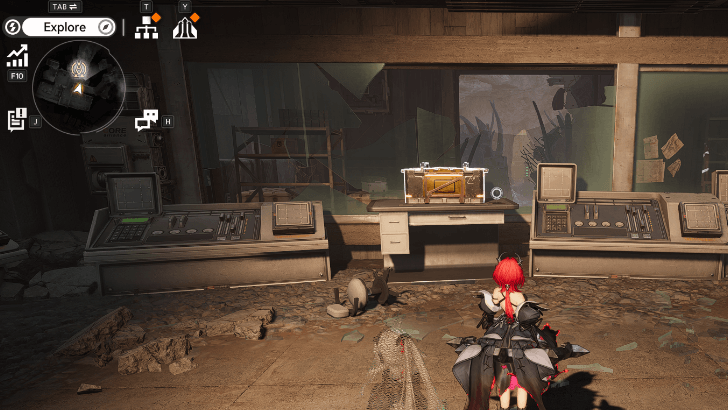 |
Inside the room behind the glass as you enter the building South of the waypoint in Quelltide Levee. | |
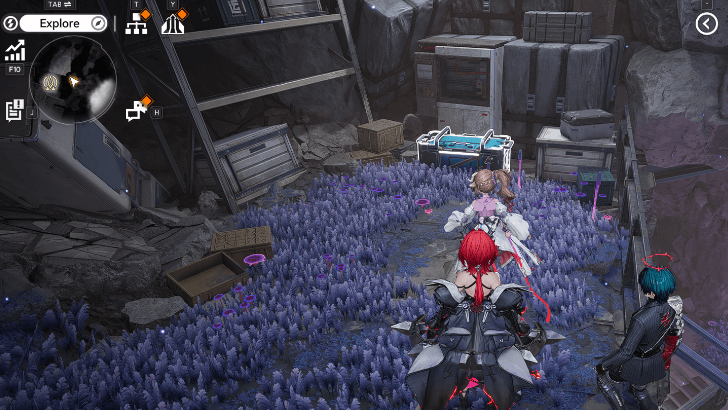 |
On top of a flight of stairs Northeast of the waypoint in Quelltide Levee.. | |
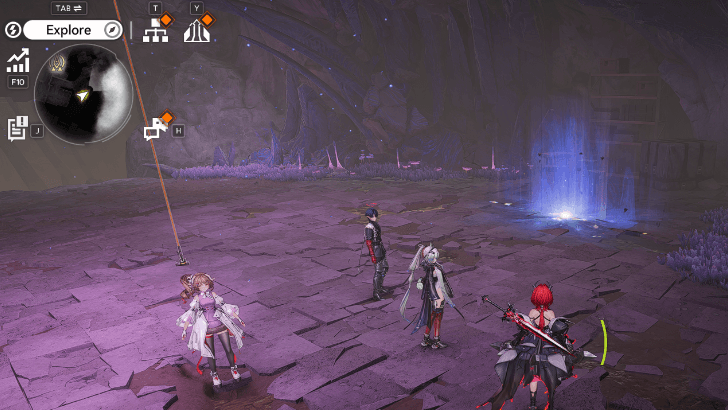 |
Descend down a zipline found southeast of the waypoint in Quelltide Levee. Clear the temporary Energy Alluvium to reveal the chest | |
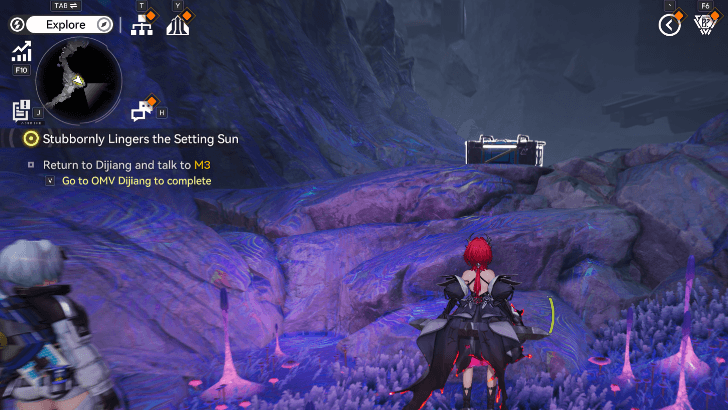 |
Southeastern portion of the Designated Urban Area. In the intersection after passing a Xiranite Pillar, take a left instead of a right. The chest is guarded by three YSTF Vanguard Blightshades. | |
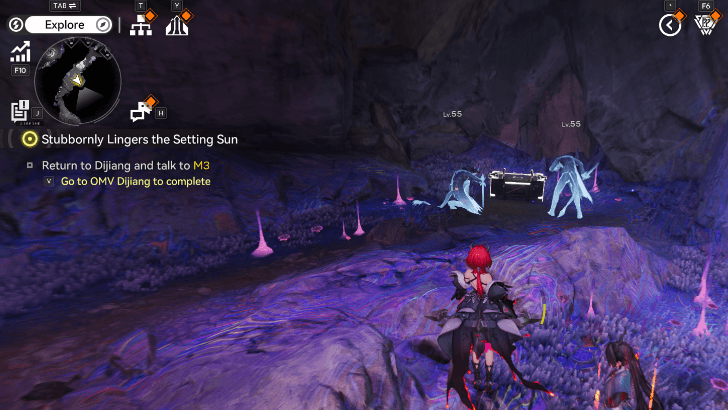 |
Northeastern portion of the Designated Urban Area. Hidden in an underpass corner to the right, and prodded by two YSTF Vanguard Blightshades. | |
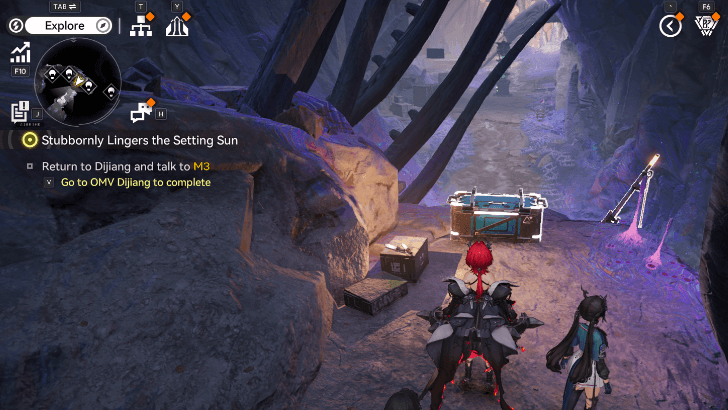 |
Northeastern portion of the Designated Urban Area. The chest is overlooking the path southward, and there is an unlockable rappel rope to the right of the chest. | |
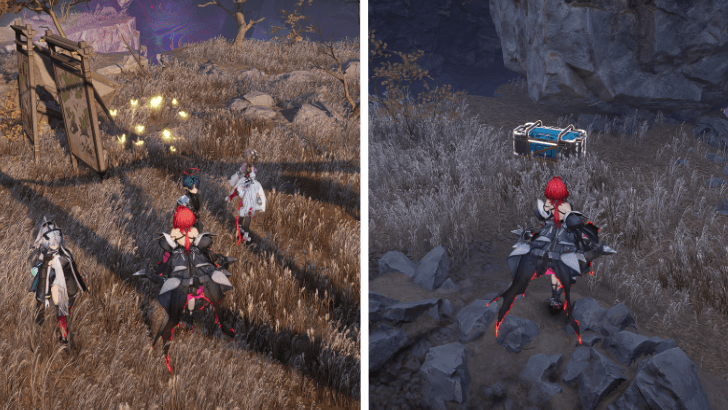 |
Butterfly Chest - Can be found behind some artwork stands slightly Northeast of the waypoint in the Designated Urban Area. Follow the butteflies to reveal the chest. | |
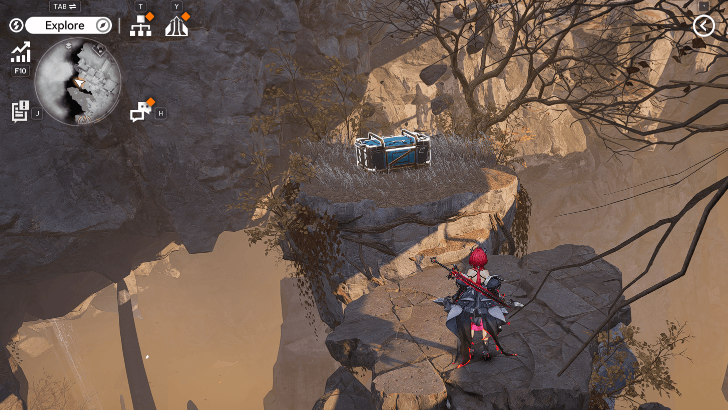 |
North of the waypoint in the Designated Urban Area. | |
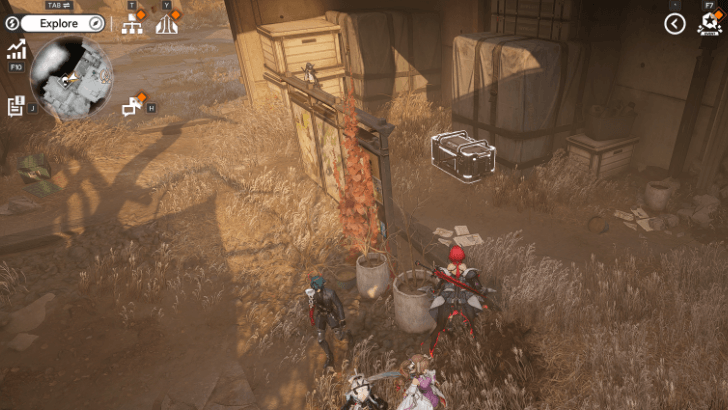 |
Behind some artwork found West of the waypoint in Tanjian Hall. | |
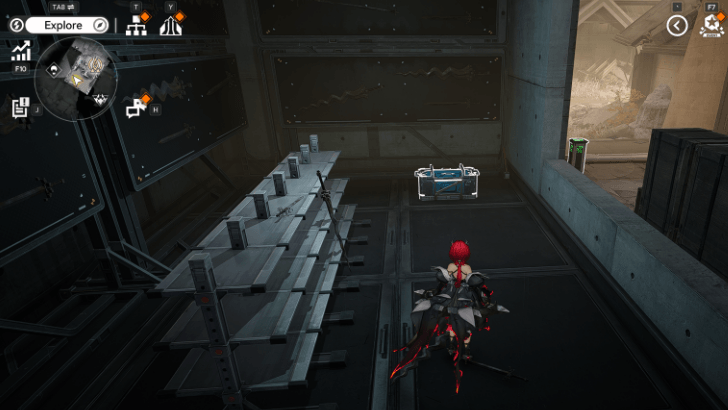 |
Inside the building underneath the waypoint in Tanjian Hall, you can enter this area by heading west from the Crisis Fragment: Blitzcrash Blightshade. | |
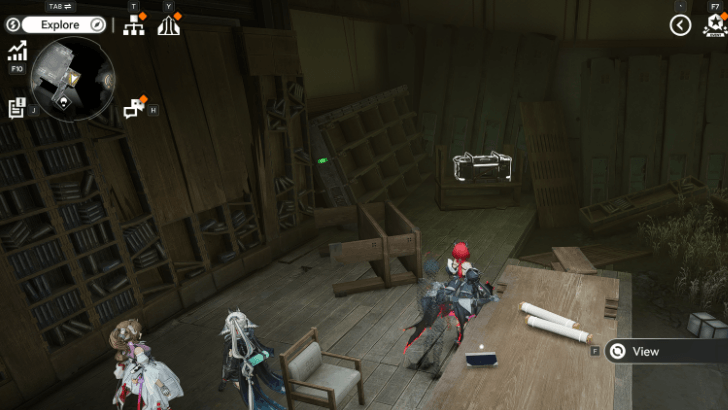 |
Inside Tanjian Hall, can be found beside some bookshelves and ruined documents. Positioned east of the waypoint on the map. | |
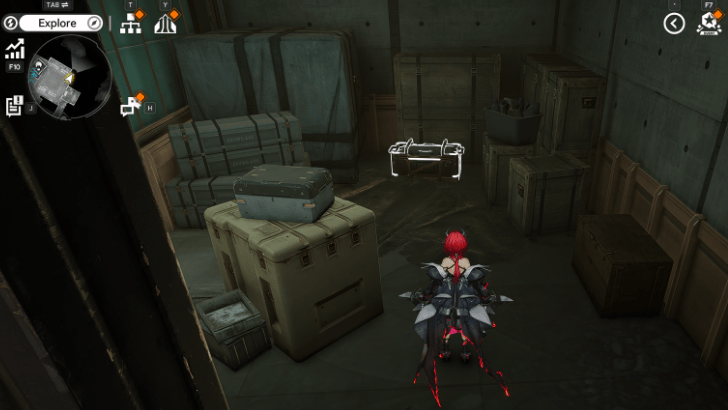 |
Found beside some crates inside of Tanjian Hall. Positioned northeast of the waypoint on the map. | |
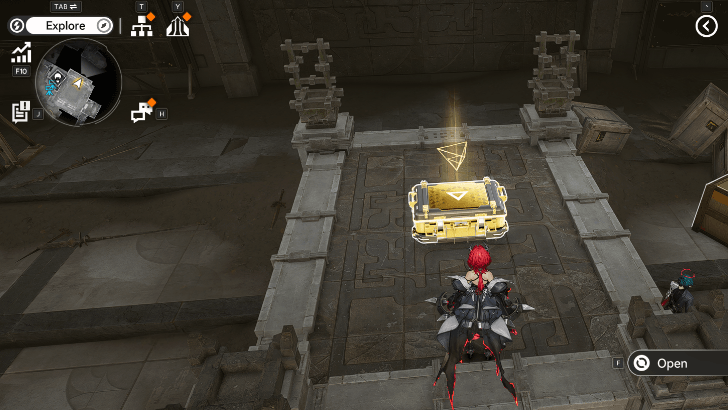 |
Found on a platform inside Tanjian Hall, positioned Northeast of the waypoint on the map. | |
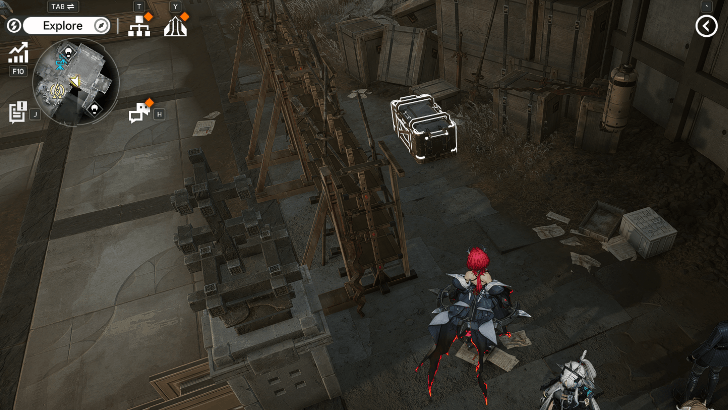 |
Beside a ruined armory inside Tanjian Hall, positioned slightly northeast of the waypoint on the map. | |
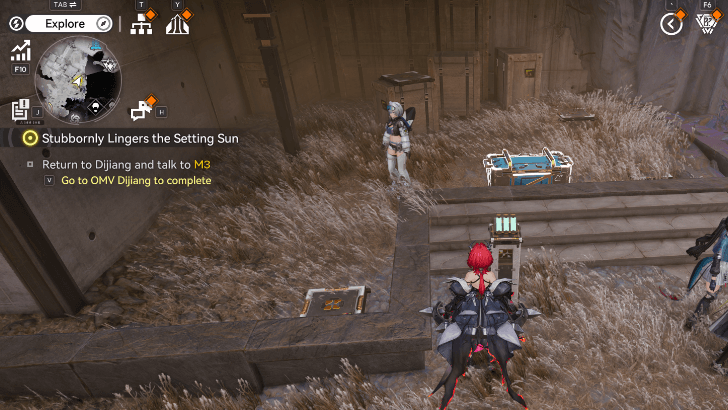 |
Just outside of the building southwest of Tianjin Hall. Activate a switch to begin a holographic puzzle. Choose the mark with the most strikign difference from 4 options. Do this 3 times correctly for the Chest to spawn. | |
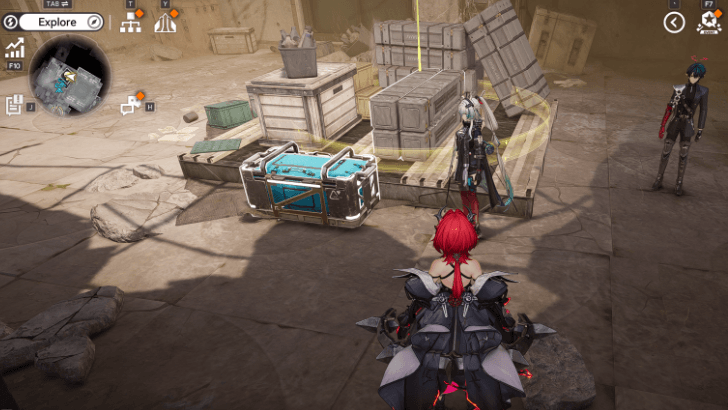 |
Inside a room hidden behind an illusory wall within Tanjian Hall. Positioned Northeast of the waypoint on the map. | |
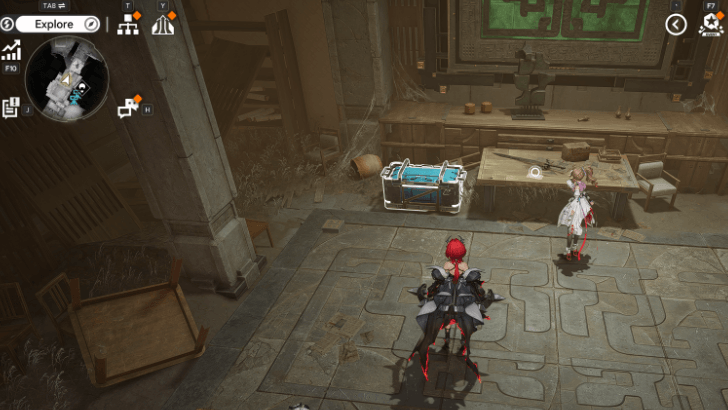 |
On a platform by some stairs inside the building North of Xiranite Research Labs. | |
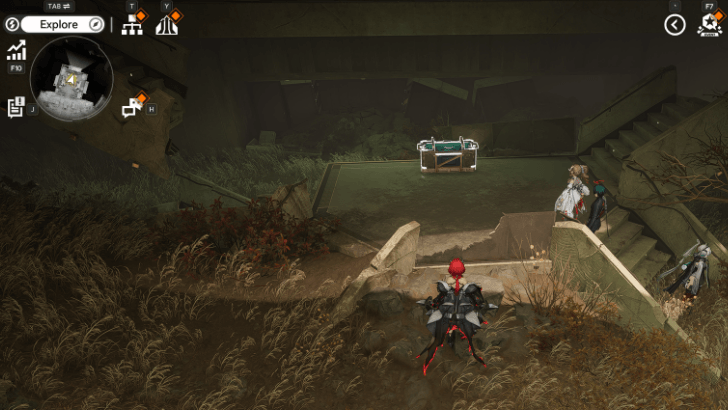 |
Beside the crane found north of the Celestial Column. | |
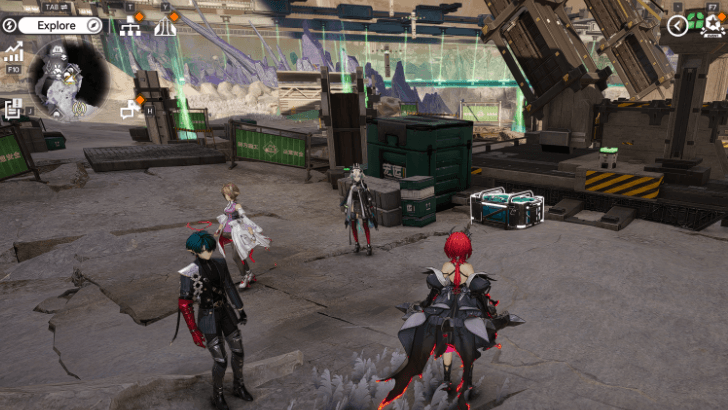 |
Temporary Energy Alluvium, found just slightly north of the lower ground waypoint in Celestial Column. | |
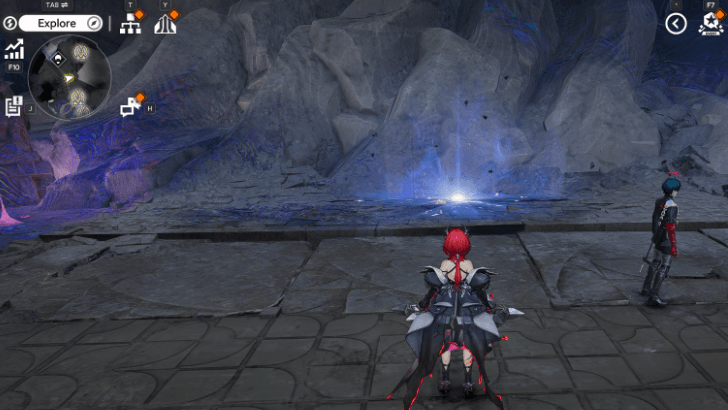 |
Inside an orange-lit building found east of the Tianshi Pillar R&D Center. | |
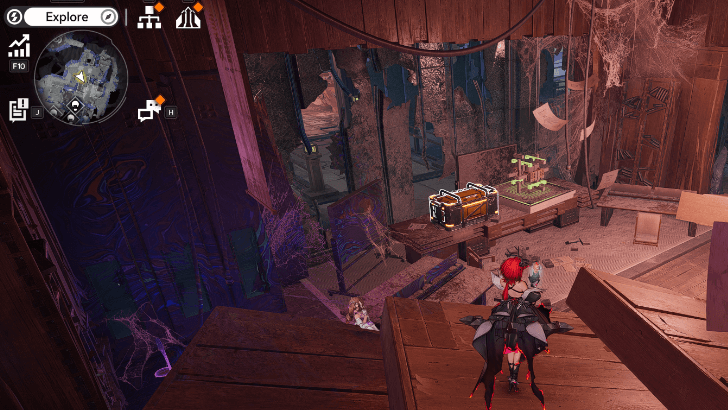 |
Found west of the TP Point in Tanjian Hall. Use the rappel rope nearby to go up to the second floor, then scale the rooftops to get to the balcony that leads to the Chest. | |
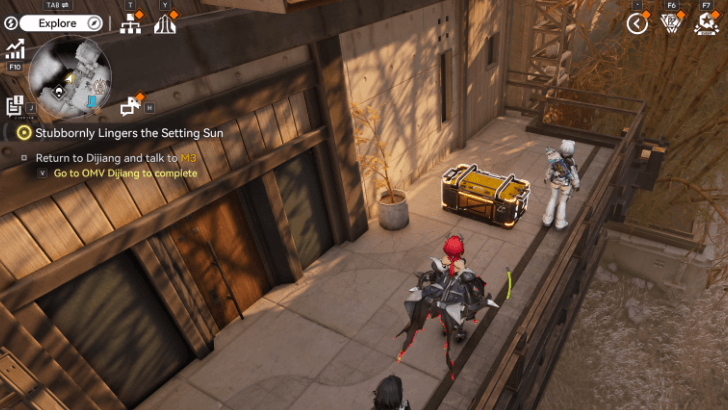 |
Can be found opposite of a guide pillar East of the Tianshi Pillar R&D Center. | |
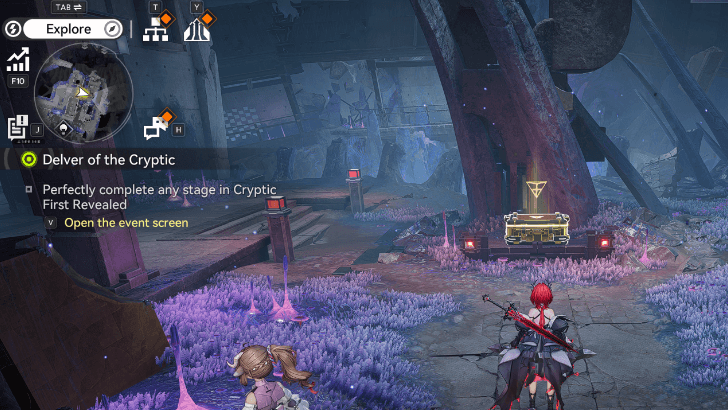 |
On the room to the left from where you found Chest 32. Positioned Northeast of the Tianshi Pillar R&D Center. | |
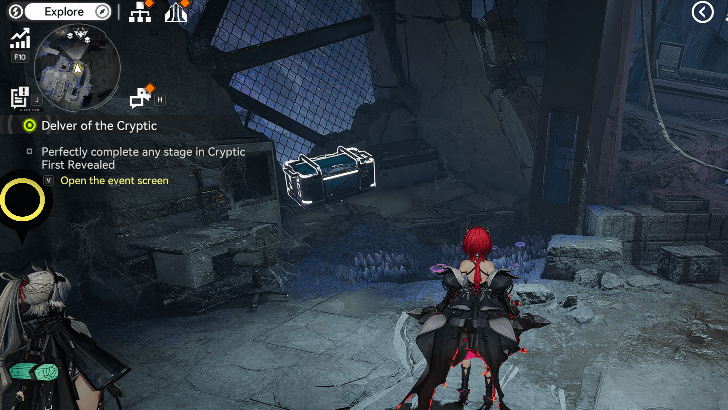 |
Can be found opposite of a guide pillar east of the Tianshi Pillar R&D Center. | |
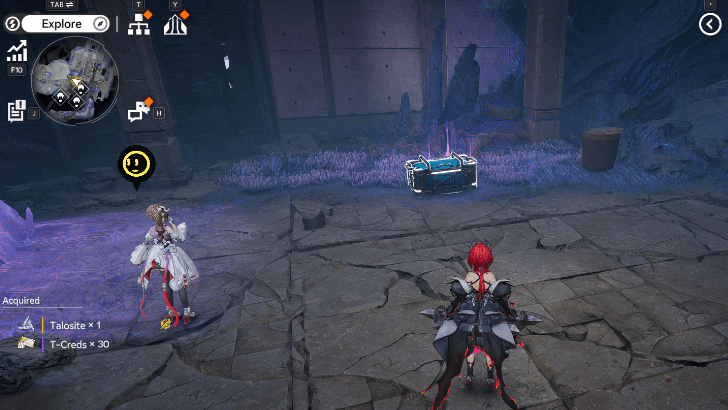 |
Can found guarded by some enemies Southeast of the Tianshi Pillar R&D Center. | |
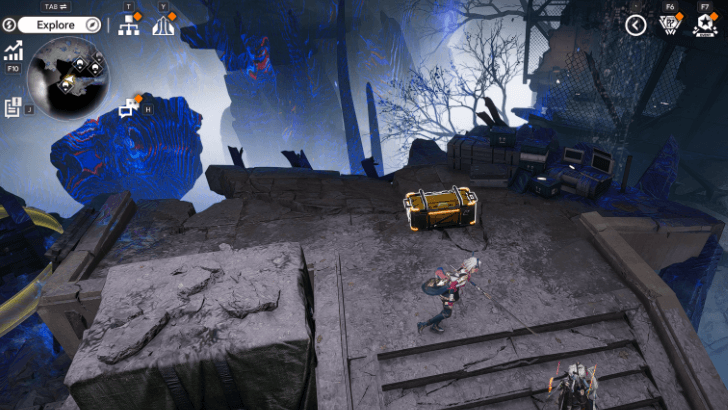 |
On the southern edge of the Tianshi Pillar R&D Center, guarded by a Blightshade Rakerbeast. | |
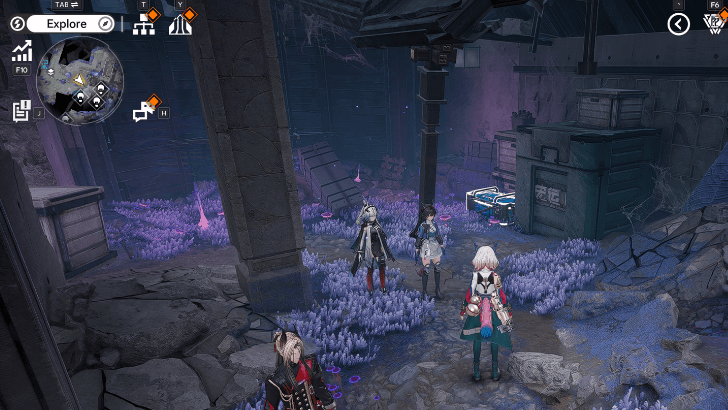 |
Found underneath a shed southeast of the waypoint in Tainshi Pillar R&D Center. | |
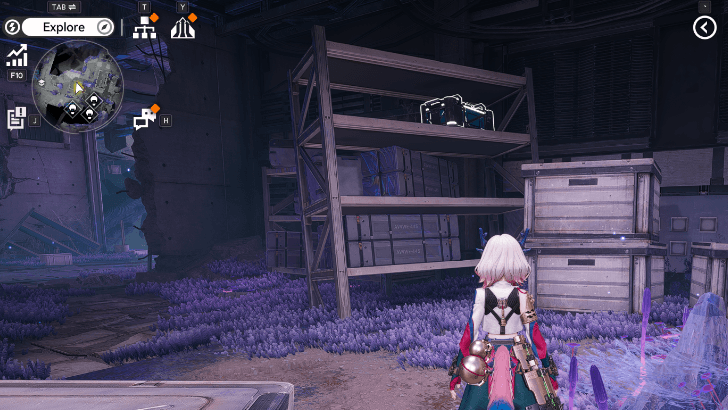 |
Inside the room to opposite of chest 36, use the Xiranite Nexus to move the rubble. | |
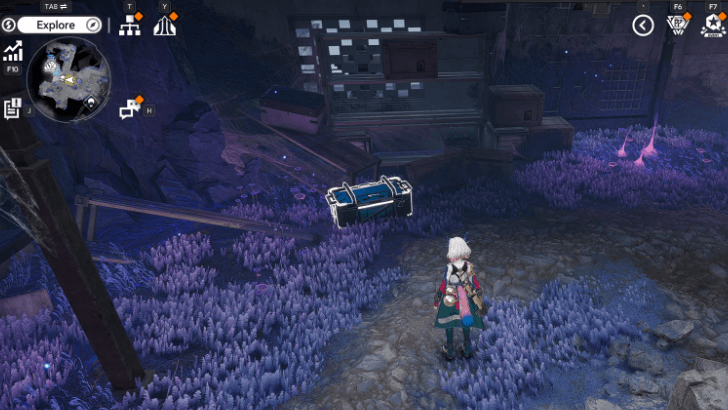 |
Underneath the roof of a walkway found near the center of the Tianshi Pillar R&D Center. | |
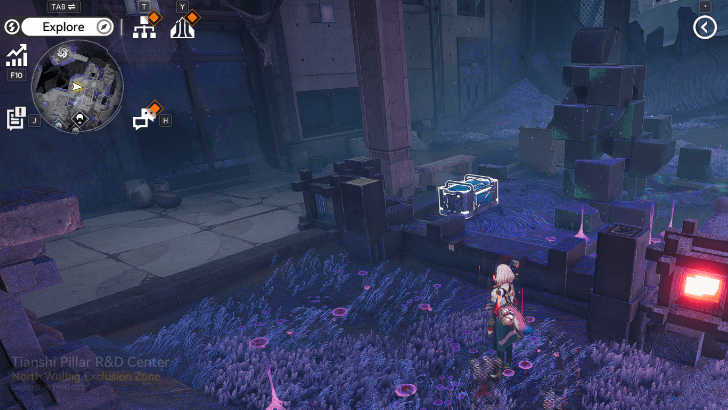 |
Beside a sculpture east of the Tainshi Pillar R&D Center. | |
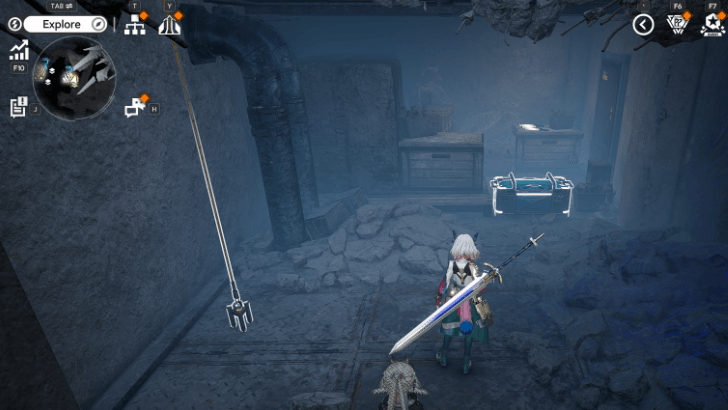 |
Behind an illusory wall east of the waypoint in Tianshi Pillar R&D Center, directtly below the Protocolith mining site. | |
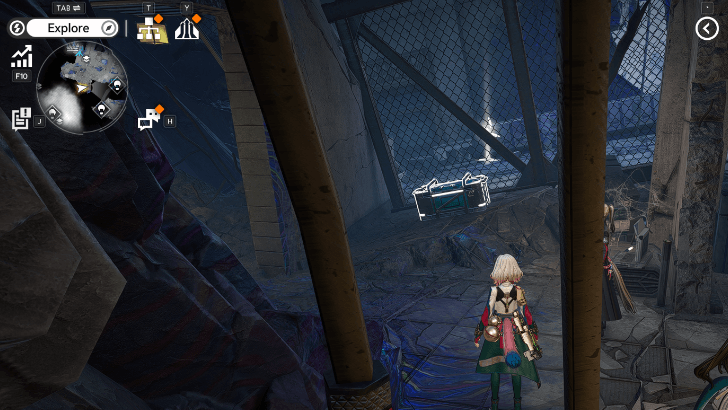 |
Inside a room found to the south of the Tianshi Pillar R&D Center. | |
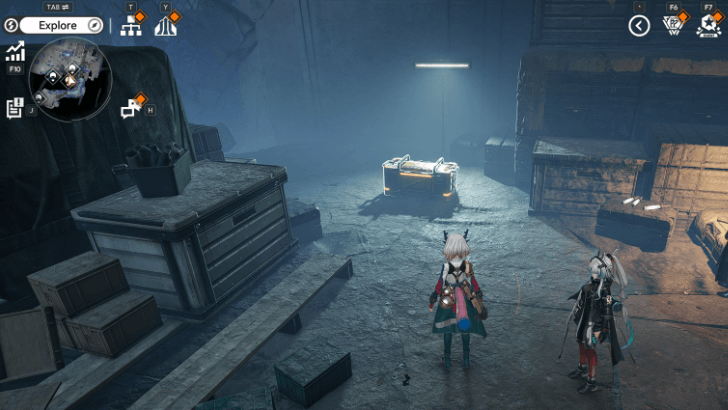 |
Go down a set of crates found southeast of the Tianshi Pillar R&D Center. | |
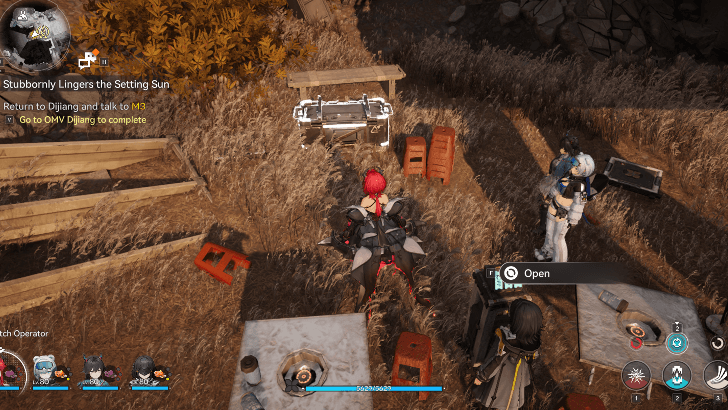 |
North Wuling, east side of the Sentry Base. Right under the are Aurylene floating around the area, there is a switch that you can interact with. While facing the switch, pick top left, top left, then bottom right to reveal the chest. | |
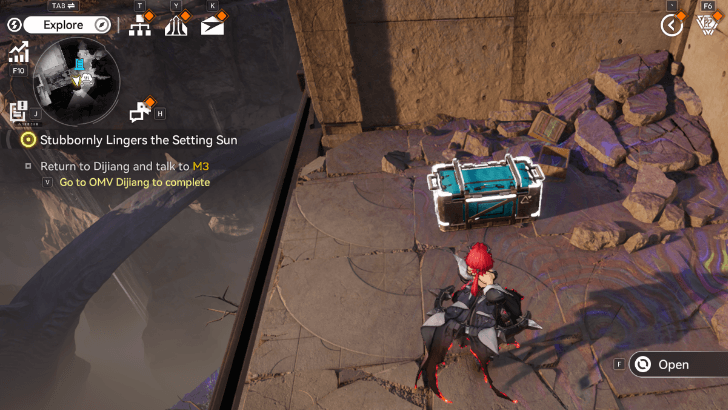 |
North Wuling, found on the southeastern side of the area across the walkway. Can be found near the bench close to a drop-off cliff. | |
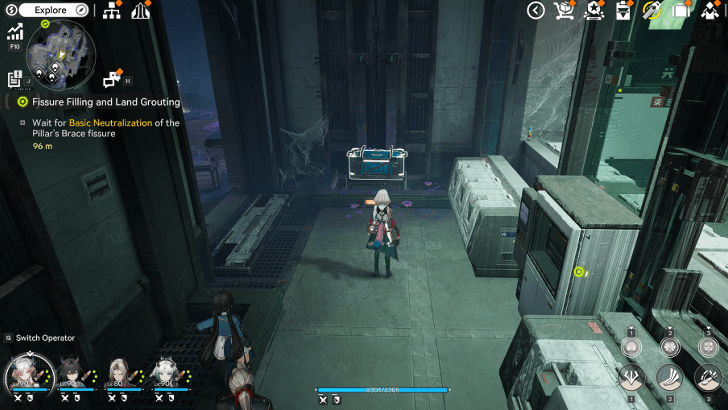 |
On top of a small moving platform Southeast of the Tianshi Pillar R&D Center. You can use the Xiranite Nexus on an object nearby to reach the chest. | |
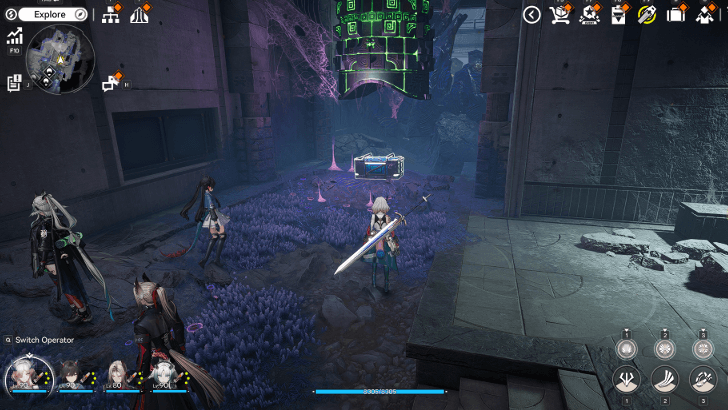 |
Can be found in the Eastern part of the Tianshi Pillar R&D Center. Use the Xiranite Nexus on the bell to reveal the chest. | |
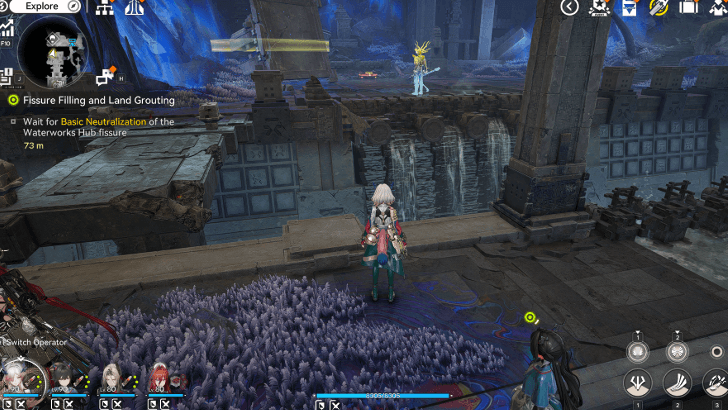 |
Guarded by a powerful Blightshade North of the Rift in Waterworks Hub. You must progress the quest "Fissure Filling and Land Grouting" until you clear the rift in Quelltide Levee to unlock this area. | |
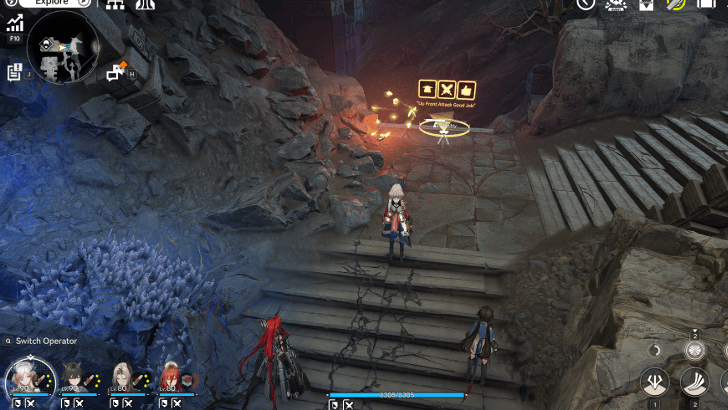 |
Butterfly Chest found West of the waypoint in Waterworks Hub. You must progress the quest "Fissure Filling and Land Grouting" until you clear the rift in Quelltide Levee to unlock this area. | |
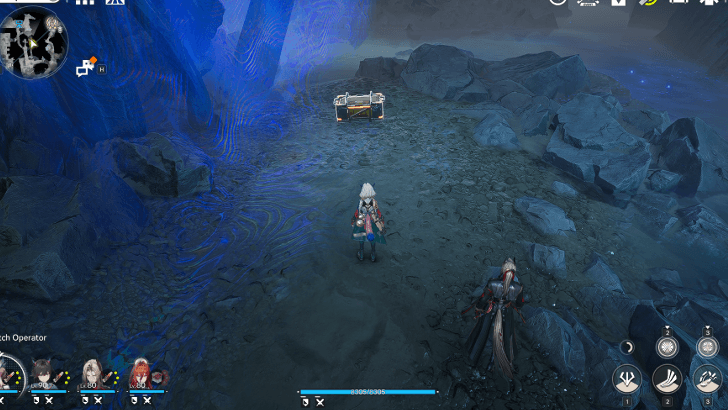 |
In the lower area of the Waterworks Hub, Southwest of the waypoint. You must progress the quest "Fissure Filling and Land Grouting" until you clear the rift in Quelltide Levee to unlock this area. | |
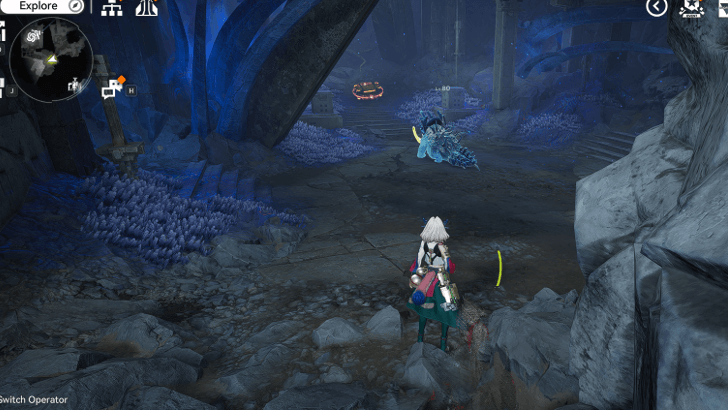 |
Southwest of the rift in Waterworks Hub, this chest is guarded by a quellbeast Blightshade. Defeat the Quellbeast to unlock the chest. You must progress the quest "Fissure Filling and Land Grouting" until you clear the rift in Quelltide Levee to unlock this area. | |
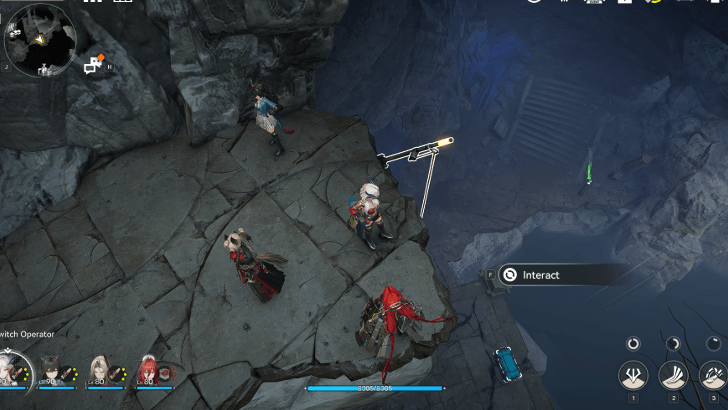 |
Continue along the path South of the Rift until you reach a zipline; descend it to reach the chest. You must progress the quest "Fissure Filling and Land Grouting" until you clear the rift in Quelltide Levee to unlock this area. | |
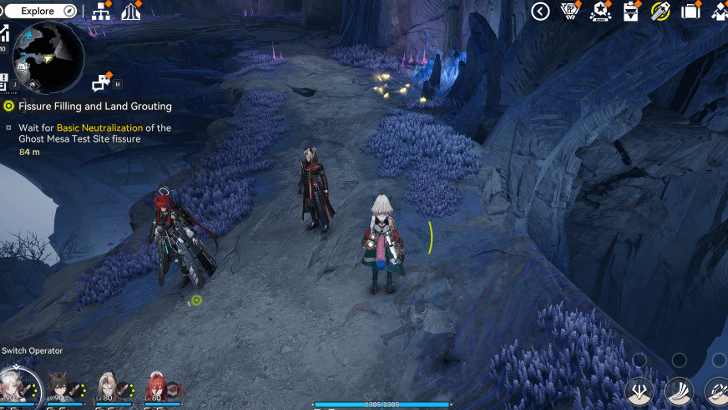 |
Butterfly Chest along the path Northeast of the waypoint of the Ghost Mesa Test Site. You must progress the quest "Fissure Filling and Land Grouting" until you can set up grouting for the Rift in the Ghost Mesa Test Site to safely collect this. | |
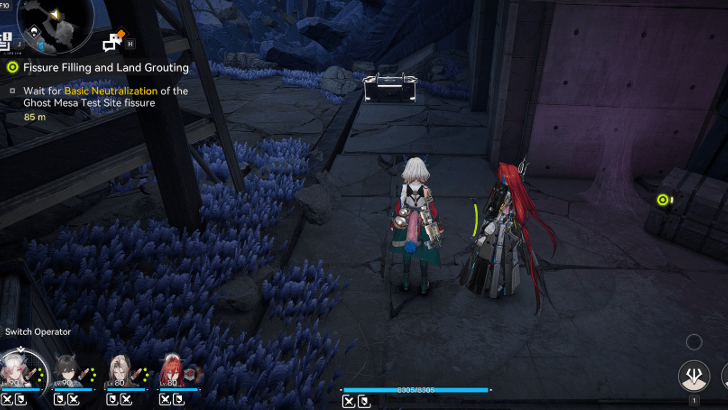 |
Behind the building Northeast of the Rift in Ghost Mesa Test Site. You must progress the quest "Fissure Filling and Land Grouting" until you can set up grouting for the Rift in the Ghost Mesa Test Site to safely collect this. | |
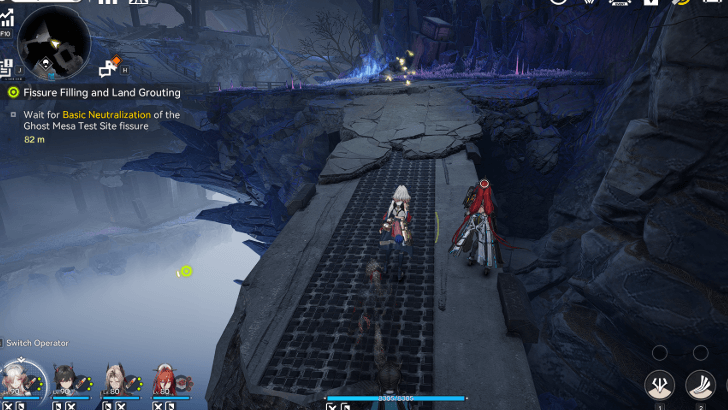 |
Butterfly Chest along the path North of the waypoint of the Ghost Mesa Test Site. You must progress the quest "Fissure Filling and Land Grouting" until you can set up grouting for the Rift in the Ghost Mesa Test Site to safely collect this. | |
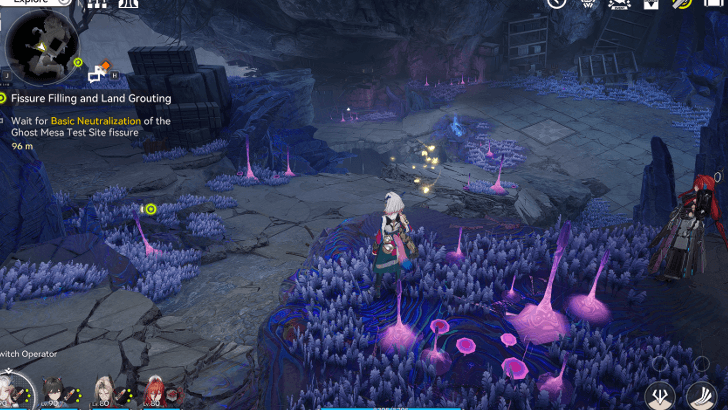 |
Butterfly Chest along the path Northwest of the waypoint of the Ghost Mesa Test Site. You must progress the quest "Fissure Filling and Land Grouting" until you can set up grouting for the Rift in the Ghost Mesa Test Site to safely collect this. | |
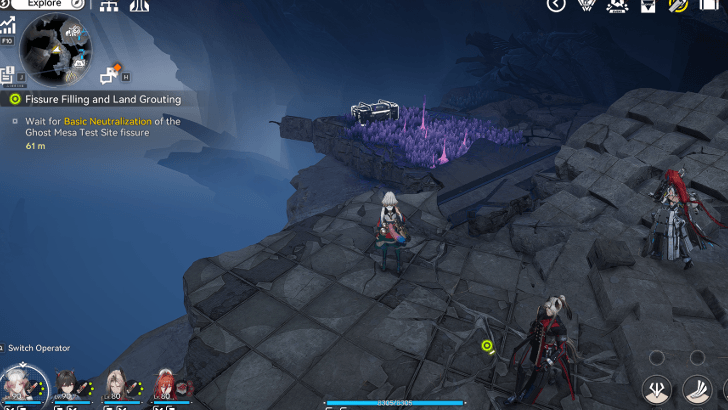 |
Slightly Southwest of the Rift in the Ghost Mesa Test Site. You must progress the quest "Fissure Filling and Land Grouting" until you can set up grouting for the Rift in the Ghost Mesa Test Site to safely collect this. | |
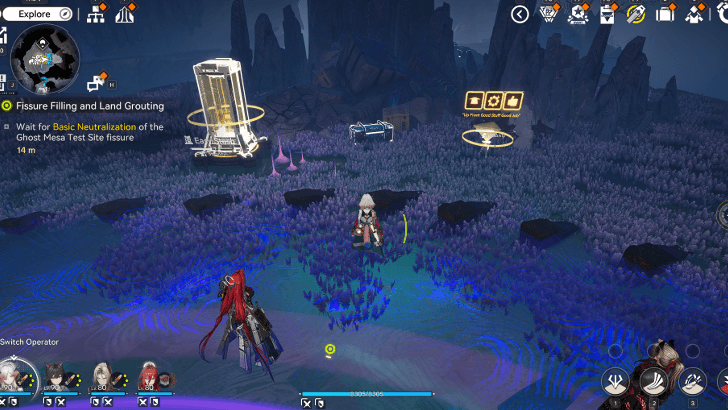 |
Very slightly East of the Rift in the Ghost Mesa Test Site. You must progress the quest "Fissure Filling and Land Grouting" until you can set up grouting for the Rift in the Ghost Mesa Test Site to safely collect this. | |
|
|
Slightly East of the Rift in the Ghost Mesa Test Site. You must progress the quest "Fissure Filling and Land Grouting" until you can set up grouting for the Rift in the Ghost Mesa Test Site to safely collect this. | |
|
|
Slightly East of the Rift in the Ghost Mesa Test Site. You must progress the quest "Fissure Filling and Land Grouting" until you can set up grouting for the Rift in the Ghost Mesa Test Site to safely collect this. | |
|
|
Slightly East of the Rift in the Ghost Mesa Test Site. You must progress the quest "Fissure Filling and Land Grouting" until you can set up grouting for the Rift in the Ghost Mesa Test Site to safely collect this. | |
|
|
Slightly East of the Rift in the Ghost Mesa Test Site. You must progress the quest "Fissure Filling and Land Grouting" until you can set up grouting for the Rift in the Ghost Mesa Test Site to safely collect this. | |
|
|
Slightly East of the Rift in the Ghost Mesa Test Site. You must progress the quest "Fissure Filling and Land Grouting" until you can set up grouting for the Rift in the Ghost Mesa Test Site to safely collect this. | |
|
|
Slightly East of the Rift in the Ghost Mesa Test Site. You must progress the quest "Fissure Filling and Land Grouting" until you can set up grouting for the Rift in the Ghost Mesa Test Site to safely collect this. | |
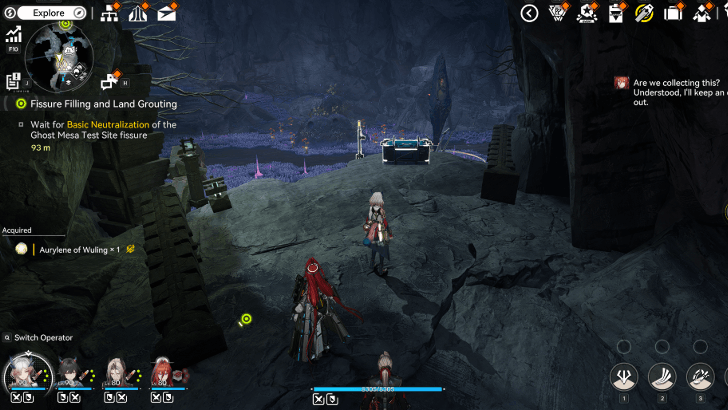 |
On a ledge overlooking the waypoint, continue the path from the Rift back to the waypoint to reach this chest. You must progress the quest "Fissure Filling and Land Grouting" until you can set up grouting for the Rift in the Ghost Mesa Test Site to safely collect this. | |
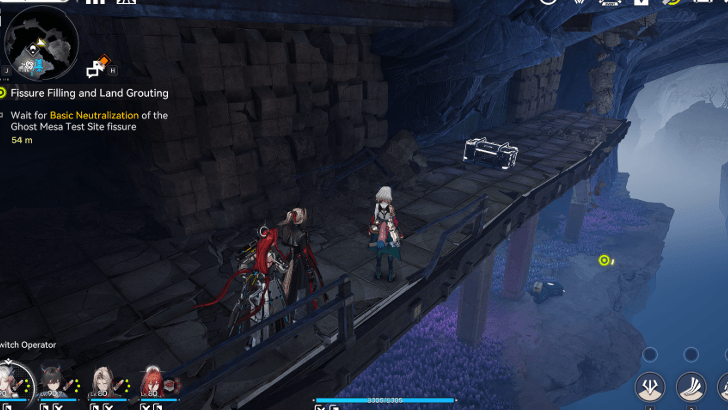 |
On the first layer as you descend only 1 of the 2 ziplines Northeast of the Rift in Ghost Mesa Test Site. You must progress the quest "Fissure Filling and Land Grouting" until you can set up grouting for the Rift in the Ghost Mesa Test Site to safely collect this. | |
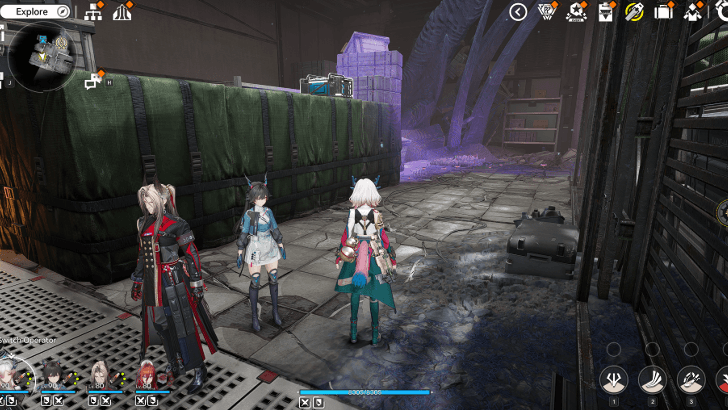 |
In a room further Southwest of Quelltide Levee, use the Xiranite nexus to lower the crates and make a path to reach the chest. | |
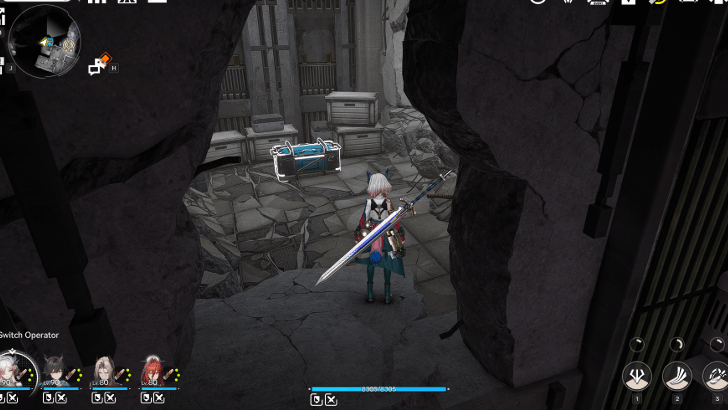 |
Behind an illusion wall inside a room found West of the waypoint found Southwest of Quelltide Levee. | |
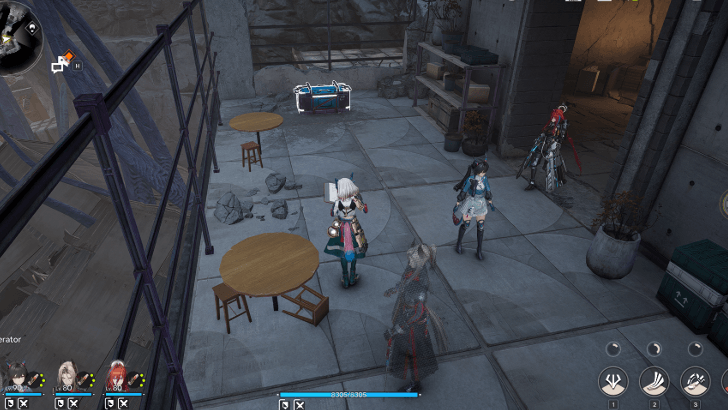 |
On the balcony of a building accessible by breaking some wooden crates, found Northeast of the far southwestern waypoint in Quelltide Levee. | |
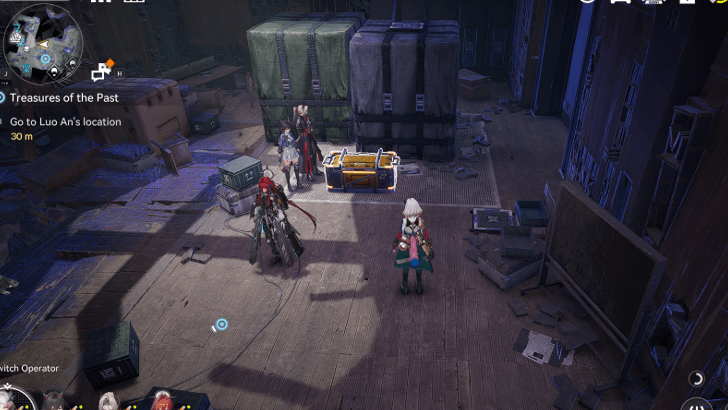 |
Appears after completing the Kaleidograph puzzle and obtaining Raw Data Backup 3 during the exploration quest "Treasures of the Past". | |
 |
On the ceiling of the building Southwest of Quelltide Levee, complete the puzzle involving the Xiranite Nexus to obtain the chest. | |
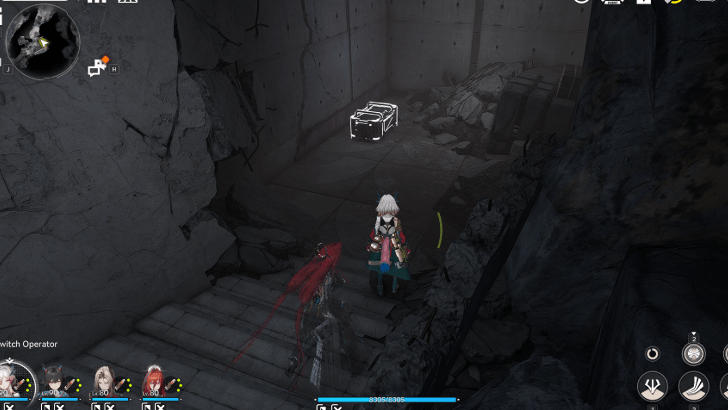 |
Inside a small room found South of Quelltide Levee. | |
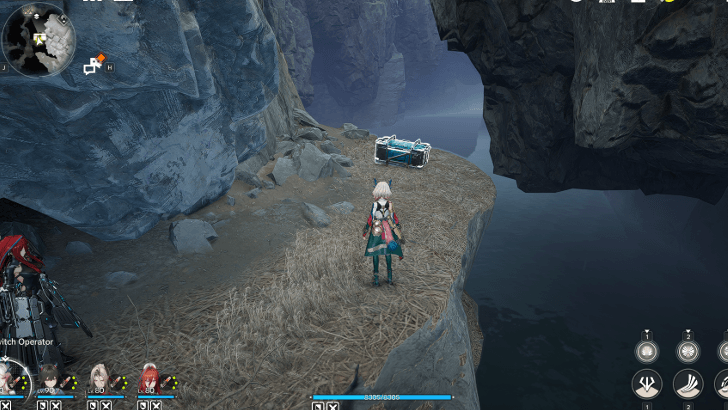 |
On a secluded portion East of the Waterworks Hub. | |
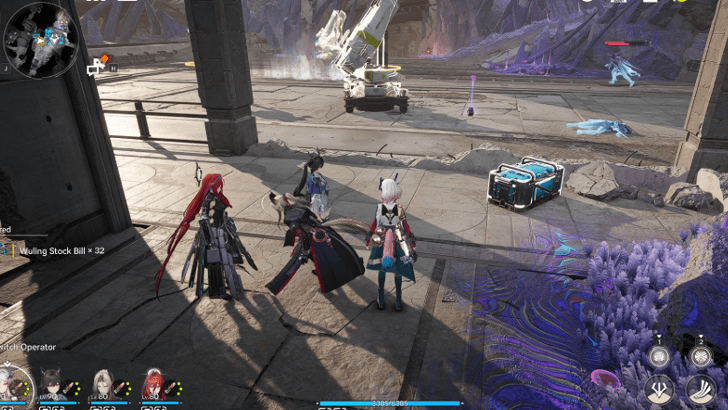 |
Outside the ruined building west of the Severe Energy Alluvium: NWEZ. | |
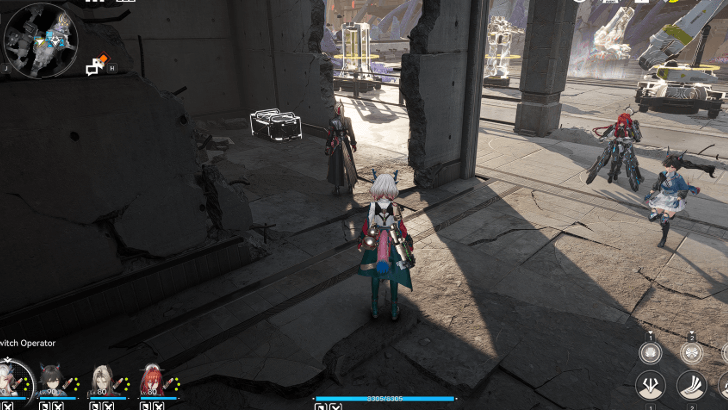 |
Near the zipline inside the ruined building west of the Severe Energy Alluvium: NWEZ. | |
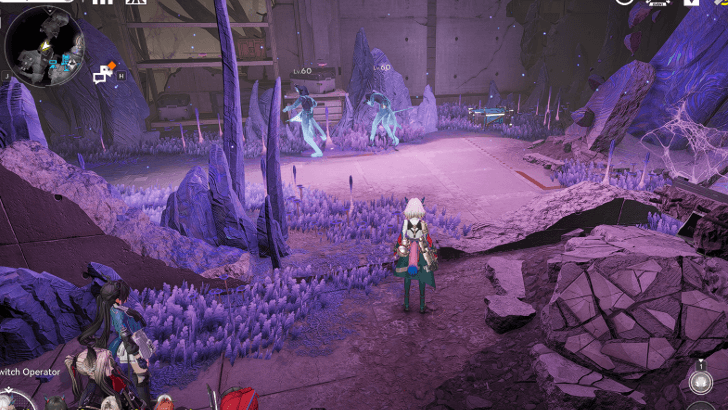 |
In a portion of the underground positioned Northwest of the Severe Energy Alluvium in Quelltide Levee on the map. | |
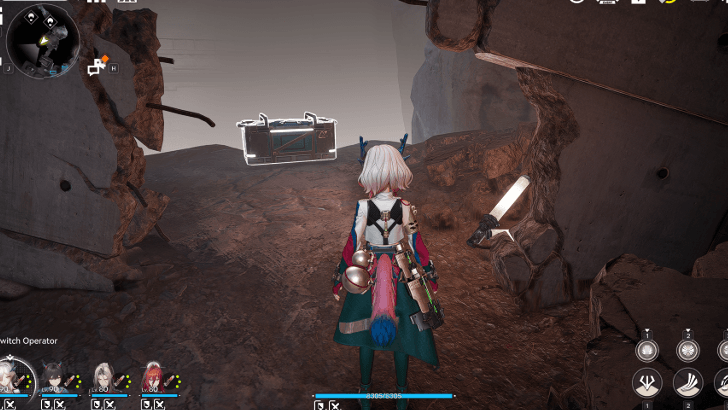 |
On a small ledge behind a broken wall Northwest of the Severe Energy Alluvium in Quelltide Levee. | |
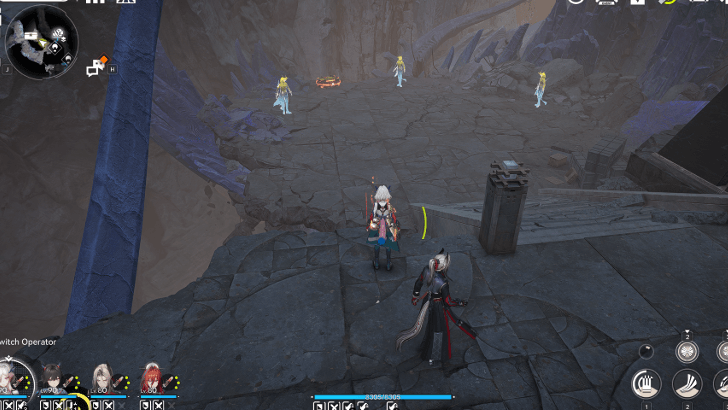 |
Guarded by 3 elite blightshades Southwest of the Xiranite Research Labs. | |
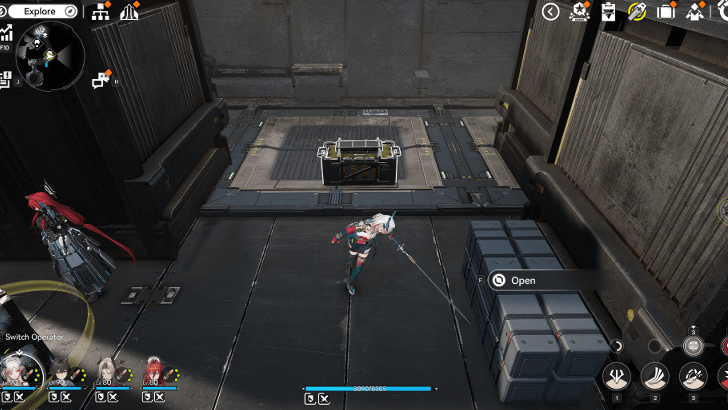 |
Sealed chest. The first fragment is near the chest, the second fragment is inside a fenced area accessed by climbing from its left side, and the last fragment is inside the breakable crates near the northern stairs. | |
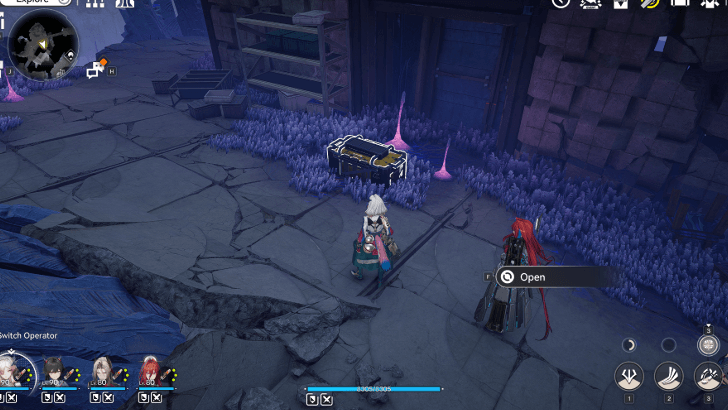 |
Sealed chest. While facing the chest, turn left to find the first fragment on the side of the building. Again facing the chest, turn right to find the second fragment on the side of the building. The last fragment is found by the northeastern cliff. | |
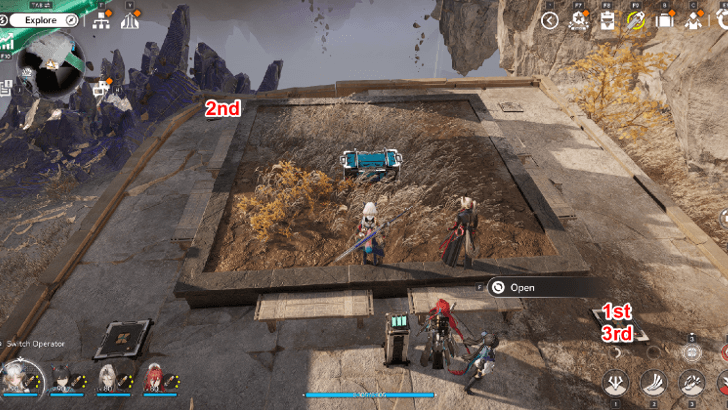 |
Complete the Kaleidograph puzzle found on the Southwest portion of the Xiranite Research Labs. While facing the switch, select the bottom right hologram first, then the top left hologram, then the bottom right hologram again to unlock the chest. | |
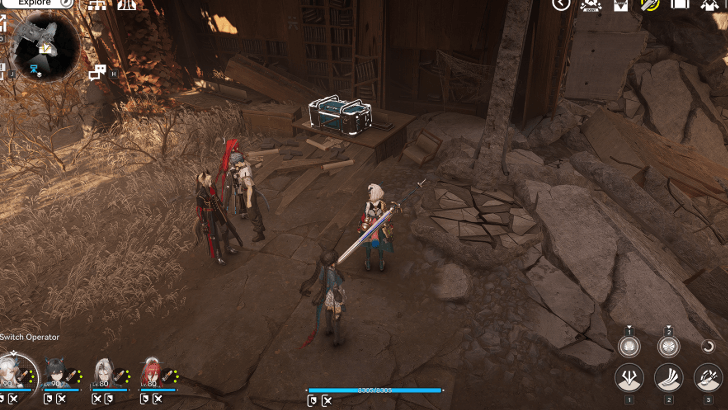 |
Near the grave, northeast of Tanjian Hall. This area is only accessible after completing the side quest "Long Night Breaking Into Day". | |
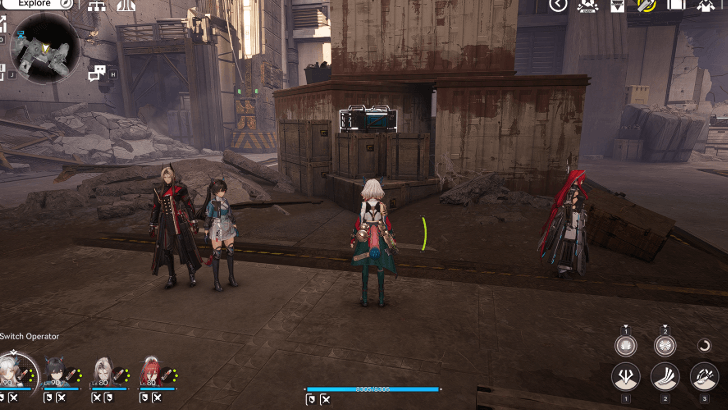 |
Atop some crates, northeast of Tanjian Hall. This area is only accessible after completing the side quest "Long Night Breaking Into Day". | |
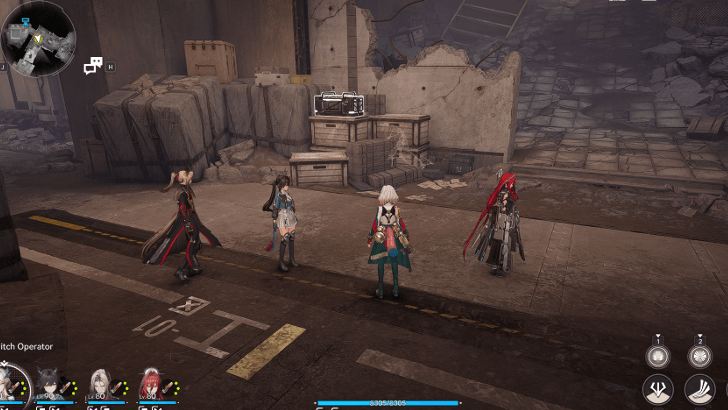 |
Atop some crates close to the entrance of the area, northeast of Tanjian Hall. This area is only accessible after completing the side quest "Long Night Breaking Into Day". | |
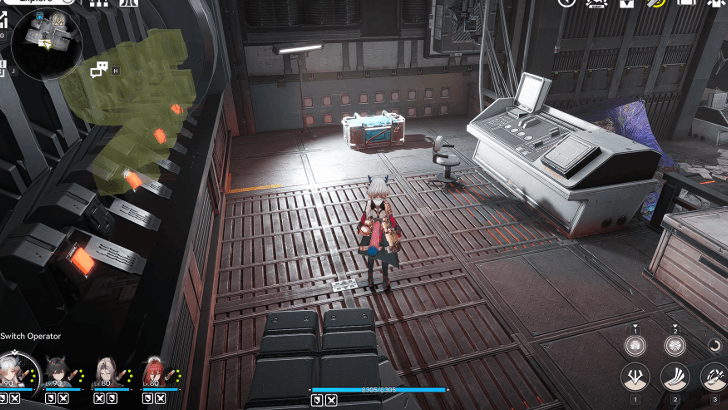 |
Near the Southernmost edge of the building found Southeast of Quelltide Levee. On a platform close to device control props. | |
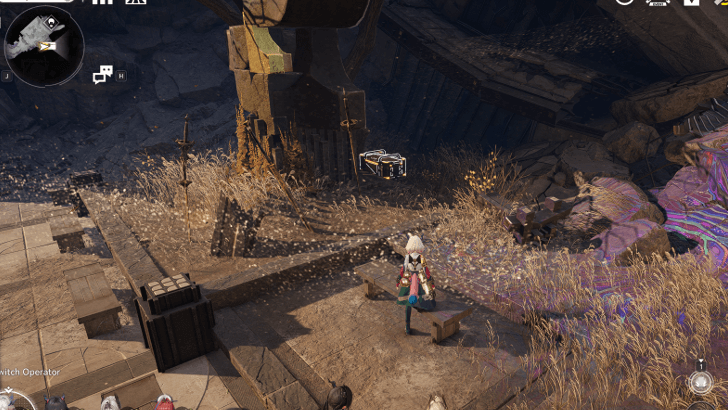 |
Behind a statue found in the area South of Cliffside Courtyard. This area is only unlocked after completing the exploration quest "Blightshade Watch". | |
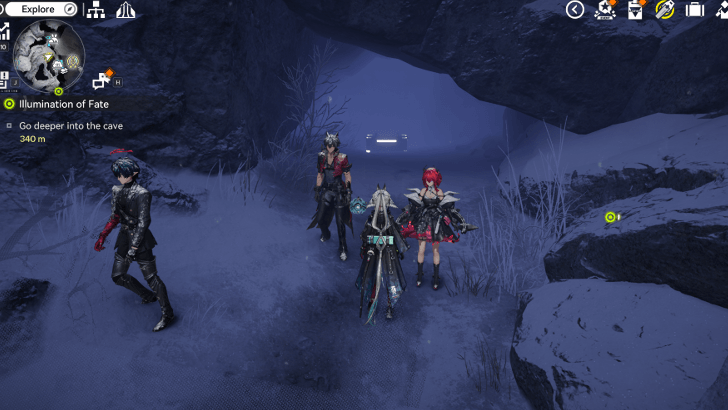 |
East of the Forest, go past the fallen trees behind the Originium Slugs to find the chest under some rocks. | |
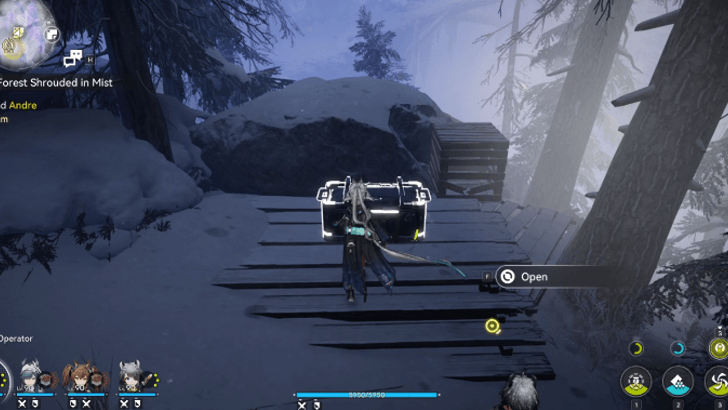 |
From the TP Point in the forest, head down north to find the chest by a wooden crate. | |
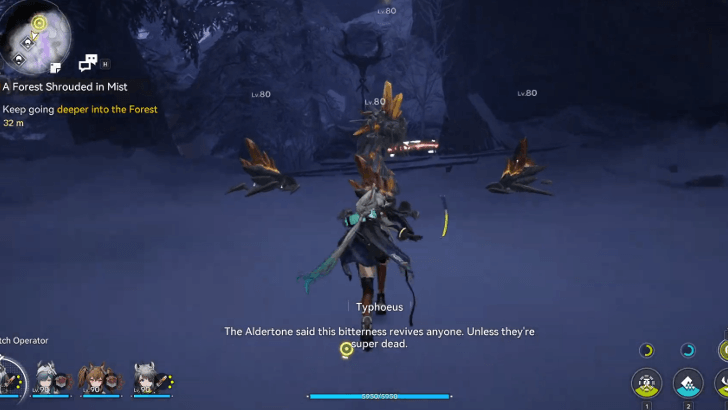 |
North of the forest in Hoarfrost Woods. Defeat the group of Originium Slugs and Tunneling Nidwyrm to unlock the chest. | |
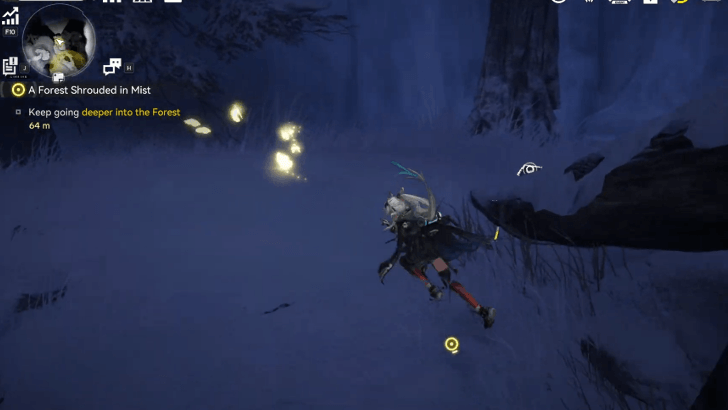 |
Follow the butterflies at the northernmost point of the Forest to unlock the chest. | |
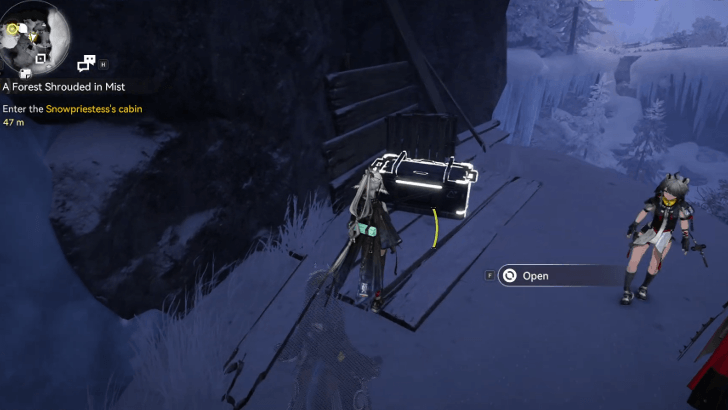 |
Found near the cliff in the northern area of Hoarfrost Woods. | |
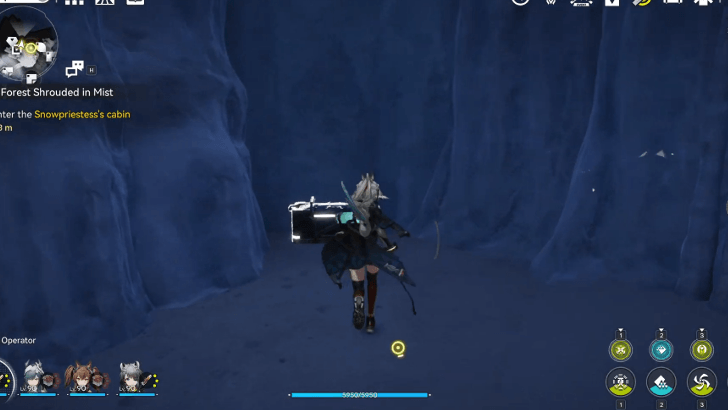 |
Behind an optical fog, attack the ice wall to reveal the secret area. | |
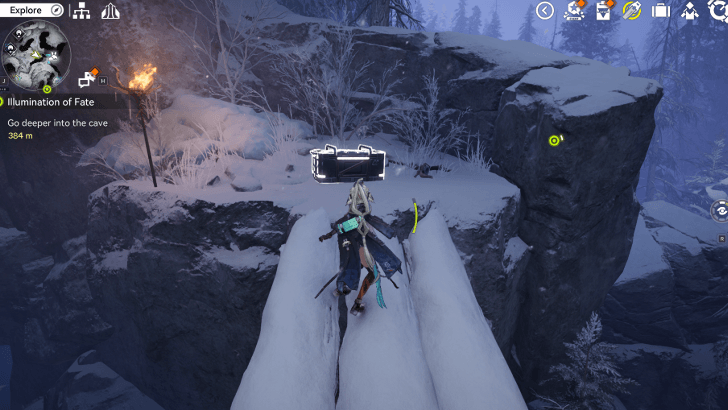 |
Found on top of the hill at the end of the bridging tree logs. | |
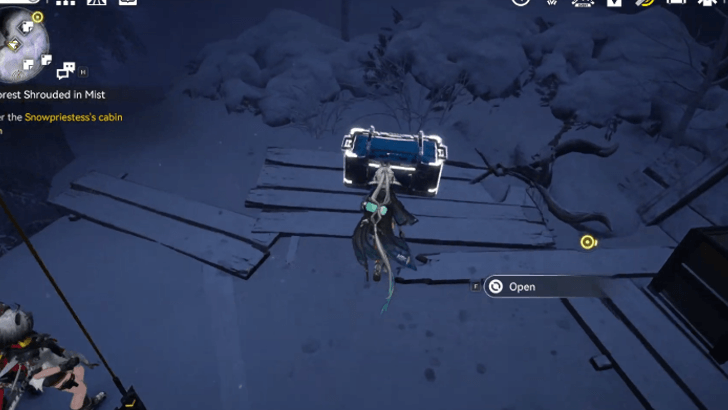 |
Found on top of a hill near a Salvageable puzzle. Either take the rope west of the Snowpriestess's Cabin or the rope up in the Forest area. | |
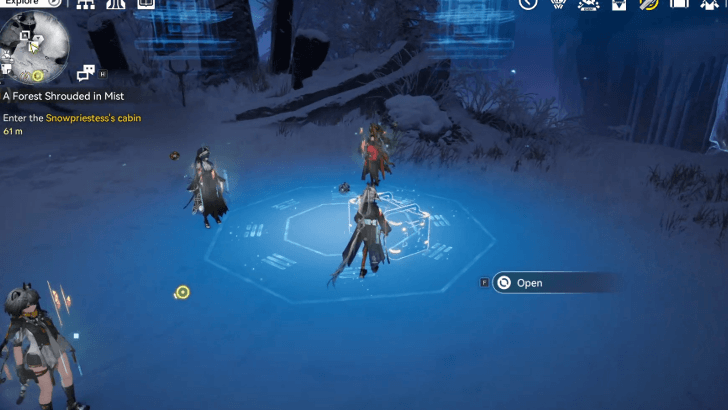 |
North of the Snowpriestess's Cabin near a Talosite. Clear the Temporary Energy Alluvium to get the chest. | |
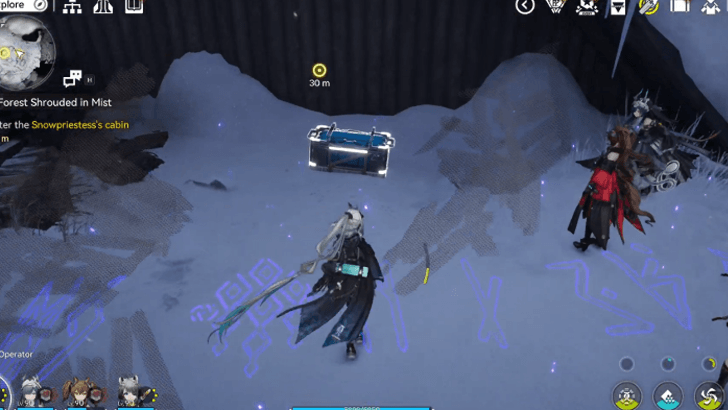 |
East of the Snowpriestess's Cabin behind the house. Destroy the wooden crates to find the chest. | |
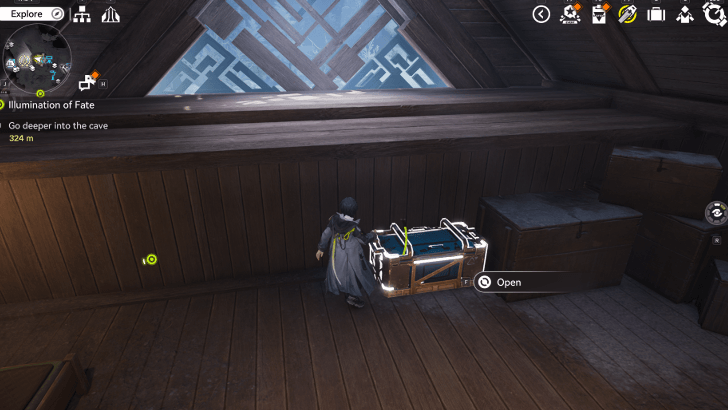 |
Head up the second floor inside the Snowpriestess's Cabin. | |
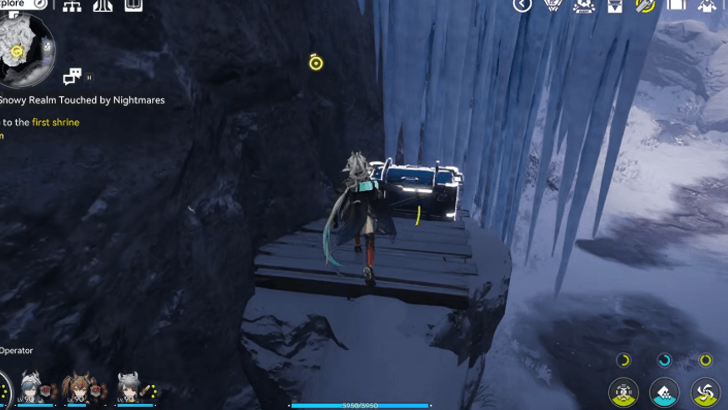 |
On top of a rock, blocked by icicles. Destroy the icicles by attacking it to get the chest. | |
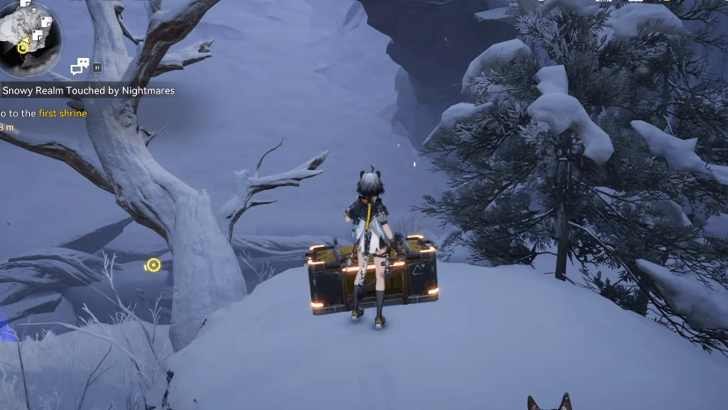 |
Southwest of the Snowpriestess's Cabin, follow the butterflies to get the chest. | |
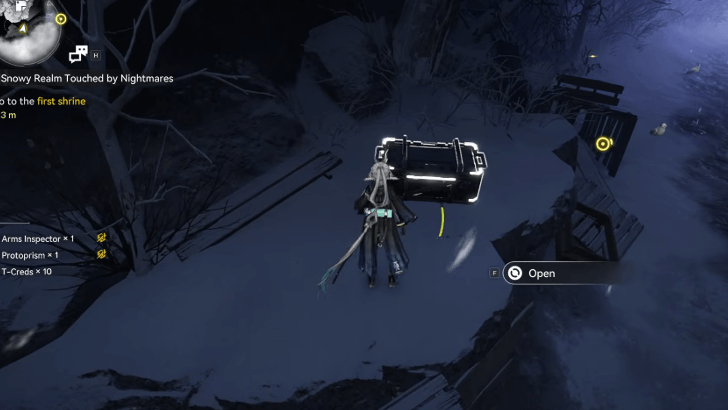 |
At the southernmost point of the Snowpriestess's Cabin, take the floating rock down and head east to find the chest. | |
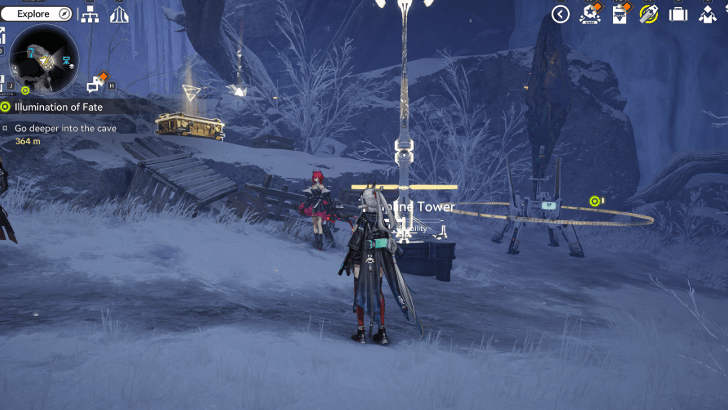 |
Beside the northeast TP Point in Hoarfrost Dale. | |
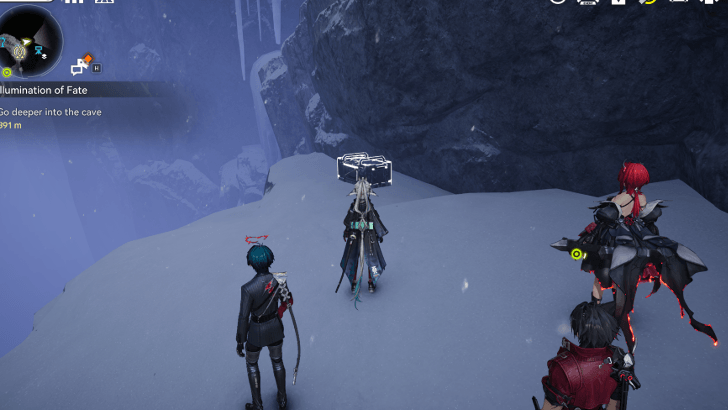 |
From the northeast TP Point in Hoarfrost Dale, turn left and continue north to find the chest near the cliff. | |
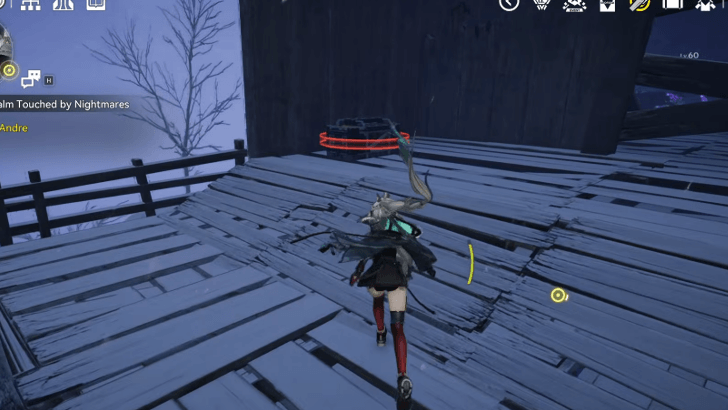 |
At the entry point of Little Grotto, find all Sealing Aurylenes to open the Sealed Crate. | |
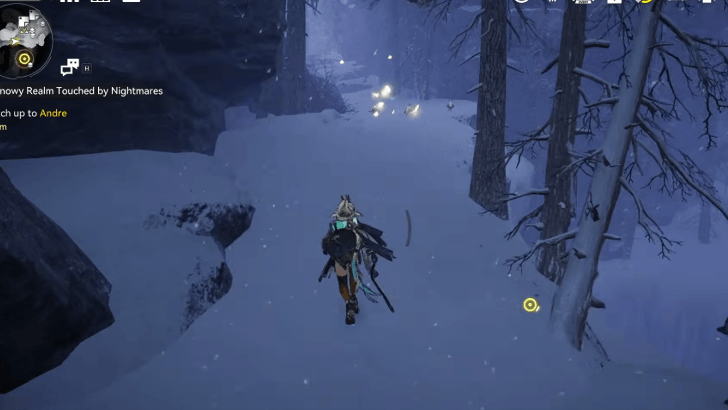 |
After getting to Little Grotto, go east and follow the butterflies to get the chest. | |
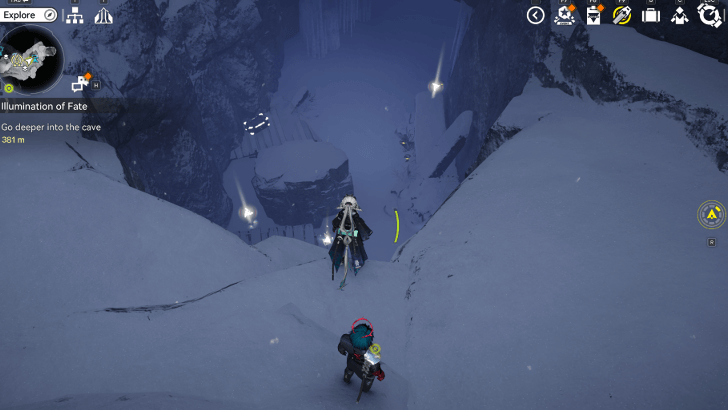 |
Found below the hidden entrance. To open up the entrance, take the nearby auto-jet vent and attack the icicles at the top to make the boulder fall. | |
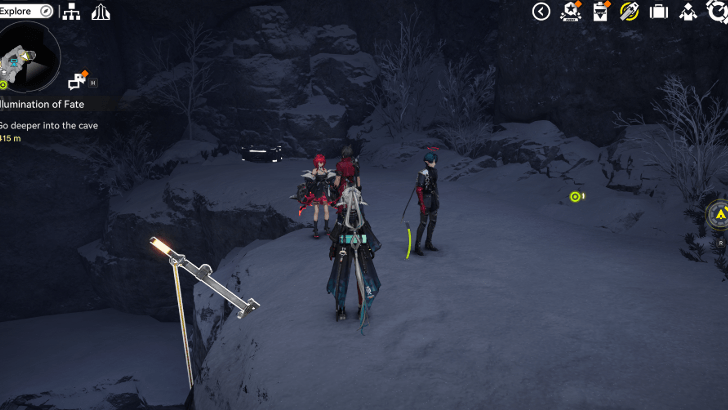 |
At the top of the cave in Little Grotto. Take the rope up to get to the chest. | |
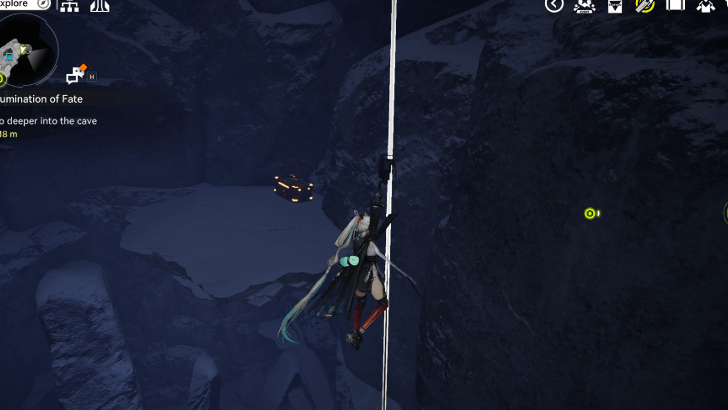 |
Found inside the Little Grotto cave on top of a rock platform. Take the rope to the top and jump down to get the chest. | |
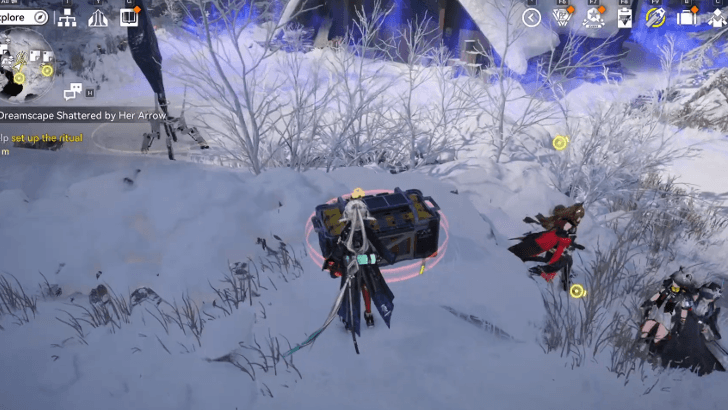 |
Sealed Crate south of the TP Point in the Snowpriestess's Cabin. Find all Sealing Aurylenes nearby to unlock the chest. | |
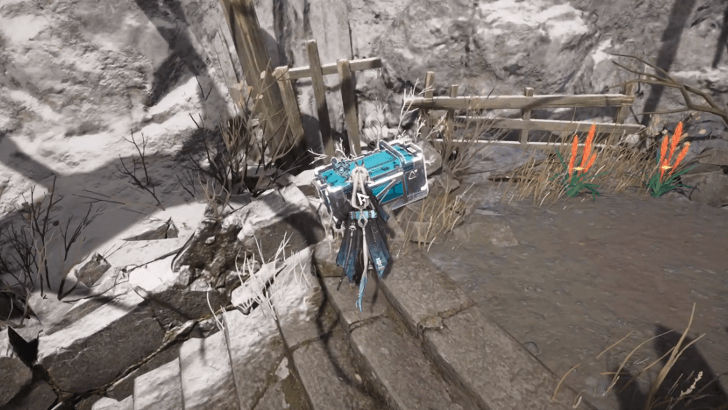 |
Found at the top of the stairs in Old Resting Point LF. Jump across wooden platforms and floating rocks to reach the chest. You can unlock the area through the Illumination of Fate quest. | |
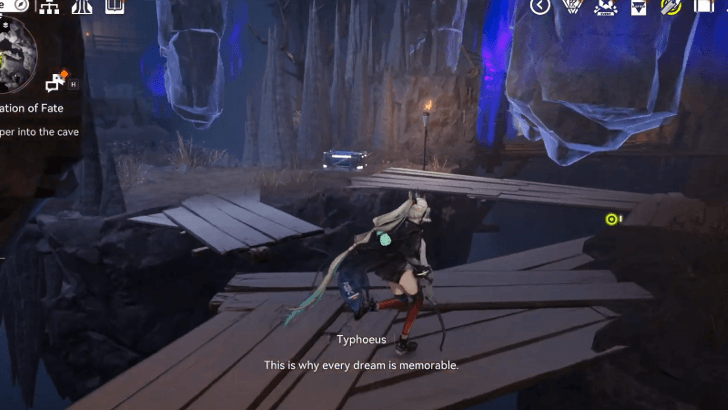 |
Carefully pass through the wooden platforms and avoid getting pushed off by floating rocks to safely reach the chest. You can access Old Resting Point by doing the Illumination of Fate quest. | |
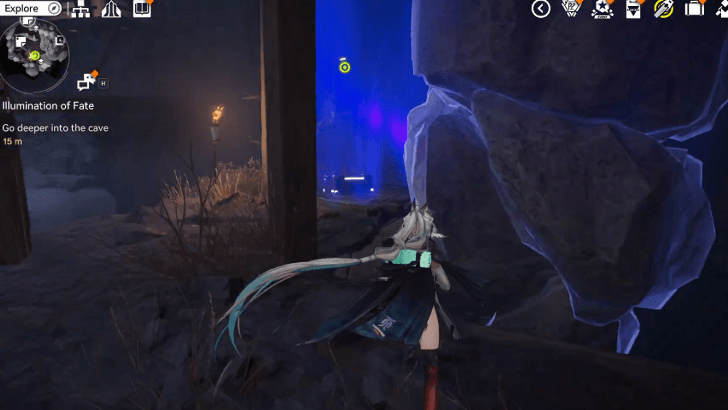 |
Located southeast of Chest 24 in Old Resting Point LF. From the previous chest, jump on two auto-jet vents nearby to reach the chest. | |
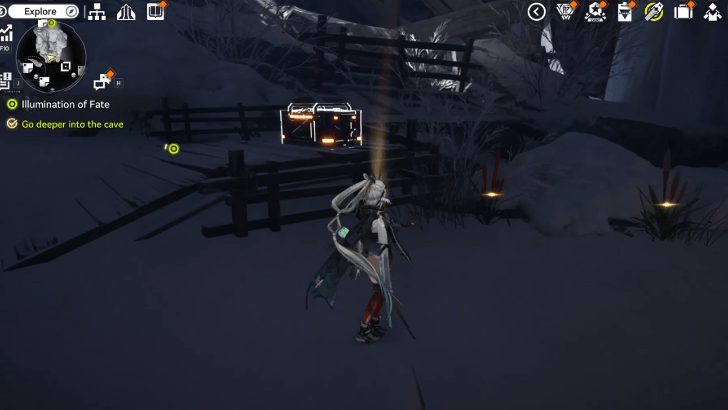 |
Found at the Upper Floor of the Old Resting Point at the end of the floating rocks maze during the Illumination of Fate quest. | |
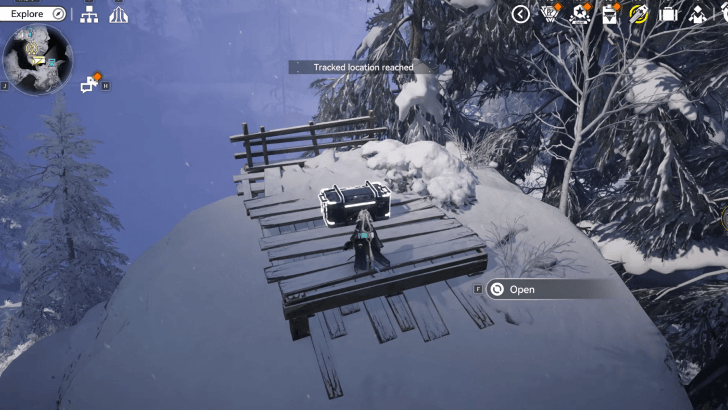 |
Southeast of the Hoarfrost Dale TP Point, head up the hill to find the chest sitting on a wooden platform. | |
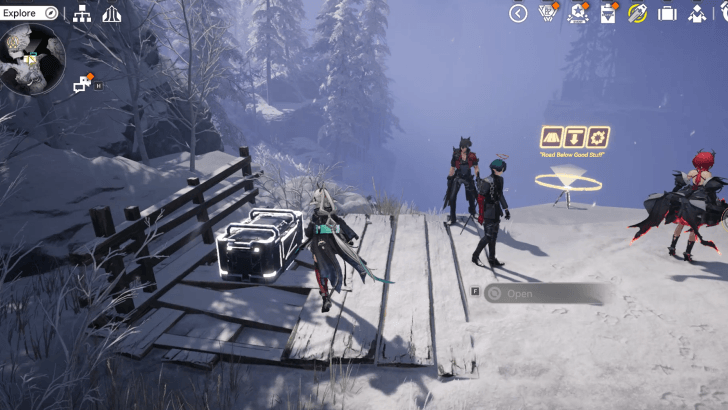 |
Further southeast of the Hoarfrost Dale TP Point near the mountain cliff. | |
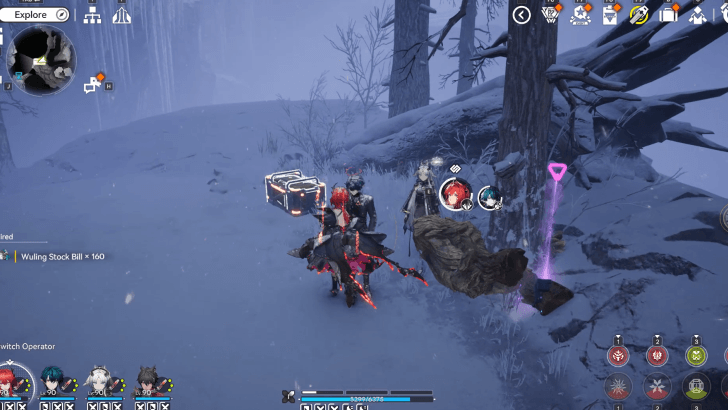 |
East of Hoarfrost Dale, defeat the group of Woodcraft Wanderers to unlock the chest. | |
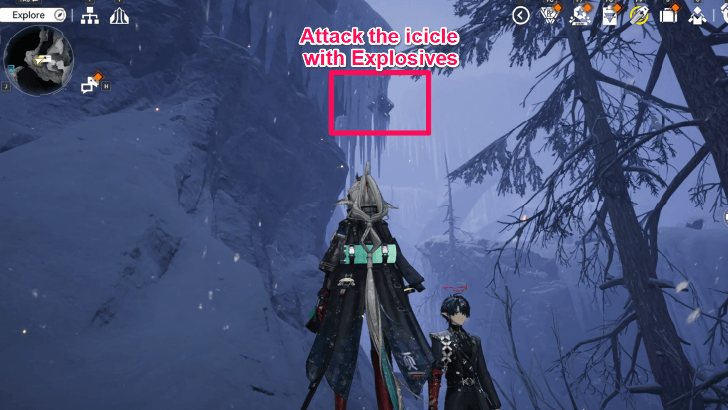 |
Look up to find the chest frozen on the side of the mountain. Attack the icicle with a Bomb to drop the chest in front of you. | |
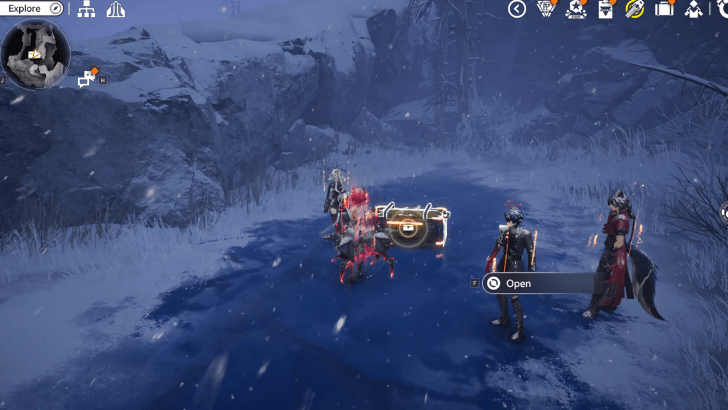 |
Clear the Temporary Energy Alluvium by heading up the hill south of the TP Point. | |
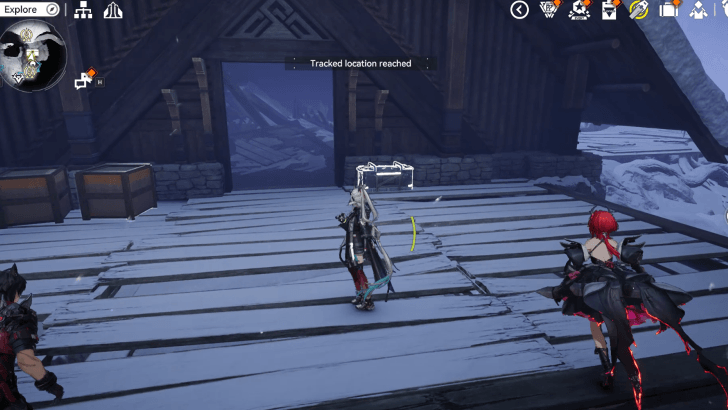 |
From the TP Point, head north to find the chest just beside the entrance of the house. | |
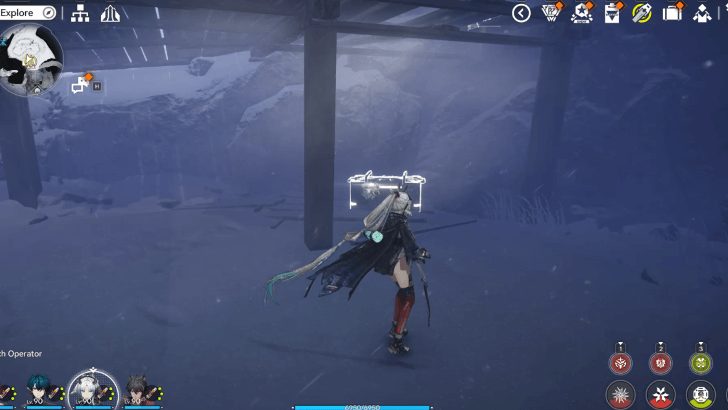 |
Directly below the Ritual Shrine TP Point. Jump down and destroy the crates to find the chest. | |
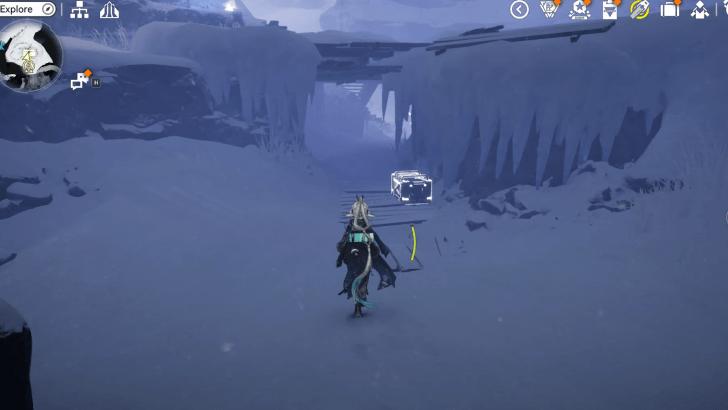 |
Located below the wooden platforms at the Ritual Shrine area. | |
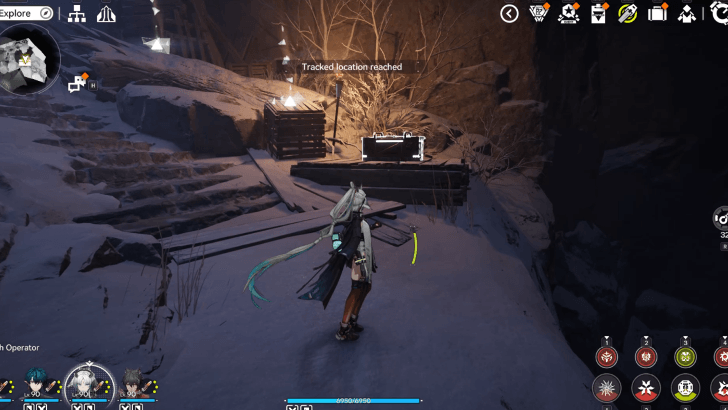 |
Located inside Gloomy Cave, sitting on top of a wooden platform near the ledge. | |
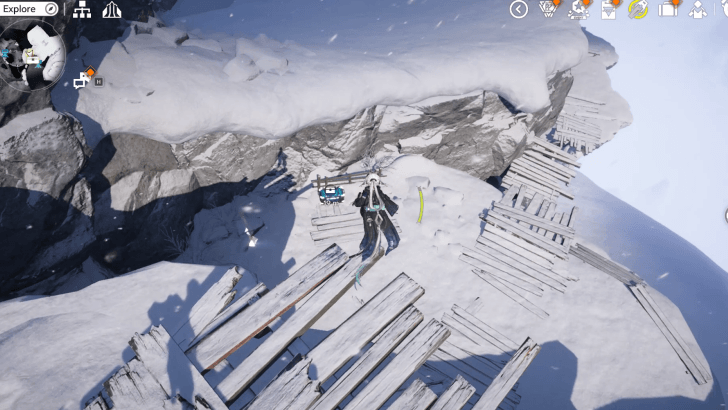 |
Jump down from the cliff at the Ritual Shrine to reach the chest. | |
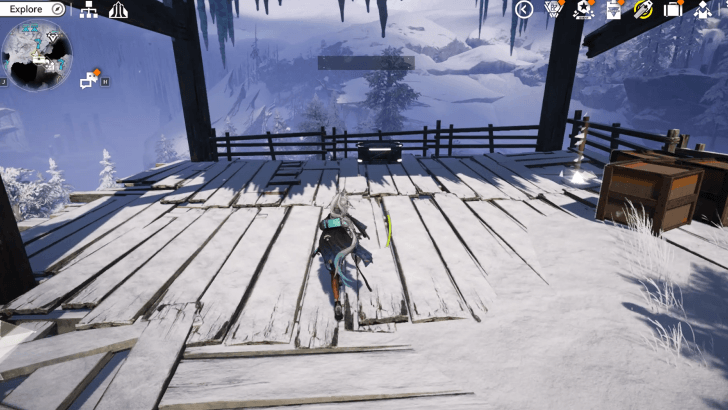 |
Found by the wooden deck southeast of the Snowpriestess's Cabin. | |
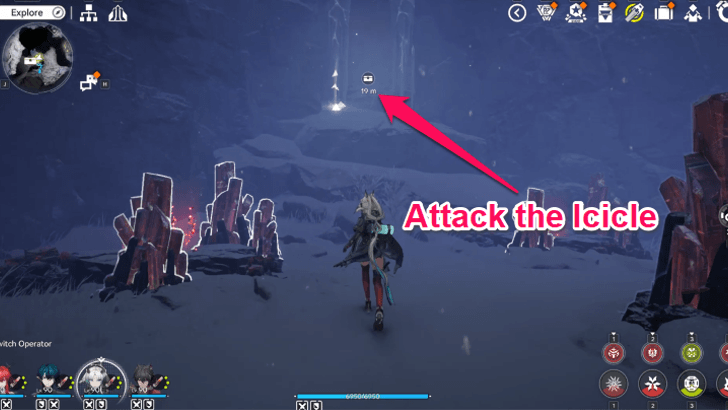 |
Found west of the Cuprium mineral bed in Hoarfrost Dale hiding behind icicles. Attack the icicles to locate the chest. | |
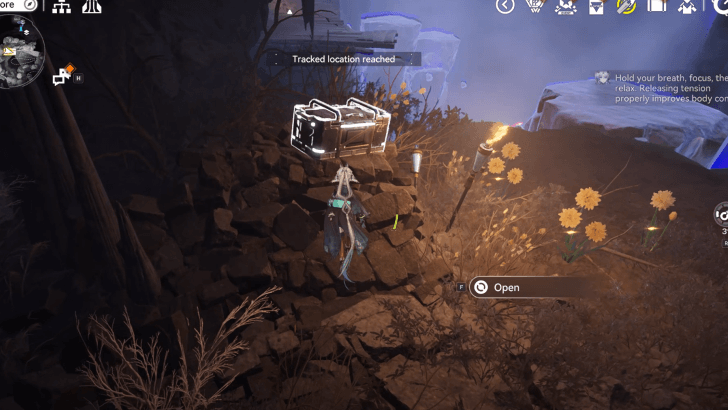 |
Sitting on top of rocks by the entrance of the Old Resting Point LF. You can access the area by starting the Illumination of Fate quest. | |
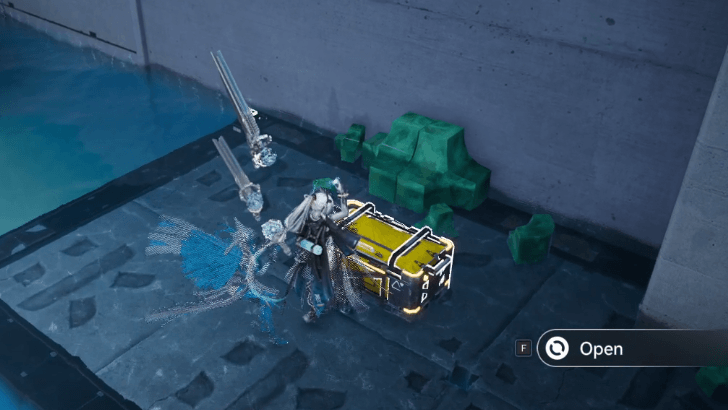 |
Found southeast of the Tianshi Pillar Records Hall. Requires a full water level to reach. | |
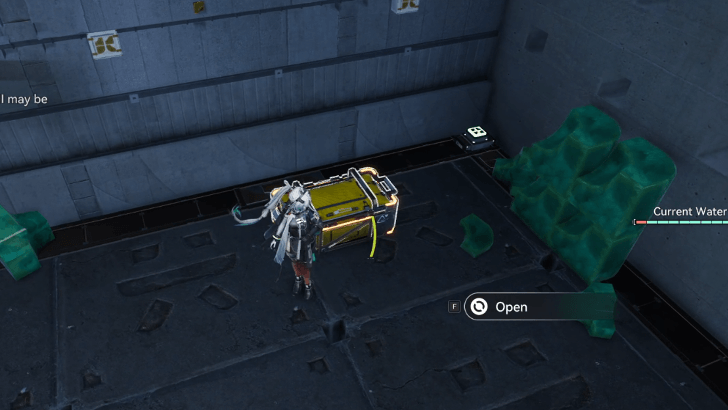 |
Found east of the Tianshi Pillar Records Hall. You can reach this place by jumping through the stone pillars, regardless of water level. | |
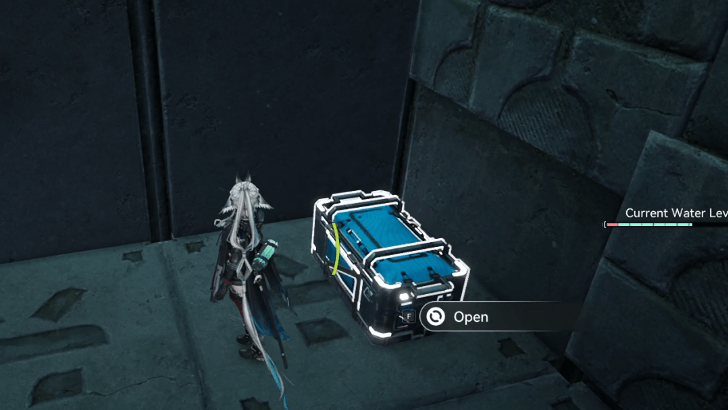 |
Found halfway through a set of stone pillars leading to the upper floors in the Tianshi Pillar Records. | |
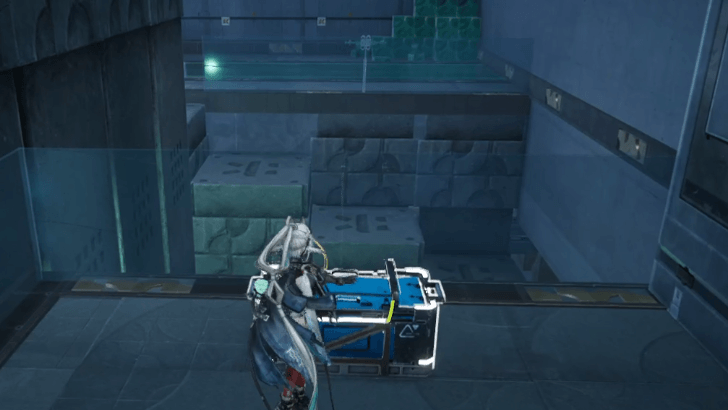 |
Found on a balcony overlooking the stone pillars leading up in the Tianshi Pillar Records Hall. | |
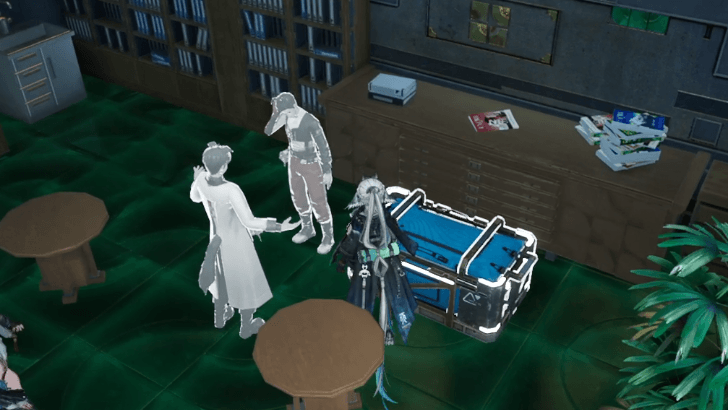 |
Found near the corner of the room, near a plotted plant. | |
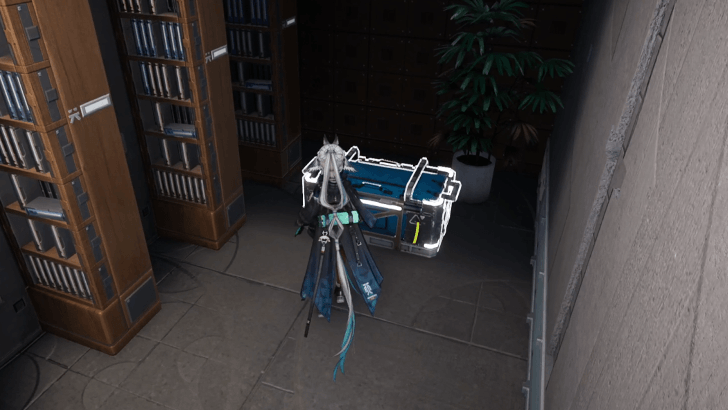 |
Found in a room that requires you to ring the bell 3x, northwest of the Tianshi Pillar Records Hall. | |
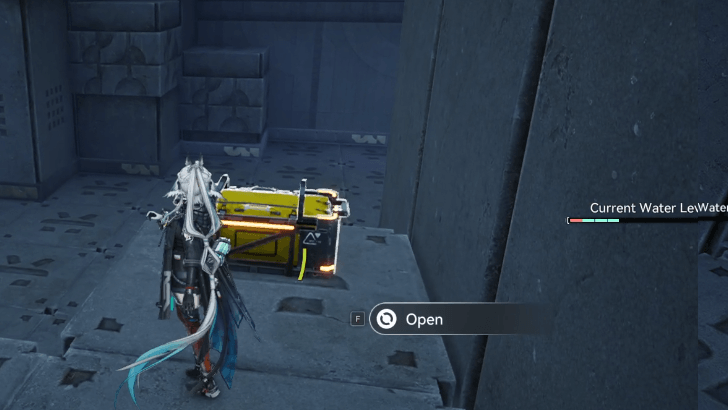 |
Ring the bell three times to be able to access this Chest. | |
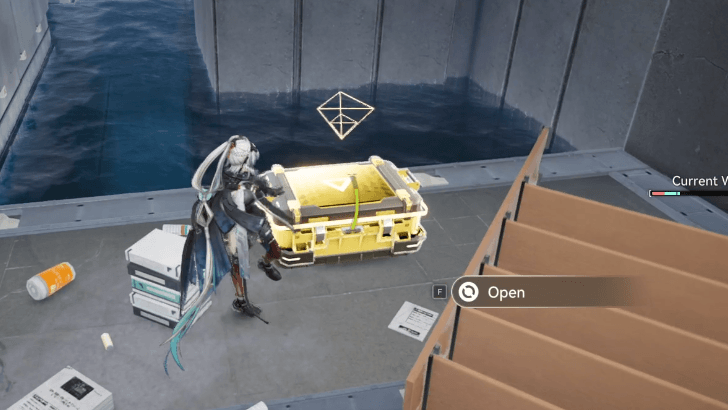 |
Access this area by ringing the bell three times. The entrance can be found in the room northeast of the Tianshi Pillar Records Hall. | |
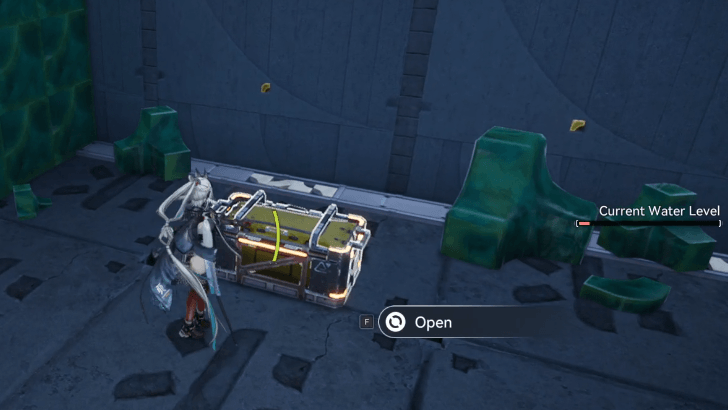 |
Found across a set of stone pillars. You can access this place by ringing the bell three times. | |
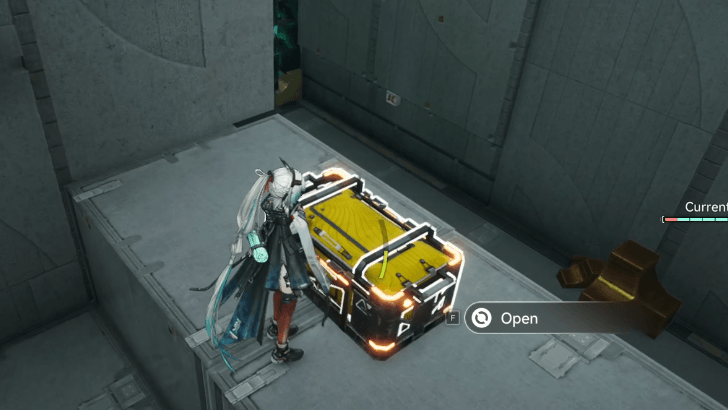 |
Found in the hallway leading to the Tianshi Pillar Research Labs. You can find the chest atop a stairs leading back to the entrance. | |
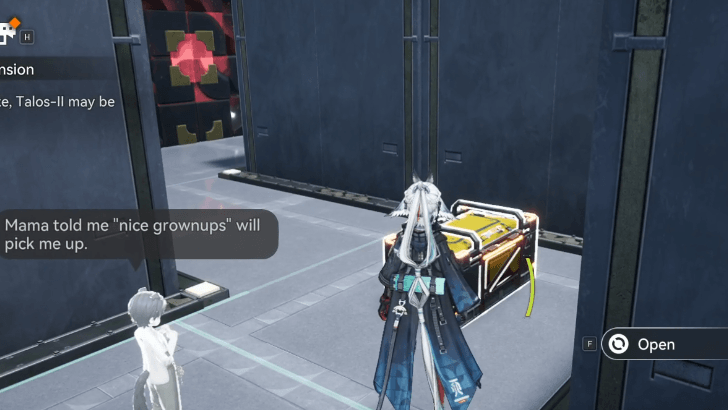 |
Found within the maze in the Tianshi Pillar Research Labs. The chest wil lbe near a kid. | |
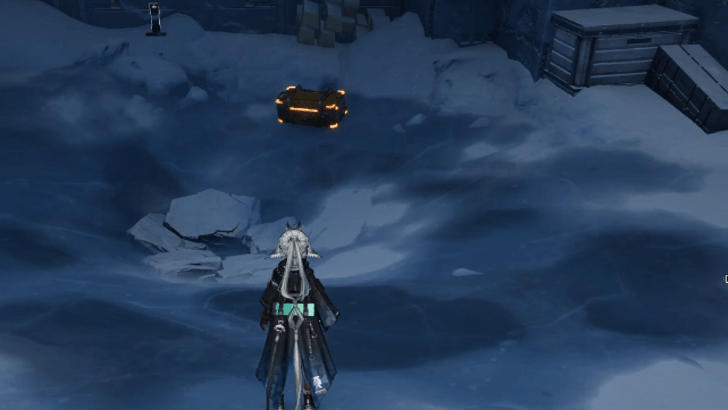 |
Found after kicking the Originium Slug down its hole. | |
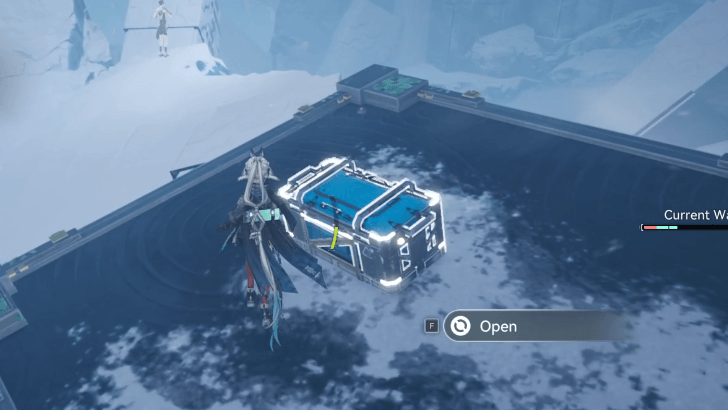 |
Found on a platform, northwest of the Blight Monitoring Zone Epicenter. | |
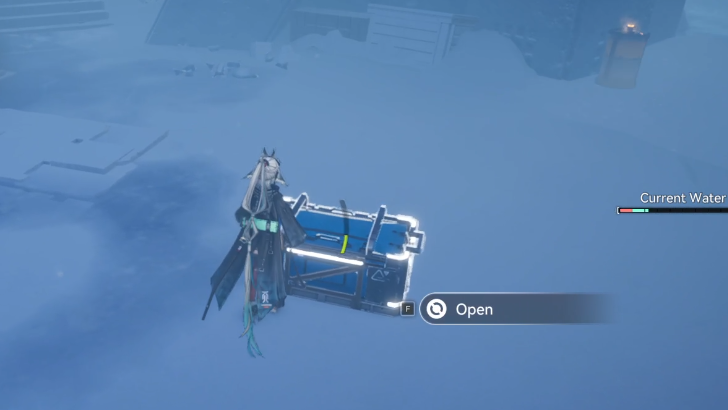 |
Found inside a blight, which you'll need to spray with Liquid Xiranite. | |
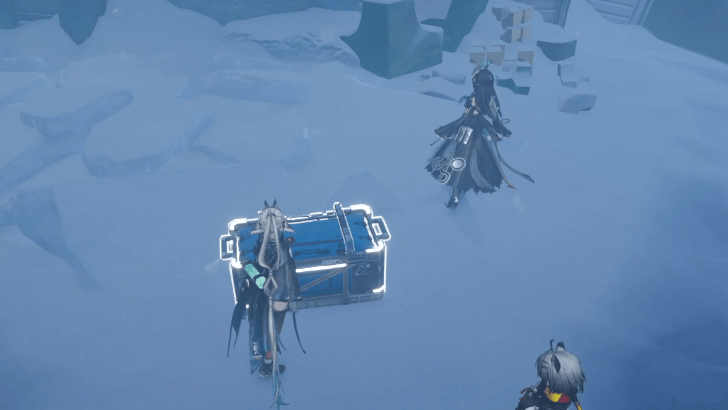 |
Found within the blight, in the eastern area of the Blight Monitoring Zone Epicenter. | |
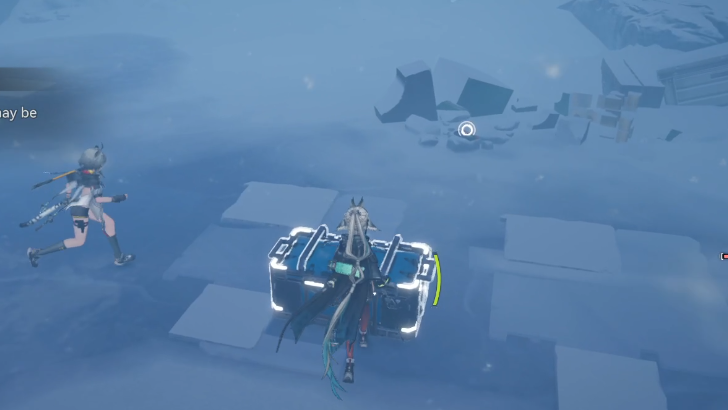 |
Found within the blight, near a note. | |
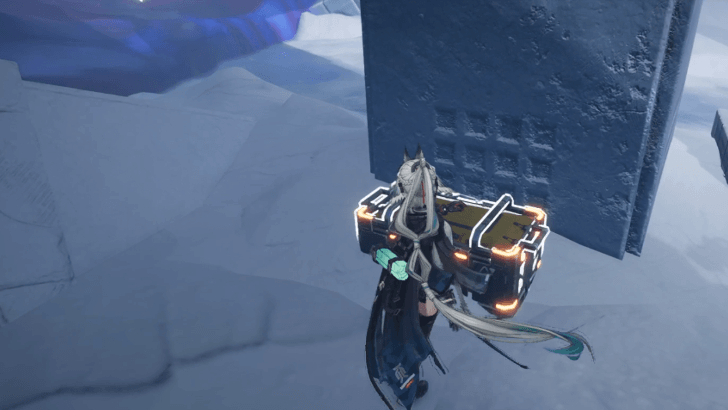 |
Found behind a pillar in a path around the Suiming City Center. | |
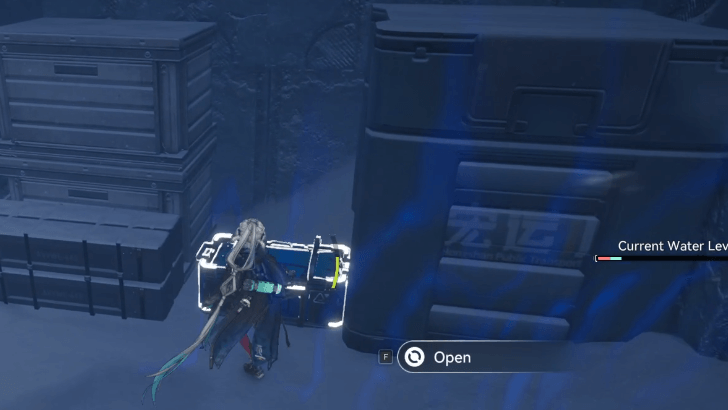 |
Found between two boxes. | |
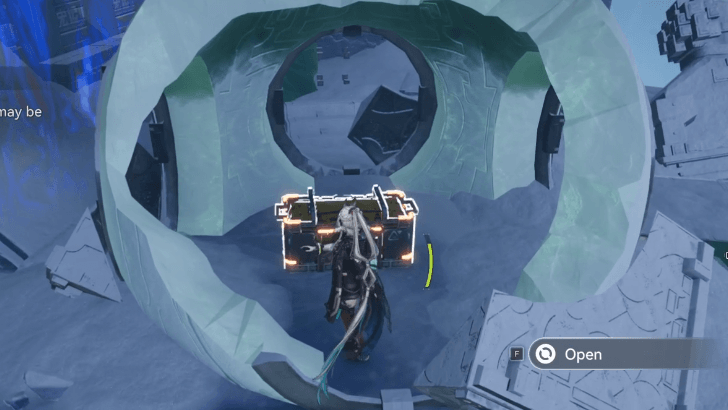 |
Found within a blight, inside a broken piece of structure. | |
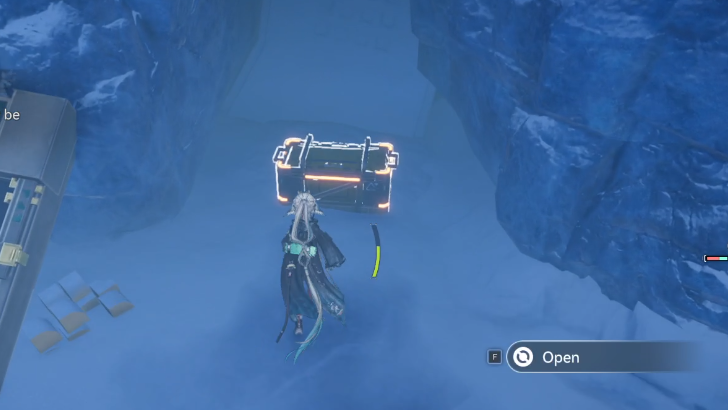 |
Found inside a rubble that can be destroyed using explosives. | |
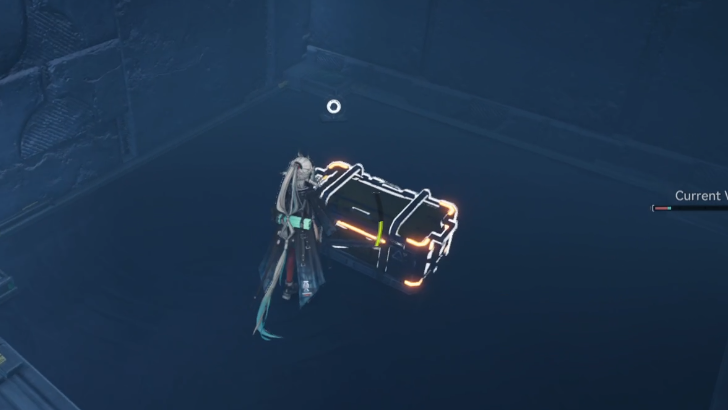 |
Found underneath the entrance to the bridge leading to the Suiming City Center. | |
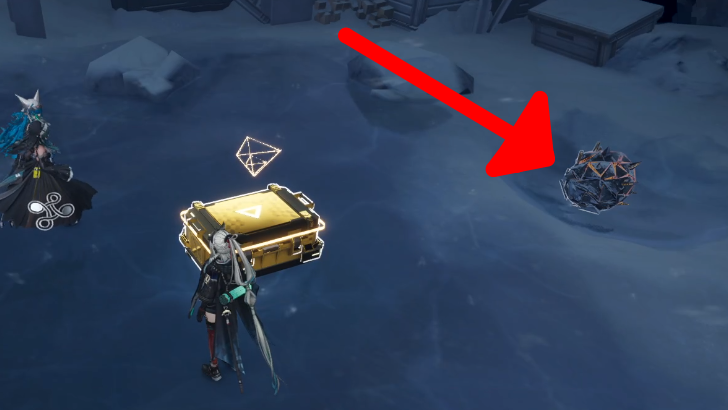 |
The chest will only appear if a Originium Slug is placed on the proper spot around the chest. Notice that there's a couple of rocks surrounding an empty spot where the chest would be. Simply kick the Slug where there's a gap to unlock the chest. | |
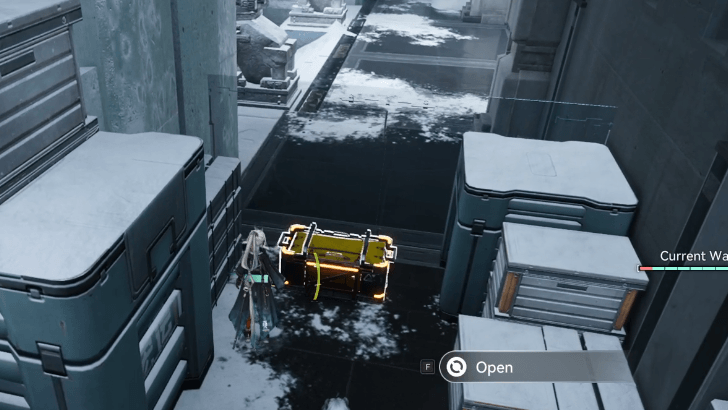 |
Found near the entrance to the Tianshi Pillar Records Hall. You can get there by jumping through the ice platform at full water level. | |
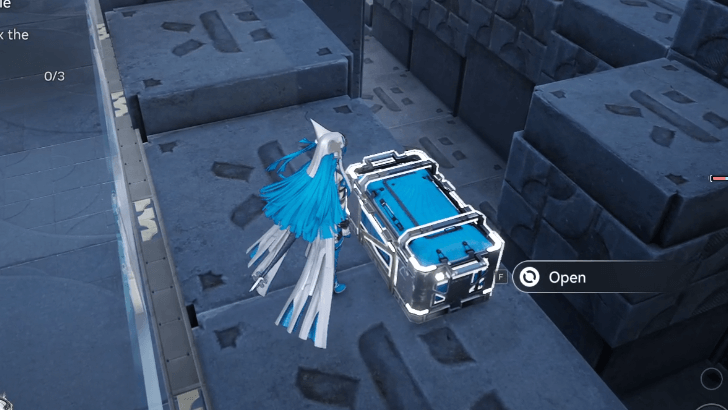 |
Found on a balcony that's only accessible with high Water Level. | |
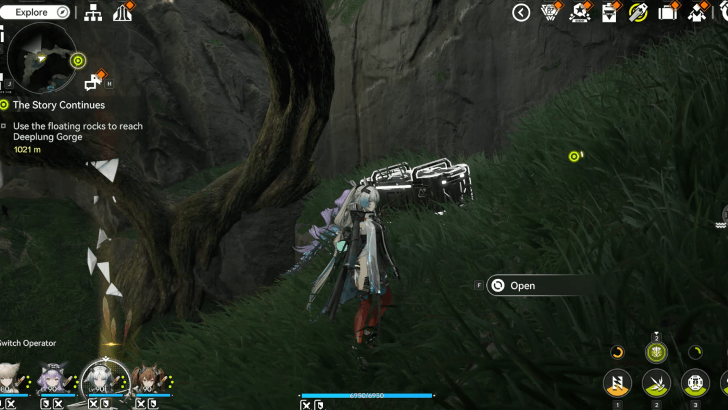 |
Along the entrance to Si's Painting, hug the wall to the right to get the chest across the body of water. | |
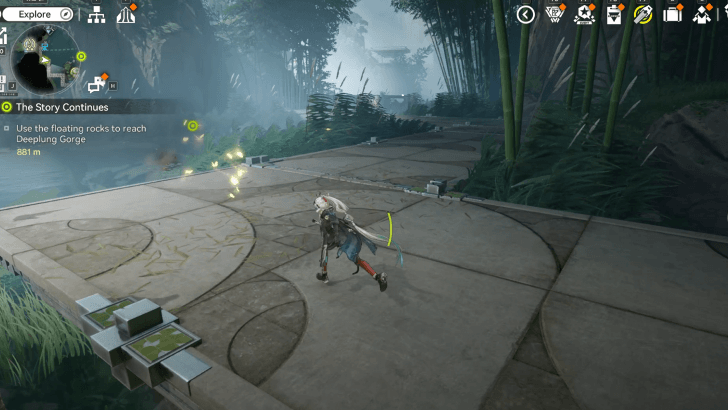 |
Follow the butterflies by the west side of the Pinesmoke Basin path. | |
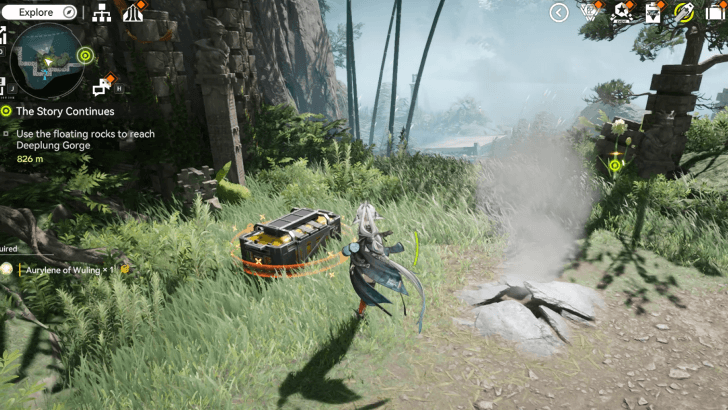 |
Locked chest near the Auto-Jet Vent, collect the Sealed Aurylenes nearby to unlock the chest. | |
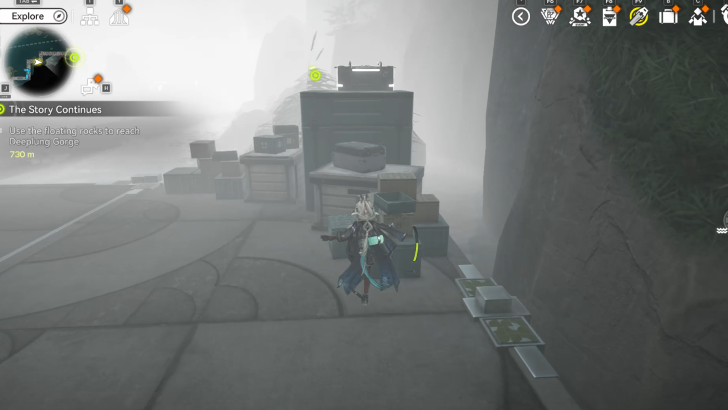 |
On top of a crate along the east path of Pinesmoke Basin. | |
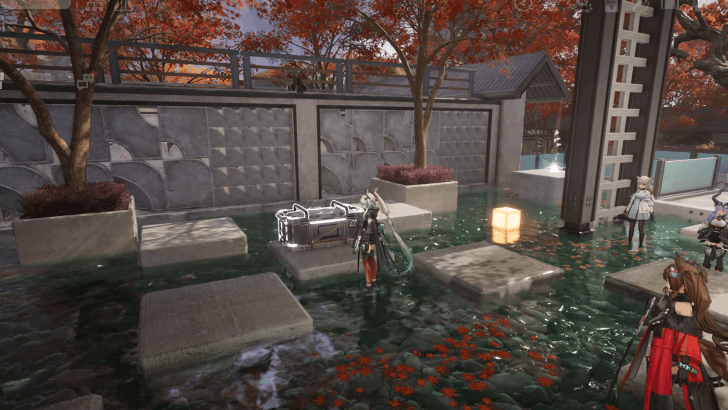 |
Outside Yuanyuan Manor sitting on top of a stone path by the water. | |
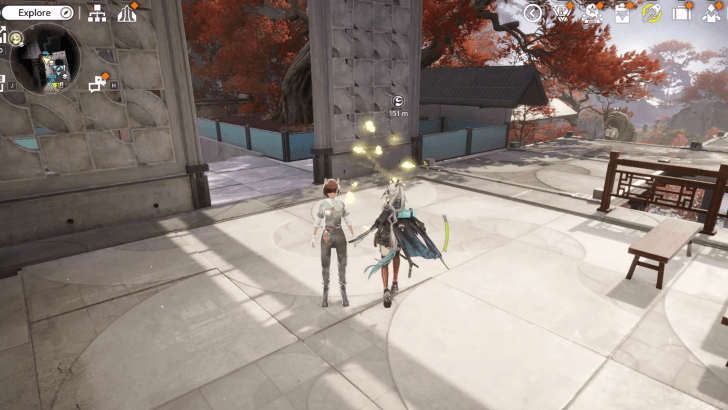 |
Follow the butterflies by the outdoor dining area in Yuanyuan Manor 1F to get a chest. | |
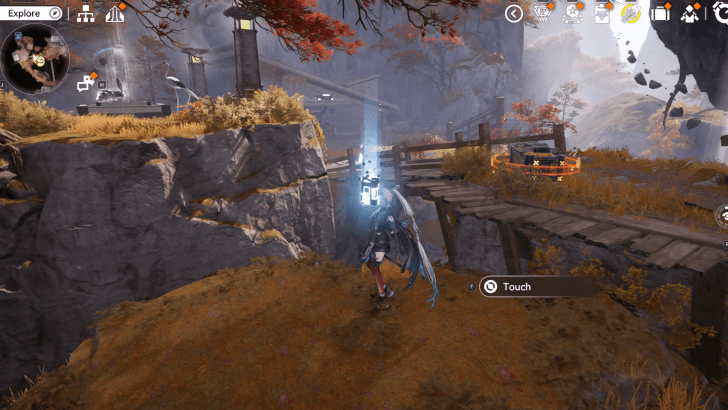 |
Locked chest between the bridges. Use the Spirit Paint nearby to open a path to one of the Sealed Aurylenes. | |
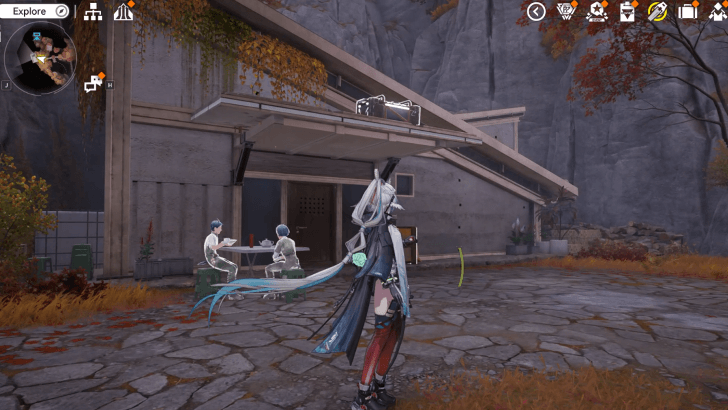 |
On top of the door awning, jump up the roof to reach the chest. | |
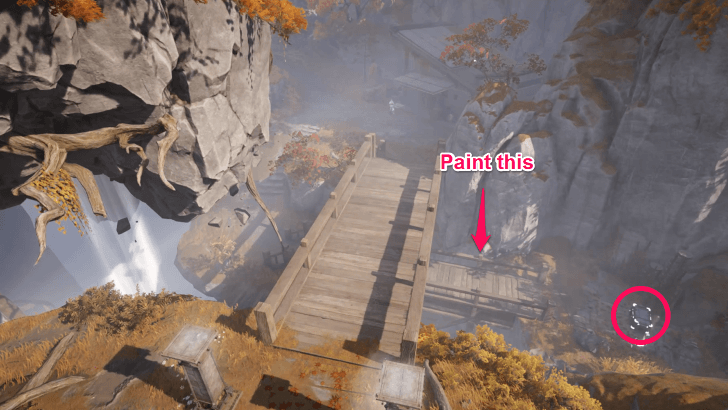 |
To access the chest, unfurl the scroll across the top bridge to use the Spirit Paint and paint the lower bridge. | |
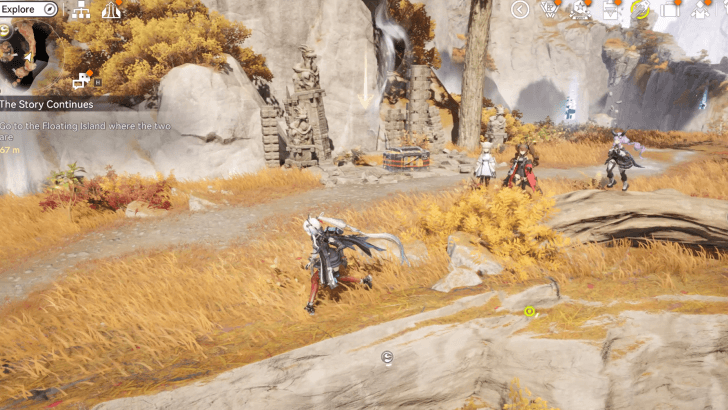 |
East of Inkrise Peak, progress through The Story Continues quest to access the area. Unfurl the scroll and use the Spirit Paint to make the paths leading to the higher hill to find the locked chest. | |
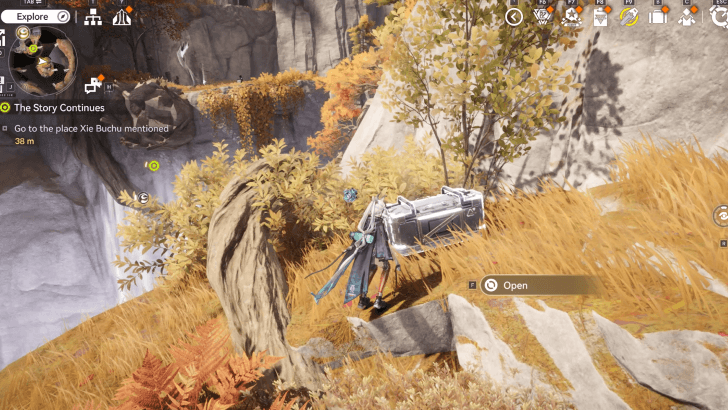 |
On the middle of Inkrise Peak as you progress through the quest, The Story Continues. Attack the fake wall to find the chest. | |
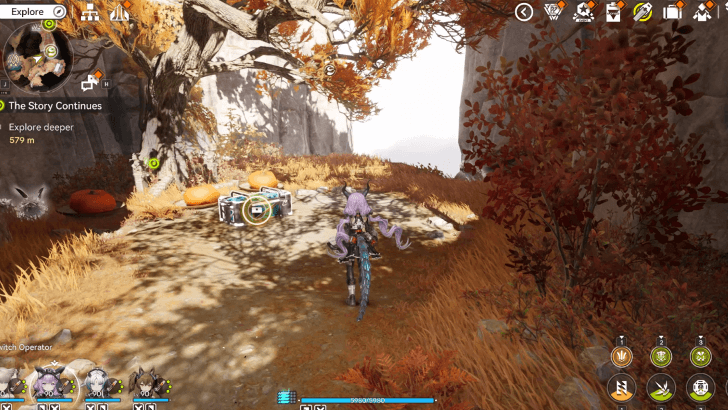 |
From the east Pavilion of Parting TP Point, head east and solve the Align and Place puzzle by placing the pumpkin on the left empty plate to get the chest. | |
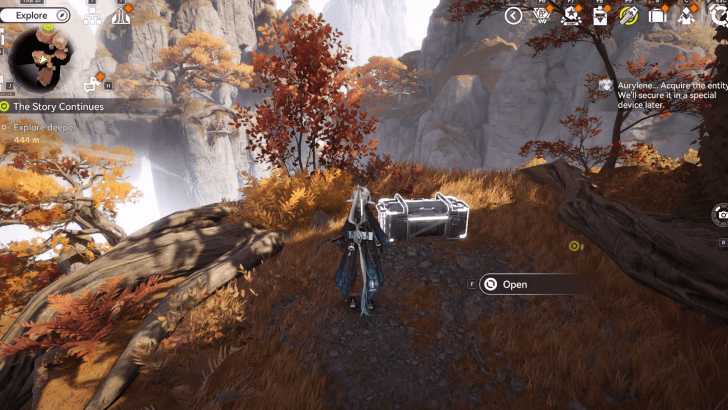 |
Found near a floating Aurylene south of Cormorant's Rest. Take the floating rocks to reach the higher area. | |
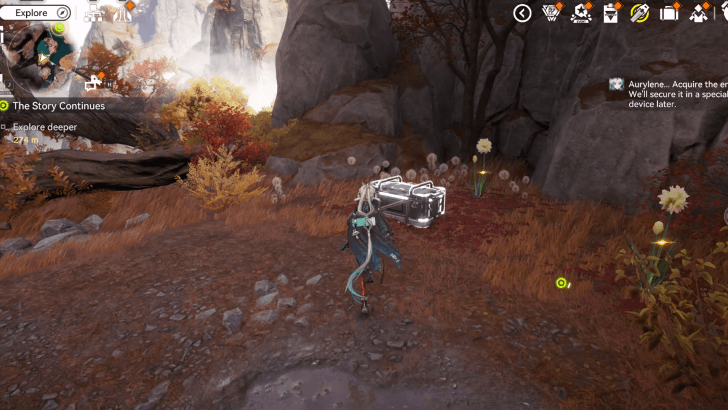 |
By the tree near the waterfall located west of Cormorant's Rest. | |
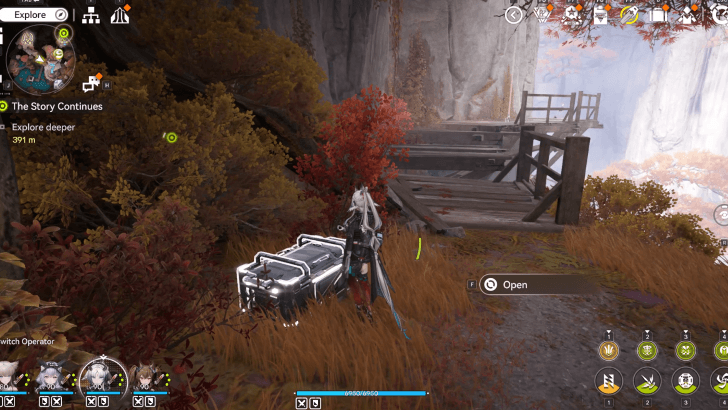 |
Head southeast from the Pearlveiled Brook TP Point to find it near the broken bridge. | |
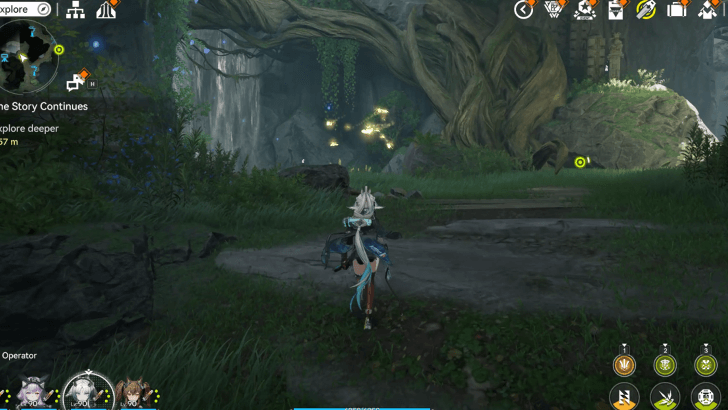 |
From the NWEZ entrance to Si's Painting, head down the path and head west to find the butterflies that will lead you to the chest | |
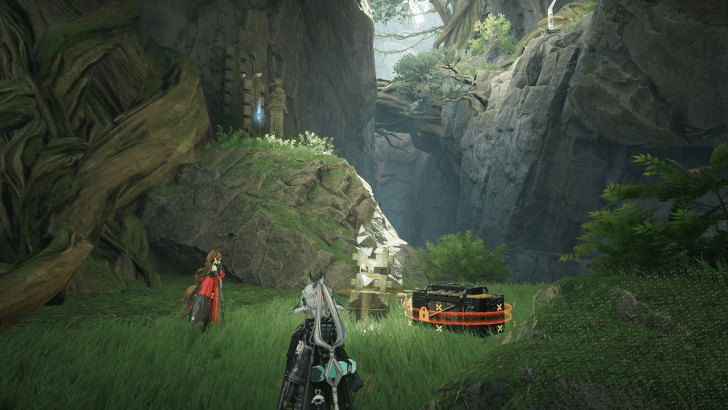 |
Locked chest near the base of the giant tree. Find all Sealed Aurylenes by the tree and the water to unlock the chest. | |
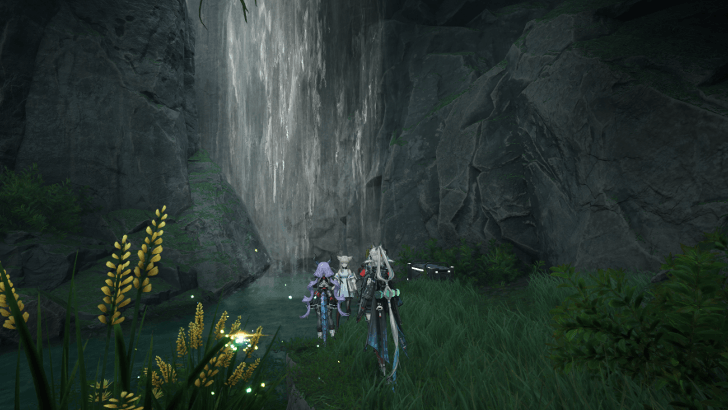 |
Located by the corner near the waterfalls northwest of the TP Point. | |
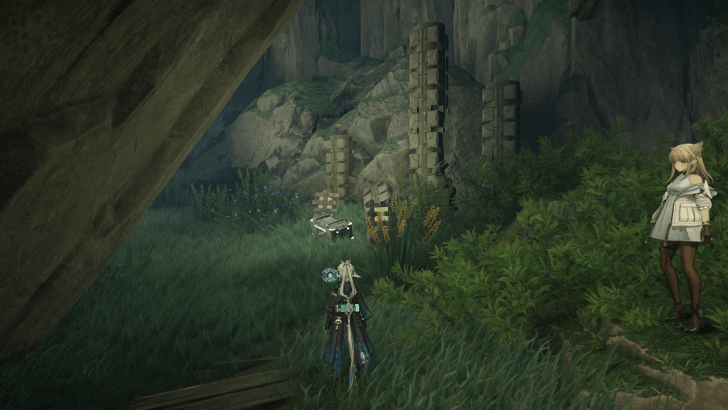 |
From the TP Point, head back west to find the chest under the giant tree trunk. | |
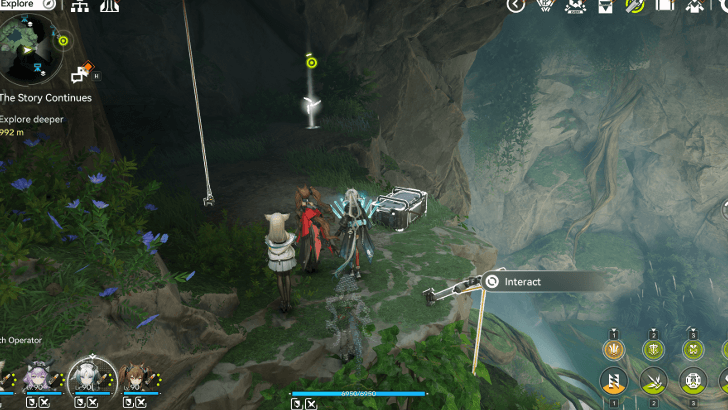 |
Found immediately after taking the rope to the Hidden Flow area near a Talosite. | |
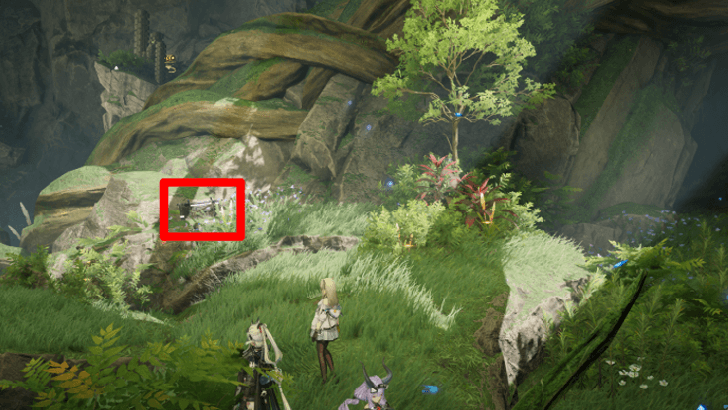 |
From the Pinesmoke Basin TP Point, head west to find the chest sitting by the base of the tree. | |
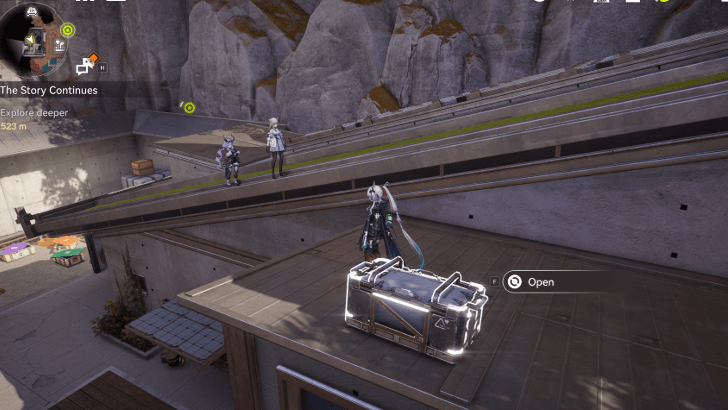 |
From the farm outside Yuanyuan Manor, head to the west house and jump up the roof to find the chest. | |
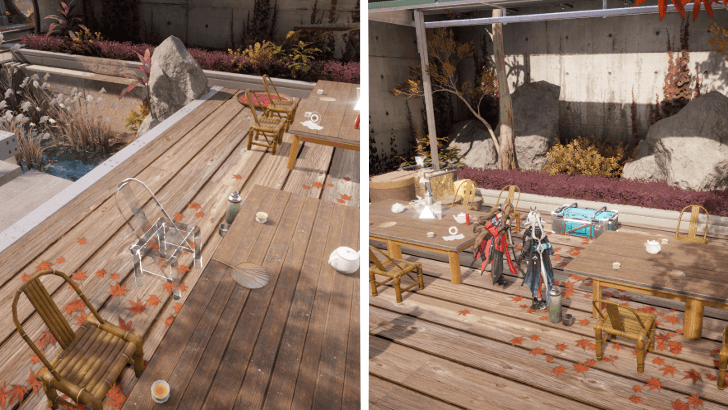 |
Solve the Align and Place puzzle to place the missing chair and unlock the chest. | |
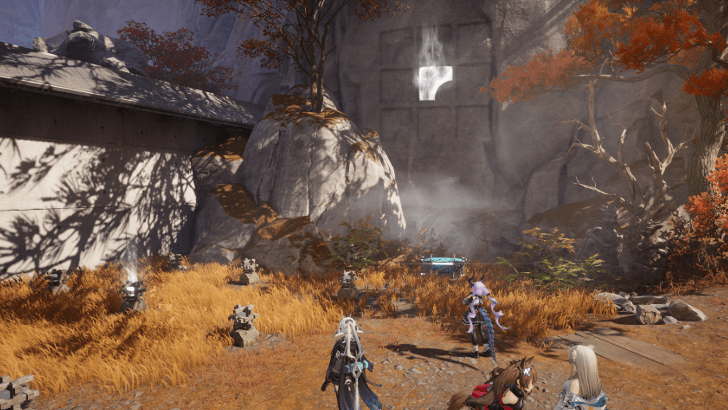 |
Solve the Stone Lantern puzzle located northwest of the farm. Use the Align and Place puzzle nearby to place the missing lantern and to solve the puzzle and get the chest. | |
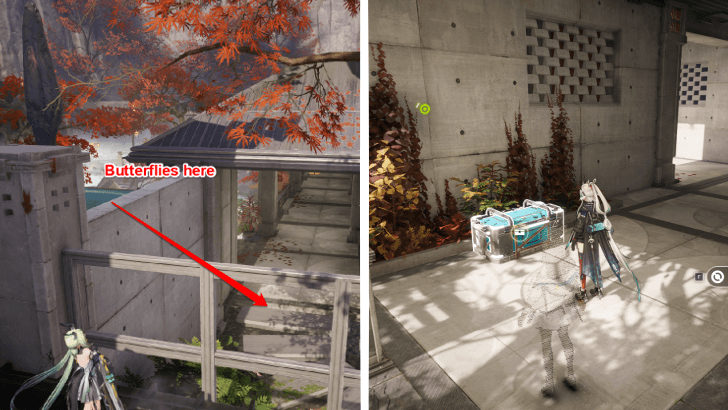 |
From the Yuanyuan Manor TP Point, jump down to the south area to immediately find the butterflies. Follow the butterflies to find the chest to the southern room. | |
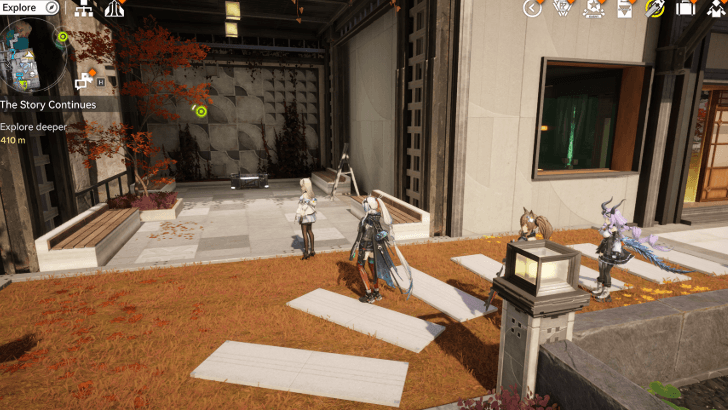 |
In Yuanyuan Manor, head outside our room from the second floor or take the stairs north of the TP Point to find the chest. | |
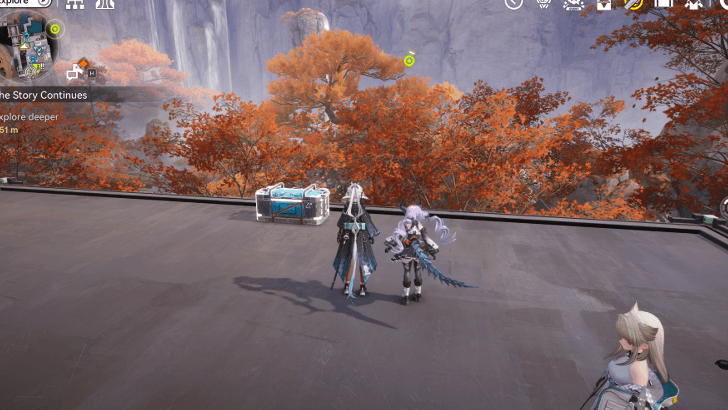 |
From our room on the second floor of Yuanyuan Manor, head outside and make a left to find the chest on the roof. | |
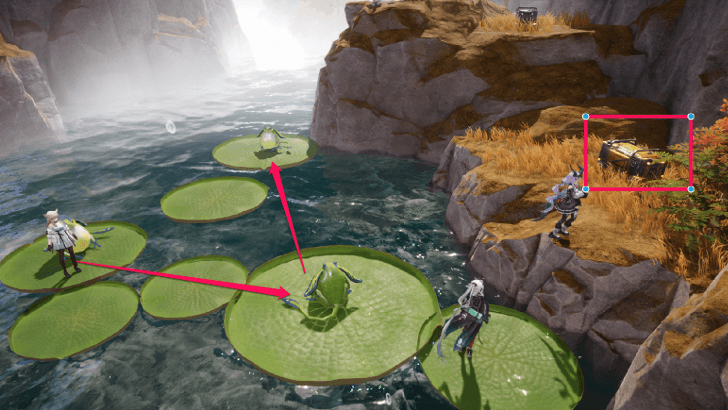 |
Head past north of Yuanyuan Manor and jump down the stream to find the Pass the Bug puzzle. Solve the puzzle to unlock the chest. | |
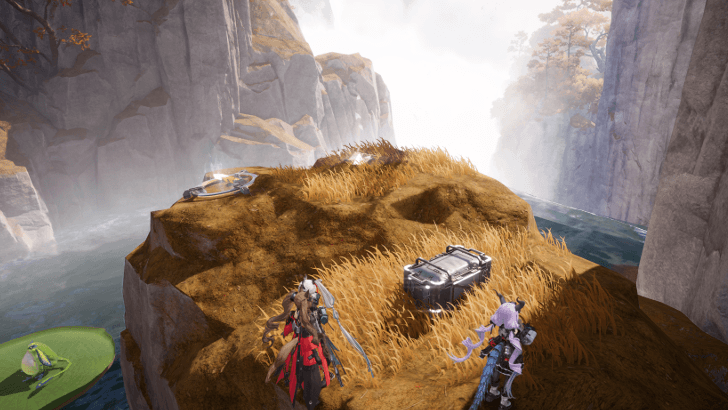 |
On top of the rock near the Pass the Bug puzzle. | |
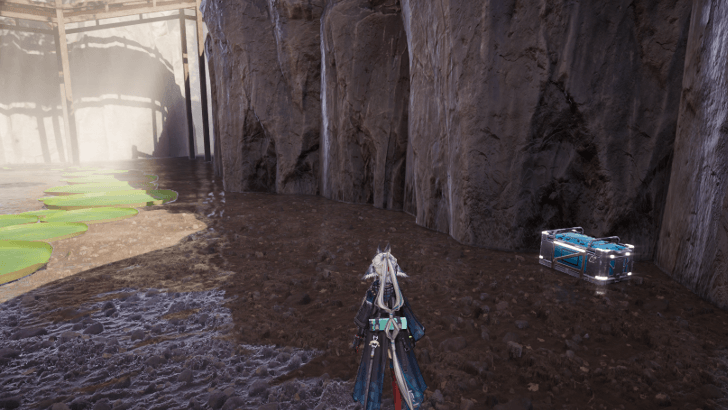 |
At the bottom of the Cleansing Pool. Make sure there is no water to access the chest. | |
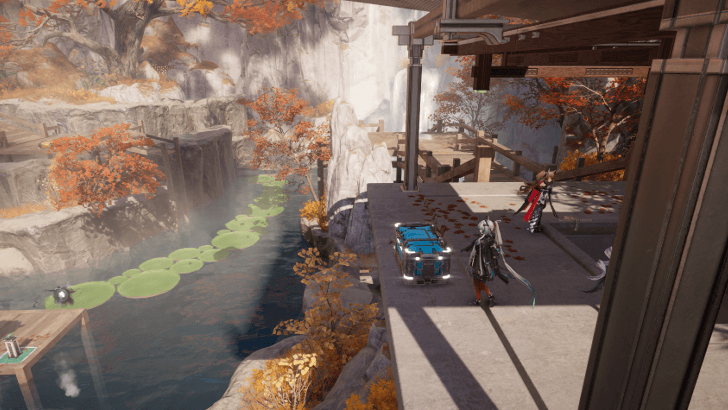 |
From the center of the Cleansing Pool, raise the water level and paint the right bridge to open up the path to the chest. | |
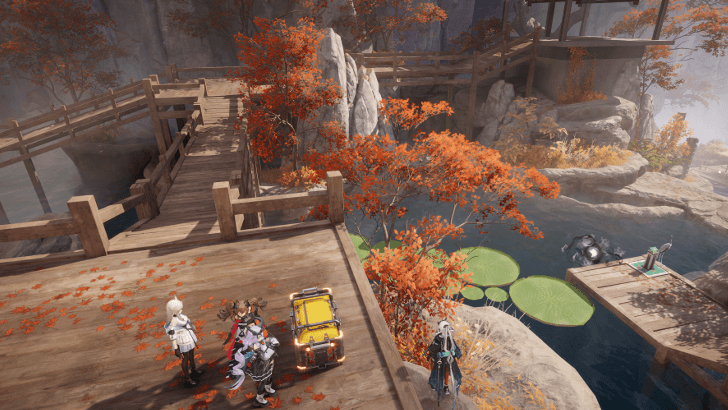 |
From the center, raise the water level and paint the bridge in front of you. Then, take the stone path to the right to go around the bridge blocking the lily pads. Head up to finally cross the bridge to the chest. | |
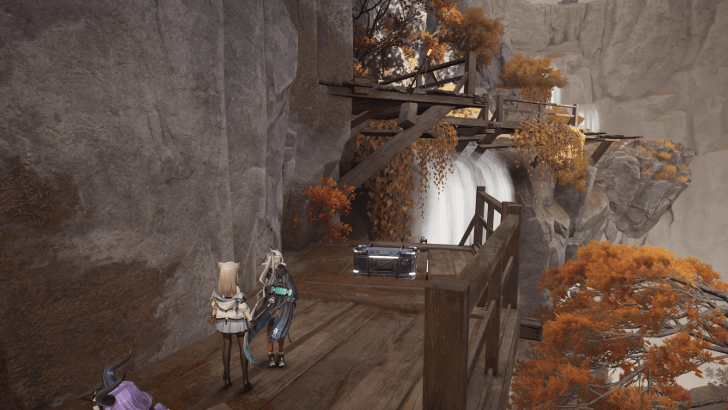 |
From the Pearlveiled Rook TP Point, take the floating rock down and continue heading right until you reach the rope to take down to the chest. | |
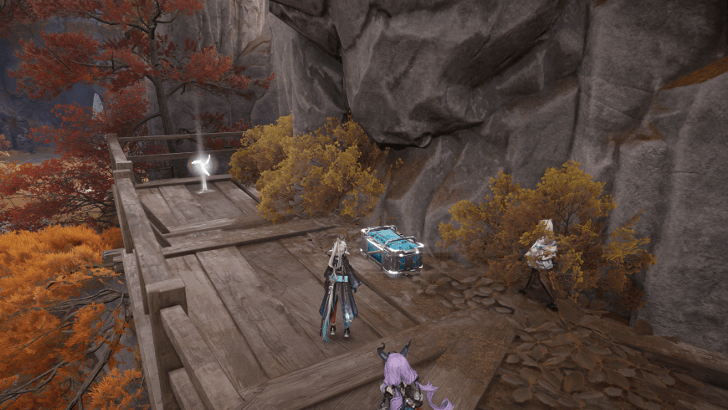 |
From the Pearlveiled Rook TP Point, go down and go to the right. Take the rope up to find the chest near a Talosite. | |
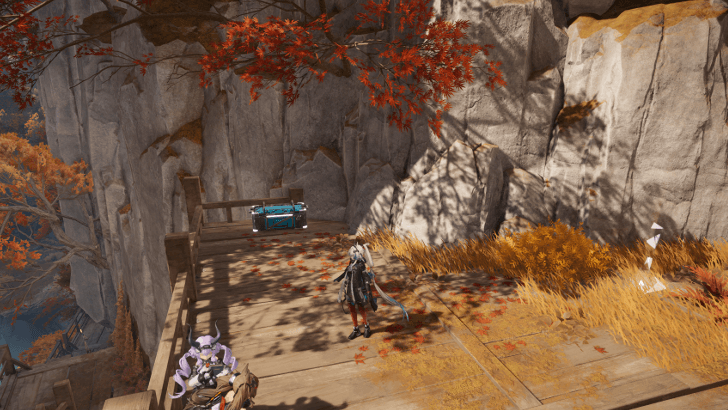 |
Destroy the crates at the corner of the lookout area south of the Raintap Grotto TP Point. | |
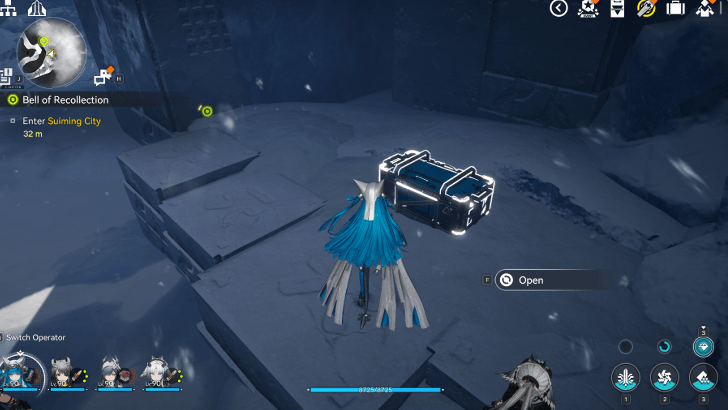 |
Found on the path near the entrance to Suiming City, located besides a pool of water. | |
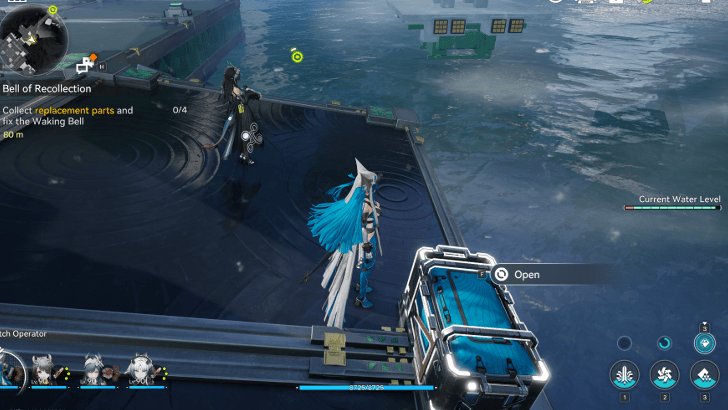 |
Found in Suming City Center on the edge of a ledge. | |
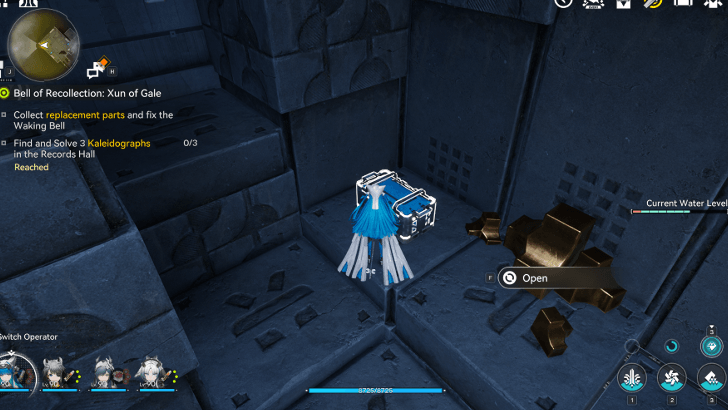 |
Found at the top left corner of the room northwest of the Tianshi Pillar Records Hall. | |
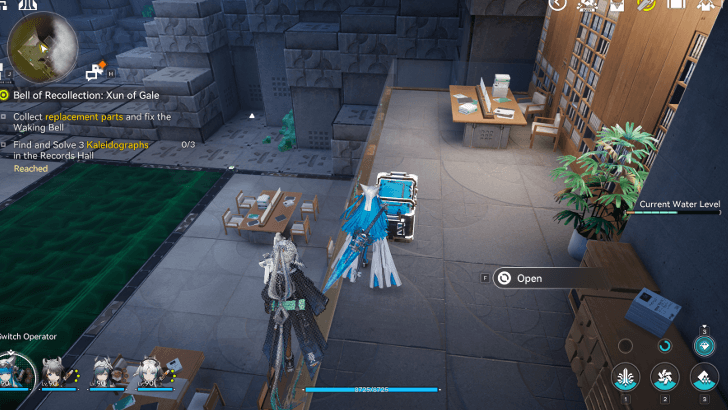 |
Found on a balcony in the room northwest of the Tianshi Pillar Records Hall. |
Treasure Chest Interactive Map and Locations
Wuling Protocol Dataloggers
Protocol Datalogger can easily be spotted as yellow tube men that dance with the wind. Activating with Protocol Dataloggers rewards you with Basic AIC Index, which you can use for researching and upgrading in your Basic AIC Plan.
| ✔️ | Overworld View | How to Get |
|---|---|---|
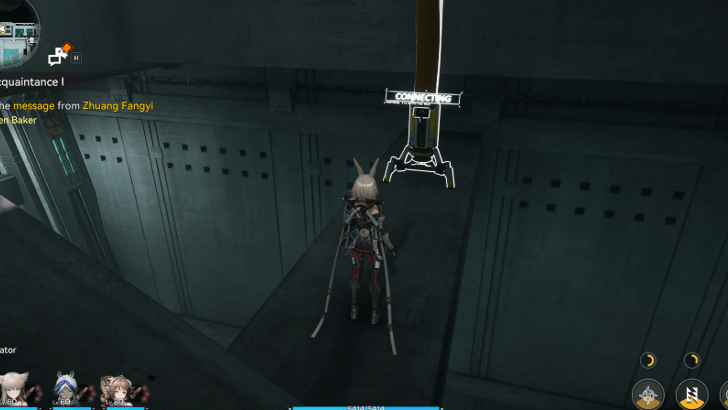 |
In Watchtower Reservoir Station northeast of the TP waypoint. You can access this area by entering Sector B of the station. | |
 |
Found near the Giant Lotus dock. | |
 |
In front of the building near the river at Technological Production Office. | |
 |
On the west side of the Monitoring Center, near the ledge. | |
 |
At Residential Area, a little northwest of the central pool. | |
 |
At Fangxing Avenue. | |
 |
At Fangxing Avenue. | |
 |
On a higher level, next to the railing, on a building south of Xiranflow Channel. | |
 |
At the very southwest part of Wuling City, south of the Institute of Materials Science. | |
 |
Close to the water, south of the Field Logistics Depot. | |
 |
Northeast of Bladewoods, just out in the open. | |
 |
Further Northwest of Bladewoods, top right edge of the island. | |
 |
Far Southeast of Bladewoods, south most part of the map. | |
 |
South of Ancestral Spring, from the teleporter jump down to get to it. | |
 |
Slightly Southwest of Ancestral Spring, simply make your way to it from the path west of the spring. | |
 |
Located near the central platform with an Aurylene above it. Found by the lake. | |
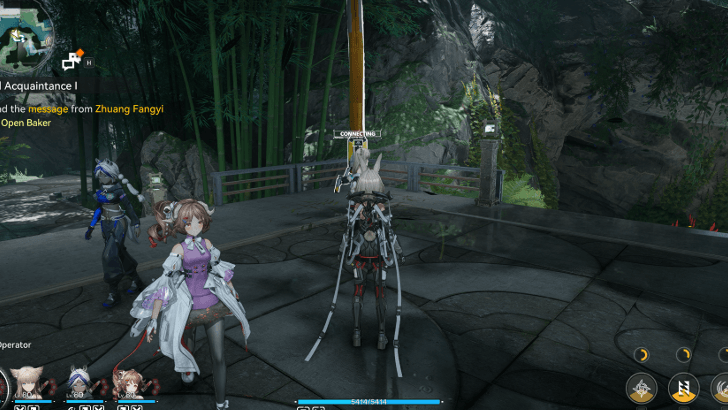 |
Found in the Restricted Area, Northwest of the TP Waypoint, on a platform overlooking the lake. | |
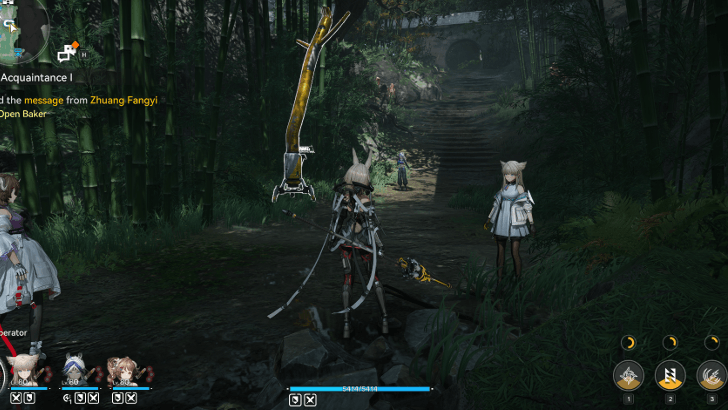 |
Found in Marker Stone Sub-PAC Area, along the path by the northeast corner. | |
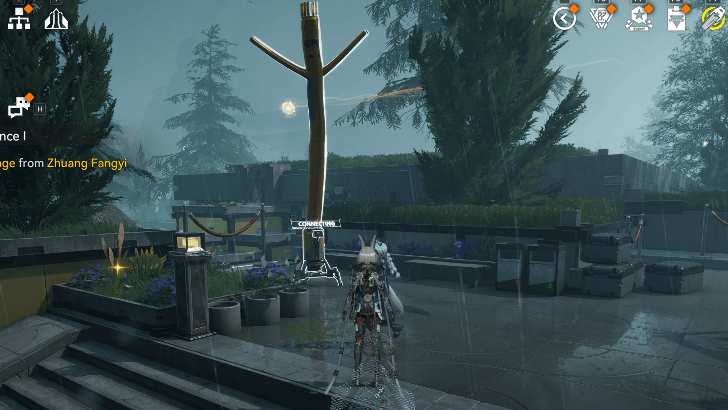 |
In Serenity Garden just beside the Environment Monitoring Station. | |
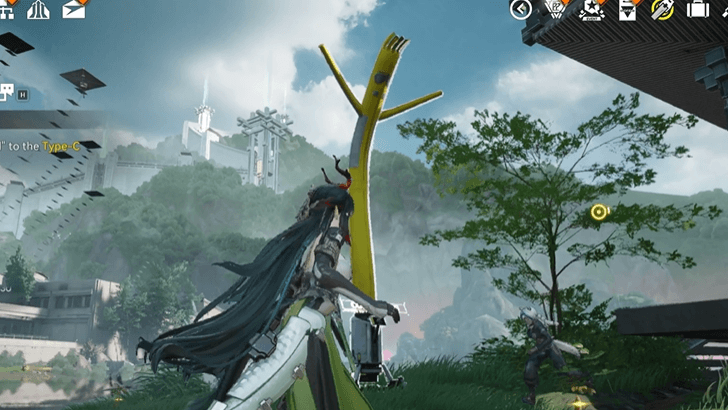 |
Northeast of the Type-C Auxiliary Pillar Area 1, near the covered area with a chest. | |
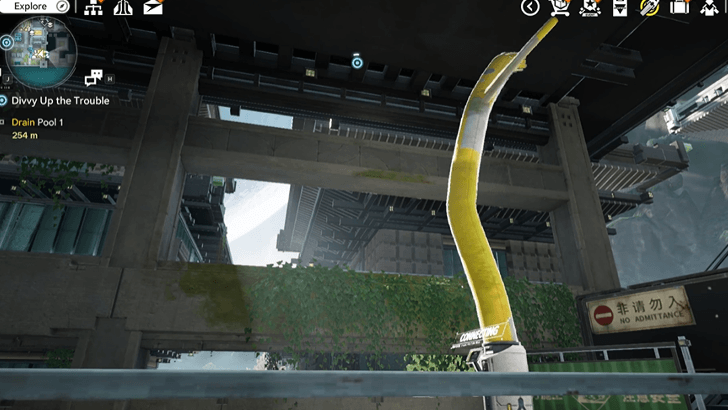 |
To the east of the TP Point south of the Integrated R&D Area near the Rare Growths spot. | |
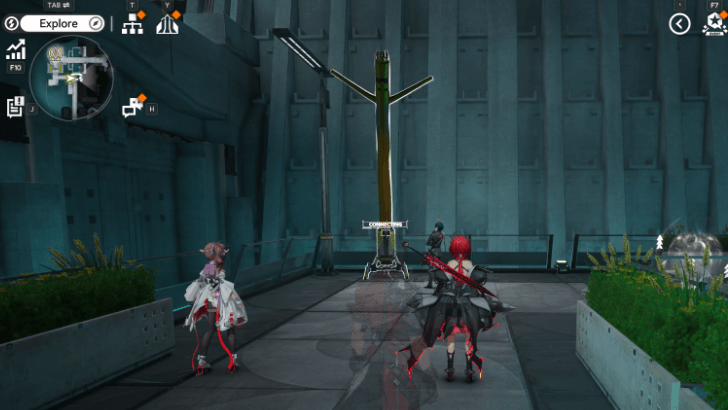 |
Southeast of the waypoint in Pass-side Canal. | |
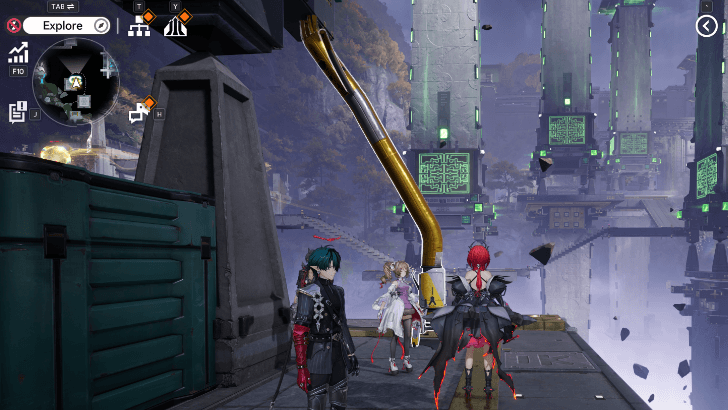 |
Slightly northwest of Odd Pine Ridge. | |
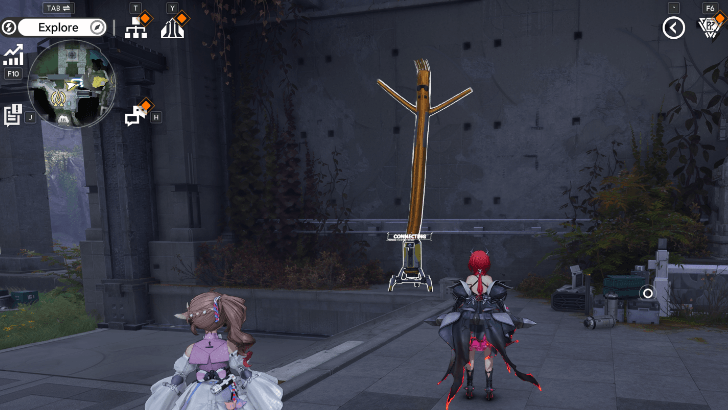 |
Slightly northeast of the YSTF Main Camp waypoint. | |
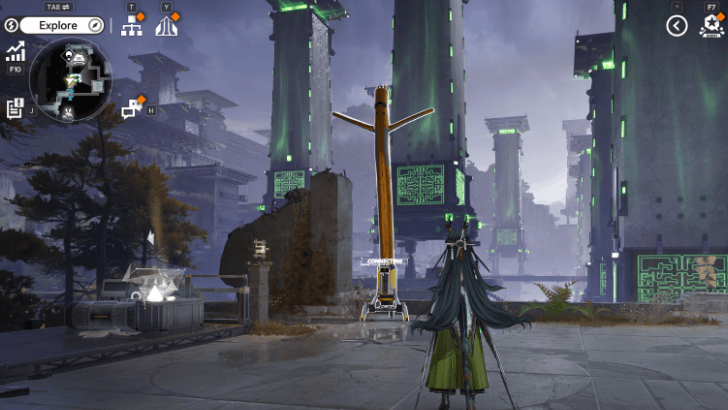 |
Northeast of the waypoint in Pass-side Canal. | |
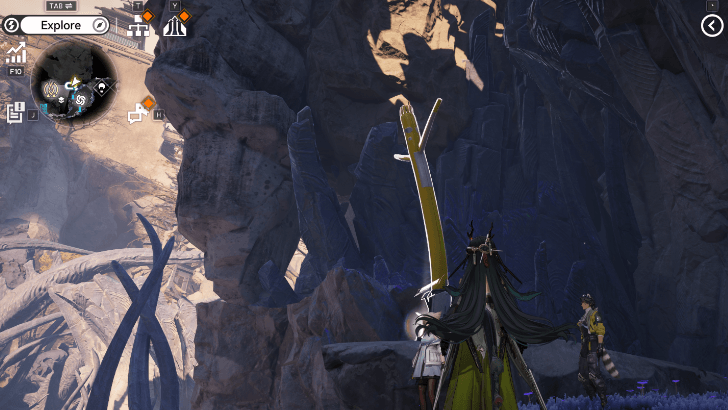 |
Northeast of the waypoint in the Designated Urban Area. | |
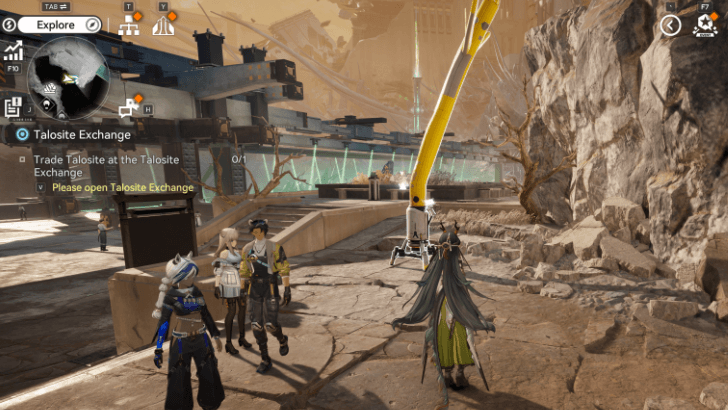 |
Southwest of the Xiranite Research Labs waypoint. | |
 |
Southeast of Quelltide Levee. | |
 |
South of the Tianshi Pillar R&D Center, guarded by a Blightshade Rakerbeast. | |
 |
Found north of the Ecological Research Station, in front of an isolated house. | |
 |
Found to the left of the TP Point of the Treadway. It will be behind some rocks. | |
 |
Found just north of Sky King Flats. It is located beside large covered structures. | |
 |
Found to the left of Stragglers Ford close to bamboo. |
AIC Factory Guide
Wuling Delta Robots (Facility Repair)
Facility Repair Robots, or Delta Bots, are puzzles wherein you must repair Delta Robots scattered across the map. Repairing one rewards you with EXP, Oroberyl, and various upgrade materials.
| ✔️ | Overworld View | How to Get |
|---|---|---|
 |
A little south of the TP Point at the main entrance of Wuling. | |
 |
A short distance north of the main entrance to Wuling. | |
 |
At the southwest part of the residential area. | |
 |
Under the outer wall of Wuling, at the northern part of the Residential Area. | |
 |
At the northwest part of the Field Logistics Depot, a little northeast of the TP Point. | |
 |
At the southeast part of the Maintenance Zone. | |
 |
Near the water, outside the Monitoring Center, to the southwest. | |
 |
East of the Agricultural Test Site, past the pillars. | |
 |
Out in the middle of the Technological Production Office. | |
 |
Behind the potted bushes in between Fangxing Avenue and Citizen Square. | |
 |
On the wooden dock of the lake. It will be surrounded by tattered wooden boxes that can be destroyed. | |
 |
Located on an isle. You must use the Lily Pads to get across and reach the Bot. | |
 |
Located to the northeast of Gloomvale. | |
 |
Located by the edge of the cliff. | |
 |
Found on the wooden platform with a view of the lake. | |
 |
Appears during a Daily Task, Friend of Bots. | |
 |
Found on the stairway going up the Ecological Research Station. | |
 |
Located to the northeast of the Ecological Research Station. | |
 |
Slightly Northwest of the Bureau, beside a waterfall. | |
 |
The last robot will only be accessed after heading up the rope near the end of the Post Destination mission. | |
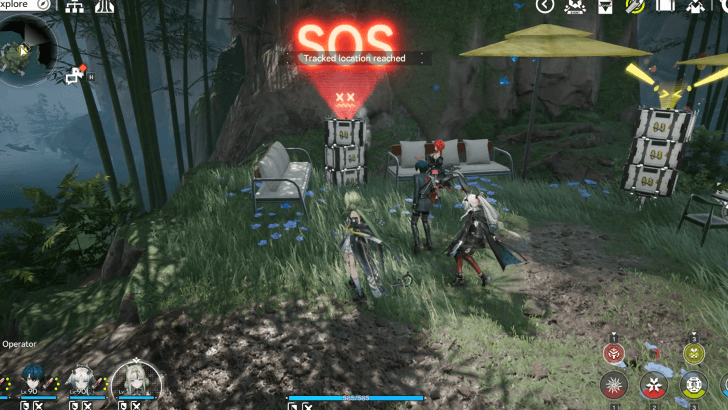 |
Located between two couches near two other robots. Progress through the Post Destination mission to access the area. | |
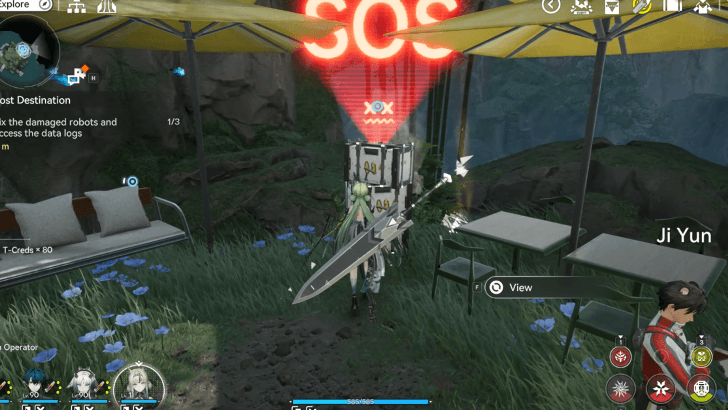 |
The middle Robot in between two umbrellas. Accessible with the two other robots during the Post Destination exploration mission. | |
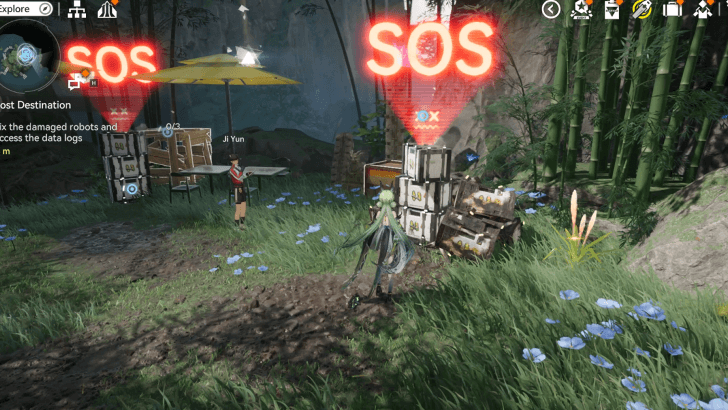 |
Go around the area to find 3 more Delta Bots after solving the last one during the Post Destination mission. This Robot is near the bamboos near two other robots. | |
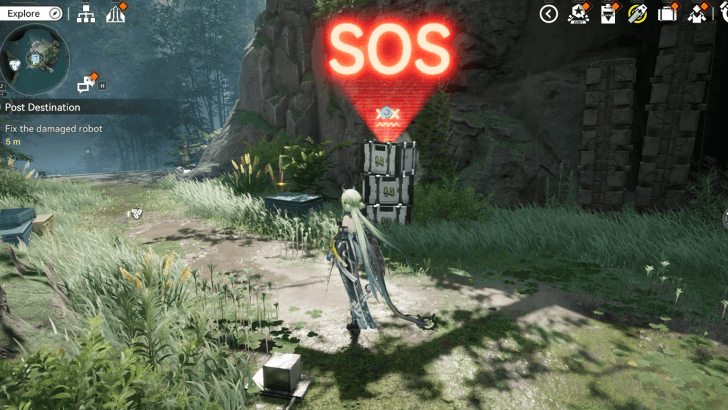 |
After repairing the first Robot, take the Bounce Device to reach the destination of the next Robot. | |
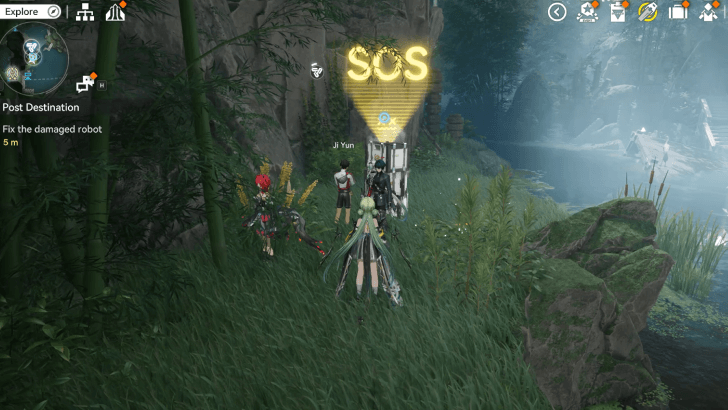 |
You need to start the Exploration Mission, Post Destination, by talking to Ji Yun to repair the Delta Bot. | |
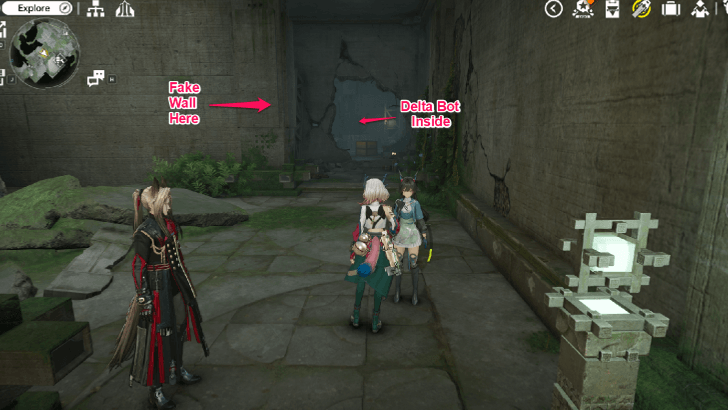 |
Southeastern area of South Gorge Rampart, under some building ruins that can be found south of the puzzle. On the southeastern side of the ruins, there is a fake wall that can be broken to get inside to the area close to the Delta Bot faster. | |
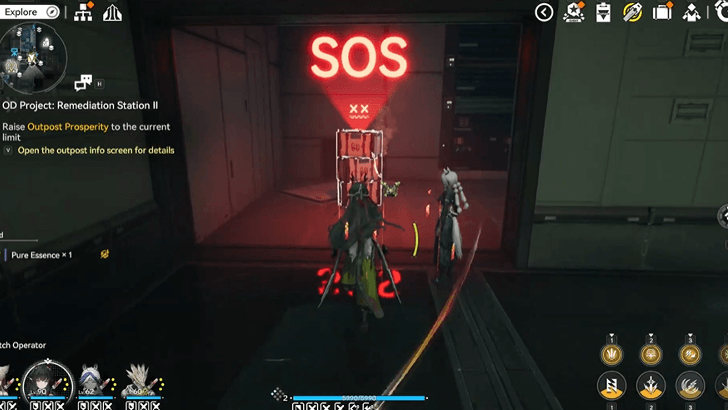 |
Found in the room below the last 2 chests, guarded by 2 slugs. Accessible during the Divvy Up the Trouble quest. | |
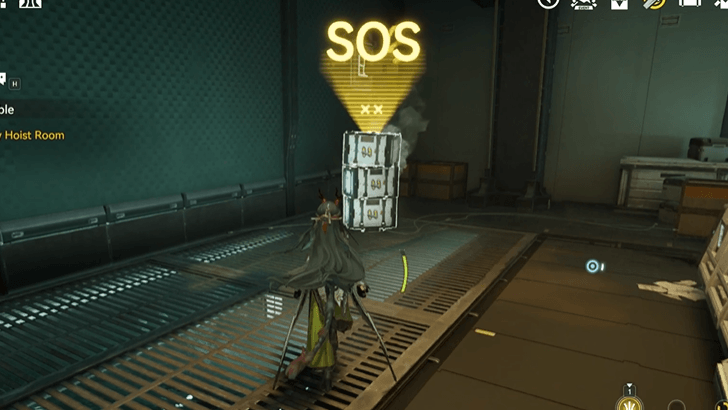 |
In the northwest room of the Testing Zone, which is accessible during the Divvy Up the Trouble Exploration Mission. | |
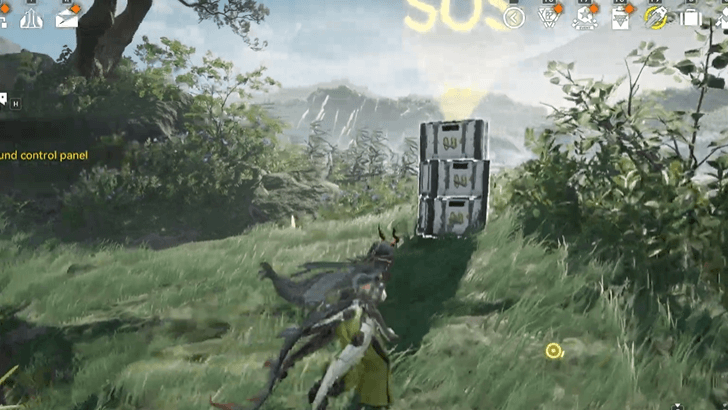 |
Found on the separated area northeast of the Meridian Grid Area. | |
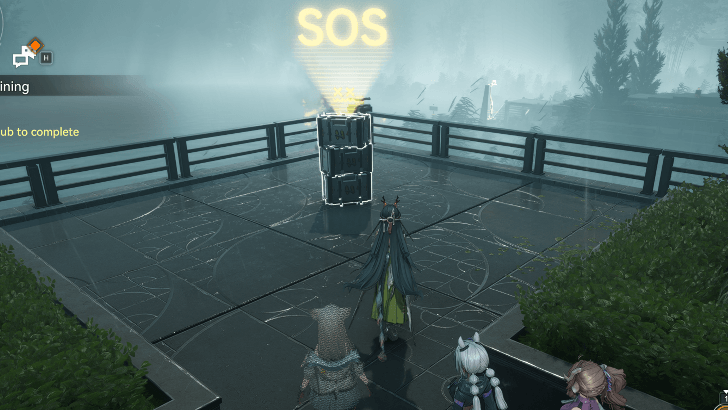 |
At the protruding platform, southeast of the Urban Development Hall. | |
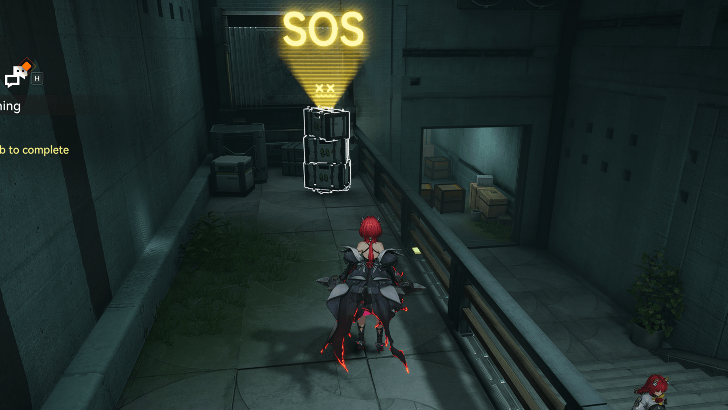 |
Found in the eastern part of the Watchtower Reservoir Station. | |
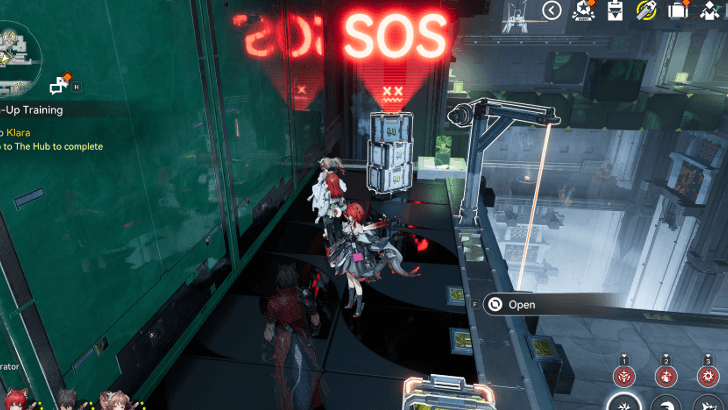 |
Found in Marker Stone Interiors, Main Section, atop a ropeline behind enemies. Positioned south of the TP waypoint. | |
 |
Southwest of Causeway Trail. This Delta Bot has 2 puzzles. | |
 |
Can be found in the center of the Main Fort. Pretty easy to see. | |
 |
East of Bladewoods, close to overlooking a cliff. | |
 |
Next to the building, along the railing, south of Institute of Materials Science. | |
 |
Second floor of the building, south of Tianshi Bureau Academy. | |
 |
Second floor of the building that is in between Fangxing Avenue, Citizen Square, Xiranflow Channel, and Tianshi Bureau Academy. |
Delta (SOS) Robot Map and Solutions
Wuling Repair Logic
Repair Logic items are missing components of puzzles that are scattered across the map. Collect them to finish solving some of the puzzles in Wuling!
| ✔️ | Overworld View | How to Get |
|---|---|---|
 |
Hidden behind a large illusory rock. Attack it to reveal the Repair Logic spot near the waterfalls. | |
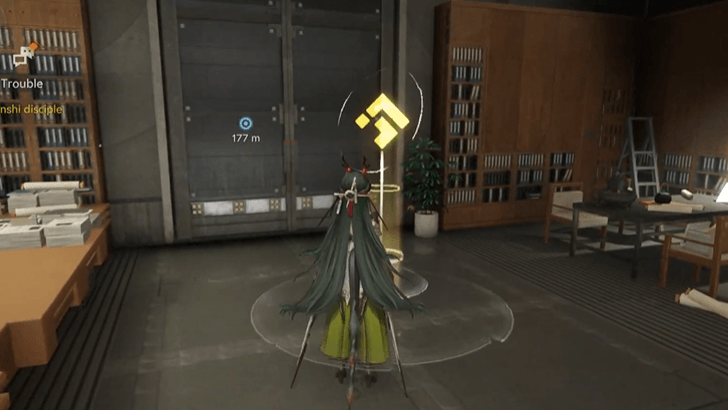 |
Found inside the building east of the Integrated R&D Area. |
Repair Logic Interactive Map and Locations
Talosite
Talosite is a mysterious material that can be found during exploration. They can be traded in Talosite Exchange for rewards!
| ✔️ | Overworld View | How to Get |
|---|---|---|
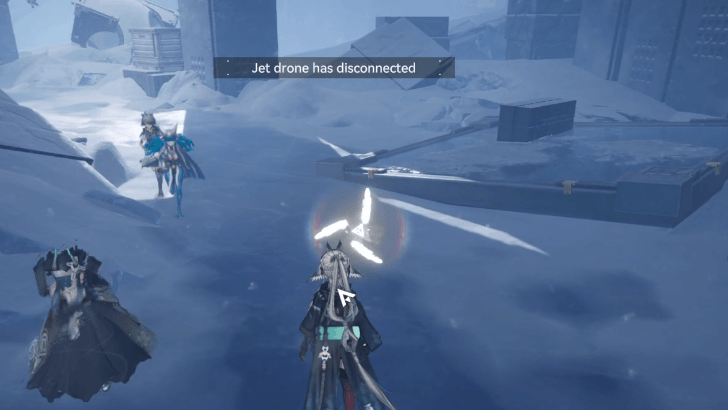 |
Found on the path leading up to the Suiming City Center. | |
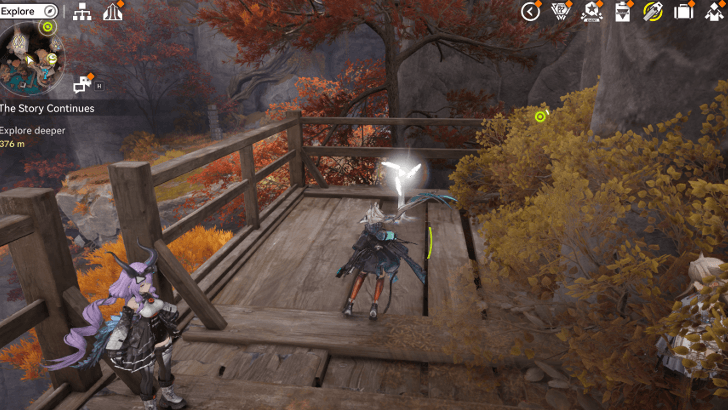 |
From the Pearlveiled Rook TP Point, go down and go to the right. Take the rope up to find the Talosite by the railing. | |
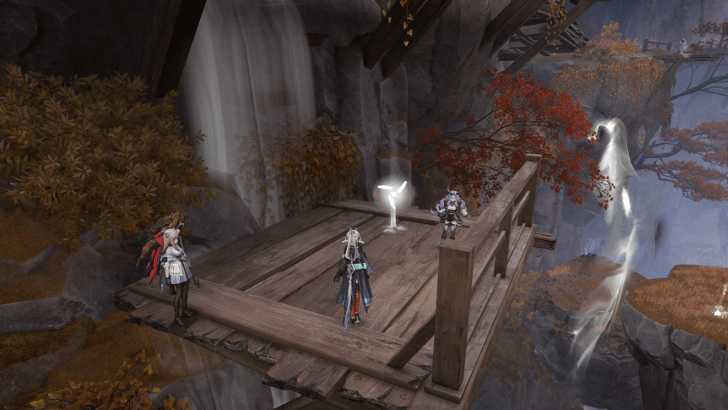 |
From the Pearlveiled Brook TP Point, head south and take the floating rock down. Destroy the crates to find the hidden Talosite. | |
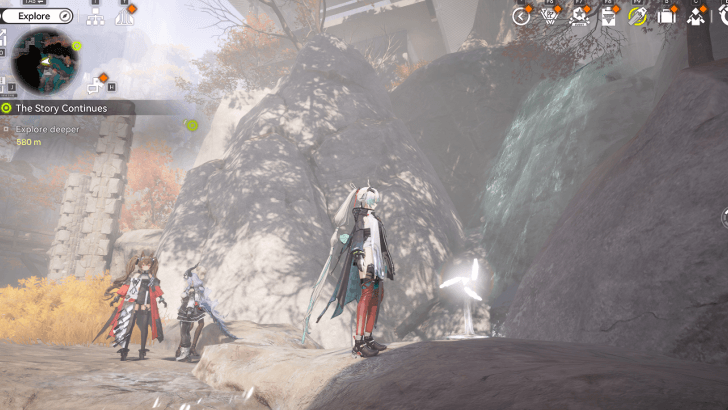 |
Raise the water level and paint the right bridge, then jump down the waterfall to find the Talosite. | |
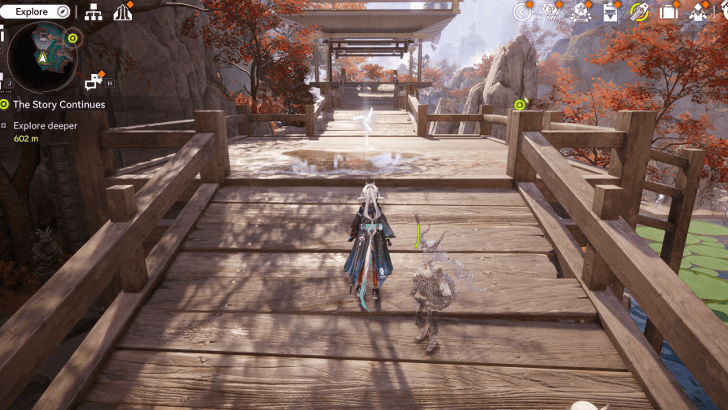 |
From the center of the Cleansing Pool, raise the water level and paint the bridge to open up the path to the Talosite. | |
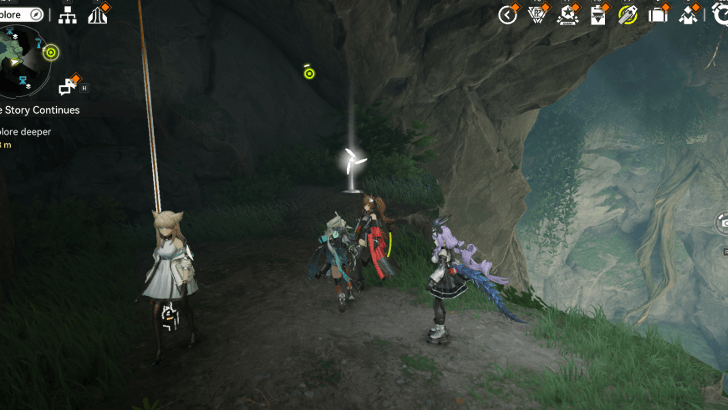 |
Found by the entrance to Hidden Flow near a chest. | |
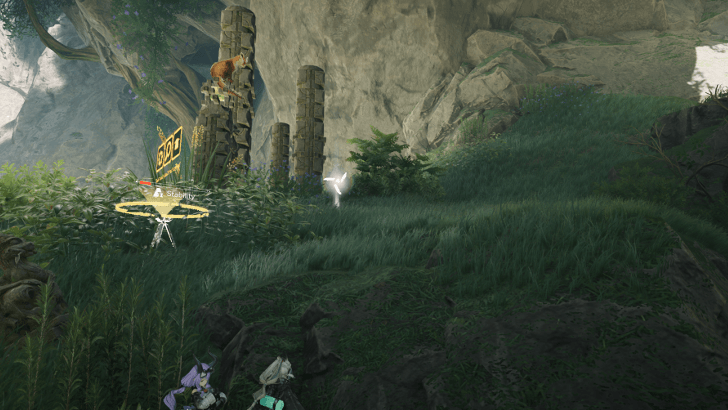 |
From the Pinesmoke Basin TP Point, head west then go south to climb up the bridging tree to find the Talosite. | |
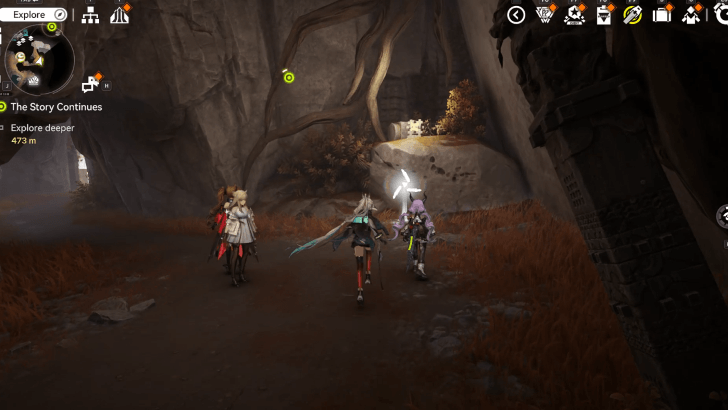 |
Found inside a smaller cave east of Grotto BF. Follow the wooden stairs down to find the Talosite. | |
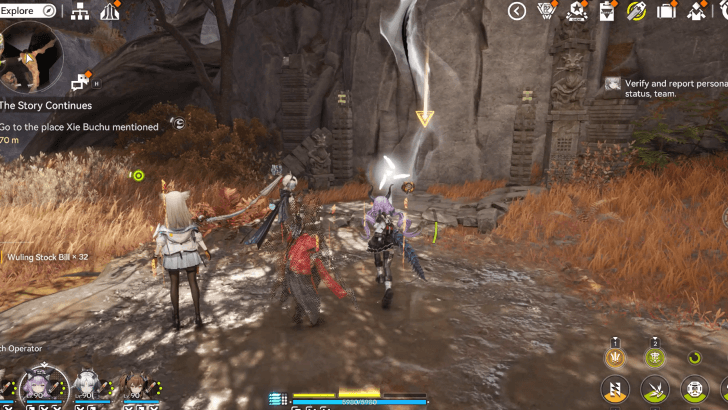 |
Along the eastern path in Inkrise Peak near a group of enemies. Progress through the quest, The Story Continues, to unlock the area. | |
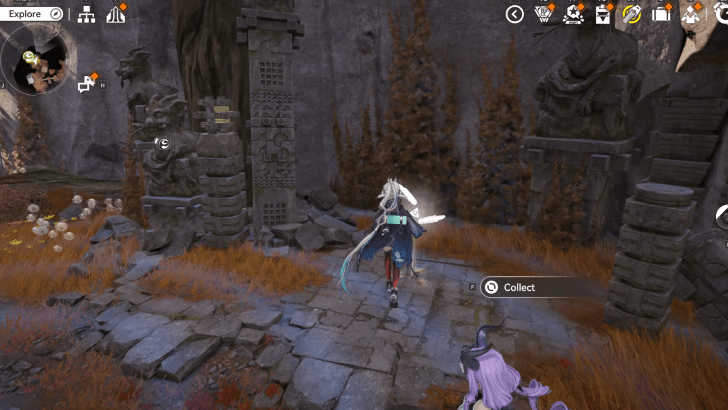 |
By the north area of Xiaohe Manor, use the Spirit Paint to make a bridge to access the area, then attack the fake wall to find the Talosite. | |
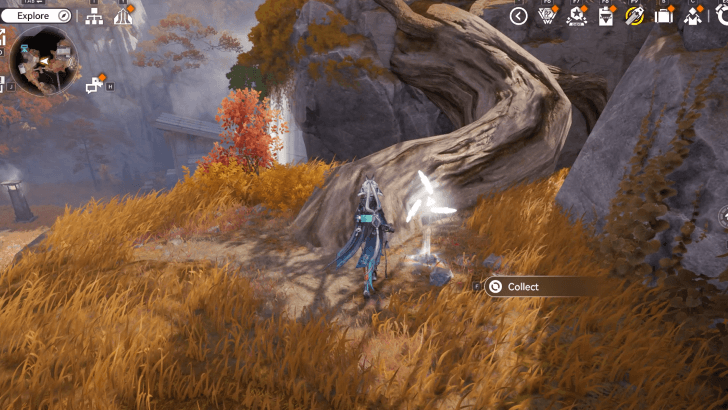 |
North of Xiaohe Manor, interact with the scroll to use the Spirit Paint. Brush the tree trunk to make a bridge to the Talosite. | |
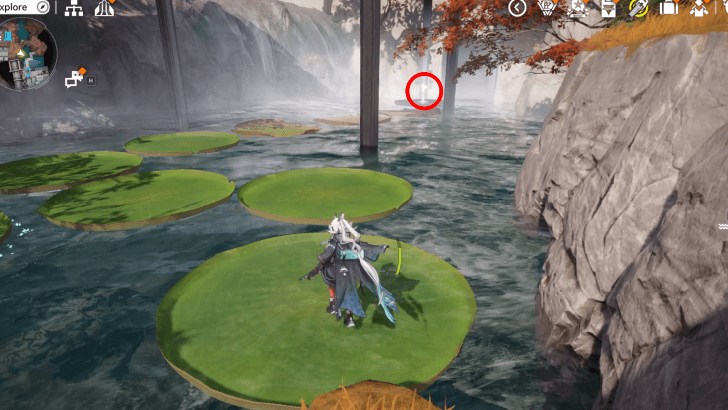 |
Right below the north bridge in Yuanyuan Manor. You can immediately jump down to its position from the bridge. | |
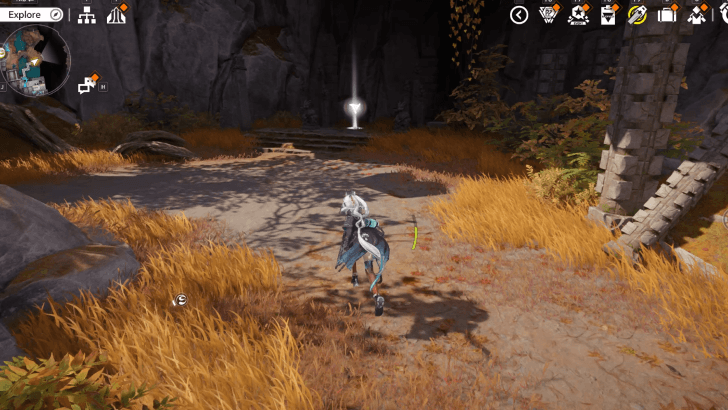 |
Found by the foot of the mountain northeast of Yuanyuan Manor. | |
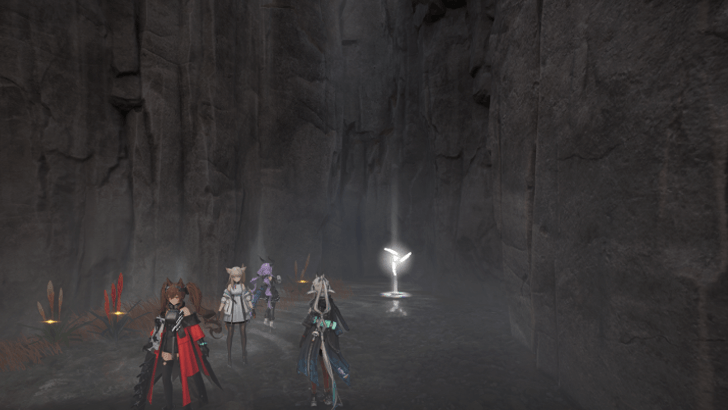 |
From the Raintap Grotto TP Point, head south and take the rope down to find the Talosite by the corner. | |
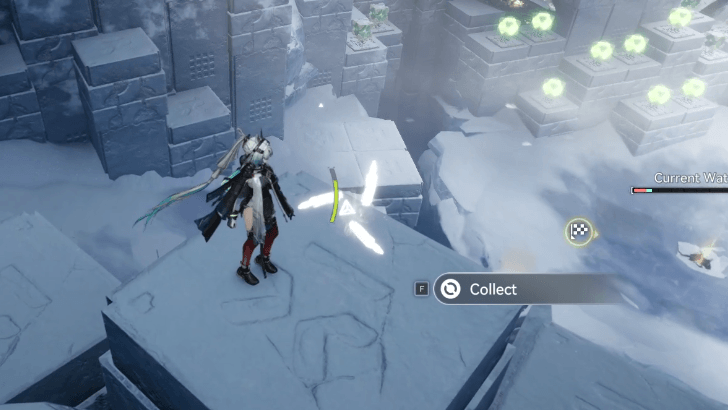 |
Found on top of a pillar, in the Physical Training Field. | |
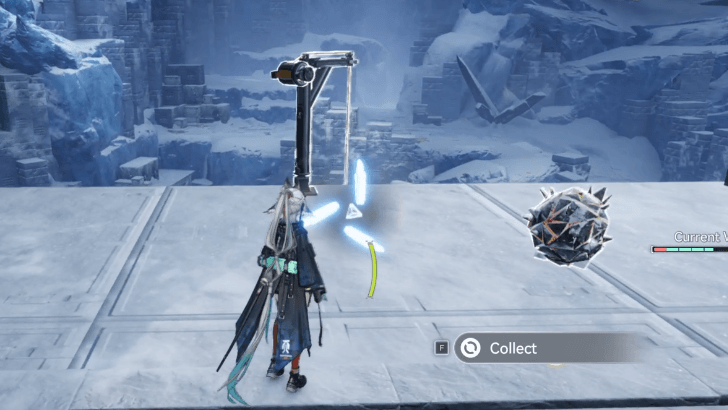 |
Found near the Physical Training Field TP point. | |
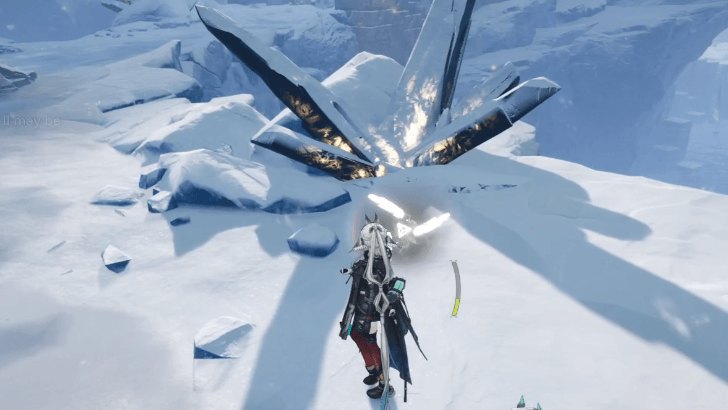 |
Found along the path towards the Physical Training Field. | |
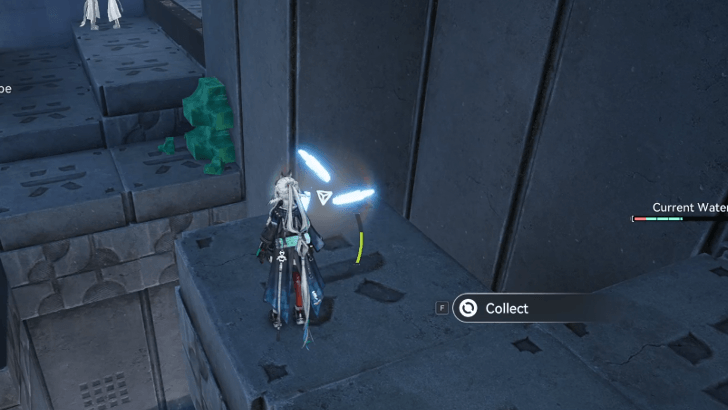 |
Ring the bell three times to be able to access this Talosite. | |
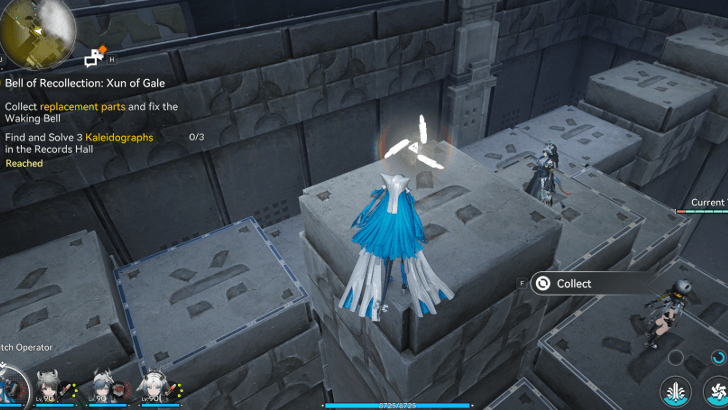 |
Found on top of a stone pillar by following the path northwest of the Ground Floor of the Tianshi Pillar Records Hall. | |
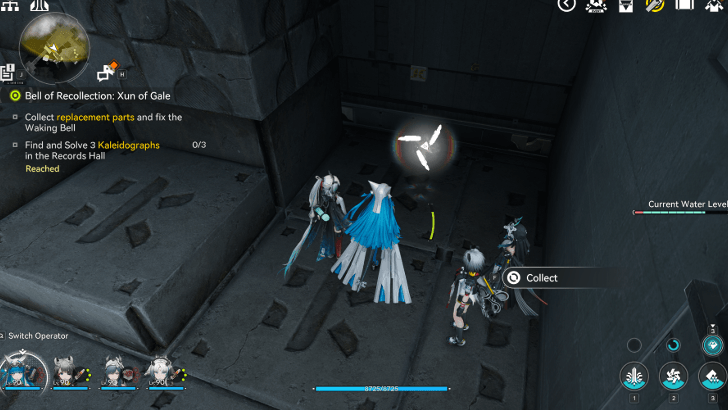 |
Found just past the entrance to the Tianshi Pillar Records Hall | |
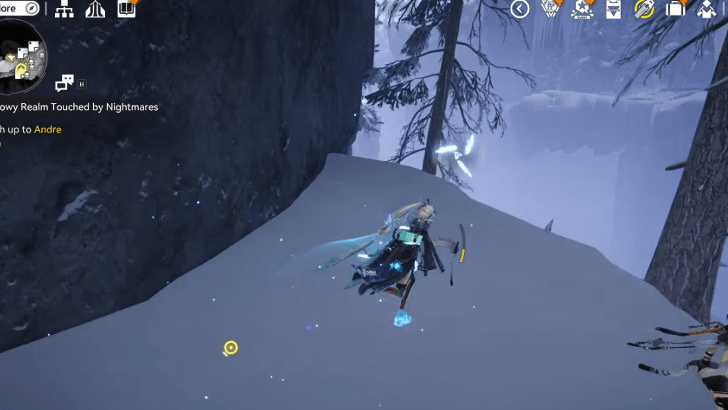 |
After entering Little Grotto, go east then turn north to find the Talosite by a cliff. You will earn 3 Talosites from this. | |
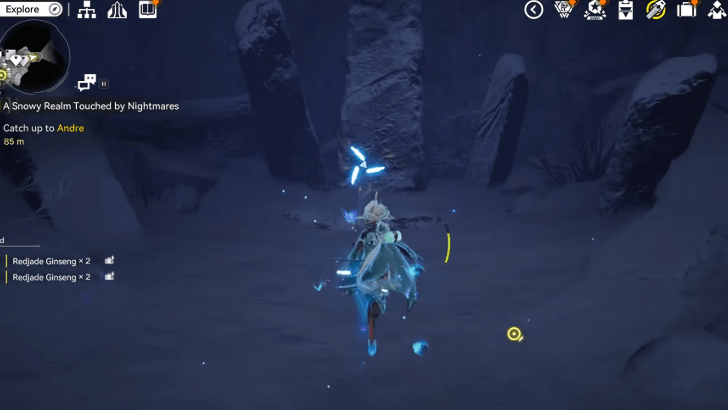 |
Found inside a hidden cave in Little Grotto. After opening the entrance, use Typhoeus's Bow and Arrows tool to remove the snow fog. You can obtain 3 Talosites from this. | |
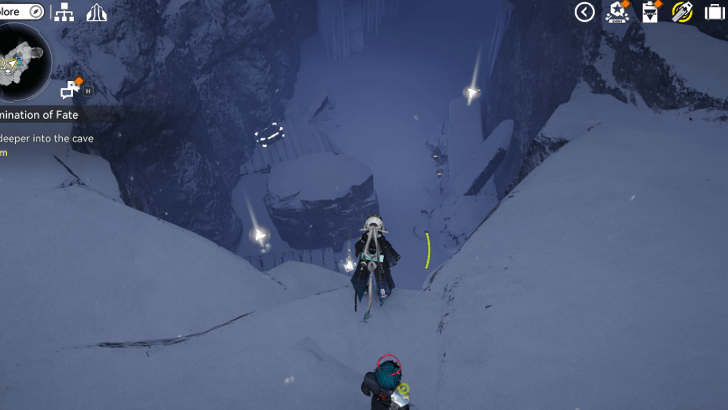 |
Found inside a hidden cave entrance in Little Grotto near another Talosite and crate. To open the cave, use the nearby auto-jet vent and attack the icicles at the top to make the boulder fall and open the entrance. | |
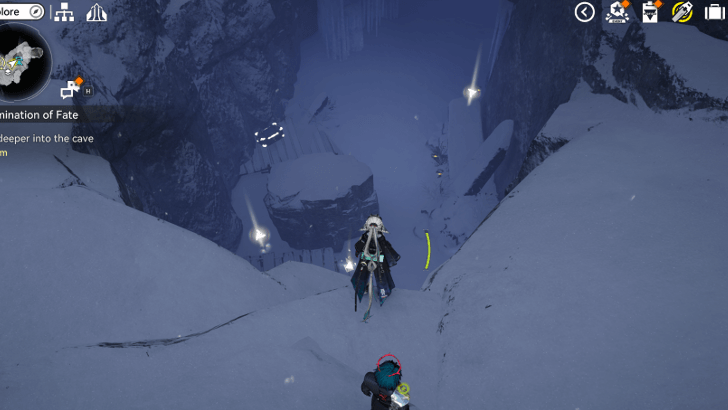 |
Found inside a hidden cave entrance in Little Grotto near another Talosite and crate. To open the cave, use the nearby auto-jet vent and attack the icicles at the top to make the boulder fall and open the entrance. | |
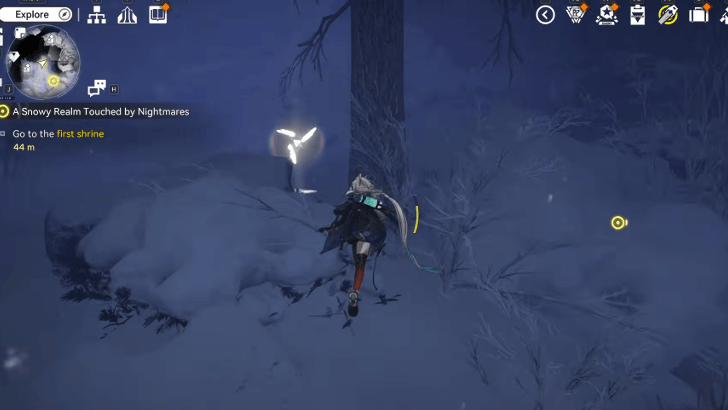 |
Found hiding behind a tree southwest of the Hoarfrost Dale TP Point. | |
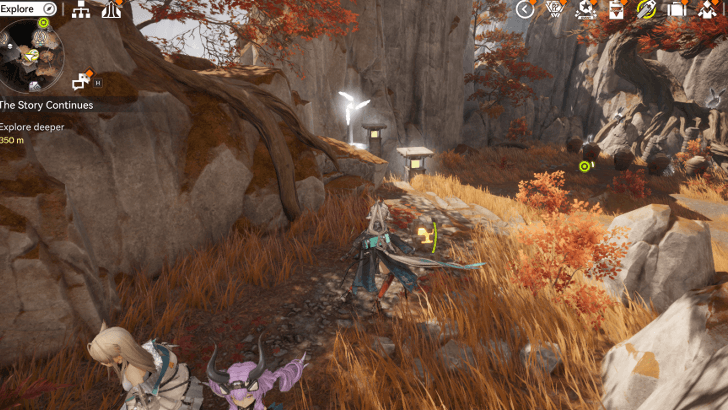 |
From the TP Point north of Linglong Grotto, go past the cave and use the scroll to Spirit Paint a bridge to the next mountain and find the Talosite by the other side of the bridge. | |
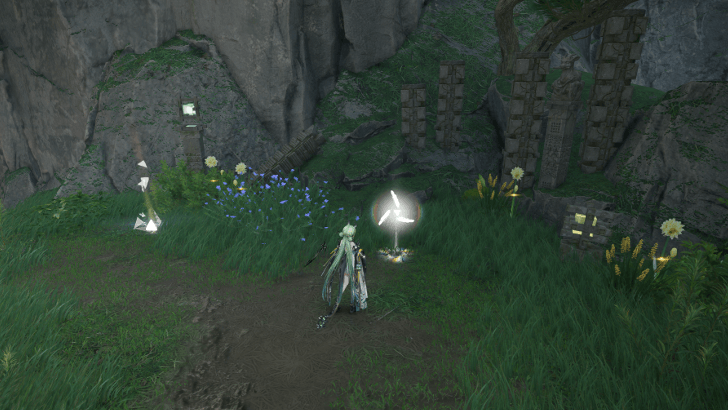 |
From the Pinesmoke Basin TP Point. You need to complete the Post Destination Exploration Mission to access this area. | |
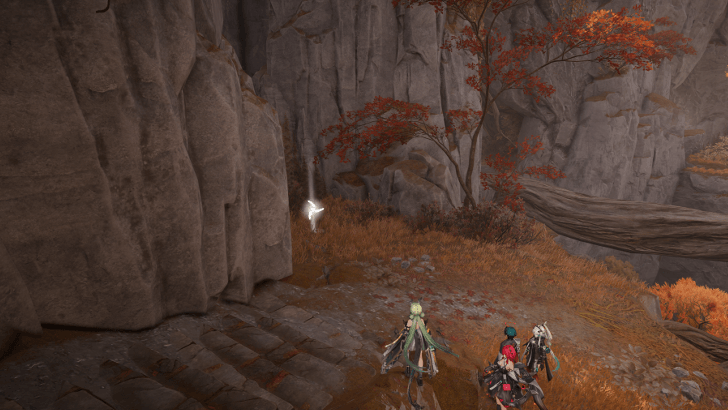 |
Located in a corner past the stairs at the southernmost point of Drybrush Peak. | |
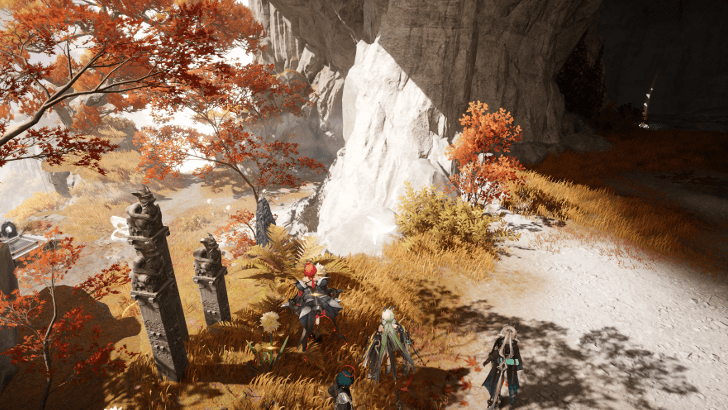 |
Found on the upper area of the cave near Meandering Hike. From the TP Point, take the bridging trees to enter the area. | |
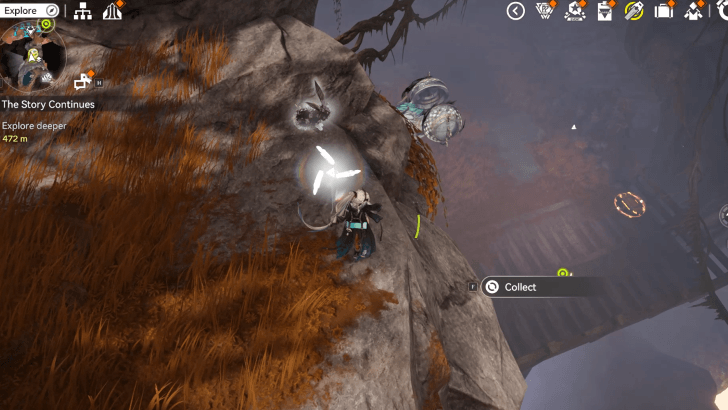 |
Found by the edge at the top of the path in the Linglong Grotto cave. | |
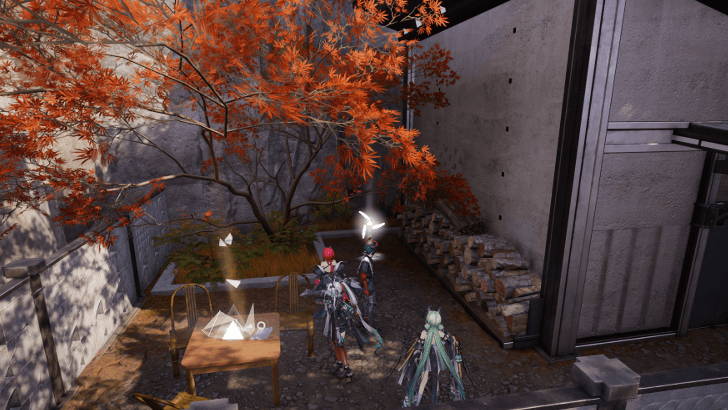 |
Cross the bridge south of Xiaohe Manor and destroy the crate beside the house to find the Talosite. | |
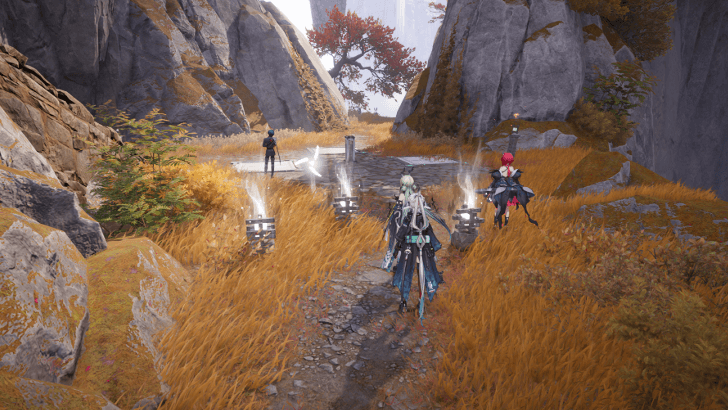 |
To get this Talosite, head to the east house and use the scroll to place the Long-Ear. near the left person. Then, follow all 3 Long-Ears until you unlock the Talosite by the platform puzzle. | |
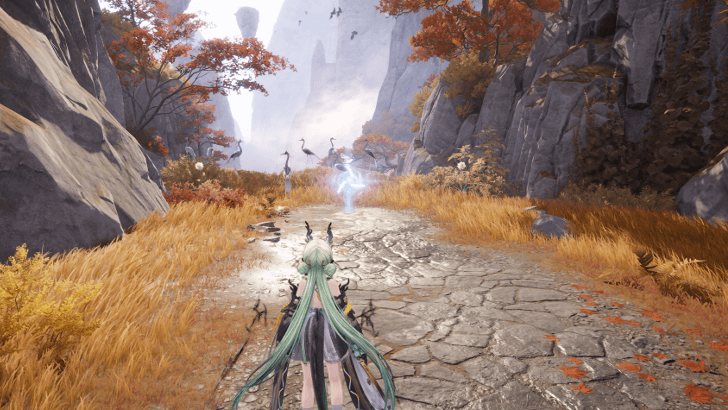 |
From the TP Point north of Xiaohe Manor, continue heading north. You will get 3 Talosites from this. | |
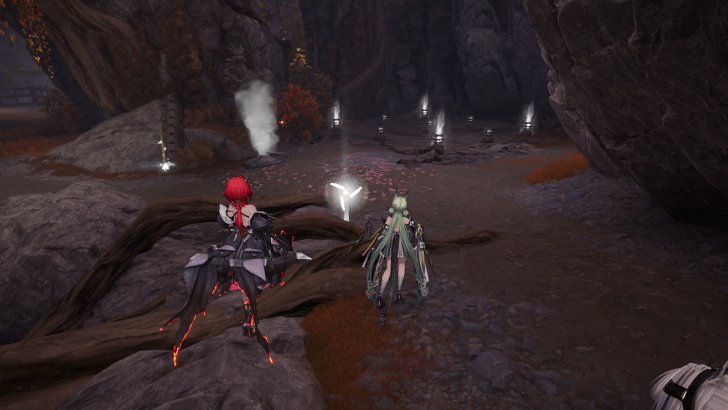 |
From the south TP Point in Linglong Grotto, head inside the cave and go down to find the Talosite. | |
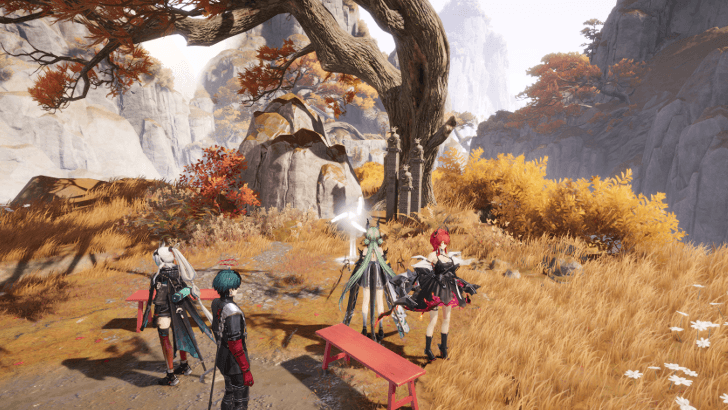 |
Found at the southernmost point in Cormorant's Rest near the empty seats. | |
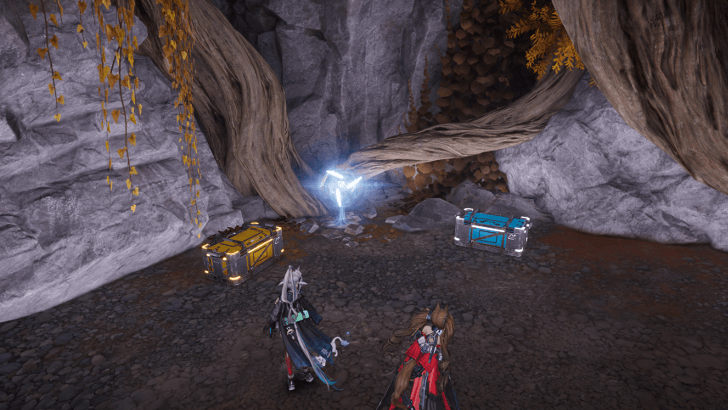 |
Found in a hidden room northeast of Cormorant's Rest. Behind a chest, attack the fake wall to find the room to find 3 Talosites. | |
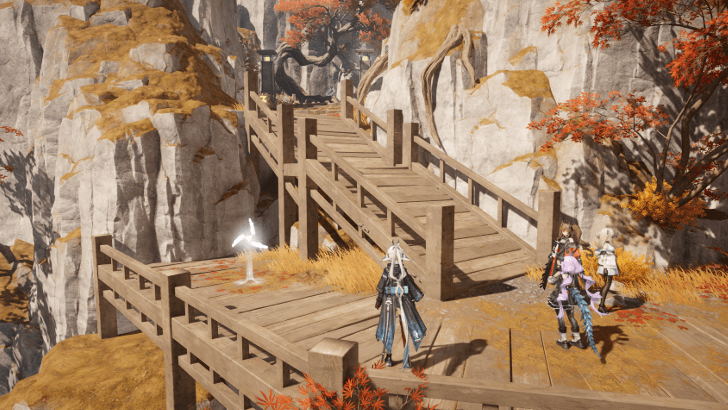 |
From the previous Talosite, head down the stairs to the left to find another Talosite. | |
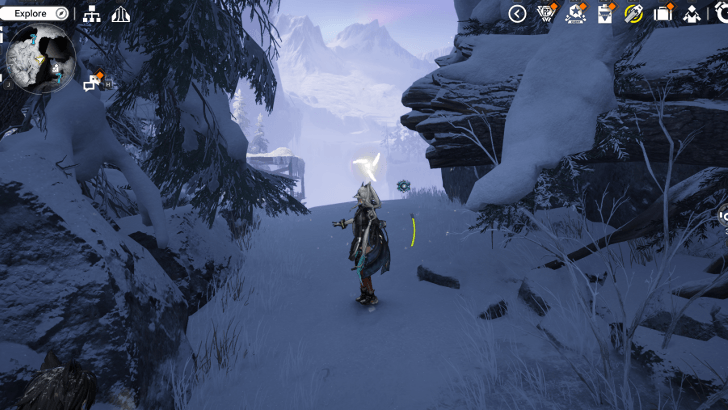 |
From the Snowpriestess's Cabin, head south then take the stairs to the east to find the Talosite near the cliff. | |
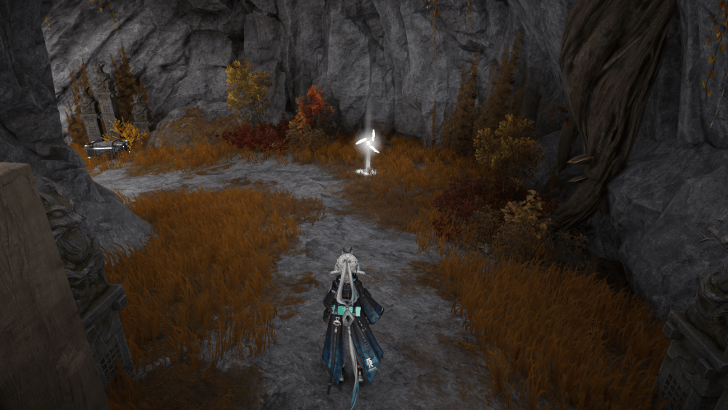 |
From the TP Point north of Linglong Grotto, continue north to a cave to find the Talosite. | |
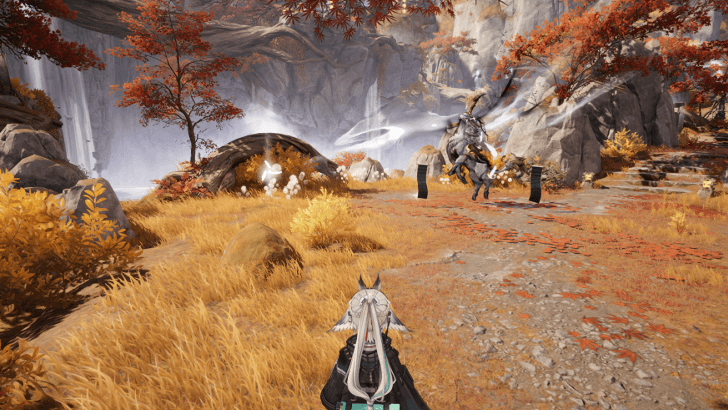 |
Found beside the Simmer's Purge enemy past the bridge north of Linglong Grotto. | |
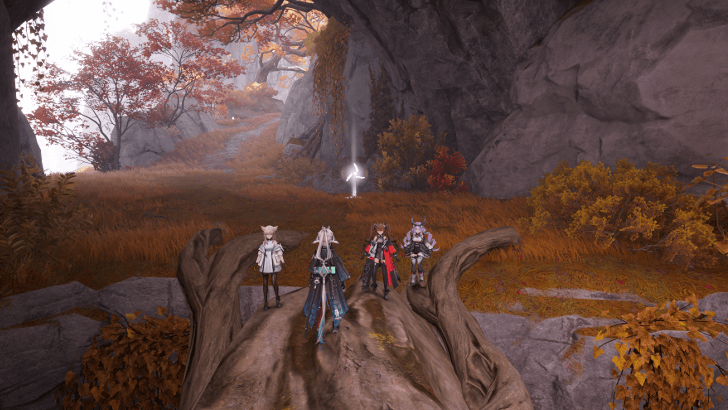 |
Found in Linglong Grotto after unfurling the scroll and using the Spirit Paint to build a bridge. | |
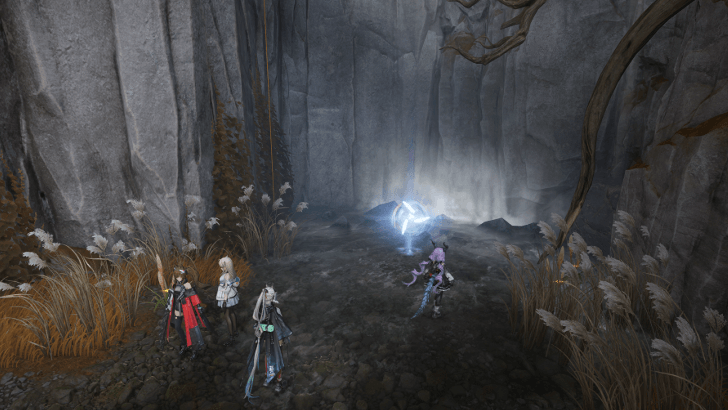 |
3 Talosites found below the southeast cliff in Raintap Grotto BF. | |
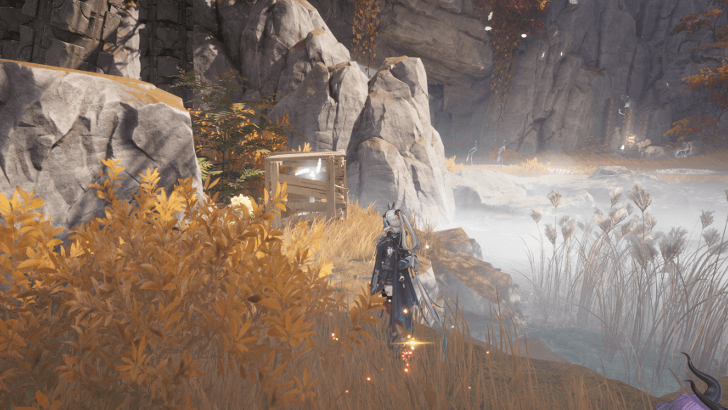 |
Found inside a crate in Pearlveiled Brook. Destroy the crate to get the Talosite. | |
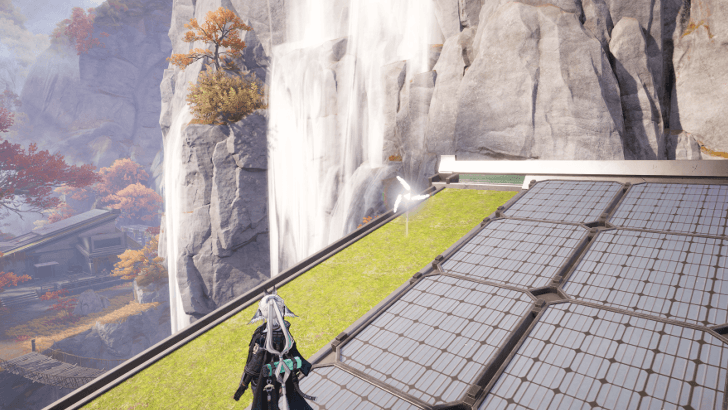 |
On the roof of the house by the stairs from Xiaohe Manor. | |
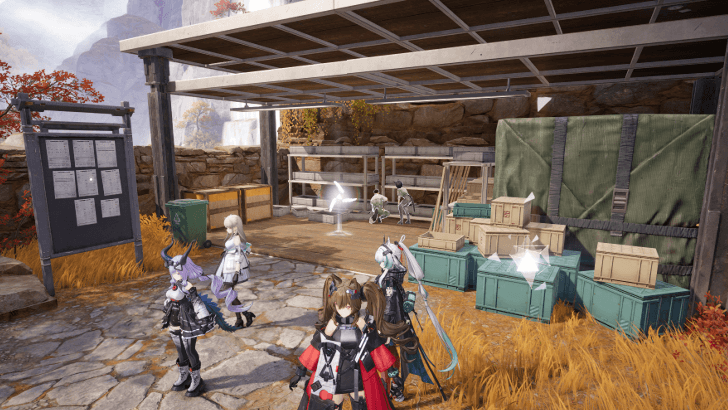 |
By the farming supplies in the northern area of Xiaohe Manor. | |
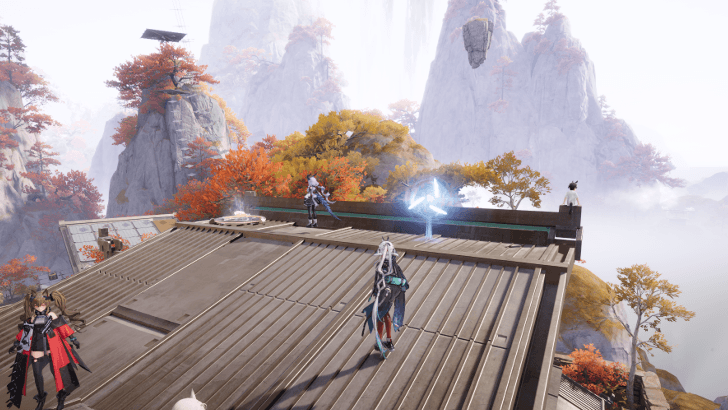 |
From the roof of the northeast house in Xiaohe Manor, take the next 4 Bounce Devices to reach the northwest roof with the Talosite. This will give you 3 Talosites. | |
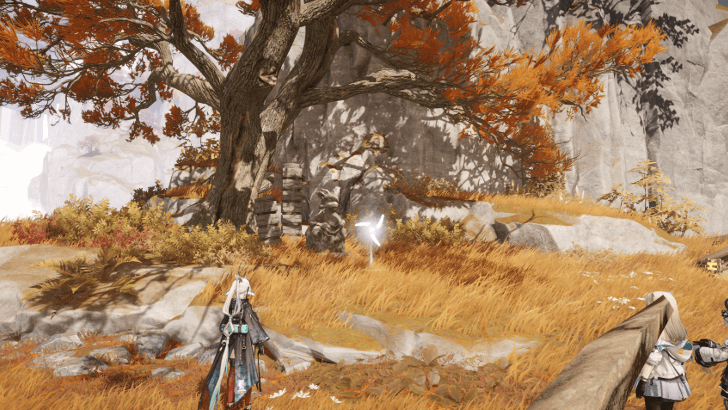 |
Found east of Drybrush Peak, use the nearby Spirit Paint to paint the path to reach the Talosite. | |
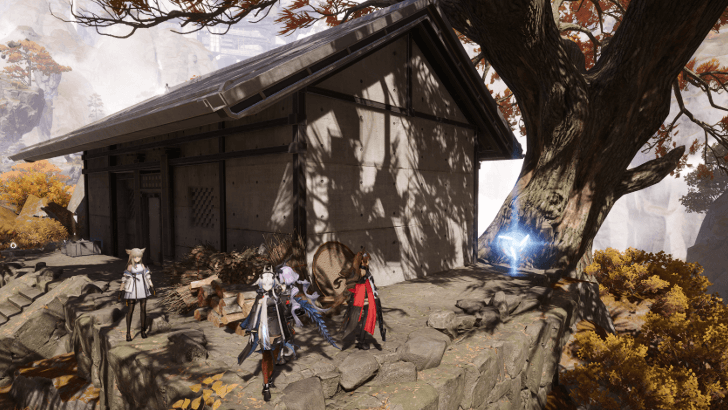 |
Beside the north house in Drybrush Peak. Claiming it will grant you 3 Talosites instead of 1. | |
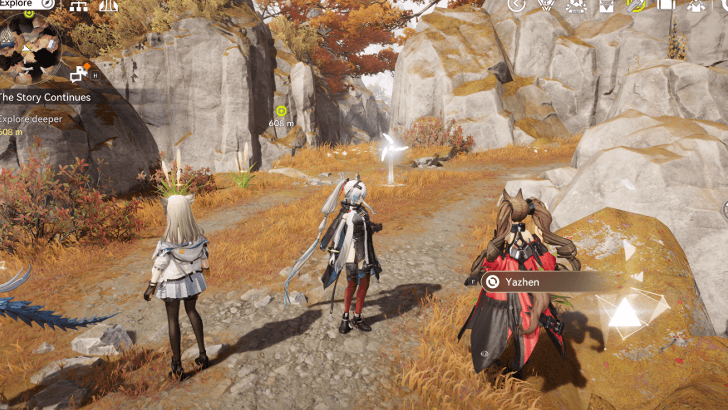 |
From the TP Point, head southwest and take both ziplines to reach the upper area where the Talosite is located. | |
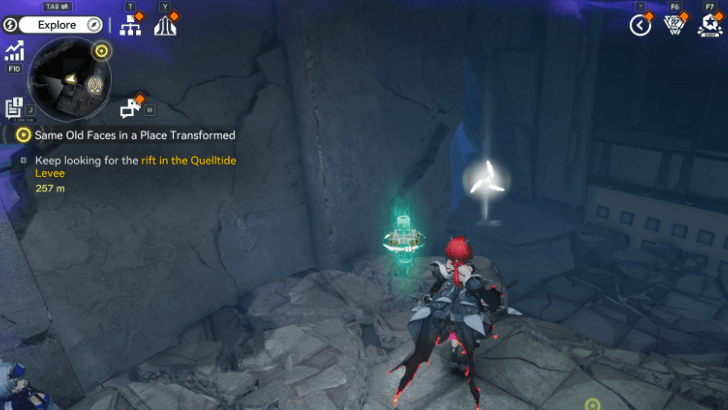 |
West of the TP Point found in Quelltide Levee. This one is hidden behind an illuson wall; break it using an attack to reveal the Talosite. | |
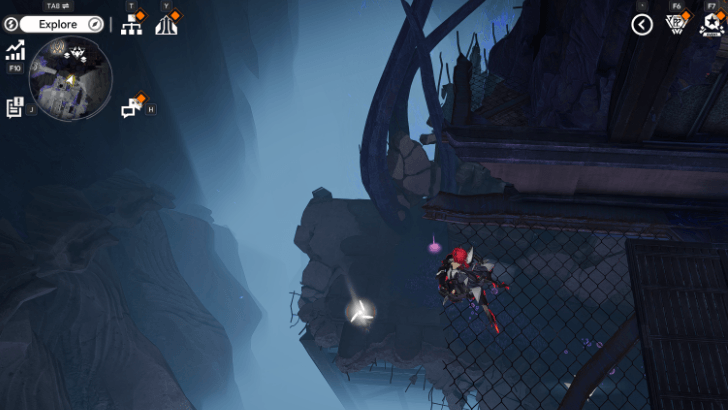 |
Can be found underneath the surface area northeast of the Tianshi Pillar R&D Center. You can jump down to obtain it. | |
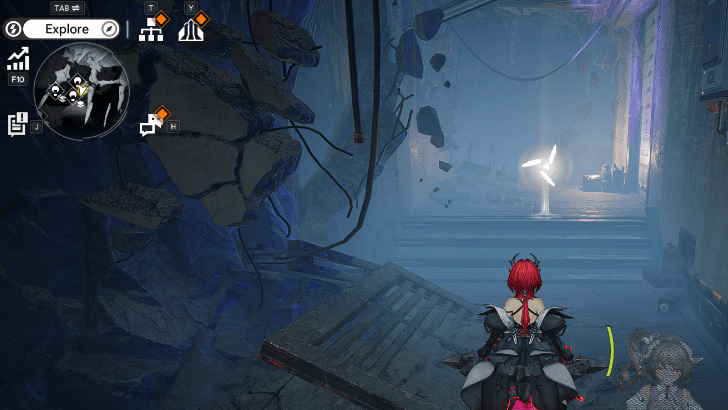 |
Within an underground section southeast of Tianshi Pillar R&D Center which you can access by breaking the floor using the Xiranite Nexus. | |
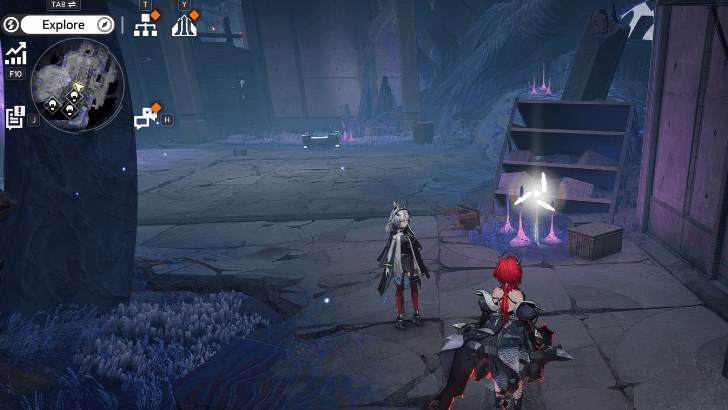 |
Can be found southeast of the Tianshi Pillar R&D Center. | |
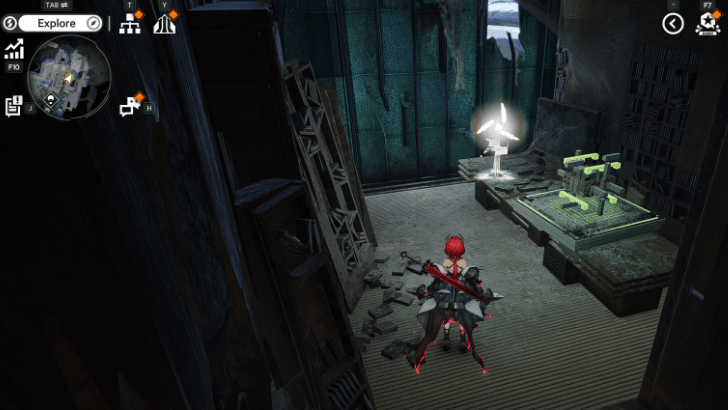 |
Inside a room on the upper floor of the building found east of the Tianshi Pillar R&D Center. | |
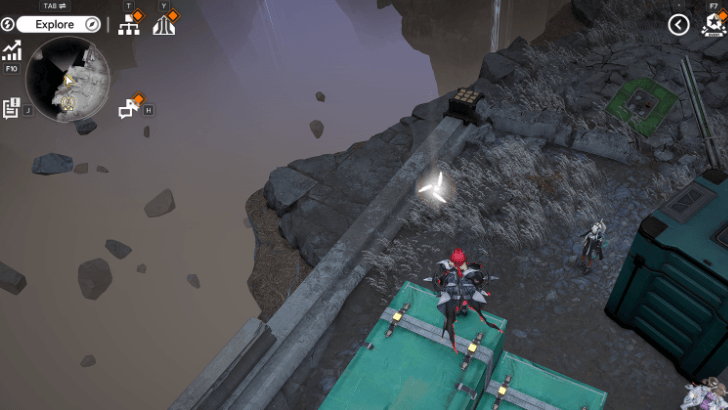 |
Near the edge of the island north of the waypoint in Xiranite Research Labs. | |
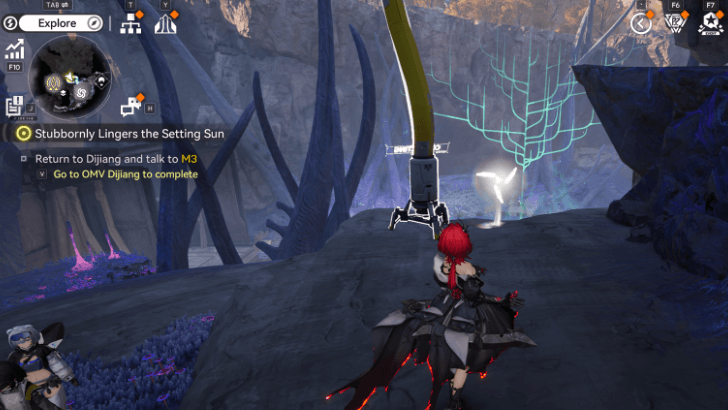 |
Western area of the Designated Urban Zone. Found to the right of the nearby TP Point, and is right beside the Protocol Datalogger. | |
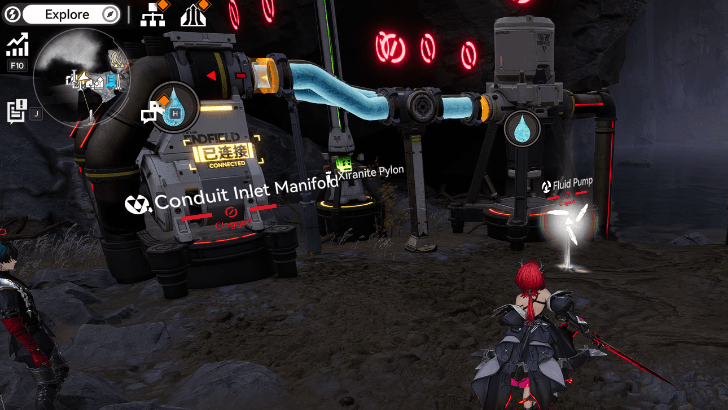 |
Beside the water source near the Cuprium Ore veins, north of Sentry Base. | |
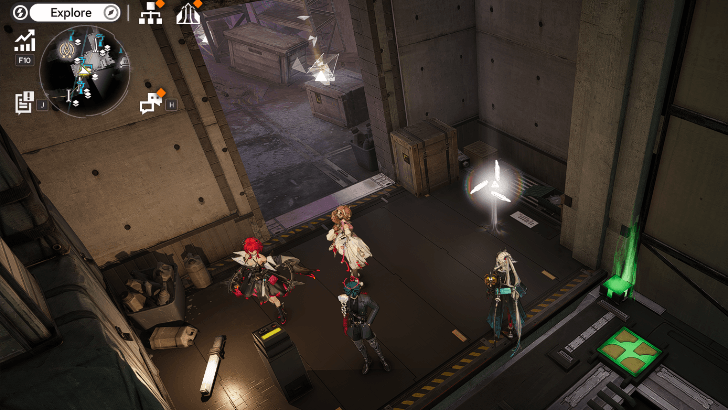 |
Beside the elevator southeast of the waypoint in Sentry Base. The gate to enter this area coming from the upper floor is locked so you will have to make your way to the elevator through the underground area. | |
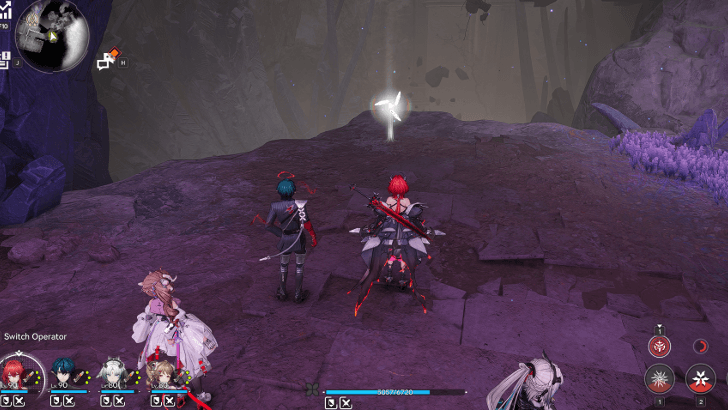 |
Descend down a zipline found southeast of the waypoint in Quelltide Levee. The Talosite will be to the left of the temporary energy alluvium. | |
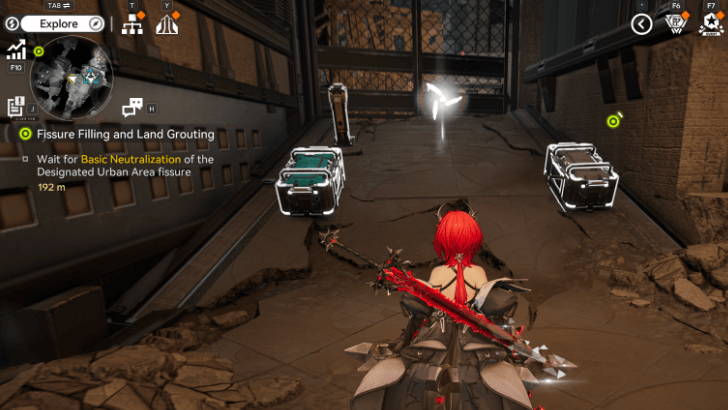 |
Can be found behind an illusory wall in the area underneath the Energy Alluvium in Quelltide Levee. Attack the wall to dispel the illusion. | |
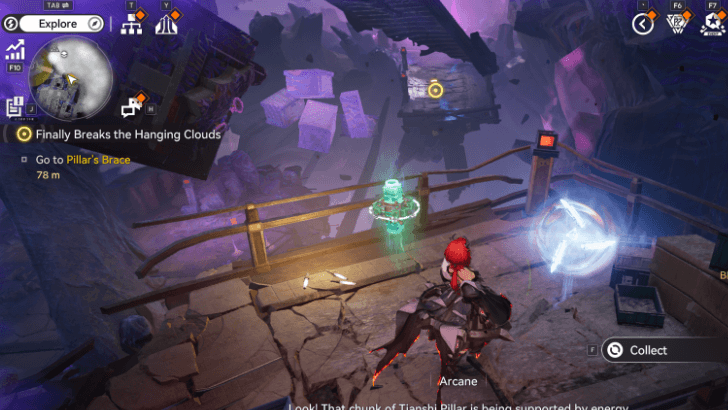 |
Exclusion Zone, on the northeastern side of the Tianshi Pillar R&D Center. Found along the path to the Very Large Rift during the Main Mission. | |
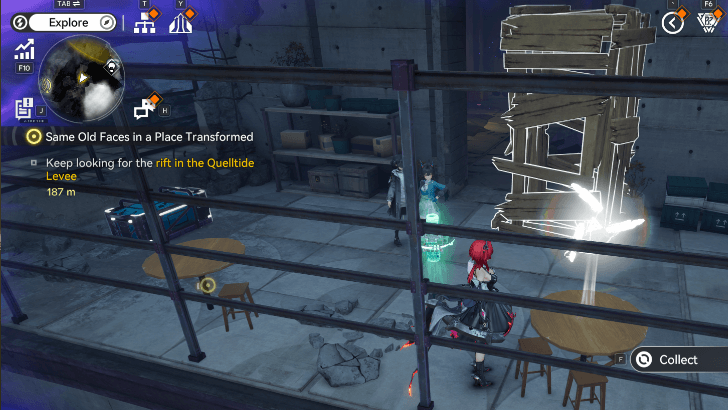 |
East of the TP Point found in Quelltide Levee. Found in a hidden room obscured by boxes. Found on top of a table, near a Chest. | |
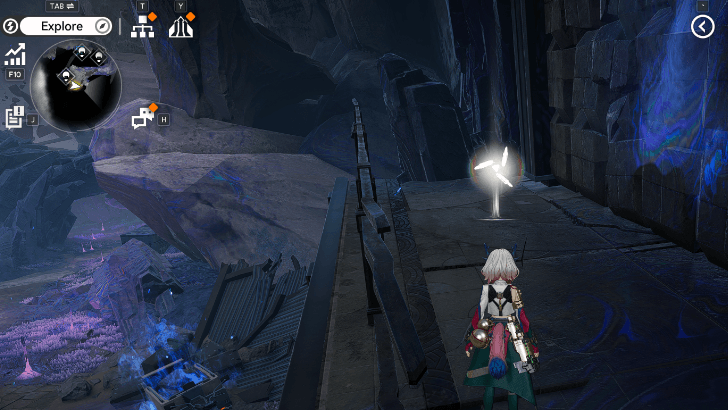 |
On the southern edge of the Tianshi Pillar R&D Center, guarded by a Blightshade Rakerbeast. Use the Xiranite Nexus to pull down the crate and access the area. Close to a Salvageable item, a chest, and a Protocol Datalogger. | |
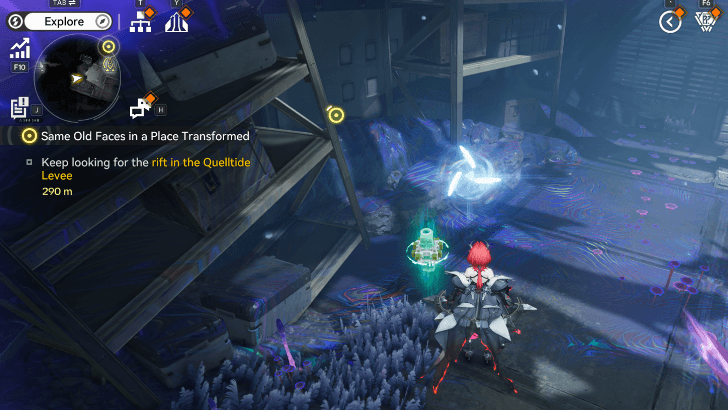 |
Southwest of the TP Point found in Quelltide Levee. Found behind an area hidden behind destructible boxes. | |
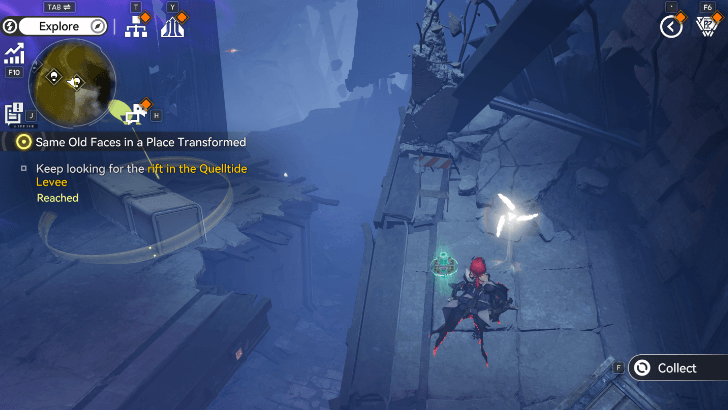 |
In the northwestern part of Quelltide Levee. It is beside a Salvageable item. | |
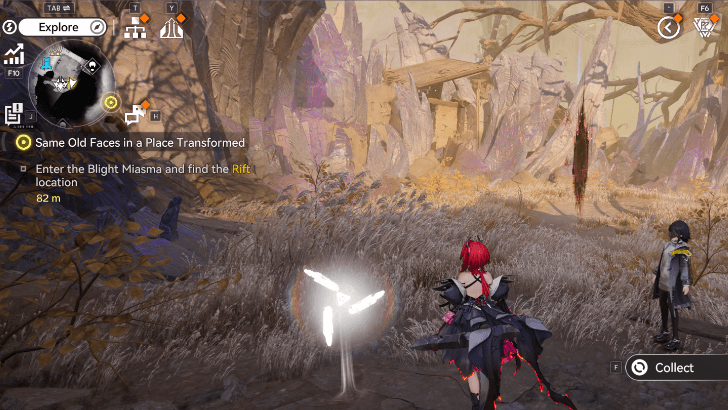 |
Within Tanjian Hall. Found to the right of the Crisis Fragment node. | |
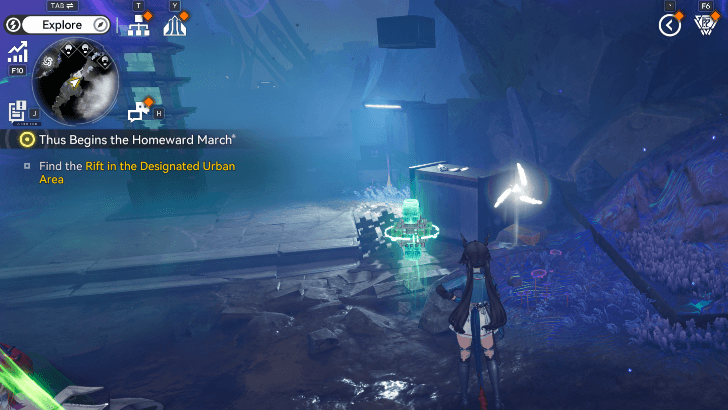 |
Found within the Designated Urban Area. Found very close to the Xiranite Pillar. | |
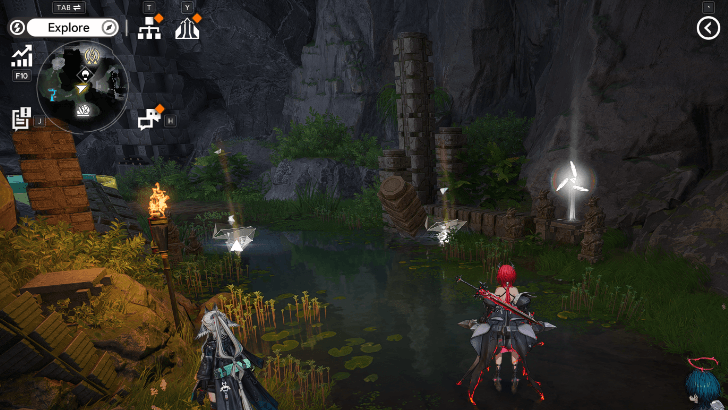 |
Behind an Illusionary Wall just southwest of Stonepond Cliff. Attack the wall to dispel the illusion. | |
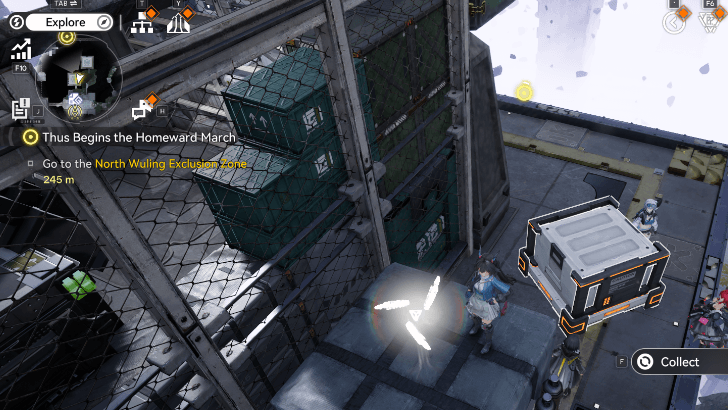 |
Found on the platform near the TP Point between Old Pine Ridge and Stonepond Cliff. Use the tall hovering crate to open the gate via pressure plate. Then, bring the small hovering crate to go around to the right side of the platform, where the Talosite can be seen on top of a crate. Use the small hovering create to reach it. | |
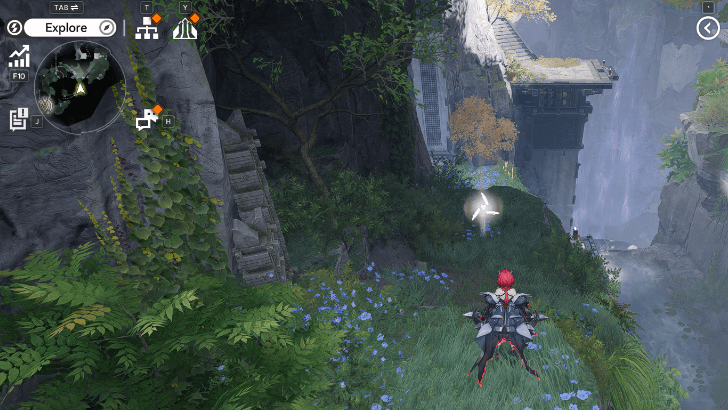 |
Situated nearby a cliff located southeast of Stonepond Cliff. You can easily access it by making your way East coming from the southmost waypoint. | |
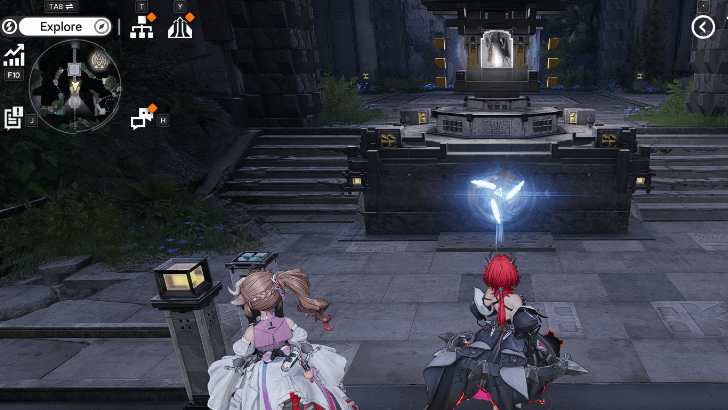 |
In front of one of the pillars you ignite during the main quest. Located just slightly north of Stonepond Cliff. This one gives 3 Talosite, but counts as 1 location marked. | |
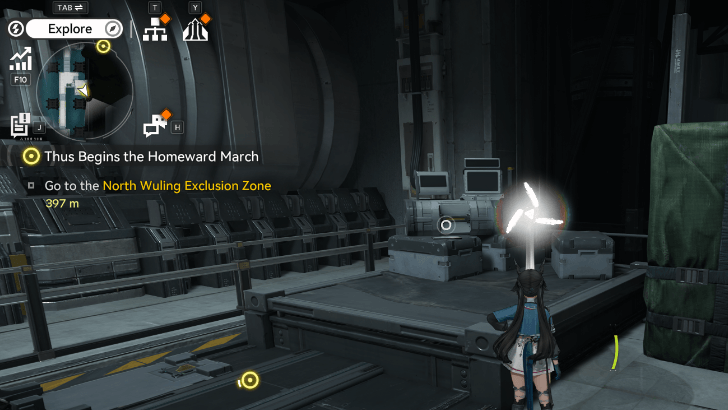 |
Found by going up a flight of stairs up to an elevated platform, on the right of Pass-side Canal. | |
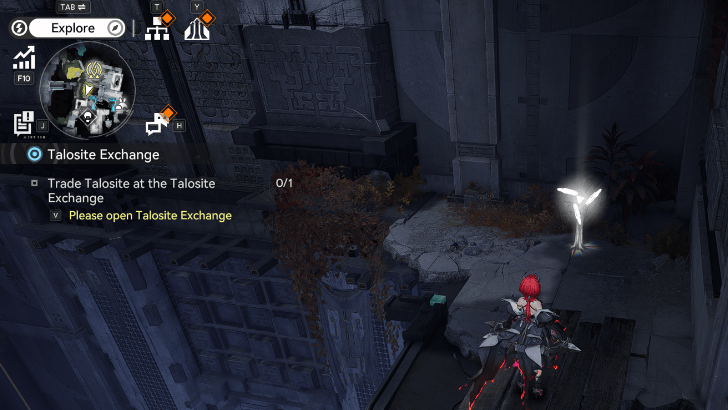 |
Enter the Device Pavilion using the rope found in the outer southwest wall. Head towards center, then jump on the ledge. Turn around to find the Talosite opposite of the Aurylene. | |
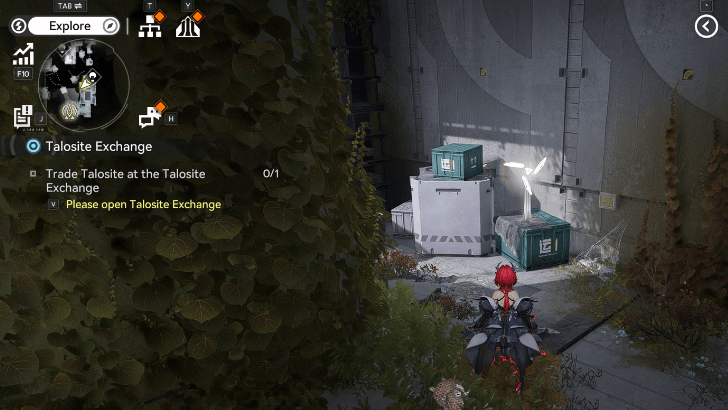 |
Beside the wall northeast of the YSTF Filing Room TP Point. | |
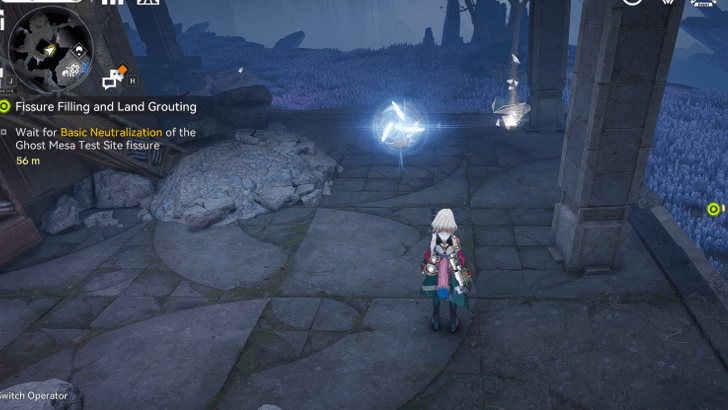 |
Descend the series of Ziplines Northwest of the Rift in Ghost Mesa Test Site. You must progress the quest "Fissure Filling and Land Grouting" until you can set up grouting for the Rift in the Ghost Mesa Test Site to safely collect this. | |
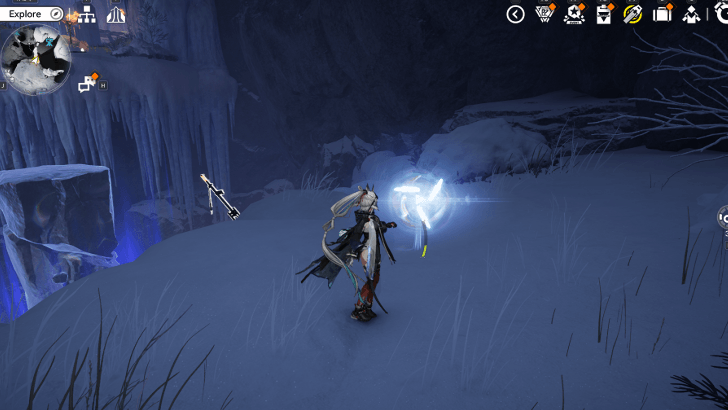 |
North of the Priestess's Cabin TP Point past an Energy Alluvium to obtain 3 Talosites. | |
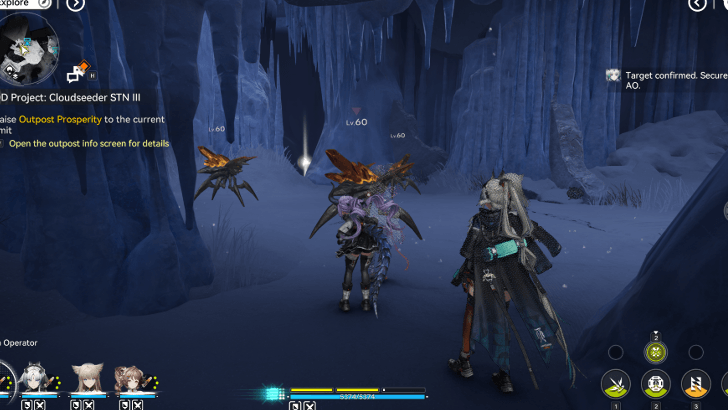 |
Behind the icicles near a group of Originium Slugs. | |
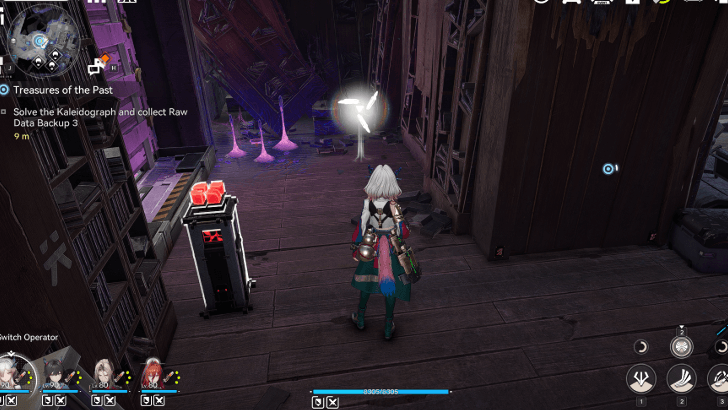 |
Inside the room with the Kaleidograph you must solve to collect Raw Data Backup 3 during the exploration quest "Treasures of the Past". Can be found on the second floor of the building in the middle of the R&D Center Rooftop of the Tianshi Pillar R&D Center. | |
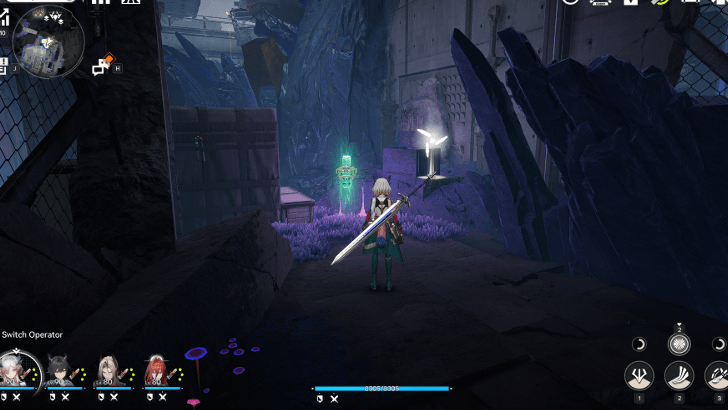 |
Inside a glowing crate within a secluded room found in the Northeastern part of the Tianshi Pillar R&D Center. Use the Xiranite Nexus to bring down the crate and reveal the Talosite. | |
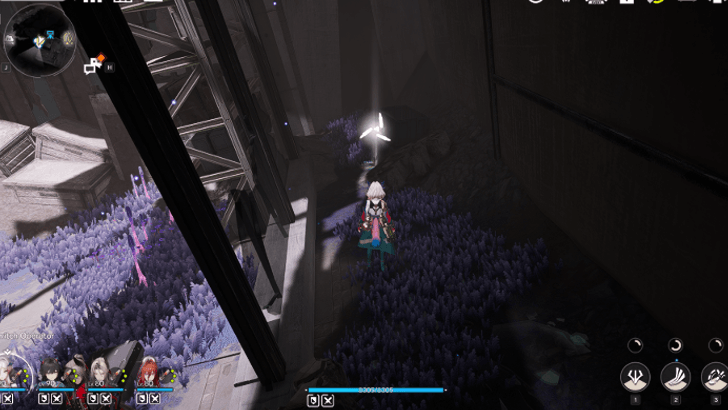 |
Within a tight room and inside small wooden crate found Southwest of Quelltide Levee. Use the Xiranite Nexus to bring down the crate and reveal the Talosite. | |
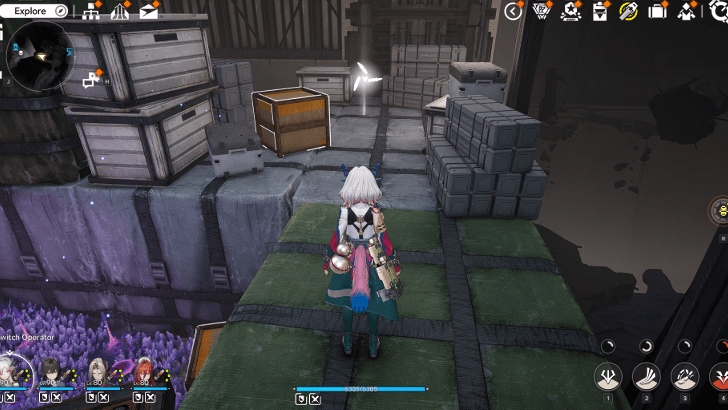 |
In a room underneath the passageway Southwest of Quelltide Levee, you can jump from the suspended platform to reach this area. | |
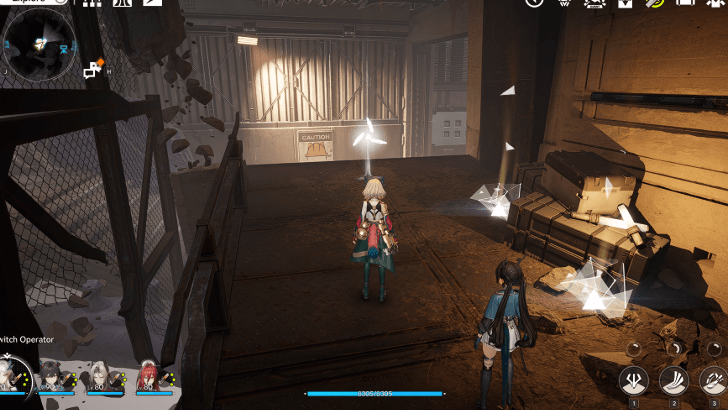 |
In a small room caged near the main passageway slightly West of Quelltide Levee. | |
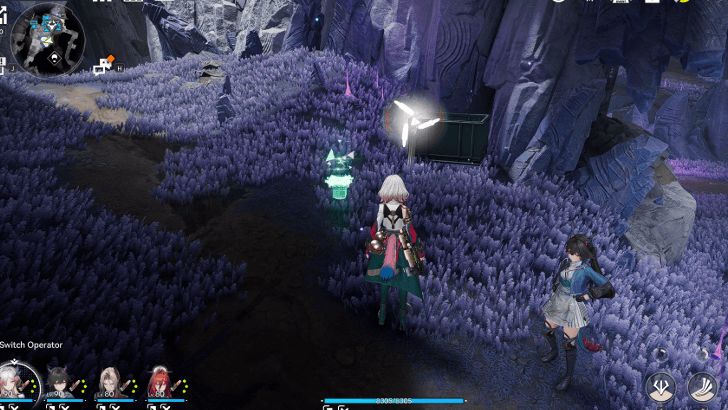 |
Inside a small wooden crate found Southeast of Quelltide Levee. Use the Xiranite Nexus to bring down the crate and reveal the Talosite. | |
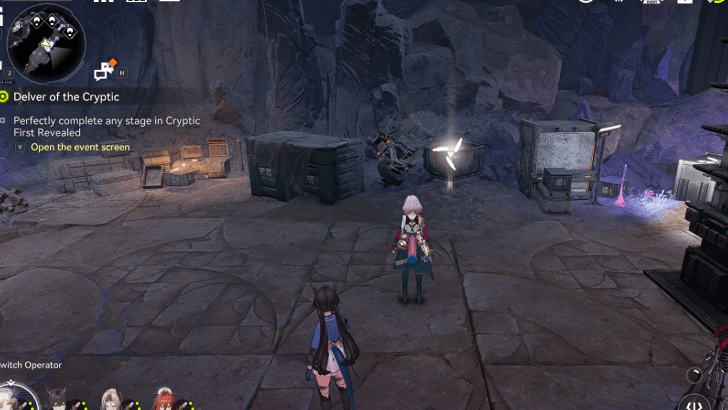 |
Hidden inside a glowing crate that you must pull down using the Xiranite Nexus. Can be found beside a guardian pillar slightly Northeast of the Designated Urban Area. | |
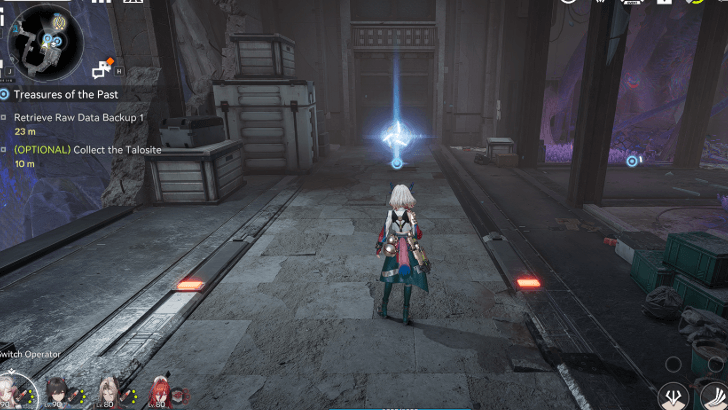 |
Inside the room at the end of the Cliffside Courtyard, serves as an optional objective during the quest "Treasures of the Past". | |
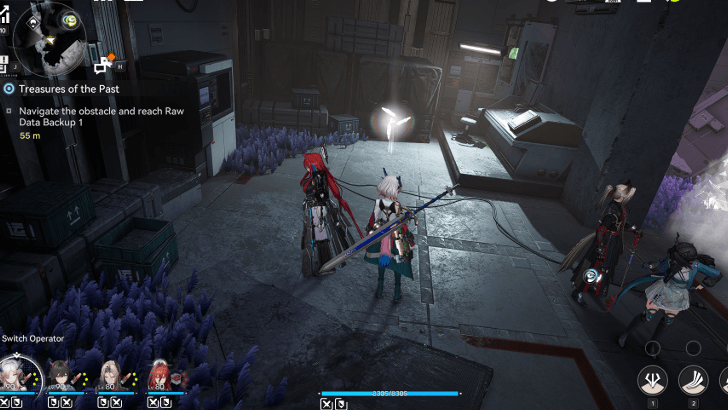 |
In a small room found Southeast of the Cliffside courtyard during the quest "Treasures of the Past". | |
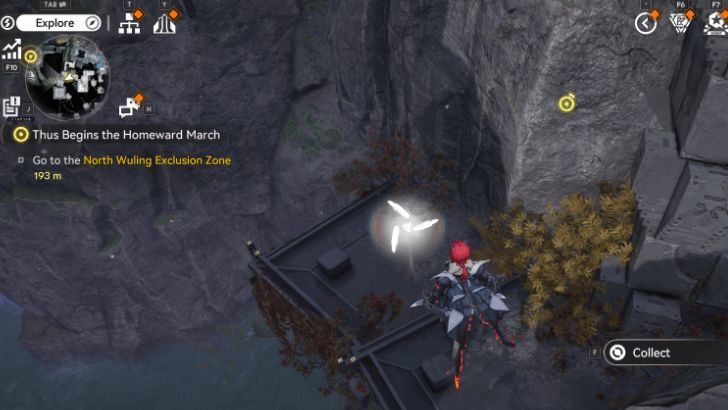 |
West of the Cloudscraper Flats. From a lower platform that you have to jump or rappel down with a rope, there is a small platform that players can jump onto near a chest. There is also a moving platform that can be used to go back up. | |
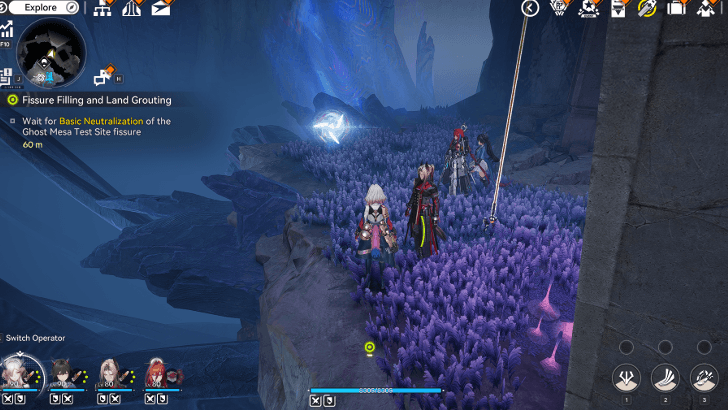 |
Descend down 2 ziplines Northeast of the Rift in the Ghost Mesa Test Site. You must progress the quest "Fissure Filling and Land Grouting" until you can set up grouting for the Rift in the Ghost Mesa Test Site to safely collect this. | |
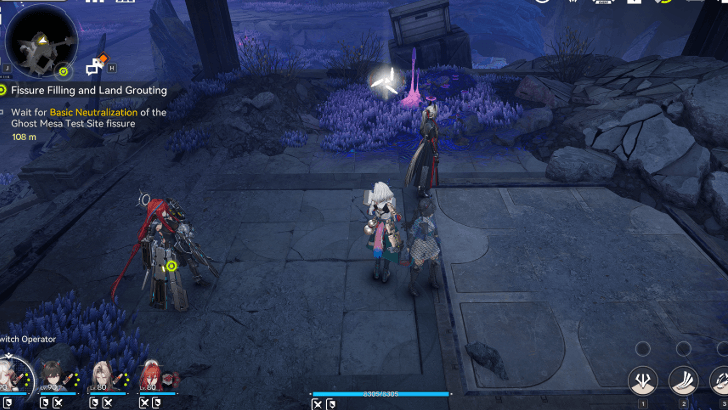 |
Underneath a small structure Northwest of the Rift in Ghost Mesa Test Site. You must progress the quest "Fissure Filling and Land Grouting" until you can set up grouting for the Rift in the Ghost Mesa Test Site to safely collect this. | |
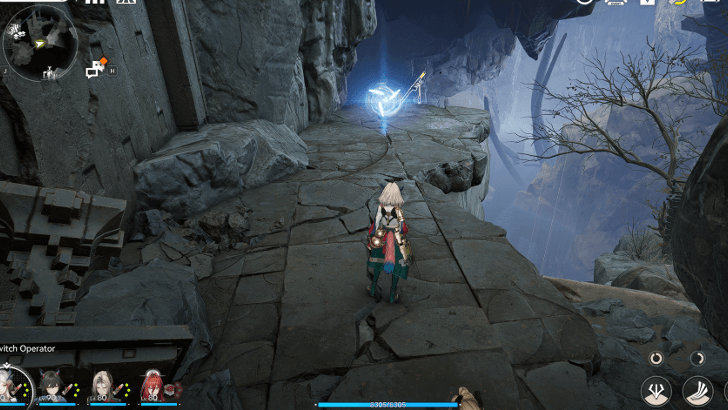 |
In a small section above the area Southwest of the Rift in Waterworks Hub, continue the path South of the Rift until you get here. You must progress the quest "Fissure Filling and Land Grouting" until you clear the rift in Quelltide Levee to unlock this area. | |
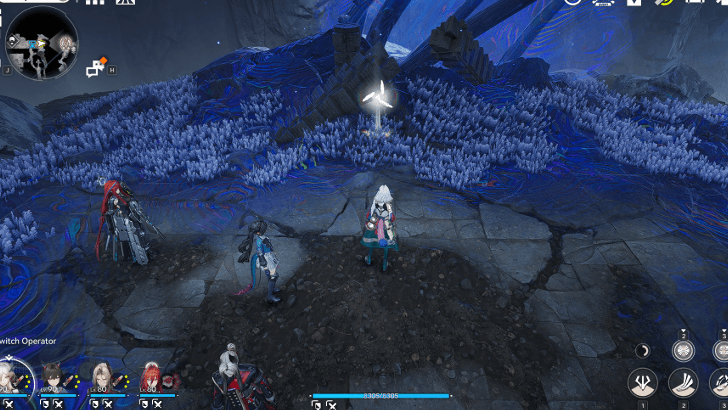 |
Found West of the waypoint in Waterworks hub, behind an illusory wall you must attack to clear up. You must progress the quest "Fissure Filling and Land Grouting" until you clear the rift in Quelltide Levee to unlock this area. | |
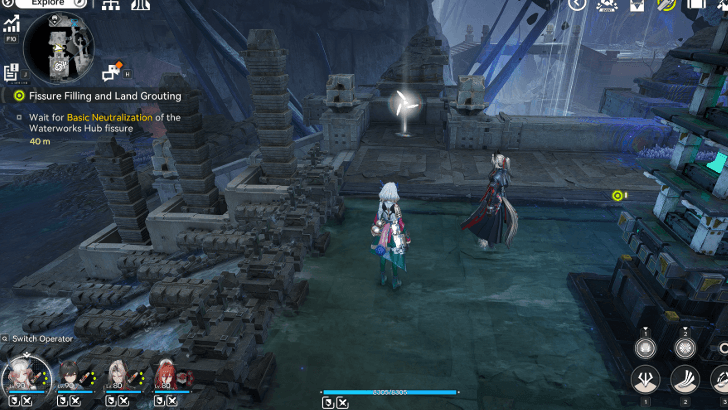 |
Tucked in a small space North of the Rift in the Waterworks Hub. You must progress the quest "Fissure Filling and Land Grouting" until you clear the rift in Quelltide Levee to unlock this area. | |
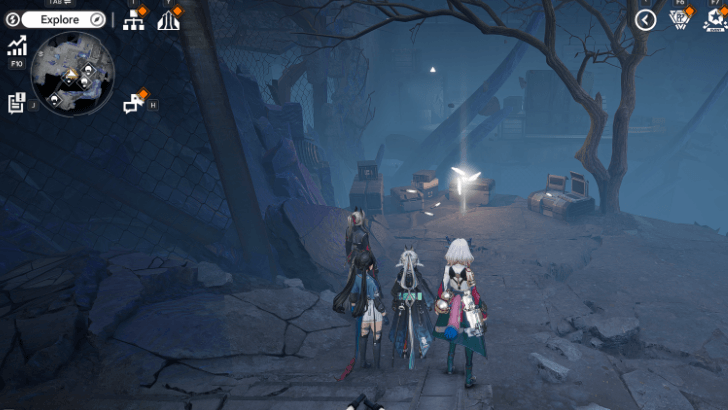 |
Southeast of the Tianshi Pillar R&D Center, under a tree found at the end of a flight of stairs. | |
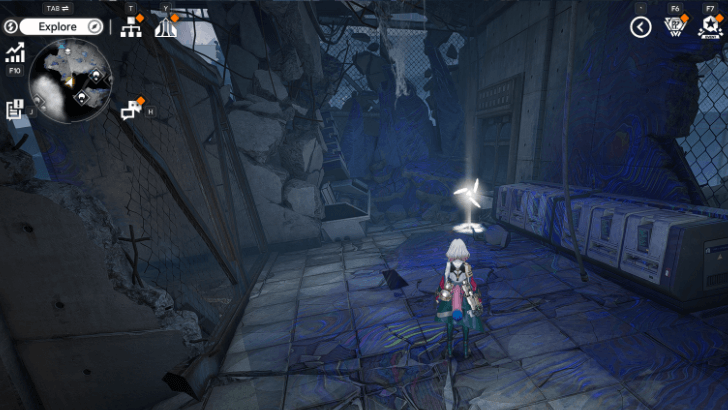 |
Behind a chest inside a room found to the south of the Tianshi Pillar R&D Center. | |
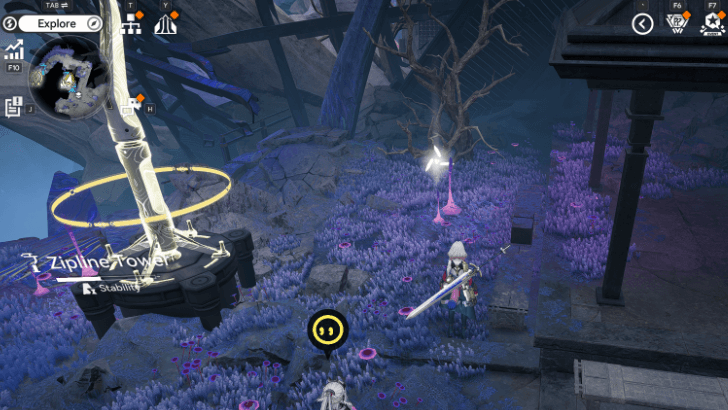 |
Found to the right of the Protocolith Rare Ore mining site. | |
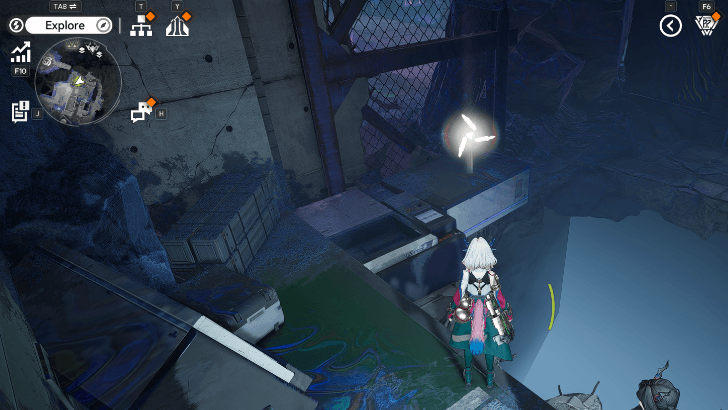 |
On top of a crate near a pitfall Northeast of the Tianshi Pillar R&D Center. | |
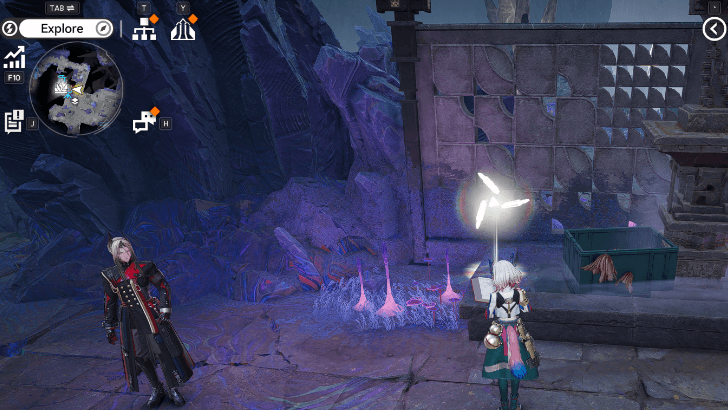 |
Slightly north of Tianshi Pillar R&D Center Hidden behind a small floating rock that you must pull down using the Xiranite Nexus. | |
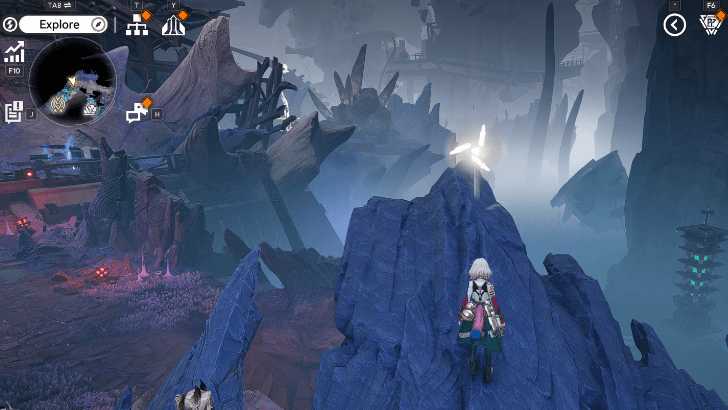 |
On top of a wave like rock structure found northwest of the Tianshi Pillar R&D Center. |
Talosite Interactive Map and Locations
Wuling's Missions
Main Mission in Wuling
Side Mission in Wuling
Operator Side Mission in Wuling
| Quest Name | Area |
|---|---|
| A Fistful of Reflections | |
| Danse Macabre | |
| The Captain's Mystery | Wuling City |
| The Pugilist's Challenge | Jingyu Valley |
| The Warrior's Ambition | Wuling City |
| A Winter Dream Fogged Deep in the Woods | Snowy Forest |
| A Forest Shrouded in Mist | Snowy Forest |
| A Snowy Realm Touched by Nightmares | Snowy Forest |
| A Dreamscape Shattered by Her Arrow | Snowy Forest |
| Back to the Rustics |
Exploration Mission in Wuling
Commission in Wuling
| Quest Name | Area |
|---|---|
| Herbal Remedies | Jingyu Valley |
| Sky Pole Tracking | Jingyu Valley |
Wuling Achievements
All Medals for Wuling
| Medal | How to Get |
|---|---|
 Anchored to Wuling I |
Unlock 19 TP Points in Jingyu Valley and Wuling City |
 Re-Congregated Fragments I |
Gather 74 Aurylenes in Jingyu Valley and Wuling City |
 Wuling Crate Master I |
Open 227 storage crates in Jingyu Valley and Wuling City |
 Wuling Investigator I |
Gather 2 investigation reports in Jingyu Valley and Wuling City |
 Fowlbeast Water Prancer |
Complete 8 pressure plate challenges in Jingyu Valley and Wuling City |
 Swat the Lanky and Pass the Bug |
Complete 6 glowbug passing challenges in Jingyu Valley and Wuling City |
 Purger of the Turbid |
Eliminate every Blight Mass in Qingbo Stockade |
 Track Sprayer |
Restore 8 Xiranite Track Systems in Wuling City |
| Superactive Blight Eliminator |
Eliminate every Superactive Blight mass in Sword Vault Dale. |
 Anchored to Wuling II |
In Qingbo Stockade, Marker Stone, Marker Stone Interiors, and Test Area, unlock 19 TP Points. |
| Re-Congregated Fragments II |
In Qingbo Stockade, Marker Stone, Marker Stone Interiors, and Test Area, gather 59 Aurylenes. |
| Wuling Crate Master II |
In Qingbo Stockade, Marker Stone, Marker Stone Interiors, and Test Area, open 121 storage crates. |
| Fowlbeast Water Prancer II |
In Qingbo Stockade, Marker Stone, Marker Stone Interiors, and Test Area, activate 6 sets of pressure plates. |
| Swat the Lanky and Pass the Bug II |
In Qingbo Stockade, Marker Stone, Marker Stone Interiors, and Test Area, complete 3 glowbug passing puzzles. |
 Anchored to Wuling III |
In Sword Vault Dale, Yinglung Pass, and North Wuling Exclusion Zone, gather 59 Aurylenes.
▶︎ Aurylene Interactive Map and Locations |
| Wuling Crate Master III |
In Sword Vault Dale, Yinglung Pass, and North Wuling Exclusion Zone, open 151 crates.
▶︎ Treasure Chest Interactive Map and Locations |
| Kaleidographer |
In Yinglung Pass and North Wuling Exclusion Zone, solve 8 Kaleidograph puzzles. |
| Aero-Salvager |
In Yinglung Pass and North Wuling Exclusion Zone, complete aero-salvaging 26 times. |
 Rift Neutralizer |
In North Wuling Exclusion Zone, completely neutralize 5 rifts. |
 Guidance from Amma |
Use Typhoeus's arrows and shatter all runes in the Snowy Forest. |
| Re-Congregated Fragments III |
In Sword Vault Dale, Yinglung Pass, and North Wuling Exclusion Zone, gather 59 Aurylenes. |
Wuling Region Information
Wuling Release Date
| Arknights: Endfield Version 1.0 | |
|---|---|
 |
|
| Release Date | January 22, 2026 |
The Wuling area was introduced in Version 1.0 of Arknights: Endfield, released on January 22, 2026.
Arknights: Endfield Related Guides
All Region Guides
All Map Guides
Comment




Wuling Interactive Map and Locations

Premium Articles
Rankings
- We could not find the message board you were looking for.

Gaming News





Popular Games

Genshin Impact Walkthrough & Guides Wiki
Fire Emblem: Fortune's Weave (FEFW) Walkthrough & Guides Wiki
Aniimo Walkthrough & Guides Wiki
Wuthering Waves Walkthrough & Guides Wiki
Dragon's Dogma 2 (DD2) Dark Arisen Walkthrough & Guides Wiki
Umamusume: Pretty Derby Walkthrough & Guides Wiki
Honkai: Star Rail Walkthrough & Guides Wiki
Zenless Zone Zero Walkthrough & Guides Wiki
Pokemon TCG Pocket (PTCGP) Strategies & Guides Wiki
AION 2 Walkthrough & Guides Wiki










Recommended Games
Fire Emblem Heroes (FEH) Walkthrough & Guides Wiki
Where Winds Meet Walkthrough & Guides Wiki
Diablo 4: Lord of Hatred Walkthrough & Guides Wiki
Super Smash Bros. Ultimate Walkthrough & Guides Wiki
Persona 3 Reload Walkthrough & Guides Wiki
The Legend of Zelda: Tears of the Kingdom Walkthrough & Guides Wiki
Elden Ring Walkthrough & Guides Wiki
Pokemon Brilliant Diamond and Shining Pearl (BDSP) Walkthrough & Guides Wiki
Cyberpunk 2077: Ultimate Edition Walkthrough & Guides Wiki
Monster Hunter World Walkthrough & Guides Wiki










All rights reserved
Copyright © 2022 - 2025 GRYPHLINE. All Rights Reserved.
The copyrights of videos of games used in our content and other intellectual property rights belong to the provider of the game.
The contents we provide on this site were created personally by members of the Game8 editorial department.
We refuse the right to reuse or repost content taken without our permission such as data or images to other sites.