
Deep Vaulted Steel Mission Guide
✪ Check Game8 Endfield Twitter for daily tips!
★ Exclusive: Endfield's Connection to Arknights
✰ Version 1.6 is out! | Yuanyuan's Blazing Stoves
├ P1: Si (Builds / Teams / Banner)
├ P2: Argent Flow (Builds / Banner)
└ Rerun: Tangtang (Builds | Teams | Banner)
Deep Vaulted Steel is a Side Mission in Arknights: Endfield. See how to unlock the quest, its full walkthrough, how to solve mechanisms of the ancient sword steles, and all mission rewards in this guide!
How to Unlock Deep Vaulted Steel
Finish Surging From A Withered Spring

In order to unlock the Deep Vaulted Steel quest, you need to finish Chapter II - Process III: Surging From A Withered Spring.
Surging From a Withered Spring Guide
Deep Vaulted Steel Quest Walkthrough
- Read Lian Xiaowu's Message
- Go to the Bureau of Swordmancers and Talk to Lian Xiaowu
- Go to Sword Vault Dale
- Defeat the Beasts
- Open Up the Path Ahead
- Go to the First Ancient Sword Stele
- Defeat the Stockade Residents Blocking the Way
- Defeat the Furious Stockade Residents Blocking the Way
- Solve the Mechanisms of the First Ancient Sword Stele
- Investigate the Stone Tablet Nearby
- Go to the Second Ancient Sword Stele
- Rescue the Red Rockhowler
- Keep Going and Reach the Second Ancient Sword Stele
- Defeat the Fearsome Rockhowler
- Find Walton
- Leave the Cave
- Solve the Mechanisms of the Second Ancient Sword Stele
- Keep Going Deeper Into Sword Vault Dale
- Defeat the Fearsome Beasts Blocking the Way
- Go to the Third Ancient Sword Stele
- Solve the Mechanisms of the Third Ancient Sword Stele
- Reach the Bottom of the Dale and Uncover the Secret
- Defeat the Giant Rockhowler
- Enter the Treasure Vault
- Check the Search Results for Chi Xiao
Read Lian Xiaowu's Message
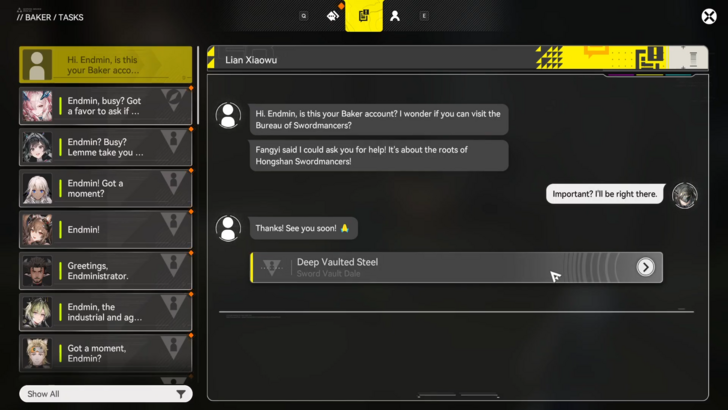
To start the quest, you must first read Lian Xiaowu's message on Baker. After a few texts, the quest can now be tracked.
Go to the Bureau of Swordmancers and Talk to Lian Xiaowu
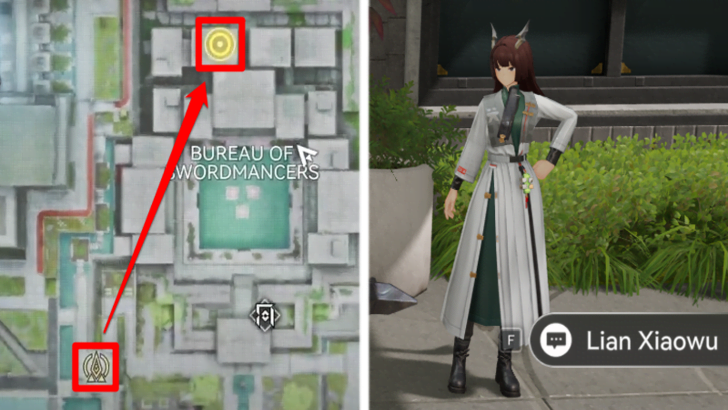
Head to Bureau of Swordmancers to find and talk to Lian Xiaowu. To talk to her, simply get close and select Lian Xiaowu.
Wuling City Interactive Map and Locations
Go to Sword Vault Dale
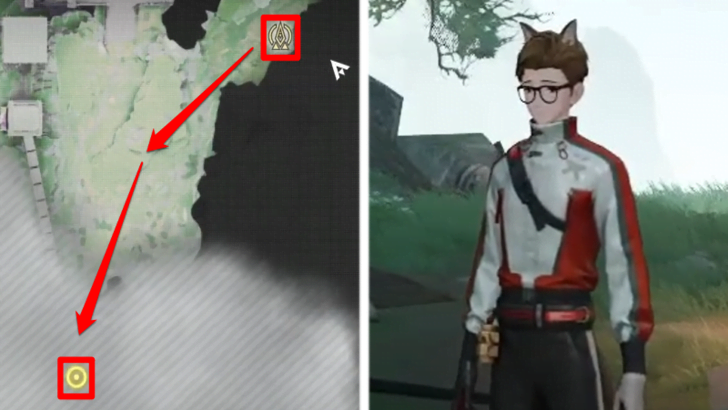
After a cutscene, you will be directed to go to Sword Vault Dale. To get there, you can use the nearest Tele-Protocol Point in Qingbo Stockade and follow the marker.
You will be greeted by Lin Hu, who will tell you that you are cleared to enter and give you 10 Industrial Explosives. Continue to make your way down the path and watch out for banana peels!
Defeat the Beasts
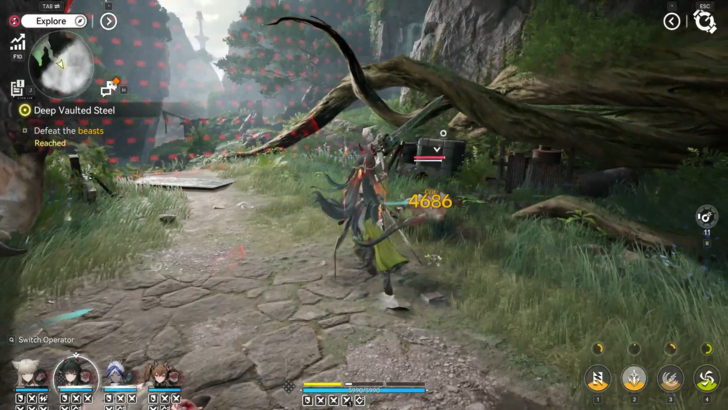
You will come across new enemies, rockhowlers, and will need to defeat them to progress. After defeating them, a cutscene will play and you need to continue heading into Sword Vault Dale.
Open Up the Path Ahead
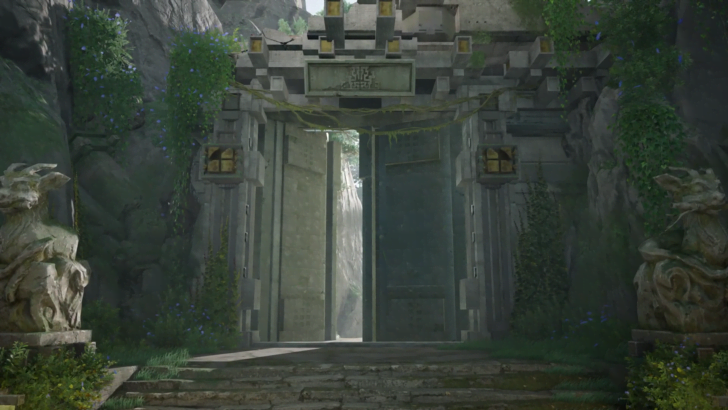
You will soon run into a sealed door that can only be unlocked by solving a Mechanism Pillar puzzle. Solve the puzzle to open the door and complete the objective!
How to Open Up the Path Ahead
To open up the path ahead, you must first destroy the rock blocking the right pillar's track. Switch to your explosives tool to get rid of it.
Afterwards, you can interact with the Mechanism Pillars by selecting Push once near them. Note that they should be heading towards their corresponding symbol!
Go to the First Ancient Sword Stele
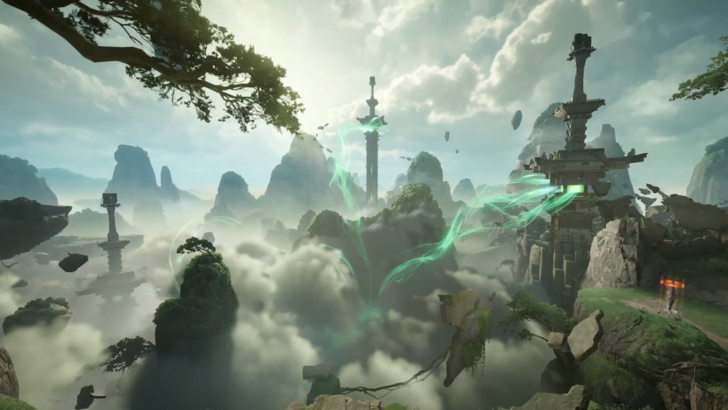
Once you are opened the sealed door, head inside to uncover more of Sword Vault Dale. After a scenic look of the area, you will be prompted to head to the first Ancient Sword Stele.
Defeat the Stockade Residents Blocking the Way
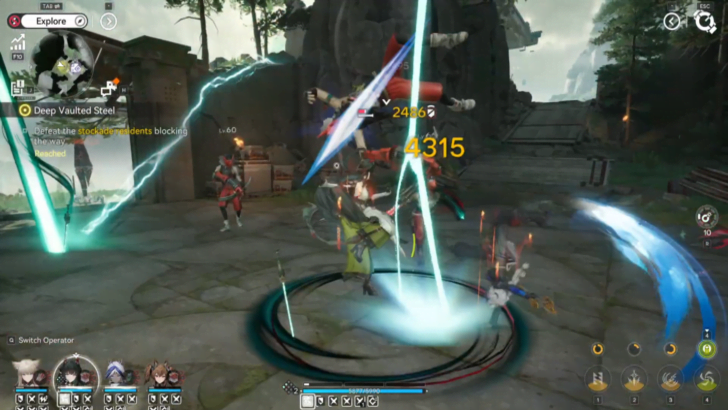
While on the way to the Ancient Sword Stele, you will be blocked by stockade residents who are trapped inside Sword Vault Dale. Defeat them to progress.
Once they are defeated, you can continue heading towards the first Ancient Sword Stele.
Defeat the Furious Stockade Residents Blocking the Way
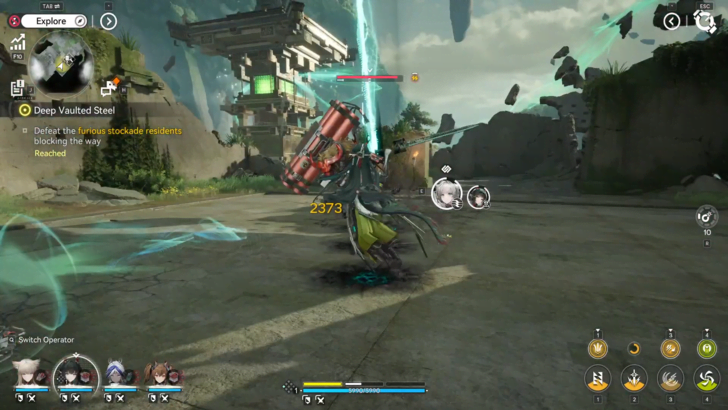
A big and furious stockade resident will be blocking your path while progressing. Defeat him to continue heading to the first Ancient Sword Stele.
Solve the Mechanisms of the First Ancient Sword Stele
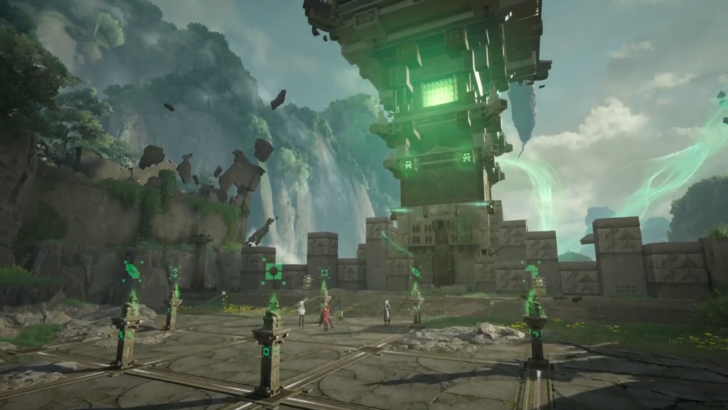
You will need to solve another Mechanism Pillar puzzle to complete this objective. Upon solving the puzzle, a cutscene will play.
Note that there will be noises and shaking that will cause the runes to temporarily disappear. Wait for a few seconds for the runes to come back before trying again.
How to Solve the Mechanisms of the First Ancient Sword Stele
| 1 | Break rocks with Industrial Explosives using Easy Tool. |
|---|---|
| 2 | Push the first two mechanism pillars to their corresponding rune symbols. Their symbols are directly in front of them. |
| 3 | Move the incorrect pillar forwards. This will clear the path for the blocked pillar to slot into its place as well as send the recently pushed one towards its correct spot. |
| 4 | Push the remaining pillars towards their matching symbols. Make sure to break the rocks blocking their path before doing this. |
Investigate the Stone Tablet Nearby
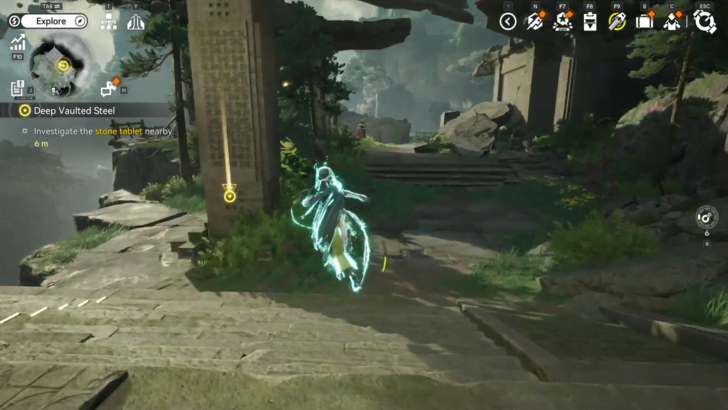
After the cutscene, you will be prompted to investigate a stone tablet nearby. Once near this tablet, select View to trigger the cutscene and complete this objective.
Go to the Second Ancient Sword Stele
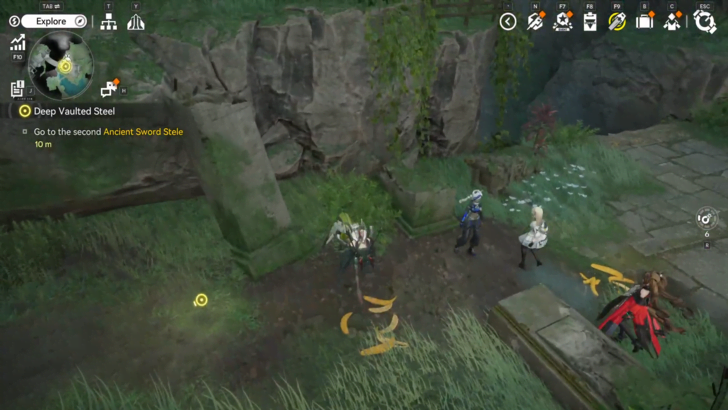
You will then learn that there are two more Ancient Sword Steles that are needed to unlock the secret treasure. This will prompt you to go to the second Ancient Sword Stele.
Simply follow the marker to complete this objective. Watch out for banana peel traps on the way there!
Rescue the Red Rockhowler
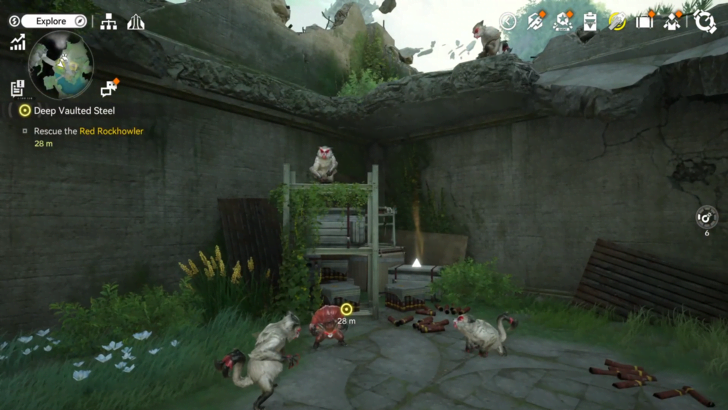
You will come across a red rockhowler being bullied by other rockhowlers on the way. Defeat the bullies to rescue the red rockhowler.
After rescuing it, the little rockhowler will be your guide to the second Ancient Sword Stele.
Keep Going and Reach the Second Ancient Sword Stele
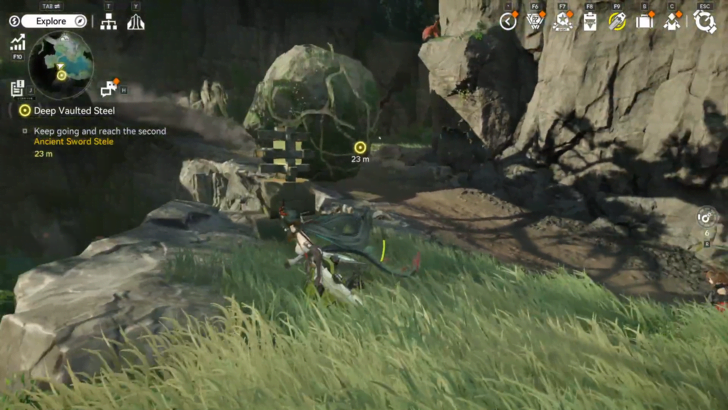
Follow the rockhowler to reach the second Ancient Sword Stele. Be careful, as rolling rocks will be in the way. These can instantly knock you down so find safe gaps on the path to progress. Once past this dangerous path, you will hear from Walton again as he is cornered by enemies.
Defeat the Fearsome Rockhowler
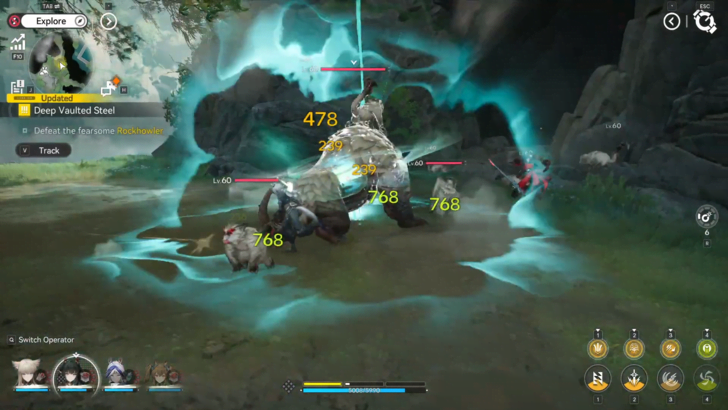
Following Walton's voice, you will come across a hostile group of rockhowlers. Defeat the enemies to progress.
Find Walton
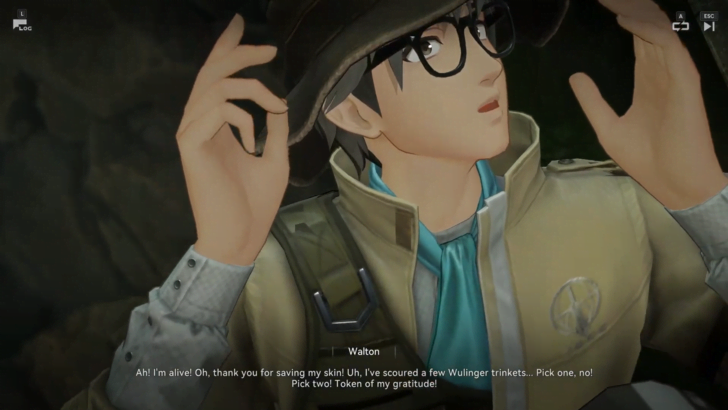
After defeating the enemies, head into the cave that Walton ran into for safety. Once you find him, a cutscene will play.
Leave the Cave
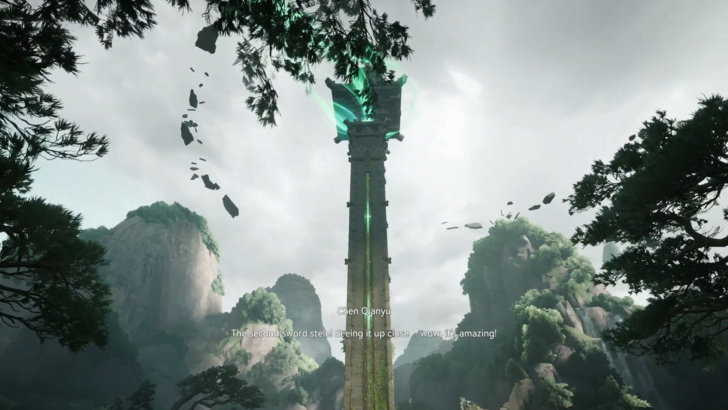
After talking to Walton, you will be prompted to leave the cave. Follow the marker to the cave's exit. Once out, you will see the second Ancient Sword Stele.
Solve the Mechanisms of the Second Ancient Sword Stele
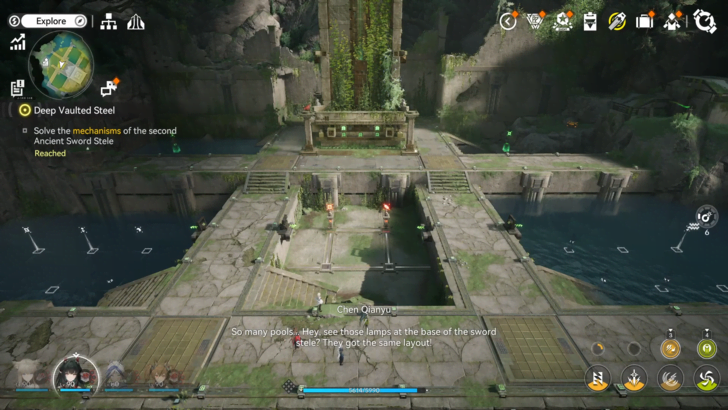
Once you have arrived at the second Ancient Sword Stele, the mechanism pillar puzzles can be found inside pools surrounding the Ancient Sword Stele.
To access the puzzles deep in water, you have to drain them out with the Sluice Gates found at sides of the pools. Note that strong vibrations will cause pillars to slide down if they aren't in their correct positions.
How to Solve the Mechanisms of the Second Ancient Sword Stele
| 1 | Head into the middle pool and push a pillar forward. After it moves up, push it towards its corresponding symbol. Once it is locked in place, move the next pillar towards its matching symbol. |
|---|---|
| 2 | After you have drained out the right pool, move the rightmost pillar farther right then upwards. Following this, the pillar with a feather icon should be positioned below it. Vibrations will naturally bring these two pillars down and into the correct spots. Afterwards, move the remaining pillar towards its corresponding symbol. |
| 3 | For the left pool's puzzle, you must move the pillars to the left side, with the incomplete circle rune at the very above the other pillars. Move this pillar to its correct spot then the other pillars should follow suit. |
Keep Going Deeper Into Sword Vault Dale
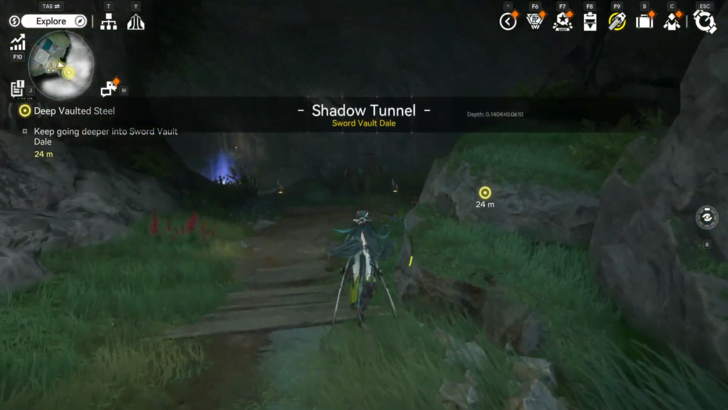
After solving all mechanisms, a cutscene will play. It will prompt you to head deeper into Sword Vault Dale. Follow Smartie (the red rockhowler) up a rope and into a cave tunnel.
Keep following the marker to progress. Watch out as well for rolling rocks!
Defeat the Fearsome Beasts Blocking the Way
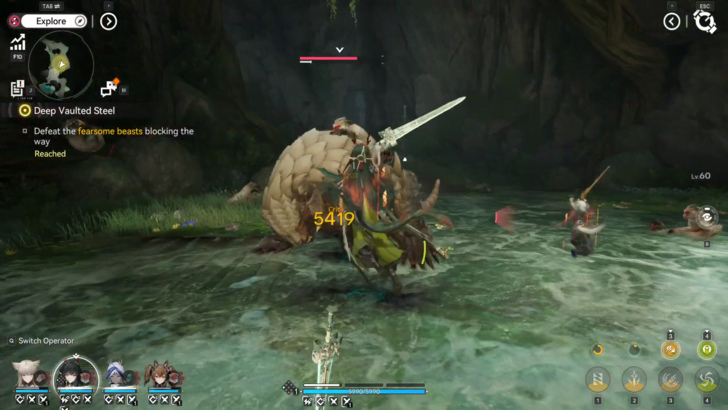
Following the marker will lead you into a cave with a group of rockhowlers. Defeating them will trigger a cutscene and give you a Piece of a Mini Stone Statue as a gift from Smartie.
Go to the Third Ancient Sword Stele
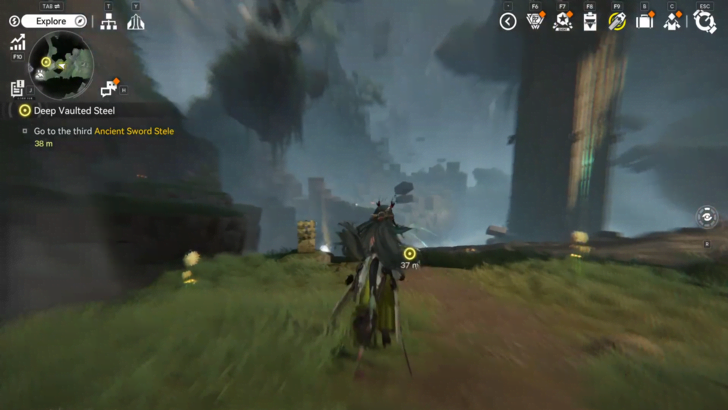
After parting ways with Smartie, you will now continue onto the third Ancient Sword Stele. Be extra careful as there will be rolling rocks and banana peels on a narrow path.
As you get closer, there will also be enemies so be prepared for combat.
Solve the Mechanisms of the Third Ancient Sword Stele
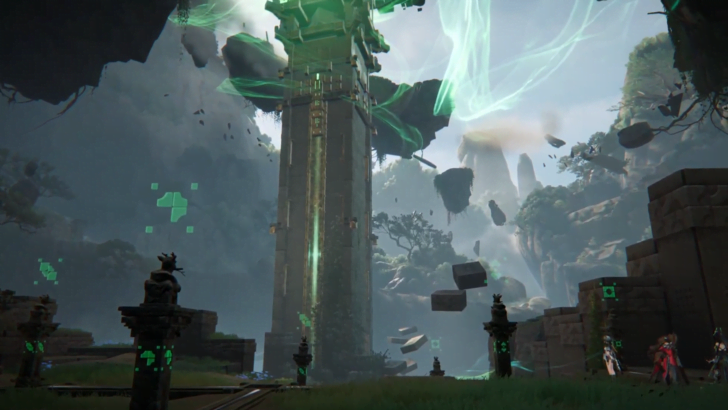
Upon arriving at the third Ancient Sword Stele, you have to solve the last mechanism pillar puzzle. The strong vibrations will cause the runes to temporarily disappear, so keep that in mind when pushing pillars towards symbols!
Once the puzzle is solved, a cutscene will play and a passage will be unlocked.
How to Solve the Mechanisms of the Third Ancient Sword Stele
| 1 | Starting with the bottom part of the puzzle, move the square pillar to the right then move the incorrect pillar away from the spot. Once locked, the remaining pillar can follow suit. |
|---|---|
| 2 | To switch the positions of the incorrect pillars, move the pillar in the middle upwards. After, move the rest of the pillars forward in order to make space for the trapped pillar to head to its correct spot. Once locked in, the rest should follow suit. |
Reach the Bottom of the Dale and Uncover the Secret
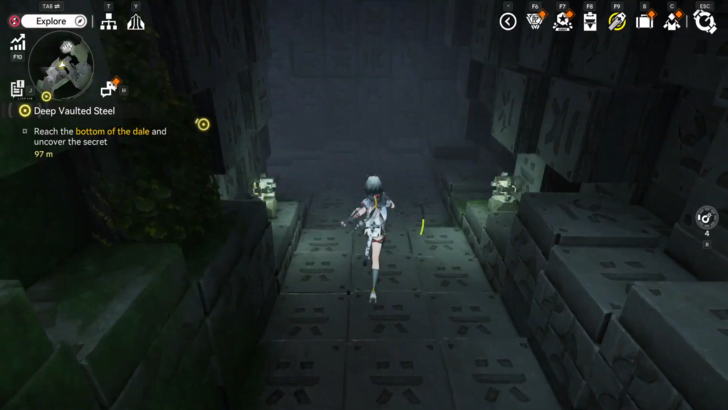
Go through the newly unlocked passage to reach the bottom of the dale. As you go deeper, screen shakes will become more aggressive. The end of the passage will lead to a wide watery area.
Defeat the Giant Rockhowler
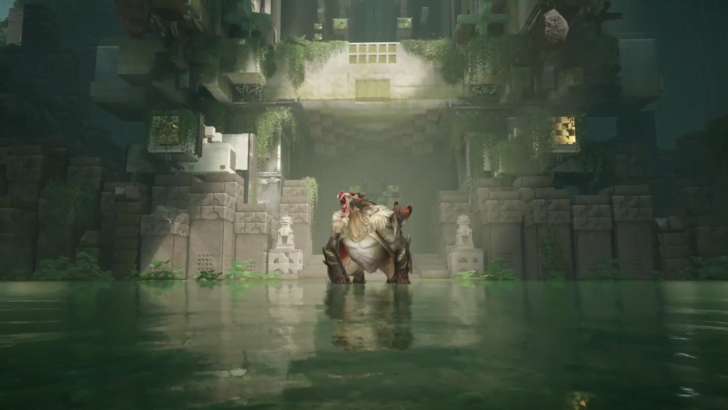
Upon reaching the end of passage, you will be confronted by a giant rockhowler, also known as a Craghowler. Defeat this boss to complete this objective.
Enter the Treasure Vault
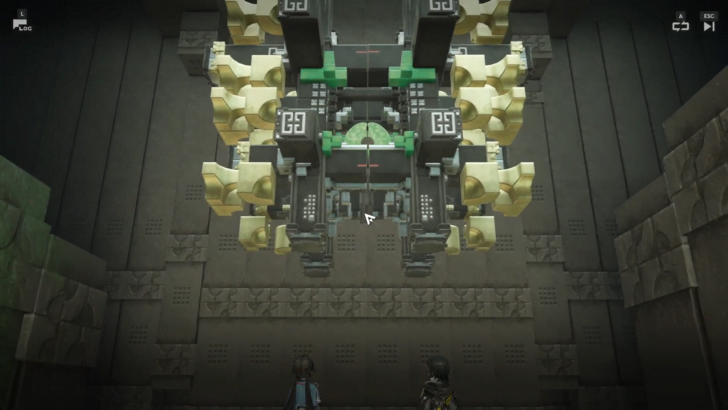
After defeating the boss, you can now head inside the treasure vault by interacting with the gate. Select View once close to it and a cutscene will start.
Check the Search Results for Chi Xiao
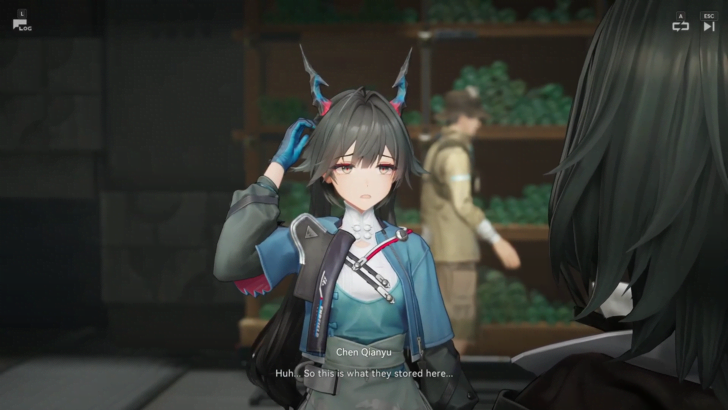
Once inside, interact with the necessary scrolls to check for any mention of Chi Xiao. To do this, select View once near an interactable scroll.
After reviewing all the scrolls, a cutscene will play. Finishing this cutscene will complete the mission.
Deep Vaulted Steel Quest Rewards
All Deep Vaulted Steel Rewards
 Oroberyl
x240 |
 T-Creds
x26000 |
 Advanced Cognitive Carrier
x3 |
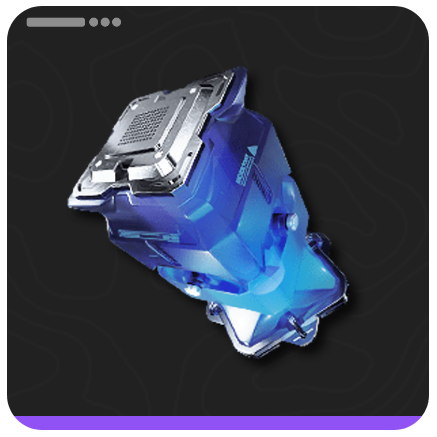 Protohedron
x8 |
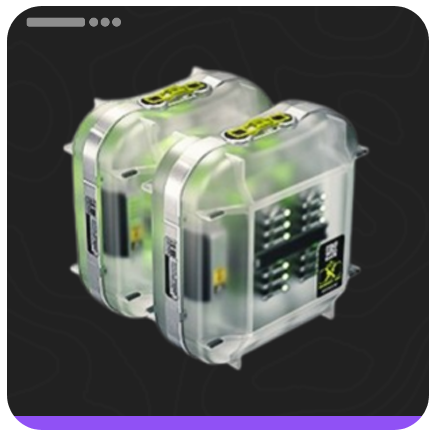 Arms INSP Set
x6 |
 Operational EXP
x960 |
Unlocks Sword Vault Dale

Progressing through this mission also unlocks the new Version 1.3 area Sword Vault Dale. This area can be found in Wuling region, right under Qingbo Stockade.
Deep Vaulted Steel Information
Deep Vaulted Steel Quest Details
| Mission Type | Side Mission |
|---|---|
| Location | Sword Vault Dale, Wuling |
Deep Vaulted Steel is a side mission available in Sword Vault Dale, Wuling. This can be accessed after completing the Surging From a Withered Spring main mission.
Arknights: Endfield Related Guides

All Side Missions in Wuling
List of All Side Missions
Comment




Deep Vaulted Steel Mission Guide

Premium Articles
Rankings
- We could not find the message board you were looking for.

Gaming News





Popular Games

Genshin Impact Walkthrough & Guides Wiki
Fire Emblem: Fortune's Weave (FEFW) Walkthrough & Guides Wiki
Aniimo Walkthrough & Guides Wiki
Wuthering Waves Walkthrough & Guides Wiki
Dragon's Dogma 2 (DD2) Dark Arisen Walkthrough & Guides Wiki
Umamusume: Pretty Derby Walkthrough & Guides Wiki
Honkai: Star Rail Walkthrough & Guides Wiki
Zenless Zone Zero Walkthrough & Guides Wiki
Pokemon TCG Pocket (PTCGP) Strategies & Guides Wiki
AION 2 Walkthrough & Guides Wiki










Recommended Games
Fire Emblem Heroes (FEH) Walkthrough & Guides Wiki
Where Winds Meet Walkthrough & Guides Wiki
Diablo 4: Lord of Hatred Walkthrough & Guides Wiki
Super Smash Bros. Ultimate Walkthrough & Guides Wiki
Persona 3 Reload Walkthrough & Guides Wiki
The Legend of Zelda: Tears of the Kingdom Walkthrough & Guides Wiki
Elden Ring Walkthrough & Guides Wiki
Pokemon Brilliant Diamond and Shining Pearl (BDSP) Walkthrough & Guides Wiki
Cyberpunk 2077: Ultimate Edition Walkthrough & Guides Wiki
Monster Hunter World Walkthrough & Guides Wiki










All rights reserved
Copyright © 2022 - 2025 GRYPHLINE. All Rights Reserved.
The copyrights of videos of games used in our content and other intellectual property rights belong to the provider of the game.
The contents we provide on this site were created personally by members of the Game8 editorial department.
We refuse the right to reuse or repost content taken without our permission such as data or images to other sites.