
Jade Vessel Best Characters
✪ Check Game8 Endfield Twitter for daily tips!
★ Exclusive: Endfield's Connection to Arknights
✰ Version 1.6 is out! | Yuanyuan's Blazing Stoves
├ P1: Si (Builds / Teams / Banner)
├ P2: Argent Flow (Builds / Banner)
└ Rerun: Tangtang (Builds | Teams | Banner)
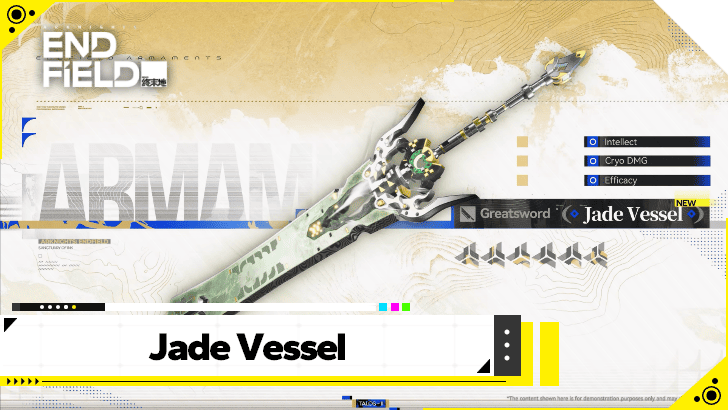
Jade Vessel is a 6-star Greatsword in Arknights: Endfield. See the best characters for Jade Vessel, its stats, skills, upgrade materials, and how to get Jade Vessel here!
List of Contents
Jade Vessel Stats and Effects
Jade Vessel Weapon Overview
| Jade Vessel Base Stats and Info | |
|---|---|
 |
|
| Type | |
| Rarity | |
| Base ATK | 500 |
| Weapon Skills (Max) | |
|
Intellect Boost (L):
• Intellect +156
Cryo DMG Boost (L):
• Cryo DMG Dealt +43.3%
Efficacy: Dabbles of Ink:
• ATK +44.8%.
When the wielder applies Immobilization on the enemy, the target enemy suffers DMG Taken +21.0% for 30s. When the wielder applies Immobilization on the enemy or after the wielder casts an ultimate, the next combo skill cast within 20s gains DMG Dealt +70.0%. The two effects apply separately and do not stack with themselves. |
|
 6
Jade Vessel Tier List Ranking
| Ranking |

|
|---|
Jade Vessel Potentials
| Weapon Skill | Initial Lv. | |
|---|---|---|
| Potential 1 | Efficacy: Dabbles of Ink | 2 |
| Potential 2 | Efficacy: Dabbles of Ink | 3 |
| Potential 3 | Efficacy: Dabbles of Ink | 4 |
| Potential 4 | Efficacy: Dabbles of Ink | 5 |
| Potential 5 | Efficacy: Dabbles of Ink | 6 |
Jade Vessel Best Characters
All Best Characters
| Best Builds for Jade Vessel |
 Si Support |
|---|
For the characters listed above, Jade Vessel is the best weapon in their build.
How to Get Jade Vessel
Pulled From Arsenal Issue Banners
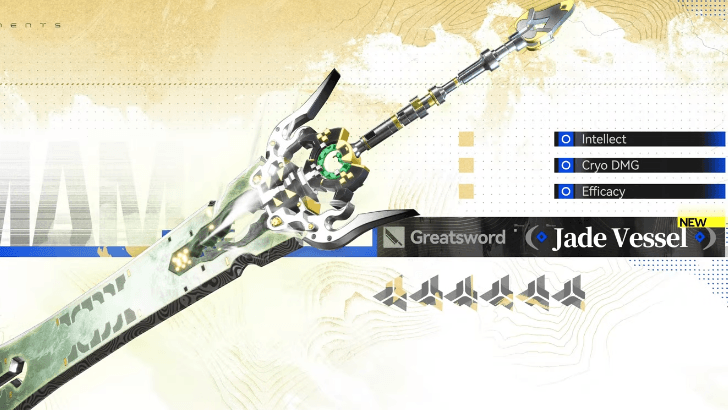 Seal of Jade Issue |
Jade Vessel can be obtained by pulling it from the Arsenal Issue banners listed above!
Arsenal Exchange Weapon Banner
Jade Vessel Weapon Skills
Intellect Boost (L)
| Rank | Effect |
|---|---|
| 1 | Intellect +20 |
| 2 | Intellect +36 |
| 3 | Intellect +52 |
| 4 | Intellect +68 |
| 5 | Intellect +84 |
| 6 | Intellect +100 |
| 7 | Intellect +116 |
| 8 | Intellect +132 |
| 9 | Intellect +156 |
Cryo DMG Boost (L)
| Rank | Effect |
|---|---|
| 1 | Cryo DMG Dealt +5.6% |
| 2 | Cryo DMG Dealt +10.0% |
| 3 | Cryo DMG Dealt +14.4% |
| 4 | Cryo DMG Dealt +18.9% |
| 5 | Cryo DMG Dealt +23.3% |
| 6 | Cryo DMG Dealt +27.8% |
| 7 | Cryo DMG Dealt +32.2% |
| 8 | Cryo DMG Dealt +36.7% |
| 9 | Cryo DMG Dealt +43.3% |
Efficacy: Dabbles of Ink
| Rank | Effect |
|---|---|
| 1 | ATK +16%. When the wielder applies Immobilization on the enemy, the target enemy suffers DMG Taken +7.5% for 30s. When the wielder applies Immobilization on the enemy or after the wielder casts an ultimate, the next combo skill cast within 20s gains DMG Dealt +25.0%. The two effects apply separately and do not stack with themselves. |
| 2 | ATK +19.2%. When the wielder applies Immobilization on the enemy, the target enemy suffers DMG Taken +9.0% for 30s. When the wielder applies Immobilization on the enemy or after the wielder casts an ultimate, the next combo skill cast within 20s gains DMG Dealt +30.0%. The two effects apply separately and do not stack with themselves. |
| 3 | ATK +22.4%. When the wielder applies Immobilization on the enemy, the target enemy suffers DMG Taken +10.5% for 30s. When the wielder applies Immobilization on the enemy or after the wielder casts an ultimate, the next combo skill cast within 20s gains DMG Dealt +35.0%. The two effects apply separately and do not stack with themselves. |
| 4 | ATK +25.6%. When the wielder applies Immobilization on the enemy, the target enemy suffers DMG Taken +12.0% for 30s. When the wielder applies Immobilization on the enemy or after the wielder casts an ultimate, the next combo skill cast within 20s gains DMG Dealt +40.0%. The two effects apply separately and do not stack with themselves. |
| 5 | ATK +28.8%. When the wielder applies Immobilization on the enemy, the target enemy suffers DMG Taken +13.5% for 30s. When the wielder applies Immobilization on the enemy or after the wielder casts an ultimate, the next combo skill cast within 20s gains DMG Dealt +45.0%. The two effects apply separately and do not stack with themselves. |
| 6 | ATK +32.0%. When the wielder applies Immobilization on the enemy, the target enemy suffers DMG Taken +15.0% for 30s. When the wielder applies Immobilization on the enemy or after the wielder casts an ultimate, the next combo skill cast within 20s gains DMG Dealt +50.0%. The two effects apply separately and do not stack with themselves. |
| 7 | ATK +35.2%. When the wielder applies Immobilization on the enemy, the target enemy suffers DMG Taken +16.5% for 30s. When the wielder applies Immobilization on the enemy or after the wielder casts an ultimate, the next combo skill cast within 20s gains DMG Dealt +55.0%. The two effects apply separately and do not stack with themselves. |
| 8 | ATK +38.4%. When the wielder applies Immobilization on the enemy, the target enemy suffers DMG Taken +18.0% for 30s. When the wielder applies Immobilization on the enemy or after the wielder casts an ultimate, the next combo skill cast within 20s gains DMG Dealt +60.0%. The two effects apply separately and do not stack with themselves. |
| 9 | ATK +44.8%. When the wielder applies Immobilization on the enemy, the target enemy suffers DMG Taken +21.0% for 30s. When the wielder applies Immobilization on the enemy or after the wielder casts an ultimate, the next combo skill cast within 20s gains DMG Dealt +70.0%. The two effects apply separately and do not stack with themselves. |
Jade Vessel Upgrade Materials
Total Tuning Materials
| Materials Needed | Total |
|---|---|
| x23 | |
| x3 | |
| x5 | |
| x50 | |
| x5 | |
| x16 | |
| x8 | |
| x125,700 |
 Warp Plasma-Coated Slide
| Tuning Stage | Required Materials |
|---|---|
| Stage 1 20 → 40 | 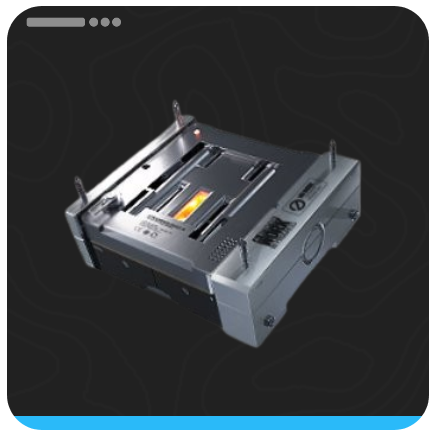 Cast Die x5  Kalkonyx x3  T-Creds x2,200 |
| Stage 2 40 → 60 | Cast Die x18 Auronyx x5 T-Creds x8,500 |
| Stage 3 60 → 80 | 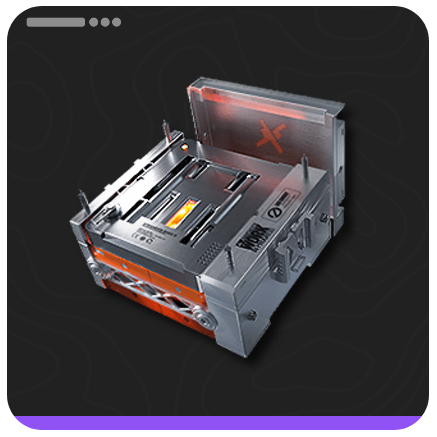 Heavy Cast Die x20  Umbronyx x5 T-Creds x25,000 |
| Stage 4 80 → 90 | Heavy Cast Die x30 Wulingstone x8 T-Creds x90,000 |
Arknights: Endfield Related Guides

Weapon Lists by Type
| Weapons by Type | |||||
|---|---|---|---|---|---|
 Swords |
 Great Swords |
 Polearms |
|||
 Handcannons |
 Arts Units |
||||
| Weapons by Rarity | |||||
Other Weapon Guides
| Miscellaneous Weapon Guides | |
|---|---|
| Best Weapons Tier List | Best Weapon for Each Character |
| How to Get Weapons | - |
All Greatsword Type Weapons
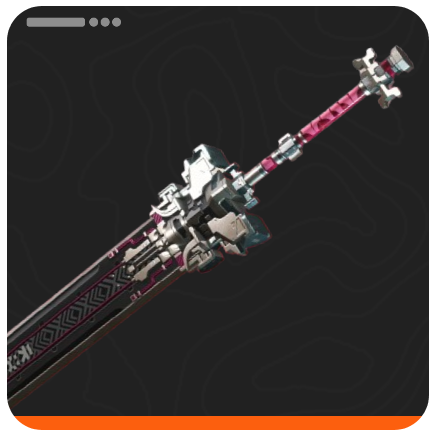 Amaranthine Tassel
 Exemplar
 Former Finery
 Khravengger
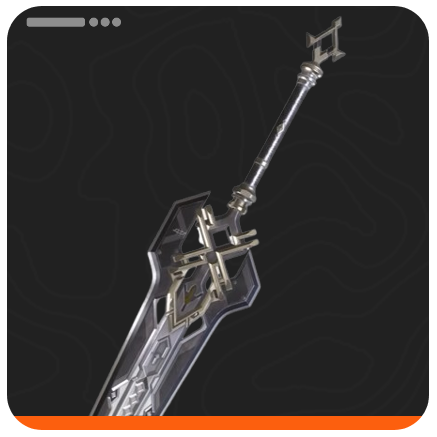 Long Heritage
 Phantom Pain
 Sundered Prince
 Thunderberge
 Ancient Canal
 Finishing Call
 OBJ Heavy Burden
 Seeker of Dark Lung
 Industry 0.1
 Quencher
 Darhoff 7
Comment



Jade Vessel Best Characters

Premium Articles
Rankings
- We could not find the message board you were looking for.

Gaming News





Popular Games

Genshin Impact Walkthrough & Guides Wiki
Fire Emblem: Fortune's Weave (FEFW) Walkthrough & Guides Wiki
Aniimo Walkthrough & Guides Wiki
Wuthering Waves Walkthrough & Guides Wiki
Dragon's Dogma 2 (DD2) Dark Arisen Walkthrough & Guides Wiki
Umamusume: Pretty Derby Walkthrough & Guides Wiki
Honkai: Star Rail Walkthrough & Guides Wiki
Zenless Zone Zero Walkthrough & Guides Wiki
Pokemon TCG Pocket (PTCGP) Strategies & Guides Wiki
AION 2 Walkthrough & Guides Wiki










Recommended Games
Fire Emblem Heroes (FEH) Walkthrough & Guides Wiki
Where Winds Meet Walkthrough & Guides Wiki
Diablo 4: Lord of Hatred Walkthrough & Guides Wiki
Super Smash Bros. Ultimate Walkthrough & Guides Wiki
Persona 3 Reload Walkthrough & Guides Wiki
The Legend of Zelda: Tears of the Kingdom Walkthrough & Guides Wiki
Elden Ring Walkthrough & Guides Wiki
Pokemon Brilliant Diamond and Shining Pearl (BDSP) Walkthrough & Guides Wiki
Cyberpunk 2077: Ultimate Edition Walkthrough & Guides Wiki
Monster Hunter World Walkthrough & Guides Wiki










All rights reserved
Copyright © 2022 - 2025 GRYPHLINE. All Rights Reserved.
The copyrights of videos of games used in our content and other intellectual property rights belong to the provider of the game.
The contents we provide on this site were created personally by members of the Game8 editorial department.
We refuse the right to reuse or repost content taken without our permission such as data or images to other sites.