
Those We Have Lost Quest Guide
Travelers, participate in Game8's Version 7.1 Survey!
◆ Hot: 7.2 Livestream & Codes, 7.1 Tier List
◆ Builds: Vesna, Vodyanitsa, Skirk, Escoffier
◆ 7.1: Snowball Fight, 2026 Anniversary
◆ Future: Version 7.2, Mitya, Valeriy
Those We Have Lost Quest is the second quest of the Sunny Summer Fontinalia event in Genshin Impact 6.7 Luna VIII. See how to move all gears to the other side, the Pagoda Stack gear puzzle, and walkthrough in this guide!
List of Contents
How to Unlock Those We Have Lost
Complete Should We Meet Again
You must complete the Should We Meet Again quest first to unlock the Those We Have Lost quest in Sunny Summer Fontinalia.
Should We Meet Again Quest Guide
Those We Have Lost Walkthrough
Meet With Sandrone
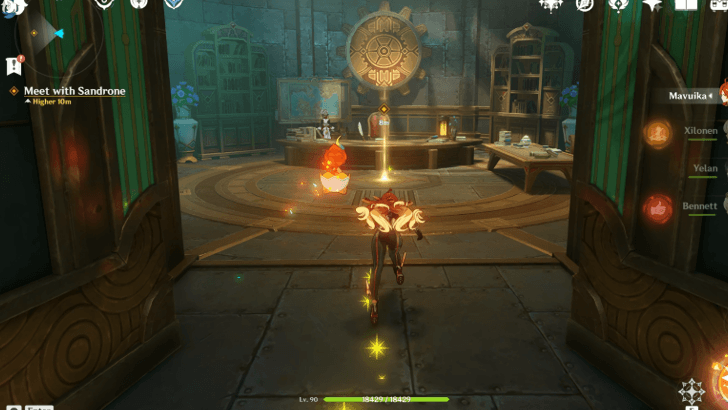
First, advance the time forward by two days using the in-game clock. After the time advance, meet up with Sandrone in the Wingalet. After the talk, Sandrone will bring you back underwater briefly. Once you're back in the Wingalet, she'll ask you to go to the aquarium.
Go to The Aquarium Below
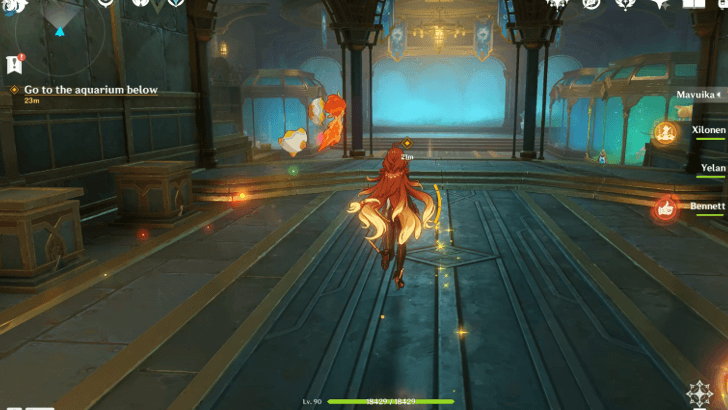
Head to the aquarium inside the Wingalet. Once you're there, talk with Citlali and Sandrone. The other characters will arrive and then start filming. Proceed with the dialogue until its finished, and you'll be asked to go to the hidden dwelling with Sandrone.
Go to The Hidden Dwelling
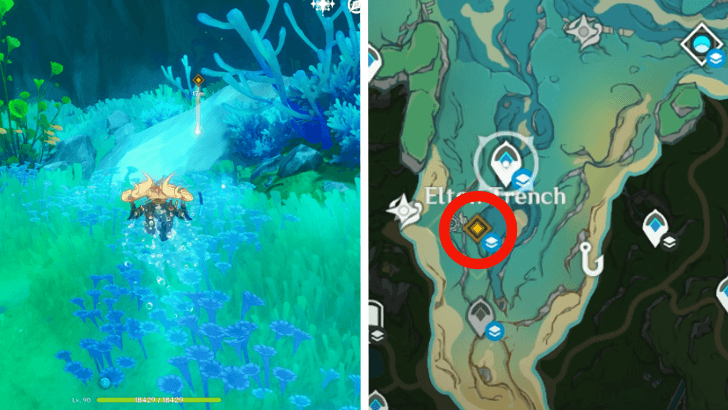
Use the Teleport Waypoint in the Elton Trench of the Beryl Region. Swim and follow the objective marker until you see a huge rock near some underwater plants. Sandrone will briefly talk to you before asking you to activate the water-insulating mechanism.
Activate the Water-Insulating Mechanism
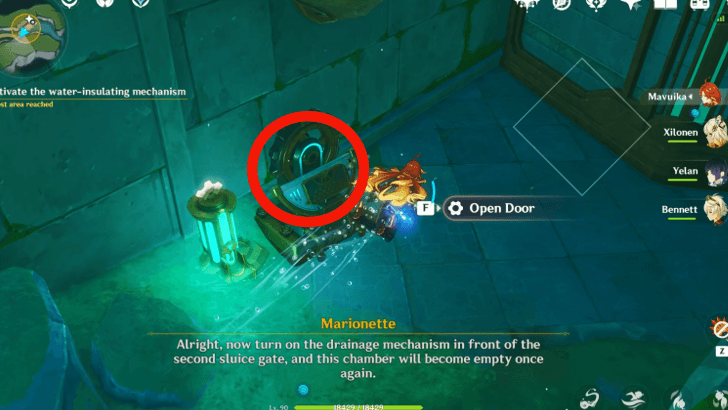
Swim into the cave and approach the mechanism to activate it. It will drain the water and open the gates in the cave. Once the water is gone, proceed into the now open hidden dwelling.
Explore the Dwelling
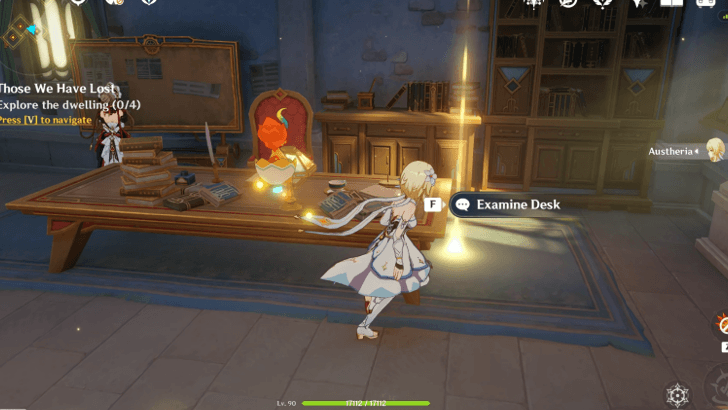
Inside Sandrone's old home, interact with the objects that are lit up. Going to the desk starts the Pagoda Stack gear puzzle, where you have to move all gears from one pole to another in the lowest amount of moves.
It does not matter which pole you move all the gears to, what's important is you moved all of them to another pole. All the smaller gears must always stay on top, no bigger gears can go on top of smaller ones.
How to Move All Gears to the Other Side
| How to Move All Gears to the Other Side | |
|---|---|
| Colors |
• Gear 1 - Purple/Violet • Gear 2 - Blue • Gear 3 - Dark Green • Gear 4 - Light Green • Gear 5 - Orange |
| Step-by-Step Guide | |
|
1. Move Gear 1 to the middle pole. 2. Move Gear 2 to the right pole. 3. Move Gear 1 on top of Gear 2 at the right pole. 4. Move Gear 3 to the middle pole. 5. Move Gear 1 to the left pole. 6. Move Gear 2 on top of Gear 3 at the middle pole. 7. Move Gear 1 to the middle pole. 8. Move Gear 4 to the right pole. 9. Move Gear 1 on top of Gear 4 at the right pole. 10. Move Gear 2 on top of Gear 5 at the left pole. 11. Move Gear 1 to the left pole. 12. Move Gear 3 to the right pole. 13. Move Gear 1 to the middle pole. 14. Move Gear 2 to the right pole. 15. Move Gear 1 to the right pole. 16. Move Gear 5 to the middle pole. 17. Move Gear 1 to the left pole. 18. Move Gear 2 to the middle pole. 19. Move Gear 1 to the middle pole. 20. Move Gear 3 to the left pole. 21. Move Gear 1 to the right pole. 22. Move Gear 2 to the left pole. 23. Move Gear 1 to the left pole. 24. Move Gear 4 to the middle pole. 25. Move Gear 1 to the middle pole. 26. Move Gear 2 to the right pole. 27. Move Gear 1 to the right pole. 28. Move Gear 3 to the middle pole. 29. Move Gear 1 to the left pole. 30. Move Gear 2 to the middle pole. 31. Move Gear 1 to the middle pole. |
|
Head to Alain's Bedroom
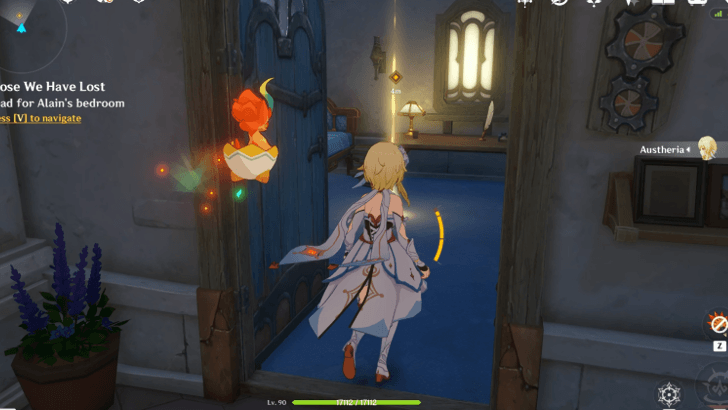
Once you're done exploring Sandrone's old home, head to Alain's bedroom. Sandrone will talk to you for a bit more before asking you to join her in resolving the anomaly of her core using the item she found in Alain's room.
Resolve the Anomaly
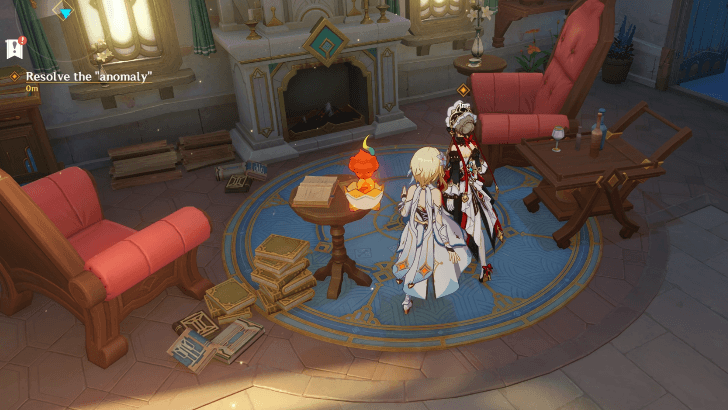
Follow Sandrone back to the living room. She'll sit down in a chair, and you'll be transported to another area. Go through the dialogue and finish it, then you'll find yourself back in Sandrone's old home.
Return to The Wingalet
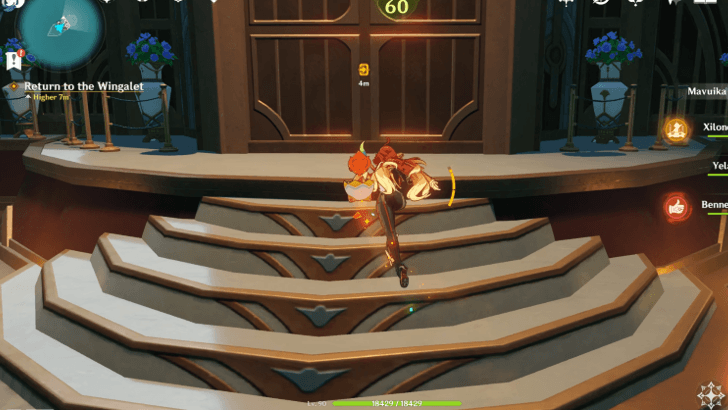
After the talk with Sandrone, go back to the Wingalet. Enter the inside of the ship and talk with Citlali, then finish the dialogue to complete the quest.
Those We Have Lost Rewards
Total Quest Rewards
| Total Quest Rewards |
 Mora x60,150 |
 Hero's Wit x6 |
|---|---|---|

Genshin Impact Related Guides

Sunny Summer Fontinalia Event Guide
Sunny Summer Fontinalia Minigames
| Event Minigame Guides | ||
|---|---|---|
 Deep-Dive Treasure |
 Kaleido-Catch |
 Curio Ledger |
Other Summer Fontinalia Guides
| Sunny Summer Fontinalia Guides | |
|---|---|
 Free Charlotte Skin |
 Free Charlotte |
Sunny Summer Fontinalia Quest Guides
| Sunny Summer Fontinalia Quest Guides | |
|---|---|
| Should We Meet Again
|
Those We Have Lost |
 Those We Have Kept |
- |
Other Events and Schedule

Comment




Those We Have Lost Quest Guide

Premium Articles
Rankings
Gaming News


Popular Games

Genshin Impact Walkthrough & Guides Wiki
Fire Emblem: Fortune's Weave (FEFW) Walkthrough & Guides Wiki
Aniimo Walkthrough & Guides Wiki
Wuthering Waves Walkthrough & Guides Wiki
Dragon's Dogma 2 (DD2) Dark Arisen Walkthrough & Guides Wiki
Umamusume: Pretty Derby Walkthrough & Guides Wiki
Honkai: Star Rail Walkthrough & Guides Wiki
Zenless Zone Zero Walkthrough & Guides Wiki
Pokemon TCG Pocket (PTCGP) Strategies & Guides Wiki
AION 2 Walkthrough & Guides Wiki









Recommended Games
Where Winds Meet Walkthrough & Guides Wiki
Fire Emblem Heroes (FEH) Walkthrough & Guides Wiki
Diablo 4: Lord of Hatred Walkthrough & Guides Wiki
Super Smash Bros. Ultimate Walkthrough & Guides Wiki
Persona 3 Reload Walkthrough & Guides Wiki
The Legend of Zelda: Tears of the Kingdom Walkthrough & Guides Wiki
Elden Ring Walkthrough & Guides Wiki
Pokemon Brilliant Diamond and Shining Pearl (BDSP) Walkthrough & Guides Wiki
Cyberpunk 2077: Ultimate Edition Walkthrough & Guides Wiki
Monster Hunter World Walkthrough & Guides Wiki










All rights reserved
Copyright© 2012-2024 HoYoverse — COGNOSPHERE. All Rights Reserved.
The copyrights of videos of games used in our content and other intellectual property rights belong to the provider of the game.
The contents we provide on this site were created personally by members of the Game8 editorial department.
We refuse the right to reuse or repost content taken without our permission such as data or images to other sites.