
Forbidding Doors of Melancholy Quest Guide
Travelers, participate in Game8's Version 7.1 Survey!
◆ Hot: 7.2 Livestream & Codes, 7.1 Tier List
◆ Builds: Vesna, Vodyanitsa, Skirk, Escoffier
◆ 7.1: Snowball Fight, 2026 Anniversary
◆ Future: Version 7.2, Mitya, Valeriy
Forbidding Doors of Melancholy is the fifth subquest of the In the Dwelling of Life quest chain in Genshin Impact 7.0. See how to defeat Furiosa, how to move the curtain, and how to reach the other curtain switch in this guide!
List of Contents
How to Unlock Forbidding Doors of Melancholy
Complete Back on One's Feet
To unlock Forbidding Doors of Melancholy, players need to complete the prerequisite quest in the chain called Back on One's Feet.
Back on One's Feet Quest Guide
Forbidding Doors of Melancholy Quest Walkthrough
Go the Assembly Hall
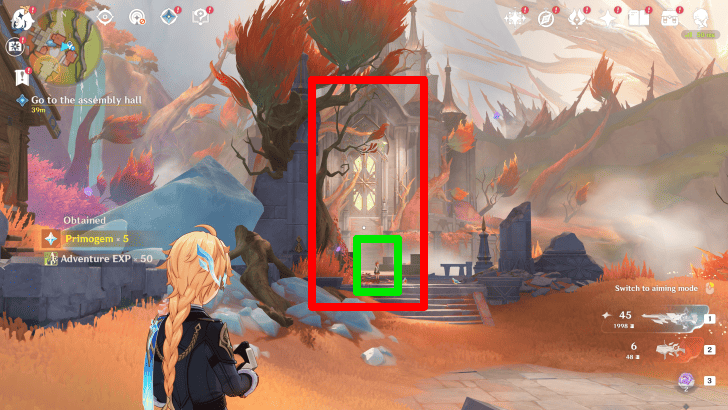
After finishing Back on One's Feet, the lift to reach the Assembly Hall becomes active. Take it, and from where you arrive, wrap around the left-side of the iced-over buildings to find a path. Follow Nastya down the path to the hall.
Defeat Furiosa
| Walkthrough | |
|---|---|
| 1 | Use the boxes as cover to avoid Furiosa's direct shots. |
| 2 | Use elemental reactions by combining the Balsag's Sunwheel grenade launcher and Frag Crystal grenades to deal lots of damage. |
| 3 | Strafe,sprint, or dodge to avoid Furiosa's arrow rain attack. |
| 4 | When Furiosa summons several spires, she gains a large amount of damage reduction. Shoot and break them to stun her and dispel her defense. |
As you cross the bridge to the hall, Furiosa will appear and block your way. You will have to defeat her to proceed into the hall.
Move Forward Together with Nastya
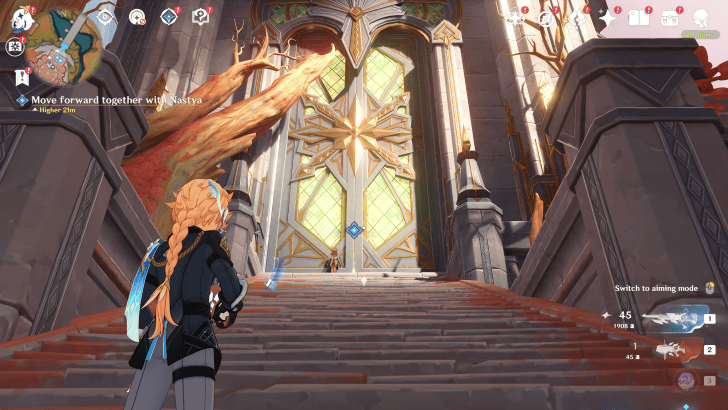
After defeating Furiosa, proceed through the following dialogue, then continue up to the Assembly Hall with Nastya.
Enter the Assembly Hall
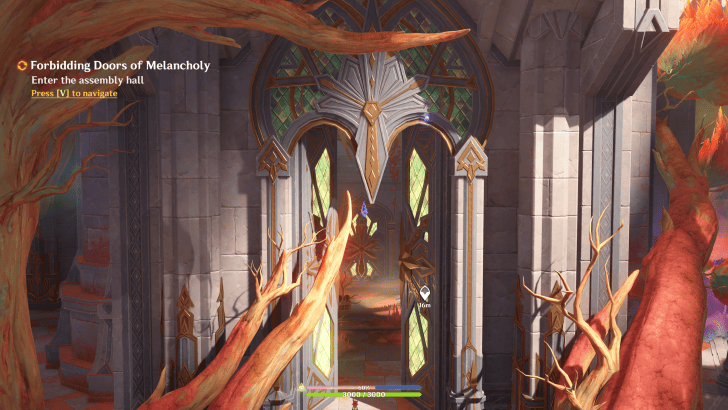
Open the door of the Assembly Hall and enter. When you make your way inside, you will find that there is another locked door that isn't opening.
Find a Way to Get Inside the Assembly Hall
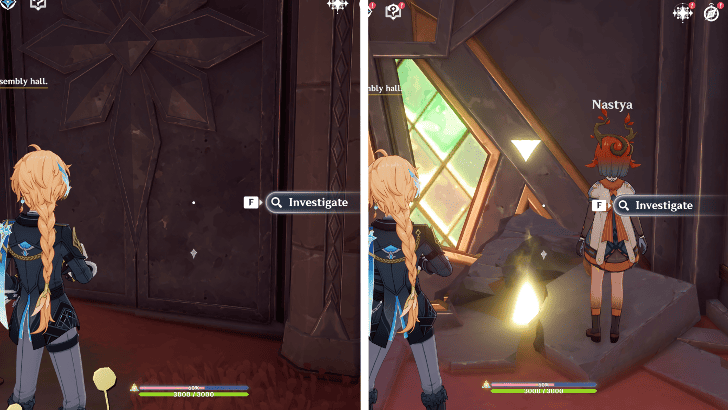
Follow Nastya and examine the metal door in the right hallway. This too, will not open, so return to the main door and examine the crack by its bottom.
Wait for Nastya to Open the Door
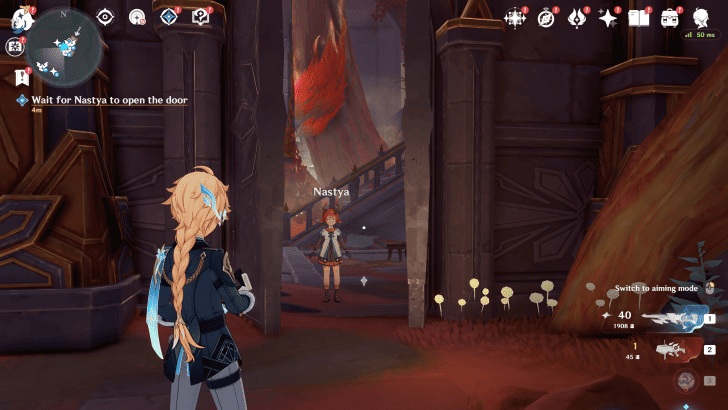
Nastya will crawl through, and will look for a way to open the doors. After a short while, she will open the metal door on the right. Meet her in the room on the other side to proceed.
Find a Way to Move the Curtain
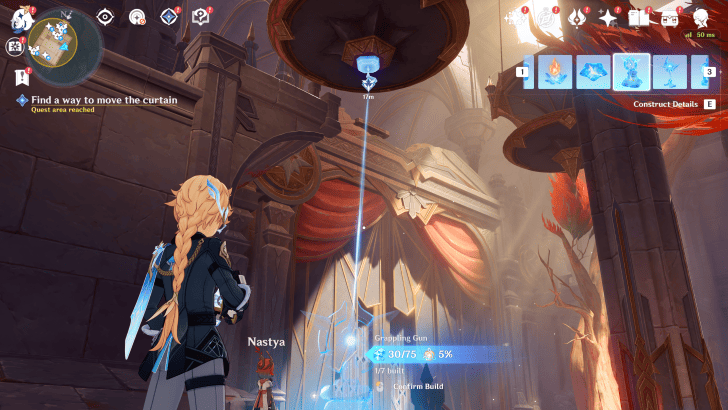
Nastya will explain that there is a switch that will allow for the operation of the curtain mechanism. Follow Nastya up the stairs on the left, and create a Prime Ice Grappling Gun to pull the chandelier to the floor.
Step on the chandelier, then remove the Grappling Gun to free the chandelier and allow it to rise back up to the ceiling. This will work as a crude elevator to get you to the switch.
Activate the Curtain Mechanism
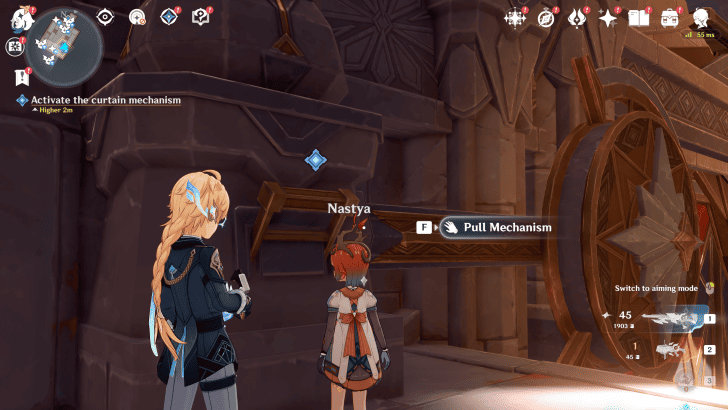
Ride the chandelier to get to the second floor where the switch is. Then, activate it to proceed with the quest.
Go to the Other Curtain Switch
| Walkthrough | |
|---|---|
| 1 | 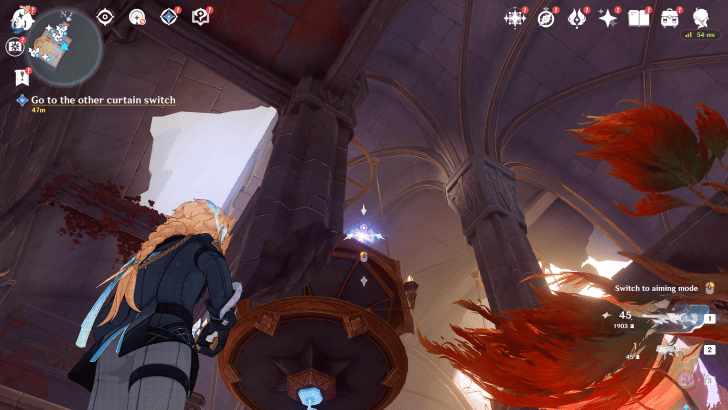 Head back down to the ground floor and use the newly-appeared Frost Mark to get on the chandelier. |
| 2 | 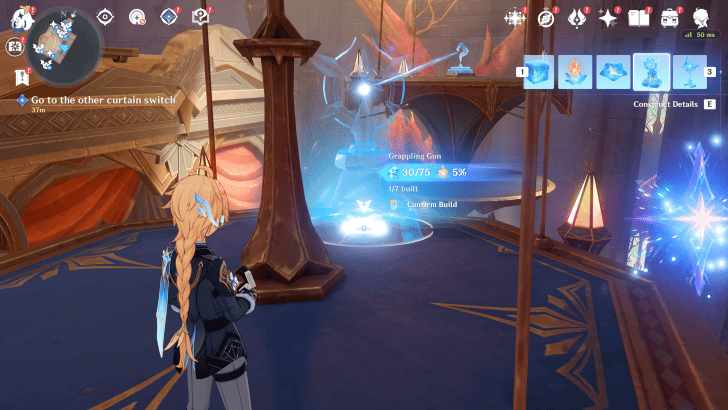 Use Fab-Vision to create another Grappling Gun that brings the second chandelier to the first one. |
| 3 | 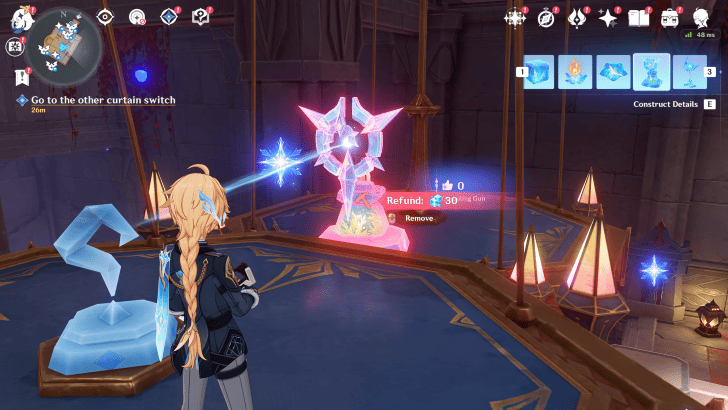 Walk onto the second chandelier and remove the Grappling Gun on the first chandelier. This will cause the second chandelier to swing back into place. |
| 4 | 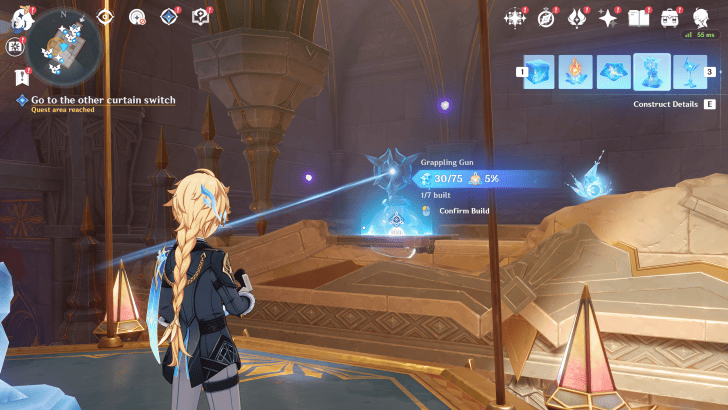 Look for a marked platform near a Cryoculus, and construct another Grappling Gun on that platform. Then, walk onto solid ground again. |
Cryoculus 38 and 39 Locations
Cryoculi 38 and 39 are both found in the room with the giant curtain. These are found along the way to the top.
| Obtained? | Collectible | How to Get |
|---|---|---|
| -/140 |
 Cryoculus 38 |
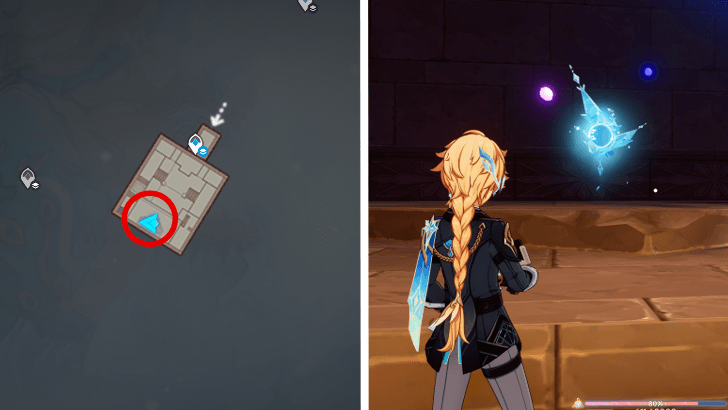 Located in the Hall of Prayers on a platform to the right of the door; use the Freeze Mark to get to the top. |
| -/140 |
Cryoculus 39 |
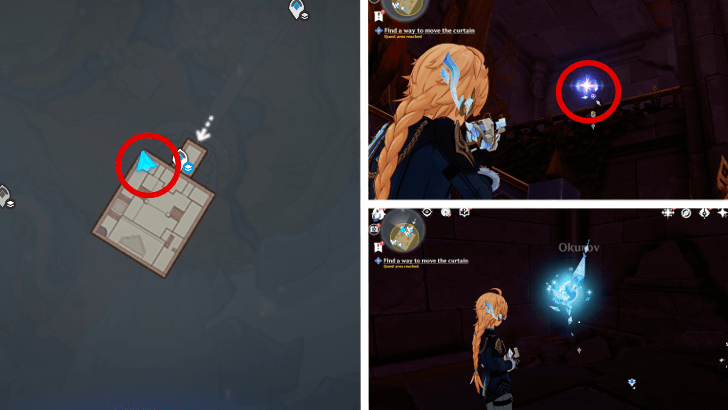 Found as you progress through the Chandelier puzzle during In the Dwelling of Life quest within the Hall of Prayers. |
Activate Both Switches at the Same Time
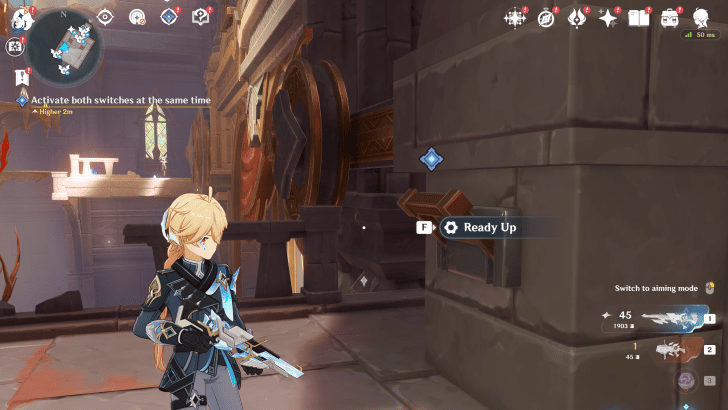
After using the chandeliers to get across, take the stairs down to the switch. Interact with it for some dialogue, and wait for Paimon's countdown to reach one before pulling the switch.
Regroup with Nastya and Paimon
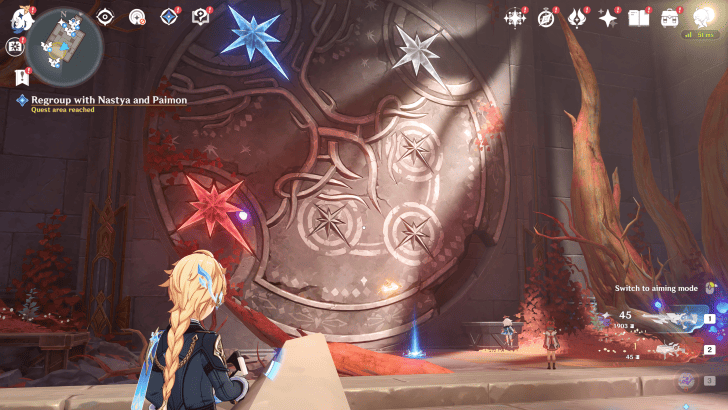
Once you activate the mechanism, Nastya and Paimon will head back down to the ground floor and towards the area behind the curtain. Meet them there to continue progressing.
Head to the Door Leading to Home
| Walkthrough | |
|---|---|
| 1 | 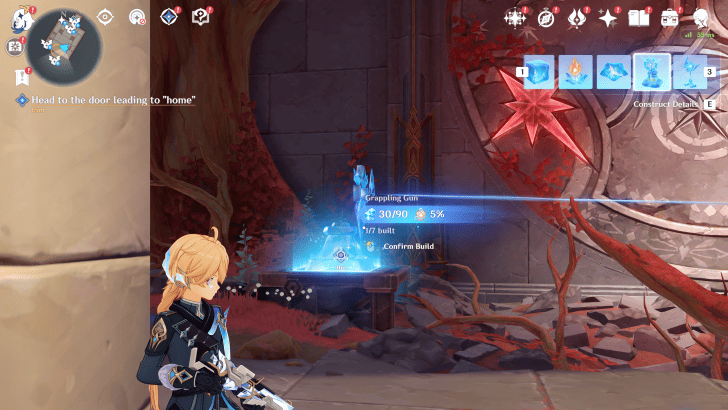 You now have to unlock a dial mechanism to proceed. Look for another glowing platform on the left side of the dial, and place a Grappling Gun on it. |
| 2 | 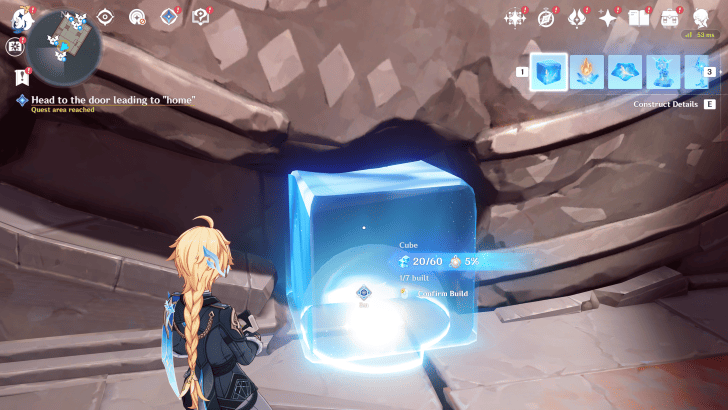 Walk towards the dial, and place a Cube using Fab-Vision directly under the dial, where there is a chunk of it missing. |
| 3 | 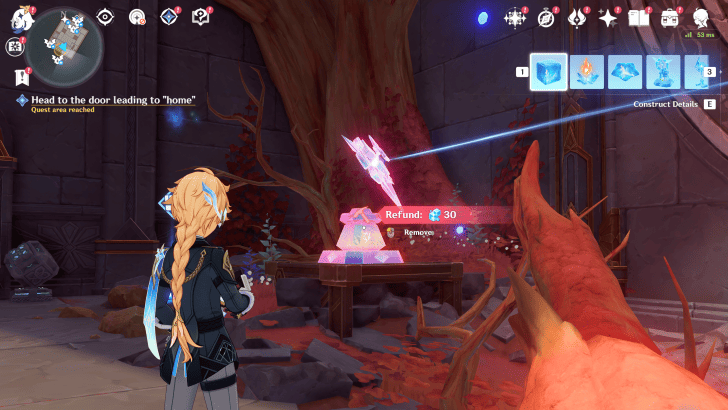 Once the block is in place, remove the Grappling Gun to cause the dial to turn back; it will get stopped in the proper place by the Cube. |
Ride the Elevator
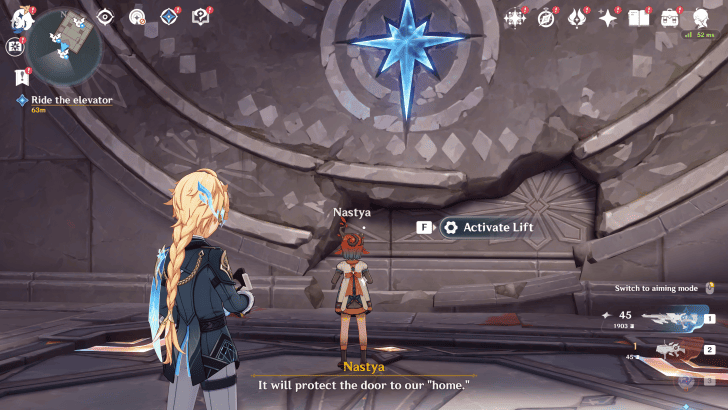
Solving the puzzle will reveal another lift; take it to proceed further with the quest.
Continue Onward
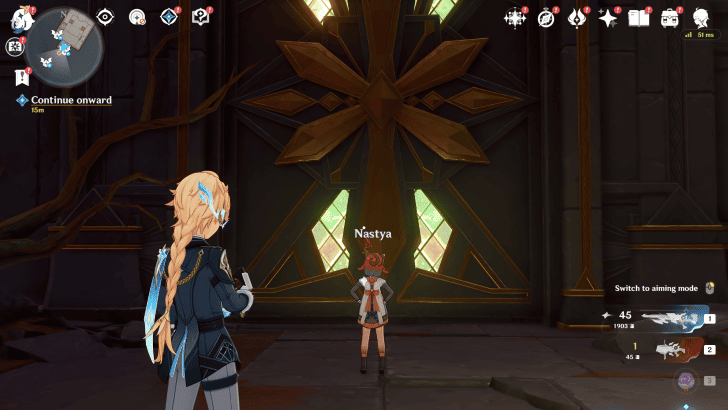
The lift will bring you face-to-face with another door. Push it open and head into the room beyond with Nastya.
Investigate the Strange Room
| Walkthrough | |
|---|---|
| 1 | 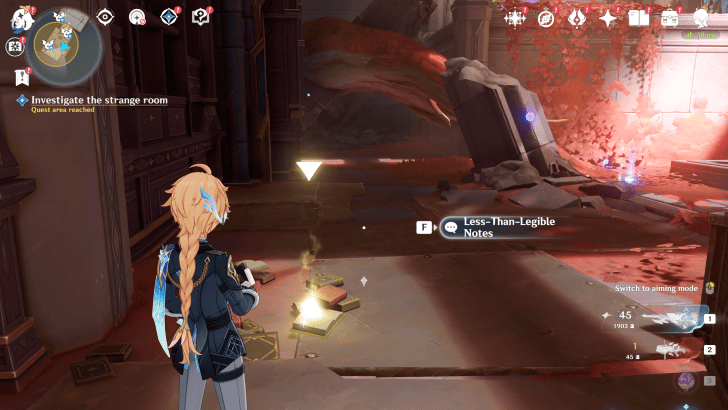 First, check the left-side of the room to find Less-Than-Eligible Notes and read them. |
| 2 | 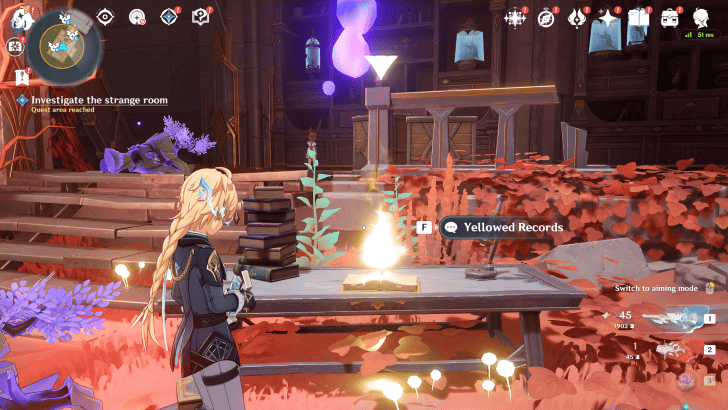 Then, look near the center of the room for some Yellowed Records. Read these as well. |
| 3 | 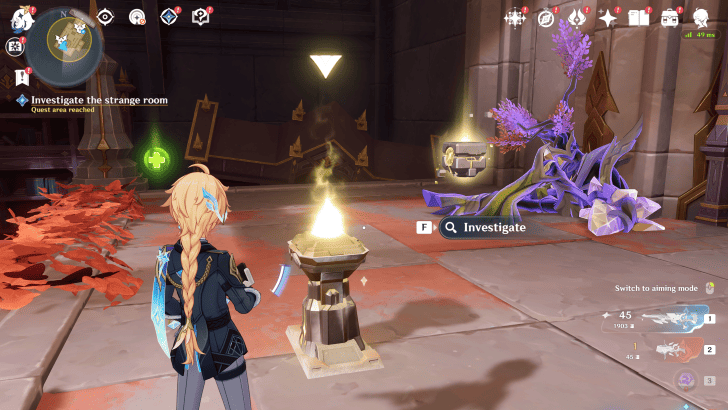 Lastly, make your way to the raised area in the back by following the path on the right-side of the room. Examine the pedestal here to proceed. |
Cover Nastya So She Can Get Closer
Examining the pedestal will trigger a trap, locking you behind bars while the Leshies in the room come to life. You will have to shoot them from inside your cage to protect Nastya as she tries to free you.
Take the Item Nastya Found
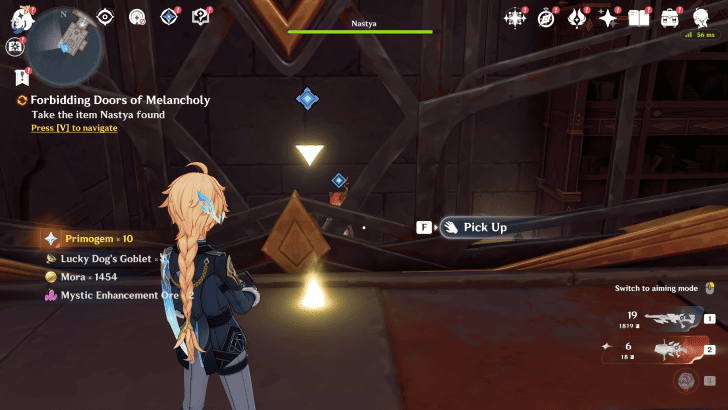
After clearing all the Leshies, Nastya will toss something she found into the cage. Retrieve it to continue with the quest.
Remove the Trap
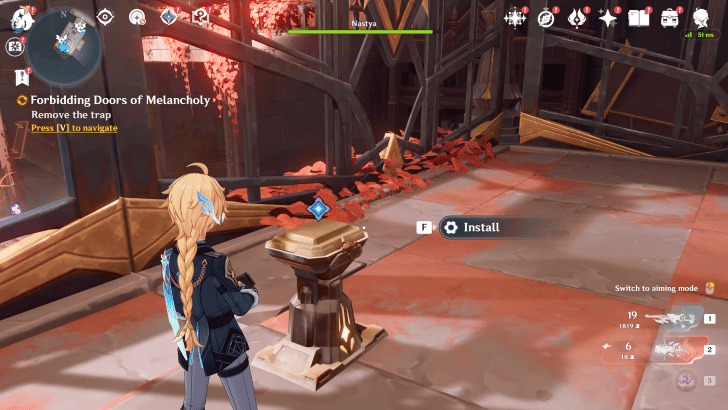
Place the item Nastya found on the pedestal. This will disarm the trap, and the slab in the center of the room will move out of the way to reveal a set of stairs.
Talk to Nastya
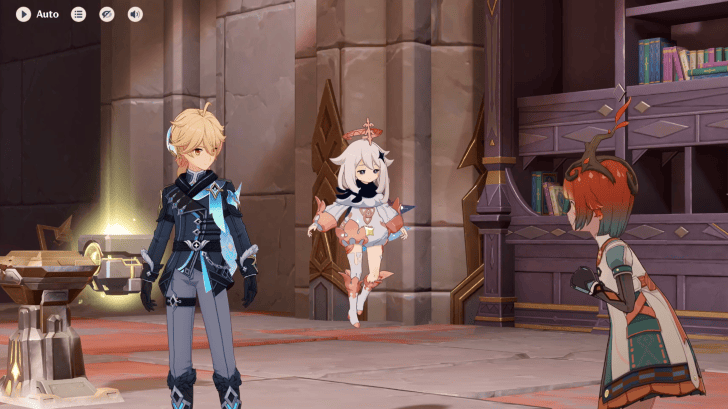
After the cutscene, some dialogue with Nastya will ensue. The quest will be completed after you finish speaking with her.
Forbidding Doors of Melancholy Quest Rewards
Total Quest Rewards
| Total Quest Rewards |
 Primogem x50 |
 Mora x54,500 |
|---|---|---|
 Hero's Wit x5 |
||

Genshin Impact Related Guides
Other In the Dwelling of Life Quest Guides
| In the Dwelling of Life World Quest Guides | ||
|---|---|---|
| In the Dwelling of Life | A Sprout Without a Gardener | Transplanted From Yesterday to Tomorrow |
| Down in the Dumps | Back on One's Feet | Forbidding Doors of Melancholy |
| To Rest in a Forgotten Field | Chorus of Solace | |
Comment




Forbidding Doors of Melancholy Quest Guide

Premium Articles
Rankings
- We could not find the message board you were looking for.
Gaming News



Popular Games

Genshin Impact Walkthrough & Guides Wiki
Fire Emblem: Fortune's Weave (FEFW) Walkthrough & Guides Wiki
Aniimo Walkthrough & Guides Wiki
Wuthering Waves Walkthrough & Guides Wiki
Dragon's Dogma 2 (DD2) Dark Arisen Walkthrough & Guides Wiki
Umamusume: Pretty Derby Walkthrough & Guides Wiki
Honkai: Star Rail Walkthrough & Guides Wiki
Zenless Zone Zero Walkthrough & Guides Wiki
Pokemon TCG Pocket (PTCGP) Strategies & Guides Wiki
AION 2 Walkthrough & Guides Wiki









Recommended Games
Where Winds Meet Walkthrough & Guides Wiki
Fire Emblem Heroes (FEH) Walkthrough & Guides Wiki
Diablo 4: Lord of Hatred Walkthrough & Guides Wiki
Super Smash Bros. Ultimate Walkthrough & Guides Wiki
Persona 3 Reload Walkthrough & Guides Wiki
The Legend of Zelda: Tears of the Kingdom Walkthrough & Guides Wiki
Elden Ring Walkthrough & Guides Wiki
Pokemon Brilliant Diamond and Shining Pearl (BDSP) Walkthrough & Guides Wiki
Cyberpunk 2077: Ultimate Edition Walkthrough & Guides Wiki
Monster Hunter World Walkthrough & Guides Wiki










All rights reserved
Copyright© 2012-2024 HoYoverse — COGNOSPHERE. All Rights Reserved.
The copyrights of videos of games used in our content and other intellectual property rights belong to the provider of the game.
The contents we provide on this site were created personally by members of the Game8 editorial department.
We refuse the right to reuse or repost content taken without our permission such as data or images to other sites.