
Visitors From the Stars Quest Guide
Travelers, participate in Game8's Version 7.1 Survey!
◆ Hot: 7.2 Livestream & Codes, 7.1 Tier List
◆ Builds: Vesna, Vodyanitsa, Skirk, Escoffier
◆ 7.1: Snowball Fight, 2026 Anniversary
◆ Future: Version 7.2, Mitya, Valeriy
Visitors From the Stars is the second subquest of the Moon Gazing quest chain in Genshin Impact Luna VIII. See how to clear the moonlit vines, activate the lift, and the rewards here in this guide!
List of Contents
How to Unlock Visitors From the Stars
Complete Pioneers Quest
You can unlock the Visitors From the Stars quest by first completing the initial Moon Gazing quest, Pioneers!
Visitors From the Stars Wakthrough
Get On the High-Speed Transit Lane
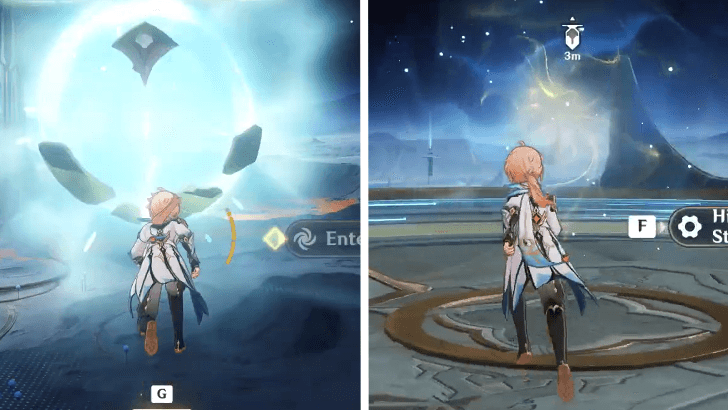
Continue the quest by taking the high-speed transit lane to Ungien's Circle. When you arrive at the platform, interact with the central clouds to unlock the station.
Head to Ungien's Circle
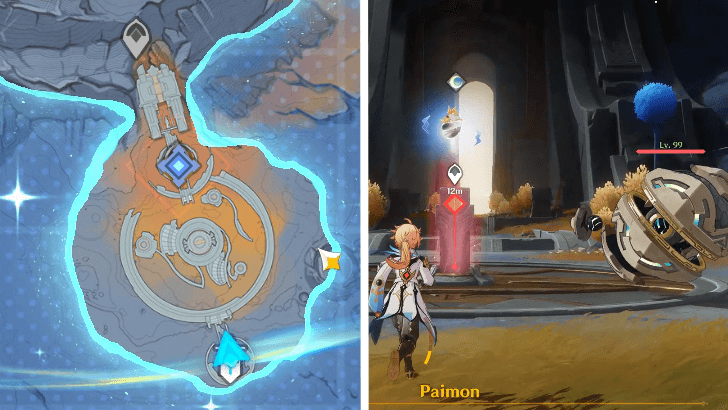
Glide down toward the quest marker until you reach the waypoint. An enemy will meet you there; simply defeat it to trigger a dialogue scene.
Follow the Kuuhenki to Ungien’s Circle
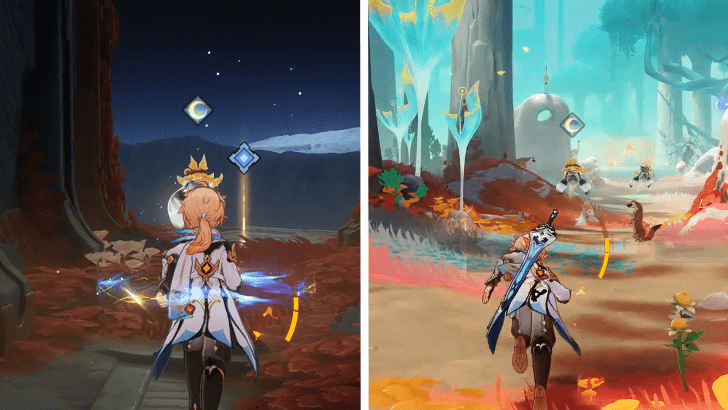
Once the conversation ends, follow the Kuuhenki to a hidden area to trigger another scene.
Afterward, keep following the Kuuhenki to the terminal until you encounter an enemy, then defeat it.
Find a Way to Clear the Moonlit Vines
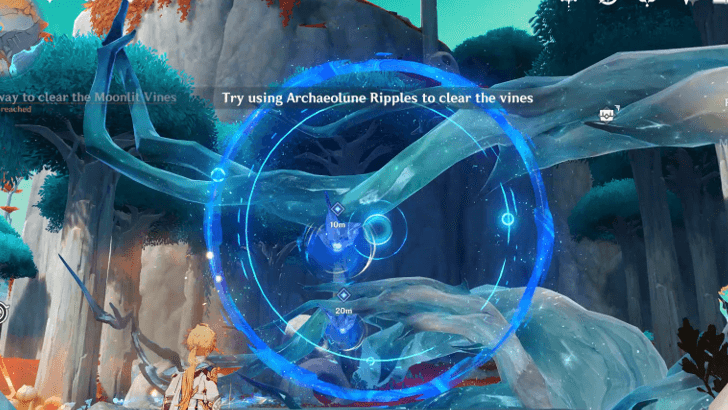
Once the enemy is down, you will notice a pulsing object on the vines. Try attacking it with Archaeolune Ripples (energy bombs) first.
This initial attempt will fail, which will unlock a new mechanic allowing you to transform into a Kuuhenki using your elemental skill.
To clear the moonlit vines away, hold down your elemental skill, aim directly at them, and use the ability to ram through them.
How to Remove the Moonlit Vines
| How to Remove the Moonlit Vines | |
|---|---|
| 1 | 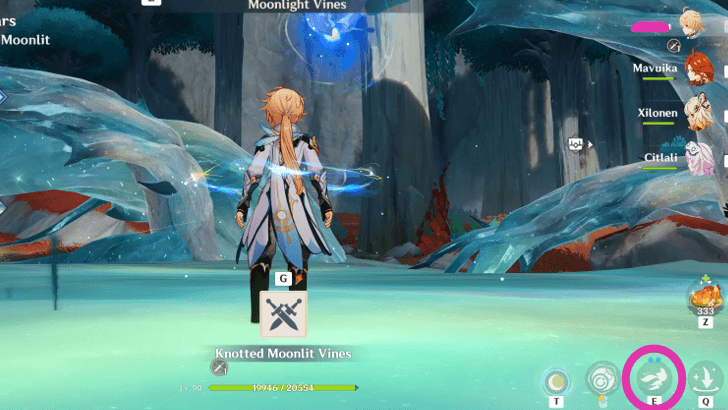 After absorbing an energy, use your elemental skill to transform into a Kuuhenki. |
| 2 | Once transformed, hold down the Elemental Skill button to enter aim mode, then target and destroy the Moonlit Vine core. |
After clearing the vines, Eggie will activate the terminal, revealing the rest of Ungien's Circle.
Advance in the Direction of the Large Tree
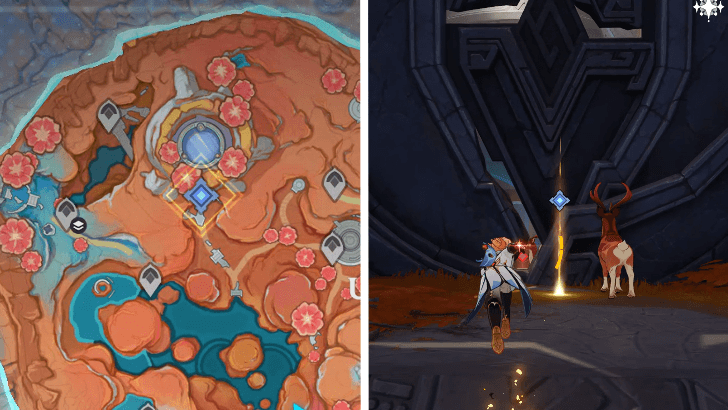
Head deeper into Ungien's Circle and make your way to the large tree at the end of the area. You can use your newly unlocked Kuuhenki power to quickly dash forward until you reach the quest marker!
Examine the Inside of the Trunk Through the Gap
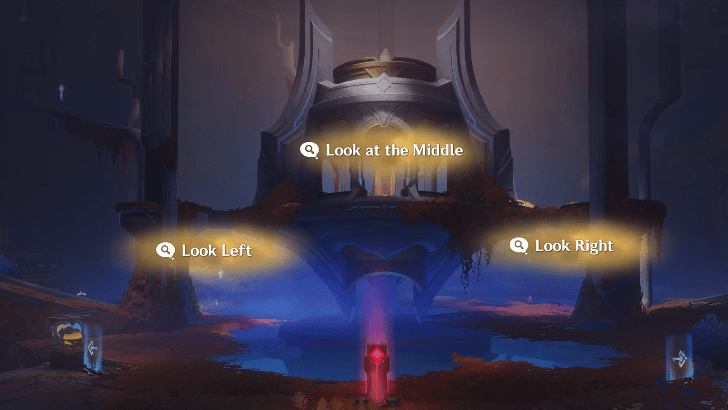
Upon the area, examine the entrance to trigger a scene where Paimon peeks through the gap. Once inside, simply interact with all three prompts on your screen to exit the area.
Search for the Path on the Left
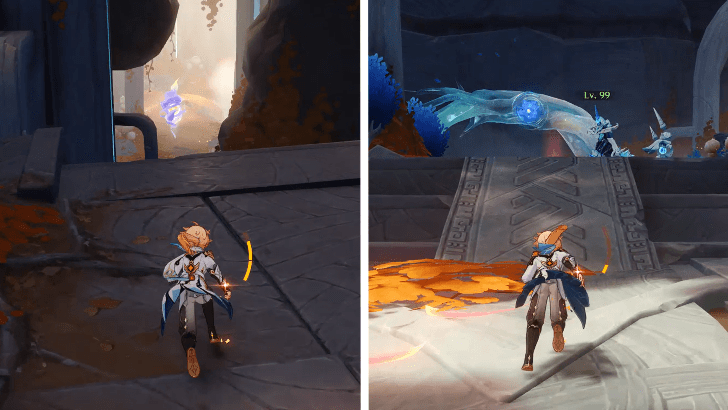
Backtrack slightly from the entrance and take the left-hand path where the floating Lunoculus is. Make sure to stick strictly to this path without wandering off or jumping down so you don't get lost.
You'll know you're on the correct route when you encounter a Frostnight Scion; just head up the stairs next to it to find the other entrance.
Remove the Barrier Using Archaeolune Ripples
When you reach the entrance, you will find a blue barrier blocking your way. You can destroy it by throwing and detonating an Archaeolune Ripple (energy bomb) against it.
Activate the Lift
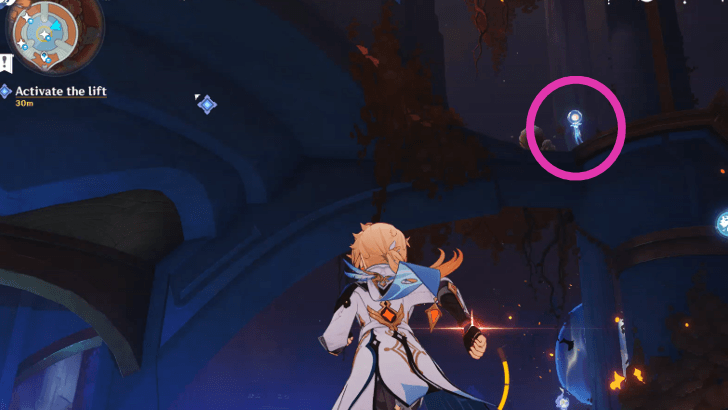
Once inside, you will see a large lift in the center that you need to get on top in order to activate it.
Here's how you activate the lift:
- First head to the front where the waypoint is located.
- From there, look at the right platform to find an energy node.
- Use your Kuuhenki transformation on it to get yourself up then head to the lift and activate it.
Check the Power System
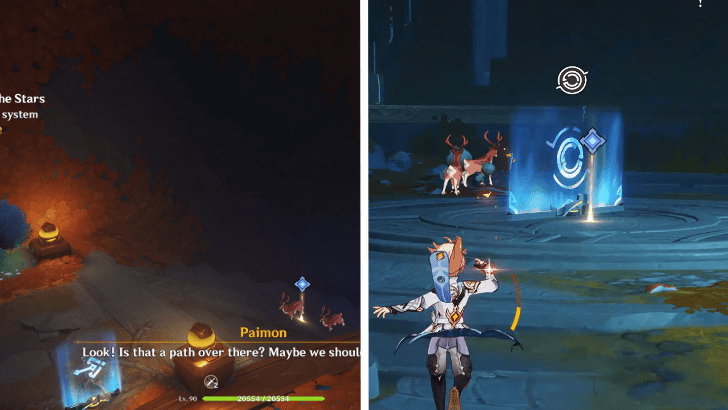
The lift will fail to operate, requiring you to check the power system. Head back down and take the stairs near the waypoint to reach the lower level.
Once downstairs, look for the terminal in the center of the room. Approach and activate it to unlock a new area on your map.
Head Underground to Solve the Power Issue
Go through the newly opened door to reach the underground section. Once inside, you'll see a blue barrier on the floor. Use Archaeolune Ripples (energy bombs) to blast a hole through the barriers, then drop all the way down to the bottom level.
Arriving at the bottom will trigger a dialogue scene; play through it, and then activate the lift.
Check the Cause of the Power Malfunction
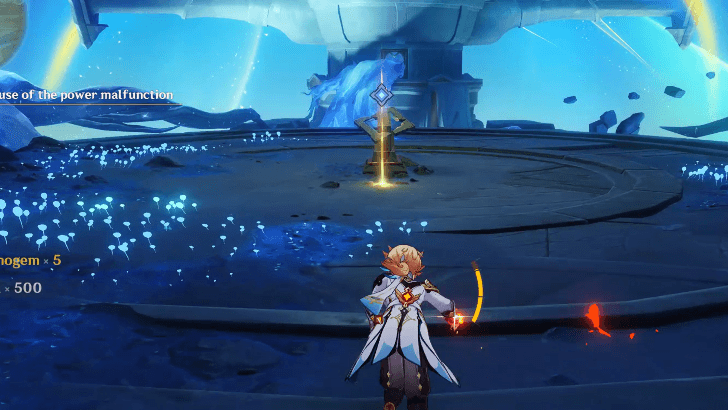
Exit the lift then activate the mechanism ahead. This will cause the turbines to rotate but some of them wont work because of the vines.
Clear the Vines on the Second Turbine
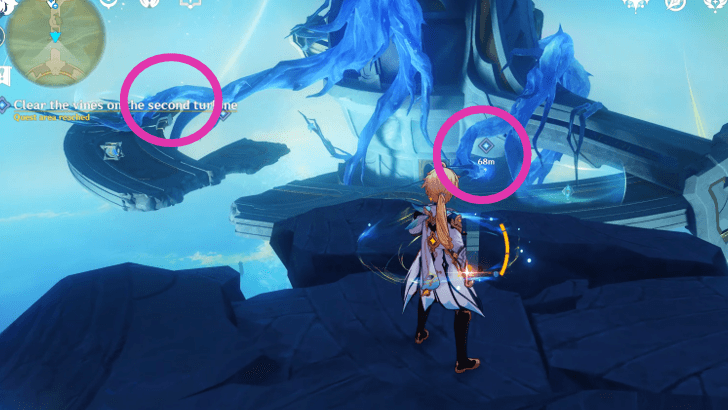
Glide over to the second turbine to clear the vines. There are two vine cores you'll need to wipe out on this level. Note that after clearing the vine, the turbine will start spinning immediately, so drop down to the lower level right away.
Take note that stepping outside of the dome barrier or occlusion field will cause your Exhaustion meter (located above your HP bar) to build up. If it fills completely, you will collapse, so make sure to stay inside the protected area.
If you need a refresher on how to clear the vines, follow these steps:
How to Remove the Vines
| How to Remove the Moonlit Vines | |
|---|---|
| 1 | After absorbing an energy, use your elemental skill to transform into a Kuuhenki. |
| 2 | Once transformed, hold down the Elemental Skill button to enter aim mode, then target and destroy the Moonlit Vine core. |
Clear the Vines on the Third Turbine
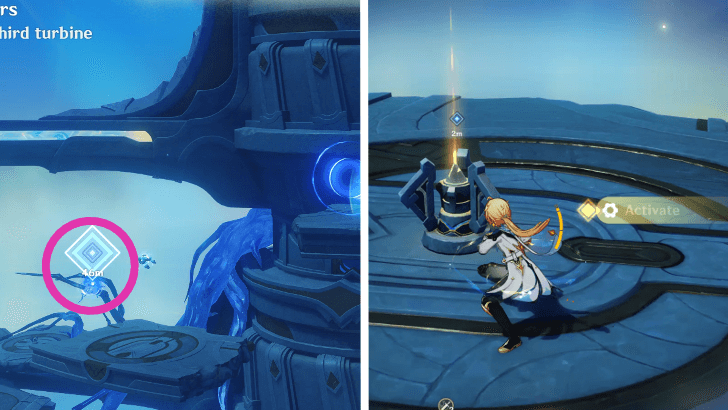
For the third turbine, you only need to destroy a single vine core. Once the core is cleared, head down immediately to the mechanism below and activate it to create an occlusion field.
Head for the Next Safe Occlusion Field
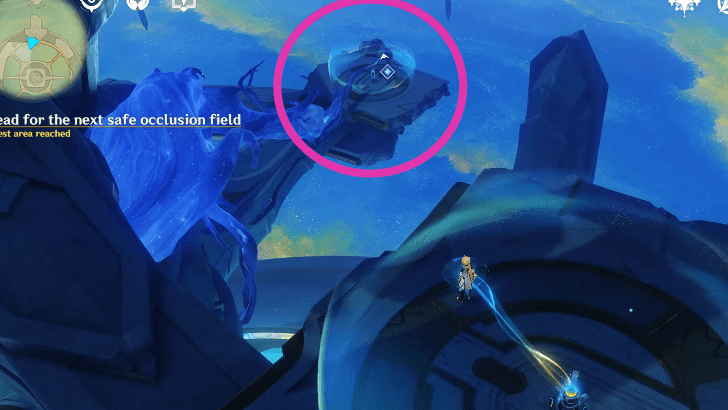
Once you activate the mechanism, the platform will start moving forward. During this part, you will need to leap to a lower platform, make sure to time your jump carefully to avoid falling.
Clear the Remaining Vines
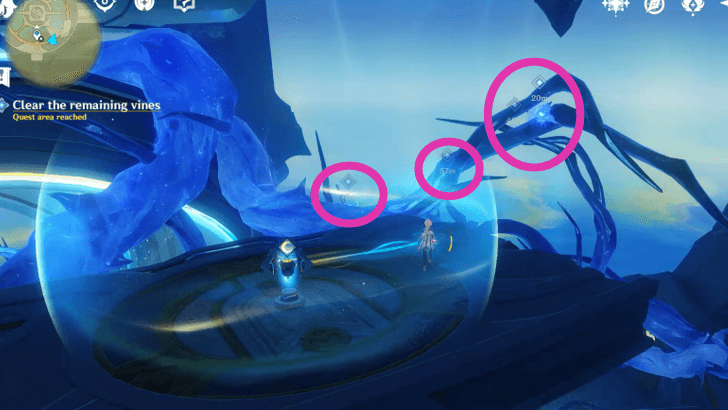
Once you reach the bottom, you will spot four more vines that need to be cleared. Simply repeat the previous steps to destroy all of them, then make your way to the lower terminal.
Protect Eggie While She Reads the Terminal
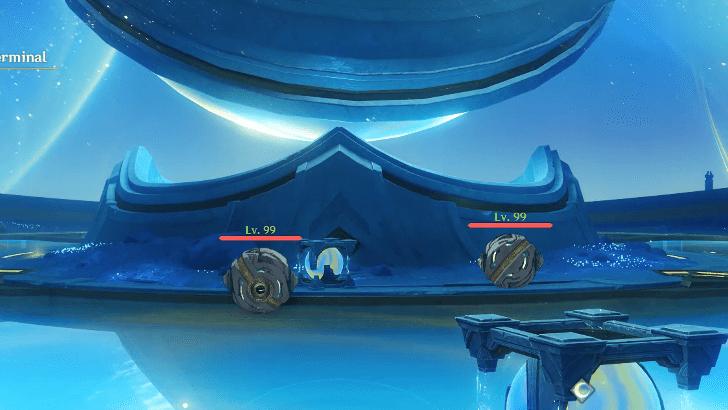
Defeat all the enemies that spawn to protect Eggie. You will need to clear two waves of enemies before Eggie finishes reading the terminal.
Return to the Surface
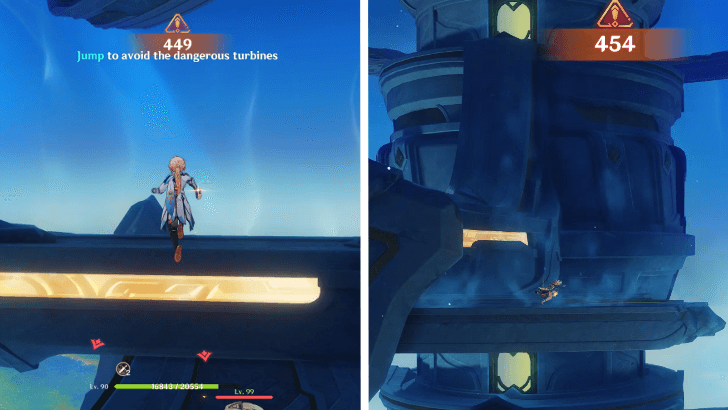
Once the conversation ends, you will need to evacuate the area quickly. First, take the lift across from the terminal to reach the upper level, then cross the bridge to the platform ahead where enemies are waiting.
During this section, it is best to ignore the enemies entirely. Instead, focus on the oncoming turbines and jump to dodge them as you continue moving forward.
You will eventually reach a blue bridge at the far end; cross it to trigger the final cutscene.
Ride the Skymount
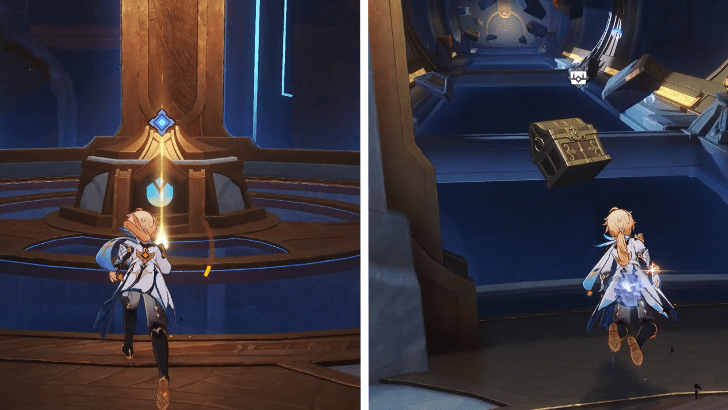
Once the cutscene ends, head up the stairs and step onto the large lift. Activate it to start a long elevator ride to the next area.
When you finally reach the top, head through the corridor and into the next room ahead to find Columbina.
Go to the Lunar Sea
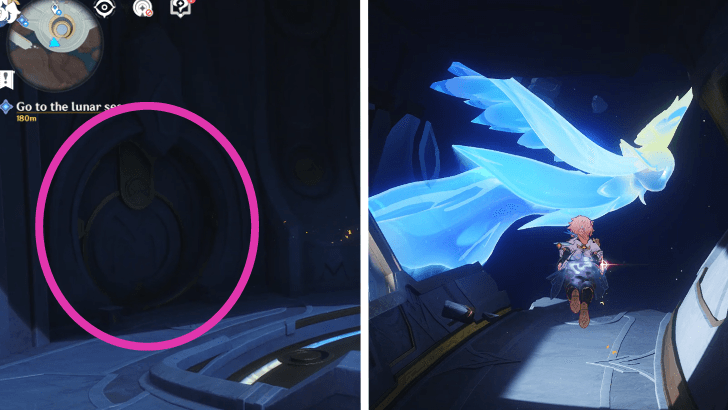
Once your conversation with Columbina ends, exit through the door on your left to reach the Lunar Sea. From there, approach Maggie to fly to the next area.
Check on Maggie’s Condition
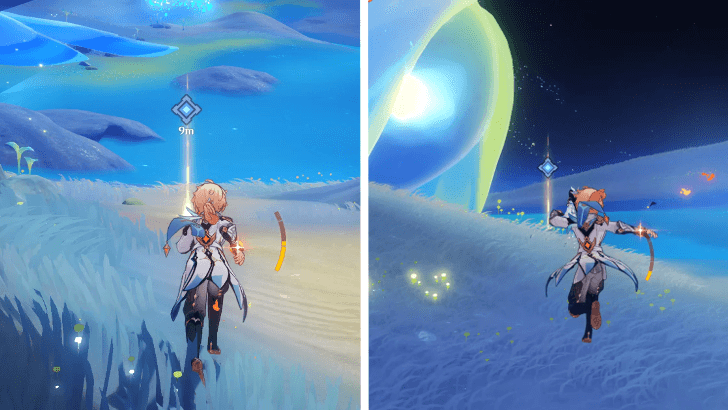
Mid-flight, Ungie will shoot everyone and Maggie out of the sky. As soon as you regain control of your character, follow the quest marker to locate Columbina and Maggie.
Try to avoid stepping into the sea while crossing; instead, jump across the stones, as touching the water will cause your Exhaustion meter to build up.
Follow the Floating School of Kuuhenki Forward
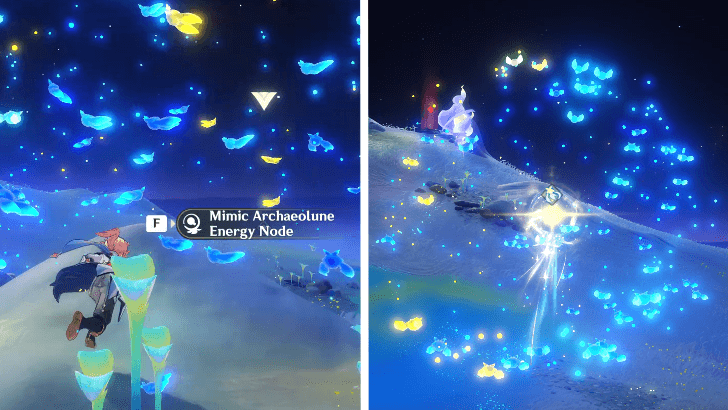
Leaving Maggie and Columbina behind, interact with the nearby Shoaling Kuuhenki. This will mimic an energy node, that you can use to get yourself across the water.
Keep advancing forward through the Lunar Sea, until you make it on the next island where trap Kuuhenki await.
Rescue the Trapped Shoaling Kuuhenki
Interact with the Shoaling Kuuhenki nearby and have them mimic a jelly fish. This will summon a Kuuhenki, whom you can interact with to absorb energy. Then use the energy bomb on the nearby wall to remove it.
After that, follow the newly freed Shoaling Kuuhenki and have them mimic a Jelly Fish again. Use this to safely cross the sea to the next island, where you will need to defeat an enemy waiting for you.
Interact With the Shoaling Kuuhenki
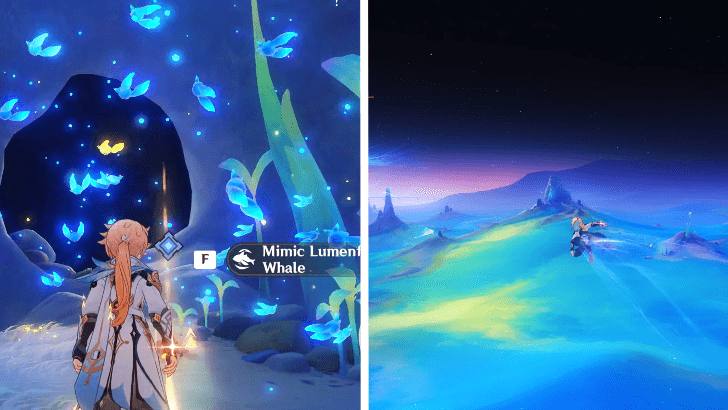
Interact with the Shoaling Kuuhenki once more to have them mimic Lumenfin Whales, then leap through the window to fly over to the next area.
Upon arrival, continue forward and have the Shoaling Kuuhenki mimic a Jellyfish and an energy node to reach the final area.
Extract the Ancient Moon’s Fount at the Heart of the Lunar Sea
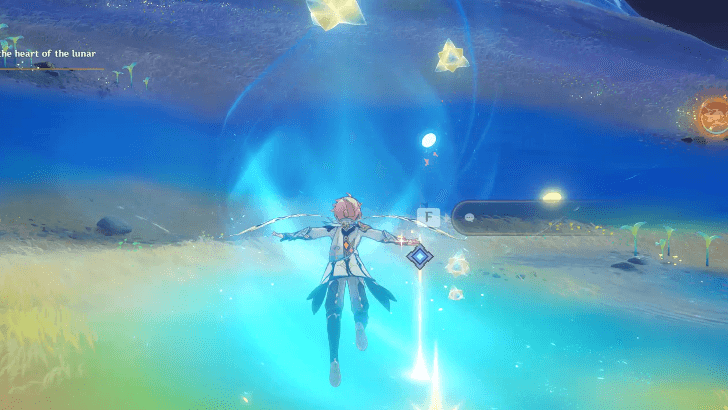
Approach the Ancient Moon’s Fount and extract it to trigger a long cutscene. Eventually, you will find yourself flying alongside Maggie and Ungie.
Repel Ungie
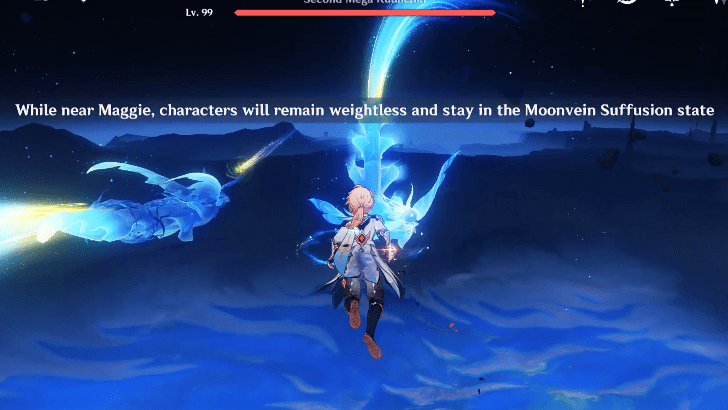
During this segment, you will need to assist Maggie in fending off Ungie. Your main objectives will be clearing explosives off Maggie's back and destroying the vines wrapped around Ungie.
How to Repel Ungie
| How to Repel Ungie | |
|---|---|
| 1 | 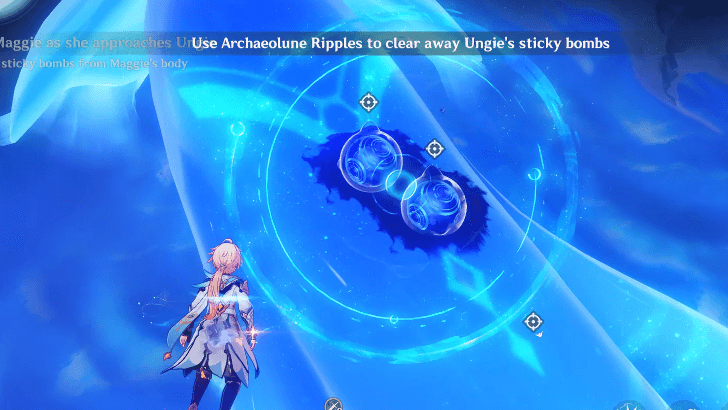 At the start of the fight, Ungie will throw explosives onto Maggie's back. Use your Archaeolune Ripple and detonate it close to the bombs to clear them away. You will need to repeat this a few times while waiting for an opening. |
| 2 | 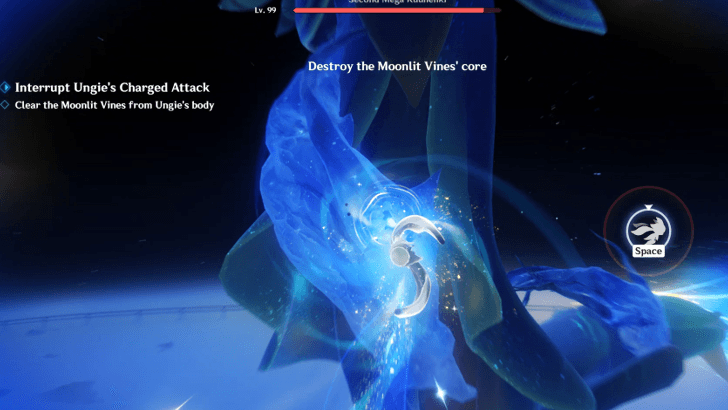 Once Ungie stops, use the energy nodes to close the distance. As soon as you get close enough, hit the Quick Time Event (QTE) prompt to remove the vine core. |
| 3 | 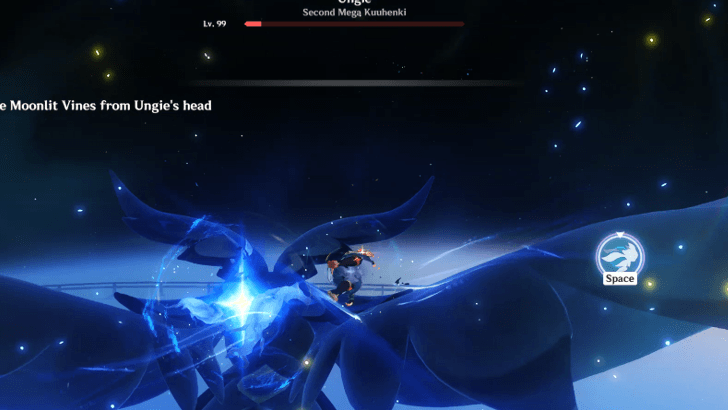 The rest of the battle simply cycles between clearing explosives off Maggie's back and destroying the vines. Make sure you don't miss any QTE prompts to keep the fight going smoothly. |
Once Ungie is defeated, let the lengthy dialogue scene play out to finally bring this quest to a close.
Visitors From the Stars Quest Information
Part of the Moon Gazing Quest Chain
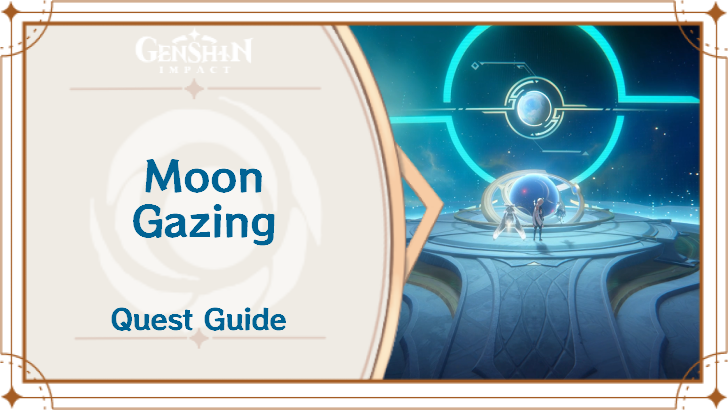
The Visitors From the Stars World Quest is the second subquest of the Moon Gazing Quest Chain in the Frost Moon.
Visitors From the Stars Rewards
Total Quest Rewards
| Total Quest Rewards |
 Primogem x80 |
 Mora x66,000 |
|---|---|---|
 Hero's Wit x4 |
||

Genshin Impact Related Guides
Other Moon Gazing Quest Guides
| Moon Gazing World Quest Guides | ||
|---|---|---|
| Moon Gazing | Pioneers | Visitors From the Stars |
| Project Moongazer | ||
Comment
 Anonymous 3 months
I'm stuck at "Repel Ungie, clear the vines from her head". Weird that nobody else is having this bug




Visitors From the Stars Quest Guide

Premium Articles

Rankings
- We could not find the message board you were looking for.
Gaming News



Popular Games

Genshin Impact Walkthrough & Guides Wiki
Fire Emblem: Fortune's Weave (FEFW) Walkthrough & Guides Wiki
Aniimo Walkthrough & Guides Wiki
Wuthering Waves Walkthrough & Guides Wiki
Dragon's Dogma 2 (DD2) Dark Arisen Walkthrough & Guides Wiki
Umamusume: Pretty Derby Walkthrough & Guides Wiki
Honkai: Star Rail Walkthrough & Guides Wiki
Zenless Zone Zero Walkthrough & Guides Wiki
Pokemon TCG Pocket (PTCGP) Strategies & Guides Wiki
AION 2 Walkthrough & Guides Wiki









Recommended Games
Where Winds Meet Walkthrough & Guides Wiki
Fire Emblem Heroes (FEH) Walkthrough & Guides Wiki
Diablo 4: Lord of Hatred Walkthrough & Guides Wiki
Super Smash Bros. Ultimate Walkthrough & Guides Wiki
Persona 3 Reload Walkthrough & Guides Wiki
The Legend of Zelda: Tears of the Kingdom Walkthrough & Guides Wiki
Elden Ring Walkthrough & Guides Wiki
Pokemon Brilliant Diamond and Shining Pearl (BDSP) Walkthrough & Guides Wiki
Cyberpunk 2077: Ultimate Edition Walkthrough & Guides Wiki
Monster Hunter World Walkthrough & Guides Wiki










All rights reserved
Copyright© 2012-2024 HoYoverse — COGNOSPHERE. All Rights Reserved.
The copyrights of videos of games used in our content and other intellectual property rights belong to the provider of the game.
The contents we provide on this site were created personally by members of the Game8 editorial department.
We refuse the right to reuse or repost content taken without our permission such as data or images to other sites.
if "Interact with the Shoaling Kuuhenki once more to have them mimic Lumenfin Whales" interact button is not appearing pls try verifying recources