
A Tower Unto Wisdom and Folly Quest Guide
Travelers, participate in Game8's Version 7.1 Survey!
◆ Hot: 7.2 Livestream & Codes, 7.1 Tier List
◆ Builds: Vesna, Vodyanitsa, Skirk, Escoffier
◆ 7.1: Snowball Fight, 2026 Anniversary
◆ Future: Version 7.2, Mitya, Valeriy
A Tower Unto Wisdom and Folly is the second part of the Of Myriad Paths Flux and Dissolution Quest in Genshin Impact 6.6 Luna VII. See how to unlock this quest, how to clear all the Chess Trial challenges, its walkthrough, and all the quest rewards in this guide!
List of Contents
How to Unlock A Tower Unto Wisdom and Folly
Complete the Darkness Looming Quest
A Tower Unto Wisdom and Folly unlocks automatically after completing Darkness Looming Archon Quest, which is the first part of the Of Myriad Paths Flux and Dissolution Archon Questline.
A Tower Unto Wisdom and Folly Walkthrough
Talk to Alhaitham and Kaveh
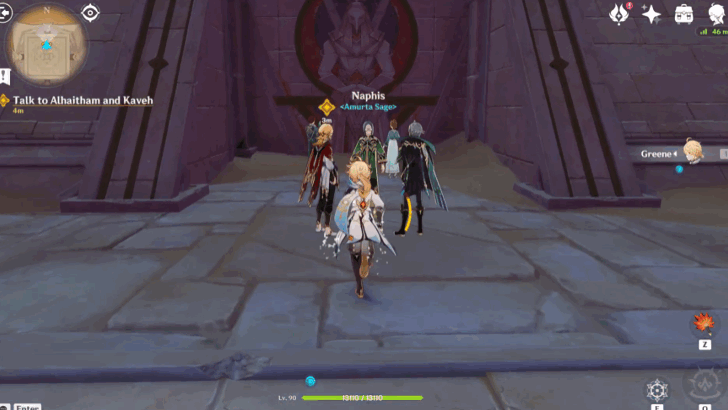
Go talk to Alhaitham and Kaveh over at the higher platforms inside the mausoleum. They can be seen talking to Naphis about the course of action that needs to be taken.
Collect the Materials Needed From Inside the Mausoleum
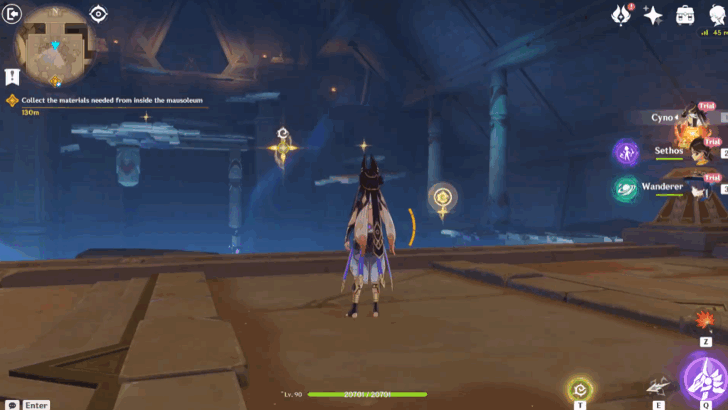
You will be immediately teleported to the next quest location after the cutscene with Alhaitham and Kaveh. You will have a team consisting of Cyno, Sethos, and Wanderer to collect materials from inside the mausoleum.
While collecting the materials you will enocunter waves of Primal Construct enemies, getting across gaps using four-leaf sigils, and a weaker version of the Algorithm of Semi-Intransient Matrix of Overseer Network.
Talk to Everyone
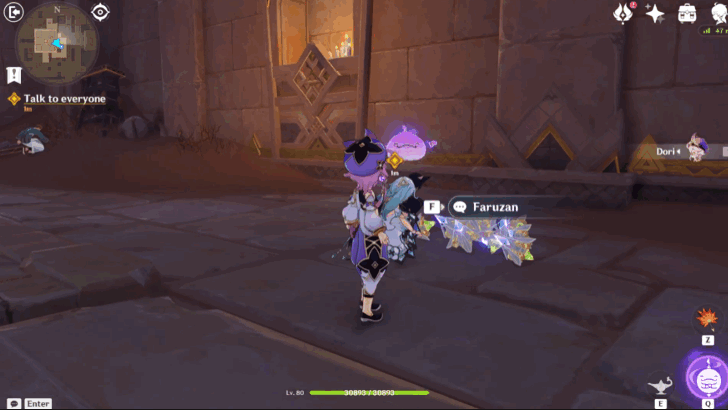
After collecting the materials with Cyno, Sethos, and Wanderer, you immediately switch to Dori. She tries to have a conversation with Faruzan and Tighnari about the items they are preparing.
Inventory the Materials and Start the Modification
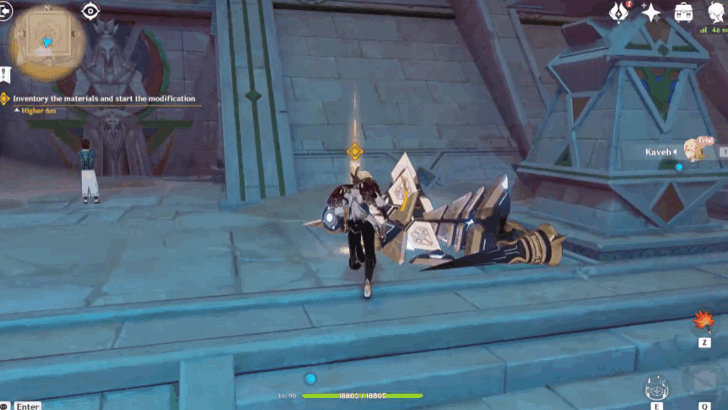
Kaveh starts to use the materials collected and starts the modification on the mausoleum. While working on the modifications, he gets help from Alhaitham, Thoth, Sobek, and Heryshaf.
Clear the First Stage of the Challenge
At this point, you will be teleported to a chess trial challenge to complete Kaveh's modifications. You need to guide both Alhaitham and Kaveh to the destination within the limited moves given per challenge.
You can switch to Kaveh and Alhaitham the same way you switch characters normally. This goes for how to move them as well. Note that Kaveh is the only one who can move rocks and obstacles. While Alhaitham can unlock the red tiles.
How to Clear the First Stage of the Challenge
| First Stage Challenge Walkthrough | |
|---|---|
| 1 | Use Kaveh to push the two rocks upward to unblock Alhaitham's way. Then, guide Kaveh to the objective by moving right three times, go down one time, and right two times. |
| 2 | Use Alhaitham to go five tiles to the right and go up one time. Unlock the red tile first with the book on the upper side, then go back down to the objective tile. |
Clear the Second Stage of the Challenge
For the second stage of the chess trial challenge, the same rules will apply where you need to guide Kaveh and Alhaitham to the objective.
How to Clear the Second Stage of the Challenge
| Second Stage Challenge Walkthrough | |
|---|---|
| 1 | Use Kaveh to go two tiles to the right, two tiles upward, then push the rock to the right. Afterward, return Kaveh his starting point. |
| 2 | Switch to Alhaitham to access the books on the upper right and lower left of the board. It will unlock all the red tiles on the board so you can move both characters more freely. |
| 3 | Switch to Kaveh to go two tiles to the right, two tiles upward while pushing the rock upward, then two tiles to the right to push the rock to the right. Return one tile to the left, and head one tile upwards to push the rock to the left two times. The **return downward to make one line that is going up to the objective tile. |
| 4 | Switch to Alhaitham and go to the objective by going up one time, two tiles to the left, and two tiles upward. |
Clear the Third Stage of the Challenge
At the third and final stage of the chess trial challenge, you need to guide Kaveh and Alhaitham to the objective one last time.
How to Clear the Third Stage of the Challenge
| Third Stage Challenge Walkthrough | |
|---|---|
| 1 | Use Kaevh to push the rock on the upper right of the board upward. Then, return to Kaveh's starting point. |
| 2 | Use Kaveh to push the rock on the lower left of the board to the right three times. Then, go one tile up and right, and push the rock down one time. Afterward, return to Kaveh's starting point. |
| 3 | Switch to Alhaitham to interact with the books on the upper left and lower right of the board. Then, return Alhaitham to his starting point. |
| 4 | Use Alhaitham to unlock the last book on the upper left by going four tiles to the right and three tiles upward. Once that's done, return three tiles down, and go right to the objective tile. |
| 5 | Switch to Kaveh and go right while pushing the rock three times. Then, go down and right one time to push the rock upward. Lastly, return to the third tile, and go right up until to the objective tile. |
Talk to Nahida
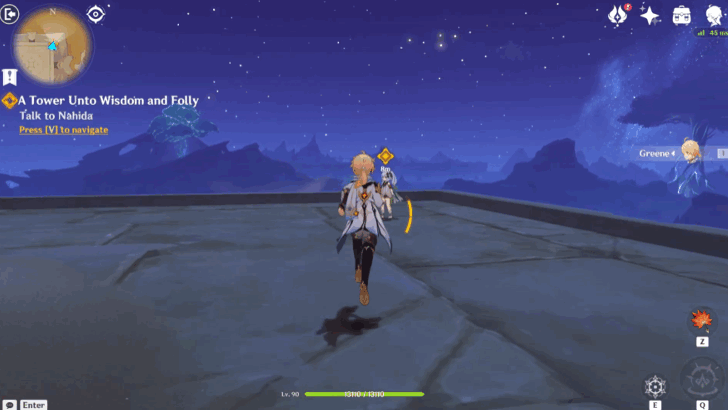
After clearing the challenge, the scene will change into the Traveler and Nahida talking about the next step of their plan. Nahida then says that she needs the help of the Pyro Archon Mavuika and her Pyro Gnosis.
Head to the Border
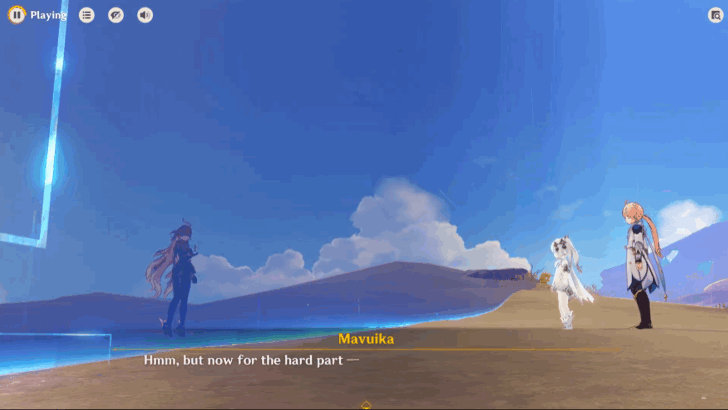
You and Nahida then go to the border of Sumeru and Mavuika to collect the Pyro Archon's Gnosis. Mavuika gladly gives it to you, as she is very willing to help out.
Take A Walk Around and See What Everyone's Talking About
| Floor | People You Can Talk To |
|---|---|
| Upper Level | • Alhaitham and Kaveh |
| Middle Level | • Cyno, Tighnari, Collei, and Faruzan |
| Lower Level | • Nefer and Nicole |
| Entrance | • Haypasia and Wanderer • Dehya, Candace, Dori, and Dunyarzadd |
After getting the Pyro Gnosis, you and Nahida return to the mausoleum to regroup with the others. During this time you can visit each character to get their dialogues. But you can skip this by choosing the Rest for the Night option.
You can switch floors by interacting with the white spiral floating in the air. It can be tracked along with the quest objective.
A Tower Unto Wisdom and Folly Rewards
Total Quest Rewards
| Total Quest Rewards |
 Hero's Wit x5 |
 Mora x66, 150 |
|---|---|---|

A Tower Unto Wisdom and Folly Information
Part of the Of Myriad Paths Flux and Dissolution

The A Tower Unto Wisdom and Folly is the second subquest of the Of Myriad Paths Flux and Dissolution, Song of the Welking Moon Act 10 Archon Quest.
Note that the Of Myriad Paths Flux and Dissolution changes name into the Truth Amongst the Pages of Purana after completing the first subquest, Darkness Looming.
Of Myriad Paths Flux and Dissolution Archon Quest Guide
How Long Does A Tower Unto Wisdom and Folly Take to Finish
| Pace | How Long to Finish this Quest |
|---|---|
| Speedrun | 40 ~ 50 mins |
| Normal Pace | 1 hr ~ 1 hr 10 mins |
The A Tower Unto Wisdom and Folly Quest takes about 40 to 50 minutes to complete when speedrunning it, while it takes 1 hour to 1 hour 10 minutes if you want to read every dialgoue in detail.
Genshin Impact Related Guides
Other Of Myriad Paths Flux and Dissolution Quest Guides
| Of Myriad Paths Flux and Dissolution Quest Guides | ||
|---|---|---|
| Darkness Looming | A Tower Unto Wisdom and Folly | Truth Amongst the Pages of Purana |
| Your Past Is Like a Garden | ||
Comment
 Anonymous 5 months
Might be best to have someone write these guides who knows their right from their left.




A Tower Unto Wisdom and Folly Quest Guide

Premium Articles

Rankings
- We could not find the message board you were looking for.
Gaming News





Popular Games

Genshin Impact Walkthrough & Guides Wiki
Fire Emblem: Fortune's Weave (FEFW) Walkthrough & Guides Wiki
Aniimo Walkthrough & Guides Wiki
Wuthering Waves Walkthrough & Guides Wiki
Dragon's Dogma 2 (DD2) Dark Arisen Walkthrough & Guides Wiki
Umamusume: Pretty Derby Walkthrough & Guides Wiki
Honkai: Star Rail Walkthrough & Guides Wiki
Zenless Zone Zero Walkthrough & Guides Wiki
Pokemon TCG Pocket (PTCGP) Strategies & Guides Wiki
AION 2 Walkthrough & Guides Wiki









Recommended Games
Where Winds Meet Walkthrough & Guides Wiki
Fire Emblem Heroes (FEH) Walkthrough & Guides Wiki
Diablo 4: Lord of Hatred Walkthrough & Guides Wiki
Super Smash Bros. Ultimate Walkthrough & Guides Wiki
Persona 3 Reload Walkthrough & Guides Wiki
The Legend of Zelda: Tears of the Kingdom Walkthrough & Guides Wiki
Elden Ring Walkthrough & Guides Wiki
Pokemon Brilliant Diamond and Shining Pearl (BDSP) Walkthrough & Guides Wiki
Cyberpunk 2077: Ultimate Edition Walkthrough & Guides Wiki
Monster Hunter World Walkthrough & Guides Wiki










All rights reserved
Copyright© 2012-2024 HoYoverse — COGNOSPHERE. All Rights Reserved.
The copyrights of videos of games used in our content and other intellectual property rights belong to the provider of the game.
The contents we provide on this site were created personally by members of the Game8 editorial department.
We refuse the right to reuse or repost content taken without our permission such as data or images to other sites.
Thanks for the guides.