
No Flanking Allowed Stage Guide
Travelers, participate in Game8's Version 7.1 Survey!
◆ Hot: 7.2 Livestream & Codes, 7.1 Tier List
◆ Builds: Vesna, Vodyanitsa, Skirk, Escoffier
◆ 7.1: Snowball Fight, 2026 Anniversary
◆ Future: Version 7.2, Mitya, Valeriy
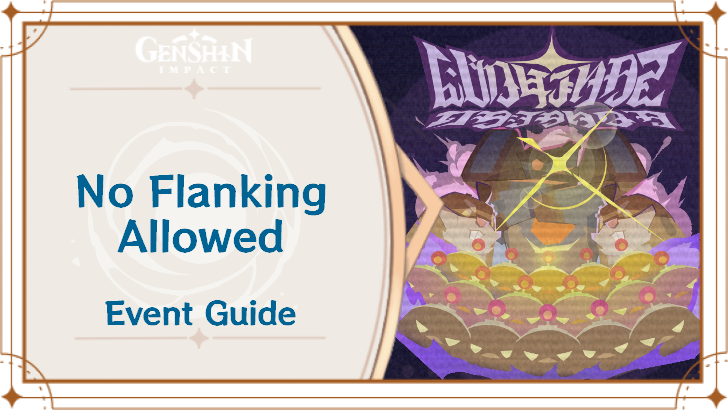
No Flanking Allowed is the second stage of Thwack 'n Smack Defense Bots event in Genshin Impact. See how to beat stage 2, the enemies for the stage, and the rewards in this guide!
| Thwack 'n Smack Defense Bots Guides | ||||
|---|---|---|---|---|
 Stage 1 |
 Stage 2 |
 Stage 3 |
 Stage 4 |
 Stage 5 |
List of Contents
How to Beat No Flanking Allowed
No Flanking Allowed Strategy and Setup
| Wave | Recommended Strategy |
|---|---|
| 1 | Preparation: Deploy a Mole Chef on the Left Lane and immediately upgrade to Field Support Cannoneer Mole. You can also start dropping a Mole Chef in the middle lane in preparation for the coming waves. During: Upgrade the Middle Lane Mole Chef into a Field Support Cannoneer Mole Deployed Mechanisms: 1.
 Field Support Cannoneer Mole (Left Lane) 2.
Field Support Cannoneer Mole (Middle Lane) |
| 2 | Preparation: Similar to the last preparation, start deploying Mole Chef and upgrade them to Field Support Cannoneer Moles. We recommend starting from the middle lane and then moving to the left lane. During: You can also start prepping for the next wave by deploying a Mole Chef on the Right Lane Deployed Mechanisms: 1.
Field Support Cannoneer Mole (Left Lane)2.
Field Support Cannoneer Mole (Middle Lane)3.
Field Support Cannoneer Mole (Left Lane)4.
Field Support Cannoneer Mole (Middle Lane)5.
 Mole Chef (Right Lane) |
| 3 | Preparation: Setup two Field Support Cannoneer Mole on the Right Lane. Deployed Mechanisms: 1.
Field Support Cannoneer Mole (Left Lane)2.
Field Support Cannoneer Mole (Middle Lane)3.
Field Support Cannoneer Mole (Left Lane)4.
Field Support Cannoneer Mole (Middle Lane)5.
Field Support Cannoneer Mole (Right Lane)6.
Field Support Cannoneer Mole (Right Lane) |
| 4 | Preparation: The same setup should be sufficient, but you can deploy a Mole Chef in the Middle Lane in preparation for the final wave. Use your Bombing Technique when the Ruin Hunter appears to aid your Mechanisms. Deployed Mechanisms: 1.
Field Support Cannoneer Mole (Left Lane)2.
Field Support Cannoneer Mole (Middle Lane)3.
Field Support Cannoneer Mole (Left Lane)4.
Field Support Cannoneer Mole (Middle Lane)5.
Field Support Cannoneer Mole (Right Lane)6.
Field Support Cannoneer Mole (Right Lane)7.
Mole Chef (Middle Lane) |
| 5 | During: Deploy Double Trouble Squeaky Ducky when Ruin Hunters start to appear. Pay close attention to the Middle Lane, as it will spawn more Ruin Hunters compared to the side lanes. You can deploy another Double Trouble Squeaky Ducky on the far end as a precaution in case one passes through. Deployed Mechanisms: 1.
Field Support Cannoneer Mole (Left Lane)2.
Field Support Cannoneer Mole (Middle Lane)3.
Field Support Cannoneer Mole (Left Lane)4.
Field Support Cannoneer Mole (Middle Lane)5.
Field Support Cannoneer Mole (Right Lane)6.
Field Support Cannoneer Mole (Right Lane)7.
 Double Trouble Squeaky Ducky (Left Lane) 8.
Double Trouble Squeaky Ducky (Middle Lane)9.
Double Trouble Squeaky Ducky (Right Lane)10.
Double Trouble Squeaky Ducky (Middle Lane) |
No Flanking Allowed Details
No Flanking Allowed Enemies
| Enemies | ||
|---|---|---|
 Ruin Hunter |
 Electro Specter |
 Hilichurl Fighter |
 Rock Shieldwall Mitachurl |
 Floating Dendro Fungus |
|
No Flanking Allowed Stage Rewards
Stage 2 Objectives and Rewards
| Objectives | Rewards |
|---|---|
| Complete the defense challenge |  Primogem
x30  Joint Exhibition Popularity x50  Hero's Wit
x2 |
| Complete the challenge with no more than 15 enemies breaching the stronghold | Primogem
x20Joint Exhibition Popularity x40 |
| Complete the challenge with no more than 5 enemies breaching the stronghold |
Joint Exhibition Popularity x30 Mora
x30,000 |
 Guide to Elysium
 Mystic Enhancement Ore
Genshin Impact Related Guides

Where Waves Meet the Reef Event Guide
Where Waves Meet the Reef Event Guides
| Where Waves Meet the Reef Event Guides | |
|---|---|
 Fire Support Assault |
 Thwack 'n Smack Defense Bots |
 Pneumousia Barrage Countermeasure |
 Tales of Many |
Thwack 'n Smack Defense Bots Event Guides
| Thwack 'n Smack Defense Bots Guides | ||||
|---|---|---|---|---|
| Stage 1 |
Stage 2 |
Stage 3 |
Stage 4 |
Stage 5 |
Fire Support Assault Event Guides
| Fire Support Assault Bots Guides | ||||
|---|---|---|---|---|
 Stage 1 |
Stage 2 |
Stage 3 |
Stage 4 |
Stage 5 |
Where Waves Meet the Reef Other Guides
| Where Waves Meet the Reef Other Guides | |
|---|---|
 Free Jahoda |
- |
Other Events and Schedule

Comment




No Flanking Allowed Stage Guide

Premium Articles
Rankings
Gaming News




Popular Games

Genshin Impact Walkthrough & Guides Wiki
Fire Emblem: Fortune's Weave (FEFW) Walkthrough & Guides Wiki
Aniimo Walkthrough & Guides Wiki
Wuthering Waves Walkthrough & Guides Wiki
Dragon's Dogma 2 (DD2) Dark Arisen Walkthrough & Guides Wiki
Umamusume: Pretty Derby Walkthrough & Guides Wiki
Honkai: Star Rail Walkthrough & Guides Wiki
Zenless Zone Zero Walkthrough & Guides Wiki
Pokemon TCG Pocket (PTCGP) Strategies & Guides Wiki
AION 2 Walkthrough & Guides Wiki









Recommended Games
Where Winds Meet Walkthrough & Guides Wiki
Fire Emblem Heroes (FEH) Walkthrough & Guides Wiki
Diablo 4: Lord of Hatred Walkthrough & Guides Wiki
Super Smash Bros. Ultimate Walkthrough & Guides Wiki
Persona 3 Reload Walkthrough & Guides Wiki
The Legend of Zelda: Tears of the Kingdom Walkthrough & Guides Wiki
Elden Ring Walkthrough & Guides Wiki
Pokemon Brilliant Diamond and Shining Pearl (BDSP) Walkthrough & Guides Wiki
Cyberpunk 2077: Ultimate Edition Walkthrough & Guides Wiki
Monster Hunter World Walkthrough & Guides Wiki










All rights reserved
Copyright© 2012-2024 HoYoverse — COGNOSPHERE. All Rights Reserved.
The copyrights of videos of games used in our content and other intellectual property rights belong to the provider of the game.
The contents we provide on this site were created personally by members of the Game8 editorial department.
We refuse the right to reuse or repost content taken without our permission such as data or images to other sites.