
100% Walkthrough Guide
★ FF Resonance is Out Now!
☆ Best Visions for Each Character
★ Tier List | Early Game Builds | Best Skills
☆ All Dialogue Choices and Answers
★ Find all Chests, Tablet Shards, and Magicites
☆ Farming Guides for EXP and MRP
This is a 100% walkthrough guide to complete the main story of Final Fantasy Resonance (FF Resonance). See a step-by-step guide to beat the main quest of the game here.
| Quest Guides | |
|---|---|
| Main Quest | Side Quests |
List of Contents
 Attention, kupo! |
This page is still being updated! |
|---|
 under the page's title to be notified of any updates!
Main Story Walkthrough Guide
| 1 | Trailing the Truths |
|---|---|
| 2 | Eternal Blue |
| 3 | Wardens of the Aquapolis |
| 4 | Banner Oath |
Ch. 1: Tailing the Truths Walkthrough
| Jump to a Chapter | ||
|---|---|---|
| 1 | 2 | 3 |
 Once you start the game, you will need to go through a quick prologue that acts as a simple tutorial for the game's basic combat mechanics. If you wish to rush through this quickly, just spam Thundaga and summon Bahamut when you're prompted to.
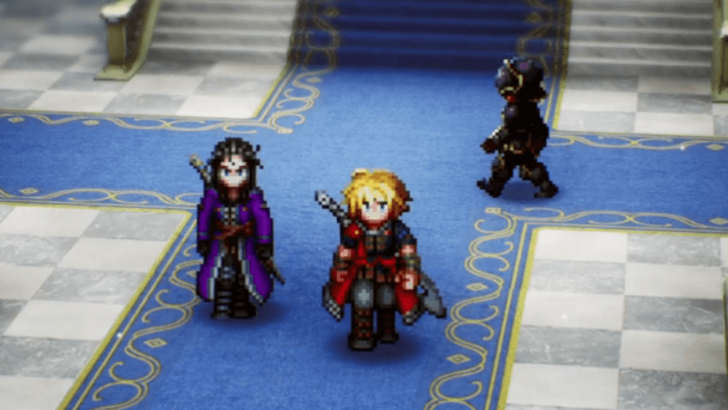 After finishing the prologue, you will gain control of 2 of the main characters, Rain and Laswell. Right now, there's nothing much to do in the castle, so head outside to go to the first dungeon of the game.
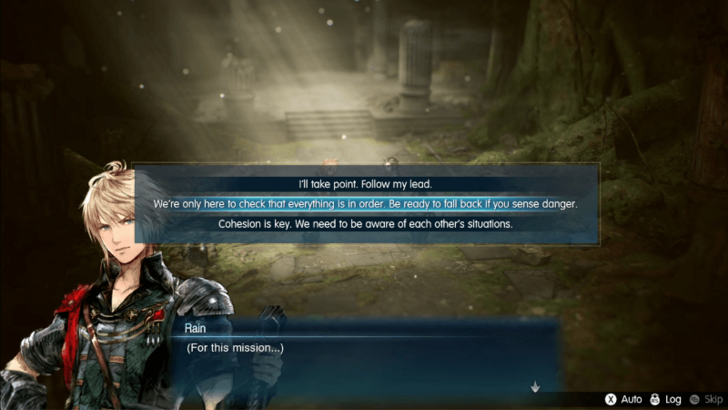
Make sure not to mash through every cutscene since some of them will have important choices like this, and you don't want to give characters an unoptimal stat boost. All Dialogue Choices and Answers
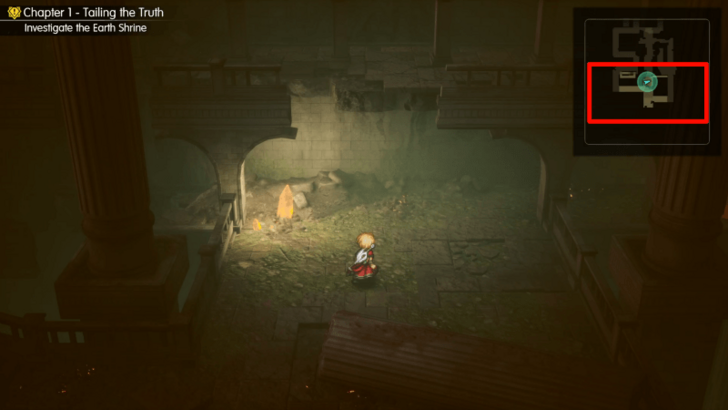
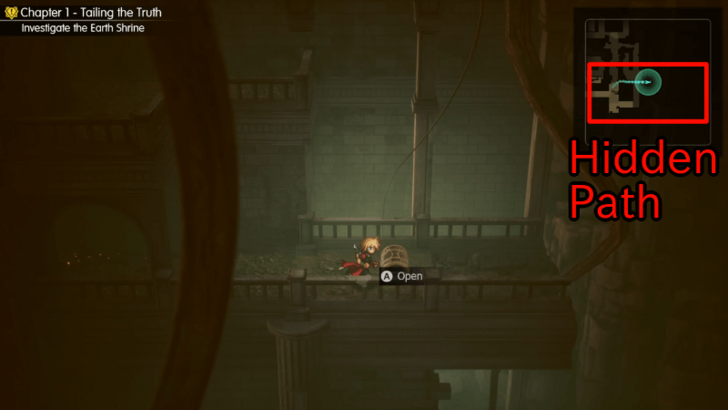
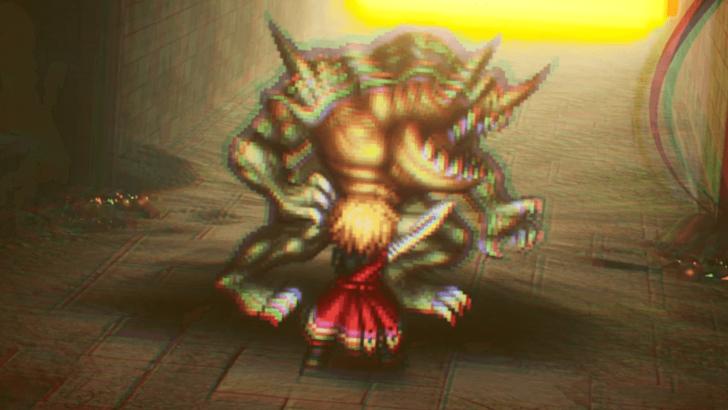
After you're done exploring, head towards the back of the dungeon to face the Belmodar. This boss is susceptible to Fire, so have Rain exploit its weakness while Laswell uses his highest staggering move to take them down. How to Beat Belmodar
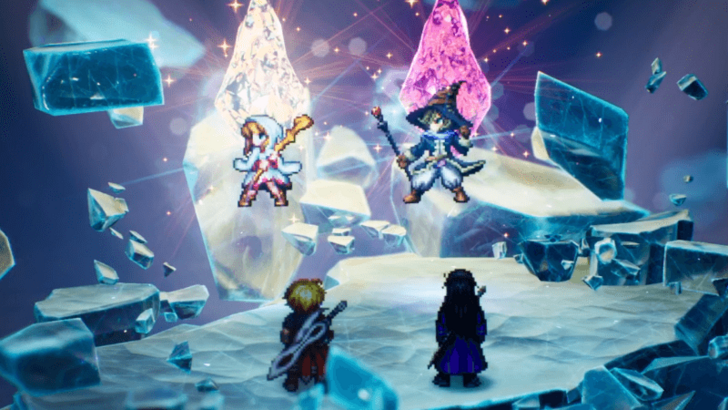 Once all the cutscenes are over, leave the dungeon and head towards Mitra. Again, make sure you fully explore any new overworld areas you go to since there are items and secret paths scattered around the world.
For this section, however, you'll want to head straight to Mitra first since you get your first two Visions there. You'll want to equip Leah on Rain and Tronn on Lasswell as soon as possible so you can start levelling them up. Interactive Map
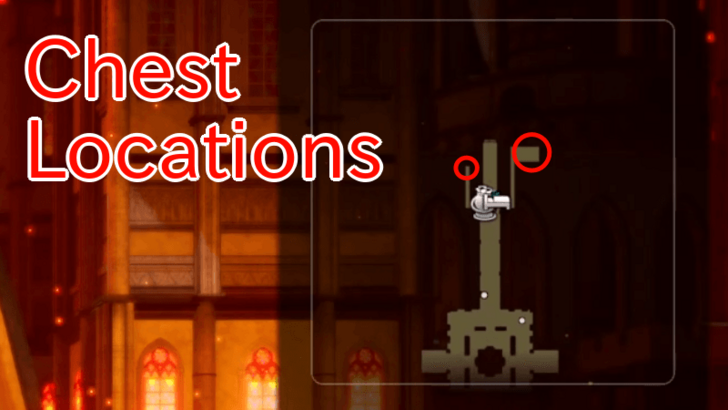
If you're low on funds, there are two chests to the sides of the entrance. The left one has 400 Gil, while the right one has 3 Phoenix Downs you can sell. However, it's recommended to hold on to the Phoenix Downs since they'll be useful in the upcoming dungeon.
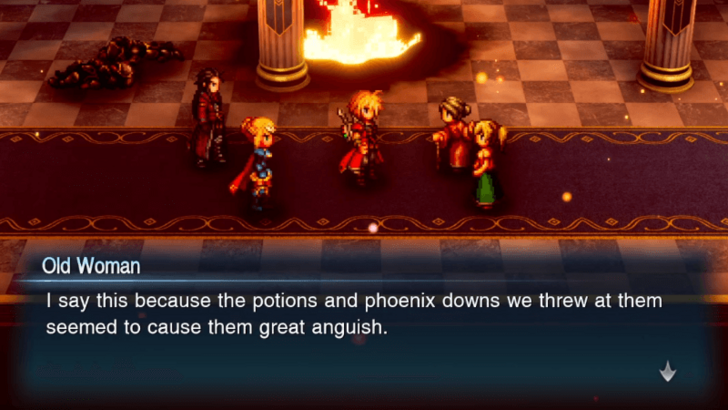 Once you're ready, head inside the castle and go through the dungeon to reach the king. The enemies in this area are undead, meaning that they will be susceptible to healing and Light attacks. If you want to quickly get through the random encounters, you can spam healing items, like Phoenix Downs, to quickly kill enemies.
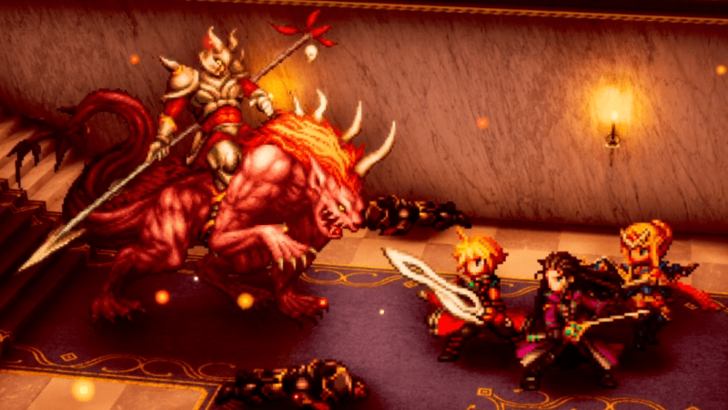 Towards the end of the dungeon, you will need to face the Hell's Rider, who's accompanied by 3 Dark Skeletons. Focus on killing the skeletons first, so you only have to worry about the main boss during the fight.
Hell's Rider is weak to Light and Ice attacks, which both Rain and Lasswell should have access to. Have Lasswell spam Dawn Frost to build stagger, while Rain can either spam regular Attacks to conserve MP, or use Leah's Banish for max damage. How to Beat Hell's Rider
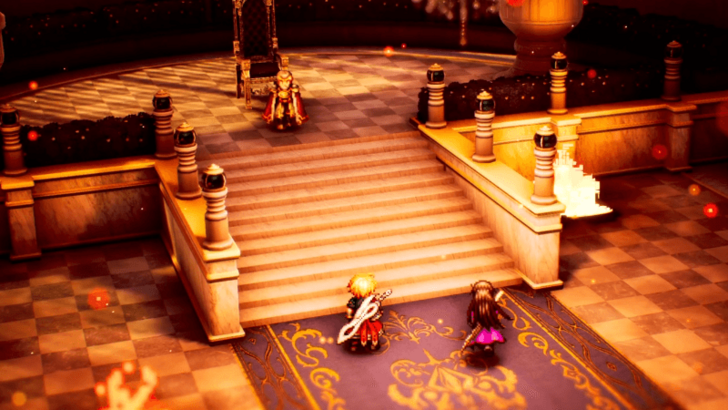 After the boss goes down, continue through the dungeon until you reach the end and rescue the King. Just make sure to fully explore the castle first since you can't return here for a while.
Once you've rescued the king, you'll have to face Umbra, the knight you met at the Earth Shrine. Don't waste any of your resources here since he cannot be defeated, and this fight is meant to be a scripted loss.
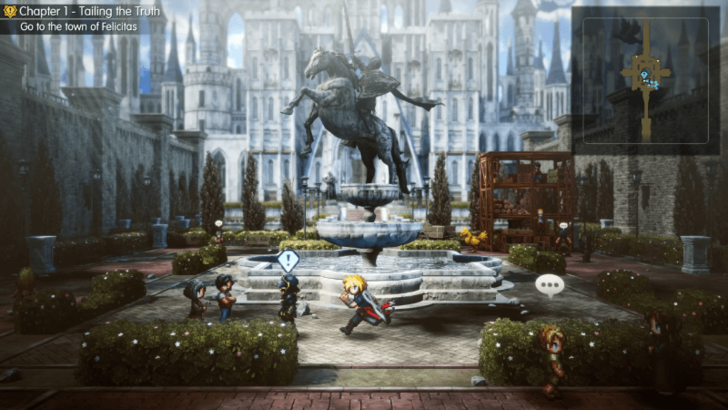
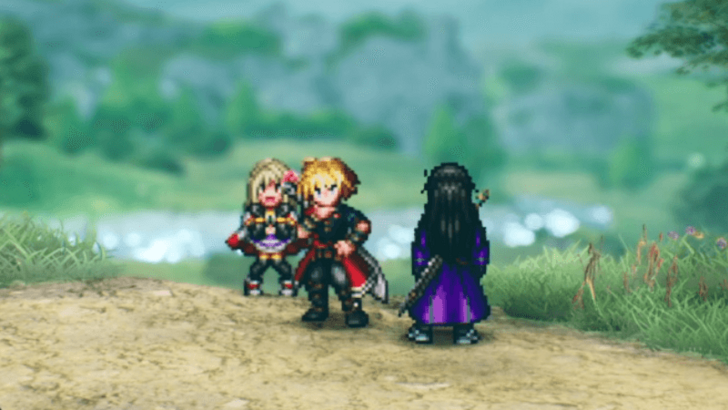
When you leave the city, Fina will join you as a new party member. If you wish, you can equip Leah on her instead of Rain since she's meant to be the party's dedicated healer. Also, make sure to look out for exclamation marks so you can accept Sub Quests that give extra rewards when completed. How to Beat the Antlion
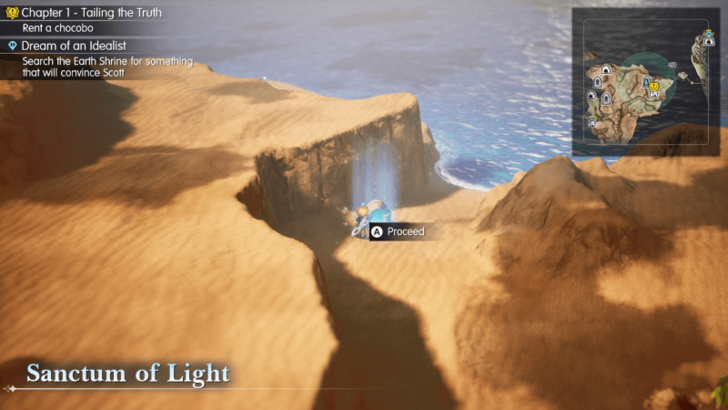
For now, you'll be able to get the Warrior of Light near Kol, followed by Cloud, and Terra once you get access to Chocobos. WoL is best used on Rain, Cloud should be on Lasswell, while Terra goes on Fina, once she's mastered Leah's skills. List of All 26 Visions
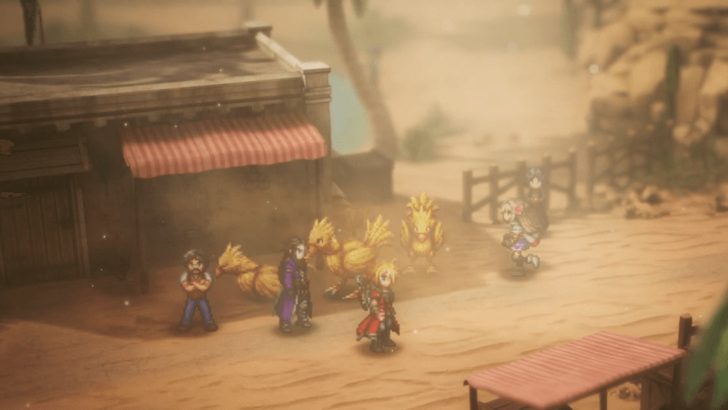 Once you're done exploring, you can head to the Village of Kol and sleep at the inn. After sleeping, you'll now be able to get Chocobos to pass the sinkhole and avoid fighting the Antlion. This allows you to continue exploring the region for items and Visions, as well as visiting locations to unlock them as fast travel options.
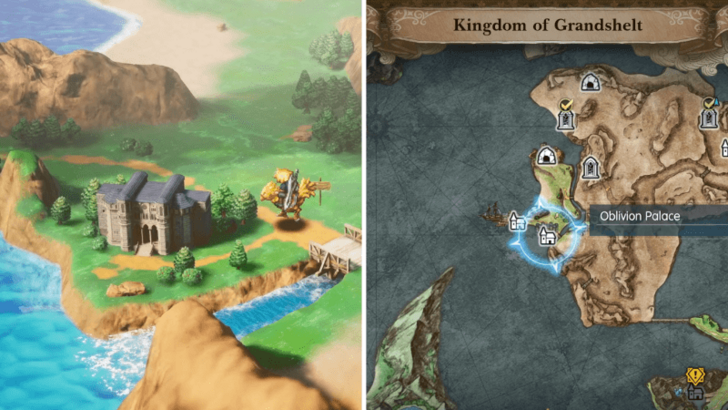
Make sure to visit this area every now and then to give the Enigmatic Princess your Tablet Shards. If you forget about the rewards at this location, you might obtain the item rewards way too late for them to be useful. All Tablet Shard Locations
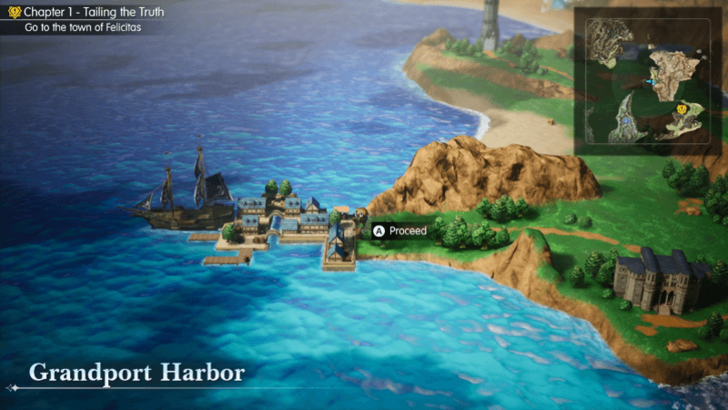
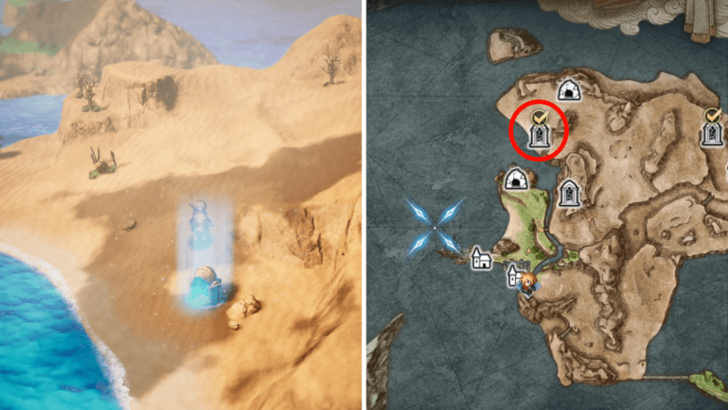
Also, before you continue southwards, make sure to head north of the harbor to visit the Sanctum of Light to get Cloud's Vision.
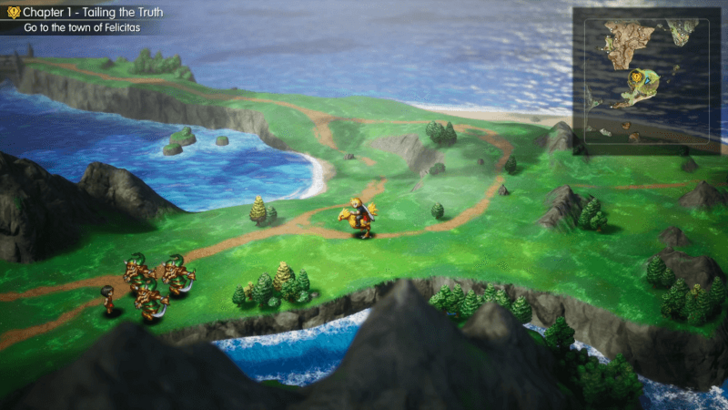
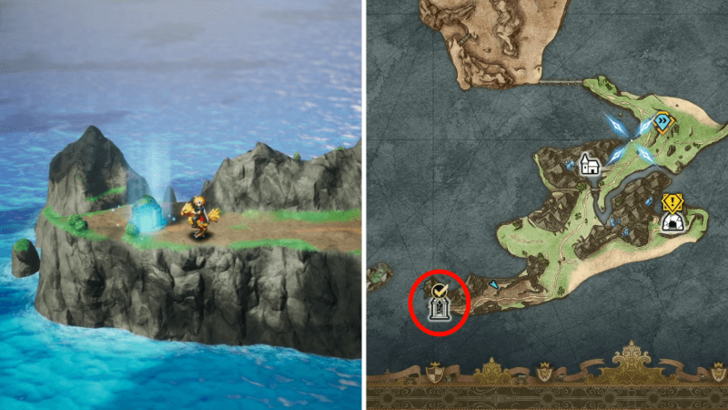
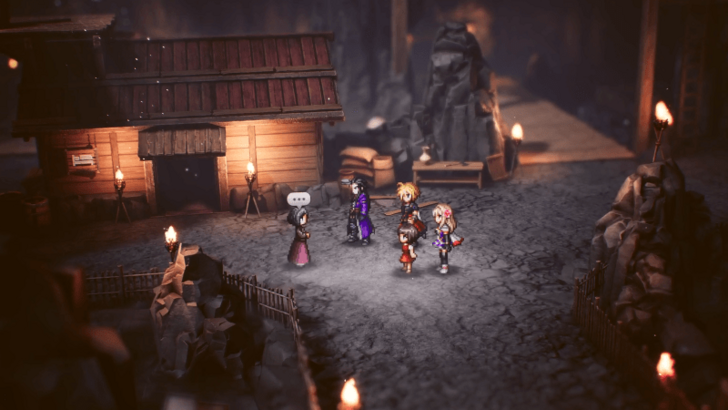
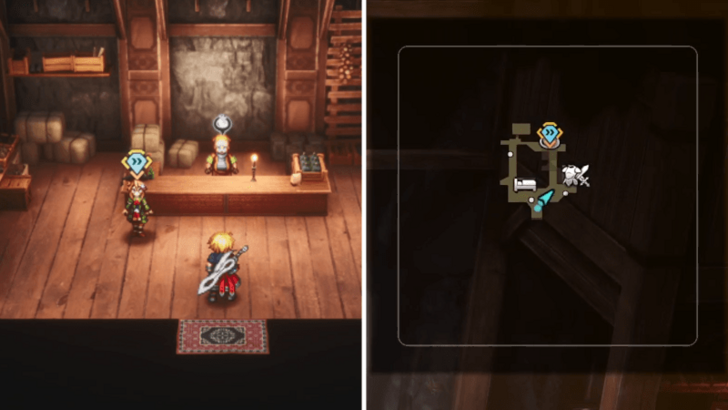
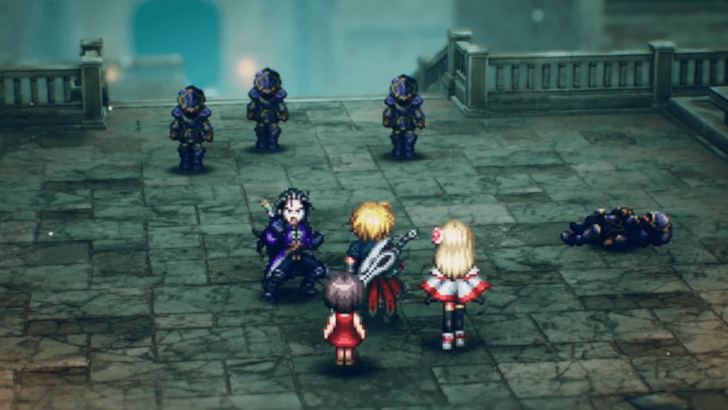 After you're done with the Secrets Unearthed side quest, you can continue to Kolobos Ruins. This is a relatively simple dungeon with a few hidden paths, but the boss at the end can be annoying if you don't manage your resources properly.
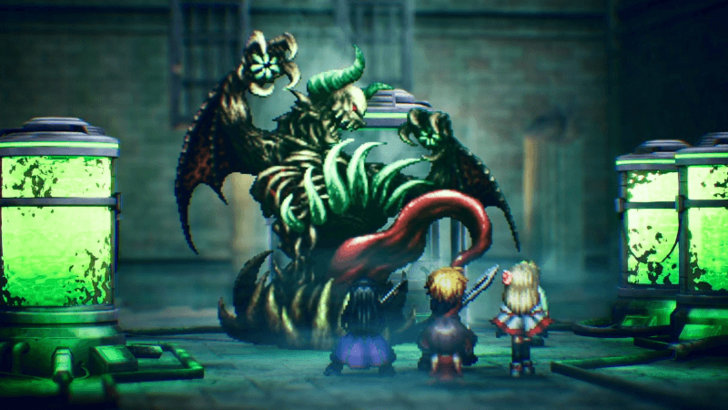 When you're ready, head to the end of the dungeon to face this area's boss, The Hunger. The fight itself isn't hard, but there are two phases where the first is weak to Ice, while the second is accompanied by 2 soldiers and is weak to Light.
Just make sure not to use all of your resources in the first phase, and focus on defeating the soldiers first during the second one. How to Beat The Hunger
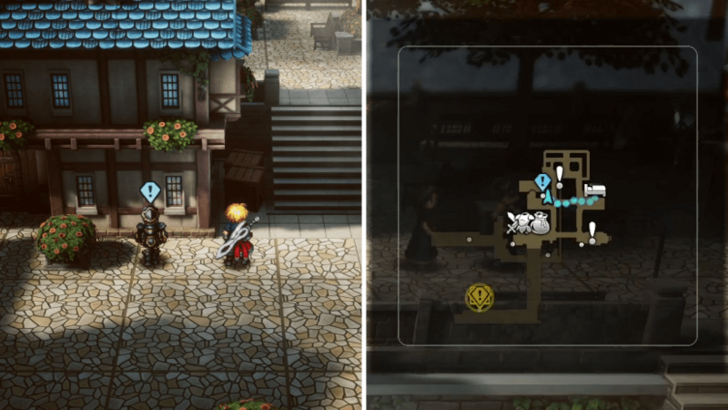
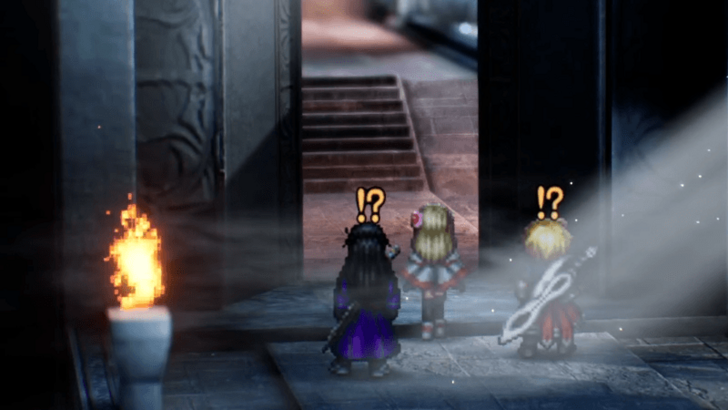
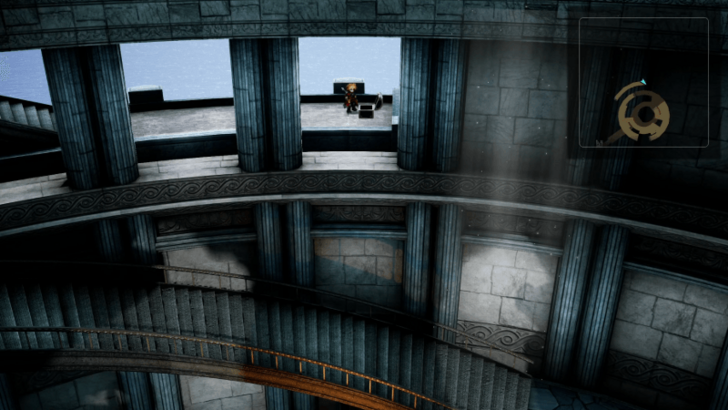
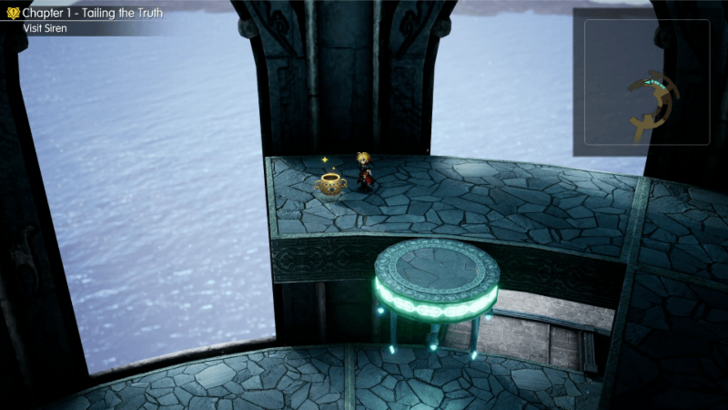
On the way up, make sure you at least grab the Monk's Prayer Beads and fight the Citrine Pot to give it an Ether in exchange for an Elixir and a ton of MRP.
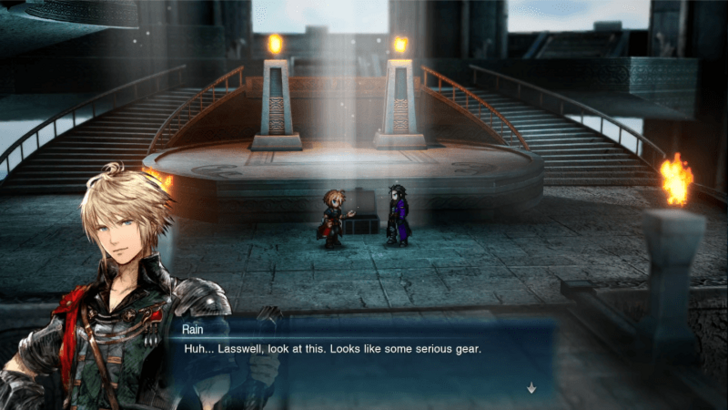 Around halfway through the tower, you'll encounter a chest that contains a pair of Genji Gloves. However, it will be stolen by Gilgamesh , and you can't get it back since they'll still keep it even when defeated .
Before continuing up the tower, make sure to equip Rain and Fina with the Monk's Prayer Beads so they won't get affected by Charm from the upcoming boss' attacks.
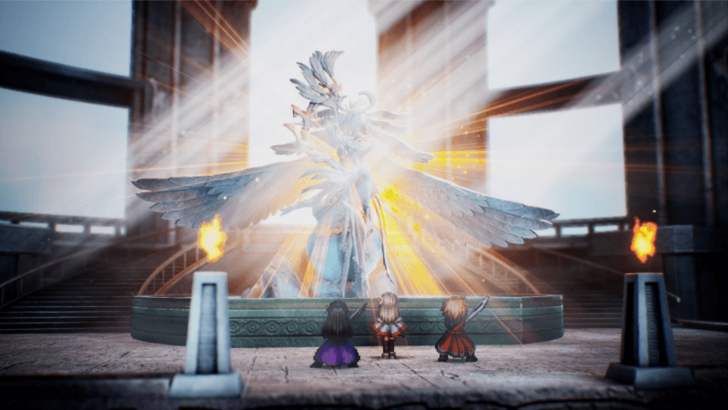
Once the battle's over, Siren will join you as a summon, and you'll get a dialogue choice to increase one of Fina's stats. For this one, it's generally recommended to pick the 1st option for more MP since she's a caster that constantly wants to spam skills. How to Beat Siren
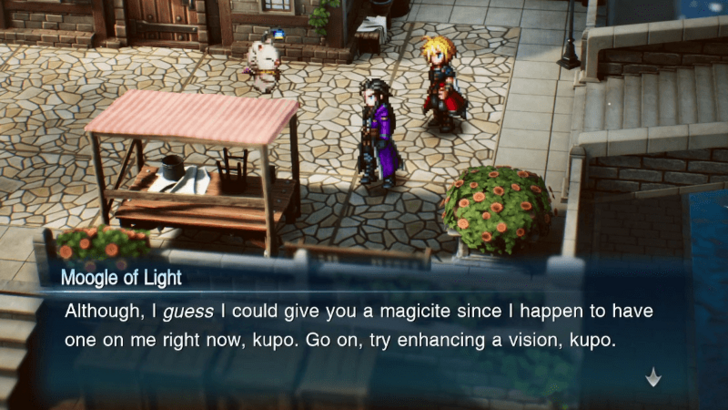 When you get back to Grandport Harbor, there will be a short cutscene introducing a moogle that can upgrade your Visions, allowing them to use stronger skills in battle. Whenever you get new Magicite Shards, make sure to visit them so you don't fall behind the power curve.
All Magicite Locations
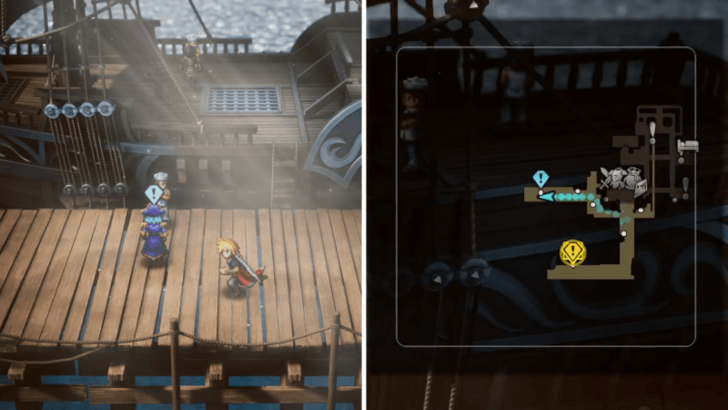
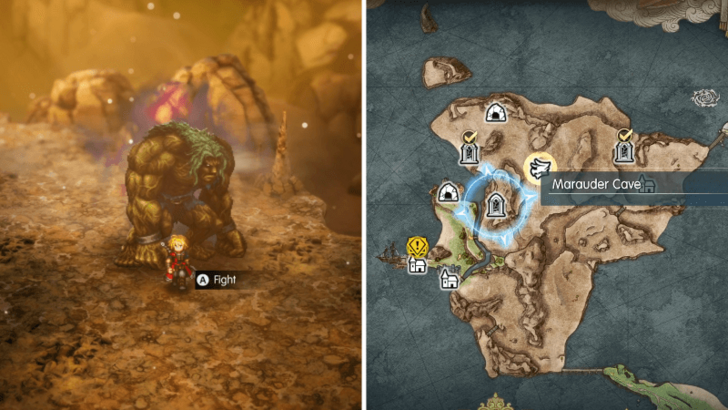
One thing you don't want to miss is the Marauder inside the cave north of the port. Defeating them will give you a Magicite Shard to upgrade your Visions, and once that's done, you're free to leave the region and end Chapter 1. How to Beat the Marauder
Ch. 2: Eternal Blue Walkthrough
| Jump to a Chapter | ||
|---|---|---|
| 1 | 2 | 3 |
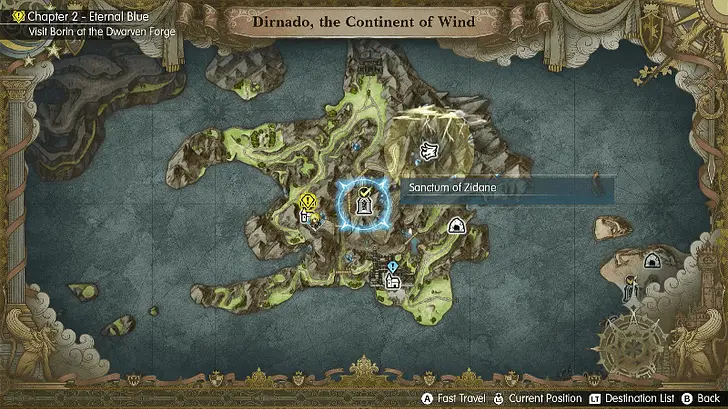 Now that you're in a new region, take some time to grind EXP so that you don't fall behind the average enemy level in this region. You can't explore much of the area yet, so proceed to Dilmagia first to progress the story.
FF Resonance Interactive Map
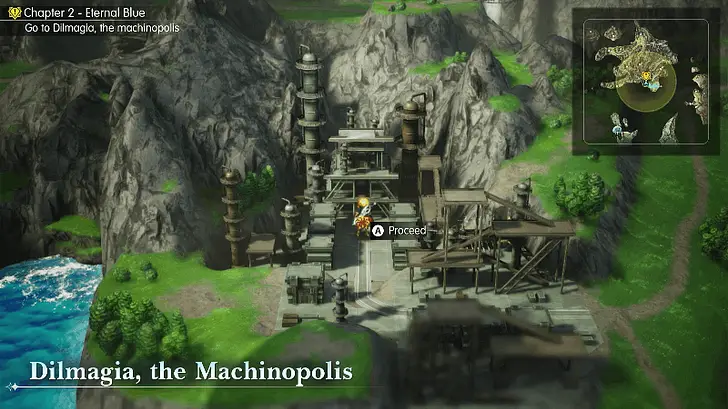 Once you're in Dilmagia, talk to all the marked NPCs to trigger the next part of the story, the head to the shipyard afterwards to recruit Lid.
Once you have her in the party, you'll be able to explore more parts of the region. However, it's mostly locked behind Mt. Thunderclap, so you'll need to go through there first to access more items and Visions. How to Recruit Lid: All Stats and Skills
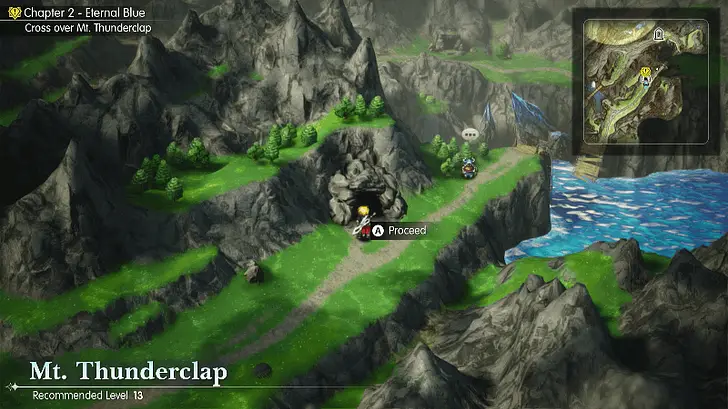 After you're done at Dilmagia, exit the town and head northeast towards Mt. Thunderclap. When you enter this area, make sure to select the option to pay 1000 Gil since it will unlock the path to a chest with a really good armour piece for Fina.
Even if you pay for the shortcut, make sure you still take the long way around so that you don't miss out on any extra stuff, like EXP from random battles or the tree for the Elven Maven Side Quest. Should You Pay Lid 1000 Gil or Not?
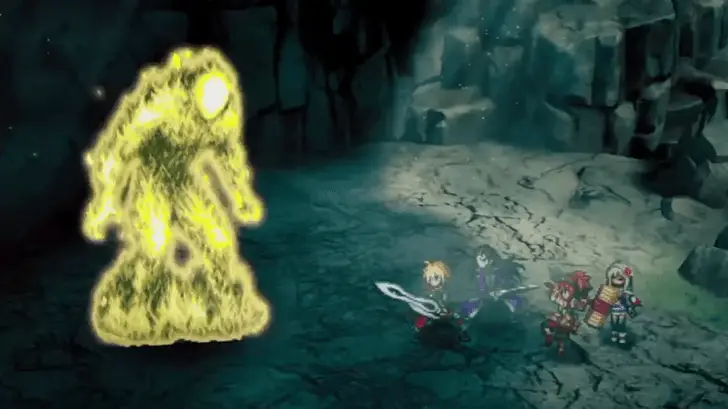 Once you're done exploring, head to the northwest exit to face the Liquid Thunder boss. Make sure that you equip the Cape of the Raiju to halve the damage of its Lightning attacks, and use Earth skills from WoL and Lid to exploit its weakness.
How to Beat Liquid Thunder
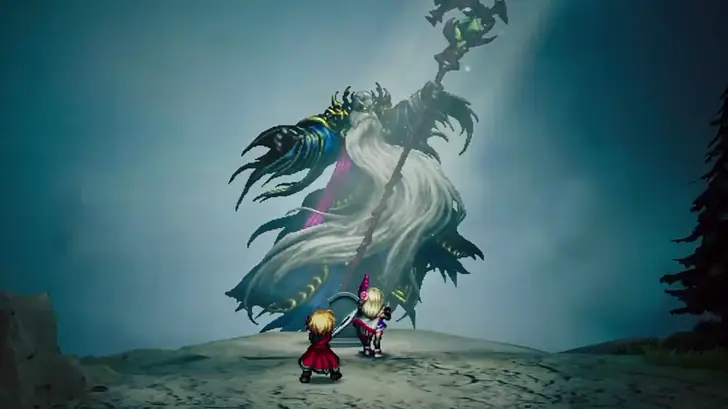 After the boss is defeated, you can continue on out the other side of the mountain to continue the story. However, you can also circle back around the overworld to enter the peak of the mountain and fight Ramuh to gain him as a summon.
If you plan on doing this, it's recommended to level up, obtain Onion Knight, and purchase Earth Scrolls first. He can be pretty hard to beat, and it's completely fine to come back here again later and fight him once you're stronger. How to Beat Ramuh
 Head to the Dwarven Forge and check out the shops for anything you may need. Make sure you're healed up and prepared since the next part of the main quest will have you fighting the boss, Mom Bomb.
At this point in the story, you should have multiple sources of Water damage, so make sure that everyone has at least one skill that can target the boss' weakness. Aside from that, make sure you watch for any notifications during the fight since the boss will self-destruct and split into 4 Bombs once it gets low on HP. How to Beat Mom Bomb
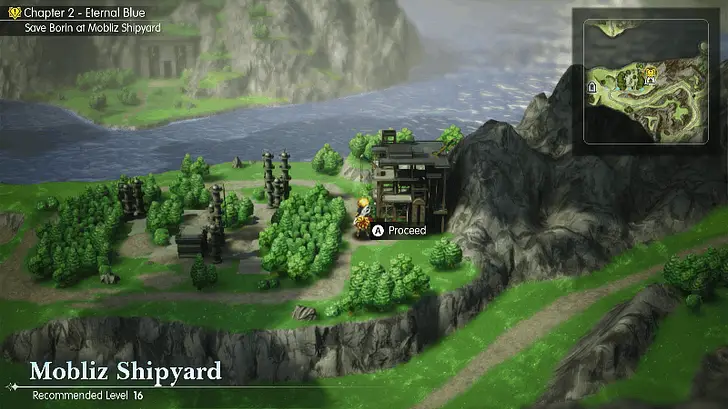 Once the Dwarven Forge is free of the Mom Bomb, you will be tasked with heading to the Mobliz Shipyard next. If you haven't defeated Ramuh yet, try to do so now since enemies in the next area are weak to Lightning, and he will be very useful for the bosses encountered in this area.
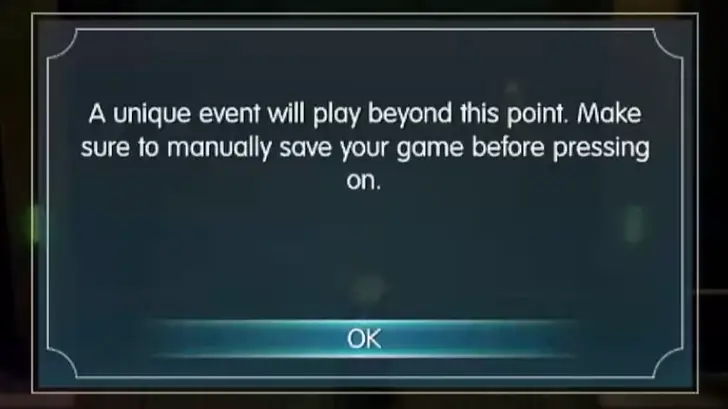 Make your way through the dungeon while exploring it for any chests and items. Once you reach the end, make a save before progressing past the unique event notification. The next part will have a time limit that persists through battles, so it's highly recommended to make a save in case you fail the following section.
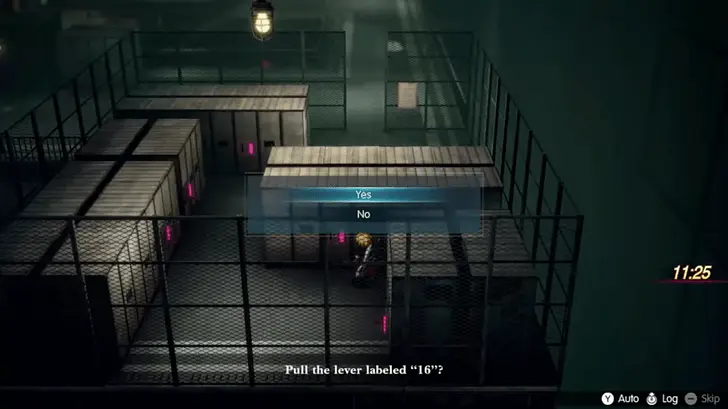 Start off by going to the southern elevator to trigger a cutscene where it's deactivated. From there, head east to the area with a bunch of switch boxes and destroy the fence to access the area. You'll then need to interact with Lever 16, which is the central one, to reactivate the elevators.
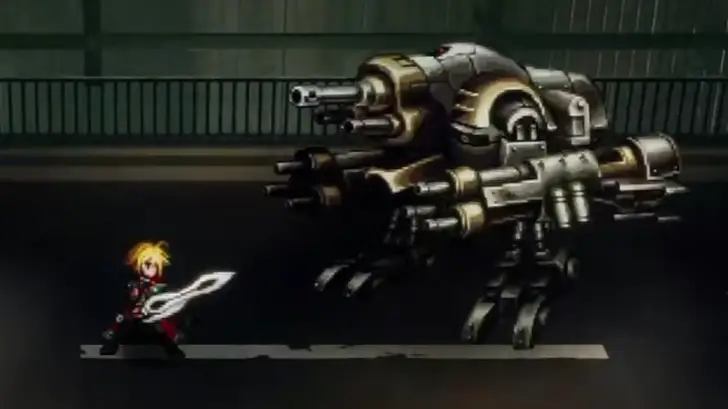 With the elevators functioning again, you can head down to try and escape the area. However, the way out is blocked by Guardians, and you'll need to head back to avoid fighting them all.
As a note, you can actually fight the Guardians multiple times if you run towards them, but it's not worth it even if they are easy to beat.
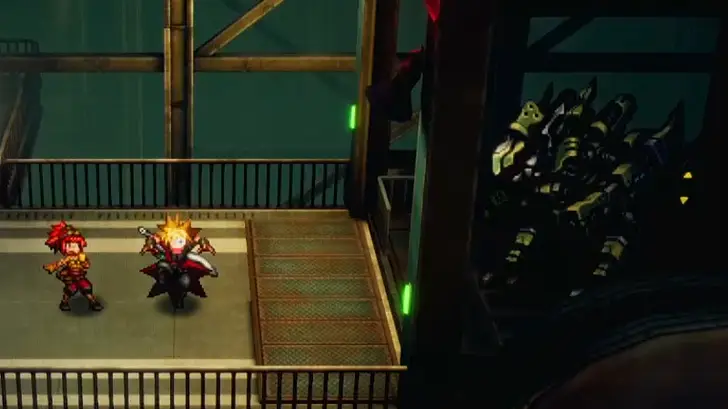 When you head back to find another way out, Rain will charge towards an elevator and start a fight with an Epimetheus. This mini boss doesn't have a lot of HP and is weak to Lightning, so keep this in mind and avoid wasting resources so you're not at a disadvantage against the next boss after it.
Make sure your party is ready to take on the next boss as well since there's no time to readjust your builds in between fights.
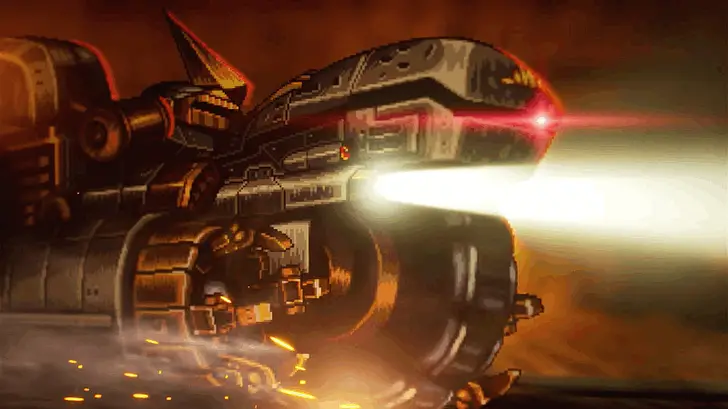 After the mini boss, you'll be thrown into a fight with the real boss, Adrastea. Much like all the enemies in this area, it will be weak to Lightning attacks, as well as Water, so just beat it down with skills from the likes of
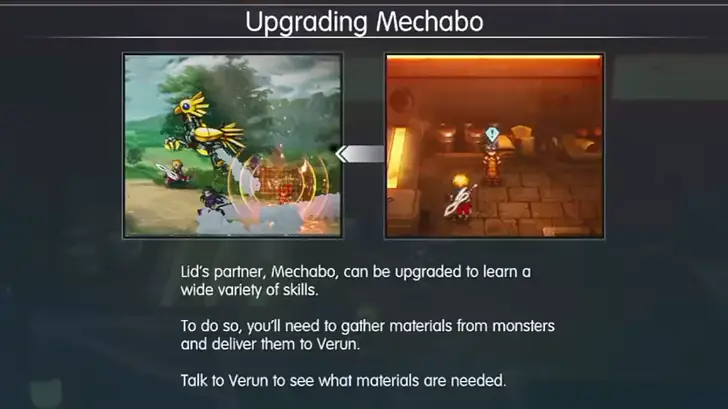 Now that you've escaped, you're free to roam around again without a time constraint. You'll also unlock new side quests, and it's highly recommended to do the Arise, Mechabo! and Mechabo Evolved quests since they will repair the Mechabo and grant Lid new skills to use, respectively.
Do note, however, that the Mechabo Evolved quest has a lot of objectives, and you may need to progress through the story first before you can complete some steps.
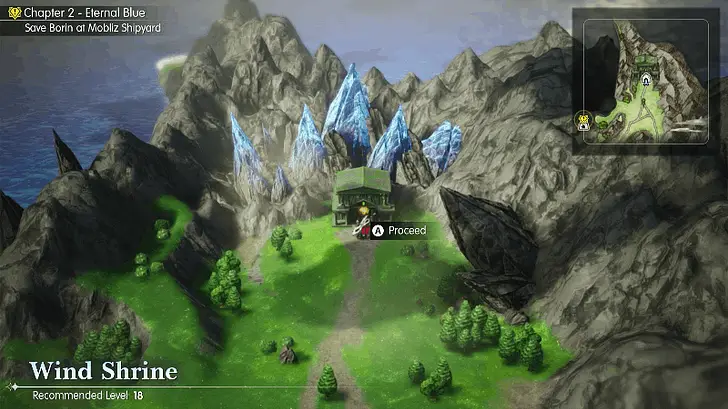 Once you're done with any quests and preparations, you can head to the Wind Shrine to continue the story. Make sure that you grind a bit and level up any Visions with Ice Skills in preparation for the final boss of this chapter.
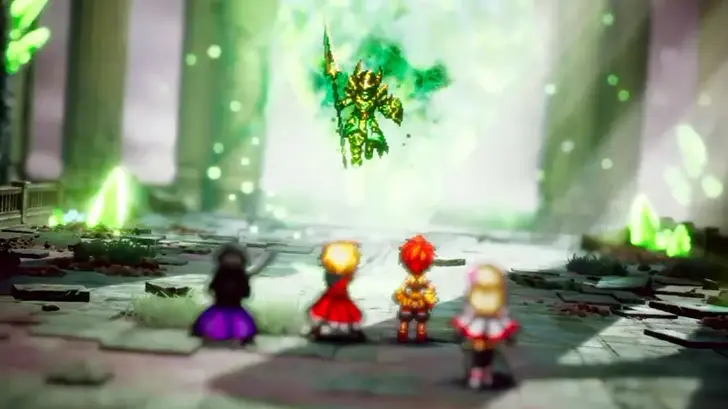 When you're ready, head to the back of the shrine to face Aether. As mentioned earlier, they're weak to Ice, and they also summon minions that you'll want to prioritize killing whenever a new one spawns in.
How to Beat Aether and Weaknesses
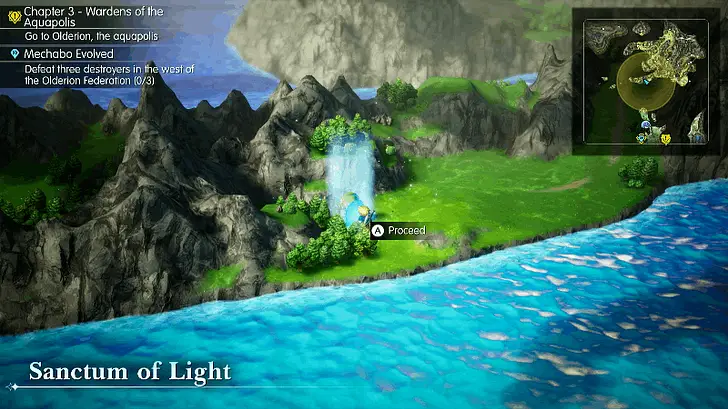 After the boss has been defeated, a few cutscenes will play out, and you'll reach the end of the chapter. Make sure to finish anything you may have missed out on, like collecting Tablet Shards or obtaining Onion Knight, before talking to Lid and heading to the next continent.
Ch. 3: Wardens of the Aquapolis Walkthrough
| Jump to a Chapter | ||
|---|---|---|
| 1 | 2 | 3 |
| Dialogue Options | Stat |
|---|---|
| 1. No matter what happens, we'll have your back. | +3 Strength |
| 2. There might be a reason behind your brother's change. | +3 Magic |
| 3. Doesn't matter how far away you are, siblings are siblings. | +3 Stamina |
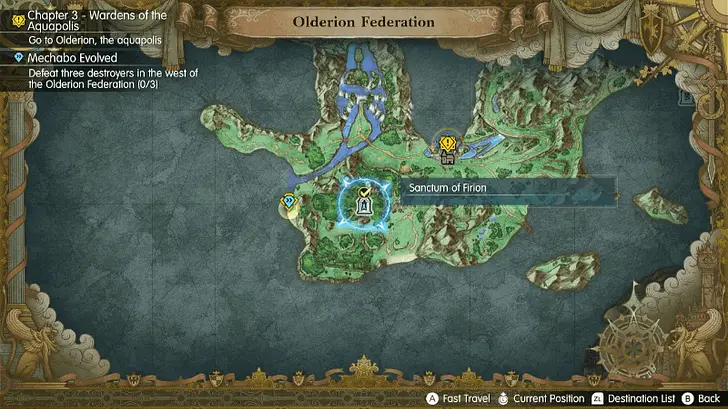 Once the cutscene ends, you'll arrive at the Olderion Federation. As usual, take this opportunity to explore the new region for any Visions, items, Mechabo Evolved quest requirements, etc.
If you ever leave the continent before you unlock a fast travel location, you can go back to Olderion by taking the boat from Grandport Harbor. FF Resonance Interactive Map
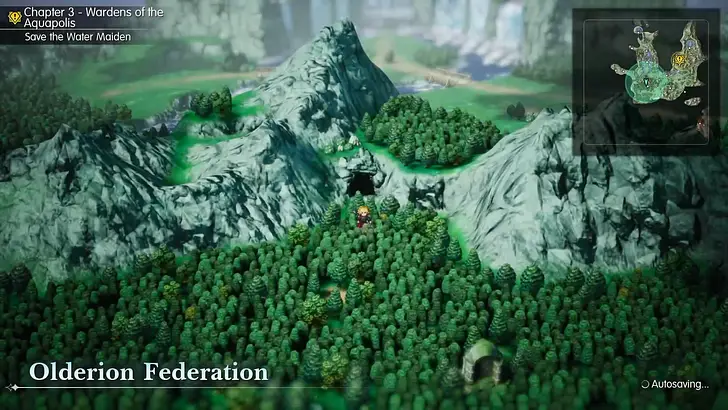 Aside from Visions, one thing you don't want to miss out on is the Ruby Cave. If you find all 3 Ruby Fragments and go back to the cave, you will unlock the Carbuncle summon for Fina.
All Ruby Fragment Locations
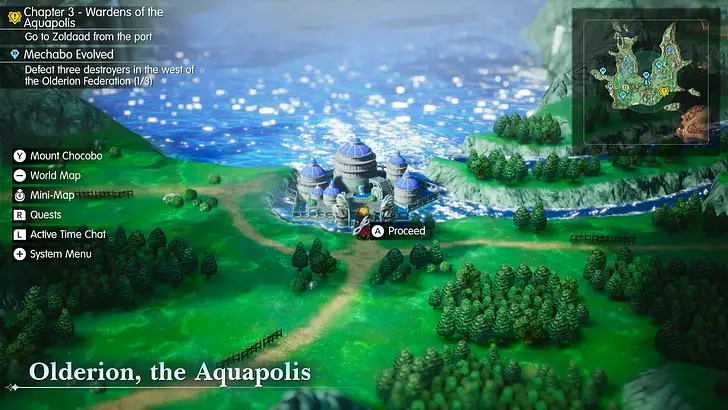 After you're done exploring, head into Olderion to continue the main story. Similar to the last chapter, you will want to talk to the town's NPCs to learn about a new ally that will help you on your quest.
Once you've talked to the marked NPCs, head to the northwest side of town to meet Nichol. He won't join you just yet, and you'll need to head to the Cave of Waters first before he joins your party. How to Recruit Nichol: All Stats and Skills
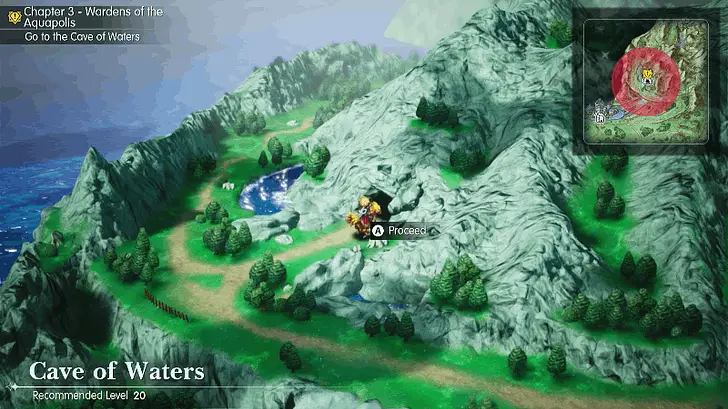 When you're ready, head to the Cave of Waters to meet up with Nichol and have him join your team. Since there can only be 4 active members in the party, you will need to swap someone out if you want to use him.
Once you're done fixing your team, feel free to explore the cave while you're making your way to the save point at the back. Best Party Setup and Team
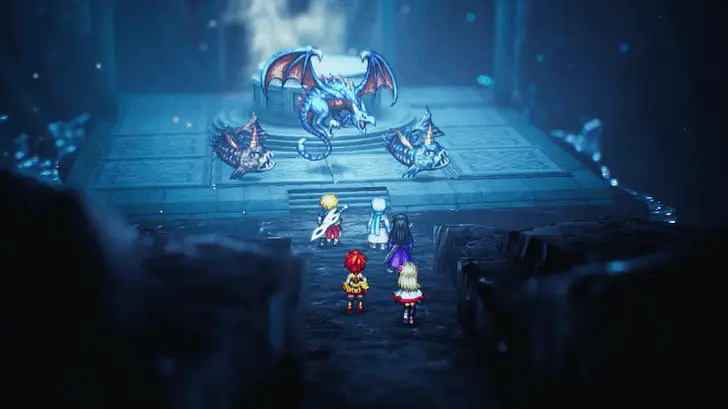 Make a save and heal up before facing the boss of this dungeon, the Water Lopros. It's weak to Ice and fights alongside two Snappers that are weak to Wind and Lightning. Make sure to kill off the Snappers first since they can be annoying and will empower the boss if it devours them.
You won't be able to leave the next area once you enter it, so make sure to complete side quests, beat optional bosses, obtain Visions, and grind EXP before you proceed.
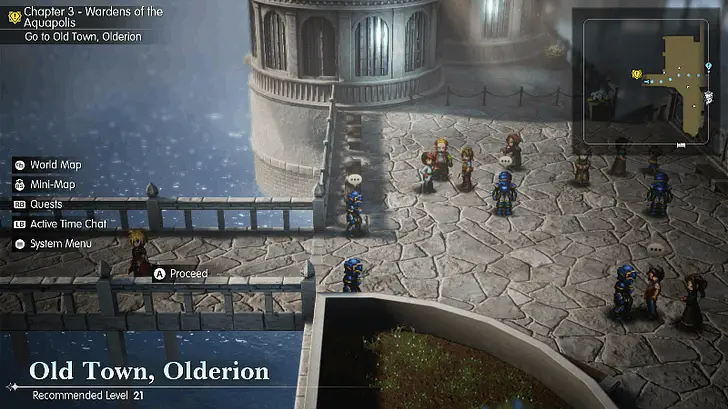 When you're ready, go through the northwest side of Olderion to enter the Old Town. For this section, you'll mainly want to build around
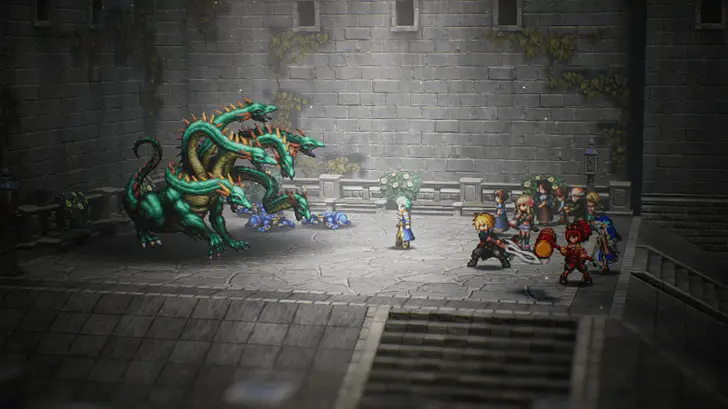 Once you reach the northeast side of Old Town, heal and save before going into the boss fight with the Water Dragon. This boss can be a bit tricky since there are only three party members, and the boss attacks twice per turn, but it should be fine as long as you cast Protectga, Shellga, and Lightning attacks.
After the boss has been defeated, you'll spawn back in Olderion with Lasswell and Nichol. Remember to reorganize your party and equipment in case you removed anything from them during the Old Town section.
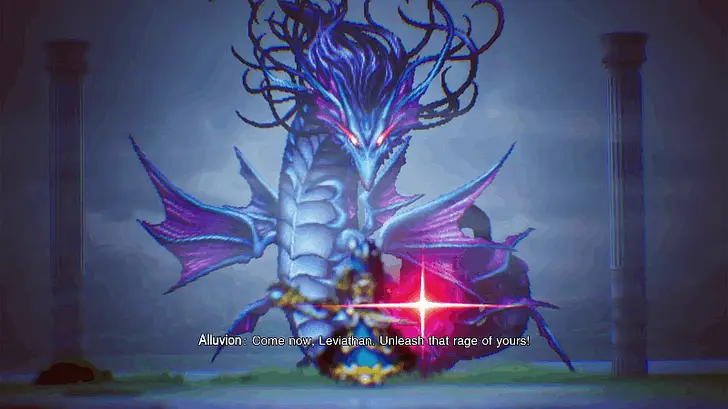 The next part of the story will have you going towards Lake Dorr, which can be accessed by going through the western side of the Cave of Waters. Just be prepared when entering the area since you'll immediately be thrown into a boss battle with Leviathan.
Make sure you bring Cloud and a wide variety of elemental types into this fight. The main gimmick for this boss is that you'll need to repeatedly kill Orbs of Light, but their weaknesses keep changing depending on the type of orb that spawns.
After some cutscenes, a new party member will join at the cost of a different character temporarily leaving. Take some time to read their skills and adjust your party before continuing on your journey.
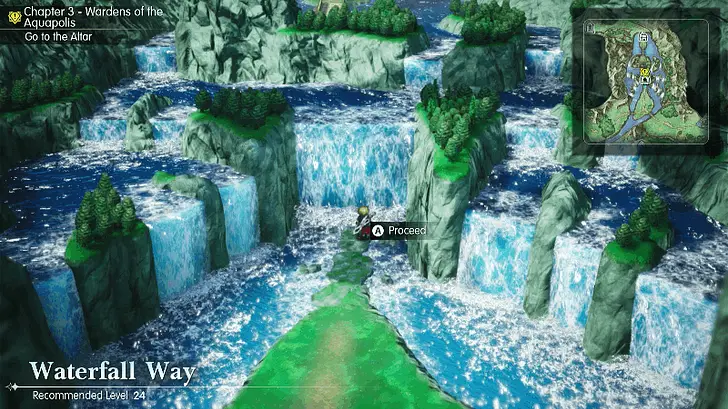 When you're ready, leave Olderion and head northwest towards Waterfall Way. While exploring the dungeon, you will eventually bump into Gilgamesh again. Make sure to talk to him before reaching the altar and leaving the dungeon to go to Warden's Cape.
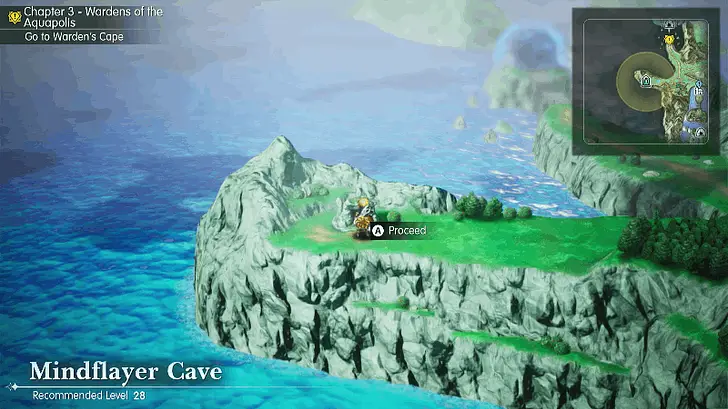 Once you leave Warden's Cape through the northern exit, you'll now be able to access the north side of this region. Take some time to explore the area for any new collectables before heading north to continue the main quest.
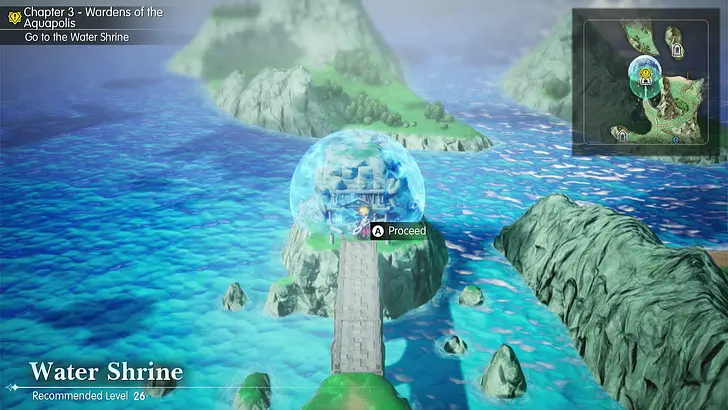 When you're ready, head north to approach Warden's Cape and enter the Water Shrine. Unlike the previous shrines, this one has some puzzles you will need to solve, such as adjusting water levels and pushing boxes to create a bridge when the water level is raised.
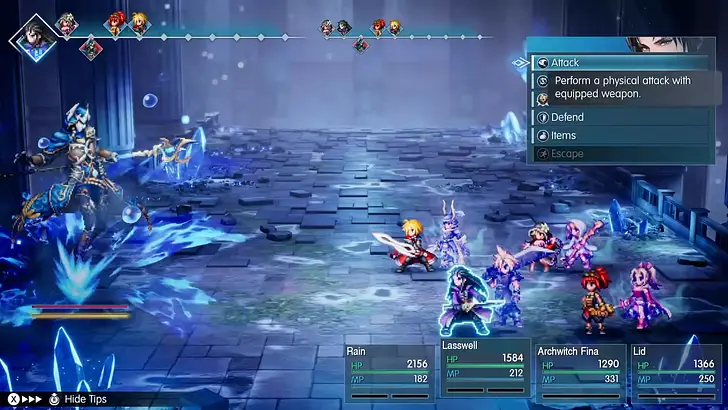 Once you've reached the bottom of the shrine, make a save and do any final preparations before facing the last boss of this chapter, Alluvion. All the enemies that spawn in this fight are weak to Lightning, and you'll want to use a tank that has high magic defense, as well as a Monk's Prayer Beads and Calm Armlet equipped to negate any ailments applied by the boss.
| Dialogue Options | Stat |
|---|---|
| 1. Give us some pointers on strategy again. We're counting on you. | +10 HP |
| 2. We're a proper team now, so we've got your back! | +3 Magic |
| 3. You be you, Nichol, and don't hold back with the suggestions. | +3 Speed |
Nichol has the fastest Speed among all party members, so you can further lean into that with the third option to ensure he always acts first. However, you can also look to increase his HP a bit with the first option, since he is one of the squishiest characters in the game.
Final Fantasy Resonance (FF Resonance) Related Guides

Final Fantasy Resonance Wiki & Walkthrough Guides
Guides by Category
 Walkthrough |
 Visions |
 Tips and Tricks |
 Characters |
 Side Quests |
 Interactive Map |
 Espers |
 Bosses |
 Skills |
 Weapons |
 Armor |
 Accessories |
 Items |
 News |
Comment



Author

100% Walkthrough Guide

Rankings
- We could not find the message board you were looking for.
Gaming News






Popular Games

Genshin Impact Walkthrough & Guides Wiki
Fire Emblem: Fortune's Weave (FEFW) Walkthrough & Guides Wiki
Aniimo Walkthrough & Guides Wiki
Wuthering Waves Walkthrough & Guides Wiki
Dragon's Dogma 2 (DD2) Dark Arisen Walkthrough & Guides Wiki
Umamusume: Pretty Derby Walkthrough & Guides Wiki
Honkai: Star Rail Walkthrough & Guides Wiki
Zenless Zone Zero Walkthrough & Guides Wiki
Pokemon TCG Pocket (PTCGP) Strategies & Guides Wiki
AION 2 Walkthrough & Guides Wiki










Recommended Games
Fire Emblem Heroes (FEH) Walkthrough & Guides Wiki
Where Winds Meet Walkthrough & Guides Wiki
Diablo 4: Lord of Hatred Walkthrough & Guides Wiki
Super Smash Bros. Ultimate Walkthrough & Guides Wiki
Persona 3 Reload Walkthrough & Guides Wiki
The Legend of Zelda: Tears of the Kingdom Walkthrough & Guides Wiki
Elden Ring Walkthrough & Guides Wiki
Pokemon Brilliant Diamond and Shining Pearl (BDSP) Walkthrough & Guides Wiki
Cyberpunk 2077: Ultimate Edition Walkthrough & Guides Wiki
Monster Hunter World Walkthrough & Guides Wiki










All rights reserved
© SQUARE ENIX
LOGO ILLUSTRATION: © YOSHITAKA AMANO
The copyrights of videos of games used in our content and other intellectual property rights belong to the provider of the game.
The contents we provide on this site were created personally by members of the Game8 editorial department.
We refuse the right to reuse or repost content taken without our permission such as data or images to other sites.