
Tips and Tricks: Beginner's Guide to Final Fantasy Resonance
★ FF Resonance is Out Now!
☆ Best Visions for Each Character
★ Tier List | Early Game Builds | Best Skills
☆ All Dialogue Choices and Answers
★ Find all Chests, Tablet Shards, and Magicites
☆ Farming Guides for EXP and MRP
This is a beginner's guide that teaches new players tips and tricks on how to beat Final Fantasy Resonance (FF Resonance). Check out some beginner tips for combat, exploration, and more here!
List of Contents
Beginner's Guide
Pick the Difficulty That Suits Your Gameplay
| Difficulty | Description |
|---|---|
| Casual | For those who want a story-centric experience. Battles are easier. |
| Normal | For those who want a balanced experience. Normal difficulty battles. |
| Expert | For those who like a challenge. Battles are harder and awared more MRP. |
Choose a difficulty that matches your experience with turn-based RPGs. If you want to focus on the story without struggling too much in battles, start with Casual difficulty. If you prefer a greater challenge, try a higher difficulty to test your combat skills.
Keep in mind that Expert difficulty rewards more MRP in exchange for tougher battles. If you're looking to farm MRP and improve your Visions, consider switching to Expert difficulty when you're ready for a challenge. You can change the difficulty anytime through the in-game menu, so feel free to adjust it depending on your current goals.
Difficulty Guide: How to Change Difficulty
Save Your Progress Whenever You Can
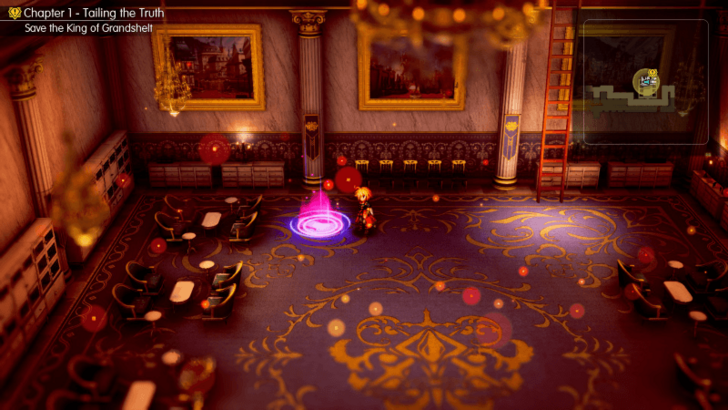
Get into the habit of saving your game whenever you reach a save point, especially before exploring a dangerous area or challenging a powerful enemy. This gives you a convenient point to return to if a battle doesn't go as planned.
Before entering an unfamiliar dungeon, make sure your party is ready and save your progress if a save point is available nearby. You don't want to lose progress after a difficult encounter simply because you forgot to save!
Always Update Your Equipment
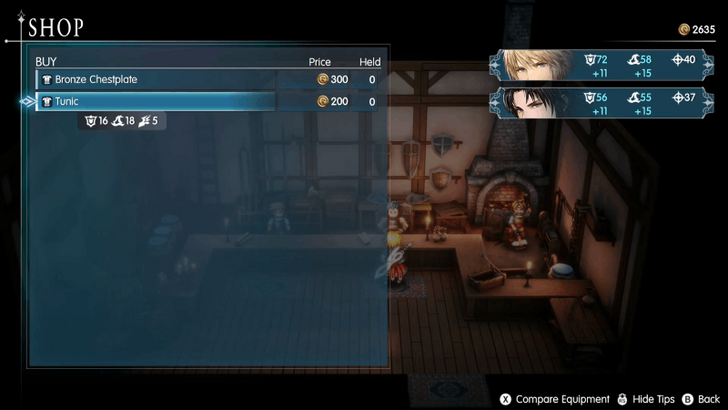
Check your characters' equipment whenever you reach a new town or find better gear during your adventure. Stronger weapons and armor can make a noticeable difference in how much damage you deal and how well you survive enemy attacks.
Visit shops to see whether they sell useful upgrades, and compare new equipment with what your party already has before spending your Gil. Prioritize the characters who need better weapons or defensive gear the most instead of buying every available item at once.
Complete Sub Quests
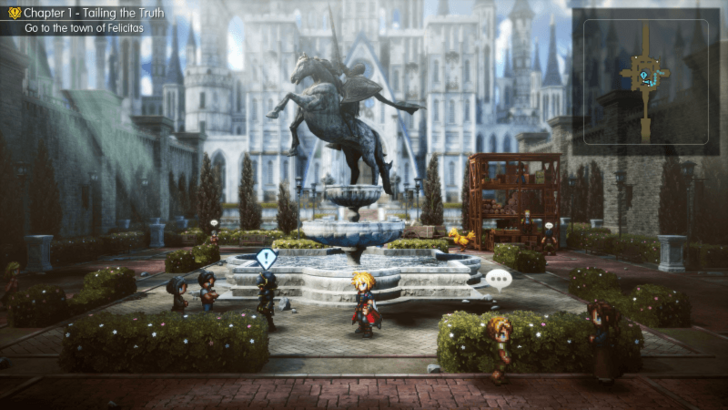
We recommend completing sub quests (side quests) whenever you see a new one pop up. Sub Quests are given by NPCs with the quest symbol (blue exclamation mark) on top of their heads, and will reward weapons, armor, or items upon completing them.
Take Obscure Paths to Get to Hidden Chests
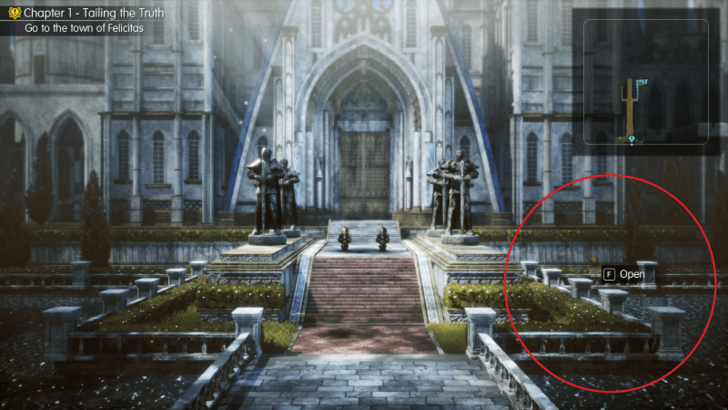
There will be some obscure paths in towns and dungeons that will lead to chests that are normally hidden from plain sight. Always pay attention to your surroundings and check if there's a hidden path that you can take to get to these treasures.
Watch the Turn Order Timeline
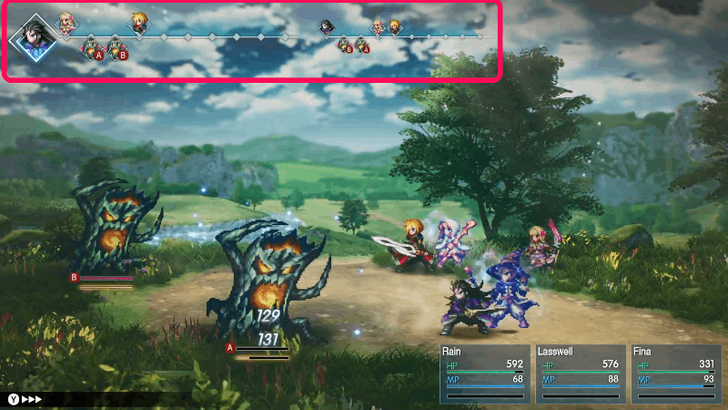
Pay attention to the turn order timeline at the top of the battle screen before choosing your actions. It shows the upcoming actions of your party and enemies, helping you decide which enemy to target and when to use healing or defensive abilities.
Save MP for Difficult Encounters
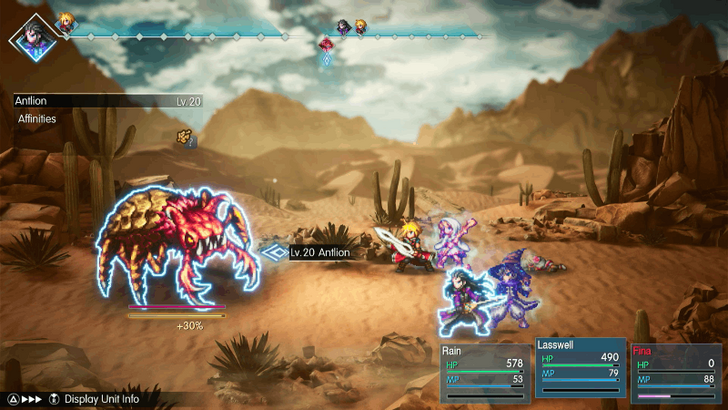
Magic and healing abilities can make difficult battles much easier, but using them carelessly may leave your party without enough MP when you need it most. Manage your MP between encounters by using regular attacks when appropriate and saving powerful abilities for tougher enemies.
Having enough MP to exploit weaknesses, heal your party, and respond to unexpected threats can make a major difference in longer encounters.
Exploit Enemy Weaknesses to Build Stagger
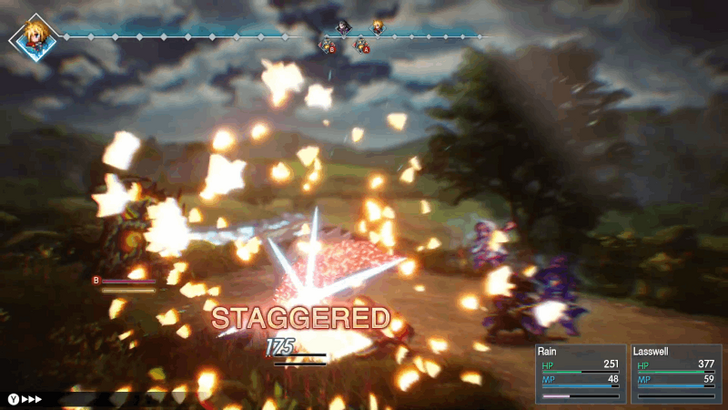
Don't rely on regular attacks alone when fighting enemies in Final Fantasy Resonance. Target enemy elemental weaknesses to build up their Stagger Gauge more quickly. Once an enemy is staggered, it loses its upcoming action and becomes more vulnerable to attacks, giving your party an opportunity to deal more damage.
Check which elements your enemies are weak against and equip Visions that provide the appropriate abilities. Having different elements available in your party makes it easier to handle enemies with different weaknesses.
Use Resonance Attacks During Extra Phase
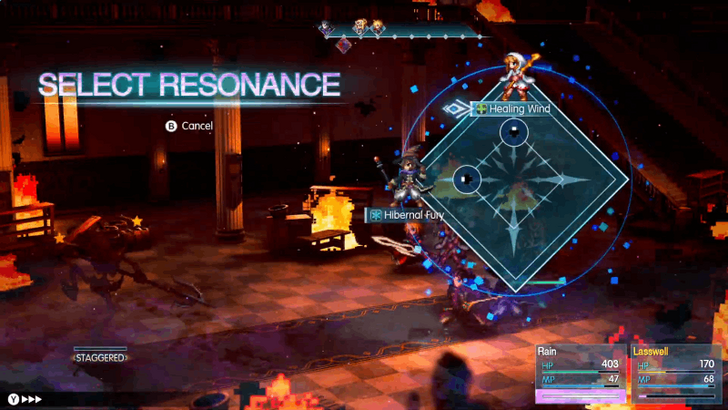
Take advantage of the Extra Phase to unleash powerful Resonance attacks. When you stagger all enemies in the same turn, you trigger a Sweeping Stagger, opening an Extra Phase where you can use a Vision-specific Resonance attack.
Learn Skills Before Switching Visions
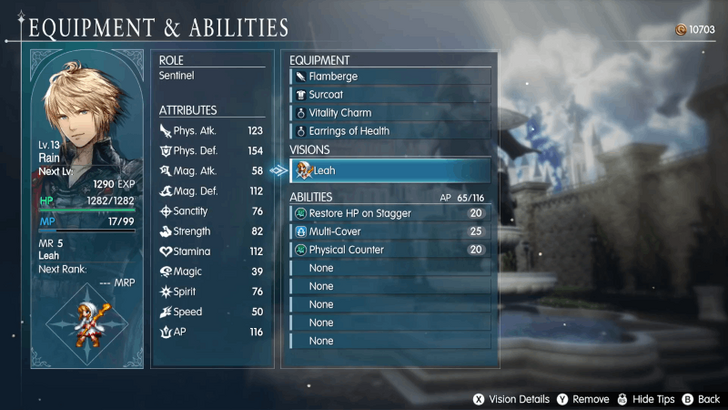
Equip Visions and win battles to earn Mastery Points and unlock their abilities. Once you've learned a skill from a Vision, you can continue using that ability even after switching to another Vision, as long as it fits within your ability cost limit.
Don't feel like you have to stick with one Vision for your entire adventure. Experiment with different Visions to learn more abilities and build a skill set that suits your preferred playstyle.
Manage Your Ability Cost Limit
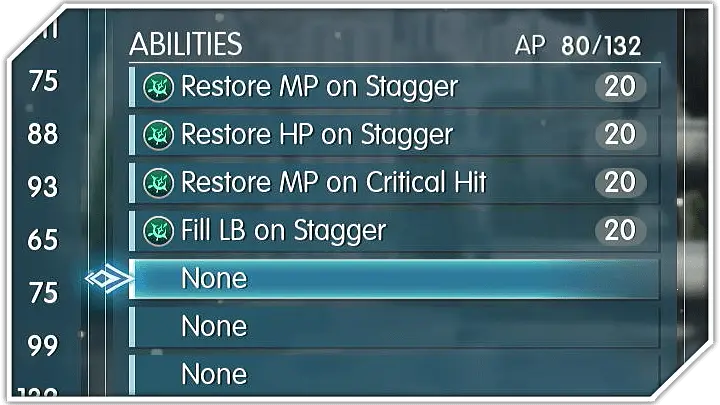
When customizing your characters, consider the ability cost limit instead of equipping every skill you've unlocked. Learned abilities take up room within this limit, so you'll need to choose which skills best fit your strategy.
Prioritize abilities that complement your character's role, such as elemental attacks for exploiting weaknesses or healing skills for keeping your party alive. Experiment with different combinations as you unlock more abilities to find a setup that works for your team.
Examine Sparkly Spots in the Overworld
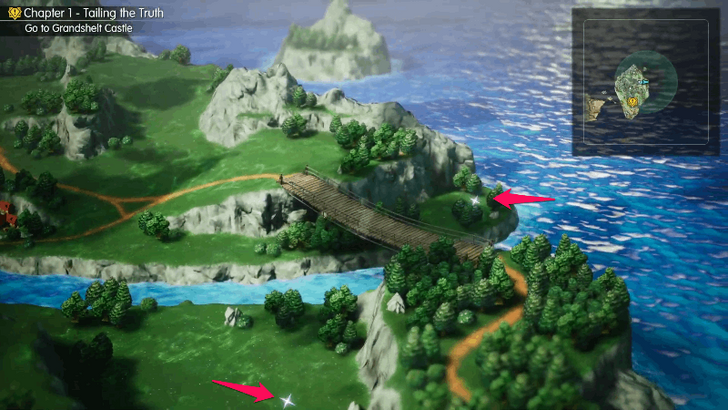
Keep an eye out for sparkly spots while exploring the overworld. These points of interest can lead you to useful items or equipment, so don't rush straight toward your next destination without checking your surroundings.
Collect Tablet Shards While Exploring
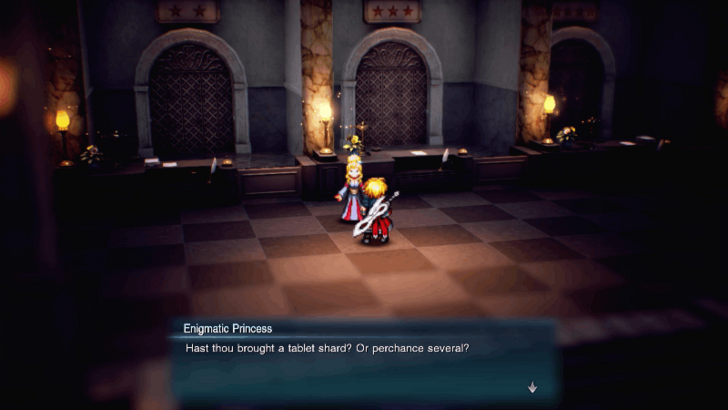
Keep an eye out for glowing Tablet Shards scattered throughout towns and dungeons. Bring the shards you collect to the Enigmatic Princess at the Oblivion Palace to unlock treasure chests containing useful rewards.
Make it a habit to explore side paths, check corners, and look behind objects when visiting new areas. Some Tablet Shards are easy to overlook, so search each area carefully before moving on.
Awaken Visions Using Magicite
| Magicite Required | Upgrade |
|---|---|
| Magicite Shard x1 | ★☆☆ |
| Magicite x1 | ★★☆ |
| Magicite Cryst x1 | ★★★ |
Use Magicite to awaken your Visions and unlock more of their potential. Check the required materials before enhancing a Vision so you know which Magicite you need for its next awakening level.
Find the Moogle of Light at the Grandport Harbor and talk to it to open the Vision Enhancement screen. From there, you can upgrade your Visions three times as indicated by the star below their names.
Use Espers to Turn the Tide of Battle

Unlock Espers as you progress through the story and complete quests. Once available, these powerful summons can fight alongside your party for a limited number of turns before performing a finishing attack and leaving the battlefield.
Since its assistance is temporary, consider the state of the battle before summoning one so you can make the most of its available turns.
All Tips and Tricks
All Tips and Tricks Guides
Final Fantasy Resonance Related Guides

Final Fantasy Resonance Wiki & Walkthrough Guides
Guides by Category
 Walkthrough |
 Visions |
 Tips and Tricks |
 Characters |
 Side Quests |
 Interactive Map |
 Espers |
 Bosses |
 Skills |
 Weapons |
 Armor |
 Accessories |
 Items |
 News |
Recommended Guides
 Best Skills and Abilities to Equip
 Best Visions for Each Character
 Best Early Game Builds
 Best Weapons and Equipment
 Best Visions Tier List
 Best Party Setup and Team Composition
 Best Visions to Awaken First
 Demo Guide
 All Dialogue Options and Answers
 List of All Equipment
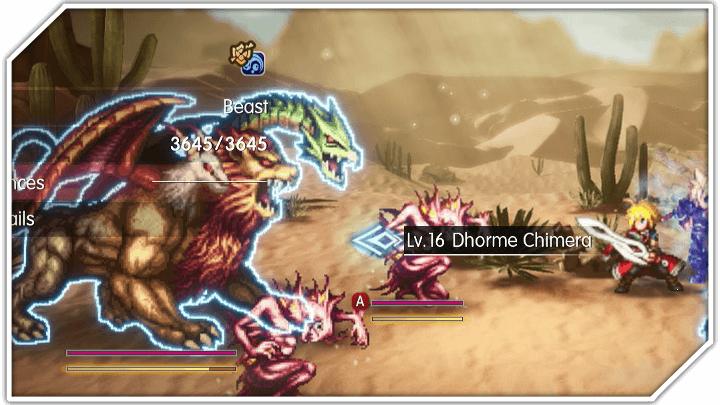
 How to Farm MRP Fast
 EXP Farming Guide
 Trophy Guide and Achievements List
 List of All Missables and Points of No Return
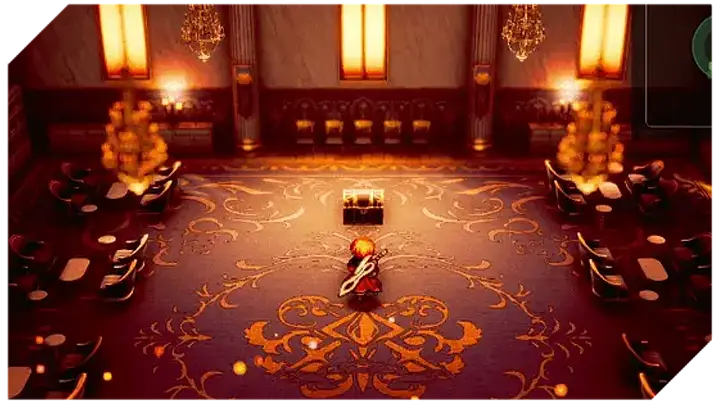
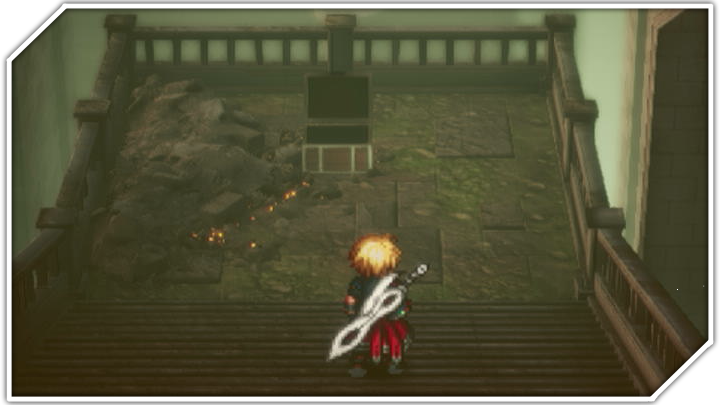 All Chest Locations
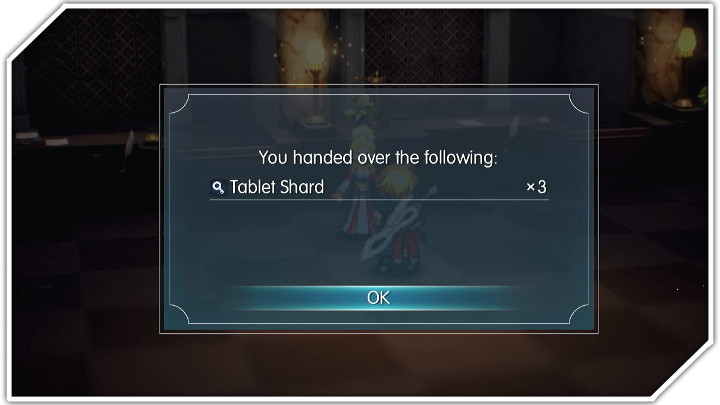 All Tablet Shard Locations
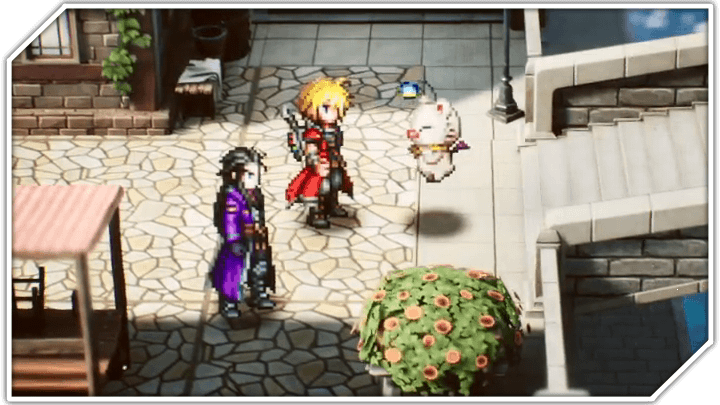 All Magicite Locations
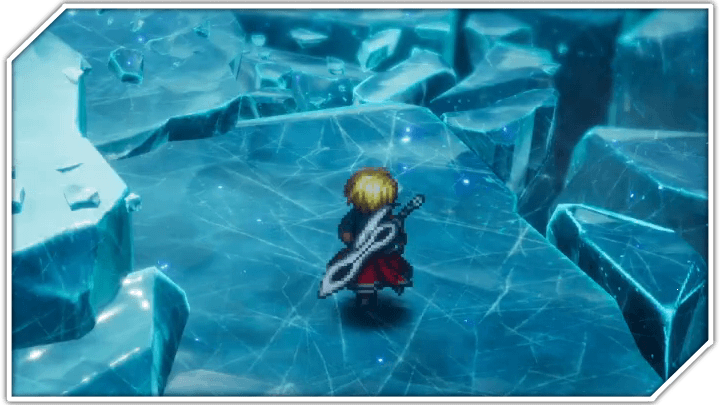 All Sanctum Locations
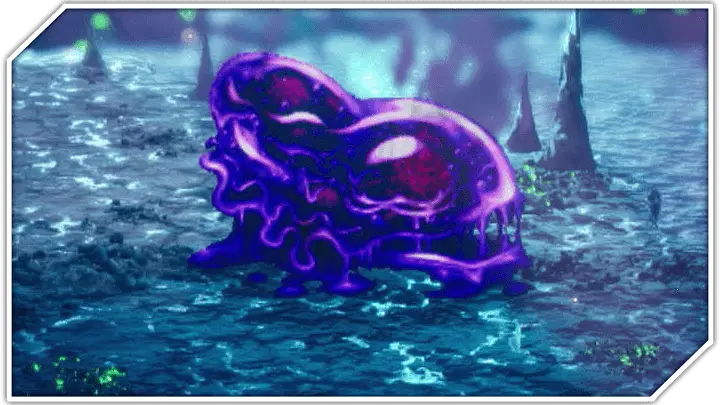 All Cave Master Locations
 How to Find Mysidia
Comment



Author
Tips and Tricks: Beginner's Guide to Final Fantasy Resonance

Rankings
- We could not find the message board you were looking for.
Gaming News






Popular Games

Genshin Impact Walkthrough & Guides Wiki
Fire Emblem: Fortune's Weave (FEFW) Walkthrough & Guides Wiki
Aniimo Walkthrough & Guides Wiki
Wuthering Waves Walkthrough & Guides Wiki
Dragon's Dogma 2 (DD2) Dark Arisen Walkthrough & Guides Wiki
Umamusume: Pretty Derby Walkthrough & Guides Wiki
Honkai: Star Rail Walkthrough & Guides Wiki
Zenless Zone Zero Walkthrough & Guides Wiki
Pokemon TCG Pocket (PTCGP) Strategies & Guides Wiki
AION 2 Walkthrough & Guides Wiki










Recommended Games
Fire Emblem Heroes (FEH) Walkthrough & Guides Wiki
Where Winds Meet Walkthrough & Guides Wiki
Diablo 4: Lord of Hatred Walkthrough & Guides Wiki
Super Smash Bros. Ultimate Walkthrough & Guides Wiki
Persona 3 Reload Walkthrough & Guides Wiki
The Legend of Zelda: Tears of the Kingdom Walkthrough & Guides Wiki
Elden Ring Walkthrough & Guides Wiki
Pokemon Brilliant Diamond and Shining Pearl (BDSP) Walkthrough & Guides Wiki
Cyberpunk 2077: Ultimate Edition Walkthrough & Guides Wiki
Monster Hunter World Walkthrough & Guides Wiki










All rights reserved
© SQUARE ENIX
LOGO ILLUSTRATION: © YOSHITAKA AMANO
The copyrights of videos of games used in our content and other intellectual property rights belong to the provider of the game.
The contents we provide on this site were created personally by members of the Game8 editorial department.
We refuse the right to reuse or repost content taken without our permission such as data or images to other sites.