
All Tablet Shard Locations
★ FF Resonance is Out Now!
☆ Best Visions for Each Character
★ Tier List | Early Game Builds | Best Skills
☆ All Dialogue Choices and Answers
★ Find all Chests, Tablet Shards, and Magicites
☆ Farming Guides for EXP and MRP
A list of all Tablet Shards in Final Fantasy Resonance (FF Resonance). See the locations of all Tablet Shards, how to use Tablet Shards, and all rewards in this guide.
List of Contents
 Attention, kupo! |
This page is still being updated! |
|---|
 under the page's title to be notified of any updates!
All Tablet Shard Locations
| Overworld | ||
|---|---|---|
 |
||
|
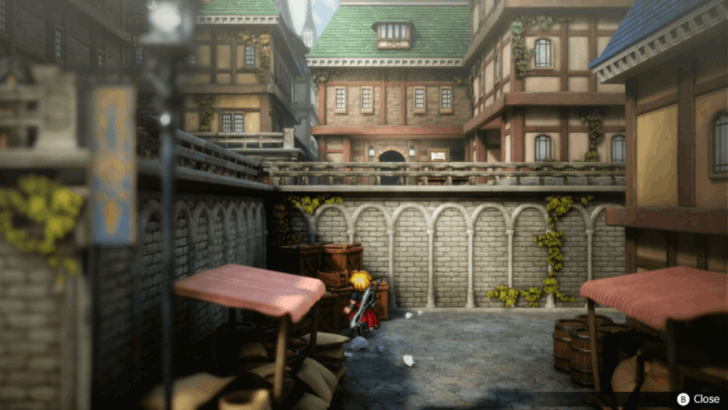
Tablet Shard 1 Location: Grandshelt, the Royal Capital By the crates north of the weapon shop. |
||
 |
||
|
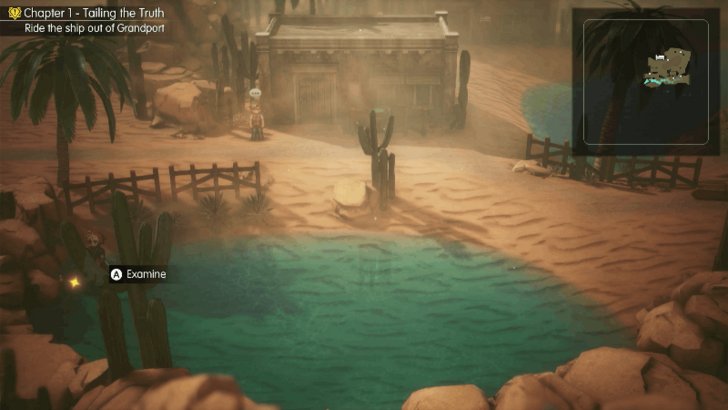
Tablet Shard 2 Location: Village of Kol Head to the southwest corner of the map and run towards the water to find the Tablet Shard on the left side. |
||
 |
||
|
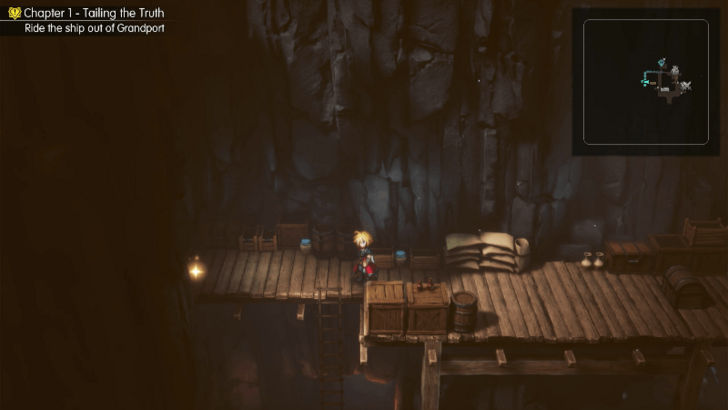
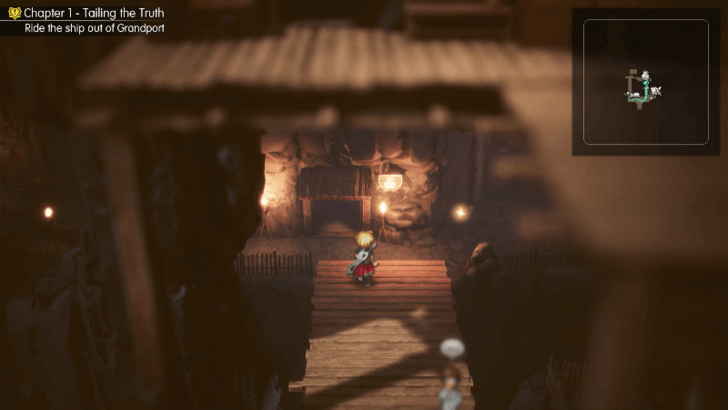
Tablet Shard 3 Location: Town of Felicitas Head to the entrance of Rolan's house and go to the left side through the hidden path. Climb up the ladder at the end of the hidden path and examine the shiny object at the left side. |
||
 |
||
|
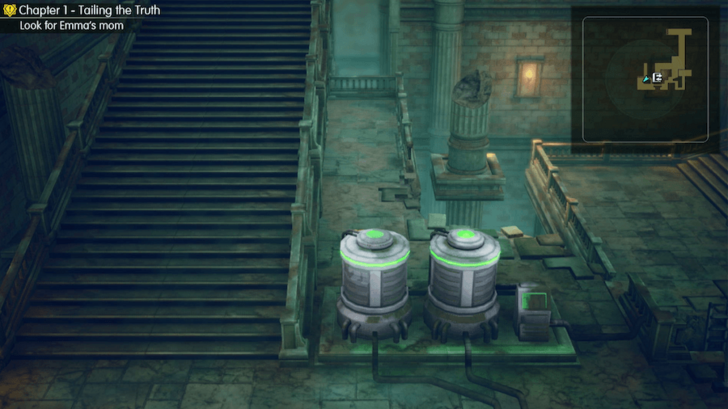
Tablet Shard 4 Location: Town of Felicitas Find the shiny object at the right side of the item shop. |
||
 |
||
|
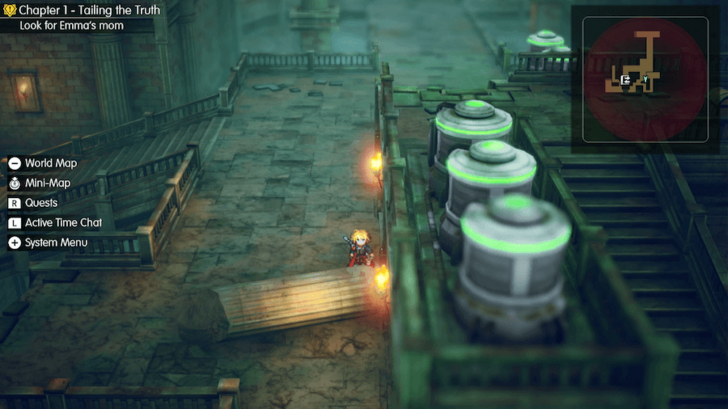
Tablet Shard 5 Location: Kolobos Ruins Behind the laboratory equipment after making your way down the first area of the ruins. |
||
 |
||
|
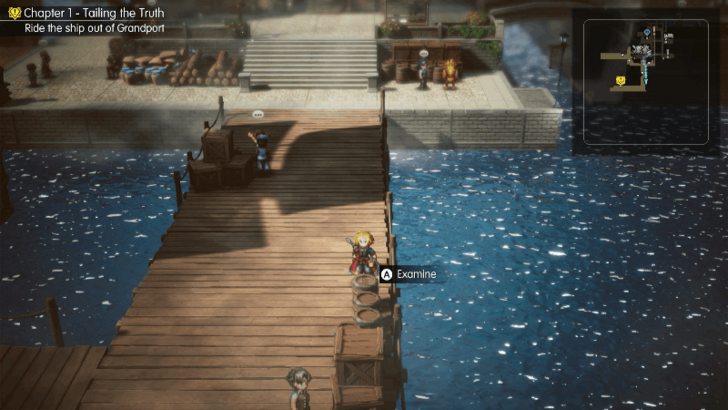
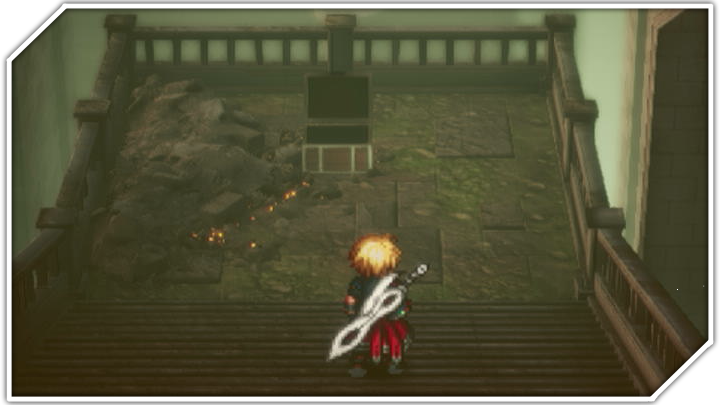
Tablet Shard 6 Location: Kolobos Ruins After falling underground in the second area of Kolobos Ruins, make your way up and go behind the fallen pillar nearby. |
||
 |
||
|
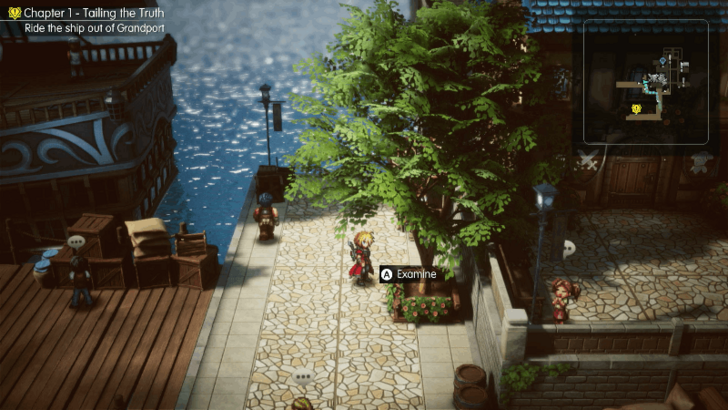
Tablet Shard 7 Location: Grandport Harbor Head to the dock area and examine the shiny object behind the barrel on the right side. |
||
 |
||
|
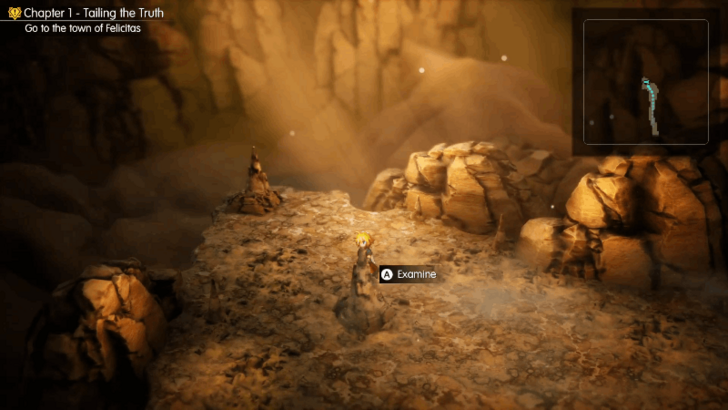
Tablet Shard 8 Location: Grandport Harbor Head left of the weapon and armor shop and examine the shiny object behind the tree. |
||
 |
||
|
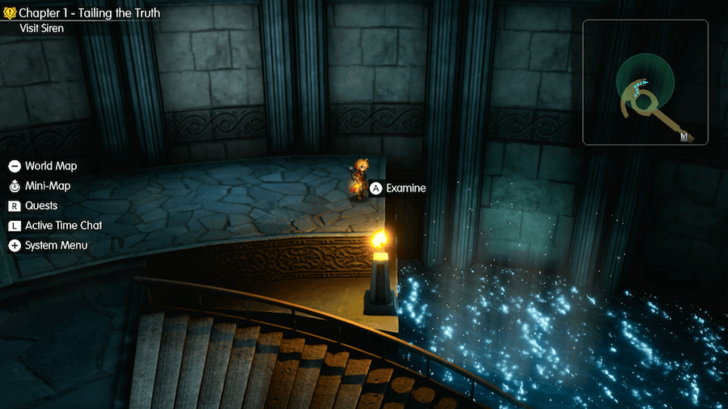
Tablet Shard 9 Location: Cavern of Swords Find the shiny object behind the rock formation at the back of the cave. |
||
 |
||
|
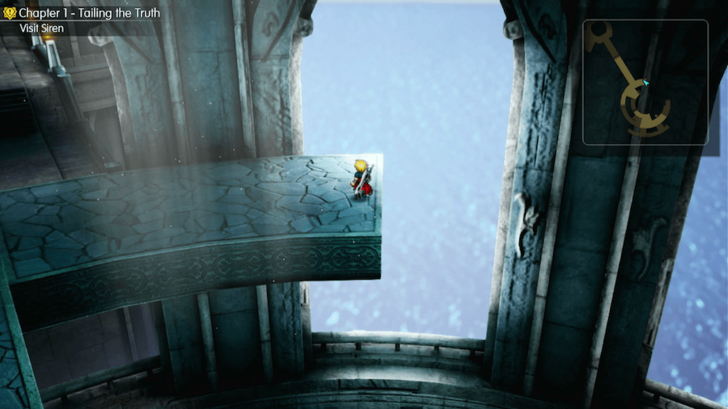
Tablet Shard 10 Location: Siren's Tower East from the central area. |
||
 |
||
|
Tablet Shard 11 Location: Siren's Tower Continue heading east as you reach the fourth floor. |
||
 |
||
|
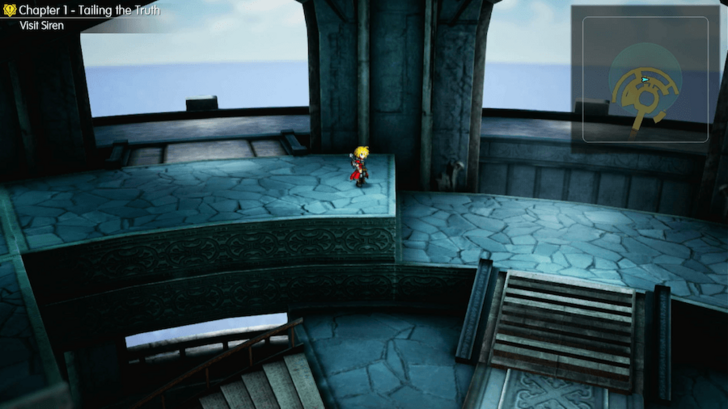
Tablet Shard 12 Location: Siren's Tower Head up the stairs past where you fought Gilgamesh. |
||
 |
||
|
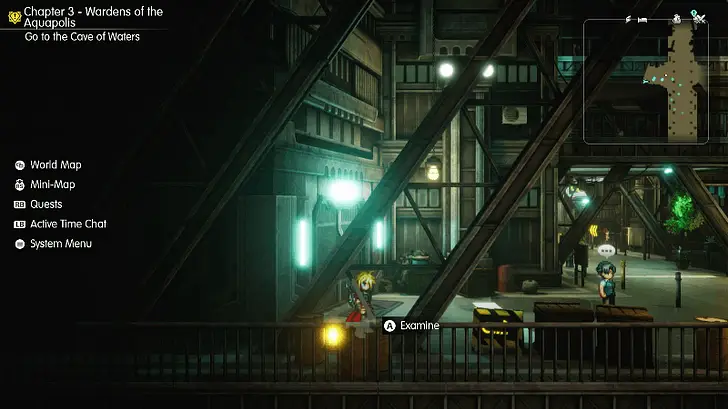
Tablet Shard 13 Location: Dilmagia, the Machinopolis Start from the entrance, and go to the area on the left to find an NPC and a closed gate. The yellow sparkly spot can be foundnear the drums. |
||
 |
||
|
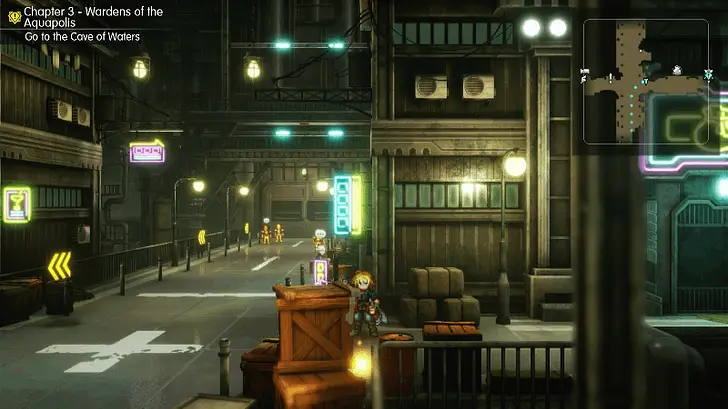
Tablet Shard 14 Location: Dilmagia, the Machinopolis Go to the center of the intersection that has the noticeboard on the west side and shops on the east side. Head right and find the yellow sparkly spot in between the wooden crates and the red drum. |
||
 |
||
|
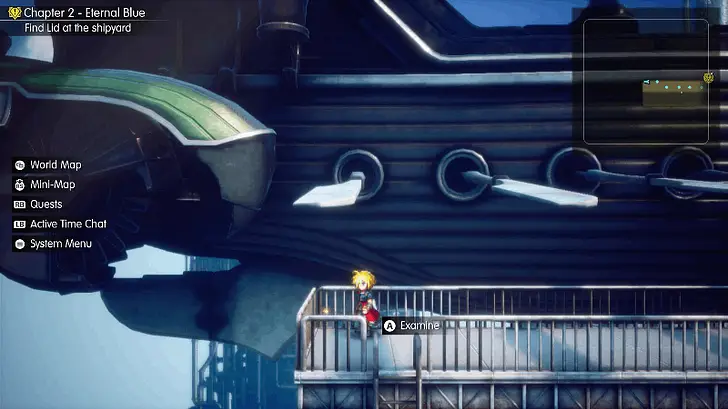
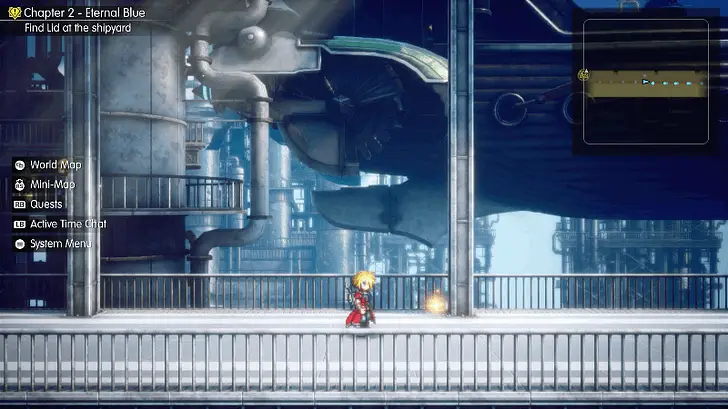
Tablet Shard 15 Location: Dilmagia, the Machinopolis Head to the center of the shipyard area that has the Mechabo and head up stairs to the left. Continue following the path to the left until you reach the end of the hallway containing the yellow sparkling spot. |
||
 |
||
|
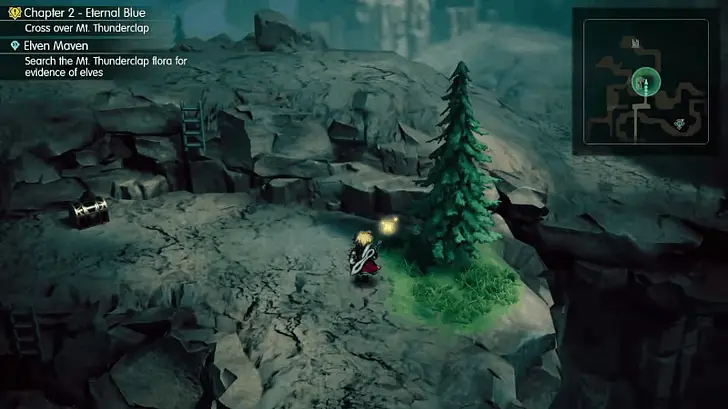
Tablet Shard 16 Location: Dilmagia, the Machinopolis Head to the center of the shipyard area that has the Mechabo and head down the stairs to the right. Continue following the path to the right until you reach the middle of the hallway and find the yellow sparkly spot beside the metal column. |
||
 |
||
|
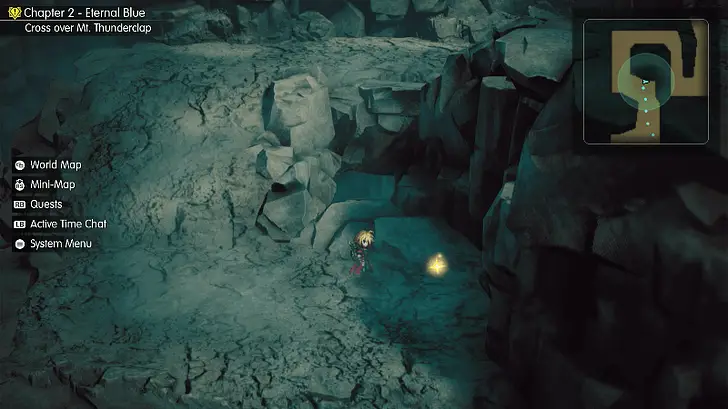
Tablet Shard 18 Location: Mt. Thunderclap Pay 1000 Gil to Lid to spawn the ladder on the cliff left of the entrance of the dungeon. Climb up the ladder and follow the path to reach the sparkly object at the end. If you did not pay 1000 Gil, you can enter Mt. Thunderclap from the back entrance to reach the same area. |
||
 |
||
|
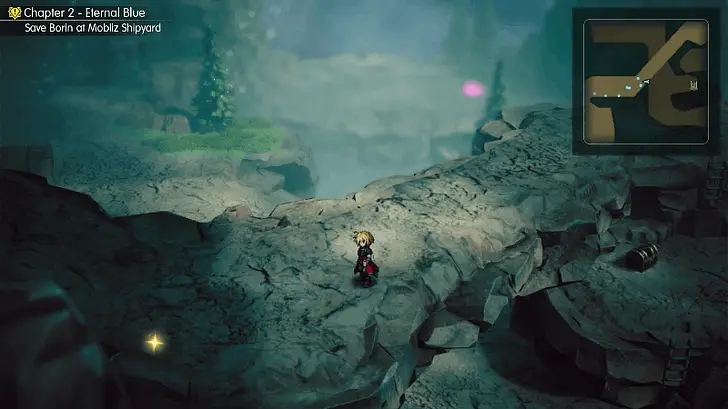
Tablet Shard 17 Location: Mt. Thunderclap Found at the corner on the right side near the path heading up. |
||
 |
||
|
Tablet Shard 19 Location: Mt. Thunderclap Head to the back entrance of Mt. Thunderclap by heading to the path east of the Sanctum of Zidane. Follow the path east and find the sparkly spot tucked away by the cliffside. |
||
 |
||
|
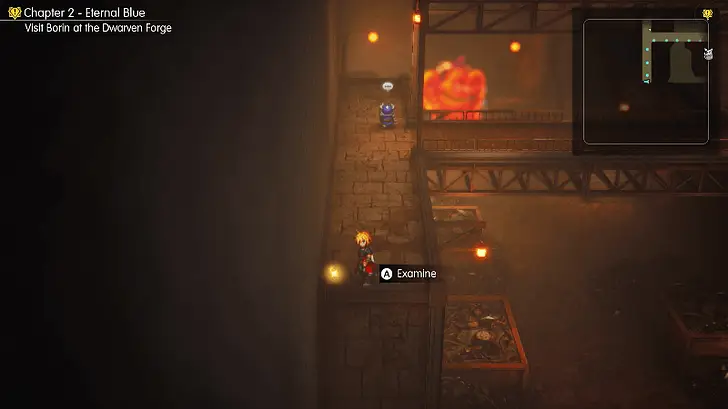
Tablet Shard 20 Location: Dwarven Forge Head left from the weapon shop. Once you see the large bomb enemy, head down and head to the left side across the metal bridge. Head south to reach the end of the hallway that has the sparkly spot. |
||
 |
||
|
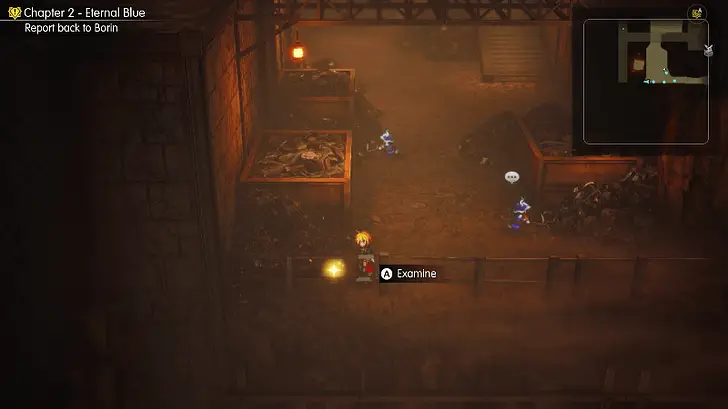
Tablet Shard 21 Location: Dwarven Forge After defeating the Mom Bomb, head south and find the sparkly spot to the left of the dwarf mining the ore. |
||
 |
||
|
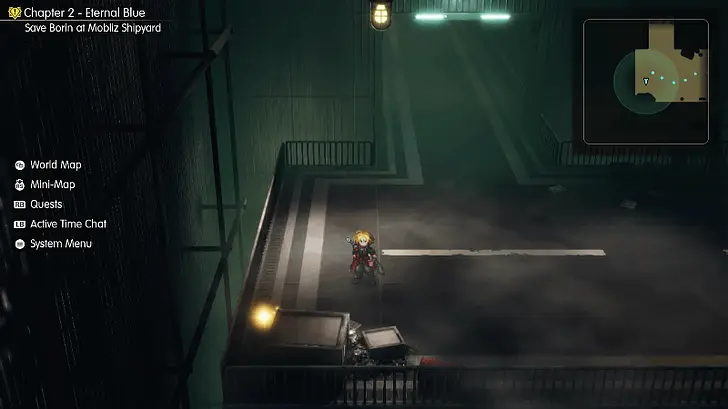
Tablet Shard 22 Location: Mobliz Shipyard Head to the leftmost corner of the first area to find the sparkly spot behind the box. |
||
 |
||
|
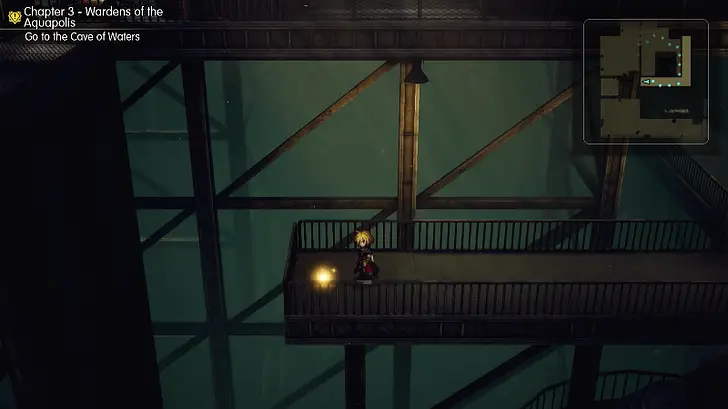
Tablet Shard 23 Location: Mobliz Shipyard Go to the first elevator and head east to the small fenced area that contains generators. Go through the small gap at the lower-right corner behind the generators and go down the ladder. Head west from the ladder to find the sparkly spot. |
||
 |
||
|
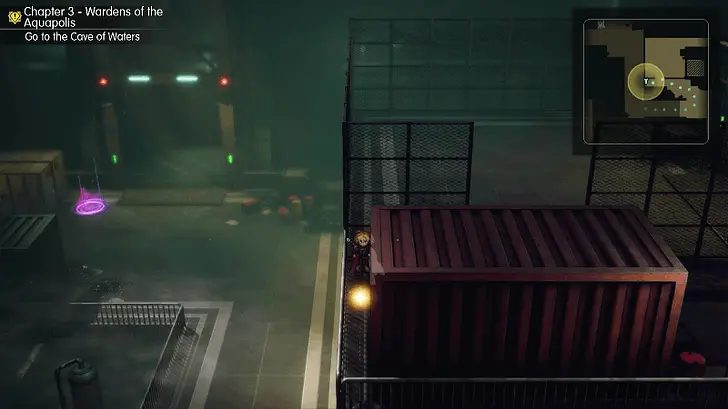
Tablet Shard 24 Location: Mobliz Shipyard Go to the second elevator and head north until you find another elevator behind the two set of generators. Head west towards the red container and go behind it to find the yellow sparkly spot. |
||
 |
||
|
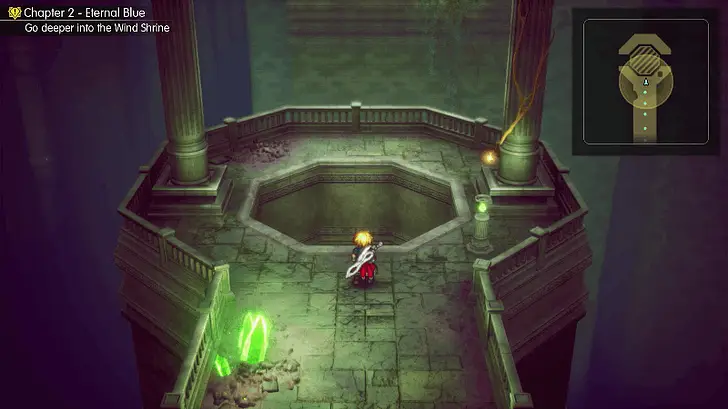
Tablet Shard 25 Location: Wind Shrine Examine the crystal to bring down the elevator platform. Walk at the edge of the platform to reach the sparkly spot at the upper-right corner. |
||
 |
||
|
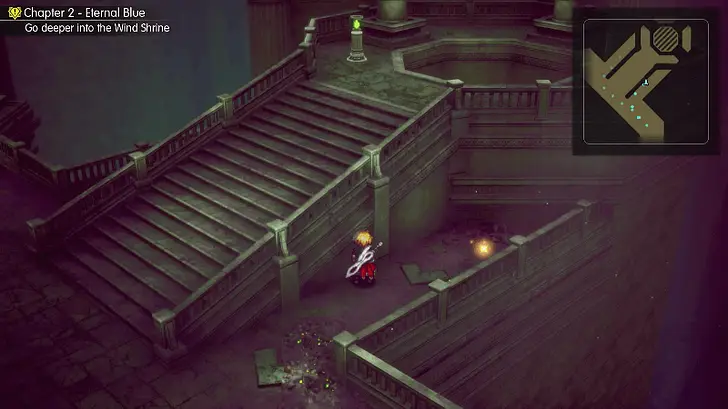
Tablet Shard 26 Location: Wind Shrine After taking the elevator down from the upper-left corner of the map, head west until you find another elevator up on a stairs. The sparkly spot can be found on the right side of the stairs. |
||
 |
||
|
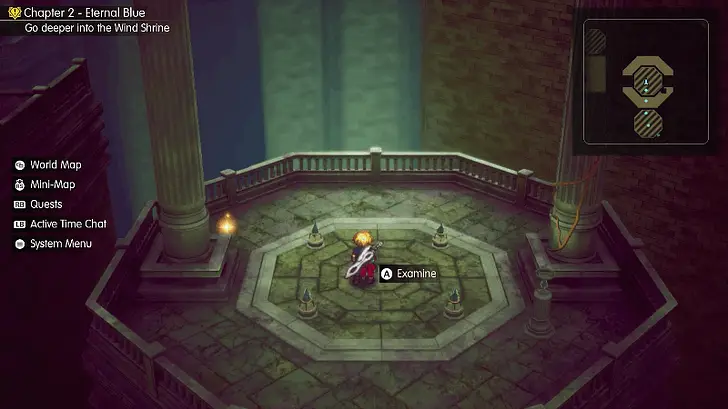
Tablet Shard 27 Location: Wind Shrine The shard can be found at the top-left corner of the very last elevator platform that leads to the second save point of the dungeon. |
||
 |
||
|
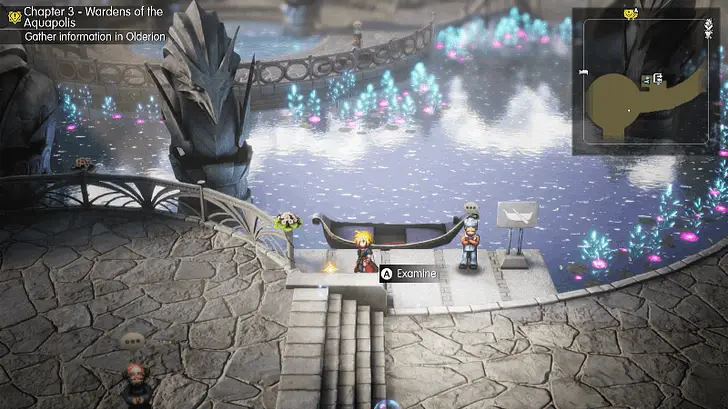
Tablet Shard 28 Location: Olderion, the Aquapolis Find the yellow sparkly spot on the left side of the NPC who offers the boat ride to the inn and old town. |
||
 |
||
|
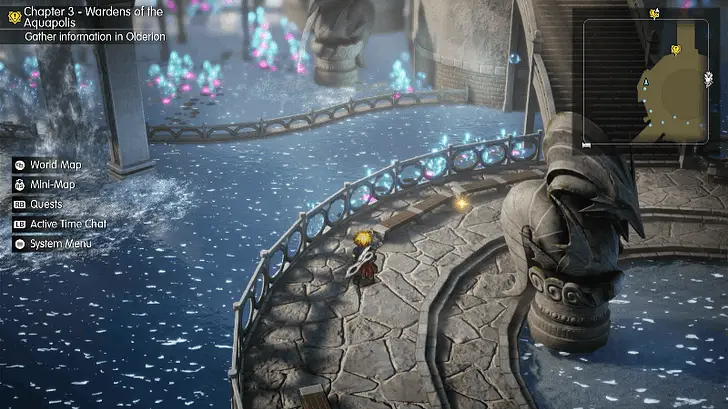
Tablet Shard 29 Location: Olderion, the Aquapolis Head to the center of the city north of the entrance. Find the yellow sparkly spot on the bench at the northwestern corner behind the left statue. |
||
 |
||
|
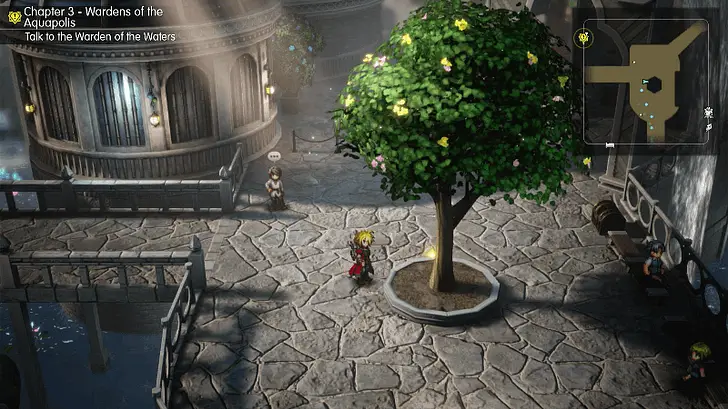
Tablet Shard 30 Location: Olderion, the Aquapolis Head to the center of the city north of the entrance. Head north from the two statues and find the yellow sparkly spot behind the tree. |
||
 |
||
|
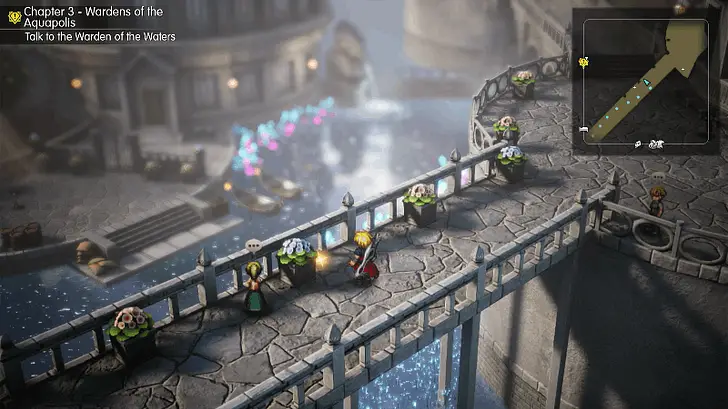
Tablet Shard 31 Location: Olderion, the Aquapolis Head to the center of the city north of the entrance. Head northeast from the two statues and follow the stone bridge path until you reach the yellow sparkly spot behind the plant pot. |
||
 |
||
|
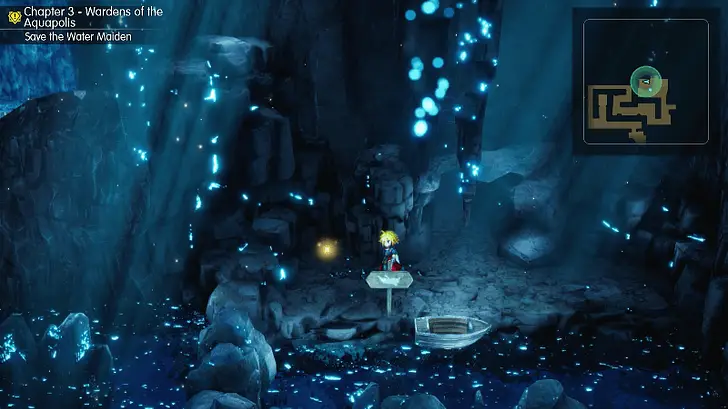
Tablet Shard 32 Location: Cave of Waters The yellow sparkly spot can be found at the end of the boat ride maze area. |
||
 |
||
|
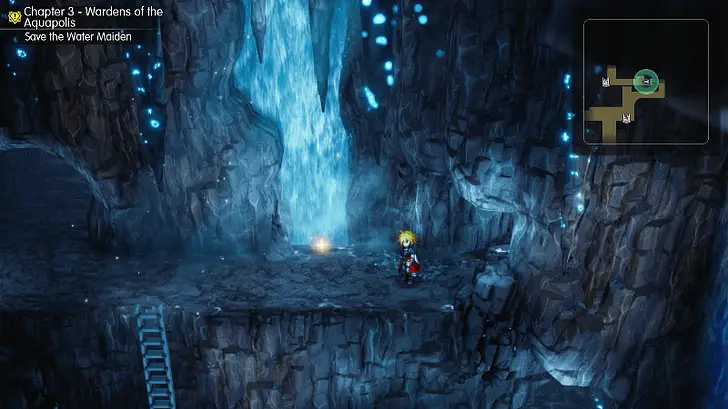
Tablet Shard 33 Location: Cave of Waters The yellow sparkly spot can be found in front of the waterfall after the boat ride maze section. |
||
 |
||
|
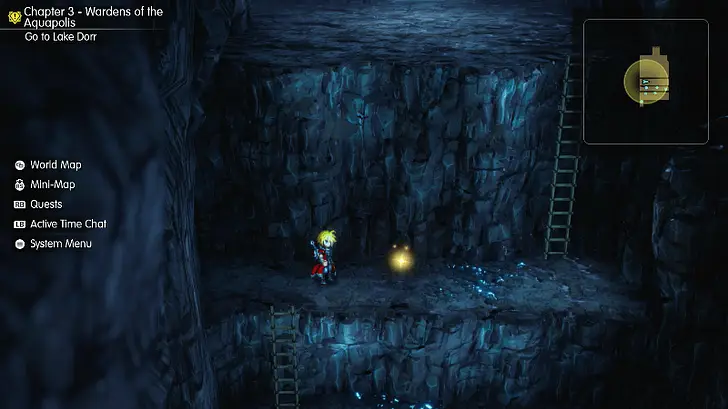
Tablet Shard 34 Location: Cave of Waters After defeating the boss in Old Town, Olderion, go back to the Cave of Waters and enter the area on the left side of the entrance. Once the cutscene ends, climb up the two ladders and find the yellow sparkly spot along the path. |
||
 |
||
|
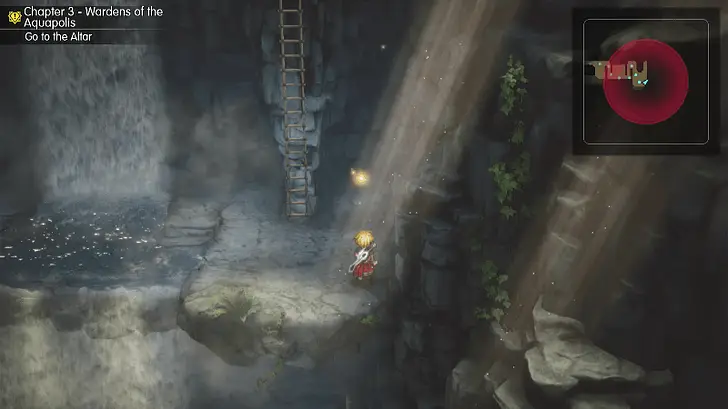
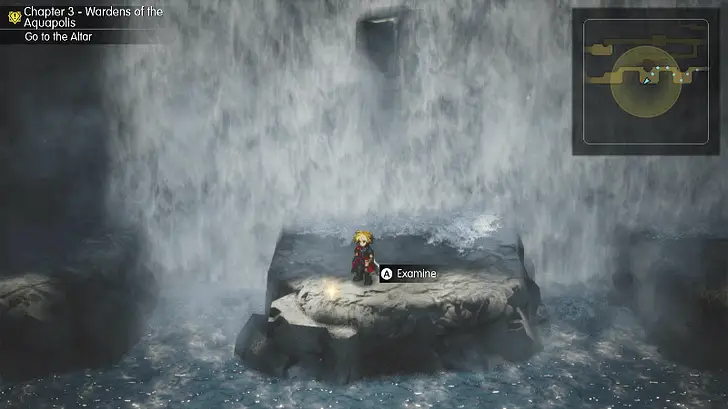
Tablet Shard 35 Location: Waterfall Way On the second area after the cutscene, head up the stairs and follow the path to the rightmost corner of the map. Find the sparkly spot on the right side of the ladder. |
||
 |
||
|
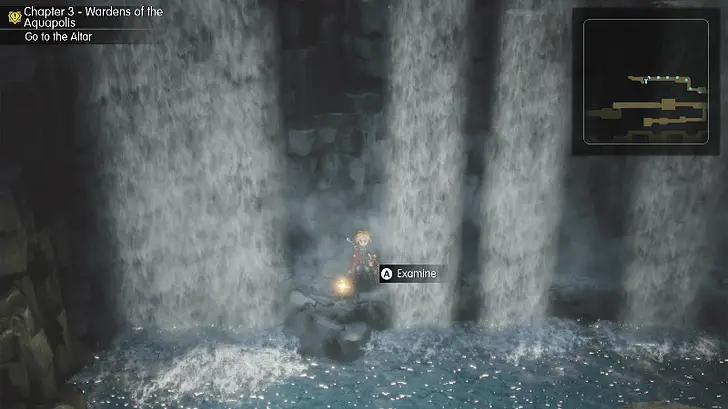
Tablet Shard 36 Location: Waterfall Way Find the sparkly spot in the area with the large waterfalls and stone platforms. |
||
 |
||
|
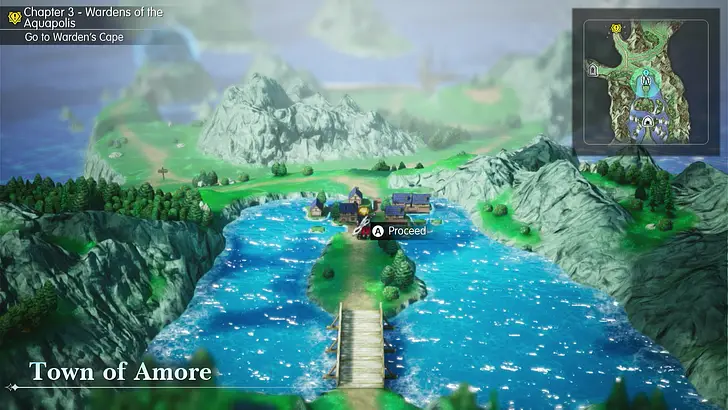
Tablet Shard 37 Location: Waterfall Way In the area with the large waterfalls and stone platforms, climb up to reach the top-left corner of the map. Find the sparkly spot at the leftmost path that has the multiple waterfalls. |
||
 |
||
|
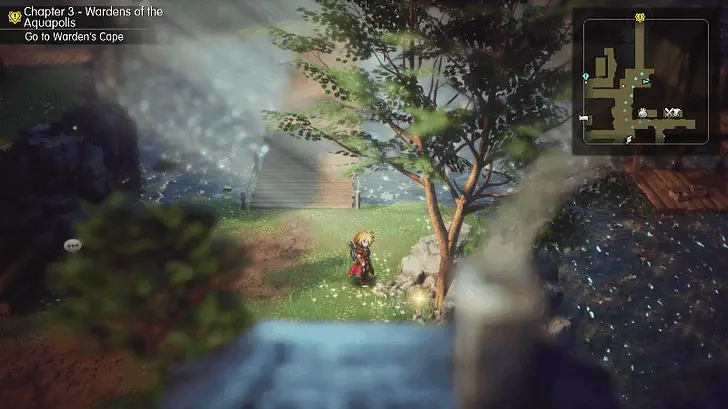
Tablet Shard 38 Location: Town of Amore Head south of the equipment and item shop and find the yellow sparkly spot next to the well. |
||
 |
||
|
Tablet Shard 39 Location: Town of Amore Head north of the item shop and head east towards the tree to find the yellow sparkly spot beside it. |
||
 |
||
|
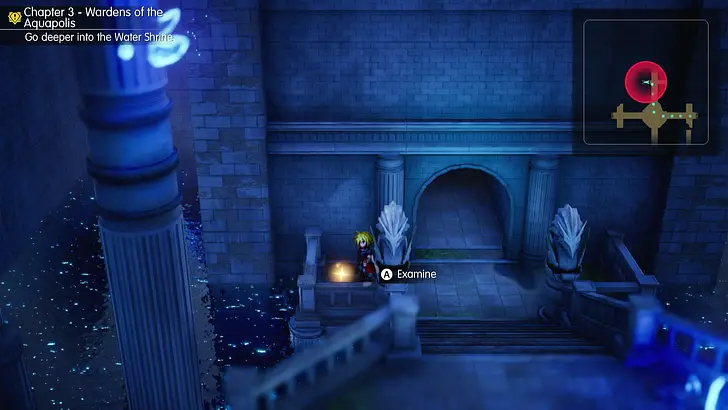
Tablet Shard 40 Location: Water Shrine After lowering the water level to allow you to enter the north path from the four cross-shaped room, head towards the north path and find the yellow sparkly spot at the left side. |
||
 |
||
|
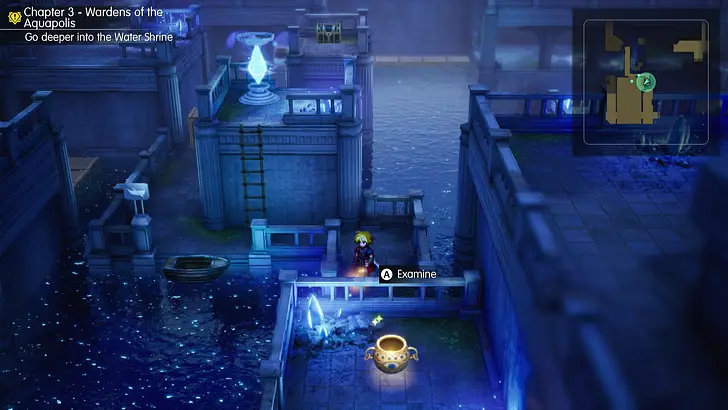
Tablet Shard 41 Location: Water Shrine Go to the four cross-shaped room and head to the northern room. Proceed through the path at the top corner of the map and lower the water level down to access the boat at the bottom-left corner. Board the board to reach the small area that has the sparkling spot north of the Viridian Pot enemy. |
||
 |
||
|
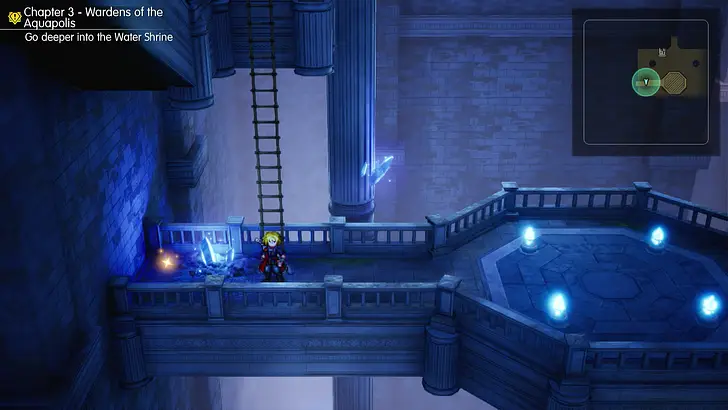
Tablet Shard 42 Location: Water Shrine After lowering the water level from the northern room, go back to the cross-shaped room and head southwest. Follow the path down and descend the long ladder to reach the yellow sparkly spot on the left side. |
||
 |
||
|
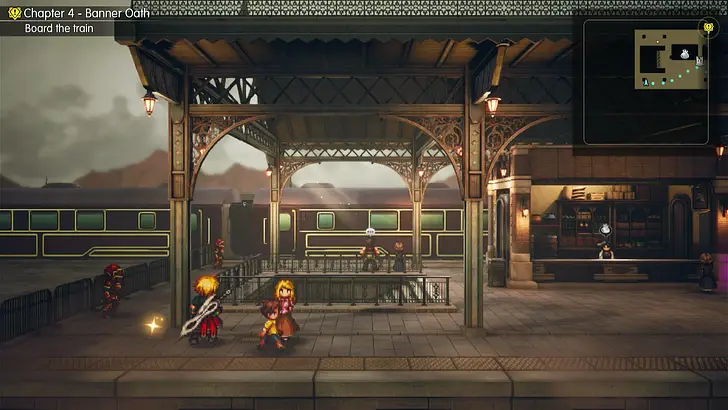
Tablet Shard 43 Location: Mozul Station Head to the left corner of the area to find the yellow sparkly spot near the metal column. |
||
 |
||
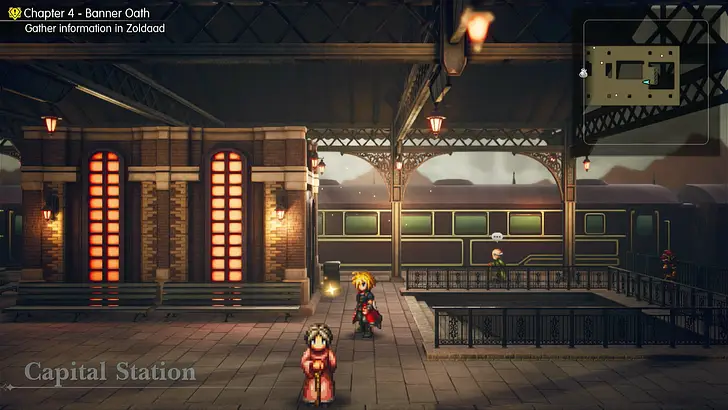
|
Tablet Shard 44 Location: Capital Station The yellow sparkly spot is located at the eastern staircase right at the entrance of the station. |
||
How to Use Tablet Shards
Hand Over the Shards to the Enigmatic Princess
| Map Location | 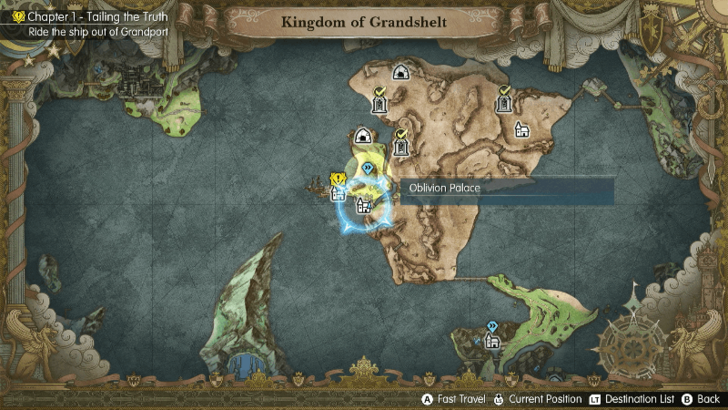 |
|---|---|
| Overworld | 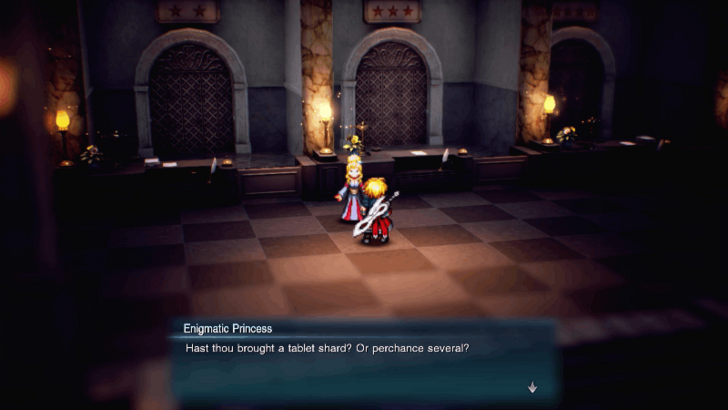 |
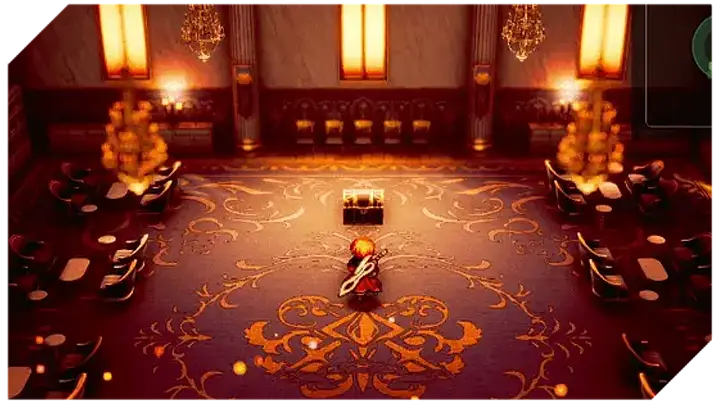
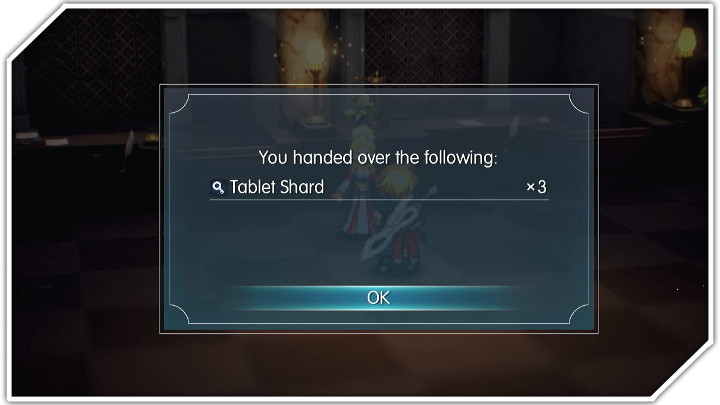
You can hand over the Tablet Shards that you have collected to the Enigmatic Princess at the Oblivion Palace. The palace can be found southeast of the Grandport Harbor at the Kingdom of Grandshelt.
Behind the princess are four chambers containing multiple treasure chests that can only be opened when you hand over a specific number of Tablet Shards.
All Tablet Shard Rewards
1-Star Chamber Treasure Chests
| # | Rewards and Total Shards Required |
|---|---|
| 1 | Vitality Charm (3) |
| 2 | Earrings (6) |
| 3 | Magicite Shard (9) |
| 4 | Stagger Ring (12) |
| 5 | Dreadwing Mallet |
| 6 | Compound Bow |
| 7 | Magicite Shard |
| 8 | Astral Jacket |
2-Star Chamber Treasure Chests
| # | Rewards and Total Shards Required |
|---|---|
| 1 | Cure Drop |
| 2 | Celaeno Fragments |
| 3 | Magicite |
| 4 | Phantom Robe |
| 5 | Repeater Rifle |
| 6 | Protective Gear |
| 7 | Briar Edge |
| 8 | War Pick |
3-Star Chamber Treasure Chests
| # | Rewards and Total Shards Required |
|---|---|
| 1 | Magicite Cryst |
| 2 | Mirage Jacket |
| 3 | Sundering Odachi |
| 4 | Ancient Firearm |
| 5 | Adamantite |
| 6 | Ancient Whip |
4-Star Chamber Treasure Chests
| # | Rewards and Total Shards Required |
|---|---|
| 1 | Adamantite |
| 2 | Arch Drain |
| 3 | Lightbringer |
Final Fantasy Resonance (FF Resonance) Related Guides
 Final Fantasy Resonance Walkthrough and Guides Wiki
 Looking for Great Games! |
Is Final Fantasy Resonance one of your favorite games? Answer our Best Games Survey and share your unique voice with Game8's readers! |
|---|
Guides by Category
 Walkthrough |
 Visions |
 Tips and Tricks |
 Characters |
 Side Quests |
 Interactive Map |
 Espers |
 Bosses |
 Skills |
 Weapons |
 Armor |
 Accessories |
 Items |
 News |
Recommended Guides
 Best Skills and Abilities to Equip
 Best Visions for Each Character
 Best Early Game Builds
 Best Weapons and Equipment
 Best Visions Tier List
 Best Party Setup and Team Composition
 Best Visions to Awaken First
 Demo Guide
 All Dialogue Options and Answers
 List of All Equipment
 How to Farm MRP Fast
 EXP Farming Guide
 Trophy Guide and Achievements List
 List of All Missables and Points of No Return
 All Chest Locations
 All Tablet Shard Locations
 All Magicite Locations
 All Sanctum Locations
 All Cave Master Locations
 How to Find Mysidia
Comment



Author

All Tablet Shard Locations

Rankings
- We could not find the message board you were looking for.
Gaming News






Popular Games

Genshin Impact Walkthrough & Guides Wiki
Fire Emblem: Fortune's Weave (FEFW) Walkthrough & Guides Wiki
Aniimo Walkthrough & Guides Wiki
Wuthering Waves Walkthrough & Guides Wiki
Dragon's Dogma 2 (DD2) Dark Arisen Walkthrough & Guides Wiki
Umamusume: Pretty Derby Walkthrough & Guides Wiki
Honkai: Star Rail Walkthrough & Guides Wiki
Zenless Zone Zero Walkthrough & Guides Wiki
Pokemon TCG Pocket (PTCGP) Strategies & Guides Wiki
AION 2 Walkthrough & Guides Wiki










Recommended Games
Fire Emblem Heroes (FEH) Walkthrough & Guides Wiki
Where Winds Meet Walkthrough & Guides Wiki
Diablo 4: Lord of Hatred Walkthrough & Guides Wiki
Super Smash Bros. Ultimate Walkthrough & Guides Wiki
Persona 3 Reload Walkthrough & Guides Wiki
The Legend of Zelda: Tears of the Kingdom Walkthrough & Guides Wiki
Elden Ring Walkthrough & Guides Wiki
Pokemon Brilliant Diamond and Shining Pearl (BDSP) Walkthrough & Guides Wiki
Cyberpunk 2077: Ultimate Edition Walkthrough & Guides Wiki
Monster Hunter World Walkthrough & Guides Wiki










All rights reserved
© SQUARE ENIX
LOGO ILLUSTRATION: © YOSHITAKA AMANO
The copyrights of videos of games used in our content and other intellectual property rights belong to the provider of the game.
The contents we provide on this site were created personally by members of the Game8 editorial department.
We refuse the right to reuse or repost content taken without our permission such as data or images to other sites.