
Chapter 1 Walkthrough Guide
★ FF Resonance is Out Now!
☆ Best Visions for Each Character
★ Tier List | Early Game Builds | Best Skills
☆ All Dialogue Choices and Answers
★ Find all Chests, Tablet Shards, and Magicites
☆ Farming Guides for EXP and MRP
This is walkthrough guide for Chapter 1, Trailing the Truths, of Final Fantasy Resonance (FF Resonance). See a step-by-step guide on how to beat this chapter, as well as a list of side quests and bosses encountered here.
| Next Chapter ▶ |
|---|
| Eternal Blue |
List of Contents
Chapter 1 Walkthrough
| List of Objectives |
|---|
|
・Complete the Prologue. ・Leave Grandshelt Castle. ・Investigate the Earth Shrine. ・Go to the town of Mitra. ・Go to Rain's house. ・Investigate Rain's house. ・Equip a vision. ・Go to Grandshelt Castle. ・Save the King of Grandshelt. ・Go to the village of Kol. ・Stat at the inn in the village of Kol. ・Rent a chocobo. ・Go to the town of Felicitas. ・Go to the Kolobos Ruins. ・Look for Emma's mom. ・Find a ship in Grandport. ・Visit Siren. ・Ride the ship out of Grandport. |
Step-by-Step Guide
 Once you start the game, you will need to go through a quick prologue that acts as a simple tutorial for the game's basic combat mechanics. If you wish to rush through this quickly, just spam Thundaga and summon Bahamut when you're prompted to.
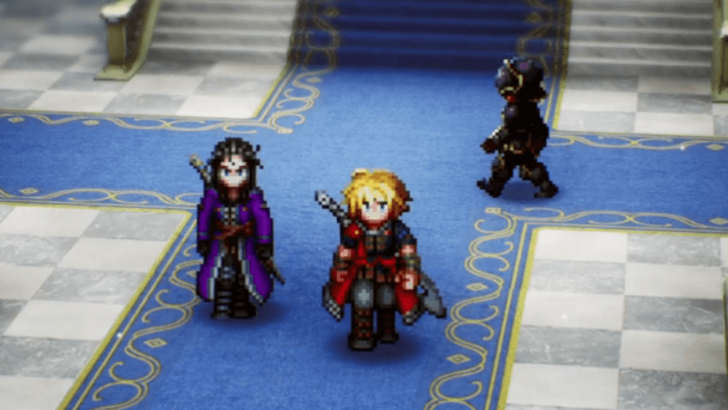 After finishing the prologue, you will gain control of 2 of the main characters, Rain and Laswell. Right now, there's nothing much to do in the castle, so head outside to go to the first dungeon of the game.
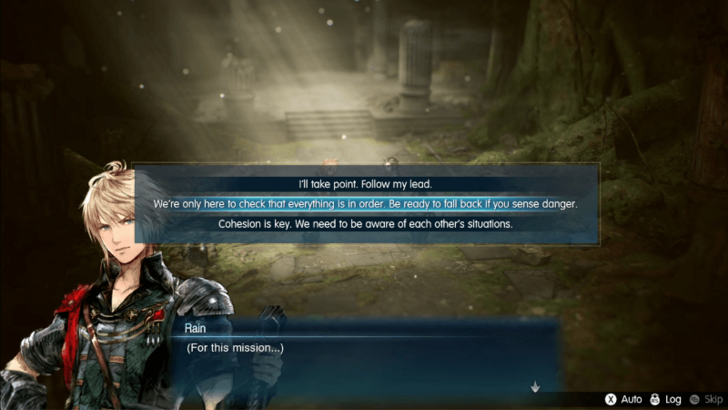
Make sure not to mash through every cutscene since some of them will have important choices like this, and you don't want to give characters an unoptimal stat boost. All Dialogue Choices and Answers
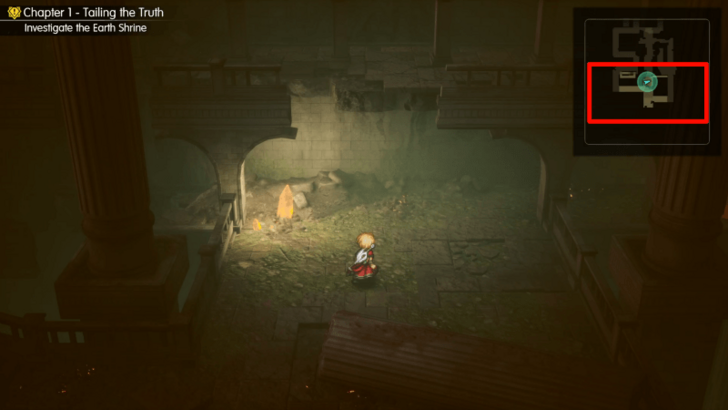
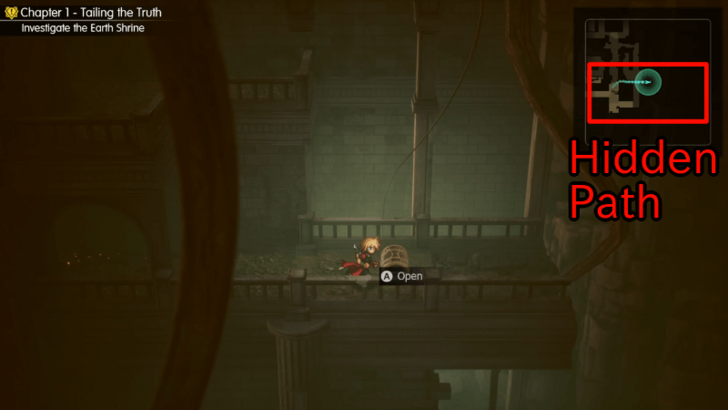
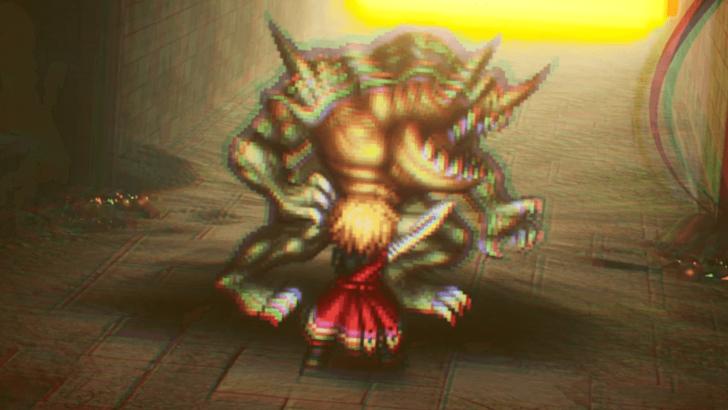
After you're done exploring, head towards the back of the dungeon to face the Belmodar. This boss is susceptible to Fire, so have Rain exploit its weakness while Laswell uses his highest staggering move to take them down. How to Beat Belmodar
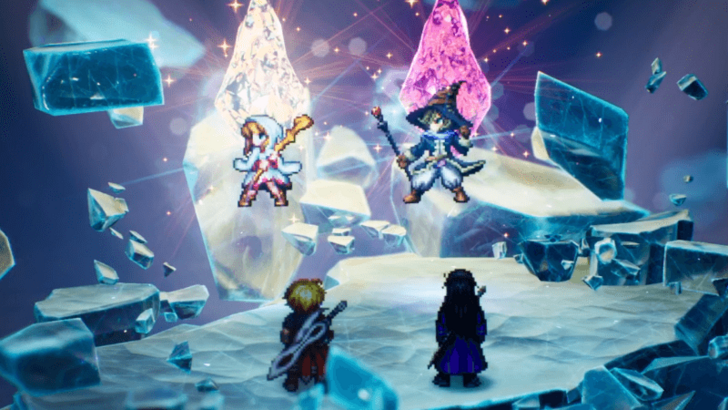 Once all the cutscenes are over, leave the dungeon and head towards Mitra. Again, make sure you fully explore any new overworld areas you go to since there are items and secret paths scattered around the world.
For this section, however, you'll want to head straight to Mitra first since you get your first two Visions there. You'll want to equip Leah on Rain and Tronn on Lasswell as soon as possible so you can start levelling them up. Interactive Map
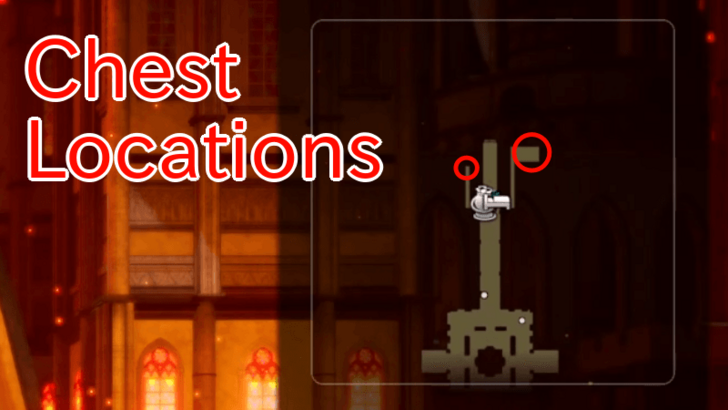
If you're low on funds, there are two chests to the sides of the entrance. The left one has 400 Gil, while the right one has 3 Phoenix Downs you can sell. However, it's recommended to hold on to the Phoenix Downs since they'll be useful in the upcoming dungeon.
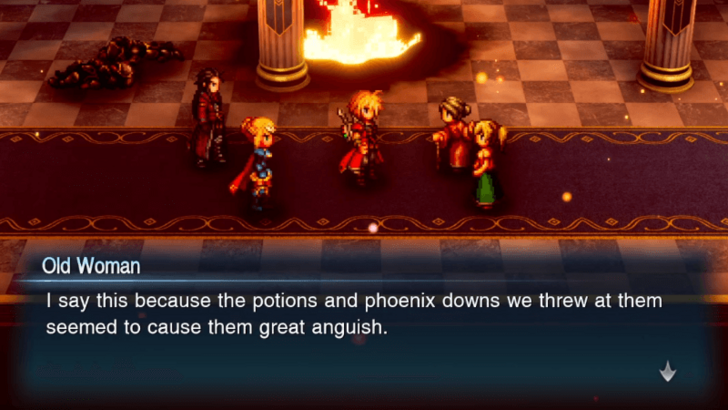 Once you're ready, head inside the castle and go through the dungeon to reach the king. The enemies in this area are undead, meaning that they will be susceptible to healing and Light attacks. If you want to quickly get through the random encounters, you can spam healing items, like Phoenix Downs, to quickly kill enemies.
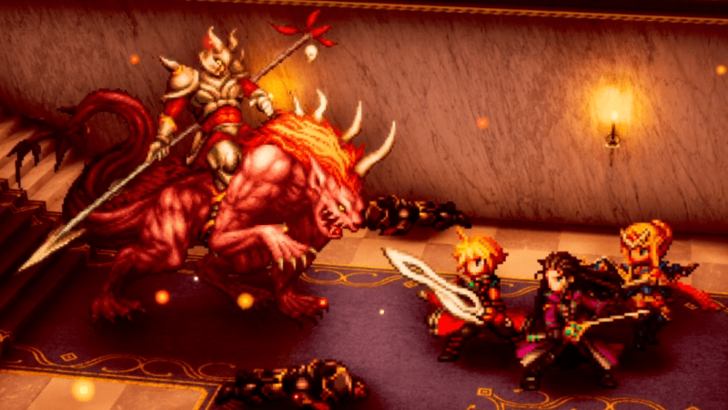 Towards the end of the dungeon, you will need to face the Hell's Rider, who's accompanied by 3 Dark Skeletons. Focus on killing the skeletons first, so you only have to worry about the main boss during the fight.
Hell's Rider is weak to Light and Ice attacks, which both Rain and Lasswell should have access to. Have Lasswell spam Dawn Frost to build stagger, while Rain can either spam regular Attacks to conserve MP, or use Leah's Banish for max damage. How to Beat Hell's Rider
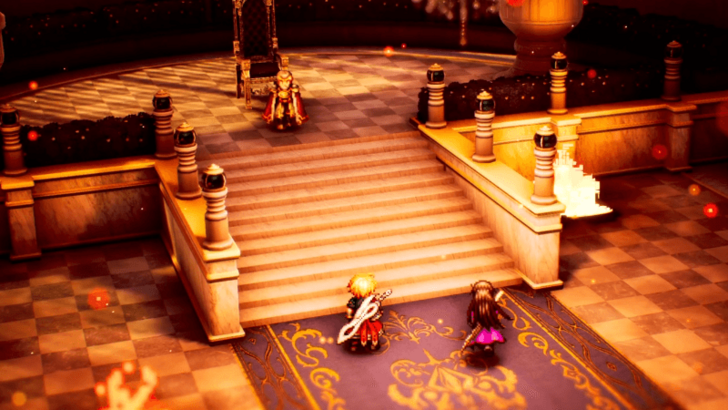 After the boss goes down, continue through the dungeon until you reach the end and rescue the King. Just make sure to fully explore the castle first since you can't return here for a while.
Once you've rescued the king, you'll have to face Umbra, the knight you met at the Earth Shrine. Don't waste any of your resources here since he cannot be defeated, and this fight is meant to be a scripted loss.
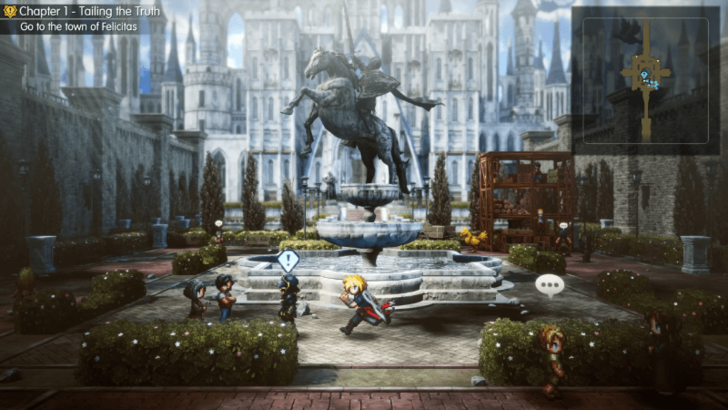
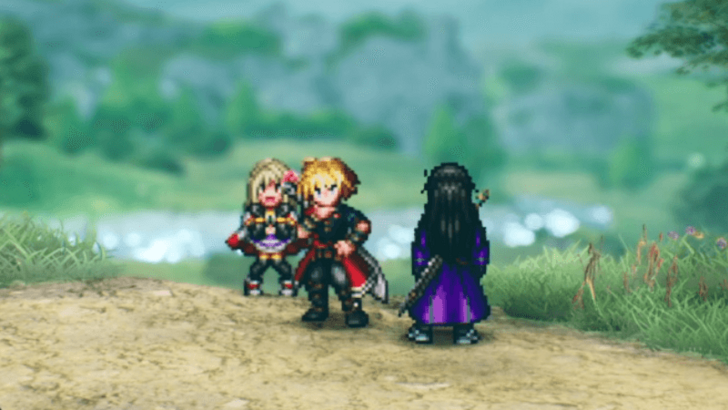
When you leave the city, Fina will join you as a new party member. If you wish, you can equip Leah on her instead of Rain since she's meant to be the party's dedicated healer. Also, make sure to look out for exclamation marks so you can accept Sub Quests that give extra rewards when completed. How to Beat the Antlion
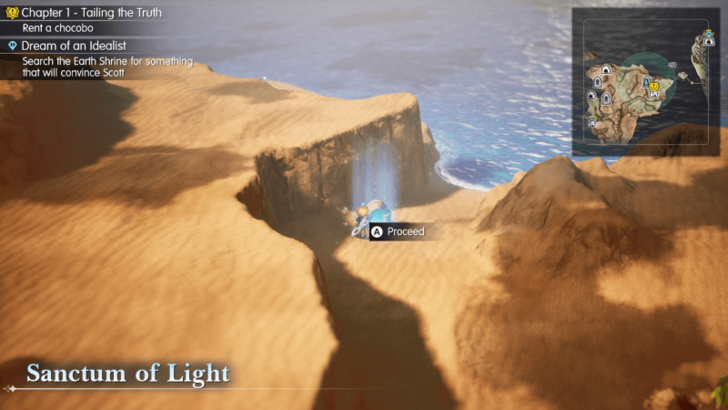
For now, you'll be able to get the Warrior of Light near Kol, followed by Cloud, and Terra once you get access to Chocobos. WoL is best used on Rain, Cloud should be on Lasswell, while Terra goes on Fina, once she's mastered Leah's skills. List of All 26 Visions
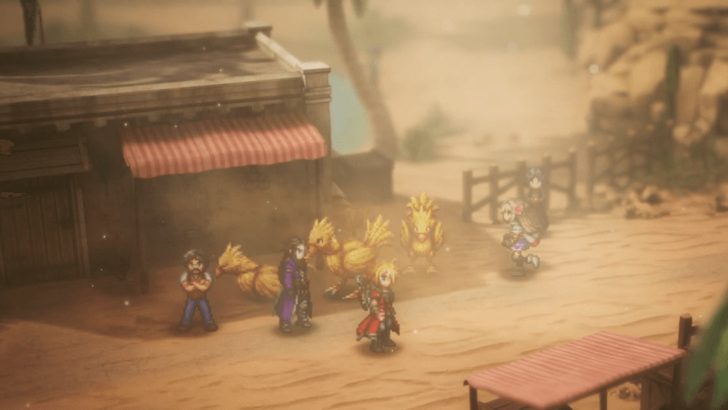 Once you're done exploring, you can head to the Village of Kol and sleep at the inn. After sleeping, you'll now be able to get Chocobos to pass the sinkhole and avoid fighting the Antlion. This allows you to continue exploring the region for items and Visions, as well as visiting locations to unlock them as fast travel options.
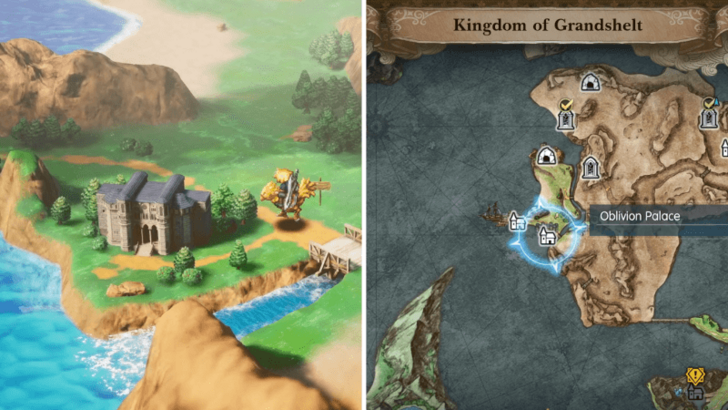
Make sure to visit this area every now and then to give the Enigmatic Princess your Tablet Shards. If you forget about the rewards at this location, you might obtain the item rewards way too late for them to be useful. All Tablet Shard Locations
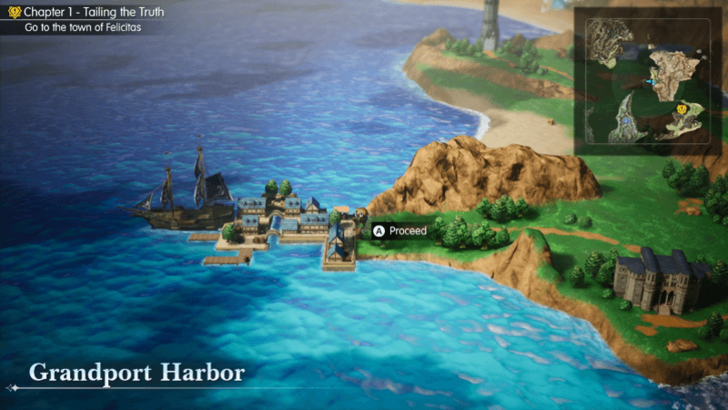
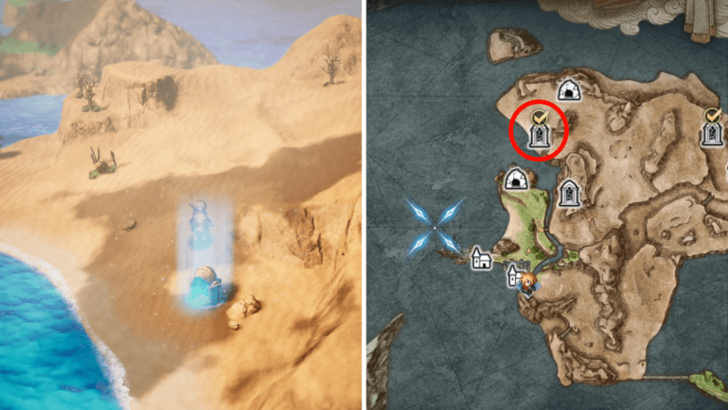
Also, before you continue southwards, make sure to head north of the harbor to visit the Sanctum of Light to get Cloud's Vision.
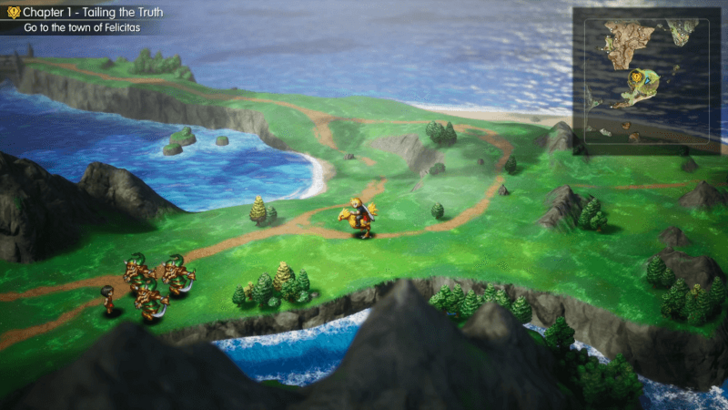
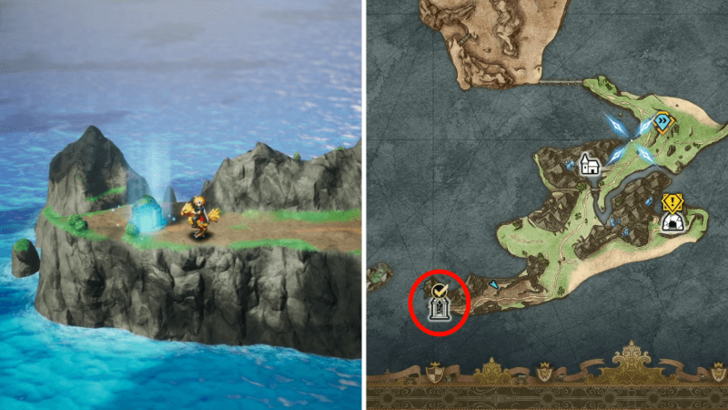
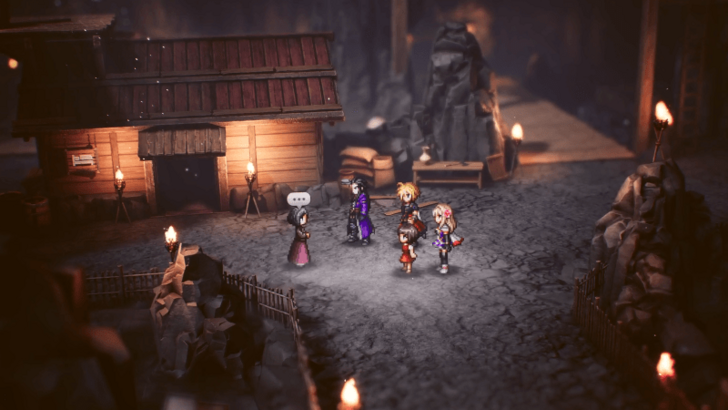
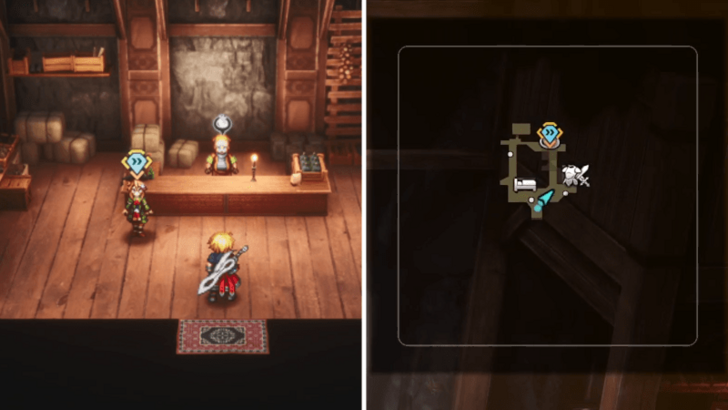
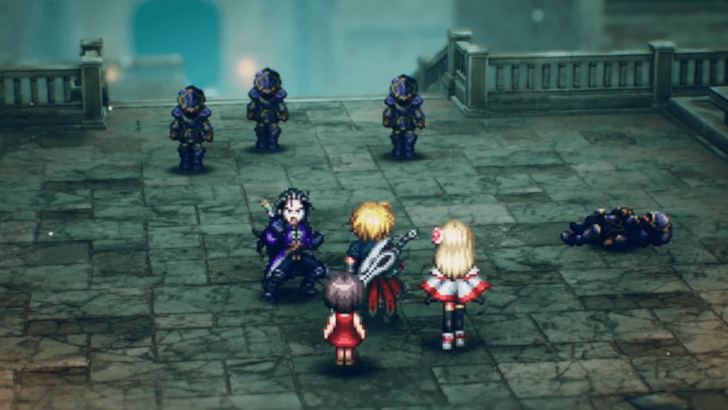 After you're done with the Secrets Unearthed side quest, you can continue to Kolobos Ruins. This is a relatively simple dungeon with a few hidden paths, but the boss at the end can be annoying if you don't manage your resources properly.
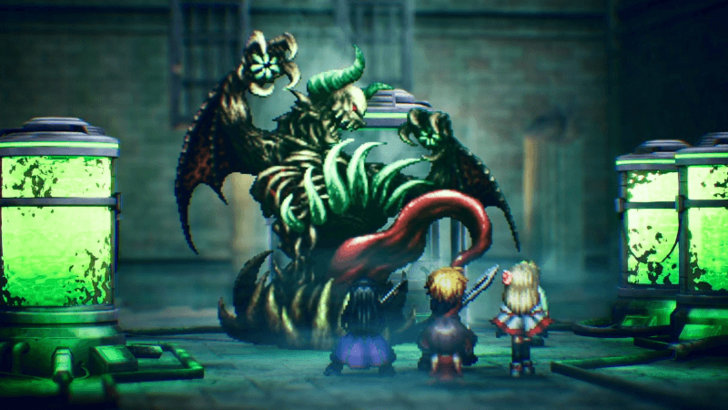 When you're ready, head to the end of the dungeon to face this area's boss, The Hunger. The fight itself isn't hard, but there are two phases where the first is weak to Ice, while the second is accompanied by 2 soldiers and is weak to Light.
Just make sure not to use all of your resources in the first phase, and focus on defeating the soldiers first during the second one. How to Beat The Hunger
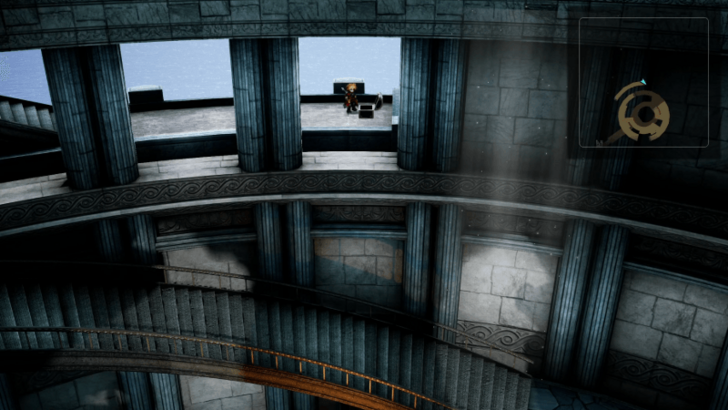
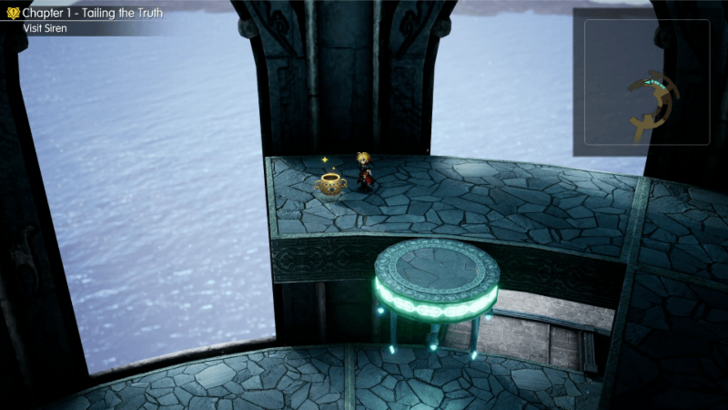
On the way up, make sure you at least grab the Monk's Prayer Beads and fight the Citrine Pot to give it an Ether in exchange for an Elixir and a ton of MRP.
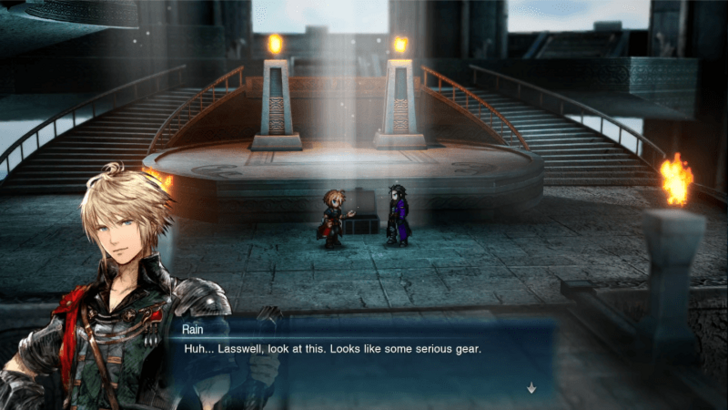 Around halfway through the tower, you'll encounter a chest that contains a pair of Genji Gloves. However, it will be stolen by Gilgamesh , and you can't get it back since they'll still keep it even when defeated .
Before continuing up the tower, make sure to equip Rain and Fina with the Monk's Prayer Beads so they won't get affected by Charm from the upcoming boss' attacks.
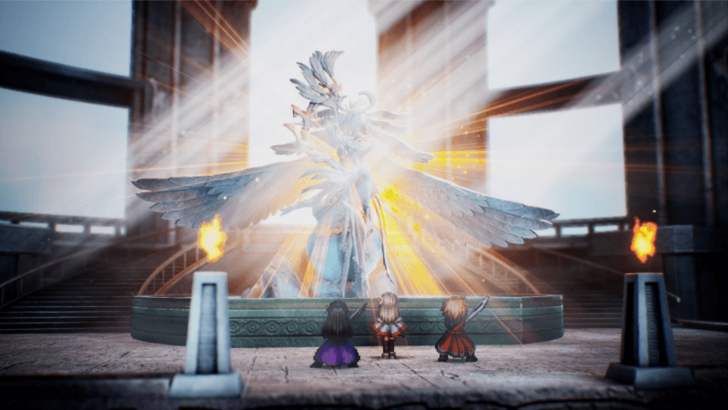
Once the battle's over, Siren will join you as a summon, and you'll get a dialogue choice to increase one of Fina's stats. For this one, it's generally recommended to pick the 1st option for more MP since she's a caster that constantly wants to spam skills. How to Beat Siren and Weaknesses
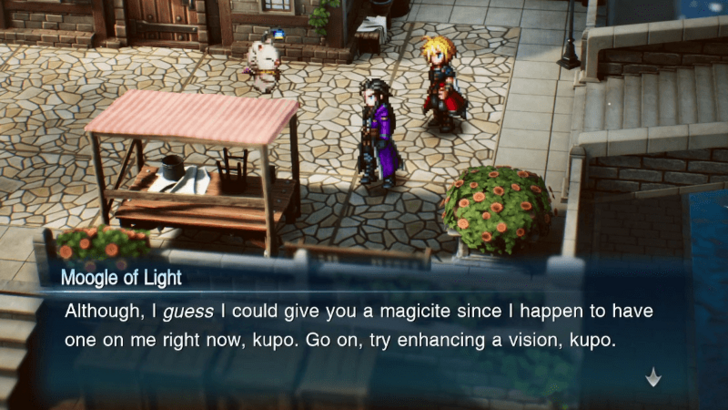 When you get back to Grandport Harbor, there will be a short cutscene introducing a moogle that can upgrade your Visions, allowing them to use stronger skills in battle. Whenever you get new Magicite Shards, make sure to visit them so you don't fall behind the power curve.
All Magicite Locations
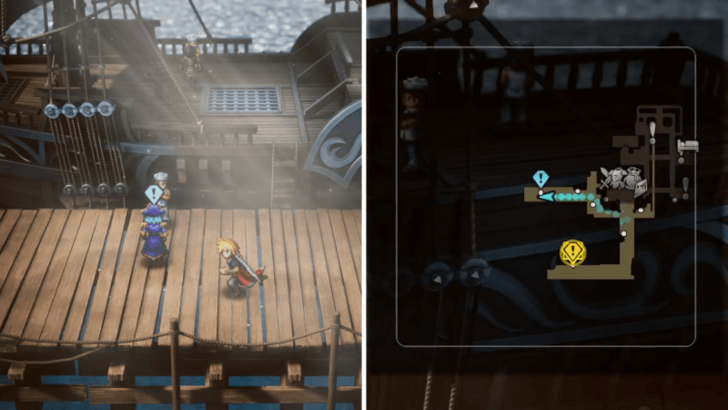
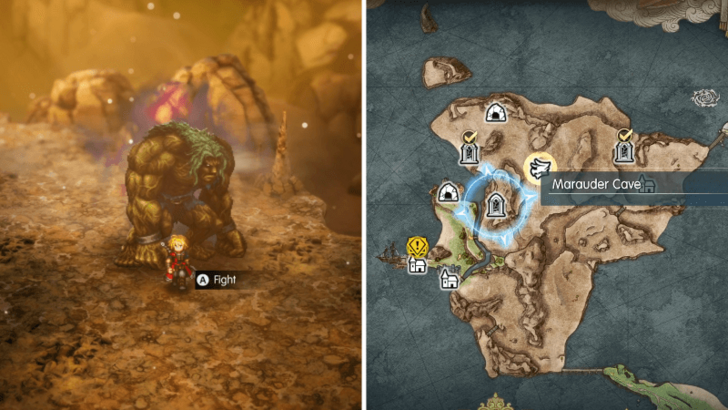
One thing you don't want to miss is the Marauder inside the cave north of the port. Defeating them will give you a Magicite Shard to upgrade your Visions, and once that's done, you're free to leave the region and end Chapter 1. How to Beat Marauder and Weaknesses
Chapter 1 Bosses
List of All Bosses Encountered
| Boss | Information |
|---|---|
 Belmodar Level: 4 HP: 2000 |
Location:
Earth Shrine
Weaknesses:
 Fire  Dark |
|
Boss Tips: ・Repeatedly have Rain cast Fire to deplete its stagger gauge. ・If you picked up Flame Scroll I beforehand, have Lasswell use it to further deplete the stagger gauge. |
|
 Hell's Rider Level: 6 HP: 4000 |
Location:
Grandshelt, the Royal Capital
Weaknesses:
 Ice  Light |
|
Boss Tips: ・Cast Ice and Light skills to stagger. ・Use Tronn's Hibernal Fury to exploit its weakness further. ・Use Rain and Lasswell's Limit Bursts once available. |
|
 Poison Flora Level: 7 HP: 1200 |
Location:
Overworld Weaknesses:
 Wind Fire |
|
Boss Tips: ・Spam Fire using Rain. ・Don't waste items or MP on healing poison if you're not low on HP. |
|
 Antlion Level: 20 HP: 20000 |
Location:
Overworld Weaknesses:
 Water |
|
Boss Tips: ・Equip Physical Counter to counter their counters. ・Use Cloud and Terra to target the Antlion's Water weakness. ・Increase your defense with Protect spells, or reduce its attack with Debraver |
|
 Marauder Level: 15 HP: 30000 |
Location:
Marauder Cave
Weaknesses:
Wind
|
|
Boss Tips: ・Spam Protects and Debravers to minimize damage taken. ・Summon Siren to target its Wind weaknesses. ・Can always come back later once you're stronger and have more consistent Wind attacks. |
|
 The Hunger Level: 9 HP: 2500 |
Location:
Kolobos Ruins
Weaknesses:
Ice
|
|
Boss Tips: ・Don't waste resources since there will be a second phase. ・Use Ice on the first form, and then Light on the second one. ・Try to stagger the first form before killing it since you can get free turns at the start of the second phase. |
|
 Imposter Soldier Level: 10 HP: 1600 |
Location:
Kolobos Ruins
Weaknesses:
Ice Dark
|
|
Boss Tips: ・Stagger him quickly with Lasswell's Dawn Frost skill. ・Remove any paralysis to avoid your entire party getting stunned. |
|
 Gilgamesh Level: 11 HP: 6000 |
Location:
Siren's Tower
Weaknesses:
|
|
Boss Tips: ・Will always flee, so don't use all of your MP or items. |
|
 Siren Level: 11 HP: 20000 |
Location:
Siren's Tower
Weaknesses:
 Lightning |
|
Boss Tips: ・Equip Rain and Fina with Monk's Prayer Beads to nullify charm. ・Stagger using Cloud and WoL's Thunder skills, then use Cloud's Ascension Resonance for maximum damage. ・Have Fina focus on healing and supporting while the two boys go on the offensive. |
Chapter 1 Side Quests
List of All Available Sub Quests
| Quest | Information |
|---|---|
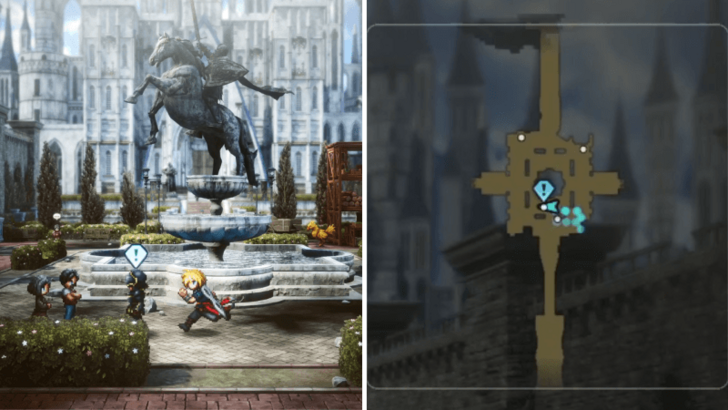 |
Location:
Grandshelt, the Royal Capital
Rewards:  500 Gil |
|
|
Location:
Town of Felicitas
Rewards: |
|
|
Location:
Grandport Harbor
Rewards: 500 Gil |
|
|
Location:
Grandport Harbor
Rewards: 500 Gil |
 Flamberge
 Magicite Shard
 Monk's Prayer Beads
 Iwakirimaru
List of All Side Quests (Sub Quests)
Final Fantasy Resonance (FF Resonance) Related Guides

List of All Chapters
| 1 | Trailing the Truths |
|---|---|
| 2 | Eternal Blue |
| 3 | Wardens of the Aquapolis |
| 4 | Banner Oath |
Comment



Author

Chapter 1 Walkthrough Guide

Rankings
- We could not find the message board you were looking for.
Gaming News






Popular Games

Genshin Impact Walkthrough & Guides Wiki
Fire Emblem: Fortune's Weave (FEFW) Walkthrough & Guides Wiki
Aniimo Walkthrough & Guides Wiki
Wuthering Waves Walkthrough & Guides Wiki
Dragon's Dogma 2 (DD2) Dark Arisen Walkthrough & Guides Wiki
Umamusume: Pretty Derby Walkthrough & Guides Wiki
Honkai: Star Rail Walkthrough & Guides Wiki
Zenless Zone Zero Walkthrough & Guides Wiki
Pokemon TCG Pocket (PTCGP) Strategies & Guides Wiki
AION 2 Walkthrough & Guides Wiki










Recommended Games
Fire Emblem Heroes (FEH) Walkthrough & Guides Wiki
Where Winds Meet Walkthrough & Guides Wiki
Diablo 4: Lord of Hatred Walkthrough & Guides Wiki
Super Smash Bros. Ultimate Walkthrough & Guides Wiki
Persona 3 Reload Walkthrough & Guides Wiki
The Legend of Zelda: Tears of the Kingdom Walkthrough & Guides Wiki
Elden Ring Walkthrough & Guides Wiki
Pokemon Brilliant Diamond and Shining Pearl (BDSP) Walkthrough & Guides Wiki
Cyberpunk 2077: Ultimate Edition Walkthrough & Guides Wiki
Monster Hunter World Walkthrough & Guides Wiki










All rights reserved
© SQUARE ENIX
LOGO ILLUSTRATION: © YOSHITAKA AMANO
The copyrights of videos of games used in our content and other intellectual property rights belong to the provider of the game.
The contents we provide on this site were created personally by members of the Game8 editorial department.
We refuse the right to reuse or repost content taken without our permission such as data or images to other sites.