
Main Story Full Walkthrough
NEW 9/29: Monster Hunter Outlanders 10/29 release!
Read Game8's exclusive interview with Capcom and TiMi producers!
✧ Game8 Best Games Survey
Vote for your favorite games and share your voice!

This is a full walkthrough of the main story for Monster Hunter Stories 3 (MHS3). See a walkthrough for all main missions and their respective rewards here!
List of Contents
Main Story Full Walkthrough
| Jump to a Chapter! | ||
|---|---|---|
| Azuria | Cataracts | |
| Galyad | Sacrosanctum | |
| Lazlion | - | |
Azuria (Chapter 1)
| 1. | 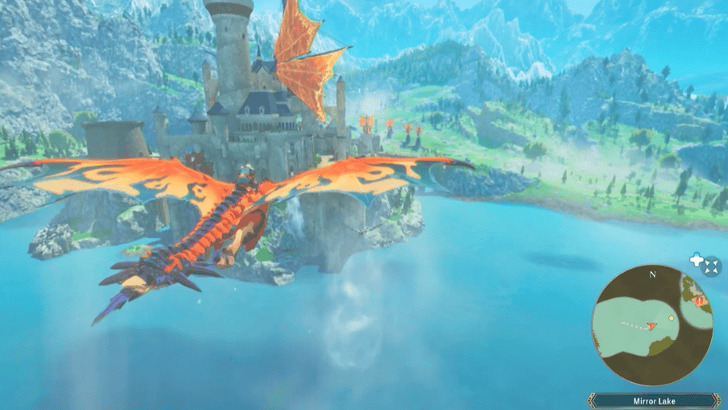
Return to Azuria Castle After the opening cutscene, follow the on-screen instructions to move around. You will need to make your way back to Azuria Castle to answer the King's summons. Use the updrafts along the way to fly towards the castle with your Monstie. ▶︎ The Prince/Princess of Azuria Walkthrough |
|---|---|
| 2. | 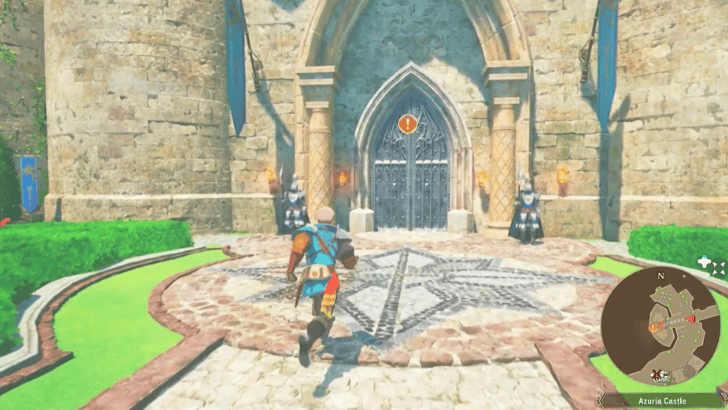
Report to the King Upon arriving to Azuria Castle, another introductory cutscene will be triggered. After that, make your way towards the castle's central tower. ▶︎ Audience Walkthrough |
| 3. | 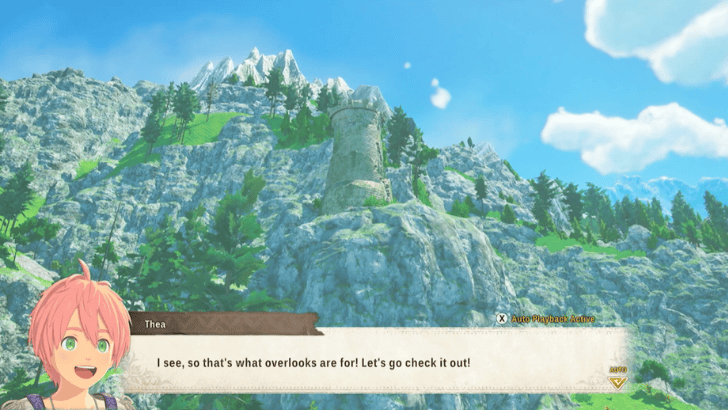
Monster Encountered: •
 Velociprey Accompany Thea to the Lookout Point After spawning back in the Azuria Castle Base, exit the castle through the eastern gate. From there, go up the nearby lookout point to unlock more of the Azuria map. Use any fire or thunder based attacks and Technical attacks to quickly defeat a Velociprey along the way. |
| 4. | 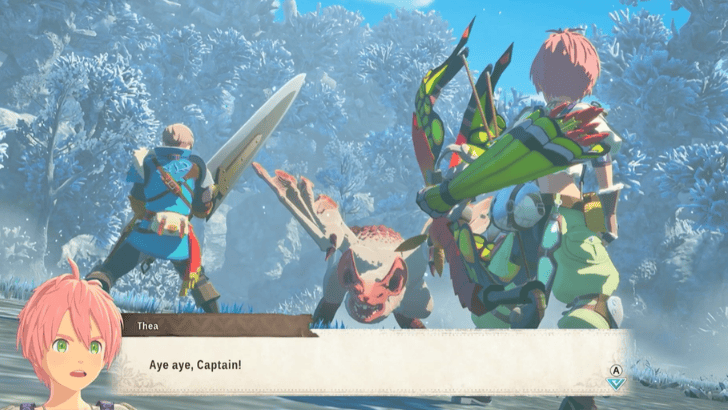 Monster Encountered: •  Paolumu Find the Egg Quartz in Ashen Pass Enter Ashen Pass through Blightstone Woods. Follow the path in Ashen Pass to eventually encounter the Egg Quartz. When fighting the Paolumu, make sure to equip any piercing weapon to hit its neck pouch while airborne. As for the Feral Chatacabra, make sure not to hit the torso yet until it starts behaving strangely. You will need to destroy its forelimbs first before you can effectively destroy its Blightstone part. ▶︎ Feral Monster Walkthrough |
| 5. | 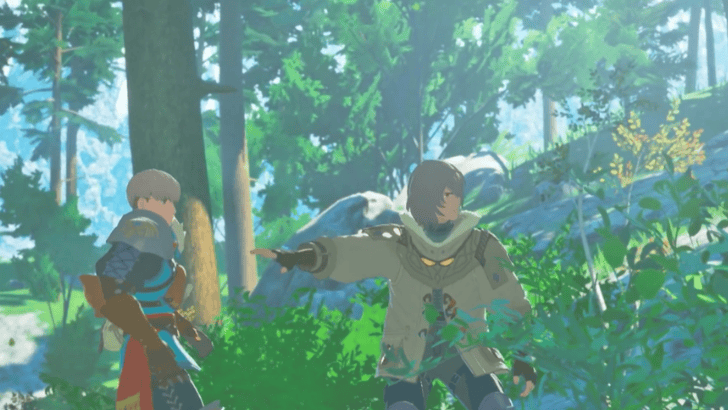
Monster Encountered: Investigate the Azuria Castle Border After the cutscene, you will spawn back into the castle. From there, exit through the southern gate. Monster dens will be introduced and you will get the opportunity to get monster eggs. After that, follow the path southwest until you encounter a Honed Glavenus. Use water or dragon based attacks to effectively damage it. ▶︎ Gathering Storm Walkthrough |
| 6. | 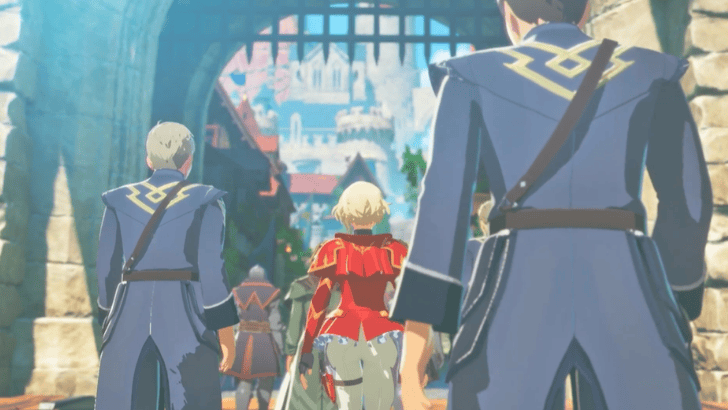
Monster Encountered: •
 Feral Yian Kut-Ku Go Through Azuria with Eleanor Upon returning to Azuria Castle, you will unlock Eleanor and will be tasked to show her around the area. After you exil the castle, you will encounter a Feral Yian Kut-Ku. It is recommended to use thunder or ice based attacks to effectively attack it. After defeating it, you will set up a camp to wait until night time. ▶︎ The Princess of Vermeil Walkthrough |
| 7. | 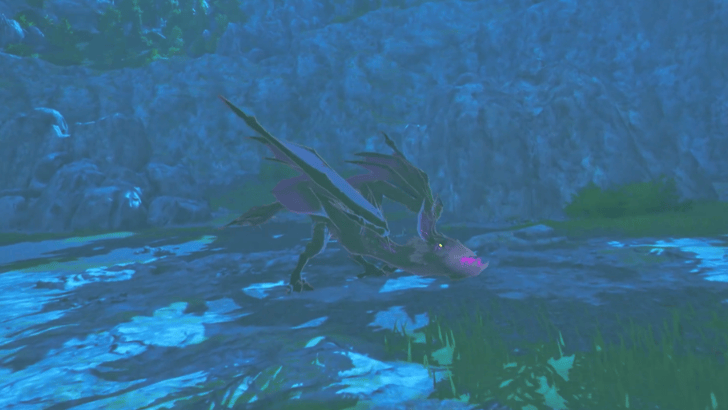
Monster Encountered: Observe the Invasive Monster in Sunpetal Plains Once it is night time, follow the trail until you see an Invasive Yian Garuga. Drop down into its territory and avoid its path as you collect all the Tracks. You will need to focus attacking its legs to make it retreat! ▶︎ Endangered Species Walkthrough |
| 8. | 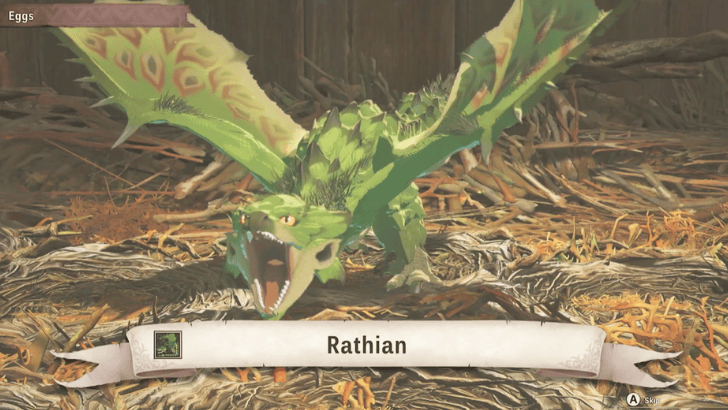
Return to Azuria Castle with the Rathian Egg After the Invasive Yian Garuga retreats, enter the Endangered Den nearby to pick up a Rathian Egg. After exiting the den, you will be teleported back to Azuria Castle and Habitat Restoration will be unlocked. Talk to the King near the Ranger Base to progress. ▶︎ Amara's Child Walkthrough |
| 9. | 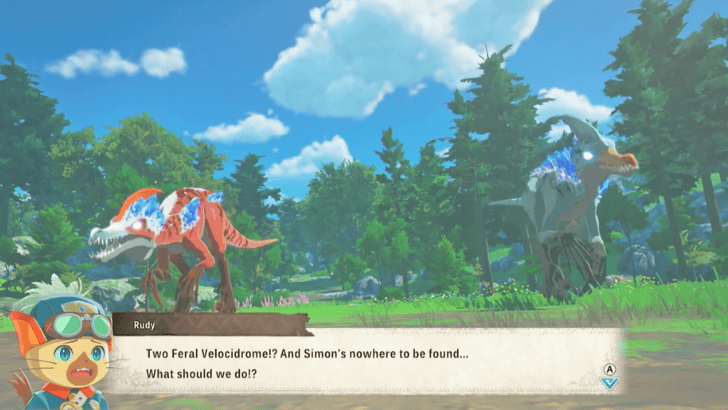
Monster Encountered: Investigate Broadleaf Basin After the cutscene, exit the castle through the western gate and fly across the water to Broadleaf Basin. There, you must defeat 2 Feral Velocidromes by yourself. It is recommended to focus your attacks to only 1 enemy at a time. |
| 10. | 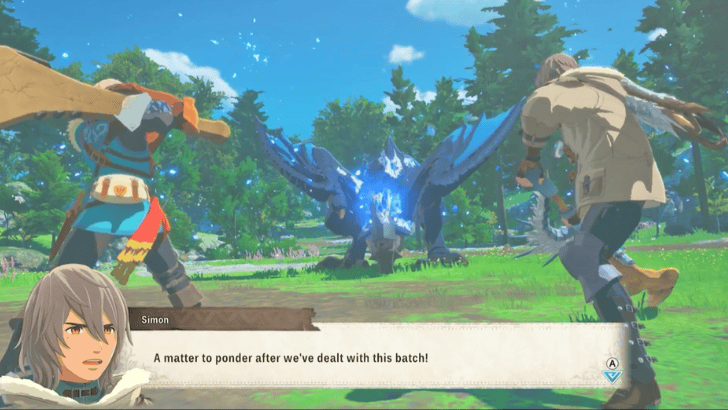
Monster Encountered: Slay the Feral Gypceros After the Feral Velocidrone fight, Simon will join you in the fight against a Feral Gypceros. Use fire based attacks for better effectivity, and to avoid hitting its head while it isn't behaving strangely yet to avoid backlash. Return to the Azuria Castle Base and talk to Thea to unlock the Rite of Channeling. ▶︎ Tracks Walkthrough |
| 11. | 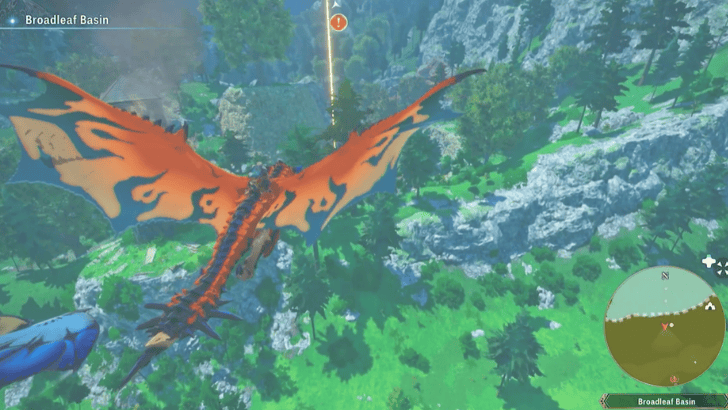
Monster Encountered: Defeat the Two Honed Glavenus in Broadleaf Basin Talk to Rudy in the Azuria Castle Base to trigger another cutscene. From there, fly to Broadleaf Basin and go towards the burning tower. After another cutscene, you will need to defeat 2 Honed Glanecus at the same time. Keep in mind to use Technical attacks when it's normal and Power attacks when it is behaving strangely to win head-to-head battles. ▶︎ Hostile Encounter Walkthrough |
| 12. | 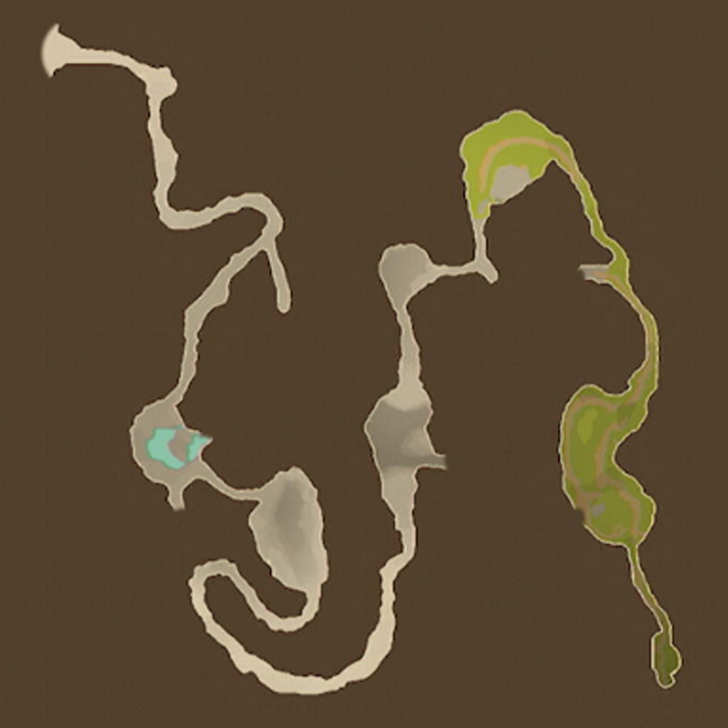 Go Through Ashen Pass After the events of the previous quest, you will spawn in Ashen Pass. It has a relatively straightforward path, and you will need to reach the other end to find the Wyverian Gate. |
| 13. | 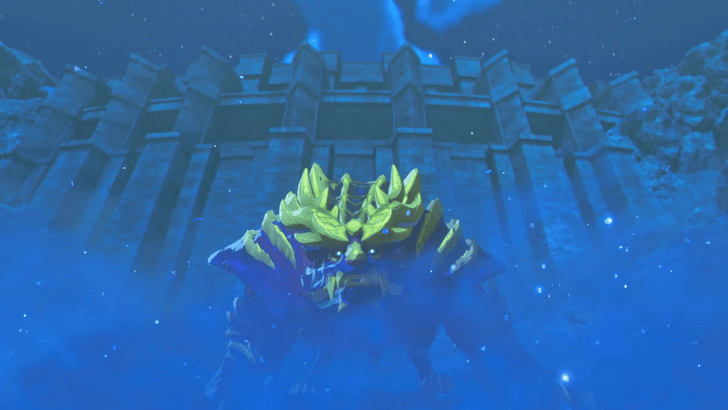
Monster Encountered: Defeat the Magnamalo Guarding the Wyverian Gate is the Magnamalo. which is weak to water and thunder attacks. When it starts acting strangely, you need to quickly break the parts covered in Hellfireblight. ▶︎ The Northern Meridian Walkthrough |
 Feral Chatacabra
 Honed Glavenus
 Invasive Yian Garuga
 Dual Feral Velocidrome
 Feral Gypceros

Cataracts (Chapter 2)
| 1. | 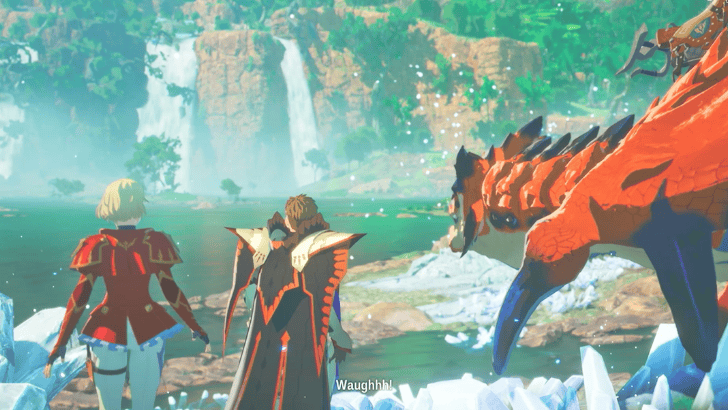
Monster Encountered: Go Through Canalta Timberland After the cutscene, you and your group will land in Canalta Timberland, the next region. Go slightly north towards the objective marker to trigger a fight with a Feral Somnacanth. It is recommended to use fire or ice based attacks for more damage, and avoid hitting its stomach until it starts behaving strangely. ▶︎ Forbidden Ground Walkthrough |
|---|---|
| 2. | 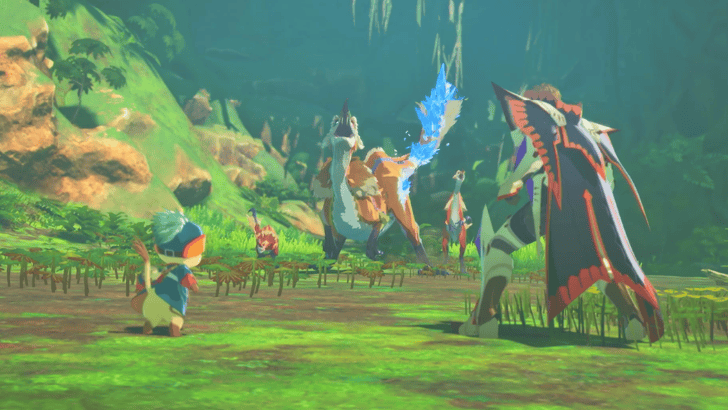
Monster Encountered: •  Izuchi Go Northwest to the Sheparden Continue heading northwest towards the objective marker. You can also unlock a lookout point along the way to unlock the map for the area. After a short cutscene, you must defeat a Feral Great Izuchi. It is recommended to use thunder attacks and to always use Technical attacks to win head-to-head battles. After the fight, continue northwest until you reach the Sheparden. ▶︎ Transgressors Walkthrough |
| 3. | 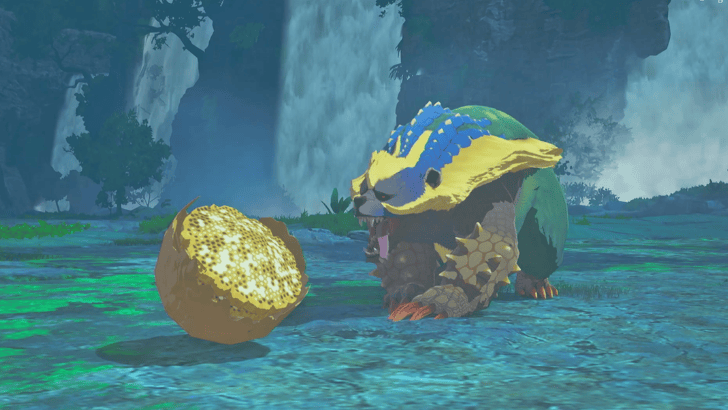
Monster Encountered: •
 Arzuros Investigate the Invasive Monster in Blessing Hill Go to the southern edge of Canalta Timberland. Once you reach the objective marker, wait until night time to spawn in the Invasive Arzuros. Use your Monstie's Breath move to distract the monster as you pick up its Tracks. You will need to take out the normal Arzuros first to deplete the Invasive Arzuros' supply of honey. |
| 4. |  Monster Encountered: Follow Ward Statues to Mt. Canalta After defeating the Invasive Arzuros, enter the nearby Endangered Den and bring back the Canyne Egg. From there, you will need to follow Ward Statues to Mt. Canalta in the eastern edge of Canalta Timberland. As you go deeper into Mt. Canalta, you will need to defeat the Feral Aknosom. It is highly recommended to use thunder attacks since it is vulnerable to Paralysis and thunder damage. ▶︎ Statue Locations: Ward Walkthrough |
| 5. |  Monster Encountered: Defeat Yama Tsukami in Dragonreach Mountains After reporting back to Master Kol in Sheparden, head northeast to reach the entrance to Dragonreach Mountains. Go towards areas with more crystallization until you encounter Yama Tsukami. You will need to break both of its tentacles before you attack its mouth. You will need to finish this twice to successfully defeat the monster. It is recommended to use attacks with Bleed, Darkness, Ice. or Dragon to maximize damage. ▶︎ A Valuable Encounter Walkthrough |
 Feral Somnacanth
 Feral Great Izuchi
 Invasive Arzuros
 Feral Aknosom
 Yama Tsukami
Galyad (Chapter 3)
| 1. | 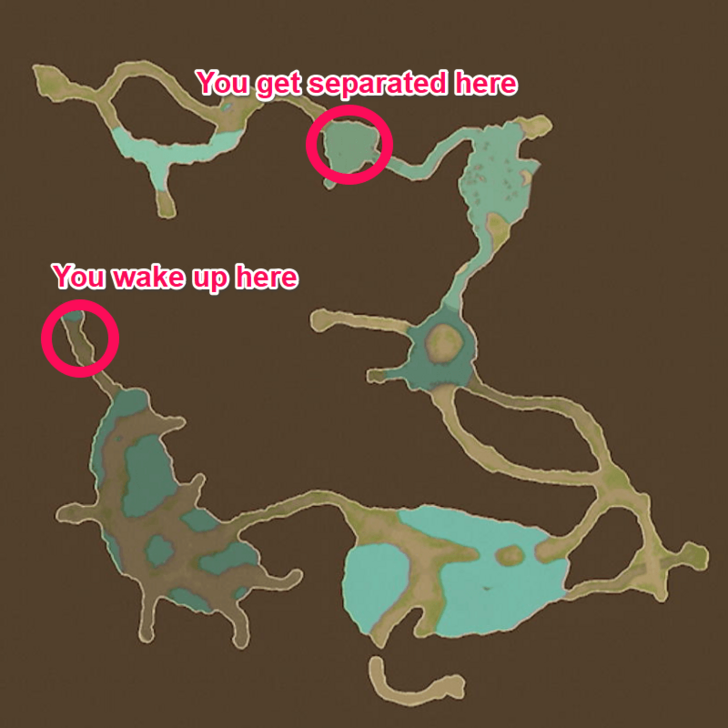 Monster Encountered: •  Almudron Navigate Through the Muddled Marsh You and the others make your way to the Muddled Marsh. As you pass through a path, you will get separated from the group. You will need to make your way around the marsh to meet up with the others. Along the way, you will encounter an Almudron, which is weak against fire and ice attacks. ▶︎ Rudy Walkthrough |
|---|---|
| 2. | 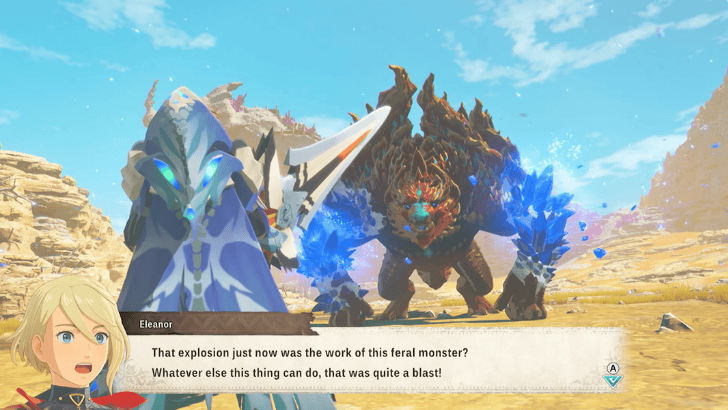
Monster Encountered: Defeat Ajarakan in Tarkuan After reuniting with the group, you can now go to Tarkuan. There, you discover the skeleton of Lao-Shan Lung. Climb up Lao-Shan Lung to trigger a cutscene. Afterwards, you will need to defeat a Feral Ajarakan. It is recommended to use ice damage and stack up on fire resistance. Afterwards, travel north to Bountiful Dunes. Talk to Catba and sail to Galyad. ▶︎ Crystallisis Walkthrough |
| 3. | 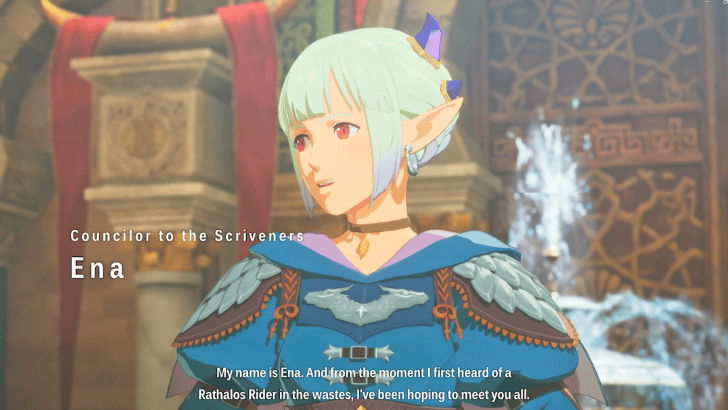
Talk to Ena in Galyad Once in Galyad, follow the objective marker nearby and talk to Ena. After the cutscene, talk to Rudy in the courtyard to wait until the next day. From there, go to the Ministry of Eggs in the northern edge of Galyad. ▶︎ Ena Walkthrough |
| 4. | 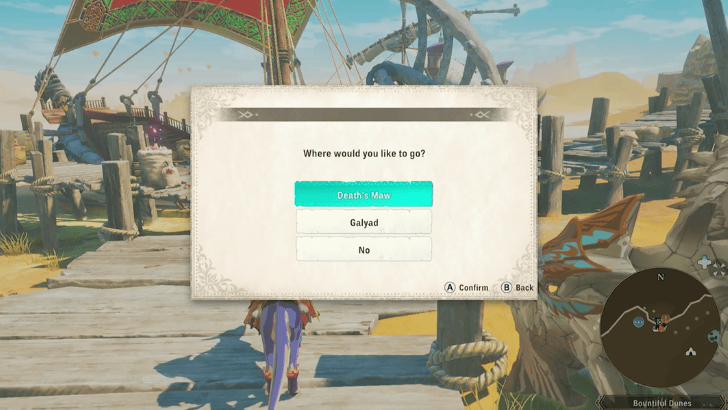 Travel to Death's Maw After talking to Ena in the Ministry of Eggs, talk to Rudy to progress the story. On the next day, go back to the Bountiful Dunes and talk to the NPC by the boat. Select Death's Maw as your destination. |
| 5. | 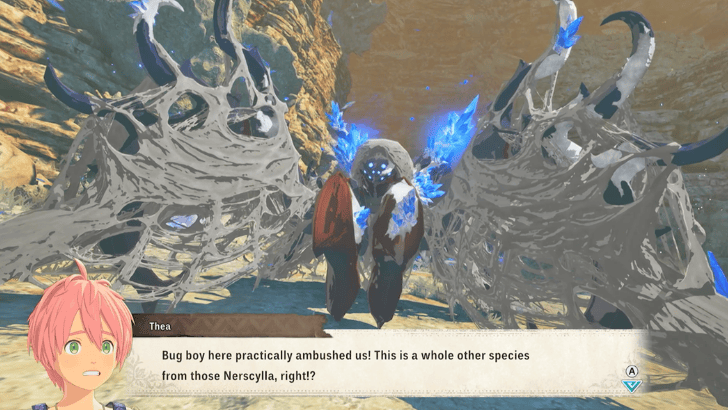
Monster Encountered: Defeat the Feral Rakna-Kadaki Navigate through Death's Maw, which is fairly straightforward. At the end, you will encounter a Feral Rakna-Kadaki. It is recommended to use thunder attacks and use armor with water resistance. Make sure to quickly slay the Rachnoids first to avoid taking additional damage. After that, go to Elder Casimiro's home. ▶︎ Ten Years Ago Walkthrough |
| 6. | 
Talk to Elder Casimiro Go to Elder Casimiro's home nearby to trigger a cutscene. You wil learn more about what they know about Amara, the source of crystallization, and why your ancestors are branded as transgressors. ▶︎ Transgressors Walkthrough |
| 7. | 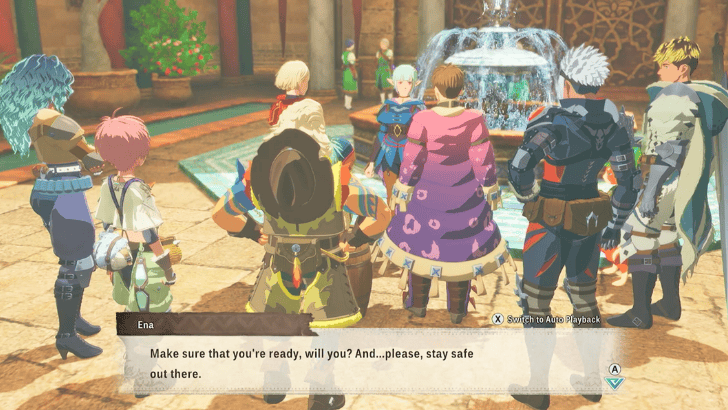
Return to Galyad After talking to Elder Casimiro, report back to Ena in Galyad. ▶︎ Atonement Walkthrough |
| 8. | 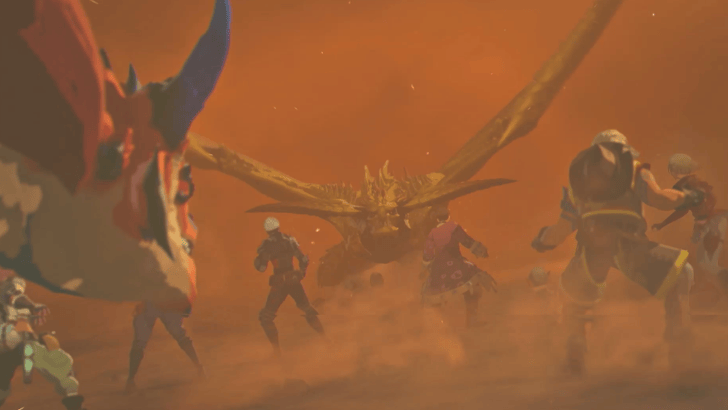
Monster Encountered: •  Rey Dau Defeat Rey Dau in Death's Maw Return to Death's Maw and go towards the norther edge of the area. Here, you will find a sandstorm with a Rey Dau in the center. It is recommended to use ice attacks and use armor with thunder resistance. Try your best to take out its wings when it is getting ready for a big laser beam attack. If you lack the damage, make sure to focus on defense and healing. ▶︎ To the Sacrosanctum Walkthrough |
 Feral Ajarakan
 Feral Rakna-Kadaki
Sacrosanctum (Chapter 4)
| 1. | 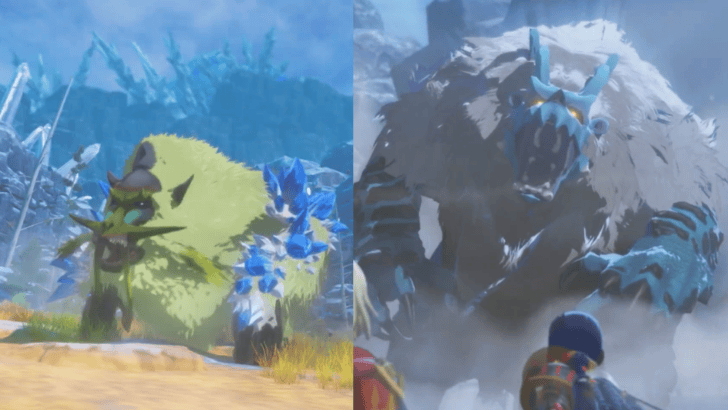
Monster Encountered: Go Through the Glacier Caps You will arrive in the next region, Serathis. As you go through the Glacier Caps, you will need to defeat the Feral Blangonga and the Goss Harag. For Feral Blangonga, it is recommended to use fire or darkness based attacks, while also having sufficient AoE attacks to take out the Blangos that spawn. For Goss Harag, make sure to use fire damage and raise your thunder resistance. |
|---|---|
| 2. | 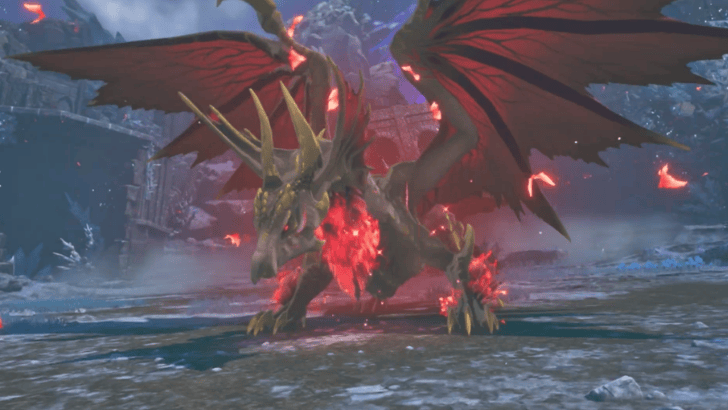
Monster Encountered: •  Malzeno Defeat Malzeno in Sacrosanctum As you go through Sacrosanctum, make your way to the other end of the area until you encounter the Malzeno. To defeat it, you should focus on using dragon damage and boosting your dragon resistance. ▶︎ The Sacrosanctum Walkthrough |
| 3. | 
Monster Encountered: •
 Arkveld Defeat Arkveld Once you are further inside the Sacrosanctum, you must defeat Arkveld. This fight will require you to have a skill that raises the damage of your Ratha's Savage Fireball. Aside from that, it is recommended to be around level 50 and to have both dragon damage and dragon resistance. ▶︎ Reunion Walkthrough |
 Feral Blangonga
 Goss Harag
Lazlion (Chapter 5)
| 1. | 
Return to Azuria After your excursion, it is time to return home for now. Return to Azuria and talk to Rudy to progress that story. ▶︎ Homecoming Walkthrough |
|---|---|
| 2. | 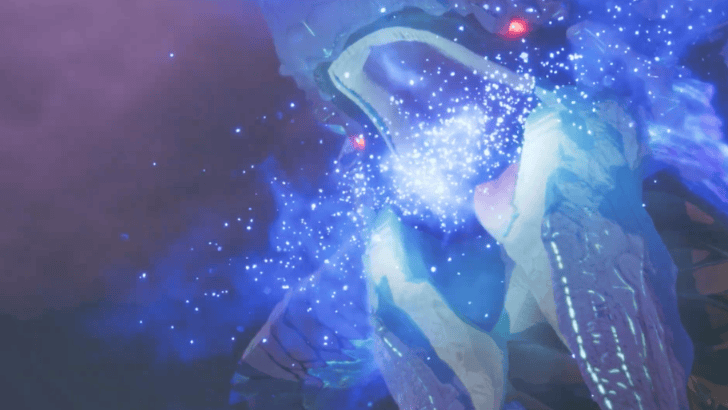
Monster Encountered: •  Aenshin Make Aenshin Retreat in Broadleaf Basin After the cutscene, you will need to proceed to Broadleaf Basin, where you must fend off Aenshin. You will not be able to decrease its health, so you just need to focus on lowering its Wyvernsoul Gauge. ▶︎ Father and Child Walkthrough |
| 3. | 
Monster Encountered: Defeat Bound Azure Rathalos in Terra Nativitas Return to Sacrosanctum, where the entrance Terra Nativitas will be available. As you progress into the area, you will encounter a Bound Azure Rathalos. Make sure to use armor with fire resistance, then use attacks with dragon damage. ▶︎ Machinations Walkthrough |
| 4. | 
Monster Encountered: Defeat the Bound Lunagaron Proceed further into Terra Nativitas until you encounter the Bound Lunagaron. For this fight, you will want to equip armor with ice resistance, then use attacks with dragon damage. ▶︎ In Her Footsteps Walkthrough |
| 5. | 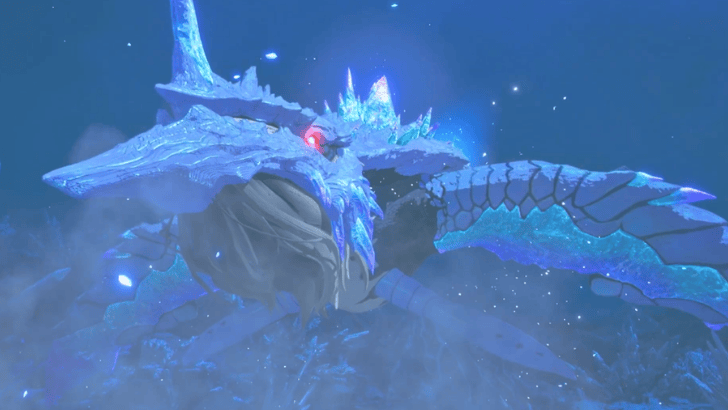
Monster Encountered: • AenshinDefeat Aenshin Again Proceed further into Terra Nativitas until you encounter the Bound Lunagaron. Aenshin is weak to fire, poison, dragon, and fire damage. Additionally, make sure to wear armor with dragon resistance. ▶︎ Echoes of Life Walkthrough |
| 6. | 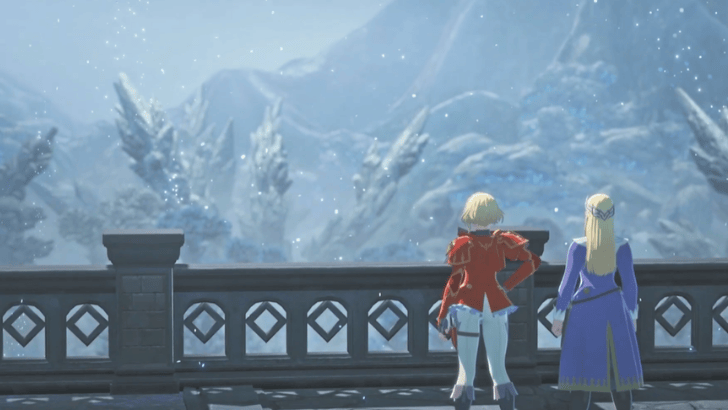
Monster Encountered: • AenshinDefeat Aenshin Again Return to Sacrosanctum to fight Aenshin for the third and final time. For this fight, you will want to equip armor with dragon resistance. Ideally, you would want to task as much of its AoE damage as possible. Additionally, make sure to defeat the Blight Crystals that it spawns to avoid Petrification. This is the final boss of the main story, and defeating it will trigger the end cutscenes and credits. ▶︎ Inherited Dream Walkthrough |
 Bound Azure Rathalos
 Bound Lunagaron
Main Story Rewards
Azuria
| The Prince/Princess of Azuria |
Rewards: • Main Story Progression |
| Audience |
Rewards: • Catavan Stands |
| Feral Monster |
Rewards: • Side Quests Unlock • Monstie Switch Menu • Pouch/Combine Menu |
| Gathering Storm |
Rewards: • Side Quests Unlock • Change Allies Menu • Fast Travel Unlock • Smithy • Stables |
| The Princess of Vermeil |
Rewards: • Melynx Emporium • Camp Unlock |
| Endangered Species |
Rewards: • Rathian Egg |
| Amara's Child |
Rewards: • Habitat Restoration Unlock |
| Tracks |
Rewards: • Rite of Channeling |
| Hostile Encounter |
Rewards: • Main Story Progression |
| The Northern Meridian |
Rewards: • Canalta Timberland Area Unlock |
Azuria is the first region introduced in the game, and is the only region available in the demo. This section will be updated with more regions and quests soon!
Cataracts
| Forbidden Ground |
Rewards: • Cataracts Main Story Quests Unlock |
| Transgressors |
Rewards: • Sheparden Area Unlock |
| Ward |
Rewards: • Excursions Unlock • Training Talisman |
| A Valuable Encounter |
Rewards: • Muddled Marsh Area Unlock |
Cataracts is a part of Canalta Timberland, the land beyond the Northern Meridian. Here, you will discover new flora, monsters, and environments!
Galyad
| Rudy |
Rewards: • Tarkuan Area Unlock |
| Crystallisis |
Rewards: • Galyad Area Unlock |
| Ena |
Rewards: • Chapter 3 Side Stories Unlock |
| Transgression |
Rewards: • Main Story Progression |
| Atonement |
Rewards: • Main Story Progression |
| To the Sacrosanctum |
Rewards: • Serathis Area Unlock |
| Ten Years Ago |
Rewards: • Main Story Progression |
Galyad is part of Tarkuan, a desert land full of egg quartz quarries that are used to sell for profit. Here, you will discover more about Amara and her efforts to uncover the source of crystallization.
Sacrosanctum
| The Sacrosanctum |
Rewards: • Chaper 4 Side Stories Unlock • Sacrosanctum Area Unlock |
| Reunion |
Rewards: • Main Story Progression |
You and your group finally reach Sacrosanctum, where you find out more about Aenshin. Meanwhile, negotiations with Vermeil are taking place back in Azuria.
Lazlion
| Homecoming |
Rewards: • Main Story Progression |
| Father and Child |
Rewards: • Main Story Progression |
| Machinations |
Rewards: • Terra Nativitas Area Unlock |
| In Her Footsteps |
Rewards: • Main Story Progression |
| Echoes of Life |
Rewards: • Main Story Progression |
| Inherited Dream |
Rewards: • Main Story Completion |
The very source of crystallization, Aenshin, finally appears. You and the rest of the Riders must figure out how to take it down for good.
How Many Chapters in Monster Hunter Stories 3?
29 Main Stories Within 5 Chapters
| Chapter | No. of Missions |
|---|---|
| Azuria | 10 |
| Cataracts | 4 |
| Galyad | 7 |
| Sacrosanctum | 2 |
| Lazlion | 6 |
Monster Hunter Stories 3 consists of 29 Main Story Chapters available in the four available regions. In total, it will take around 40 hours to comfortably play through, including all cutscenes, some exploration, and some farming to increase your level.
Monster Hunter Stories 3 (MHS3) Related Guides
 Monster Hunter Stories 3 Wiki Front
 Looking for Great Games! |
Is Monster Hunter Stories 3 one of your favorite games? Answer our Best Games Survey and share your unique voice with Game8's readers! |
|---|
Guides by Category
 Monsters |
 Weapons |
 Characters |
 Tips and Tricks |
 Bosses |
 Interactive Map |
 Items |
 News |
 Main Story |
 Side Story |
 Side Quests |
 Trophies |
 Armor |
 Small Monsters |
 Skills |
- |
Comment



Author
Monster Hunter Stories 3: Twisted Reflection Walkthrough & Guides Wiki
Main Story Full Walkthrough

Rankings
- We could not find the message board you were looking for.
Gaming News





Popular Games

Genshin Impact Walkthrough & Guides Wiki
Fire Emblem: Fortune's Weave (FEFW) Walkthrough & Guides Wiki
Aniimo Walkthrough & Guides Wiki
Wuthering Waves Walkthrough & Guides Wiki
Dragon's Dogma 2 (DD2) Dark Arisen Walkthrough & Guides Wiki
Umamusume: Pretty Derby Walkthrough & Guides Wiki
Honkai: Star Rail Walkthrough & Guides Wiki
Zenless Zone Zero Walkthrough & Guides Wiki
Pokemon TCG Pocket (PTCGP) Strategies & Guides Wiki
AION 2 Walkthrough & Guides Wiki










Recommended Games
Fire Emblem Heroes (FEH) Walkthrough & Guides Wiki
Where Winds Meet Walkthrough & Guides Wiki
Diablo 4: Lord of Hatred Walkthrough & Guides Wiki
Super Smash Bros. Ultimate Walkthrough & Guides Wiki
Persona 3 Reload Walkthrough & Guides Wiki
The Legend of Zelda: Tears of the Kingdom Walkthrough & Guides Wiki
Elden Ring Walkthrough & Guides Wiki
Pokemon Brilliant Diamond and Shining Pearl (BDSP) Walkthrough & Guides Wiki
Cyberpunk 2077: Ultimate Edition Walkthrough & Guides Wiki
Monster Hunter World Walkthrough & Guides Wiki










All rights reserved
©CAPCOM CO., LTD, and CAPCOM CO. logos are trademarks or registered trademarks of CAPCOM. All rights reserved.
The copyrights of videos of games used in our content and other intellectual property rights belong to the provider of the game.
The contents we provide on this site were created personally by members of the Game8 editorial department.
We refuse the right to reuse or repost content taken without our permission such as data or images to other sites.