
Morpeko Best Builds & Guide
☆ New Pokemon: Jolteon | Flareon | Toxtricity
★ Popular Pages: Upcoming Pokemon | Tier List
☆ Latest Patch: Version 1.24.2.6
★ Current Seasons: Ranked S39 | Battle Pass S45
☆ Join Game8's Pokemon Discord Server!
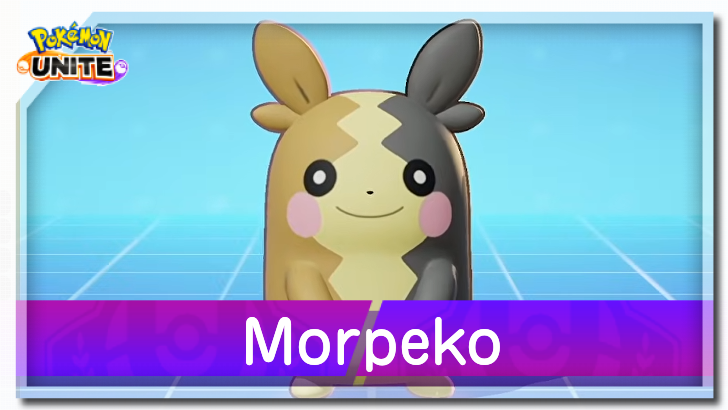
Morpeko is an Attack-type Speedster that changes forms in Pokemon UNITE. This guide covers Morpeko's best builds, how to play Morpeko, all its matchups, combos, and basic details about the Pokemon.
| Morpeko Pages | |
|---|---|
 Release Date |
 Best Builds |
List of Contents
Morpeko Latest Nerfs & Buffs
| Morpeko Changes | |
|---|---|
|
• Damage of second stage attack during Full Belly Mode decreased by 28%–18%. • Shield amount gained from second stage attack during Full Belly Mode decreased from 20% to 15% of max HP. • Cooldown timer will now begin after the second stage attack is used or expires during Full Belly Mode, rather than immediately when using the first stage attack. |
|
|
• Damage excluding additional damage against paralyzed opponent Pokémon decreased by 15%. |
|
Spark
| 1.24.2.6 | Full Belly Mode: Second‑stage attack damage reduced (‑28% to ‑18%), shield lowered (20% → 15% max HP), and cooldown now begins after the second‑stage attack ends instead of the first. |
|---|
Assurance
| 1.24.2.6 | Damage excluding additional damage against paralyzed opponent Pokémon decreased by 15%. |
|---|
Morpeko Basic Info
How Would You Rate Morpeko
Failed to submit your score. Please try again.
Submitting will update your vote
| Score Rating Instructions | |
|---|---|
| 1 | The Score Rating tool lets you participate in rating how well a Pokemon does in the game. To use it, you'll need to login or sign up first to the site. |
| 2 | Once you login, you can add a score using the slider to rank the Pokemon from 1 to 10, in increments of 0.5. (e.g. You can give a score rating of 7.5/10) |
| 3 | After deciding on a score, indicated as the blue number above the slider, click on "Submit Score!". ▶ This rating will be used in computing for the displayed Community Score, which is the average of all the votes, shown as a rating over 10 and a star rating. |
| 3 | Each user may have only one vote at a time. If you wish to change your score, simply change your rating and click on "Submit Score!" again. This will automatically update the Community Score in real time! |
| 4 | To see how others rated the character/weapon, you may click on the ▼ Score Distribution button below the tool. |
Morpeko Best Lanes
 Top |
 Jungle |
 Bottom |
|---|---|---|

|

|
|
Tips & Strategies for Every Lane
Morpeko License Points
| License Points | 1470 |
|---|
Morpeko's license can be obtained in the License Journey for 1470 License Points.
Strengths and Weaknesses
| Strengths | Weaknesses |
|---|---|
|
✔︎ High mobility ✔︎ High burst damage ✔︎ Very low cooldowns |
✖︎ Low durability ✖︎ Requires careful management of the Fullness gauge |
Best Builds for Morpeko
| Morpeko Builds | |
|---|---|
| - | |
 Burst Damage Build
 Max Mobility Build
Burst Damage Build
Burst Damage Build

|
Moveset | Held Items | |||
|---|---|---|---|---|---|
| Battle Item | |||||
| Stats from Items (Lv. 40) | Recommended Lane | ||||
|
Attack: +56 Movement Speed: +140 Cooldown: -3.50% |
 Jungle |
||||
| Emblem Color Combination | Target Emblem Stats | ||||
 Brown x6  White x6 |
Positive Stats: • Attack Free Negative Stats: • Sp. Atk • Defense • Sp. Def |
||||
| Note: The emblem color and stats here are suggestions only. The builds are still viable even without the suggested emblems. |
|||||
Burst Damage Build Explanation
This is a typical Speedster build focusing on maximizing Morpeko's burst damage.
- Attack Weight gives Morpeko a large flat amount of Attack stat, improving its damage output.
- Charging Charm provides Morpeko with increased movement speed and more Attack stat. Morpeko's mobility allows it to quickly charge the item then deal increased damage, which works nicely with its gameplay.
- Accel Bracer further increases Morpeko's Attack stat whenever it knocks out opponents or gets an assist. It also gives a bit of cooldown reduction for its moves.
- Razor Claw can be a replacement for any of the items. Its passive allows Morpeko's attacks to deal increased damage and slow the target whenever it uses a move.
- Eject Button gives Morpeko another mobility tool to quickly get close to its target.
- The build's Boost Emblem loadout should consist of 6 Brown Emblems for more damage and 6 White Emblems additional HP. This can be achieved by equipping at least two (2) Emblems that are both Brown and White.
- Equip Emblems that improve Attack to further increase Morpeko's burst damage.
- Sp. Atk., Sp. Def., and Defense can be freely traded for the other stats.
Max Mobility Build
| Max Mobility Build | Moveset | Held Items | |||
|---|---|---|---|---|---|
| Battle Item | |||||
| Stats from Items (Lv. 40) | Recommended Lane | ||||
|
Attack: +63 Movement Speed: +315 Cooldown: -3.50% |
Jungle |
||||
| Emblem Color Combination | Target Emblem Stats | ||||
|
Brown x6 White x6 |
Positive Stats: • Attack • Movement Speed Free Negative Stats: • Sp. Atk • Defense • Sp. Def |
||||
| Note: The emblem color and stats here are suggestions only. The builds are still viable even without the suggested emblems. |
|||||
Max Mobility Build Explanation
This build focuses on maximizing Morpeko's movement speed, allowing it to roam around faster to knock out opponents or to score.
- Float Stone boosts Morpeko's movement speed by a flat amount and further increases it when it's out of combat. It also gives a decent amount of Attack stat for damage.
- Charging Charm further increases Morpeko's movement speed, and its passive effect charges faster given its enhanced speed.
- Accel Bracer increases Morpeko's Attack stat whenever it knocks out opponents or gets an assist. It also gives a bit of cooldown reduction for its moves.
- Attack Weight can be a replacement for Accel Bracer if you'll be scoring more throughout the game, otherwise, stick to Accel Bracer.
- X Speed ensures Morpeko reaches peak movement speed.
- Eject Button can also work to give Morpeko a versatile repositioning tool.
- The build's Boost Emblem loadout should consist of 6 Brown Emblems for more damage and 6 White Emblems additional HP. This can be achieved by equipping at least two (2) Emblems that are both Brown and White. You can also equip Yellow Emblems instead for the Movement Speed effect.
- Equip Emblems that improve Attack for more damage or Movement Speed for more mobility.
- Sp. Atk., Sp. Def., and Defense can be freely traded for the other stats.
Morpeko Best Items & Moveset
Best Held Items
| Item | Explanation |
|---|---|
 Accel Bracer |
Accel Bracer is perfect for Morpeko's gameplay, boosting its Attack stat whenever it knocks out opponents or get an assist. It also gives a bit of cooldown reduction for its moves. |
 Attack Weight |
Attack Weight provides Morpeko with a large flat amount of Attack stat that further increases when it scores. |
 Charging Charm |
Charging Charm's effect works nicely with Morpeko's high mobility, especially while hangry, allowing it to deal increased damage for one hit. |
 Float Stone |
Float Stone boosts Morpeko's movement speed and Attack stat. Its passive effect also allows Morpeko to roam around faster to get knockouts or to score. |
 Razor Claw |
Razor Claw's passive effect allows Morpeko to deal increased damage to and inflict a slowing effect on its target for a single attack whenever it uses a move. |
Held Item Tier List: Best Items to Equip
Best Battle Items
| Item | Explanation |
|---|---|
 Eject Button |
Eject Button gives Morpeko a versatile mobility tool. |
 X Speed |
X Speed maximizes Morpeko's movement speed and also give it immunity from slows, blending perfectly with its Speedster role. |
Battle Item Tier List: Best Items to Use
How to Play Morpeko
Play Around Hunger Switch
| Form | Mechanics |
|---|---|
 Full Belly Mode |
Fullness gauge decreases every 12s and whenever Morpeko uses a move. When the gauge is emptied, Morpeko transforms into Hangry Mode. |
 Hangry Mode |
During this form, Morpeko gains increased movement speed. The Fullness gauge increases every 3s and whenever Morpeko eats a berry. When the gauge is full, Morpeko truns back to Full Belly Mode. |
Managing the fullness gauge and knowing when to force a transformation are vital to Morpeko's gameplay since its move effects change depending on its form. Each form also has its own benefits and switching between forms resets Morpeko's move cooldowns, opening possibilities for tactical and situational plays.
It's best play around Hunger Switch's transfomations and effects to maximize Morpeko's strengths.
Utilize Spark's Follow-Up Attack
After using Spark, Morpeko can use the move again to leap towards the target, dealing damage to it and nearby enemies. Utilize this follow-up attack to deal more damage and stay in melee range your target.
You can also use the follow-up attack defensively if you use it to reposition, especially when escaping.
Spark: Morpeko Move Effect and Cooldown
Utilize Assurance Cooldown Reset
Spark and Hungry Supercharge Wheel apply a bolt mark on targets they hit. During Hangry Mode, hitting marked targets with Assurance resets the move's cooldown.Utilize this mechanic to deal more damage or for more tactical use.
Assurance: Morpeko Move Effect and Cooldown
Morpeko Progression and Leveling Guide
Top and Bottom Guide
Level 1 to 5
- Quickly clear out the Bunnelbies in the lane.
- Keep farming wild Pokemon in the lane to reach level 5 and learn your first move.
- At bottom lane, prioritize taking Indeedees for more exp.
Level 6 to 9
- Keep hunting Wild Pokemon to gain more EXP from farming Altaria and Swablus.
- Once you reach level 7, you can start to get aggressive and apply pressure.
- Help allies secure Regice, Registeel, or Regirock when it spawns, otherwise secure Regieleki.
Level 10+
- Stick with allies to hunt targets, secure objectives, and push lanes.
- Reach at least level 13 or max level if possible before or when the arena boss spawns for a fully-upgraded moveset.
- Make sure that your UNITE Move is available when the arena boss spawns.
- Help teammates win a teamfight and secure the arena boss.
Jungle Guide
Level 1 to 5
- Quickly defeat Xatu
- Clear the first wave of jungle camps and reach level 5 to learn one of your primary moves.
- Help the top lane first or whatever lane needs help the most by securing Altaria and Swablus, getting knockouts, and scoring points.
Level 6 to 9
- Clear the second wave of jungle camps and reach at least level 7 to get your second move.
- Secure Regidrago in the center to get more EXP.
- Help the bottom lane by securing Altaria and Swablus, getting kills, and scoring points.
- Help allies secure Regice, Registeel, or Regirock spawns with Registeel being the highest priority since it gives a damage buff to the party.
Level 10+
- Stick with allies to hunt targets, secure objectives, and push lanes.
- Reach at least level 13 or max level if possible before or when the arena boss spawns for a fully-upgraded moveset.
- Make sure that your Unite Move is available when the arena boss spawns.
- Help teammates win a teamfight and secure the arena boss.
Morpeko Combos
Full Belly Mode Combo
| Full Belly Mode Combo | |
|---|---|
 ►
(Follow-Up Attack) ►  ►  ►
► |
|
| This combo allows Morpeko to trigger Hangry Mode when the Fullness gauge has 4 bars or less. Using Hungry Supercharge Wheel is optional and depends on the Fullness gauge. After triggering Hangry Mode, you can use Spark and Assurance again for more damage. | |
Hangry Mode Combo
| Hangry Mode Combo | |
|---|---|
|
►
►
►
|
|
| This combo utilizes Assurance's cooldown reset mechanic during Hangry Mode. You can use Assurance multiple times depending on the number of marked targets during Hungry Supercharge Wheel. | |
Matchups & Counters for Morpeko
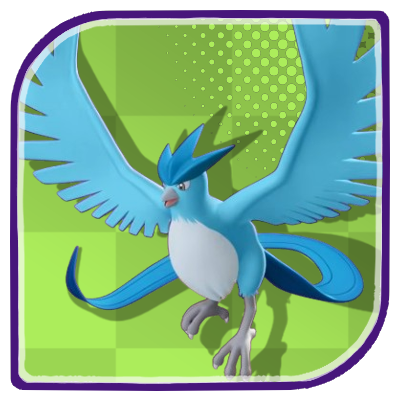
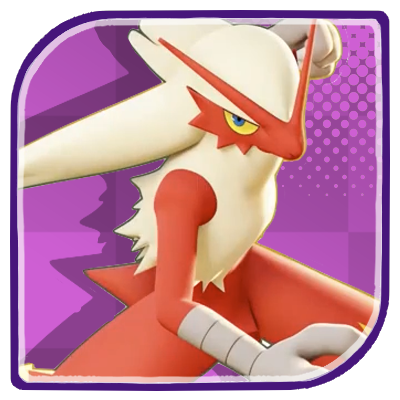
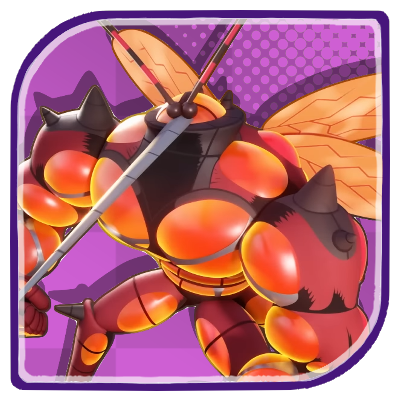
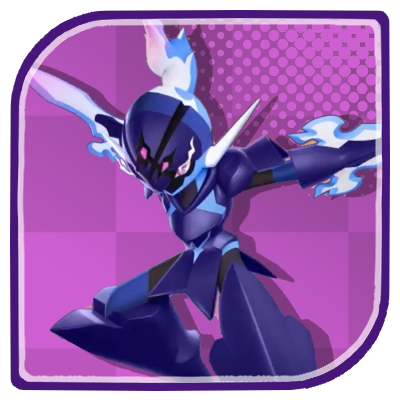
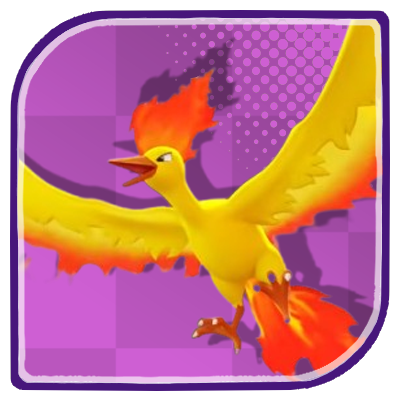
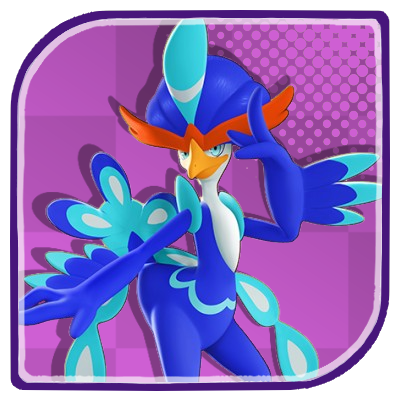
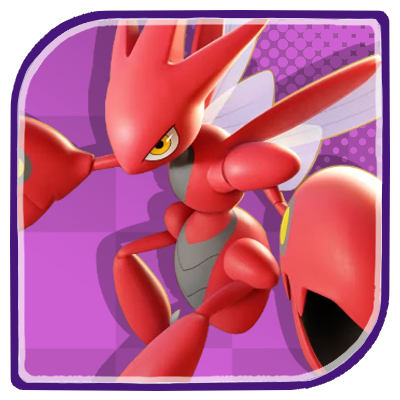
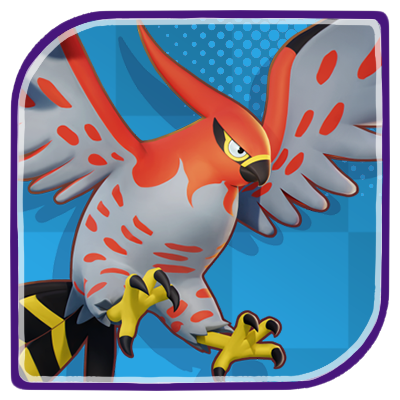
Morpeko Matchups
 |
   
|
|---|---|
 |
             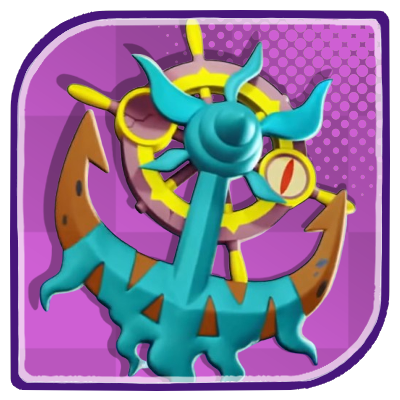 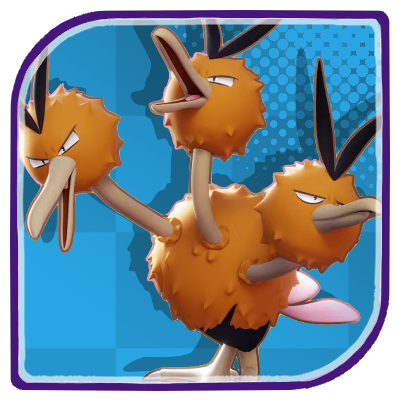      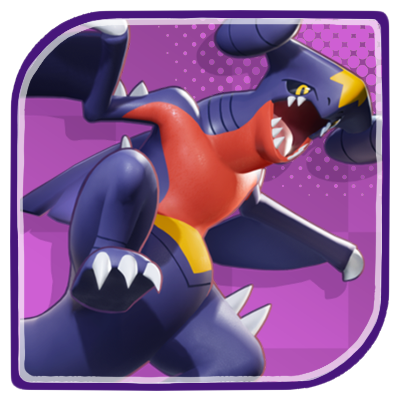 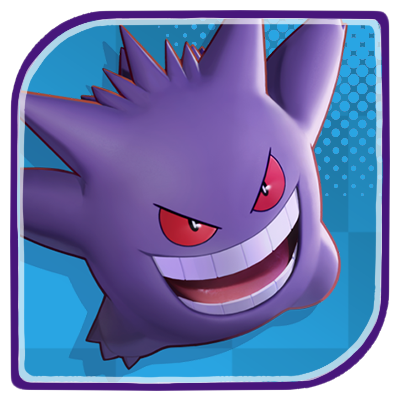   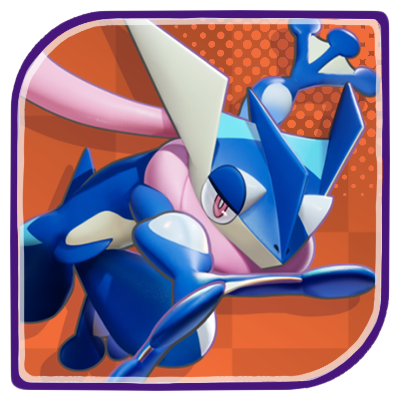 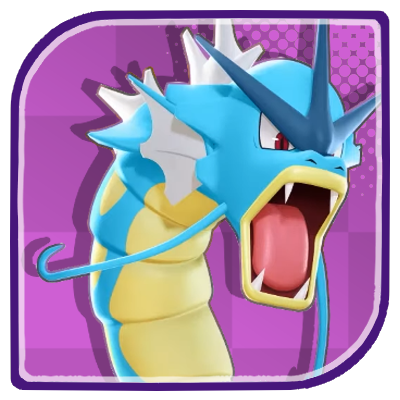    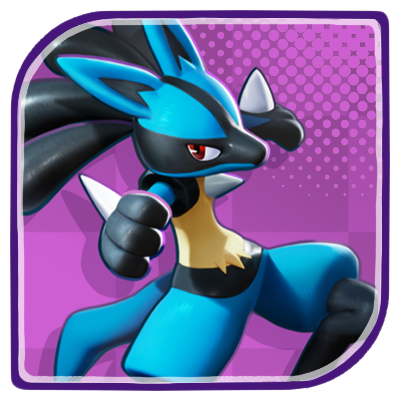 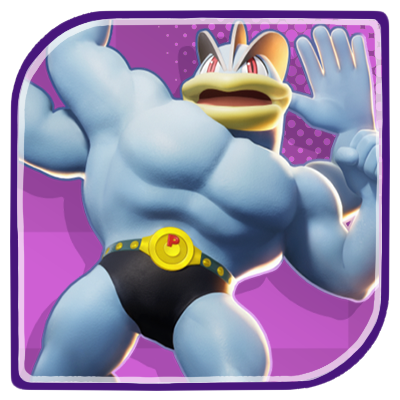                            
|
 |
          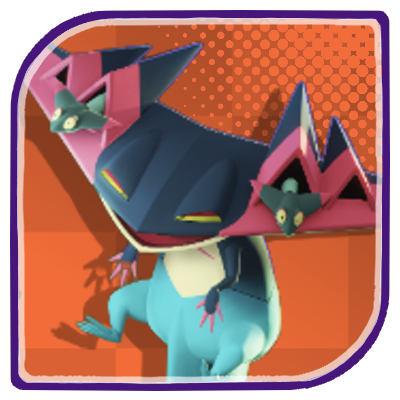                       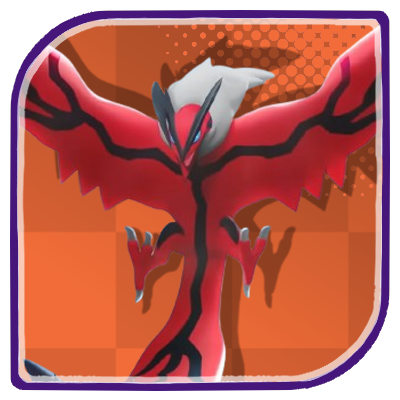 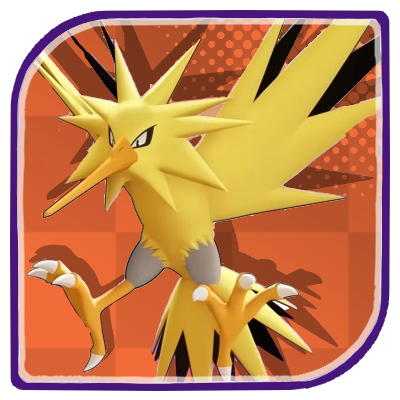
|
| Matchup Notes | ||
|---|---|---|
| Hard Counter |
Even Matchup |
Easy Matchup |
| 1. The chart is based on our own experience playing Morpeko. 2. Pokemon within each tier are unordered 3. Any Pokemon not shown here are still under investigation. |
||
Best Counters Against Morpeko
| Pokemon | Explanation |
|---|---|
|
Snorlax
|
Rating: ★★★★★ • Can disrupt Morpeko's combo using Heavy Slam and Block. • Has high durability and can outheal Morpeko's damage using Power Nap. |
|
Slowbro
|
Rating: ★★★★★ • Can disable Morpeko with Slowbeam and disrupt its combo with Surf and Telekinesis. |
|
Umbreon
|
Rating: ★★★ • Can contain Morpeko inside Mean Look and prevent it from dashing. |
Morpeko relies on its high mobility to evade damage and quickly knock out its targets. Pokemon with strong disabling moves or moves that can contain it in one spot can disrupt its combo and slow it down.
How to Win Against Even Matchups With Morpeko
Taking advantage of Morpeko's mobility and triggering its Hunger Switch forms will help Morpeko win against these Pokemon.
Force Them to Play Defensively
| Ranged, Fragile Pokemon with High Damage |
|---|
|
|
These Pokemon prefer to keep their distance from opponents when fighting. They also have high damage potential that can be dangerous for Morpeko. However, they are forced to play defensively if Morpeko manages to get close to them.
During Full Belly Mode, use Spark's follow-up attack to quickly get to melee range then use Assurance and Hungry Supercharge Wheel to burst them down.
During Hangry Mode, utilize Assurance's cooldown reset to repeatedly blitz through them while evading their attacks.
Utilize Superior Mobility
| Brawlers/Combo-heavy Pokemon |
|---|
|
|
These Pokemon excel in close combat and rely mostly on their attacks or combos to deal damage. They are also durable enough to tank Morpeko's damage.
Use your moves in quick succession to chip away at their HP while avoiding or minimizing the damage you take. Once their HP is critically low, fully commit to the knockout. If you're on Hangry Mode, use Morpeko's increased movement speed to evade their combos.
Strike First
| High-Mobility and High-Burst Pokemon |
|---|
|
|
Much like Morpeko, these Pokemon are incredibly agile and deal high burst damage. The best way to win against them is to strike first.
During Full Belly Mode, use Spark's follow-up attack to quickly get to melee range then use Assurance and Hungry Supercharge Wheel to burst them down.
During Hangry Mode, utilize Assurance's cooldown reset to repeatedly blitz through them while evading their attacks.
Stick with Allies
| Highly Durable Pokemon |
|---|
|
|
These Pokemon are extremely durable, making it hard for Morpeko to take them out alone. With that, it's best to group up with allies to bring them down with the help of Morpeko.
Chip away at their HP and stay on top of them using your moves and superior movement speed.
Easy Matchups for Morpeko
| Fragile Damage Dealers |
|
|---|---|
| Non Threats |
|
These Pokemon can fall quickly to Morpeko's burst damage and have little no ways to counter it. Once Morpeko gets into melee range, they'll most likely get knocked out fast.
Best Teammates for Morpeko
| Pokemon | Explanation |
|---|---|
|
Snorlax
Slowbro
|
Frontline Disablers |
| Frontline Pokemon with strong disabling moves can tank damage and set up knockouts for Morpeko. | |
|
Comfey
Blissey
Clefable
|
Supporters |
| Healers can keep Morpeko healthy during fights. |
Looking for teammates to synergize with you? Head over to our Friend Request Board to find other trainers to join you in your grind or just to hang out with!
Morpeko Moves
Move Slot 1 (R)
 Thunder Shock (Lv. 1 or 3) |
Move Type: Sure-Hit Damage Type: Physical Cooldown: 6s Starting Damage: 558 Final Damage: 613 |
|---|---|
| Has the user attack the designated Pokemon and nearby opposing Pokemon with a jolt of electricity, dealing damage and leaving them paralyzed for a short time. | |
|
Spark
(Lv. 5) Upgrade Lv. 11 |
Move Type: Sure-Hit Damage Type: Physical Cooldown: 7s Starting Damage: 635 Bolt damage: 635, Follow-Up Attack: 817 Final Damage: 1512 Bolt damage: 1512, Follow-Up Attack: 1512 |
|
Has the user attack the designated opposing Pokemon by unleashing a spark of electricity, dealing damage, applying a bolt mark, and leaving them paralyzed for a short time. Full Belly Mode: After unleashing a spark of electricity, for a short time, the user can perform a follow-up attack. The follow-up attack will have the user leap at the designated opposing Pokemon, dealing damage to them and nearby opposing Pokemon. When a follow-up attack is used, this move’s cooldown is slightly reduced. Hangry Mode: Applies a bolt mark to the opposing Pokemon hit by this move.
Upgrade: The user is granted a shield effect during the follow-up attack in Full Belly Mode. |
|
Move Slot 2 (ZR)
 Power Trip (Lv. 1 or 3) |
Move Type: Dash Damage Type: Physical Cooldown: 5s Starting Damage: 646 Final Damage: 764 |
|---|---|
| Has the user charge in the designated direction, dealing damage to opposing Pokemon. The user's next basic attack becomes a boosted attack. | |
|
Assurance
(Lv. 7) Upgrade Lv. 13 |
Move Type: Dash Damage Type: Physical Cooldown: 5s Starting Damage: 1106 Final Damage: 1649 |
|
Has the user charge in the designated direction and deal damage to opposing Pokemon. Additional damage is dealt to opposing Pokemon paralyzed by the user. Hangry Mode: When opposing Pokemon with a bolt mark are hit, the mark is consumed and this move’s cooldown is reset,
Upgrade: If this move hits, the next basic attack becomes a boosted attack and is guaranteed to be a critical hit. |
|
Unite Moves (ZL)
|
Hungry Supercharge Wheel
(Lv. 9) |
Move Type: Dash, Hindrance Damage Type: Physical Cooldown: 100s Starting Damage: 2048 Hangry Mode damge: 2208 Final Damage: 2802 Hangry Mode damge: 2962 |
|---|---|
| Has the user attack by unleashing the energy stored in its cheeks and driving an electric wheel in the designated direction. Full Belly Mode: Has the user deal damage to opposing Pokemon it hits, leaving them paralyzed for a short time and unable to act. Hangry Mode: Has the user deal increased damage to opposing Pokemon it hits, applying a bolt mark and leaving them unable to act for a short time. | |
Standard Attack
 Standard Attack |
Becomes a boosted attack with every third attack, dealing increased damage. When a boosted attack hits, the user's movement speed is increased for a short time. |
|---|
Ability (Passive)
 Hunger Switch |
 Morpeko This Pokemon’s form and move effects change depending on its fullness gauge. When the Pokemon changes form, its move cooldowns are reset. Eating Berries will also increase the Pokemon’s fullness gauge. Full Belly Mode: Upon entering this form, the Pokemon recovers some of its HP. The fullness gauge will decrease over time and whenever the Pokemon uses moves. When the gauge reaches zero, the Pokemon goes berserk and enters Hangry Mode. Hangry Mode: Upon entering this form, the Pokemon applies a fear effect to nearby opposing Pokemon, and its movement speed is slightly increased. The fullness gauge will increase over time, and when the Pokemon is full, it will eat the seeds stored in its pocket-like pouches to enter Full Belly Mode. |
|---|
Morpeko Stats & Evolutions
Morpeko Evolutions
 Morpeko This Pokemon does not evolve. |
Morpeko Stats
| Level | HP | Defense | Special Defense | Attack Damage |
|---|---|---|---|---|
| 1 | 3300 | 70 | 70 | 188 |
| 2 | 3425 | 78 | 78 | 206 |
| 3 | 3563 | 86 | 86 | 225 |
| 4 | 3714 | 95 | 95 | 246 |
| 5 | 3880 | 105 | 105 | 269 |
| 6 | 4063 | 116 | 116 | 295 |
| 7 | 4265 | 128 | 128 | 323 |
| 8 | 4487 | 141 | 141 | 354 |
| 9 | 4730 | 156 | 156 | 388 |
| 10 | 4999 | 172 | 172 | 426 |
| 11 | 5293 | 190 | 190 | 467 |
| 12 | 5618 | 209 | 209 | 512 |
| 13 | 5975 | 231 | 231 | 563 |
| 14 | 6358 | 254 | 254 | 617 |
| 15 | 6800 | 280 | 280 | 678 |
Attack Damage is the damage of the Basic Attack as tested against the Training Dummy.
Morpeko Skins (Holowear)
| This Pokemon has no available Holowear. |
|---|
Morpeko Character Spotlight
Pokemon UNITE Related Guides

All Pokemon Guides and Builds
 Articuno
 Delphox
 Flareon
 Jolteon
 Mamoswine
 Toxtricity
Upcoming Pokemon
| No official upcoming Pokemon |
Mega Evolutions
| Mega Evolved Pokemon | ||
|---|---|---|
| Mega Charizard X |
Mega Charizard Y |
Mega Gyarados |
| Mega Lucario |
Mega Mewtwo X |
Mega Mewtwo Y |
Pokemon by Role
| All Pokemon Roles | |||||
|---|---|---|---|---|---|
 Attackers |
 All-Rounders |
 Defenders |
|||
 Speedsters |
 Supporters |
||||
Pokemon by Characteristics
| Attack Type | |
|---|---|
 Melee Pokemon |
 Ranged Pokemon |
 Physical Pokemon |
 Special Pokemon |
| Stat Rankings | |
 HP Ranking |
 Defense Ranking |
 Sp. Def. Ranking |
 Basic Attack Ranking |
Comment



Author

Morpeko Best Builds & Guide

Rankings
- We could not find the message board you were looking for.

Gaming News





Popular Games

Genshin Impact Walkthrough & Guides Wiki
Fire Emblem: Fortune's Weave (FEFW) Walkthrough & Guides Wiki
Aniimo Walkthrough & Guides Wiki
Wuthering Waves Walkthrough & Guides Wiki
Dragon's Dogma 2 (DD2) Dark Arisen Walkthrough & Guides Wiki
Umamusume: Pretty Derby Walkthrough & Guides Wiki
Honkai: Star Rail Walkthrough & Guides Wiki
Zenless Zone Zero Walkthrough & Guides Wiki
Pokemon TCG Pocket (PTCGP) Strategies & Guides Wiki
AION 2 Walkthrough & Guides Wiki










Recommended Games
Fire Emblem Heroes (FEH) Walkthrough & Guides Wiki
Where Winds Meet Walkthrough & Guides Wiki
Diablo 4: Lord of Hatred Walkthrough & Guides Wiki
Super Smash Bros. Ultimate Walkthrough & Guides Wiki
Persona 3 Reload Walkthrough & Guides Wiki
The Legend of Zelda: Tears of the Kingdom Walkthrough & Guides Wiki
Elden Ring Walkthrough & Guides Wiki
Pokemon Brilliant Diamond and Shining Pearl (BDSP) Walkthrough & Guides Wiki
Cyberpunk 2077: Ultimate Edition Walkthrough & Guides Wiki
Monster Hunter World Walkthrough & Guides Wiki










All rights reserved
©2021 Pokémon. ©1995–2021 Nintendo / Creatures Inc. / GAME FREAK inc.
©2021 Tencent.
The copyrights of videos of games used in our content and other intellectual property rights belong to the provider of the game.
The contents we provide on this site were created personally by members of the Game8 editorial department.
We refuse the right to reuse or repost content taken without our permission such as data or images to other sites.